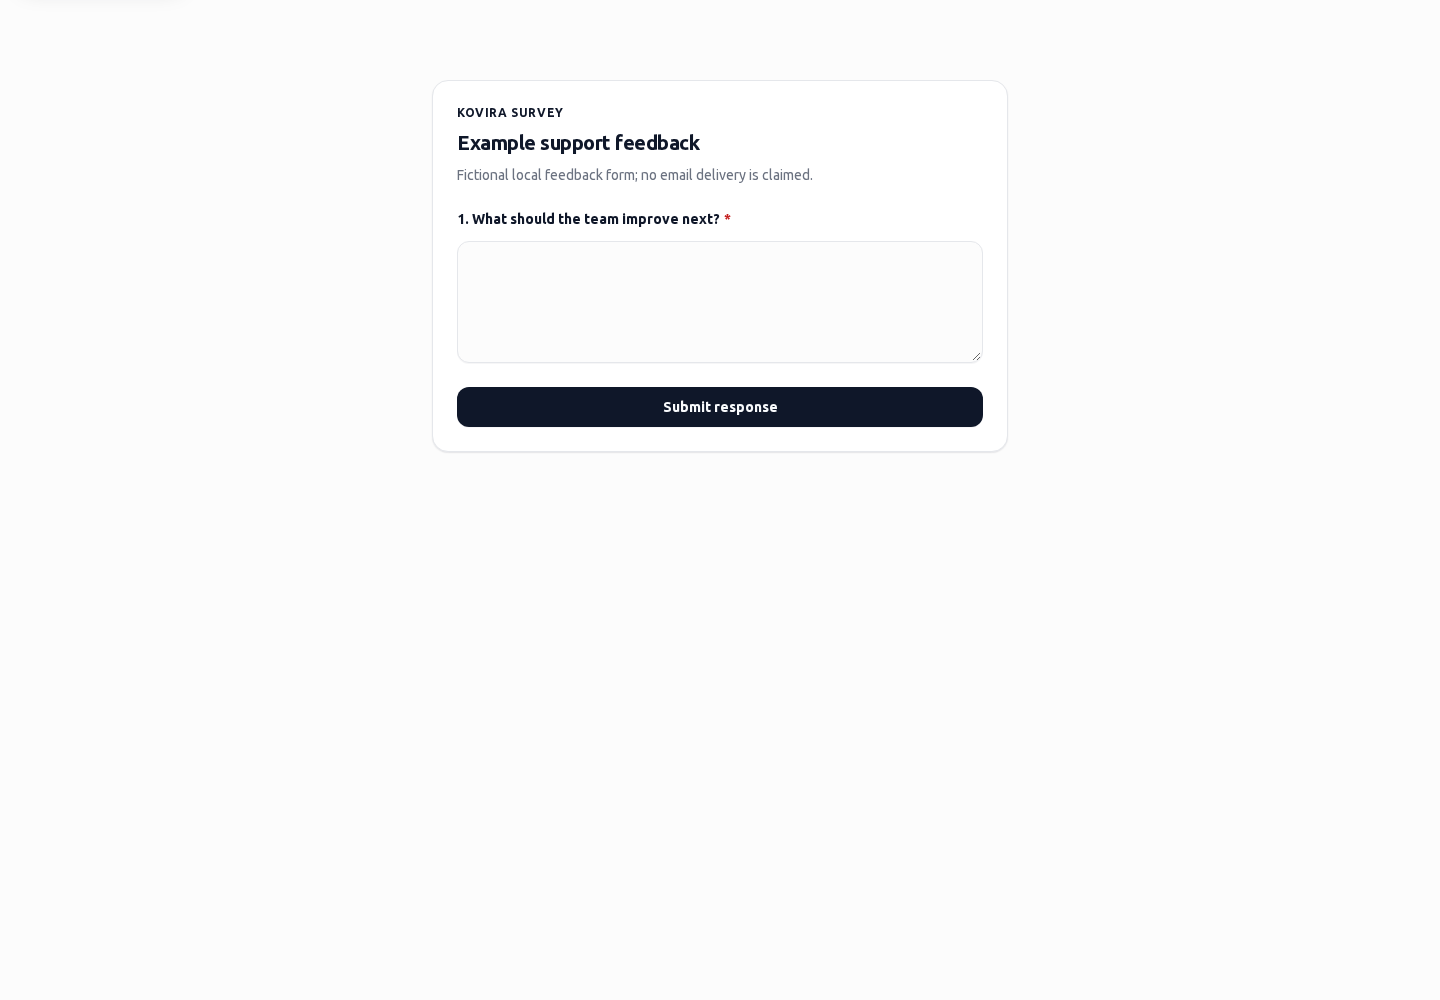
Start using KOVIRA
Applies to: KOVIRA
Choose the right workspace, find records and organise your daily work.
Before you begin
- An invitation or account for your organisation; features vary by plan and role.
Steps
- Sign in using your organisation’s sign-in method. Complete MFA when requested.
- Complete onboarding, confirm your workspace and review your profile before entering customer data.
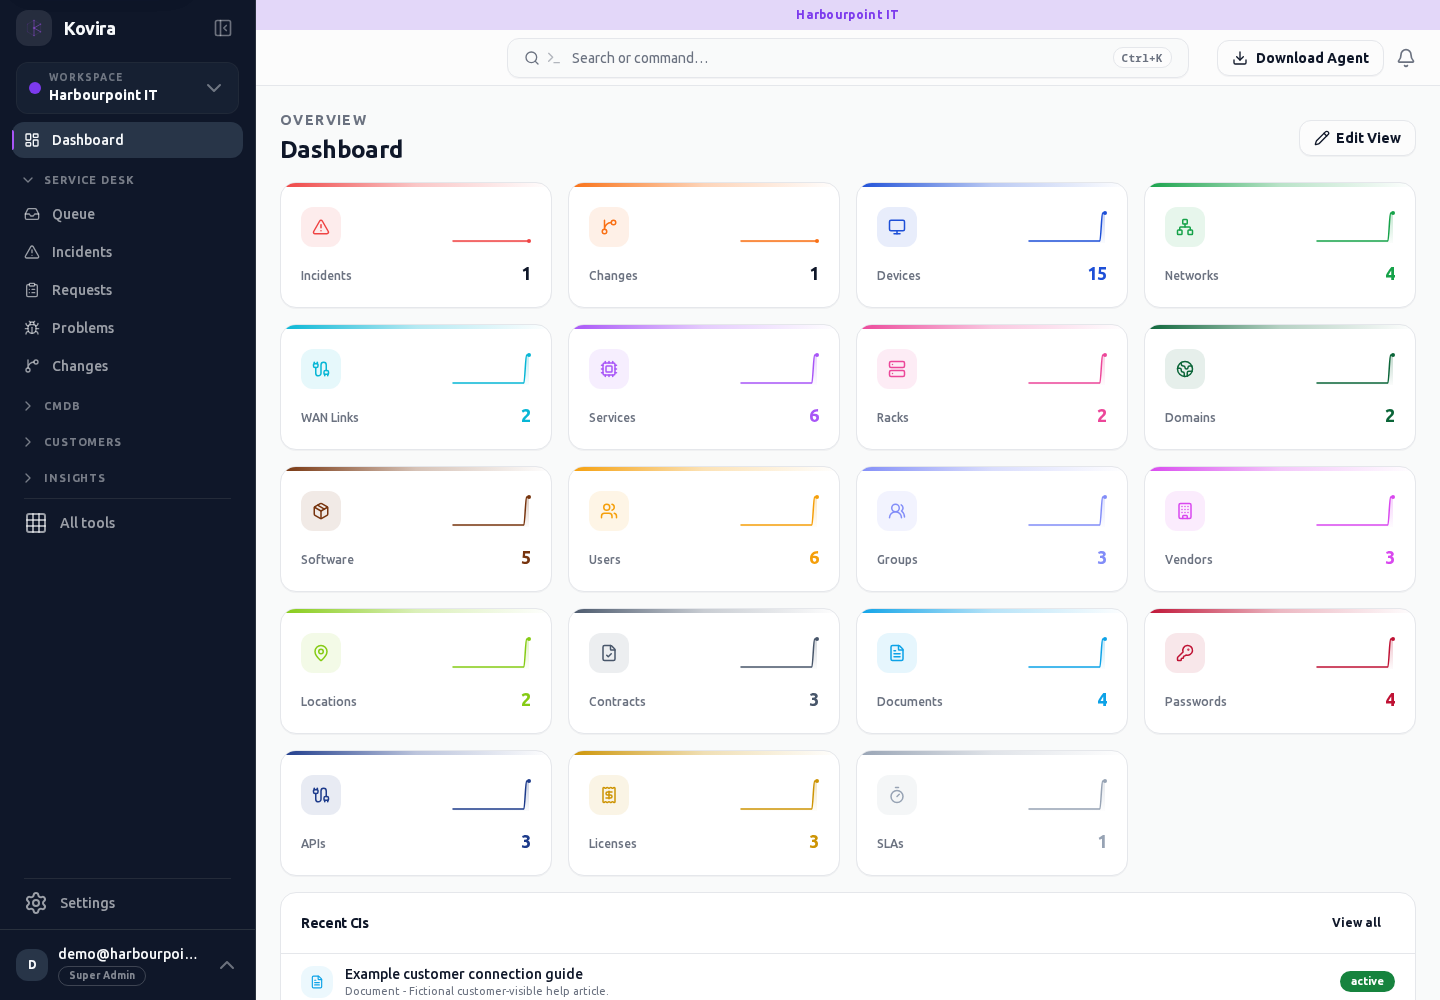
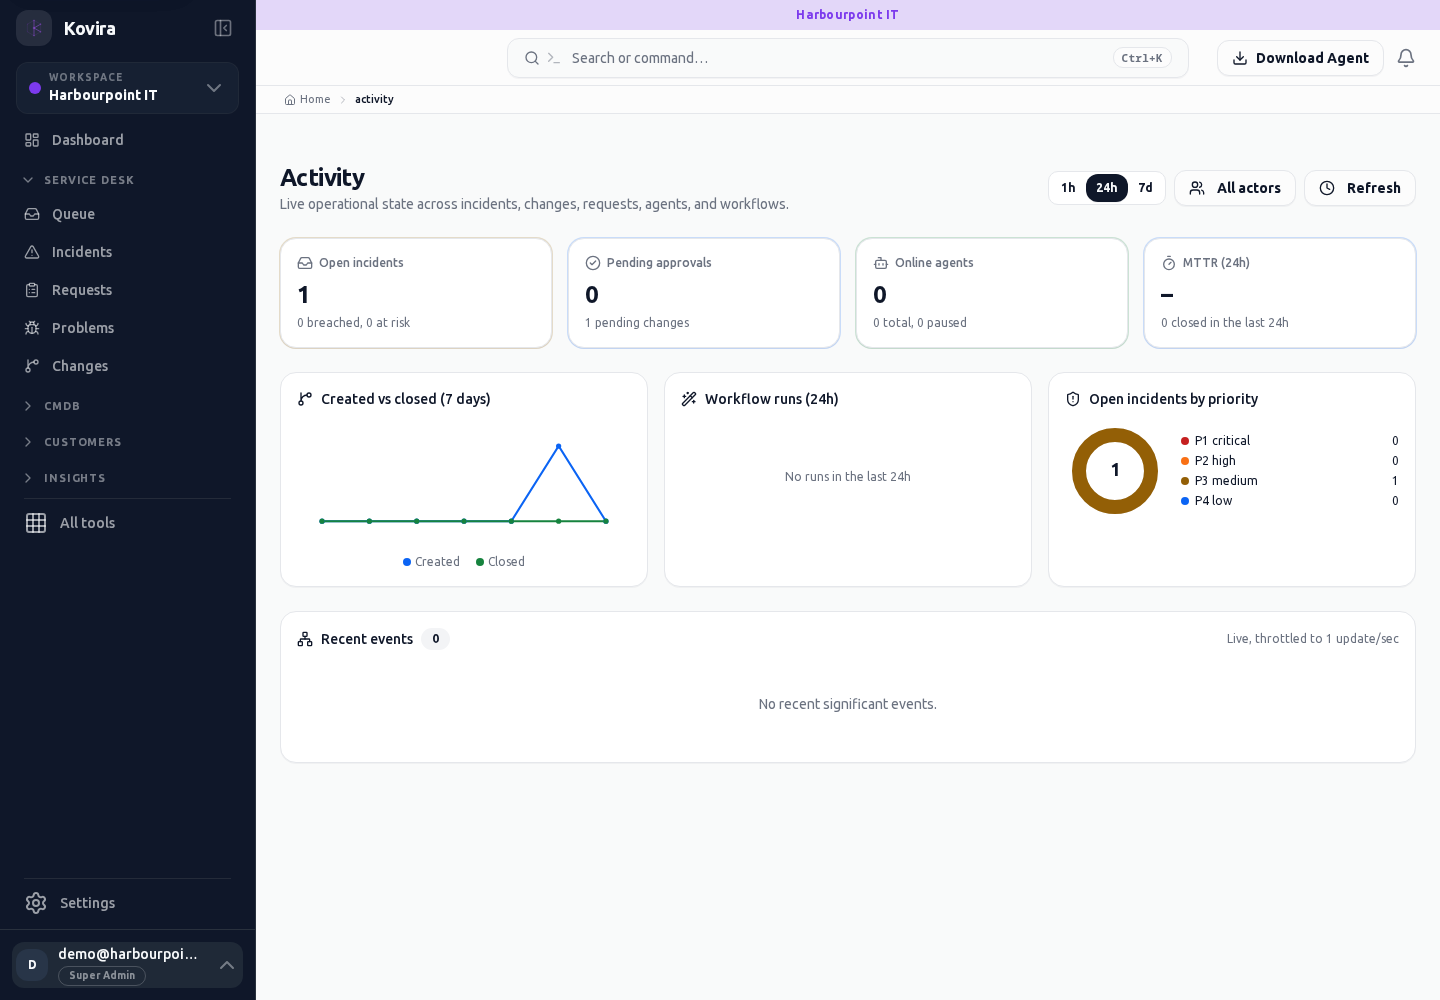
- Use the sidebar to open a product area. Use global search or the command palette to find records and actions. Pin frequently used areas and use saved views to return to the same filters.
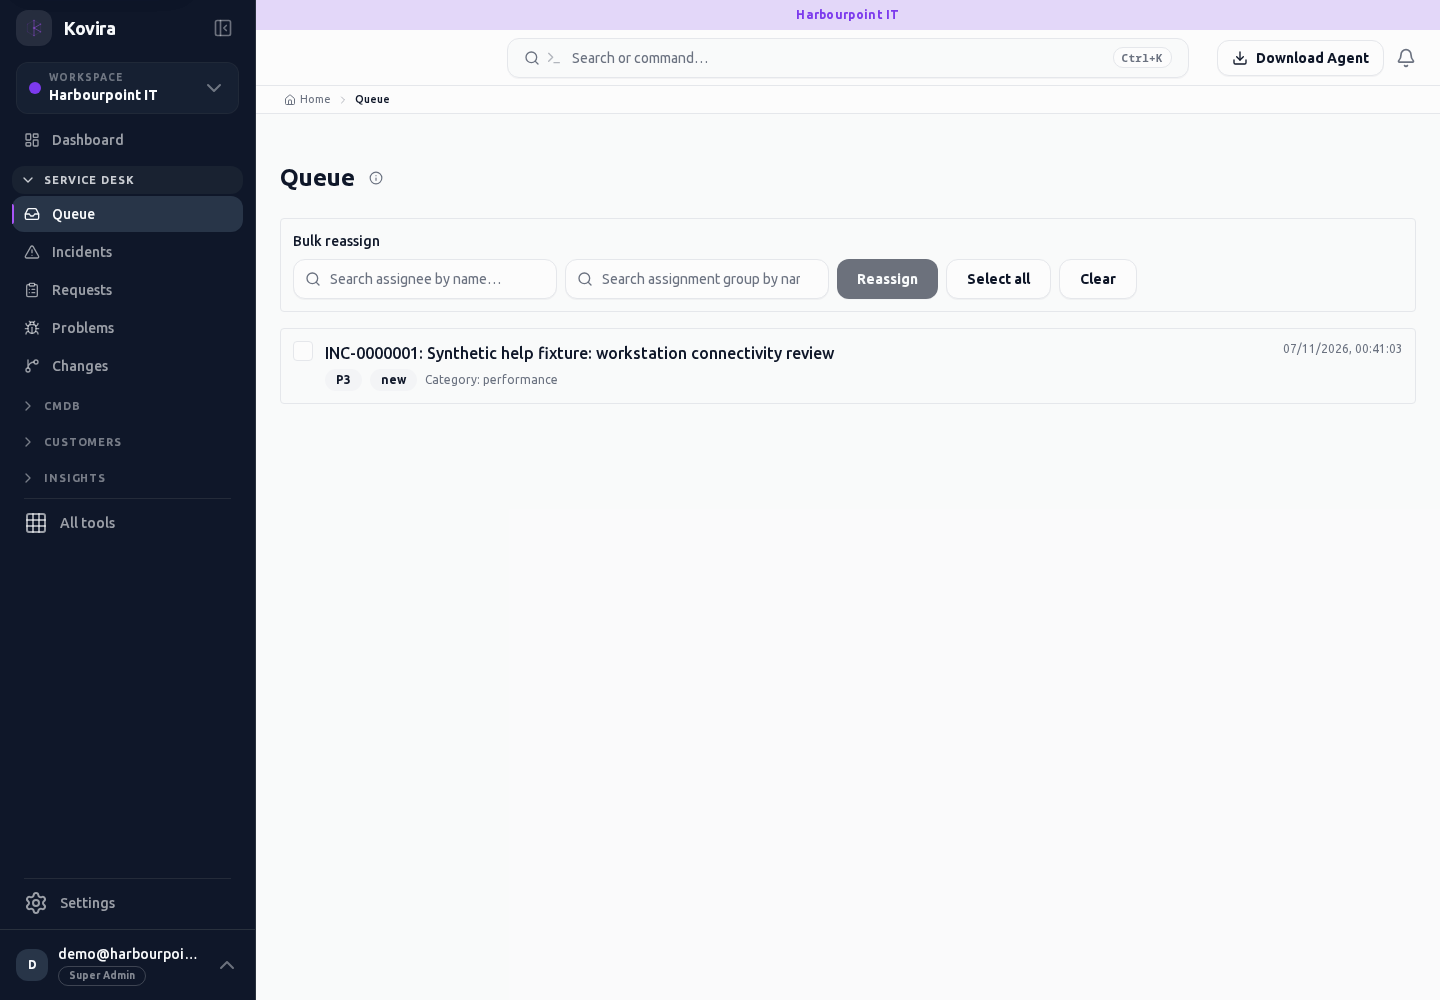
- Open Dashboard for an overview, Queue for assigned work and Activity for recent changes. Follow a record link to see the underlying detail.
Check the result
- Check the workspace name before creating or editing records.
- Check a filter against a known record; an empty view does not prove that the workspace contains no records.
If you need help
- A missing area can indicate a plan or permission restriction. Ask your administrator to confirm access.
- If a page does not load, preserve the visible error and retry once; include the time and record type in a support request.
Related screens (3)
Activity
Daily workspace navigation. Review this screen in the context of the current workspace and record.
Access
- Default workspace roles for opening this screen: Super Admin, Admin, Operator, View Only. Custom role settings, the current workspace, plan and record sharing can further restrict access.
- Opening a screen does not grant every action on it. Changes, exports and lifecycle actions can require additional permissions.
Controls and information
- Workspace selector
- global search
- saved views
- underlying record links
Steps for this screen
- Confirm the active workspace, then use the page links to open the work or activity you need.
- Use the available search, date and status filters to narrow the view. Open a record link for its detail.
- Clear filters when you need to compare the full accessible list.
Check the result
- Check the date, active filters and underlying record before acting on a summary.
If this screen is unavailable
- If no records appear, clear active filters and confirm the workspace and your access before creating a duplicate.
- If the list cannot load, retry once and quote the displayed support reference; do not infer that the workspace is empty.
Dashboard
Daily workspace navigation. Review this screen in the context of the current workspace and record.
Access
- Default workspace roles for opening this screen: Super Admin, Admin, Operator, View Only. Custom role settings, the current workspace, plan and record sharing can further restrict access.
- Opening a screen does not grant every action on it. Changes, exports and lifecycle actions can require additional permissions.
Controls and information
- Workspace selector
- global search
- saved views
- underlying record links
Steps for this screen
- Confirm the active workspace, then use the page links to open the work or activity you need.
Check the result
- Check the date, active filters and underlying record before acting on a summary.
If this screen is unavailable
- If no records appear, clear active filters and confirm the workspace and your access before creating a duplicate.
- If saving fails or a conflict appears, keep a copy of your intended changes, reopen the current record and review it before submitting again.
Queue
Daily workspace navigation. Review this screen in the context of the current workspace and record.
Access
- Default workspace roles for opening this screen: Super Admin, Admin, Operator, View Only. Custom role settings, the current workspace, plan and record sharing can further restrict access.
- Opening a screen does not grant every action on it. Changes, exports and lifecycle actions can require additional permissions.
Controls and information
- Workspace selector
- global search
- saved views
- underlying record links
Steps for this screen
- Confirm the active workspace, then use the page links to open the work or activity you need.
- Use the available search, date and status filters to narrow the view. Open a record link for its detail.
- Clear filters when you need to compare the full accessible list.
Check the result
- Check the date, active filters and underlying record before acting on a summary.
If this screen is unavailable
- If no records appear, clear active filters and confirm the workspace and your access before creating a duplicate.
- If the list cannot load, retry once and quote the displayed support reference; do not infer that the workspace is empty.
Account, notifications and sign-in security
Applies to: KOVIRA
Manage personal preferences and protect your account.
Before you begin
- Access to your own account and recovery method.
Steps
- Open Account to review profile, language, theme and accessibility preferences.
- Open MFA to add the offered authenticator or passkey method. Store recovery material in your approved password manager.
- Review Sessions and revoke sessions you do not recognise. Sign in again if your current session is revoked.
- Set notification preferences, out-of-office dates and delegations before a planned absence. Check that delegates have the required access.
- Use personal data export only for your own authorised records and handle the download according to your organisation’s data policy.
Check the result
- Reopen the preference page to confirm the saved selection.
- Check delegation start/end dates and the recipient before relying on it.
If you need help
- For a lost MFA method use the recovery option or your organisation’s account recovery process.
- Never send passkeys, MFA codes, recovery codes or a complete session URL to support.
Related screens (15)
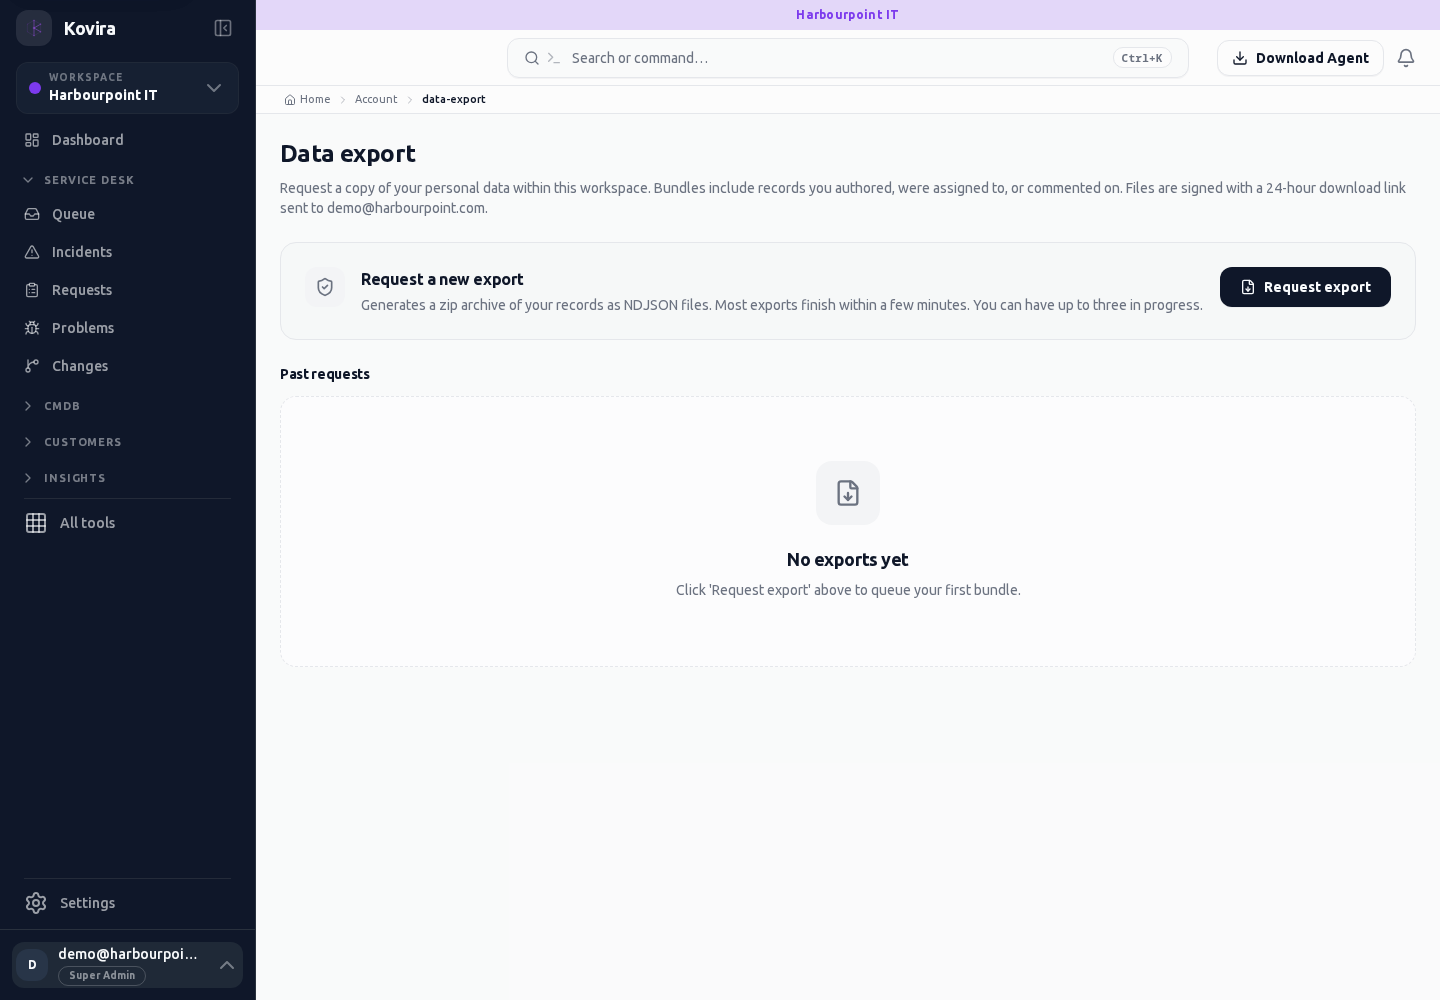
Personal data export
Personal data export for the selected account, workspace or record.
Access
- Your current workspace role, plan and record access determine whether this screen and its actions are available. Ask an administrator if the required action is missing.
Controls and information
- Export request
- export state
- available download
Steps for this screen
- Review the personal data export information and request your export once. Retrieve it through the offered download when it is ready.
Check the result
- Check the export belongs to your account and store it in an approved location.
If this screen is unavailable
- If no records appear, clear active filters and confirm the workspace and your access before creating a duplicate.
- If saving fails or a conflict appears, keep a copy of your intended changes, reopen the current record and review it before submitting again.
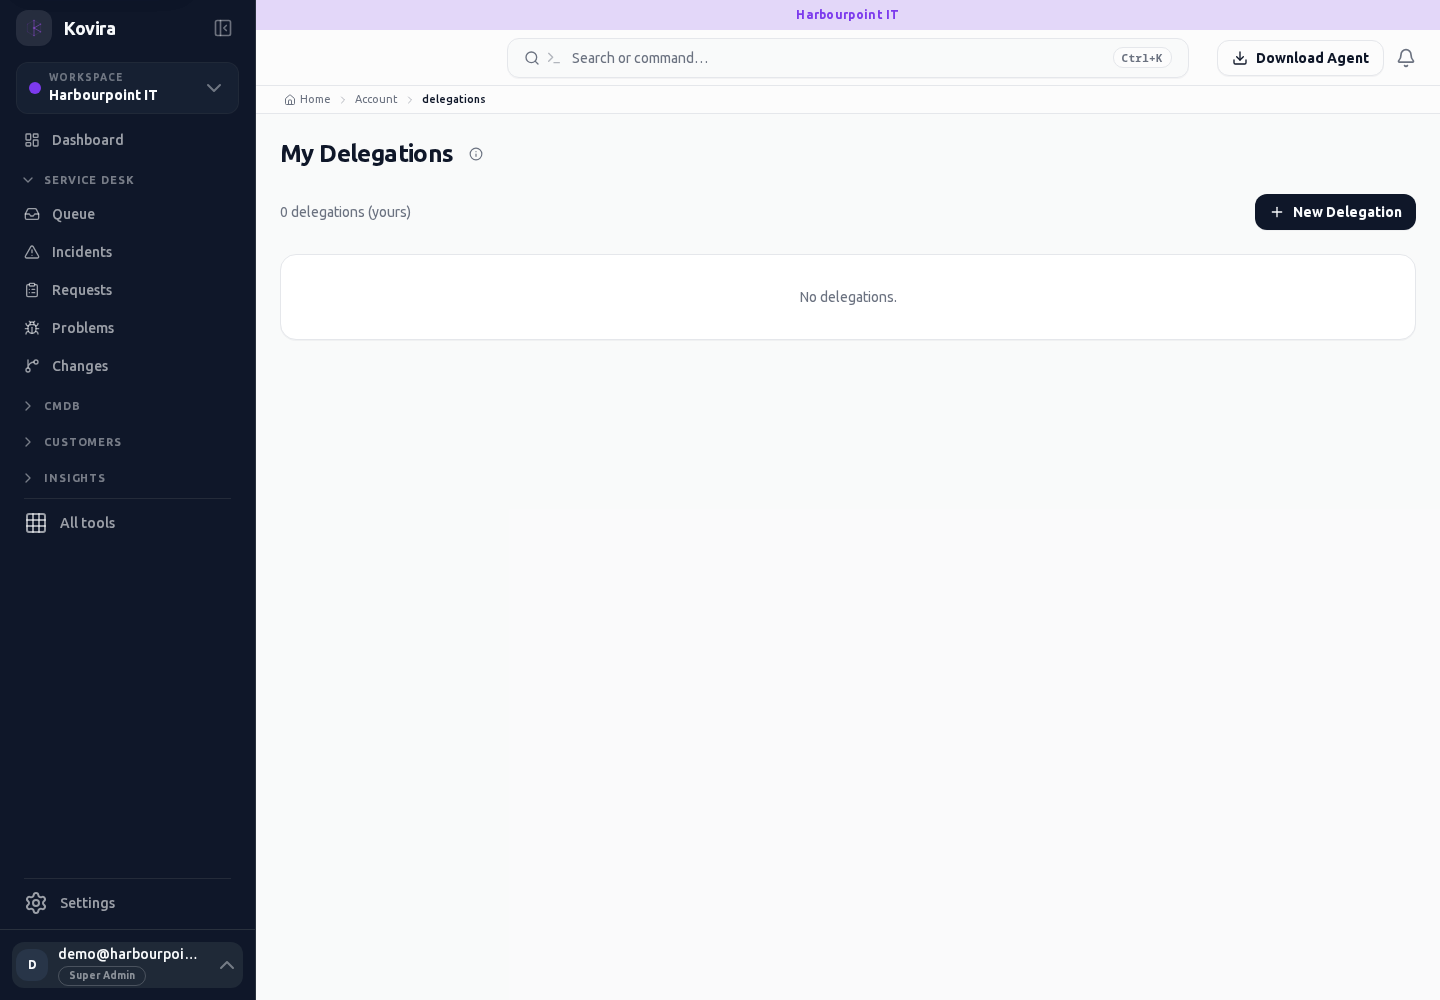
Your delegations
Your delegations for the selected account, workspace or record.
Access
- Your current workspace role, plan and record access determine whether this screen and its actions are available. Ask an administrator if the required action is missing.
Controls and information
- Delegate
- effective dates
- covered responsibility
Steps for this screen
- Choose an authorised colleague and check the responsibilities and effective dates before saving a delegation.
Check the result
- Confirm the delegate and dates; delegation does not grant missing record permissions.
If this screen is unavailable
- If no records appear, clear active filters and confirm the workspace and your access before creating a duplicate.
- If saving fails or a conflict appears, keep a copy of your intended changes, reopen the current record and review it before submitting again.
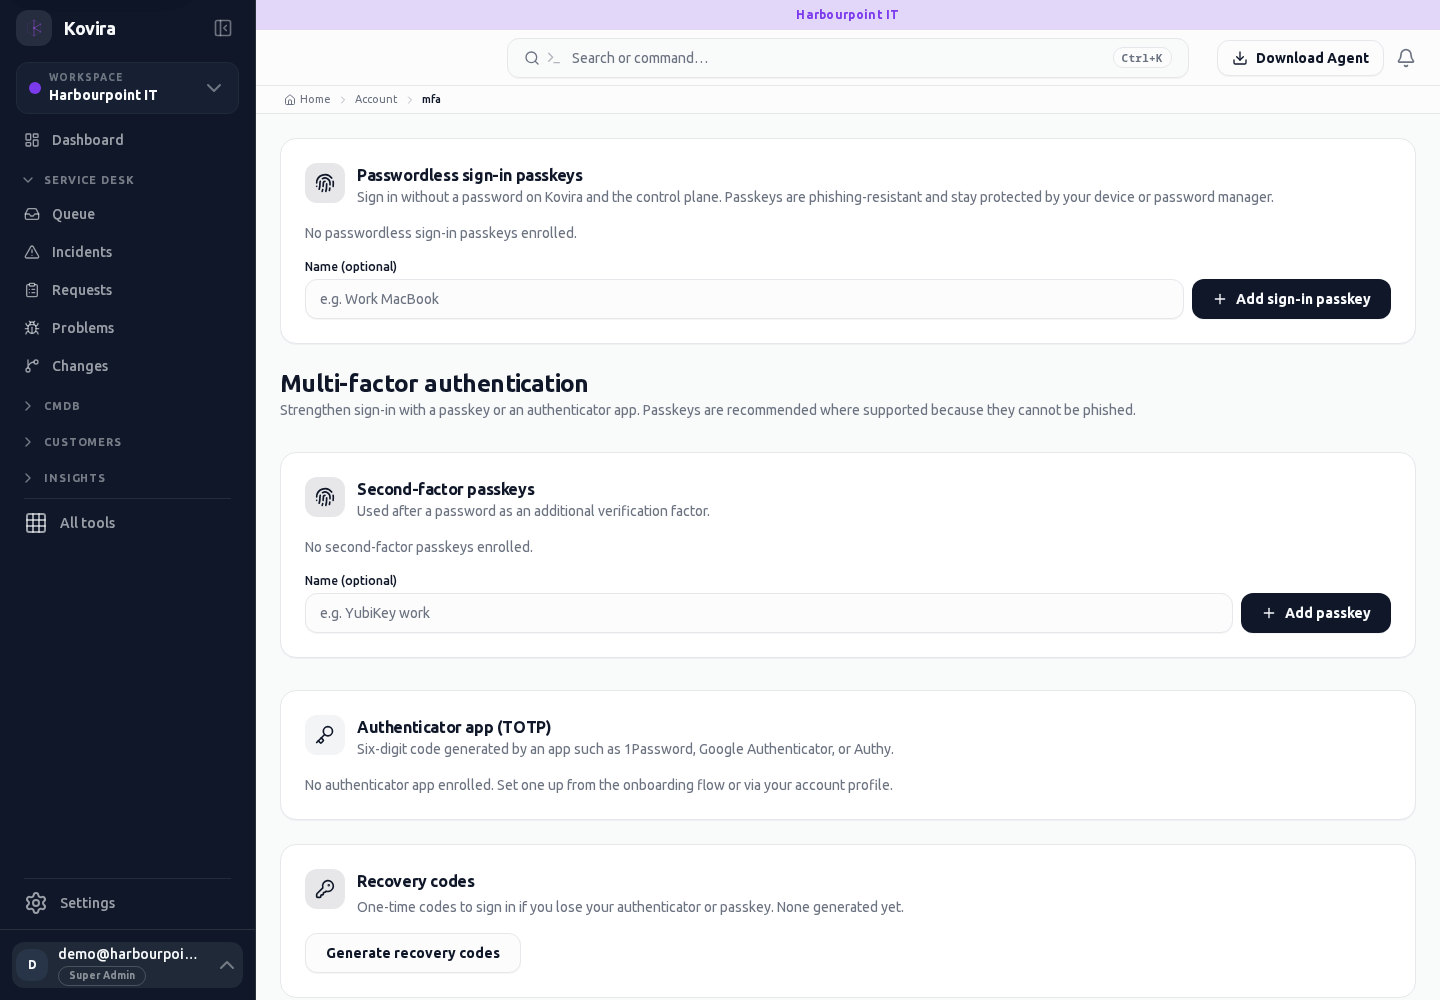
MFA and passkeys
MFA and passkeys for the selected account, workspace or record.
Access
- Your current workspace role, plan and record access determine whether this screen and its actions are available. Ask an administrator if the required action is missing.
Controls and information
- Authenticator enrolment
- passkey enrolment
- recovery methods
- removal confirmation
Steps for this screen
- Add an offered verification method and complete its verification. Keep recovery material before replacing an existing method.
Check the result
- Verify you can sign in with the new method before removing the old one.
If this screen is unavailable
- If no records appear, clear active filters and confirm the workspace and your access before creating a duplicate.
- If saving fails or a conflict appears, keep a copy of your intended changes, reopen the current record and review it before submitting again.
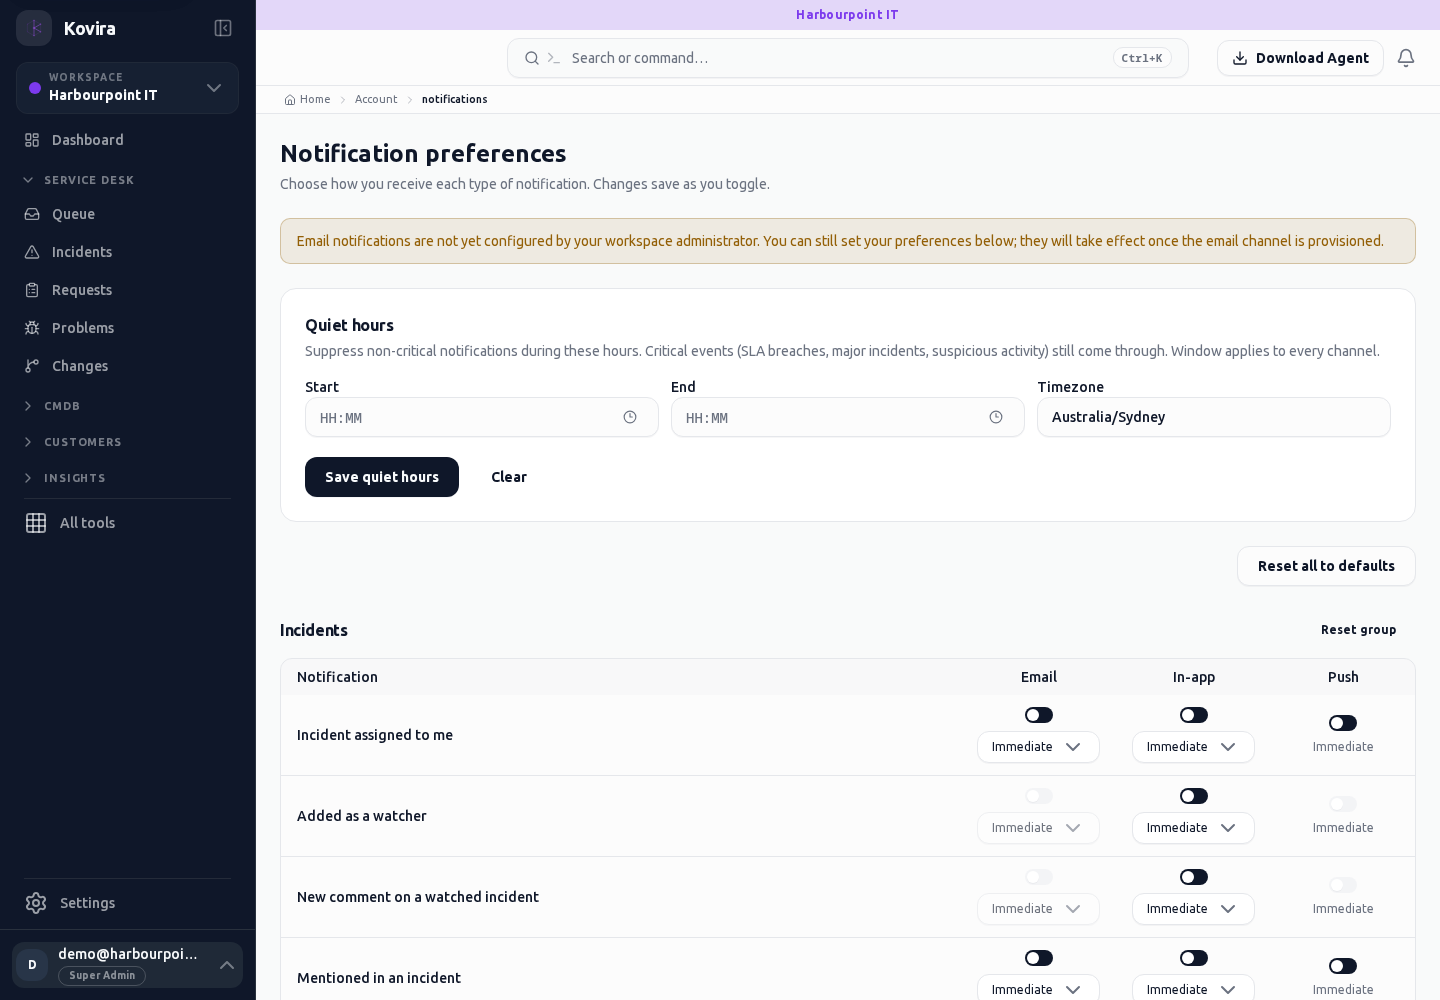
Notification preferences
Notification preferences for the selected account, workspace or record.
Access
- Your current workspace role, plan and record access determine whether this screen and its actions are available. Ask an administrator if the required action is missing.
Controls and information
- Notification categories
- delivery preferences
- availability notice
Steps for this screen
- Choose which offered notifications you want and save the preferences. Review any notice that a delivery channel is not configured.
Check the result
- Check the saved preferences; an enabled preference does not prove email delivery.
If this screen is unavailable
- If no records appear, clear active filters and confirm the workspace and your access before creating a duplicate.
- If saving fails or a conflict appears, keep a copy of your intended changes, reopen the current record and review it before submitting again.
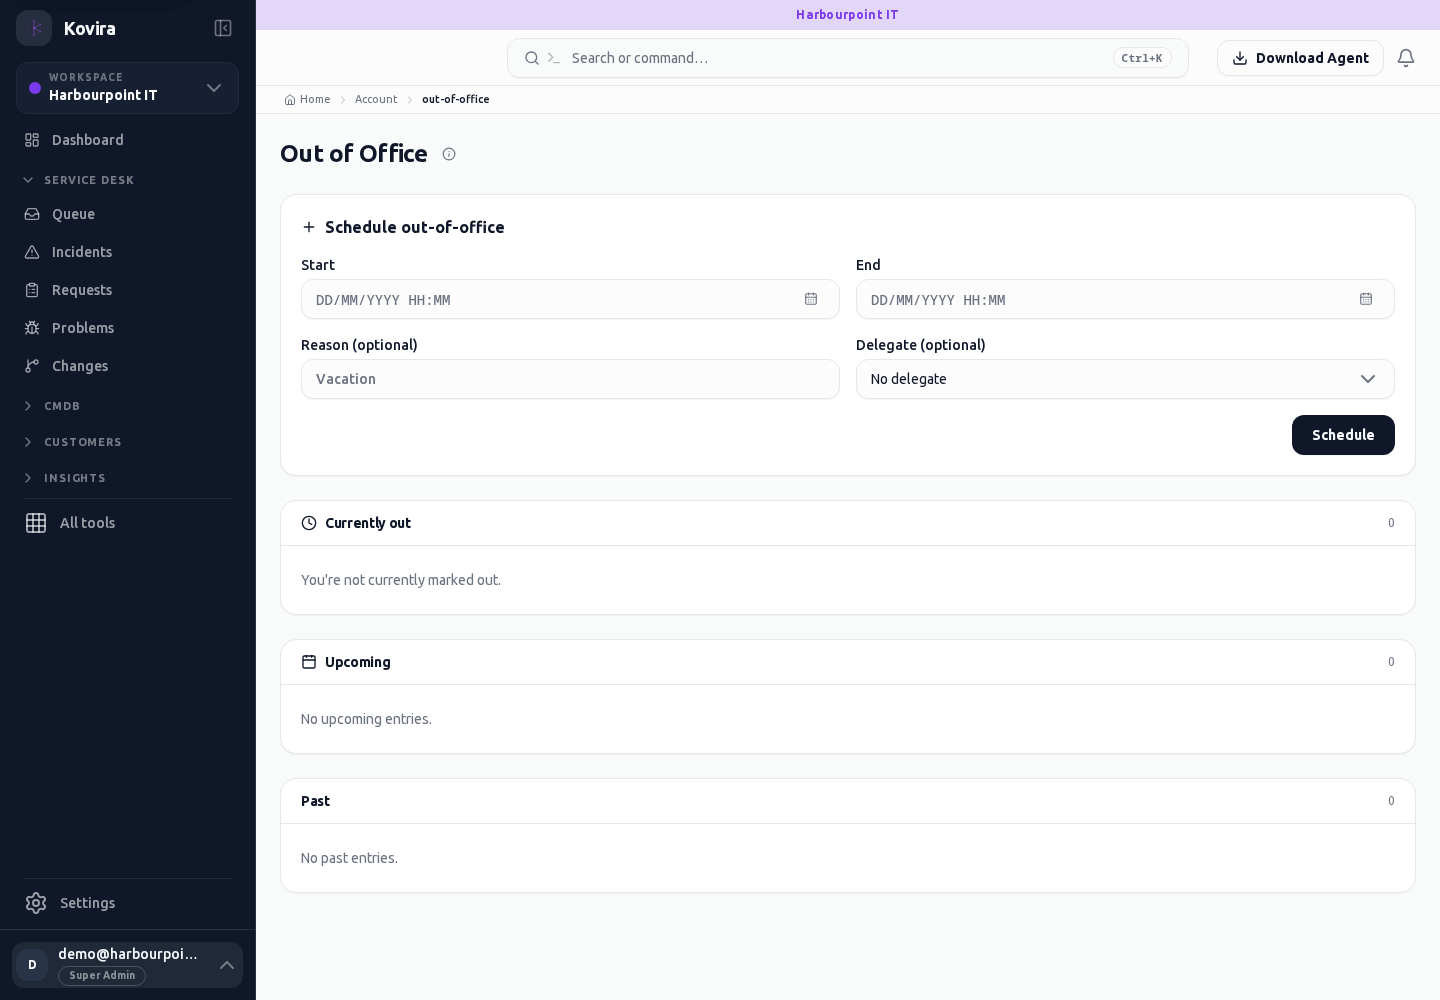
Out-of-office cover
Out-of-office cover for the selected account, workspace or record.
Access
- Your current workspace role, plan and record access determine whether this screen and its actions are available. Ask an administrator if the required action is missing.
Controls and information
- Start and end dates
- delegate
- active state
Steps for this screen
- Set the absence period and appropriate delegate. Check the timezone and who will handle work before saving.
Check the result
- Check the saved period and delegation before the absence begins.
If this screen is unavailable
- If no records appear, clear active filters and confirm the workspace and your access before creating a duplicate.
- If saving fails or a conflict appears, keep a copy of your intended changes, reopen the current record and review it before submitting again.
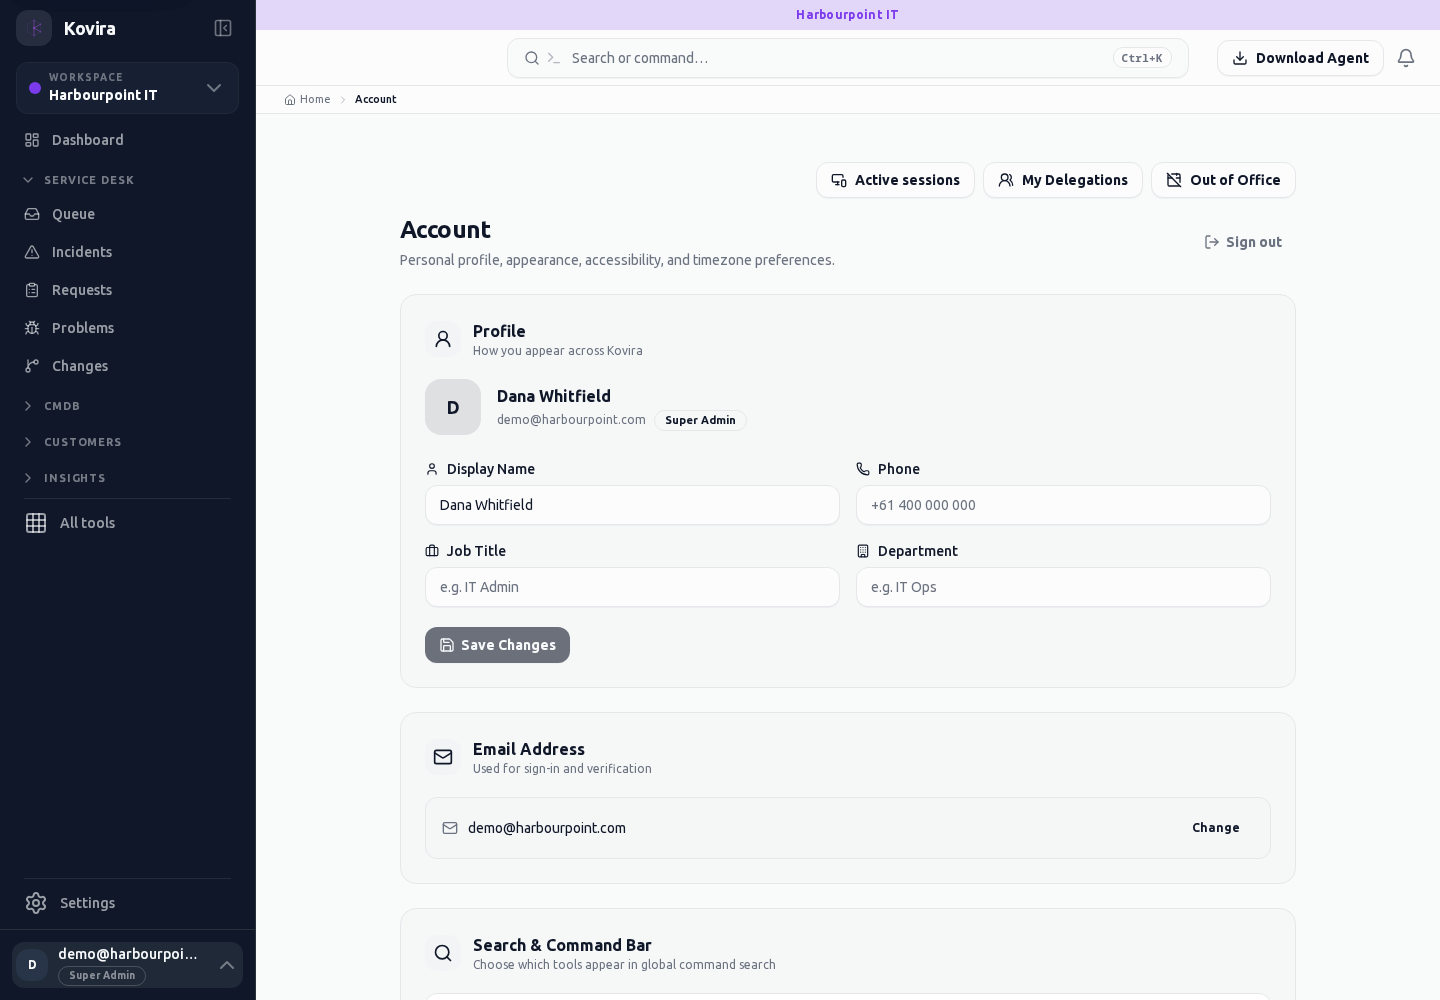
Account
Your profile and sign-in. Review this screen in the context of the current workspace and record.
Access
- Your current workspace role, plan and record access determine whether this screen and its actions are available. Ask an administrator if the required action is missing.
Controls and information
- Profile preferences
- notifications
- MFA methods
- sessions
- out-of-office dates
Steps for this screen
- Review the settings for your own account. Keep a second usable sign-in method before removing a security method.
Check the result
- Reopen the relevant setting after saving. Keep recovery material in your approved password manager.
If this screen is unavailable
- If no records appear, clear active filters and confirm the workspace and your access before creating a duplicate.
- If saving fails or a conflict appears, keep a copy of your intended changes, reopen the current record and review it before submitting again.
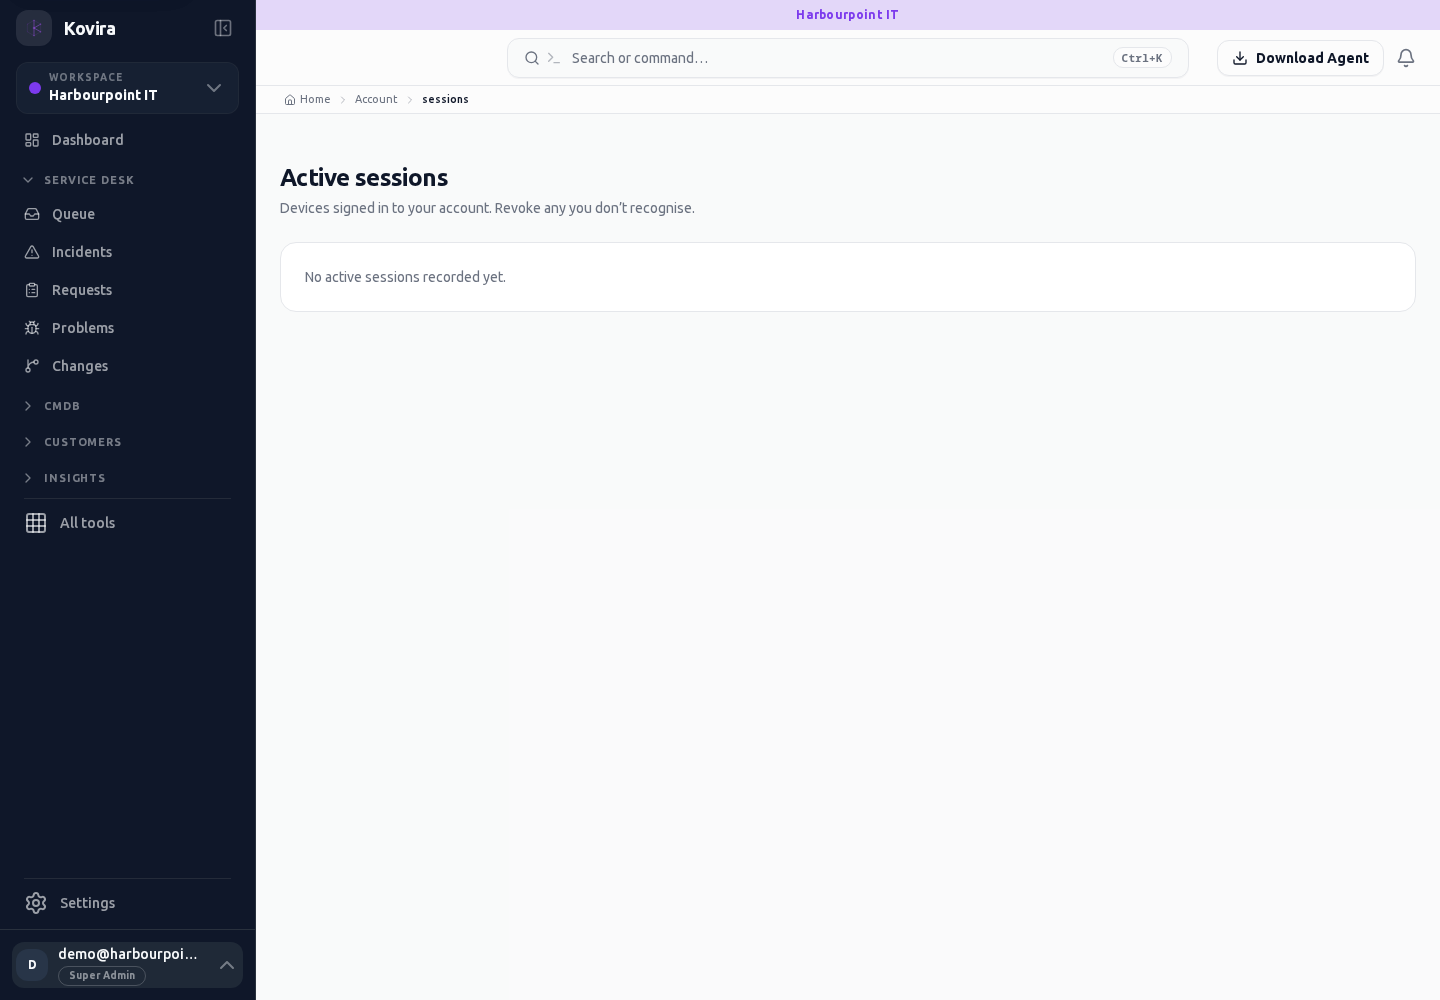
Your signed-in sessions
Your signed-in sessions for the selected account, workspace or record.
Access
- Your current workspace role, plan and record access determine whether this screen and its actions are available. Ask an administrator if the required action is missing.
Controls and information
- Session details
- revoke action
- current-session indication
Steps for this screen
- Review the sessions and revoke one you do not recognise. Revoking your current session can require signing in again.
Check the result
- Confirm the revoked session is no longer usable.
If this screen is unavailable
- If no records appear, clear active filters and confirm the workspace and your access before creating a duplicate.
- If saving fails or a conflict appears, keep a copy of your intended changes, reopen the current record and review it before submitting again.
Set up your workspace
Create your workspace, complete required sign-in security and choose optional agent or Microsoft integration setup.
Access
- Continue from your supported account activation or email-confirmation flow. An account without a workspace cannot use ordinary password sign-in as an onboarding shortcut.
Controls and information
- Workspace name
- Shortcode
- Brand colour
- Continue
- Security setup
- Offered VECTOR, ATLAS, Entra ID and Intune steps
- Go to dashboard
Steps for this screen
- Enter the workspace name and a valid available shortcode, choose the brand colour and select Continue. Review any field message before retrying.
- Complete the required security step using the offered authenticator flow. Store recovery material privately and verify that setup completed.
- Follow or skip optional agent and Microsoft integration steps as offered. Only install or connect systems you are authorised to manage. Keep any one-time credentials in an approved secure store.
- Review the setup summary and select Go to dashboard after the required workspace and security steps are complete.
Check the result
- Confirm that the dashboard opens in the intended workspace. Verify agent check-in or provider connection separately before relying on its inventory.
If this screen is unavailable
- If the activation or confirmation session is missing, use the supported account recovery or invitation process, or contact your administrator. Ask your administrator for help if the account does not yet belong to a workspace and ordinary sign-in is refused.
- Correct the displayed workspace or security error before continuing. Optional agent/provider setup can be completed later when its prerequisites are available.
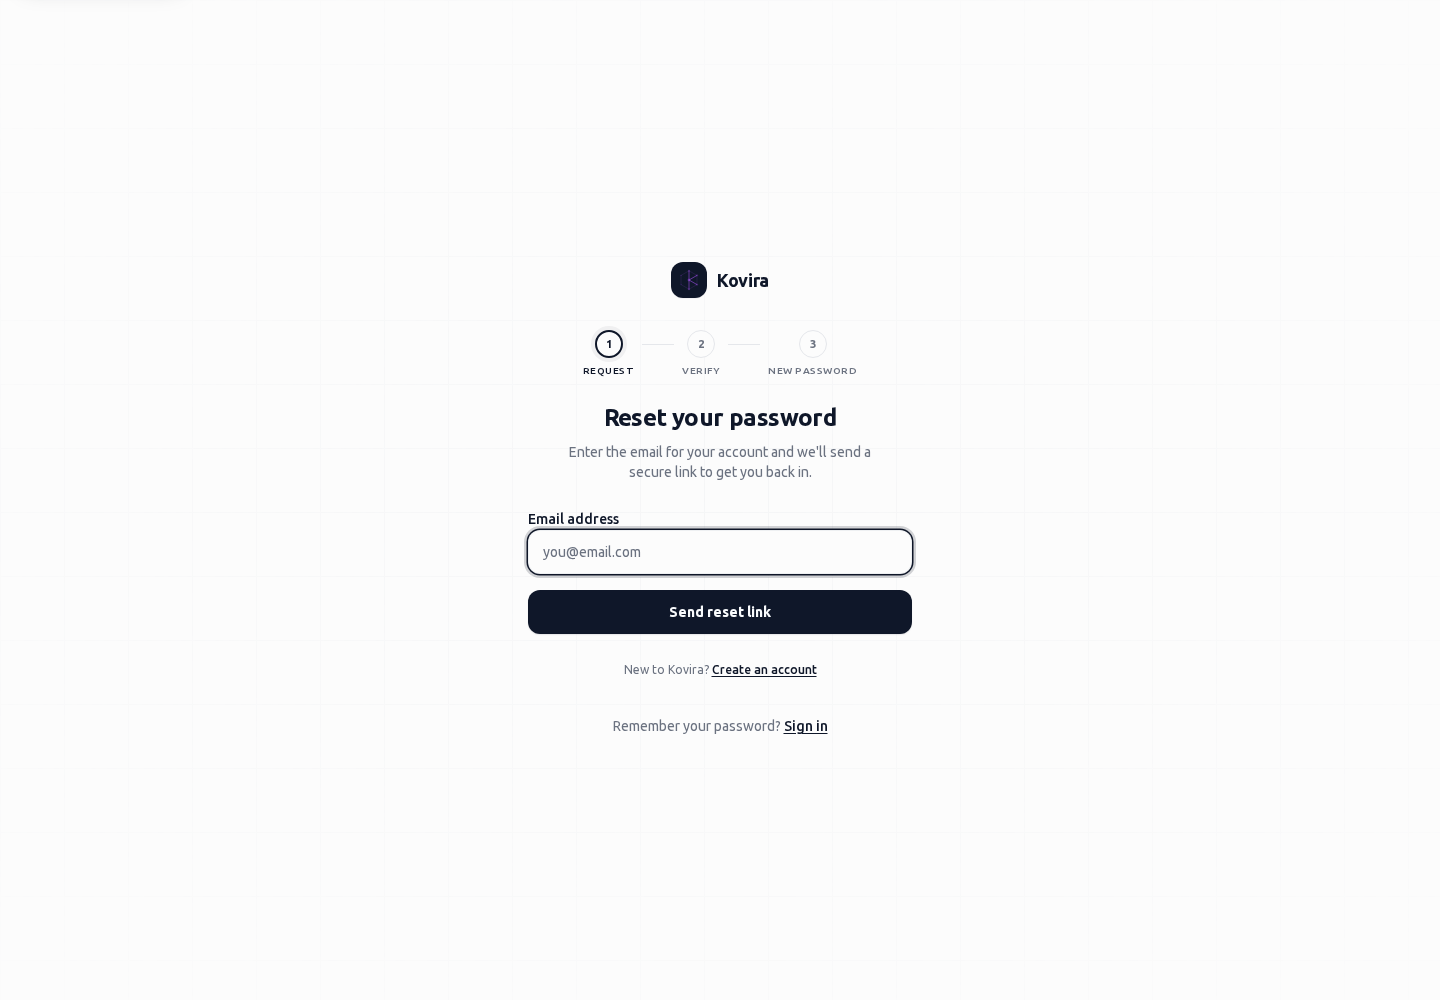
Request account recovery
Request account recovery.
Access
- Use your own organisation account and sign-in method. Complete any additional verification requested by the service.
Controls and information
- Account email
- Recovery request
- Confirmation instructions
Steps for this screen
- Enter the email for your organisation account and submit the recovery request once.
- Follow the current recovery instructions you receive through the organisation’s supported process.
Check the result
- The informational response does not establish that an account exists or that an email was delivered.
If this screen is unavailable
- If no recovery message arrives, check the organisation and approved mail folders, then contact your administrator.
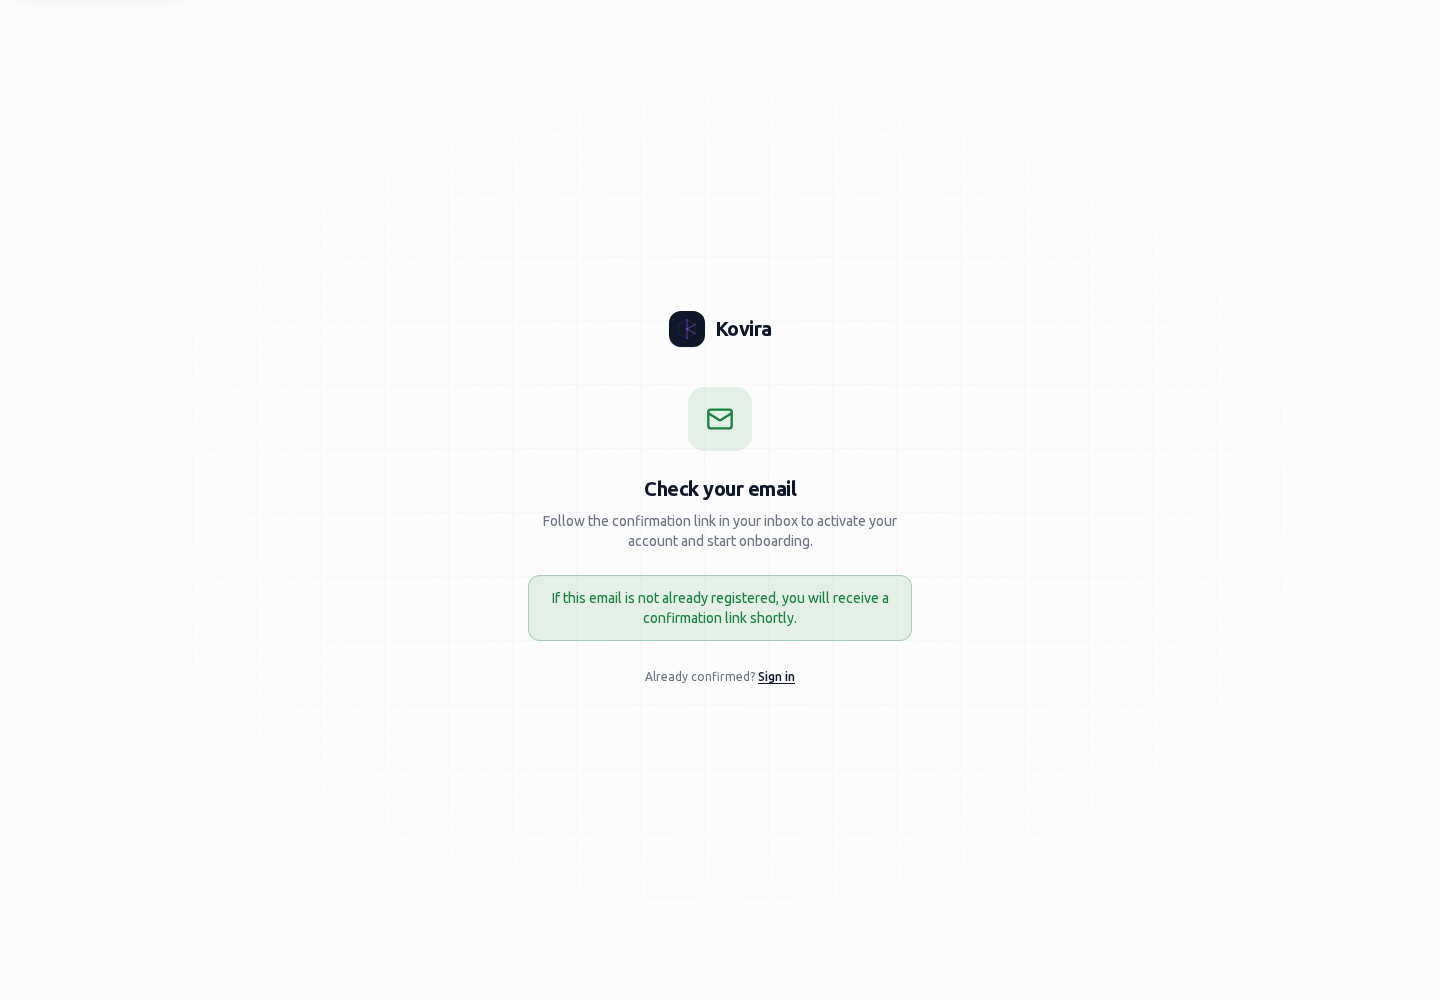
Sign in to KOVIRA
Sign in to KOVIRA.
Access
- Use your own organisation account and sign-in method. Complete any additional verification requested by the service.
Controls and information
- Email and password
- Organisation sign-in option when offered
- Forgot password
Steps for this screen
- Confirm the organisation and enter your own account details. Use the organisation sign-in option when it is offered for your account.
- Complete the requested verification and choose the intended workspace.
Check the result
- Confirm the workspace name before reading or editing customer records.
If this screen is unavailable
- If sign-in fails, check the account and organisation. Use the offered recovery route or contact your administrator; do not repeatedly guess credentials.
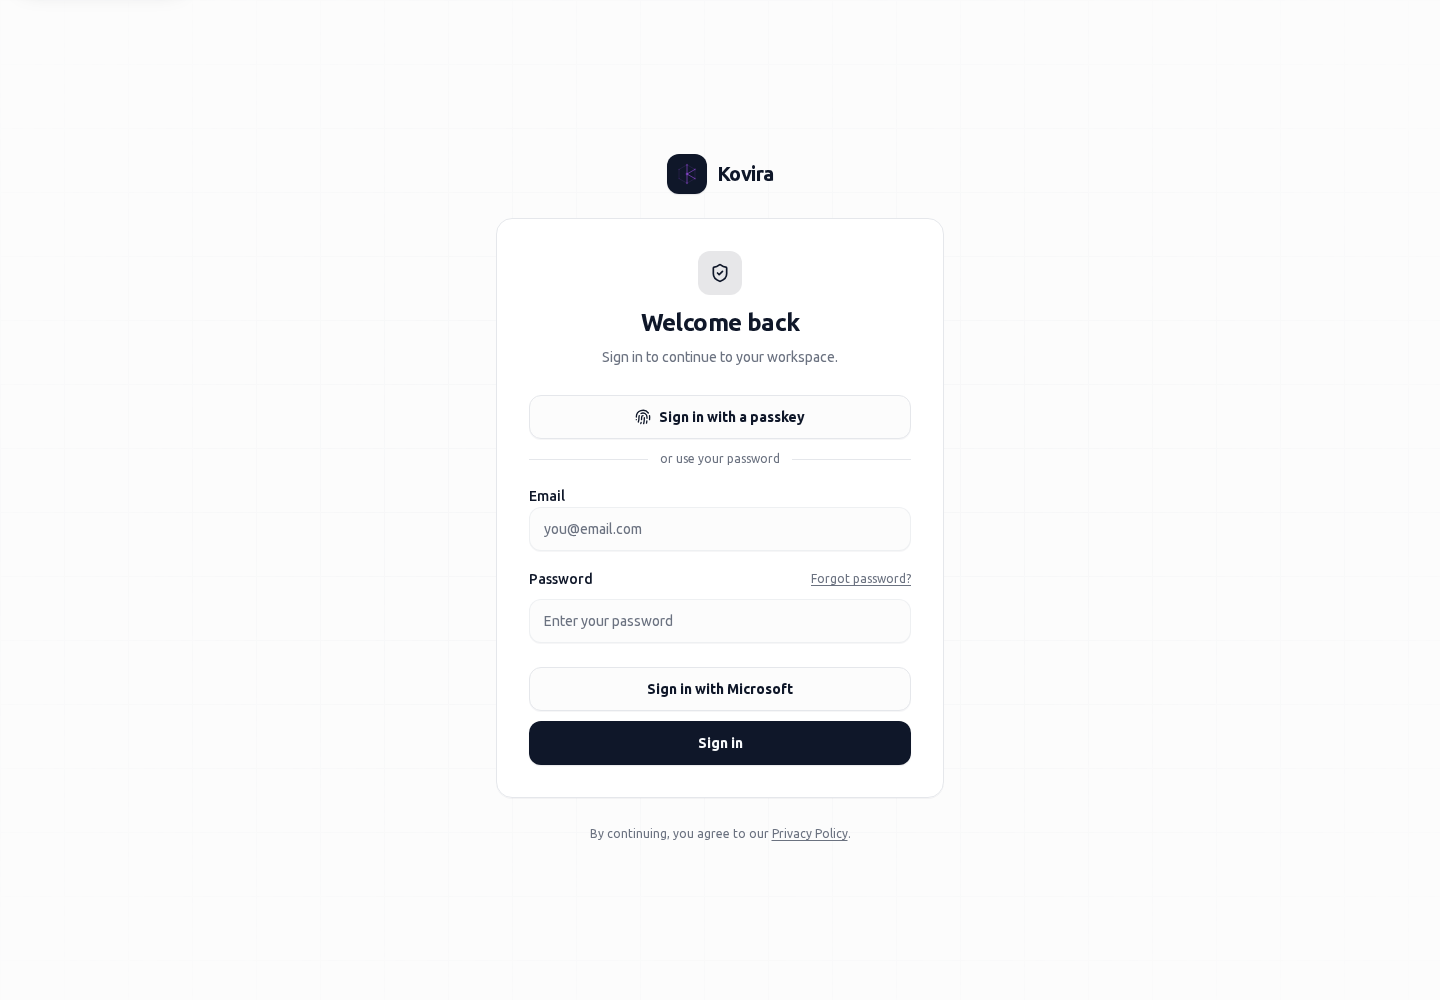
Complete sign-in verification
Complete sign-in verification.
Access
- Use your own organisation account and sign-in method. Complete any additional verification requested by the service.
Controls and information
- Offered verification method
- Verification code or passkey
- Recovery option when offered
Steps for this screen
- Use the authenticator or registered passkey requested by the page. Enter a current code or complete your device’s verification prompt.
- Wait for the result before trying again. Use an offered recovery option only for your own account.
Check the result
- Continue to the intended workspace only after verification succeeds.
If this screen is unavailable
- Check the authenticator’s clock and intended account if a code fails. Contact your administrator if no available method can verify your account.
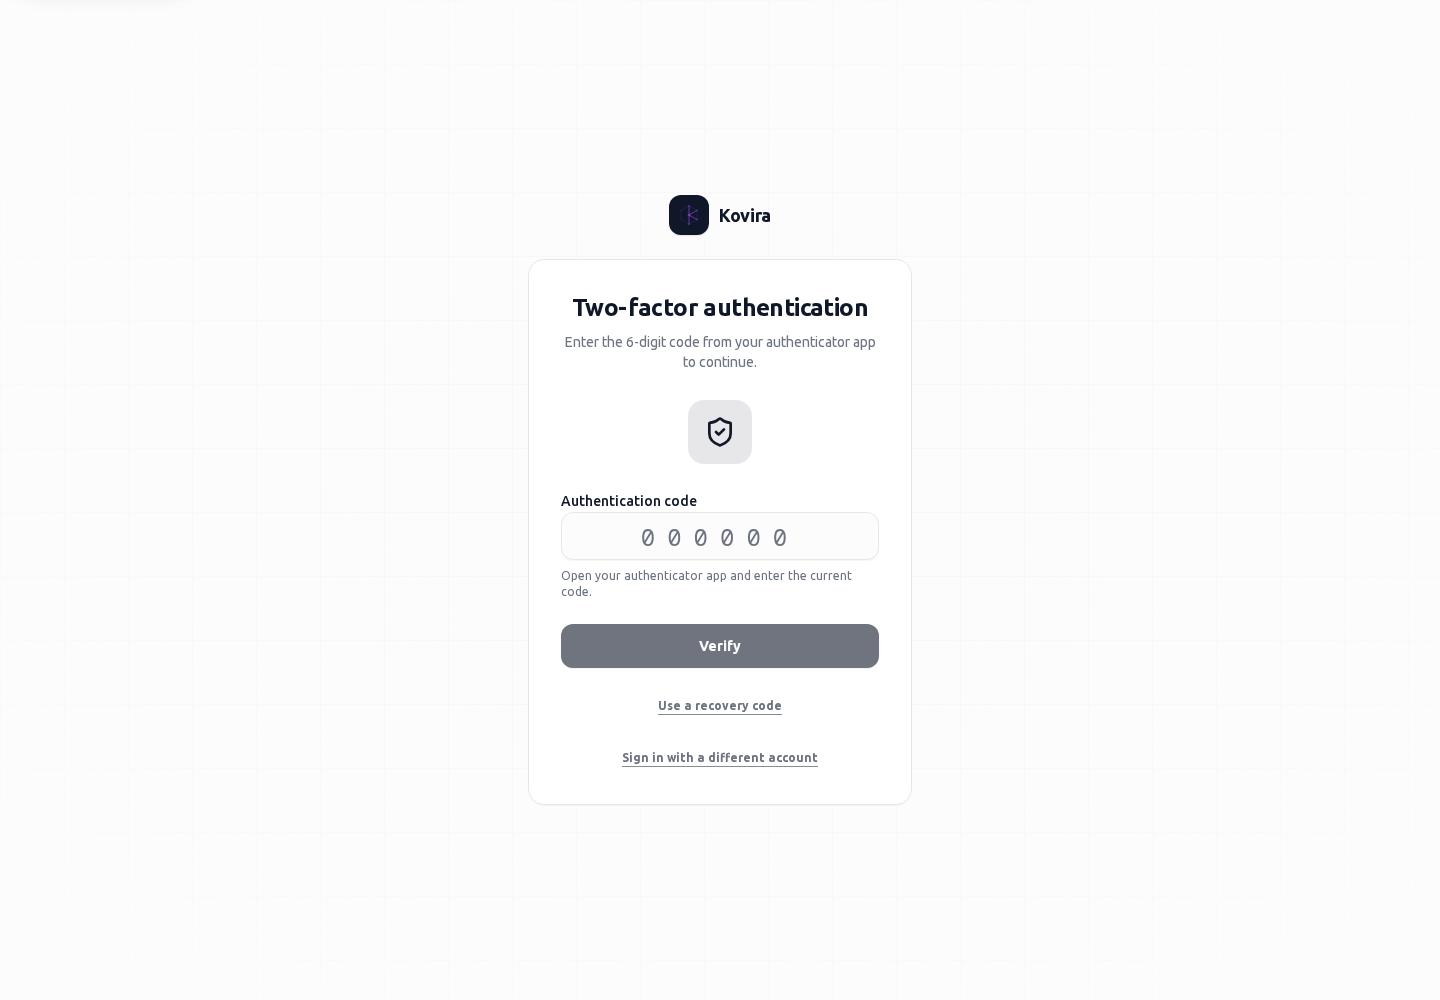
Choose a new password
Choose a new password.
Access
- Use your own organisation account and sign-in method. Complete any additional verification requested by the service.
Controls and information
- Current recovery link
- New password
- Password confirmation
- Submit
Steps for this screen
- Open the current recovery link intended for your account. Enter the new password and its confirmation using the displayed requirements.
- Submit once and follow the resulting sign-in instructions.
Check the result
- Sign in with the new password and complete any required MFA.
If this screen is unavailable
- If the recovery link is invalid, expired or already used, request a fresh link; do not reuse the old one.
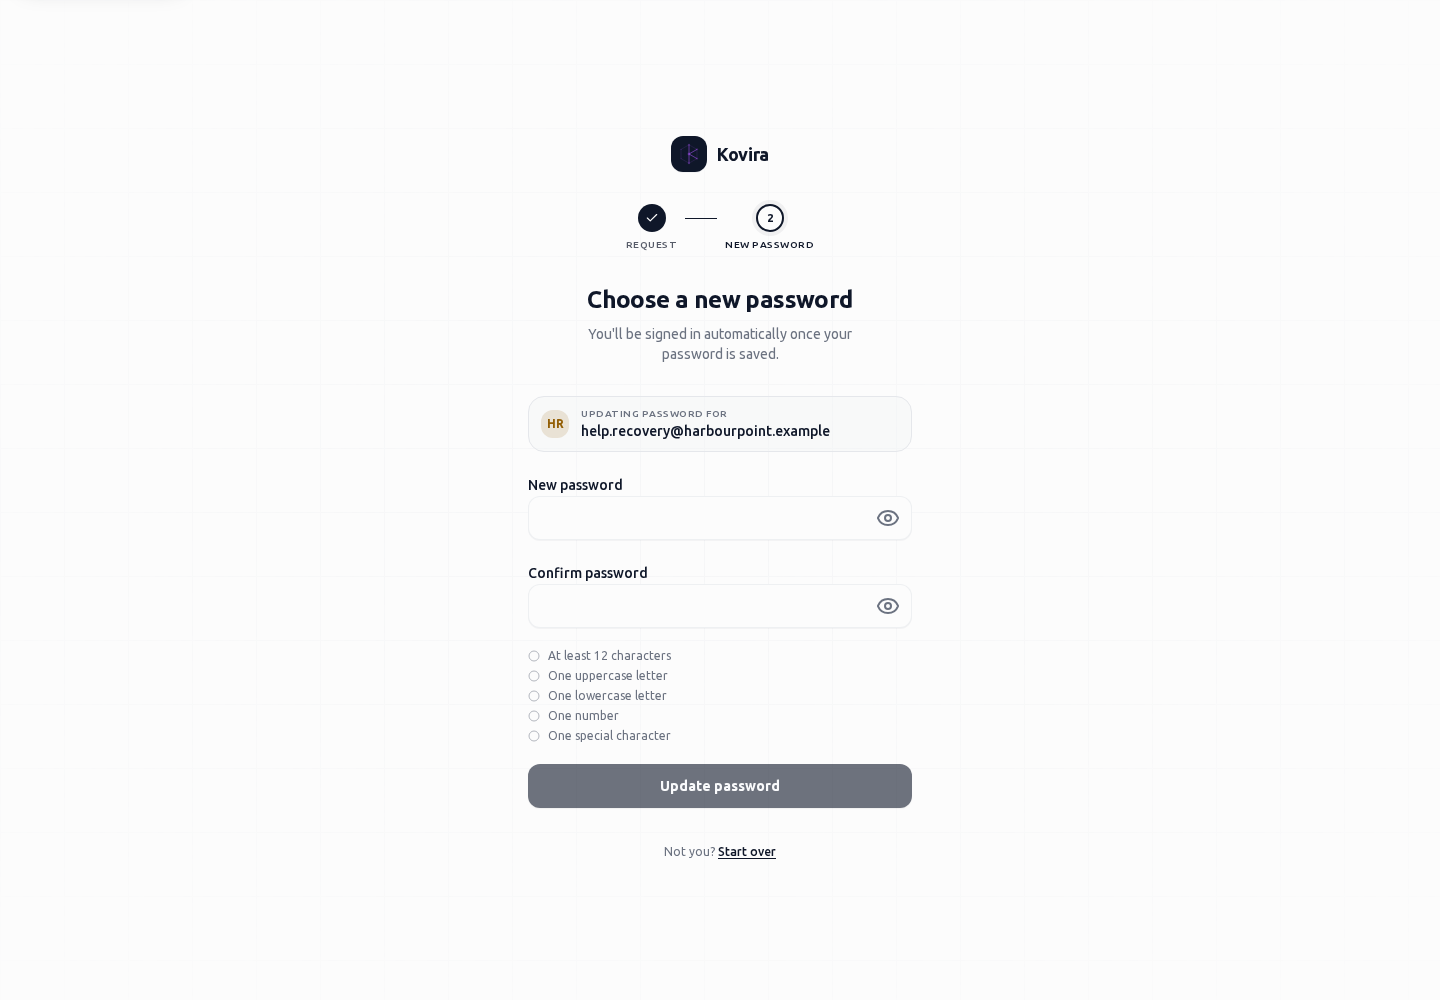
Check your email
Read the informational instructions for confirming an account email address.
Access
- This informational page can be opened without an authenticated account. Its display alone does not establish that an account was created or a message was delivered.
Controls and information
- Confirmation instructions
- Conditional account message
- Sign in link
Steps for this screen
- Check the inbox for the email address used in the supported registration flow. Follow the genuine confirmation link if received.
- If the address is already confirmed, use Sign in. Review the displayed account or invitation instructions when registration is unavailable.
Check the result
- Confirm the result on the actual confirmation or sign-in destination; the informational page itself does not confirm account activation.
If this screen is unavailable
- Check your spam folder and the email address you entered. Use the supported recovery process or contact the invitation issuer if the expected message is missing.
Account creation entry
Account creation entry.
Access
- Use your own organisation account and sign-in method. Complete any additional verification requested by the service.
Controls and information
- Invitation or supported sign-in destination
Steps for this screen
- Follow your organisation’s invitation or supported account-creation instructions. This entry can redirect to the appropriate sign-in or registration screen.
Check the result
- Use the destination’s account verification steps. A redirect does not demonstrate a newly created account.
If this screen is unavailable
- Ask the organisation administrator for the appropriate invitation when self-registration is not offered.
Verify a sensitive action
Verify a sensitive action.
Access
- Use your own organisation account and sign-in method. Complete any additional verification requested by the service.
Controls and information
- Account email
- Password re-entry
- Continue to protected action
Steps for this screen
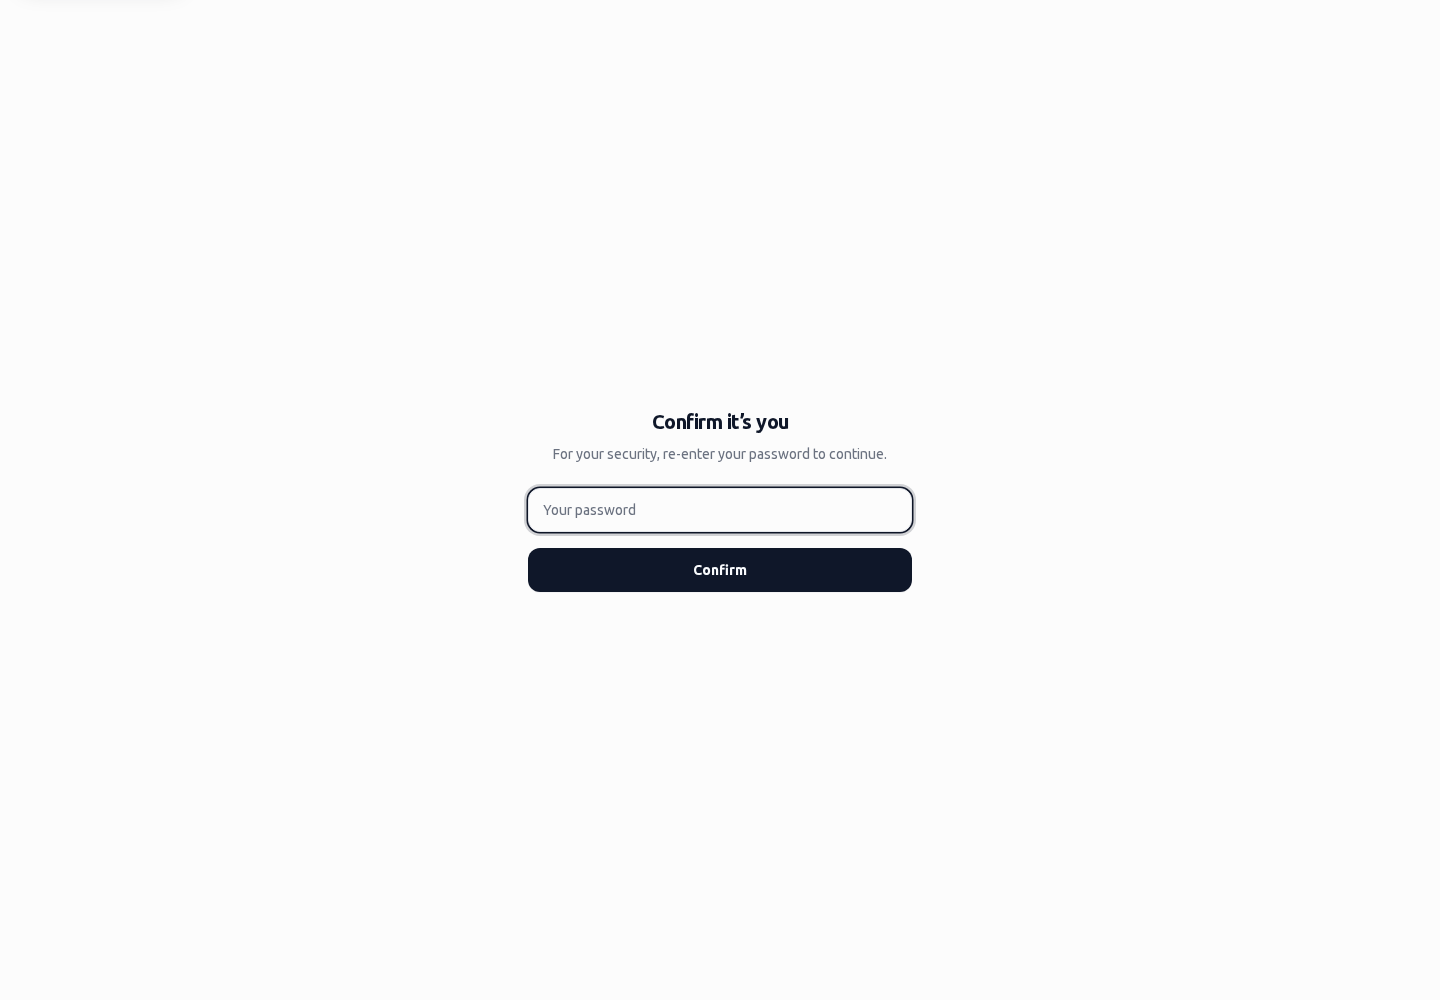
- Confirm the displayed account and re-enter its password to verify the sensitive action.
- Return to the original action and review its details before confirming it.
Check the result
- Verification alone does not perform or approve the original action. Check the actual action result separately.
If this screen is unavailable
- If verification expires, complete the offered verification again before retrying the protected action.
Assets and configuration items
Applies to: KOVIRA, VECTOR, ATLAS
Maintain inventory, ownership, lifecycle and relationships for your organisation.
Before you begin
- Permission to view or change the relevant CI type.
Steps
- Open a CI type from the sidebar; search, filter and choose a record. Review ownership, status, relationships and history before editing.
- Create a record with the appropriate type and required fields. Link existing records instead of entering duplicate names.
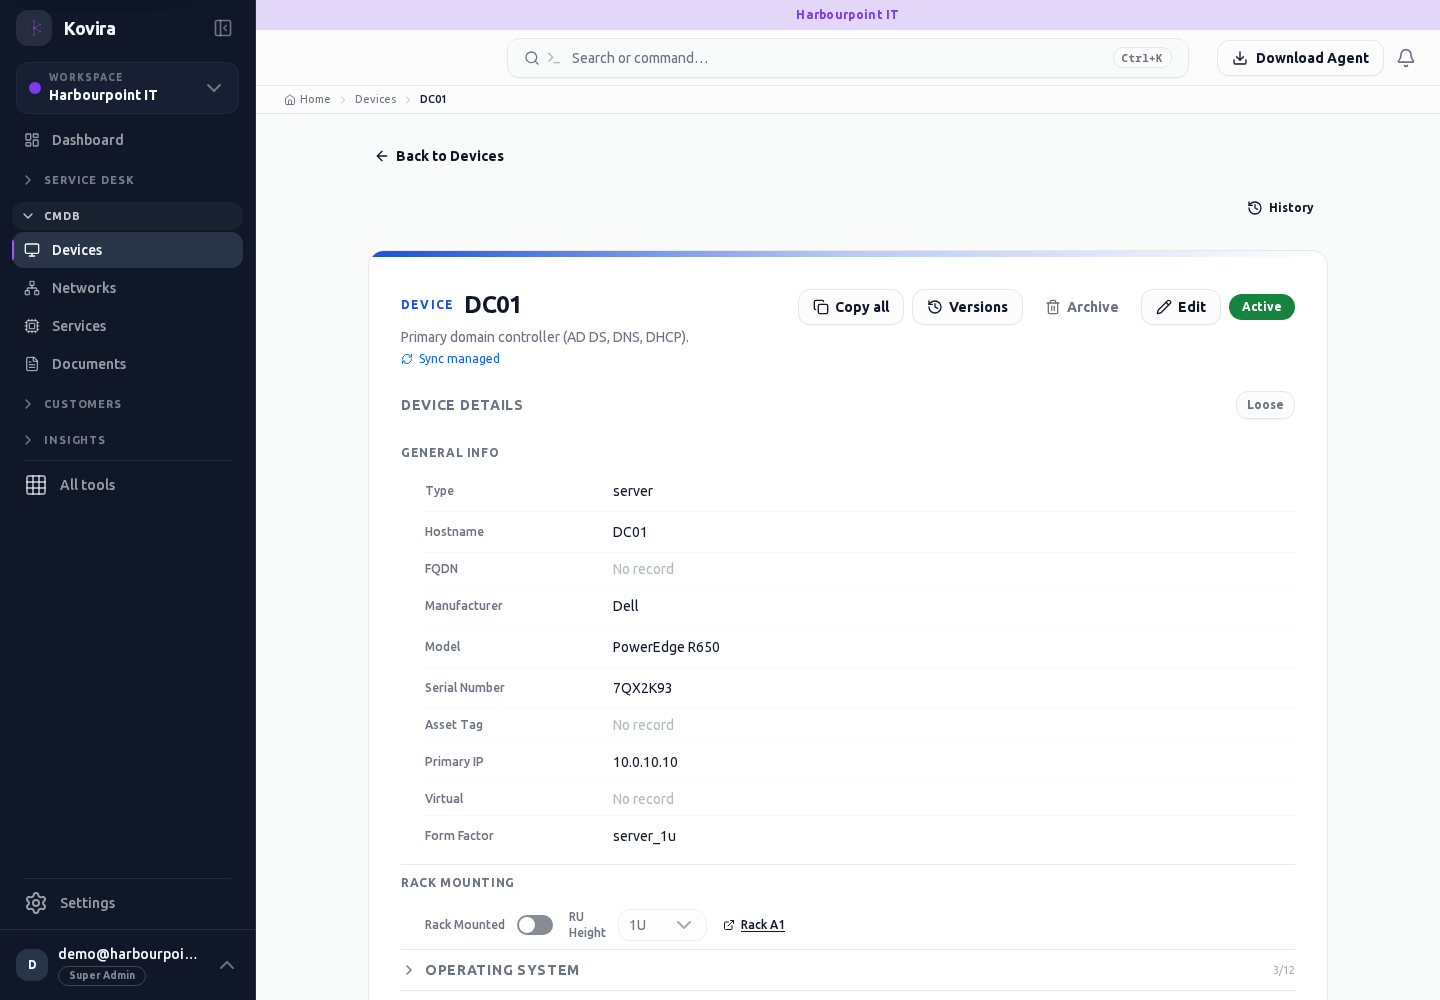
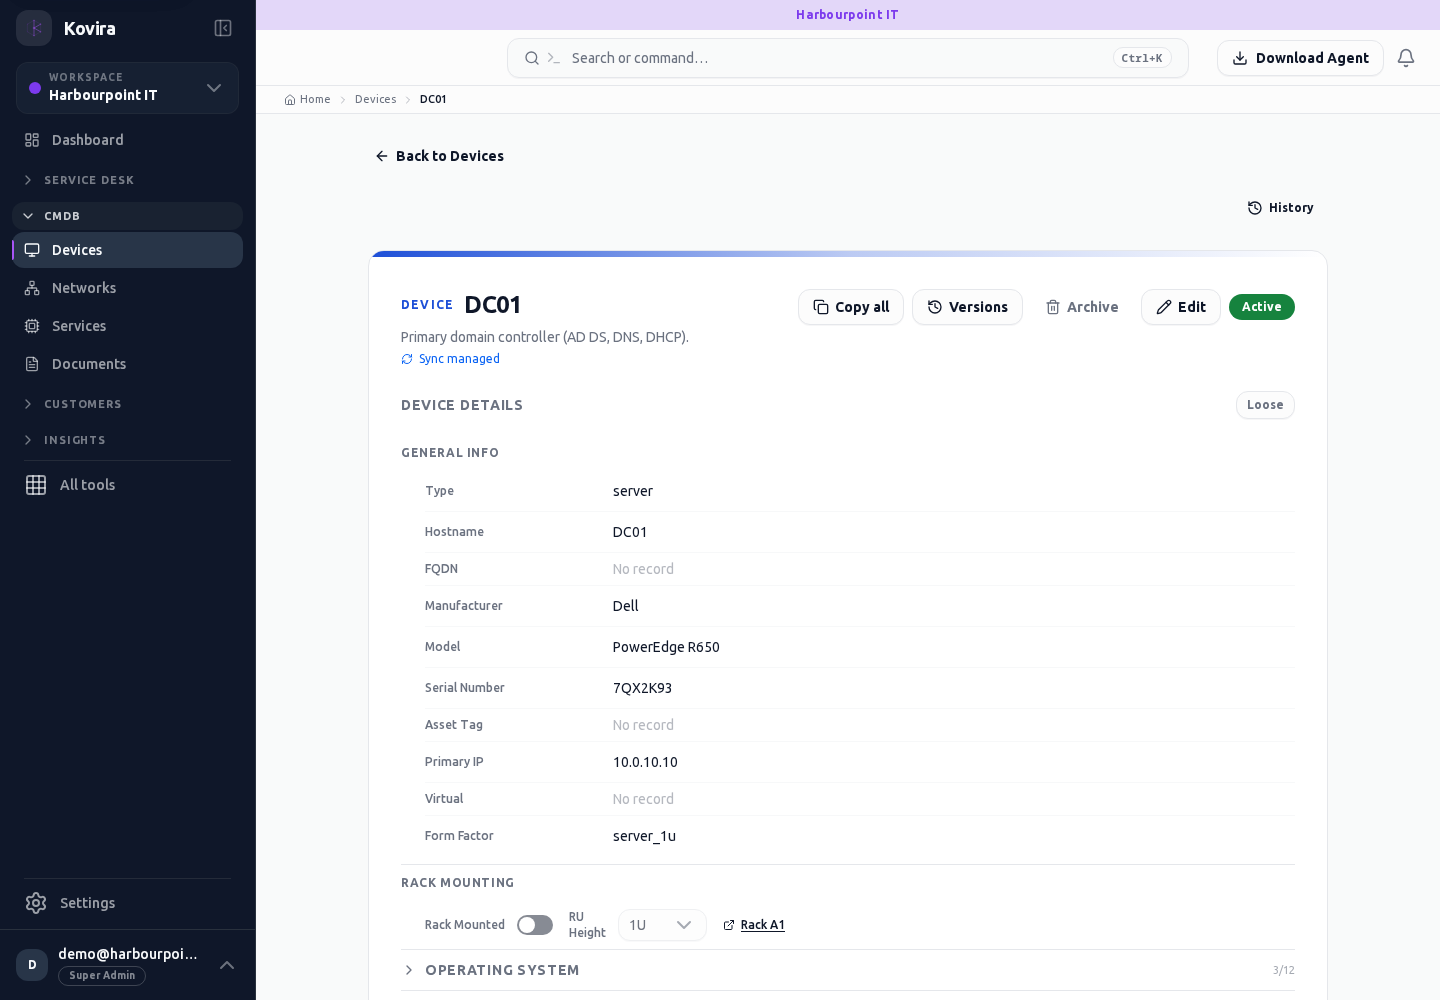
- For devices, review the hardware, operating system, software, storage, network interfaces, policies and source information that your connected collectors provide.
- Update lifecycle and ownership as an asset is received, deployed, retired or disposed. Review the confirmation before deletion; use Recycle bin to inspect recoverable records.
- Review Duplicates and Data quality before merging or correcting records. Confirm the surviving record and affected links.
- Use custom types and custom fields for information specific to your organisation; an administrator configures their availability and validation.
Check the result
- Reopen the saved record and inspect the relationships from both ends.
- Check collection timestamps before treating discovered values as current.
If you need help
- If a discovered value differs from a manual entry, check the displayed source and last update before changing it.
- An unknown hardware value may mean the device or operating system did not supply it.
- Do not put passwords in general notes, documents or custom fields. Use the designated protected credential area.
Related screens (79)
Assets / Item type / Details
Configuration items. Review this screen in the context of the current workspace and record.
Access
- Default workspace roles for opening this screen: Super Admin, Admin, Operator, View Only. Custom role settings, the current workspace, plan and record sharing can further restrict access.
- Opening a screen does not grant every action on it. Changes, exports and lifecycle actions can require additional permissions.
Controls and information
- Type selector
- search and filters
- record fields
- relationships
- history
Steps for this screen
- Choose the correct item type and workspace. Review ownership, lifecycle, source and linked records before changing the item.
- Read the summary, current state and related records. Review the action and its prerequisites before changing the record.
Check the result
- Reopen the item and check its fields and relationships; collector data should have an appropriate observation time.
If this screen is unavailable
- If the record is unavailable, return to its list and confirm the workspace and link. Ask an administrator to check record access before creating a replacement.
- If saving fails or a conflict appears, keep a copy of your intended changes, reopen the current record and review it before submitting again.
Assets / Item type / New
Configuration items. Create a new entry and review the information before submitting.
Access
- Default workspace roles for opening this screen: Super Admin, Admin, Operator. Custom role settings, the current workspace, plan and record sharing can further restrict access.
- Opening a screen does not grant every action on it. Changes, exports and lifecycle actions can require additional permissions.
Controls and information
- Type selector
- search and filters
- record fields
- relationships
- history
Steps for this screen
- Choose the correct item type and workspace. Review ownership, lifecycle, source and linked records before changing the item.
- Complete the required fields. Review linked records, dates and any recipient or customer selection.
- Use the form’s create or save action once and wait for its result. Cancel to leave without submitting.
Check the result
- Reopen the item and check its fields and relationships; collector data should have an appropriate observation time.
- Open the newly created record from the resulting list or confirmation and check the saved values.
If this screen is unavailable
- If no records appear, clear active filters and confirm the workspace and your access before creating a duplicate.
- If saving fails or a conflict appears, keep a copy of your intended changes, reopen the current record and review it before submitting again.
Assets / Item type
Configuration items. Review this screen in the context of the current workspace and record.
Access
- Default workspace roles for opening this screen: Super Admin, Admin, Operator, View Only. Custom role settings, the current workspace, plan and record sharing can further restrict access.
- Opening a screen does not grant every action on it. Changes, exports and lifecycle actions can require additional permissions.
Controls and information
- Type selector
- search and filters
- record fields
- relationships
- history
Steps for this screen
- Choose the correct item type and workspace. Review ownership, lifecycle, source and linked records before changing the item.
- Use the available search, date and status filters to narrow the view. Open a record link for its detail.
- Clear filters when you need to compare the full accessible list.
Check the result
- Reopen the item and check its fields and relationships; collector data should have an appropriate observation time.
If this screen is unavailable
- If no records appear, clear active filters and confirm the workspace and your access before creating a duplicate.
- If the list cannot load, retry once and quote the displayed support reference; do not infer that the workspace is empty.
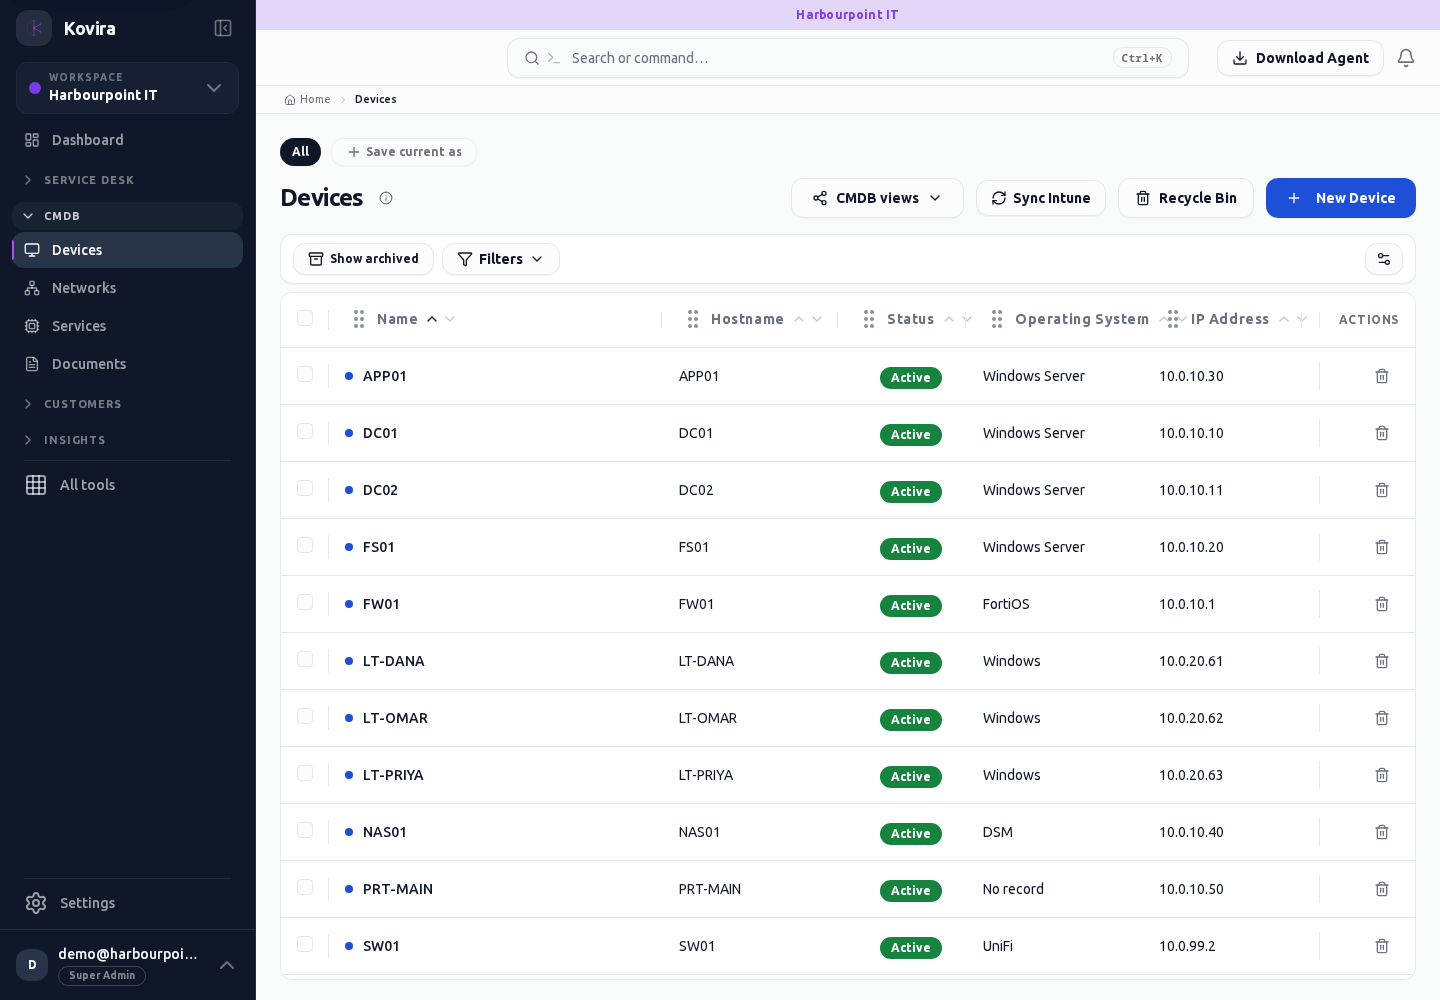
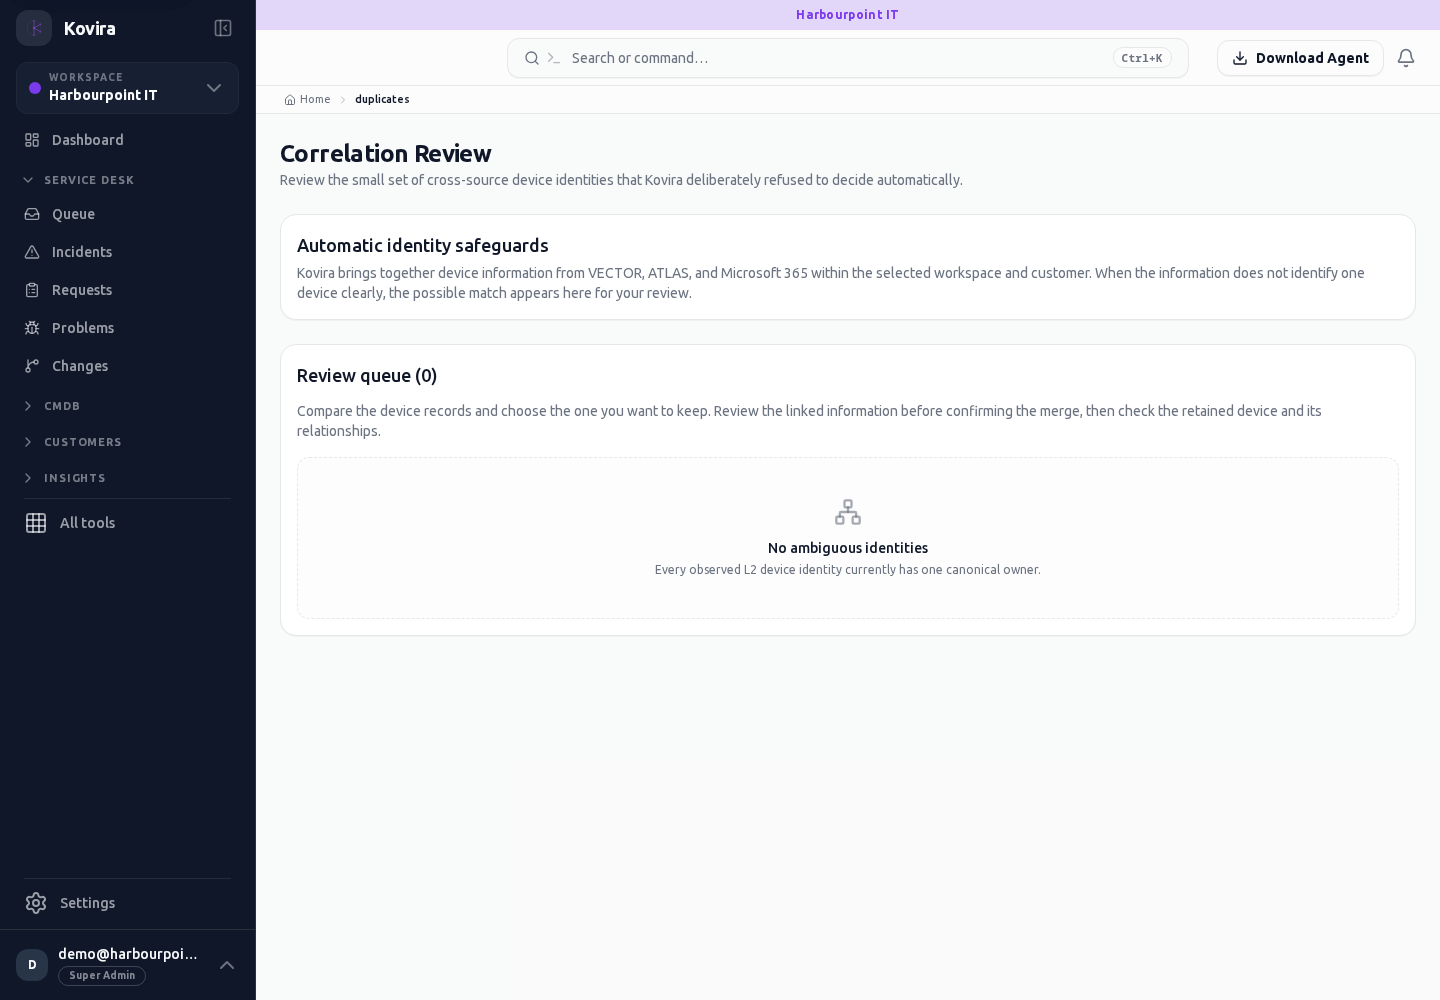
Assets / Duplicates
Configuration items. Review this screen in the context of the current workspace and record.
Access
- Default workspace roles for opening this screen: Super Admin, Admin. Custom role settings, the current workspace, plan and record sharing can further restrict access.
- Opening a screen does not grant every action on it. Changes, exports and lifecycle actions can require additional permissions.
Controls and information
- Type selector
- search and filters
- record fields
- relationships
- history
Steps for this screen
- Choose the correct item type and workspace. Review ownership, lifecycle, source and linked records before changing the item.
- Use the available search, date and status filters to narrow the view. Open a record link for its detail.
- Clear filters when you need to compare the full accessible list.
Check the result
- Reopen the item and check its fields and relationships; collector data should have an appropriate observation time.
If this screen is unavailable
- If no records appear, clear active filters and confirm the workspace and your access before creating a duplicate.
- If the list cannot load, retry once and quote the displayed support reference; do not infer that the workspace is empty.
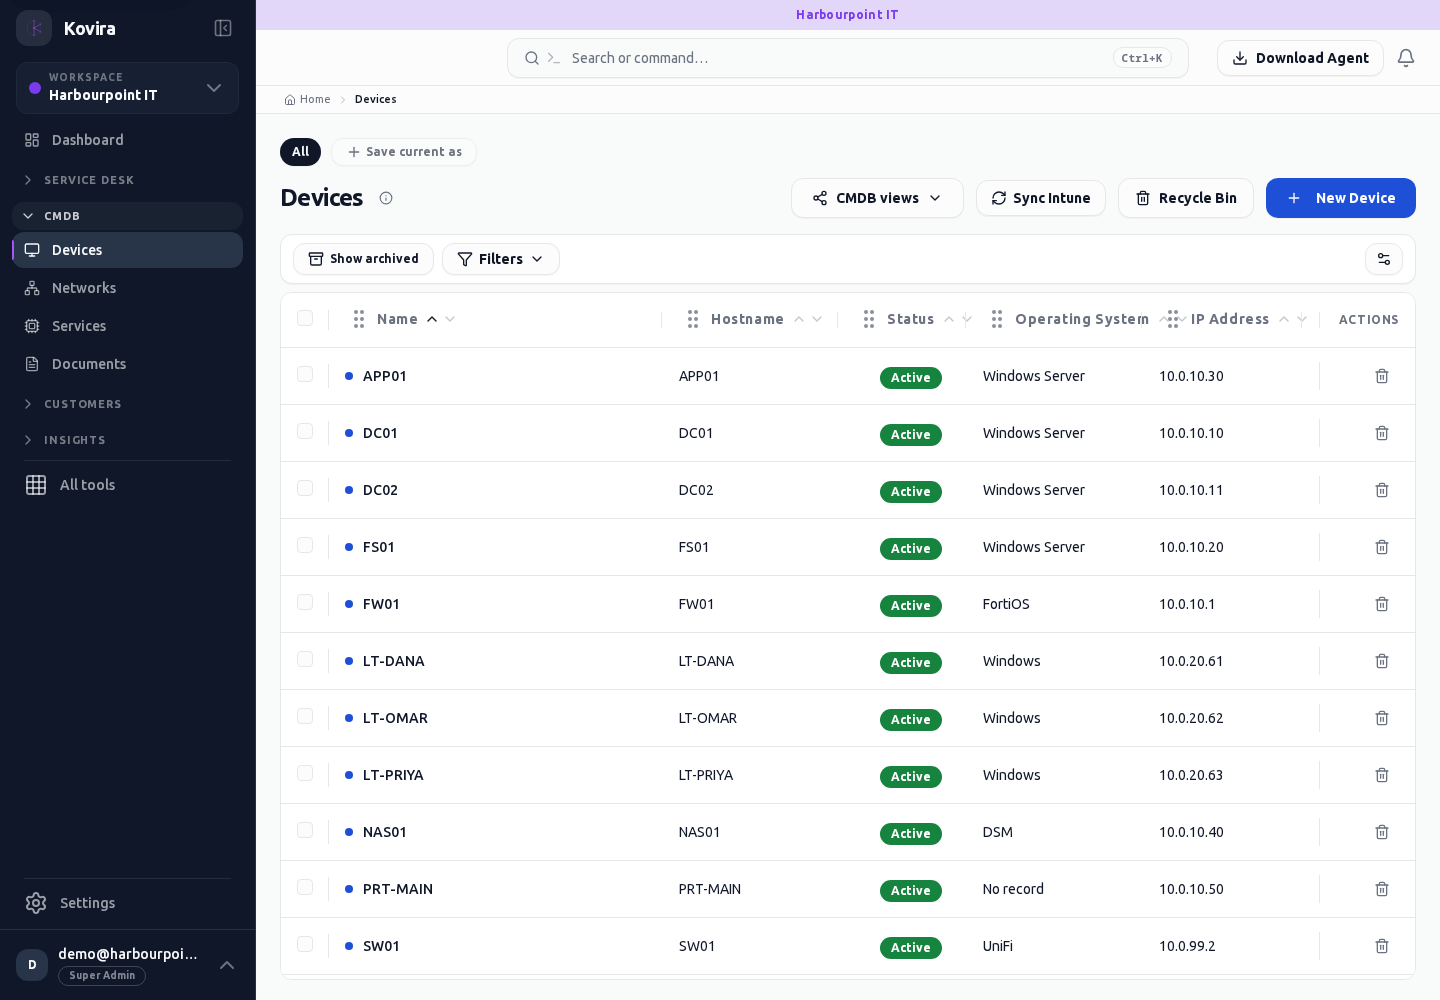
Cis
Configuration items. Open the linked destination and continue there.
Access
- Your current workspace role, plan and record access determine whether this screen and its actions are available. Ask an administrator if the required action is missing.
Controls and information
- Type selector
- search and filters
- record fields
- relationships
- history
Steps for this screen
- Choose the correct item type and workspace. Review ownership, lifecycle, source and linked records before changing the item.
- This entry opens the corresponding destination screen. Check the heading and continue with the destination’s controls.
Check the result
- Reopen the item and check its fields and relationships; collector data should have an appropriate observation time.
If this screen is unavailable
- If no records appear, clear active filters and confirm the workspace and your access before creating a duplicate.
- If the destination cannot be opened, use its navigation entry and confirm that your role and plan include it.
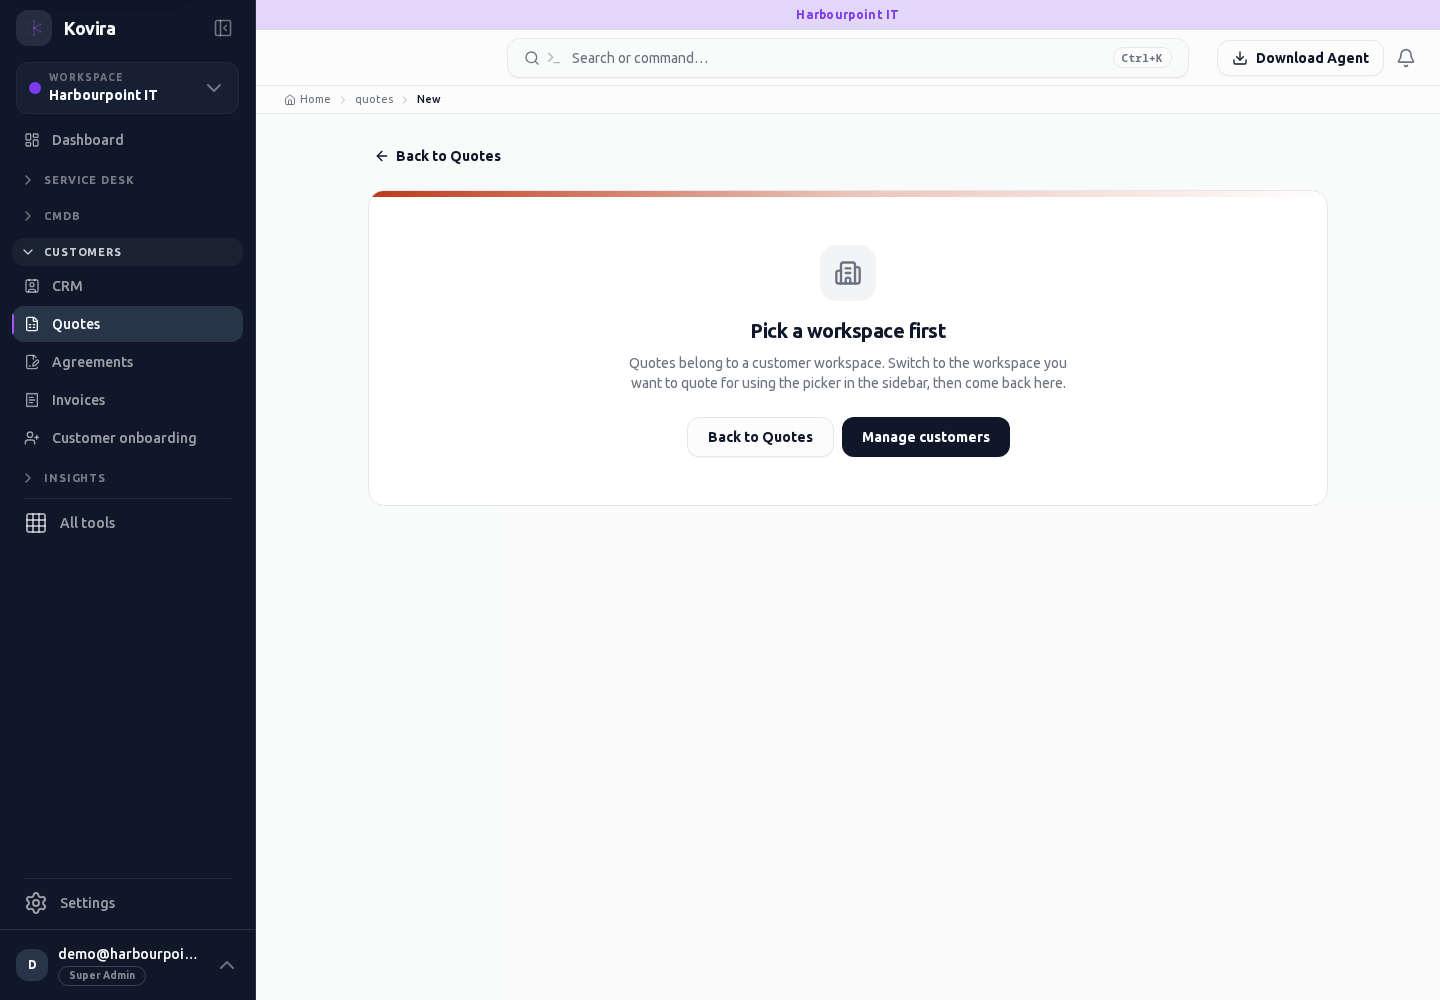
Assets / Quotes / New
Configuration items. Create a new entry and review the information before submitting.
Access
- Default workspace roles for opening this screen: Super Admin, Admin, Operator. Custom role settings, the current workspace, plan and record sharing can further restrict access.
- Opening a screen does not grant every action on it. Changes, exports and lifecycle actions can require additional permissions.
Controls and information
- Type selector
- search and filters
- record fields
- relationships
- history
Steps for this screen
- Choose the correct item type and workspace. Review ownership, lifecycle, source and linked records before changing the item.
- Complete the required fields. Review linked records, dates and any recipient or customer selection.
- Use the form’s create or save action once and wait for its result. Cancel to leave without submitting.
Check the result
- Reopen the item and check its fields and relationships; collector data should have an appropriate observation time.
- Open the newly created record from the resulting list or confirmation and check the saved values.
If this screen is unavailable
- If no records appear, clear active filters and confirm the workspace and your access before creating a duplicate.
- If saving fails or a conflict appears, keep a copy of your intended changes, reopen the current record and review it before submitting again.
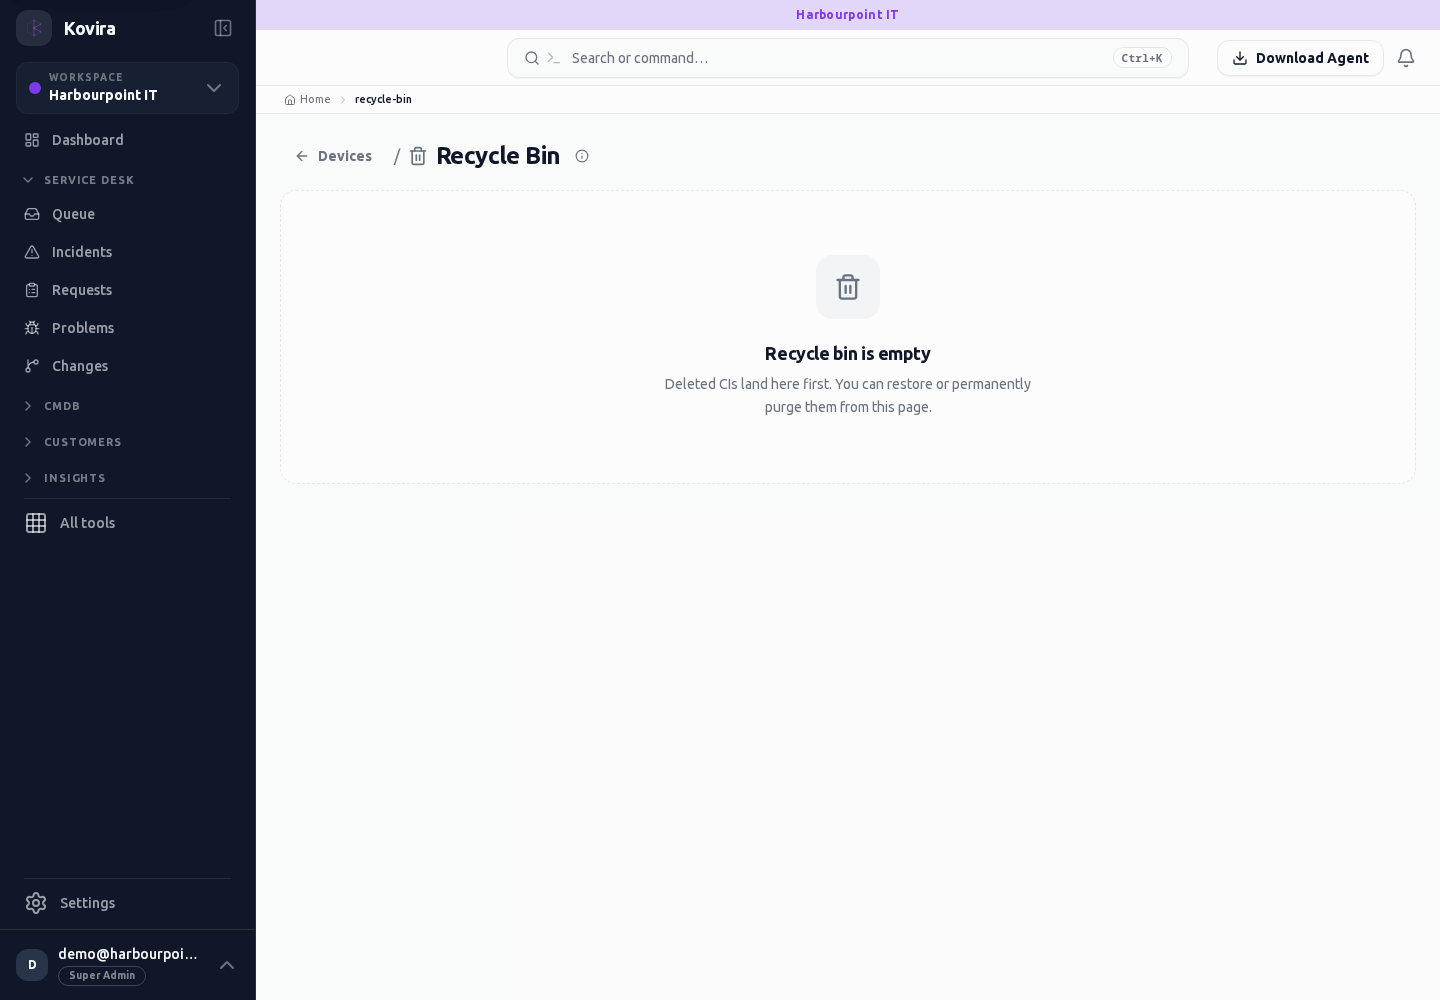
Assets / Recycle Bin
Configuration items. Review this screen in the context of the current workspace and record.
Access
- Default workspace roles for opening this screen: Super Admin, Admin. Custom role settings, the current workspace, plan and record sharing can further restrict access.
- Opening a screen does not grant every action on it. Changes, exports and lifecycle actions can require additional permissions.
Controls and information
- Type selector
- search and filters
- record fields
- relationships
- history
Steps for this screen
- Choose the correct item type and workspace. Review ownership, lifecycle, source and linked records before changing the item.
Check the result
- Reopen the item and check its fields and relationships; collector data should have an appropriate observation time.
If this screen is unavailable
- If no records appear, clear active filters and confirm the workspace and your access before creating a duplicate.
- If saving fails or a conflict appears, keep a copy of your intended changes, reopen the current record and review it before submitting again.
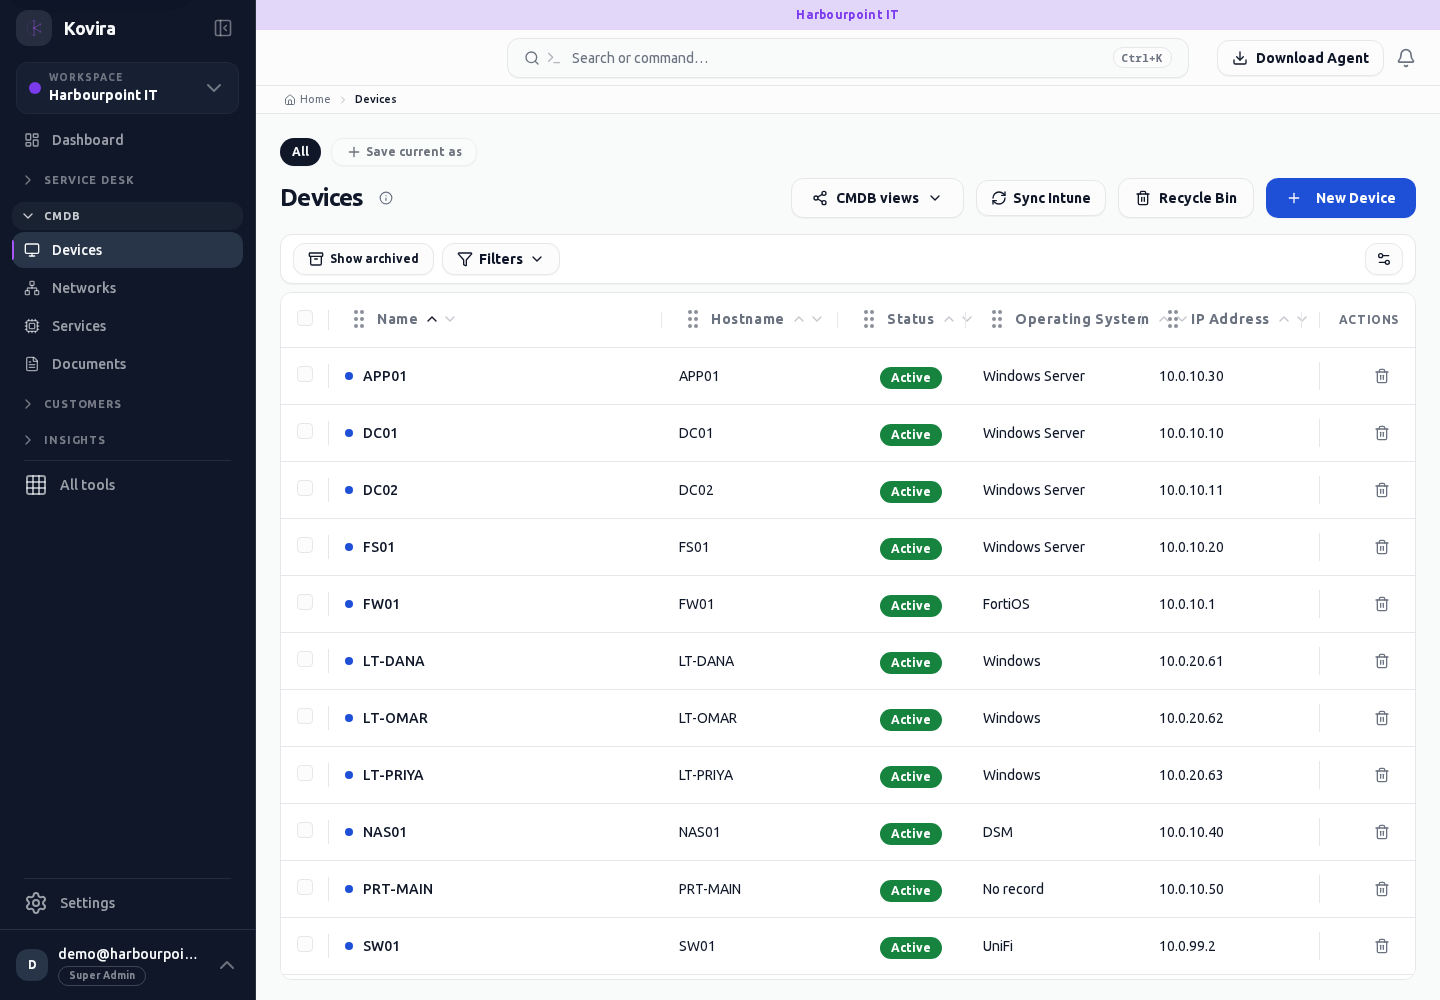
Assets / Devices
Configuration items. Review this screen in the context of the current workspace and record.
Access
- Default workspace roles for opening this screen: Super Admin, Admin, Operator, View Only. Custom role settings, the current workspace, plan and record sharing can further restrict access.
- Opening a screen does not grant every action on it. Changes, exports and lifecycle actions can require additional permissions.
Controls and information
- Type selector
- search and filters
- record fields
- relationships
- history
Steps for this screen
- Choose the correct item type and workspace. Review ownership, lifecycle, source and linked records before changing the item.
- Use the available search, date and status filters to narrow the view. Open a record link for its detail.
- Clear filters when you need to compare the full accessible list.
Check the result
- Reopen the item and check its fields and relationships; collector data should have an appropriate observation time.
If this screen is unavailable
- If no records appear, clear active filters and confirm the workspace and your access before creating a duplicate.
- If the list cannot load, retry once and quote the displayed support reference; do not infer that the workspace is empty.
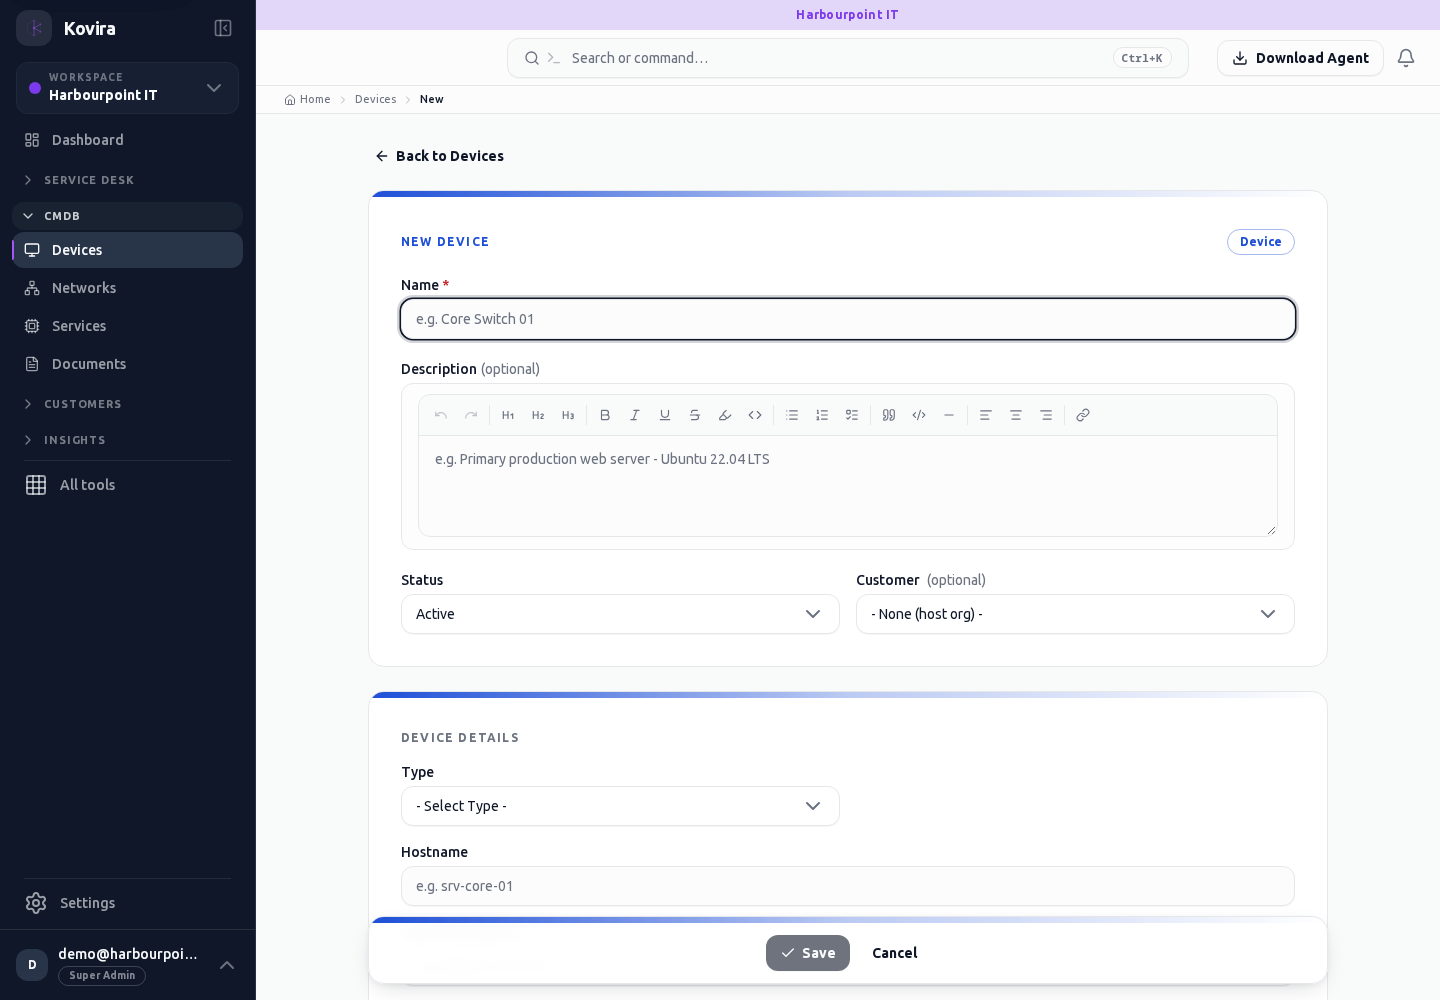
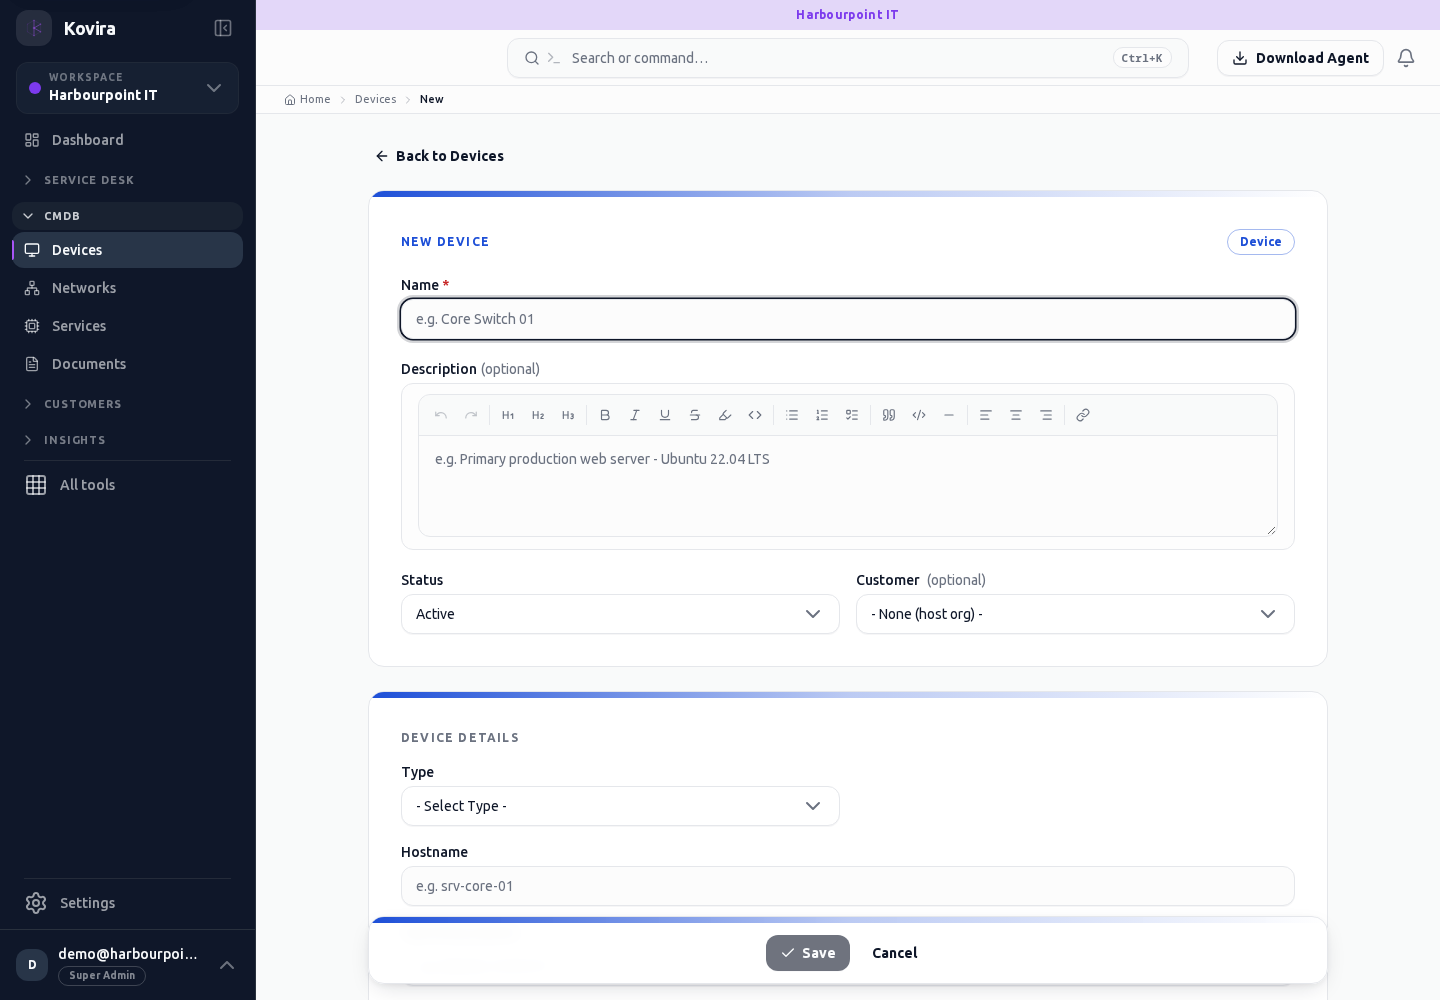
Assets / Devices / New
Configuration items. Create a new entry and review the information before submitting.
Access
- Default workspace roles for opening this screen: Super Admin, Admin, Operator. Custom role settings, the current workspace, plan and record sharing can further restrict access.
- Opening a screen does not grant every action on it. Changes, exports and lifecycle actions can require additional permissions.
Controls and information
- Type selector
- search and filters
- record fields
- relationships
- history
Steps for this screen
- Choose the correct item type and workspace. Review ownership, lifecycle, source and linked records before changing the item.
- Complete the required fields. Review linked records, dates and any recipient or customer selection.
- Use the form’s create or save action once and wait for its result. Cancel to leave without submitting.
Check the result
- Reopen the item and check its fields and relationships; collector data should have an appropriate observation time.
- Open the newly created record from the resulting list or confirmation and check the saved values.
If this screen is unavailable
- If no records appear, clear active filters and confirm the workspace and your access before creating a duplicate.
- If saving fails or a conflict appears, keep a copy of your intended changes, reopen the current record and review it before submitting again.
Assets / Devices / Details
Configuration items. Review this screen in the context of the current workspace and record.
Access
- Default workspace roles for opening this screen: Super Admin, Admin, Operator, View Only. Custom role settings, the current workspace, plan and record sharing can further restrict access.
- Opening a screen does not grant every action on it. Changes, exports and lifecycle actions can require additional permissions.
Controls and information
- Type selector
- search and filters
- record fields
- relationships
- history
Steps for this screen
- Choose the correct item type and workspace. Review ownership, lifecycle, source and linked records before changing the item.
- Read the summary, current state and related records. Review the action and its prerequisites before changing the record.
Check the result
- Reopen the item and check its fields and relationships; collector data should have an appropriate observation time.
If this screen is unavailable
- If the record is unavailable, return to its list and confirm the workspace and link. Ask an administrator to check record access before creating a replacement.
- If saving fails or a conflict appears, keep a copy of your intended changes, reopen the current record and review it before submitting again.
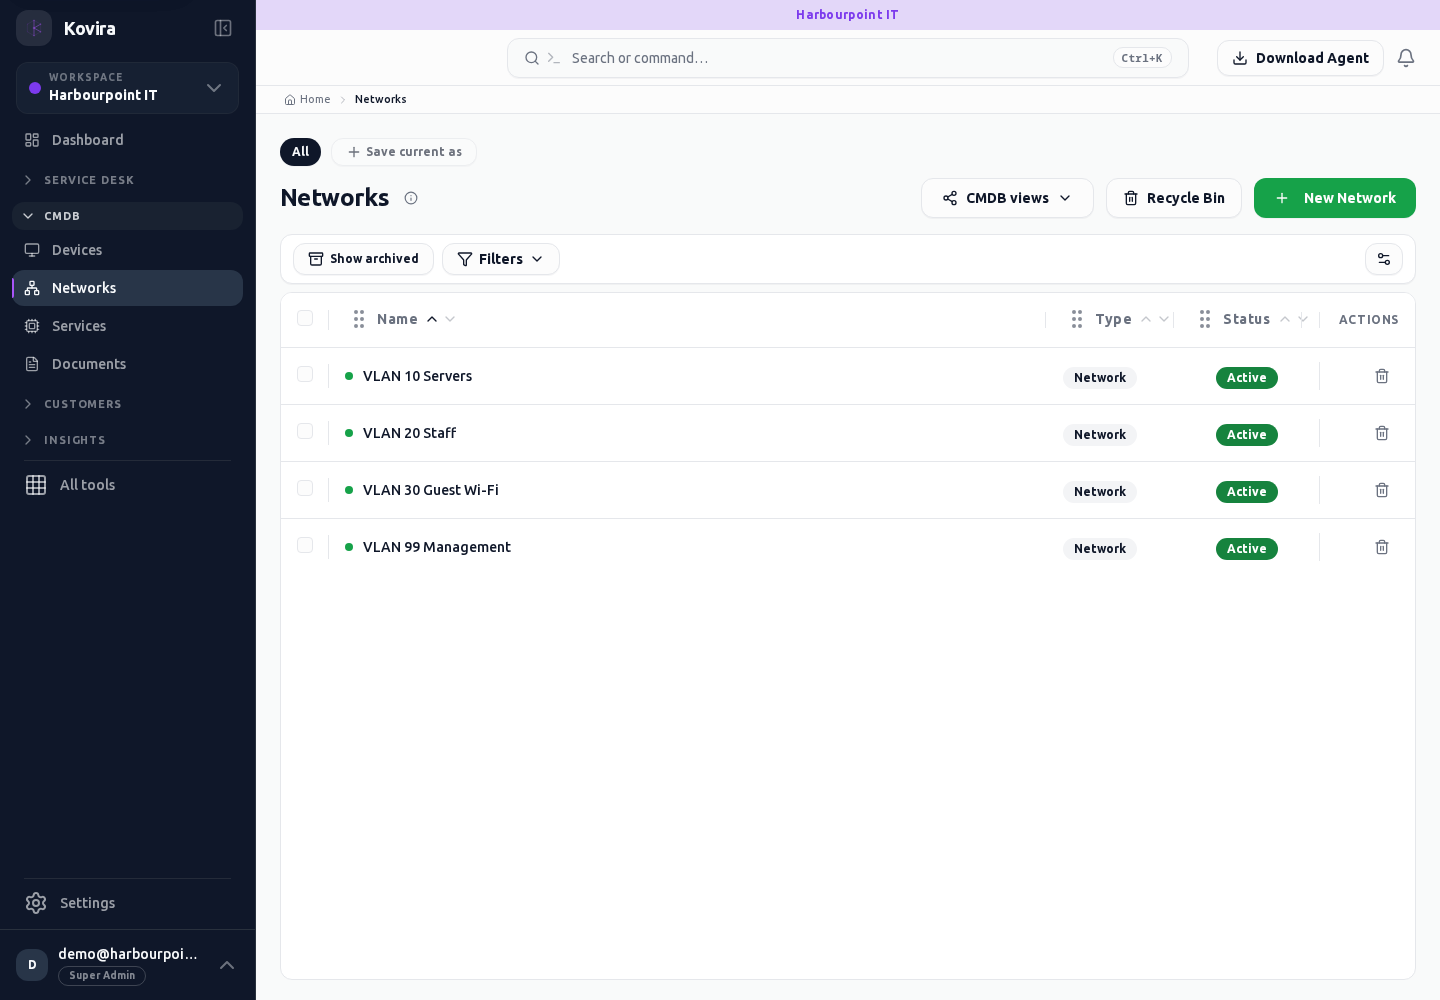
Assets / Networks
Configuration items. Review this screen in the context of the current workspace and record.
Access
- Default workspace roles for opening this screen: Super Admin, Admin, Operator, View Only. Custom role settings, the current workspace, plan and record sharing can further restrict access.
- Opening a screen does not grant every action on it. Changes, exports and lifecycle actions can require additional permissions.
Controls and information
- Type selector
- search and filters
- record fields
- relationships
- history
Steps for this screen
- Choose the correct item type and workspace. Review ownership, lifecycle, source and linked records before changing the item.
- Use the available search, date and status filters to narrow the view. Open a record link for its detail.
- Clear filters when you need to compare the full accessible list.
Check the result
- Reopen the item and check its fields and relationships; collector data should have an appropriate observation time.
If this screen is unavailable
- If no records appear, clear active filters and confirm the workspace and your access before creating a duplicate.
- If the list cannot load, retry once and quote the displayed support reference; do not infer that the workspace is empty.
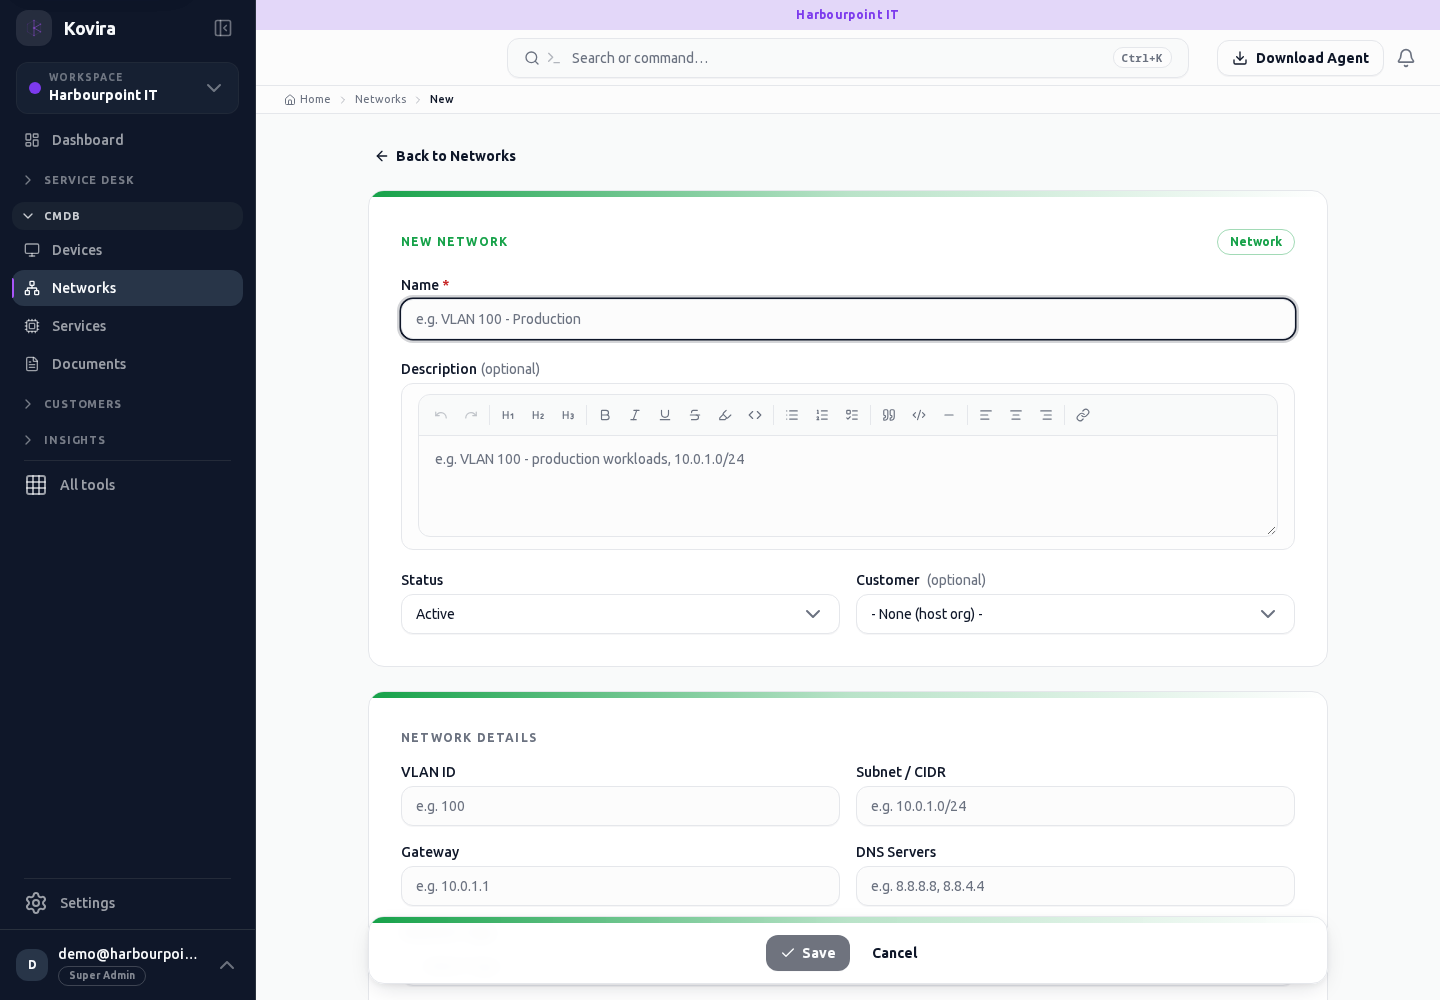
Assets / Networks / New
Configuration items. Create a new entry and review the information before submitting.
Access
- Default workspace roles for opening this screen: Super Admin, Admin, Operator. Custom role settings, the current workspace, plan and record sharing can further restrict access.
- Opening a screen does not grant every action on it. Changes, exports and lifecycle actions can require additional permissions.
Controls and information
- Type selector
- search and filters
- record fields
- relationships
- history
Steps for this screen
- Choose the correct item type and workspace. Review ownership, lifecycle, source and linked records before changing the item.
- Complete the required fields. Review linked records, dates and any recipient or customer selection.
- Use the form’s create or save action once and wait for its result. Cancel to leave without submitting.
Check the result
- Reopen the item and check its fields and relationships; collector data should have an appropriate observation time.
- Open the newly created record from the resulting list or confirmation and check the saved values.
If this screen is unavailable
- If no records appear, clear active filters and confirm the workspace and your access before creating a duplicate.
- If saving fails or a conflict appears, keep a copy of your intended changes, reopen the current record and review it before submitting again.
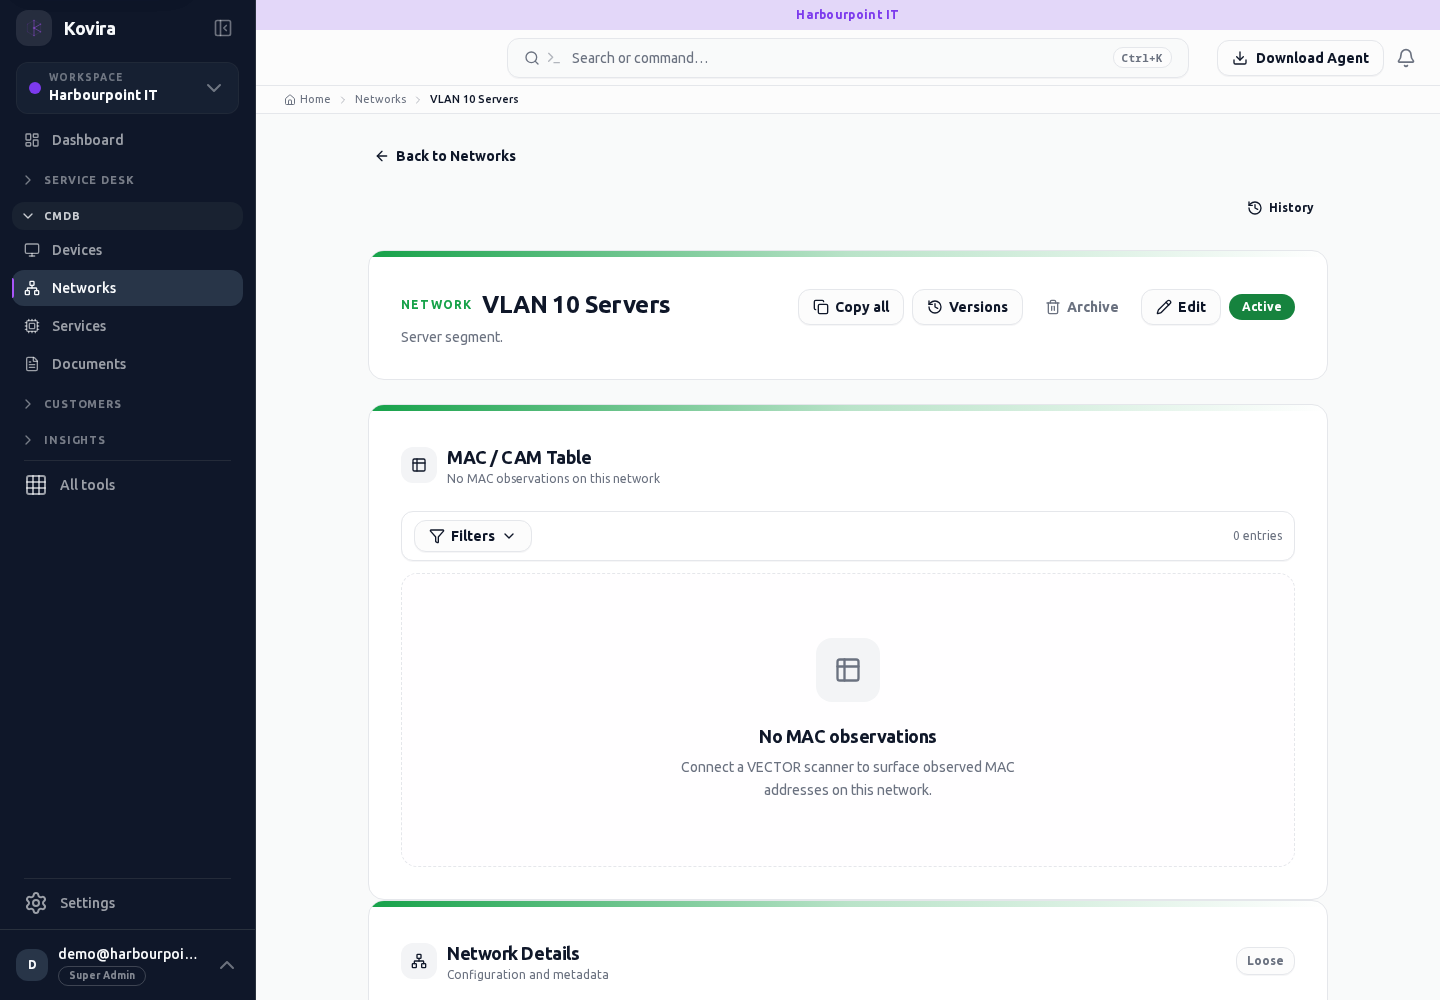
Assets / Networks / Details
Configuration items. Review this screen in the context of the current workspace and record.
Access
- Default workspace roles for opening this screen: Super Admin, Admin, Operator, View Only. Custom role settings, the current workspace, plan and record sharing can further restrict access.
- Opening a screen does not grant every action on it. Changes, exports and lifecycle actions can require additional permissions.
Controls and information
- Type selector
- search and filters
- record fields
- relationships
- history
Steps for this screen
- Choose the correct item type and workspace. Review ownership, lifecycle, source and linked records before changing the item.
- Read the summary, current state and related records. Review the action and its prerequisites before changing the record.
Check the result
- Reopen the item and check its fields and relationships; collector data should have an appropriate observation time.
If this screen is unavailable
- If the record is unavailable, return to its list and confirm the workspace and link. Ask an administrator to check record access before creating a replacement.
- If saving fails or a conflict appears, keep a copy of your intended changes, reopen the current record and review it before submitting again.
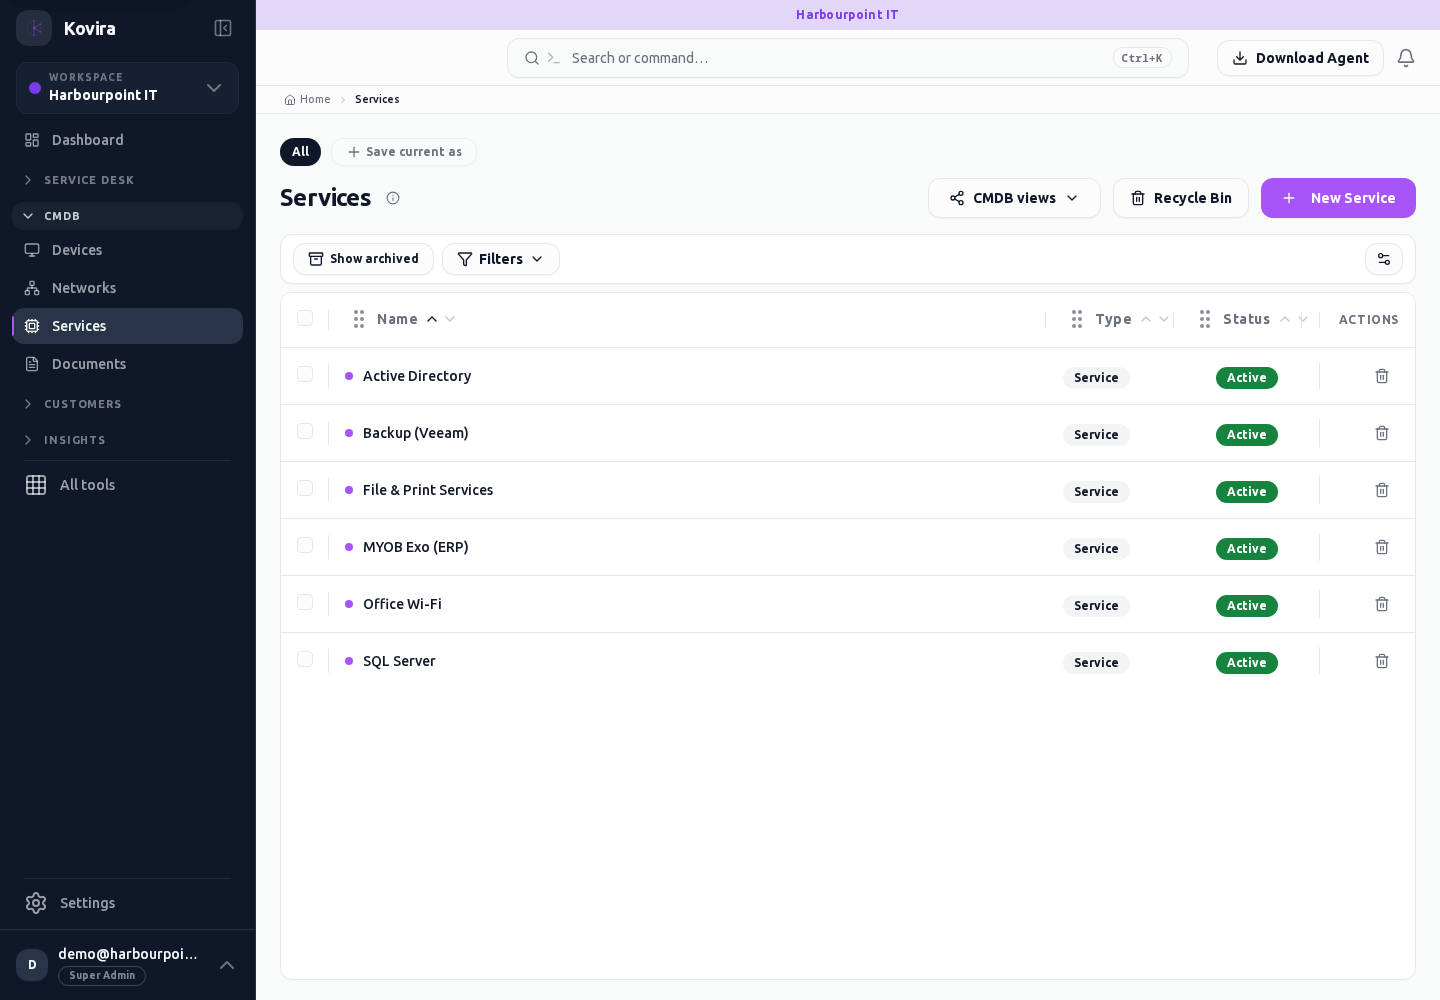
Assets / Services
Configuration items. Review this screen in the context of the current workspace and record.
Access
- Default workspace roles for opening this screen: Super Admin, Admin, Operator, View Only. Custom role settings, the current workspace, plan and record sharing can further restrict access.
- Opening a screen does not grant every action on it. Changes, exports and lifecycle actions can require additional permissions.
Controls and information
- Type selector
- search and filters
- record fields
- relationships
- history
Steps for this screen
- Choose the correct item type and workspace. Review ownership, lifecycle, source and linked records before changing the item.
- Use the available search, date and status filters to narrow the view. Open a record link for its detail.
- Clear filters when you need to compare the full accessible list.
Check the result
- Reopen the item and check its fields and relationships; collector data should have an appropriate observation time.
If this screen is unavailable
- If no records appear, clear active filters and confirm the workspace and your access before creating a duplicate.
- If the list cannot load, retry once and quote the displayed support reference; do not infer that the workspace is empty.
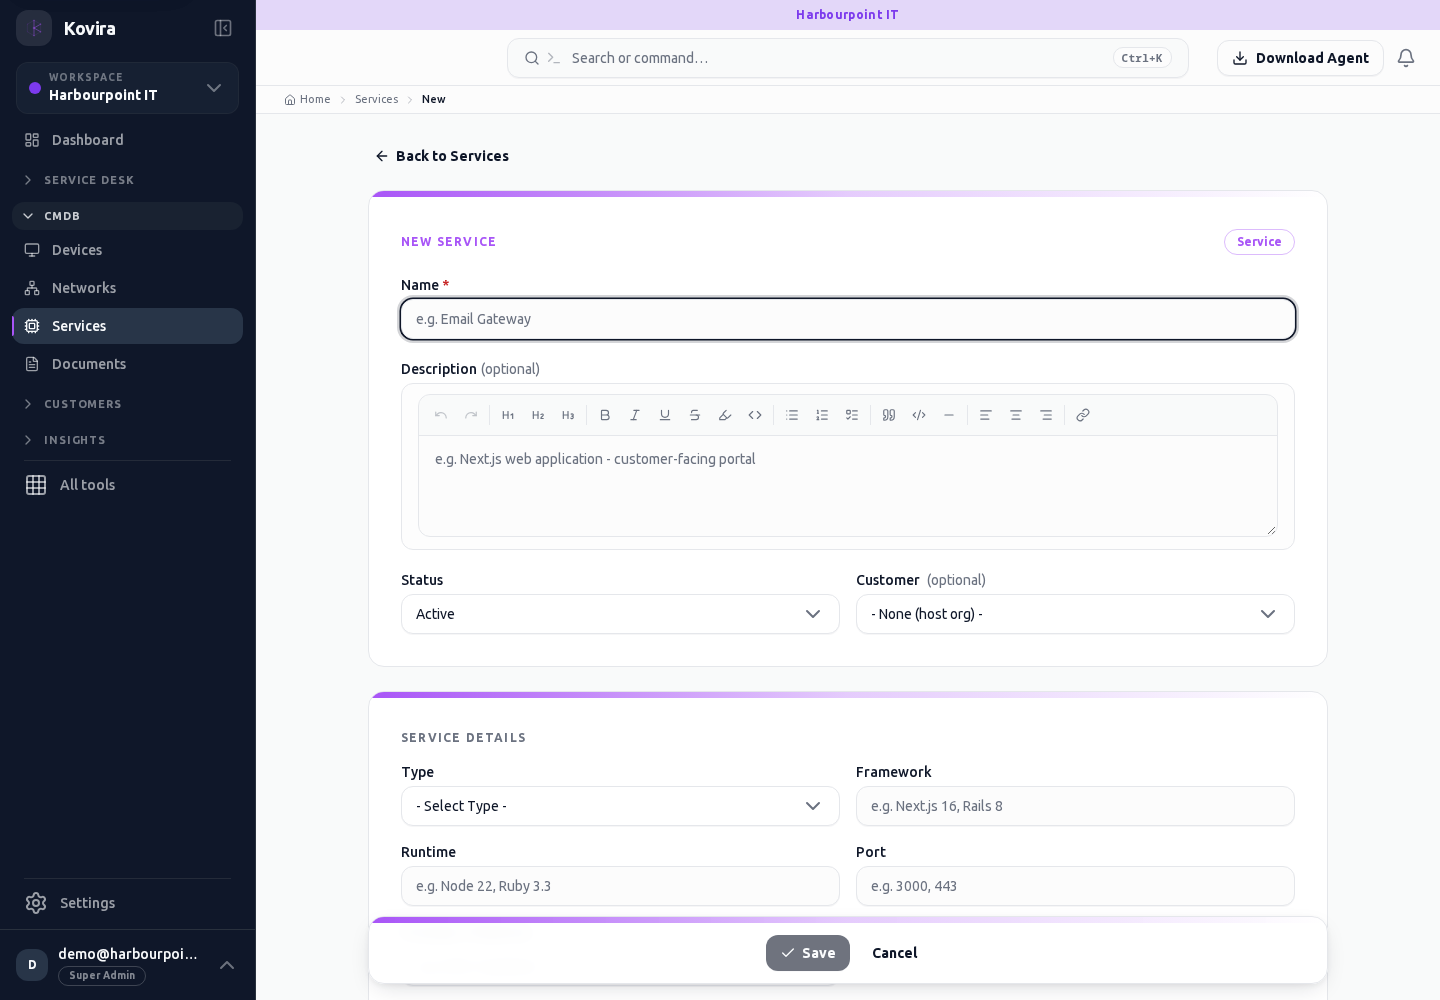
Assets / Services / New
Configuration items. Create a new entry and review the information before submitting.
Access
- Default workspace roles for opening this screen: Super Admin, Admin, Operator. Custom role settings, the current workspace, plan and record sharing can further restrict access.
- Opening a screen does not grant every action on it. Changes, exports and lifecycle actions can require additional permissions.
Controls and information
- Type selector
- search and filters
- record fields
- relationships
- history
Steps for this screen
- Choose the correct item type and workspace. Review ownership, lifecycle, source and linked records before changing the item.
- Complete the required fields. Review linked records, dates and any recipient or customer selection.
- Use the form’s create or save action once and wait for its result. Cancel to leave without submitting.
Check the result
- Reopen the item and check its fields and relationships; collector data should have an appropriate observation time.
- Open the newly created record from the resulting list or confirmation and check the saved values.
If this screen is unavailable
- If no records appear, clear active filters and confirm the workspace and your access before creating a duplicate.
- If saving fails or a conflict appears, keep a copy of your intended changes, reopen the current record and review it before submitting again.
Assets / Services / Details
Configuration items. Review this screen in the context of the current workspace and record.
Access
- Default workspace roles for opening this screen: Super Admin, Admin, Operator, View Only. Custom role settings, the current workspace, plan and record sharing can further restrict access.
- Opening a screen does not grant every action on it. Changes, exports and lifecycle actions can require additional permissions.
Controls and information
- Type selector
- search and filters
- record fields
- relationships
- history
Steps for this screen
- Choose the correct item type and workspace. Review ownership, lifecycle, source and linked records before changing the item.
- Read the summary, current state and related records. Review the action and its prerequisites before changing the record.
Check the result
- Reopen the item and check its fields and relationships; collector data should have an appropriate observation time.
If this screen is unavailable
- If the record is unavailable, return to its list and confirm the workspace and link. Ask an administrator to check record access before creating a replacement.
- If saving fails or a conflict appears, keep a copy of your intended changes, reopen the current record and review it before submitting again.
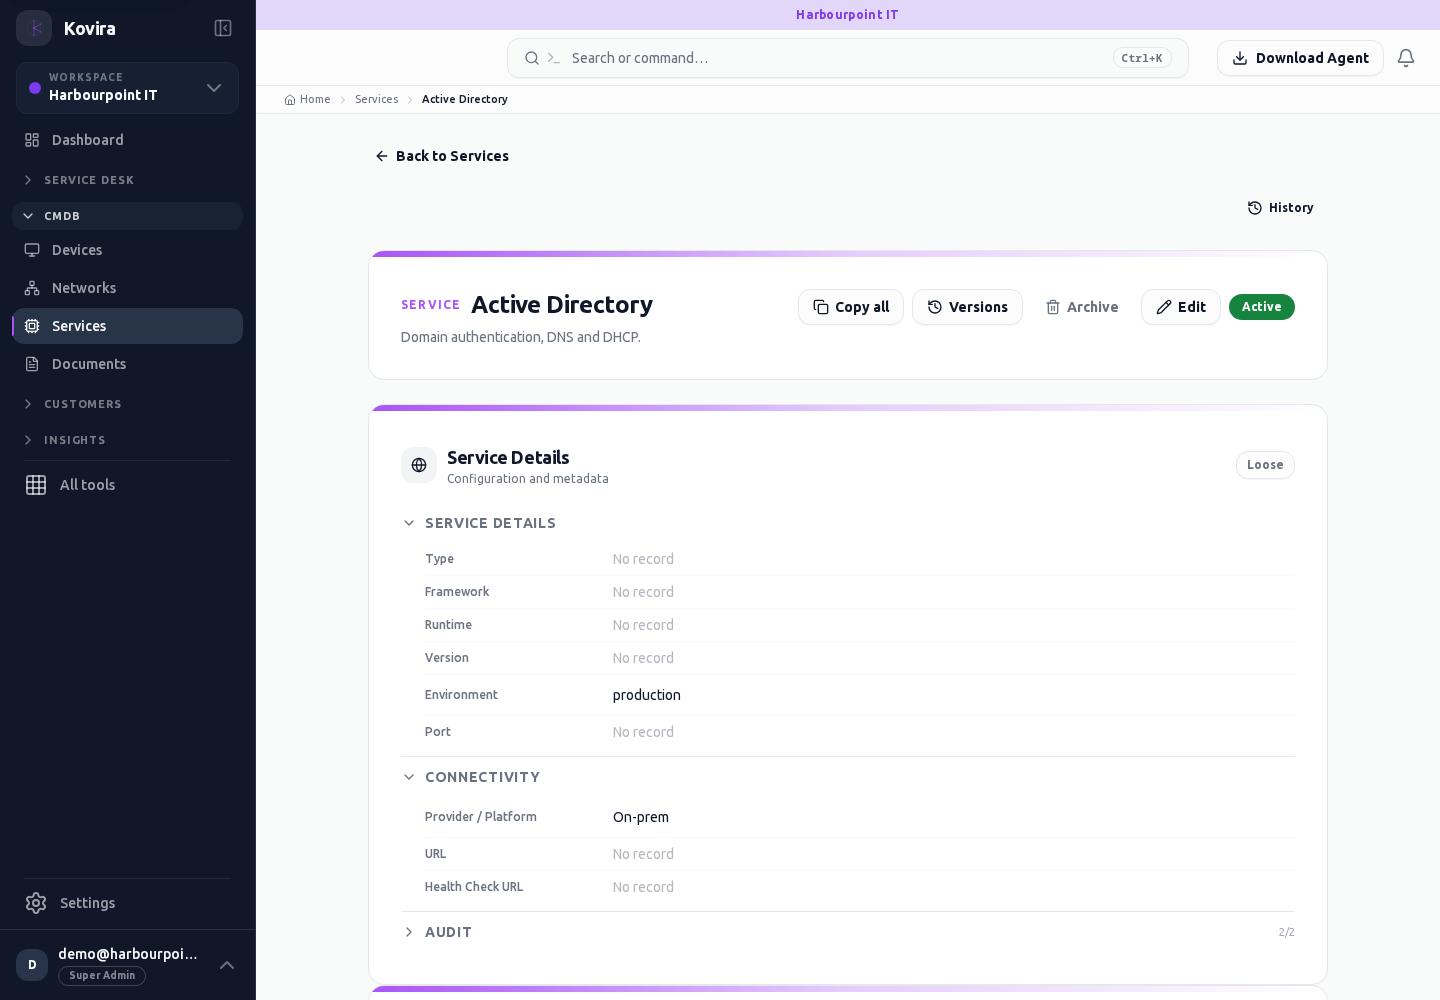
Assets / Racks
Configuration items. Review this screen in the context of the current workspace and record.
Access
- Default workspace roles for opening this screen: Super Admin, Admin, Operator, View Only. Custom role settings, the current workspace, plan and record sharing can further restrict access.
- Opening a screen does not grant every action on it. Changes, exports and lifecycle actions can require additional permissions.
Controls and information
- Type selector
- search and filters
- record fields
- relationships
- history
Steps for this screen
- Choose the correct item type and workspace. Review ownership, lifecycle, source and linked records before changing the item.
- Use the available search, date and status filters to narrow the view. Open a record link for its detail.
- Clear filters when you need to compare the full accessible list.
Check the result
- Reopen the item and check its fields and relationships; collector data should have an appropriate observation time.
If this screen is unavailable
- If no records appear, clear active filters and confirm the workspace and your access before creating a duplicate.
- If the list cannot load, retry once and quote the displayed support reference; do not infer that the workspace is empty.
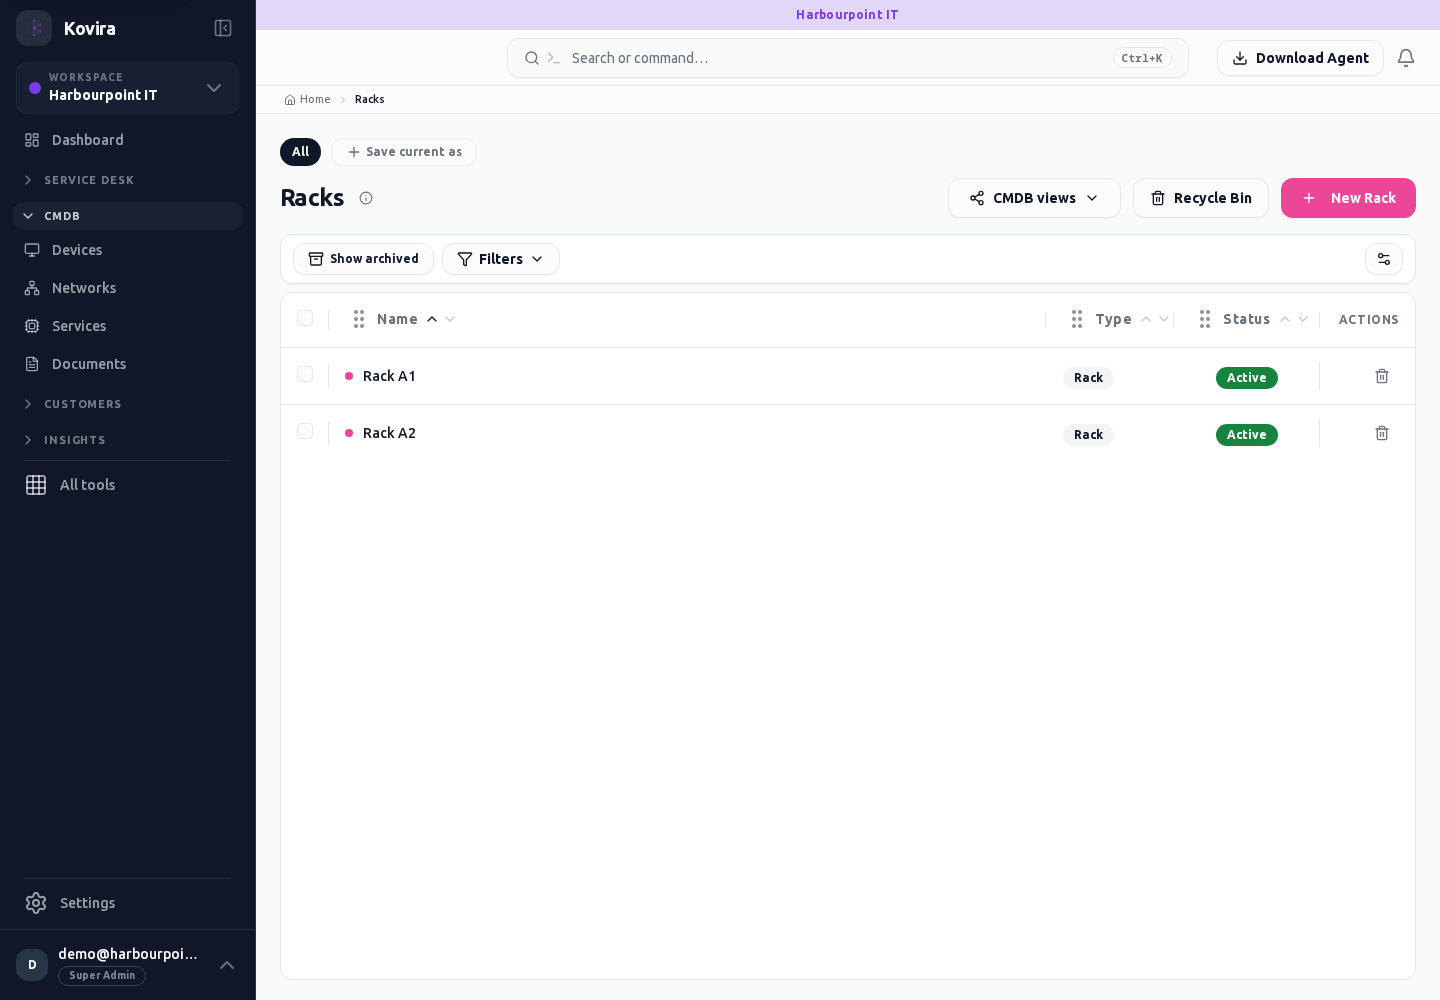
Assets / Racks / New
Configuration items. Create a new entry and review the information before submitting.
Access
- Default workspace roles for opening this screen: Super Admin, Admin, Operator. Custom role settings, the current workspace, plan and record sharing can further restrict access.
- Opening a screen does not grant every action on it. Changes, exports and lifecycle actions can require additional permissions.
Controls and information
- Type selector
- search and filters
- record fields
- relationships
- history
Steps for this screen
- Choose the correct item type and workspace. Review ownership, lifecycle, source and linked records before changing the item.
- Complete the required fields. Review linked records, dates and any recipient or customer selection.
- Use the form’s create or save action once and wait for its result. Cancel to leave without submitting.
Check the result
- Reopen the item and check its fields and relationships; collector data should have an appropriate observation time.
- Open the newly created record from the resulting list or confirmation and check the saved values.
If this screen is unavailable
- If no records appear, clear active filters and confirm the workspace and your access before creating a duplicate.
- If saving fails or a conflict appears, keep a copy of your intended changes, reopen the current record and review it before submitting again.
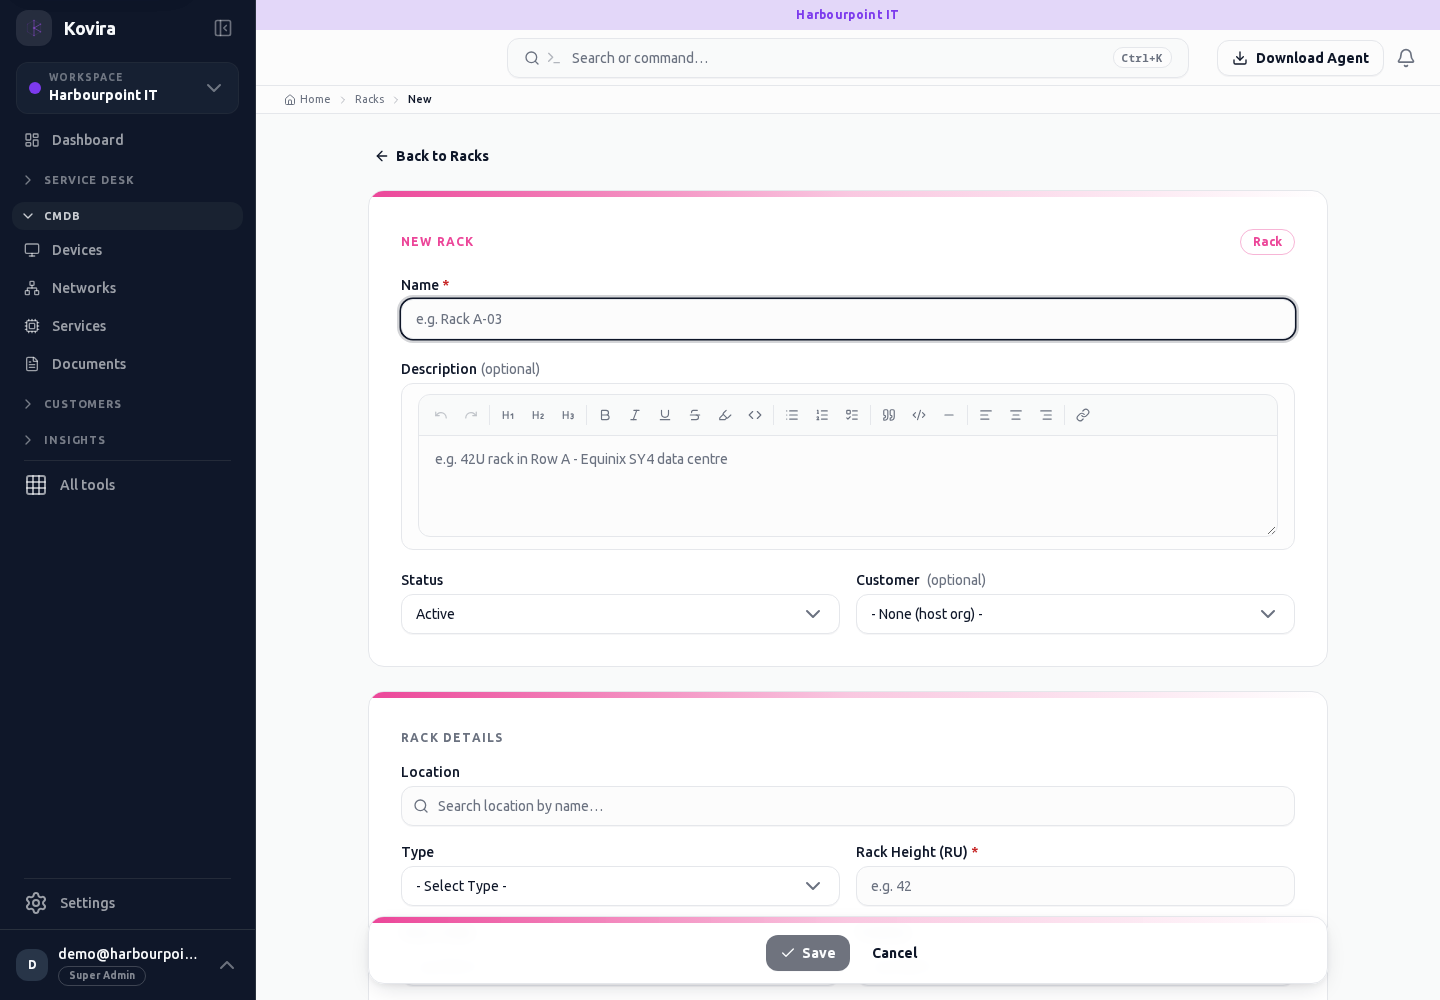
Assets / Racks / Details
Configuration items. Review this screen in the context of the current workspace and record.
Access
- Default workspace roles for opening this screen: Super Admin, Admin, Operator, View Only. Custom role settings, the current workspace, plan and record sharing can further restrict access.
- Opening a screen does not grant every action on it. Changes, exports and lifecycle actions can require additional permissions.
Controls and information
- Type selector
- search and filters
- record fields
- relationships
- history
Steps for this screen
- Choose the correct item type and workspace. Review ownership, lifecycle, source and linked records before changing the item.
- Read the summary, current state and related records. Review the action and its prerequisites before changing the record.
Check the result
- Reopen the item and check its fields and relationships; collector data should have an appropriate observation time.
If this screen is unavailable
- If the record is unavailable, return to its list and confirm the workspace and link. Ask an administrator to check record access before creating a replacement.
- If saving fails or a conflict appears, keep a copy of your intended changes, reopen the current record and review it before submitting again.
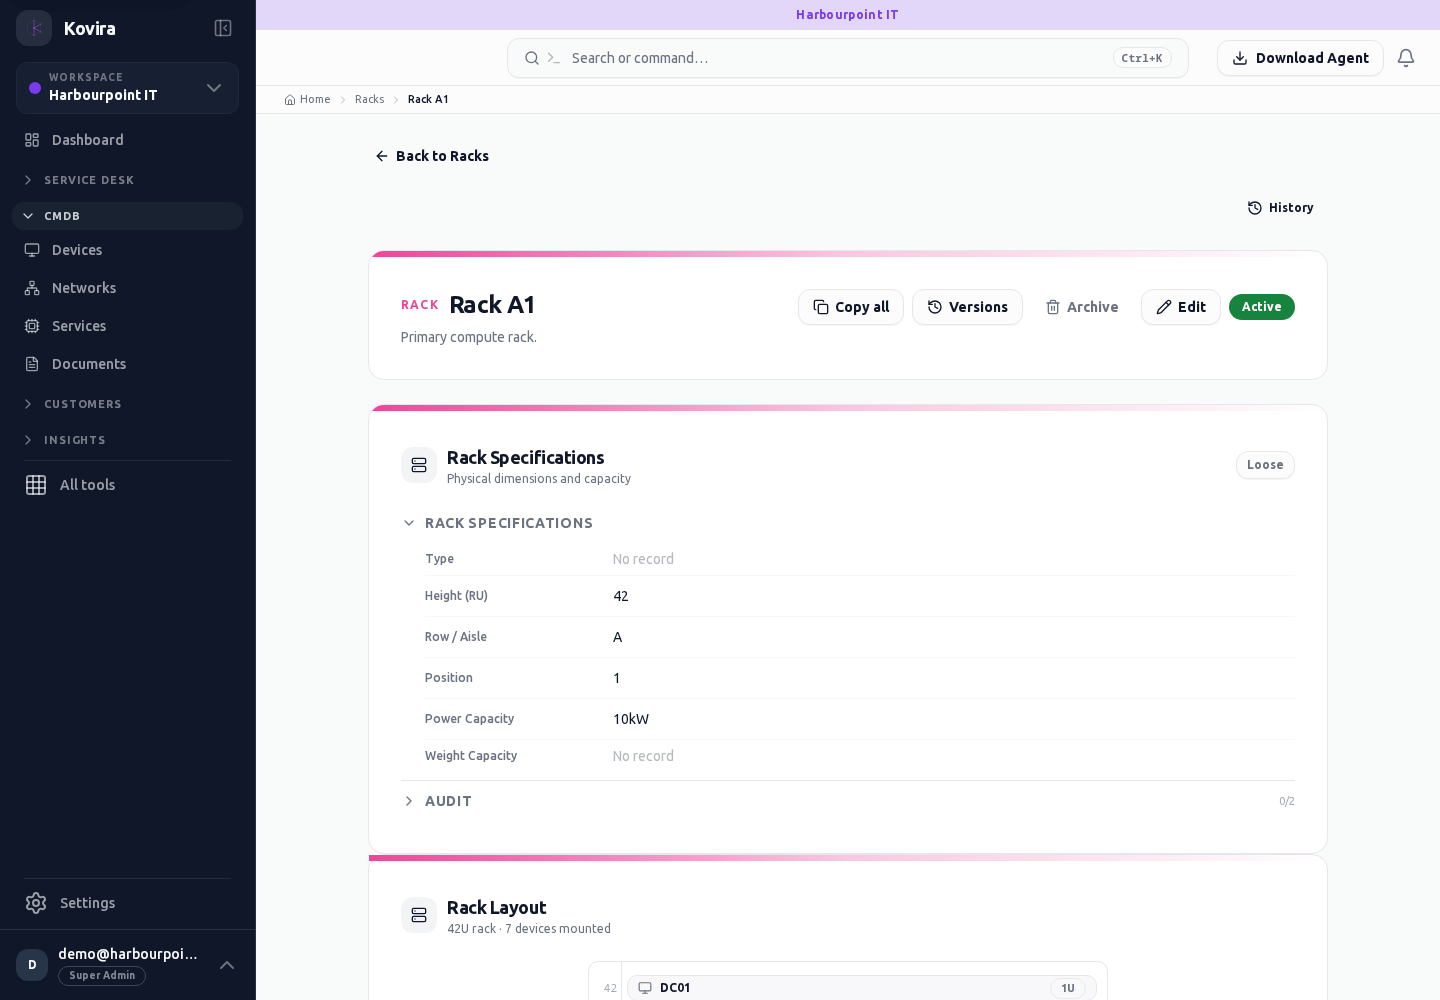
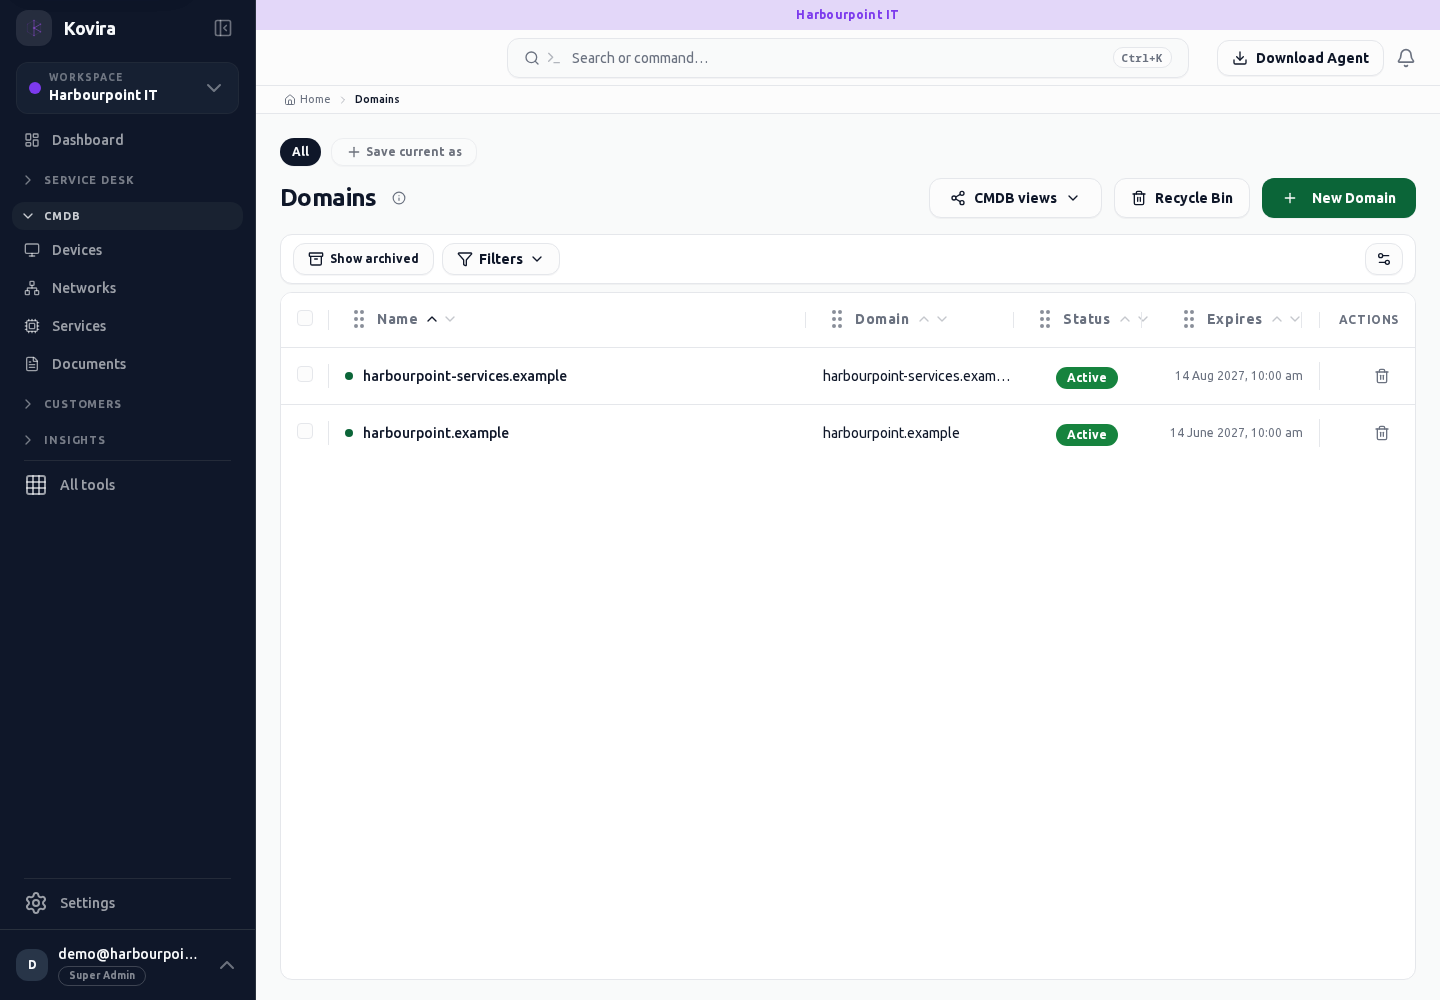
Assets / Domains
Configuration items. Review this screen in the context of the current workspace and record.
Access
- Default workspace roles for opening this screen: Super Admin, Admin, Operator, View Only. Custom role settings, the current workspace, plan and record sharing can further restrict access.
- Opening a screen does not grant every action on it. Changes, exports and lifecycle actions can require additional permissions.
Controls and information
- Type selector
- search and filters
- record fields
- relationships
- history
Steps for this screen
- Choose the correct item type and workspace. Review ownership, lifecycle, source and linked records before changing the item.
- Use the available search, date and status filters to narrow the view. Open a record link for its detail.
- Clear filters when you need to compare the full accessible list.
Check the result
- Reopen the item and check its fields and relationships; collector data should have an appropriate observation time.
If this screen is unavailable
- If no records appear, clear active filters and confirm the workspace and your access before creating a duplicate.
- If the list cannot load, retry once and quote the displayed support reference; do not infer that the workspace is empty.
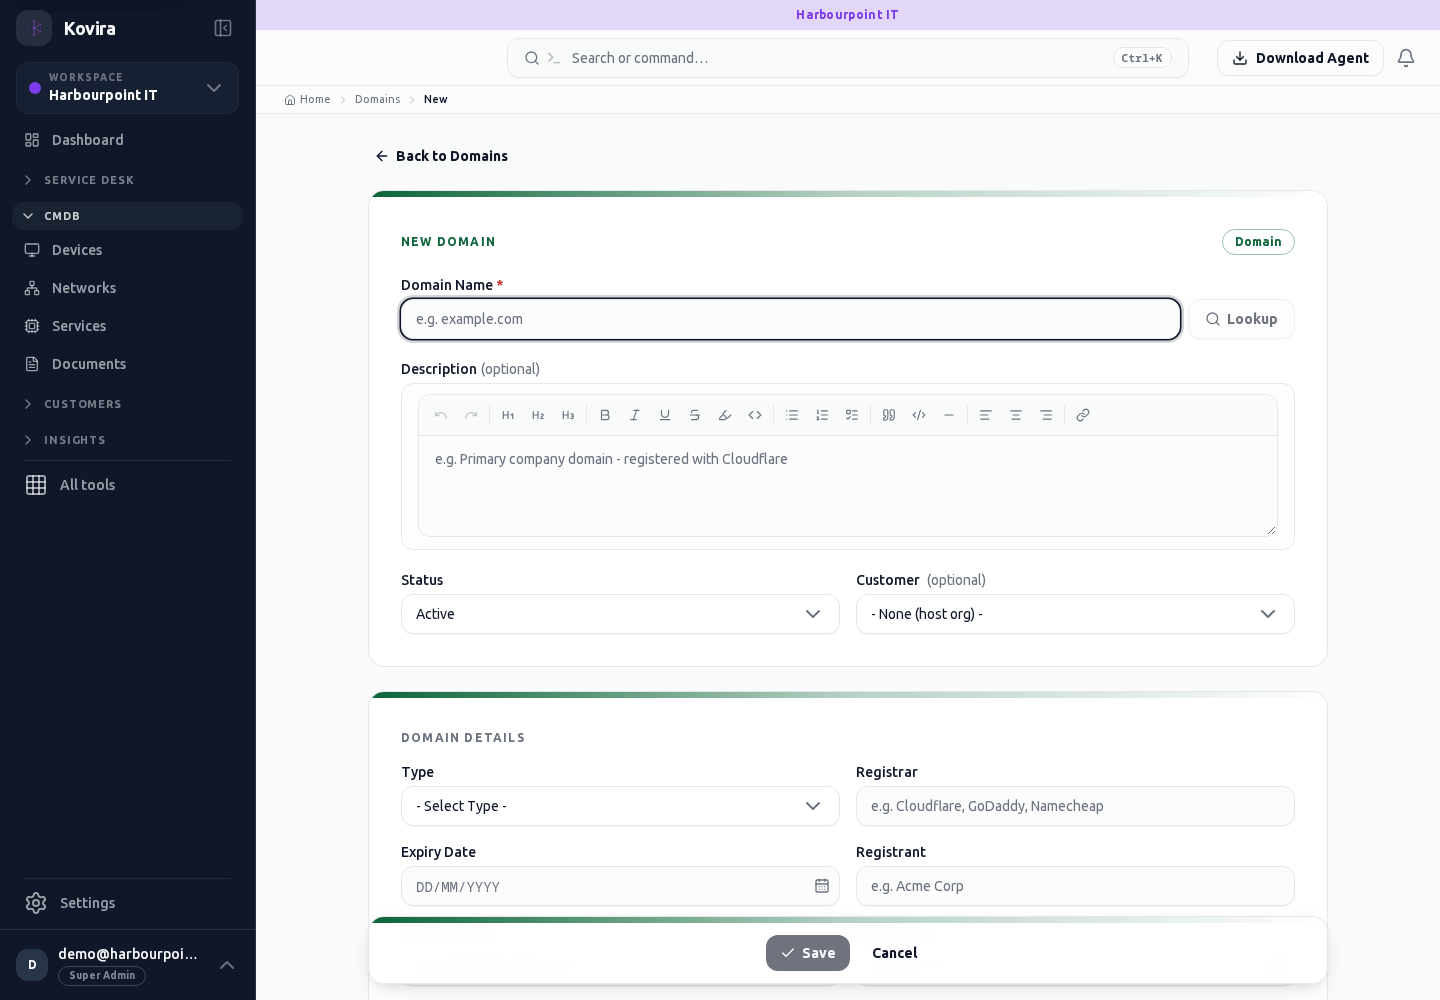
Assets / Domains / New
Configuration items. Create a new entry and review the information before submitting.
Access
- Default workspace roles for opening this screen: Super Admin, Admin, Operator. Custom role settings, the current workspace, plan and record sharing can further restrict access.
- Opening a screen does not grant every action on it. Changes, exports and lifecycle actions can require additional permissions.
Controls and information
- Type selector
- search and filters
- record fields
- relationships
- history
Steps for this screen
- Choose the correct item type and workspace. Review ownership, lifecycle, source and linked records before changing the item.
- Complete the required fields. Review linked records, dates and any recipient or customer selection.
- Use the form’s create or save action once and wait for its result. Cancel to leave without submitting.
Check the result
- Reopen the item and check its fields and relationships; collector data should have an appropriate observation time.
- Open the newly created record from the resulting list or confirmation and check the saved values.
If this screen is unavailable
- If no records appear, clear active filters and confirm the workspace and your access before creating a duplicate.
- If saving fails or a conflict appears, keep a copy of your intended changes, reopen the current record and review it before submitting again.
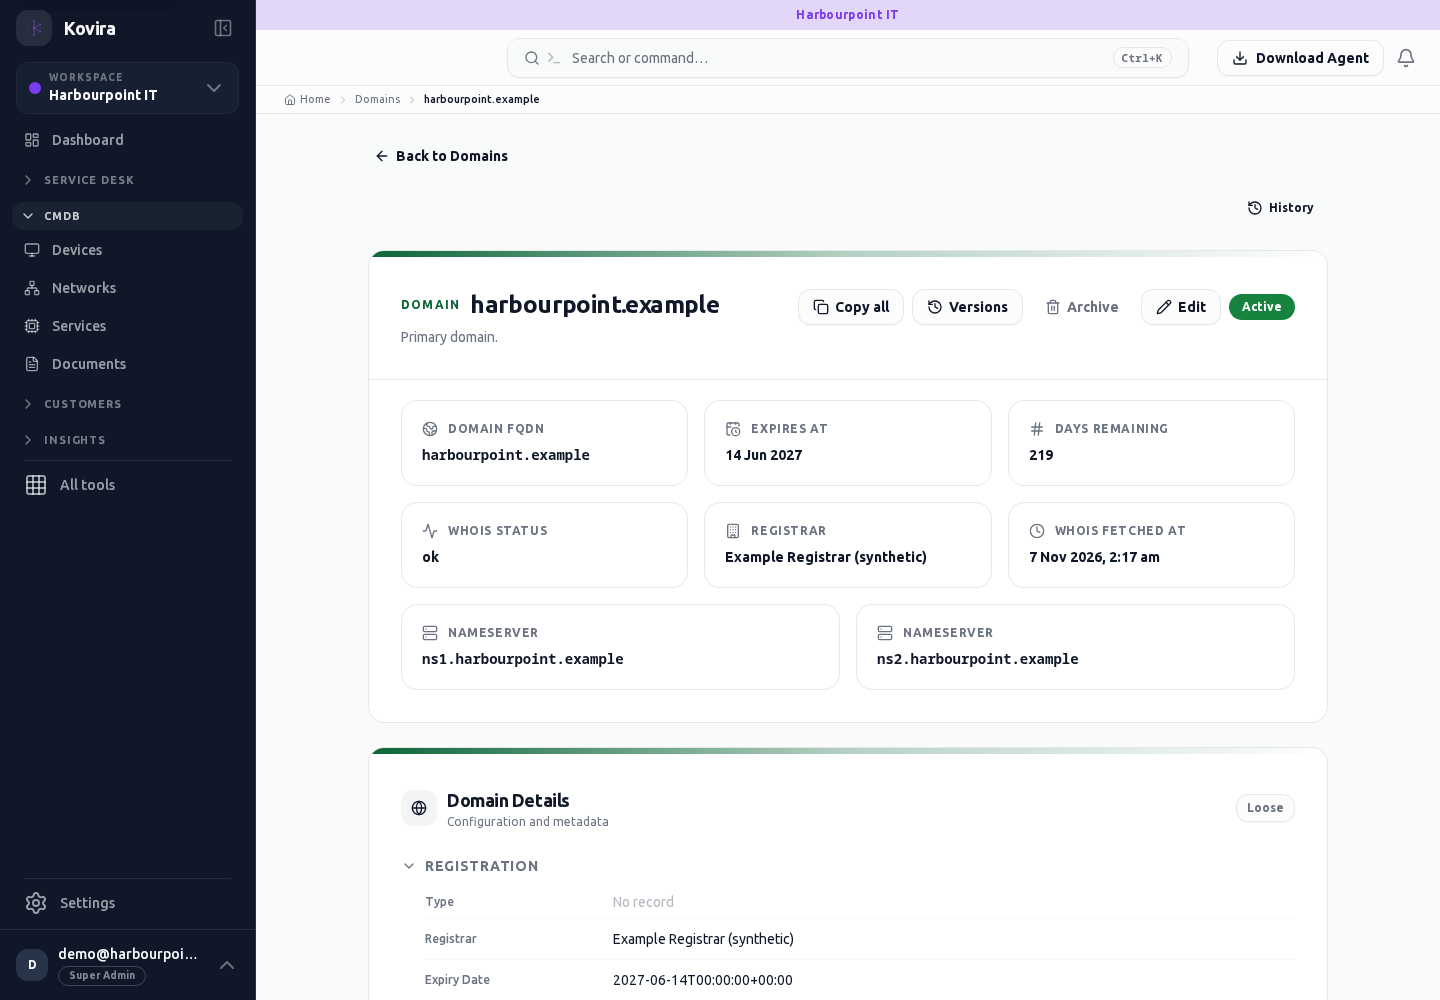
Assets / Domains / Details
Configuration items. Review this screen in the context of the current workspace and record.
Access
- Default workspace roles for opening this screen: Super Admin, Admin, Operator, View Only. Custom role settings, the current workspace, plan and record sharing can further restrict access.
- Opening a screen does not grant every action on it. Changes, exports and lifecycle actions can require additional permissions.
Controls and information
- Type selector
- search and filters
- record fields
- relationships
- history
Steps for this screen
- Choose the correct item type and workspace. Review ownership, lifecycle, source and linked records before changing the item.
- Read the summary, current state and related records. Review the action and its prerequisites before changing the record.
Check the result
- Reopen the item and check its fields and relationships; collector data should have an appropriate observation time.
If this screen is unavailable
- If the record is unavailable, return to its list and confirm the workspace and link. Ask an administrator to check record access before creating a replacement.
- If saving fails or a conflict appears, keep a copy of your intended changes, reopen the current record and review it before submitting again.
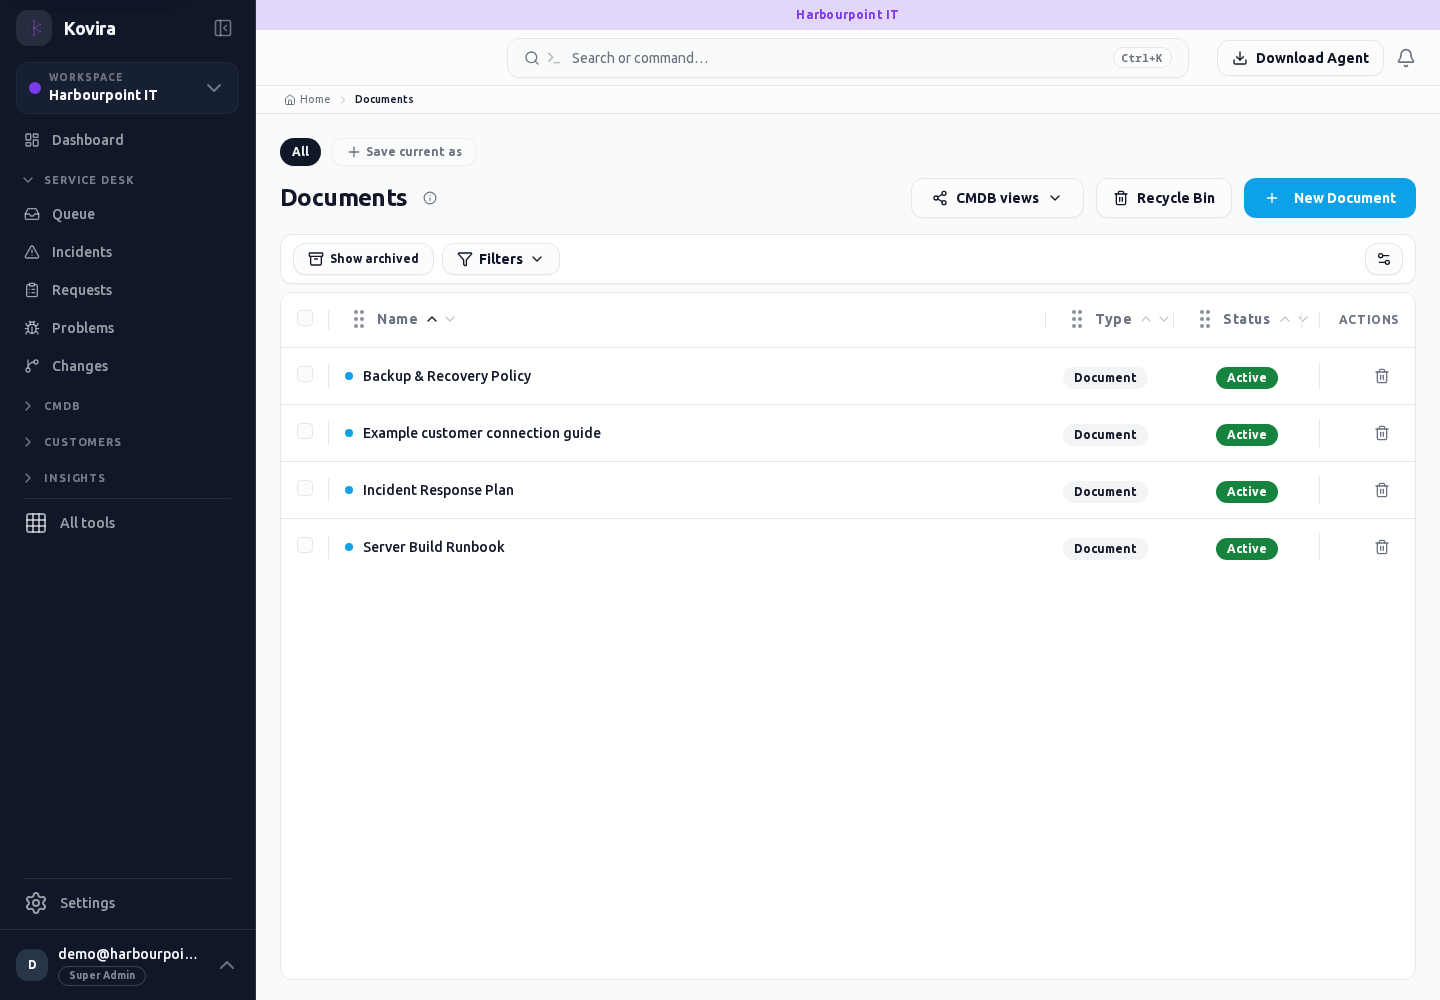
Assets / Documents
Configuration items. Review this screen in the context of the current workspace and record.
Access
- Default workspace roles for opening this screen: Super Admin, Admin, Operator, View Only. Custom role settings, the current workspace, plan and record sharing can further restrict access.
- Opening a screen does not grant every action on it. Changes, exports and lifecycle actions can require additional permissions.
Controls and information
- Type selector
- search and filters
- record fields
- relationships
- history
Steps for this screen
- Choose the correct item type and workspace. Review ownership, lifecycle, source and linked records before changing the item.
- Use the available search, date and status filters to narrow the view. Open a record link for its detail.
- Clear filters when you need to compare the full accessible list.
Check the result
- Reopen the item and check its fields and relationships; collector data should have an appropriate observation time.
If this screen is unavailable
- If no records appear, clear active filters and confirm the workspace and your access before creating a duplicate.
- If the list cannot load, retry once and quote the displayed support reference; do not infer that the workspace is empty.
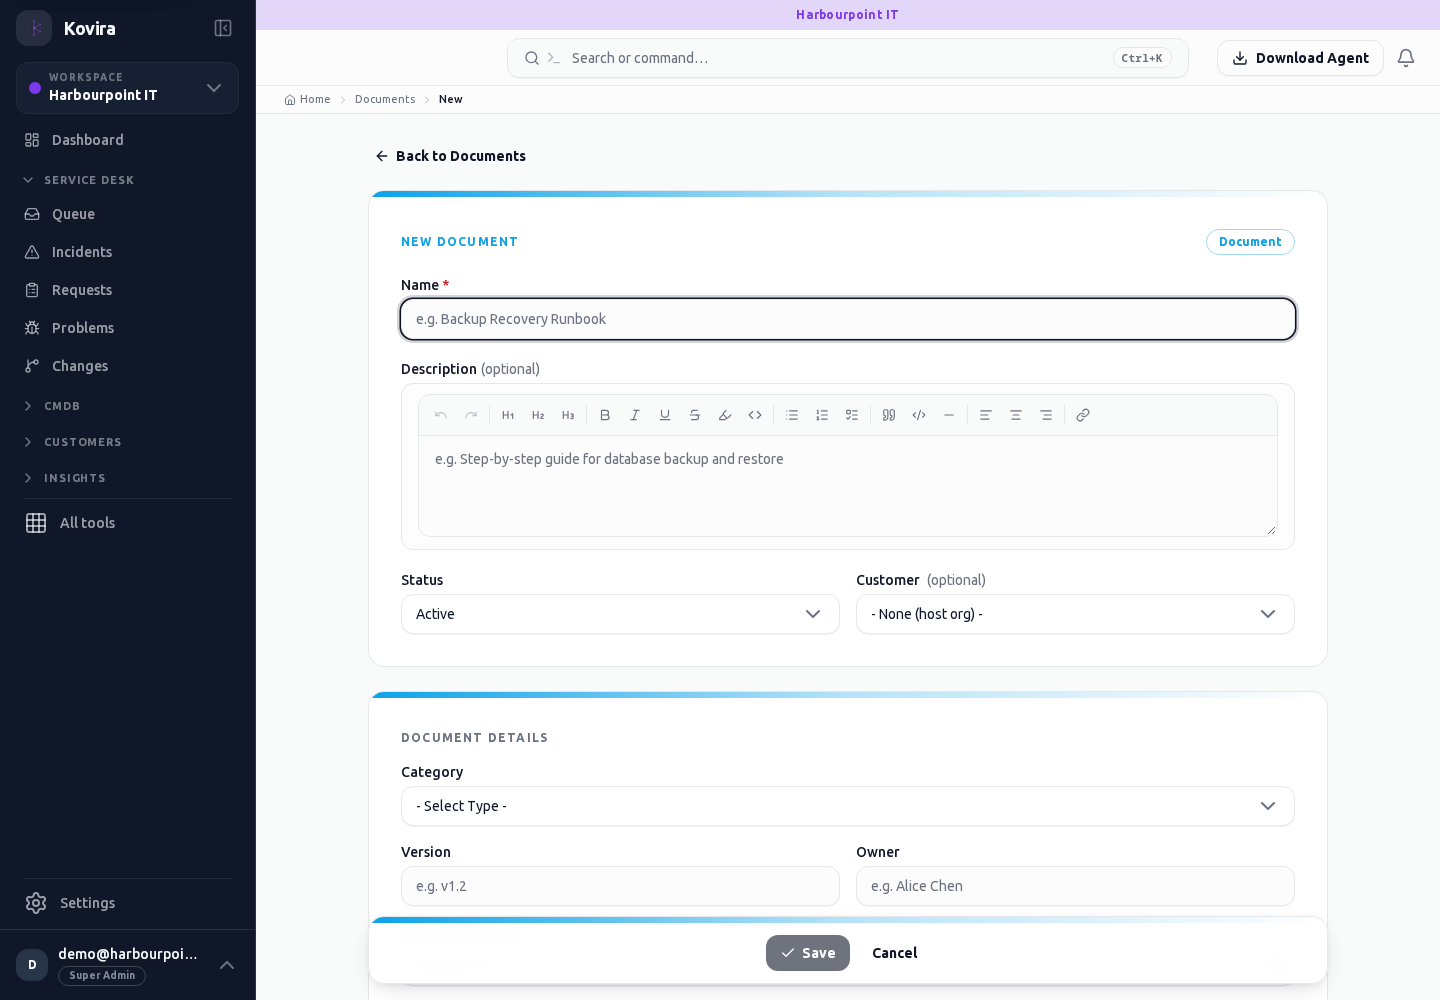
Assets / Documents / New
Configuration items. Create a new entry and review the information before submitting.
Access
- Default workspace roles for opening this screen: Super Admin, Admin, Operator. Custom role settings, the current workspace, plan and record sharing can further restrict access.
- Opening a screen does not grant every action on it. Changes, exports and lifecycle actions can require additional permissions.
Controls and information
- Type selector
- search and filters
- record fields
- relationships
- history
Steps for this screen
- Choose the correct item type and workspace. Review ownership, lifecycle, source and linked records before changing the item.
- Complete the required fields. Review linked records, dates and any recipient or customer selection.
- Use the form’s create or save action once and wait for its result. Cancel to leave without submitting.
Check the result
- Reopen the item and check its fields and relationships; collector data should have an appropriate observation time.
- Open the newly created record from the resulting list or confirmation and check the saved values.
If this screen is unavailable
- If no records appear, clear active filters and confirm the workspace and your access before creating a duplicate.
- If saving fails or a conflict appears, keep a copy of your intended changes, reopen the current record and review it before submitting again.
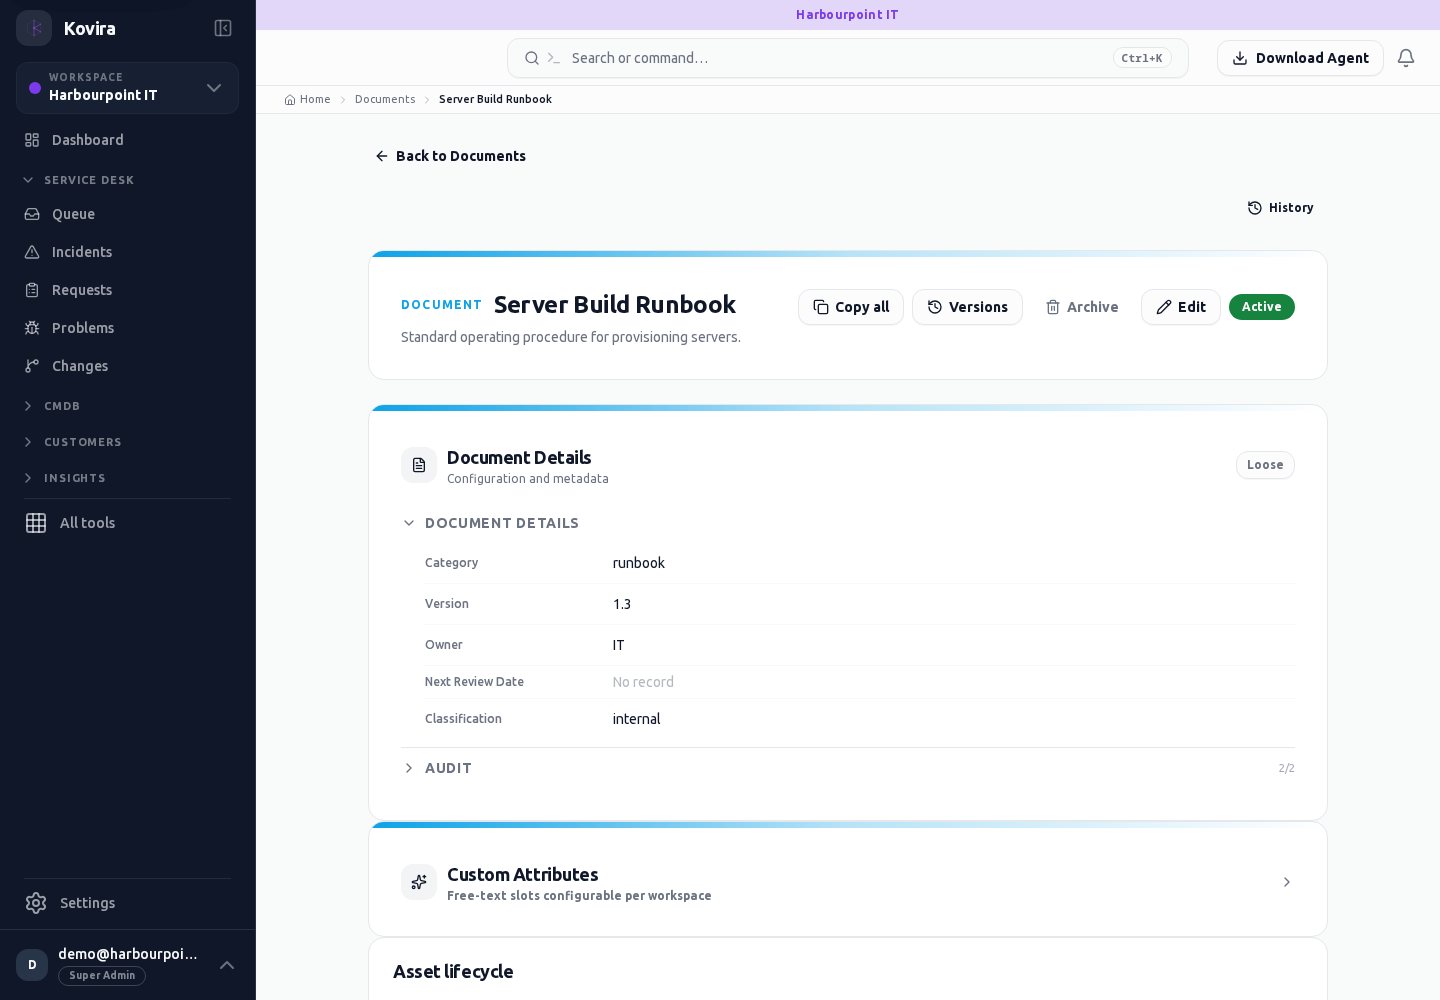
Assets / Documents / Details
Configuration items. Review this screen in the context of the current workspace and record.
Access
- Default workspace roles for opening this screen: Super Admin, Admin, Operator, View Only. Custom role settings, the current workspace, plan and record sharing can further restrict access.
- Opening a screen does not grant every action on it. Changes, exports and lifecycle actions can require additional permissions.
Controls and information
- Type selector
- search and filters
- record fields
- relationships
- history
Steps for this screen
- Choose the correct item type and workspace. Review ownership, lifecycle, source and linked records before changing the item.
- Read the summary, current state and related records. Review the action and its prerequisites before changing the record.
Check the result
- Reopen the item and check its fields and relationships; collector data should have an appropriate observation time.
If this screen is unavailable
- If the record is unavailable, return to its list and confirm the workspace and link. Ask an administrator to check record access before creating a replacement.
- If saving fails or a conflict appears, keep a copy of your intended changes, reopen the current record and review it before submitting again.
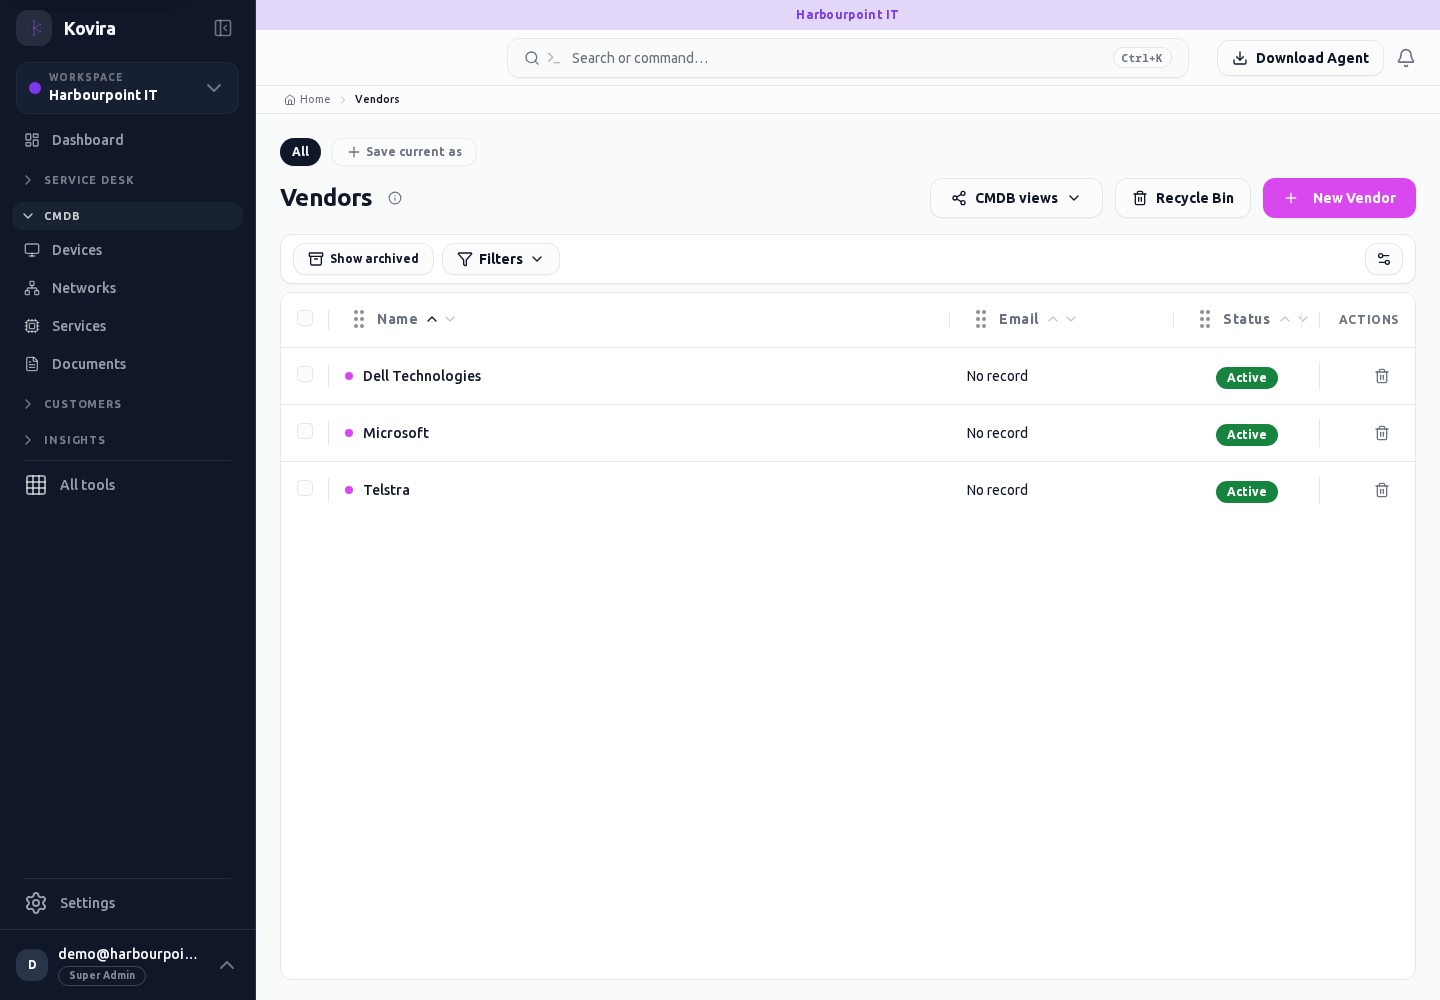
Assets / Vendors
Configuration items. Review this screen in the context of the current workspace and record.
Access
- Default workspace roles for opening this screen: Super Admin, Admin, Operator, View Only. Custom role settings, the current workspace, plan and record sharing can further restrict access.
- Opening a screen does not grant every action on it. Changes, exports and lifecycle actions can require additional permissions.
Controls and information
- Type selector
- search and filters
- record fields
- relationships
- history
Steps for this screen
- Choose the correct item type and workspace. Review ownership, lifecycle, source and linked records before changing the item.
- Use the available search, date and status filters to narrow the view. Open a record link for its detail.
- Clear filters when you need to compare the full accessible list.
Check the result
- Reopen the item and check its fields and relationships; collector data should have an appropriate observation time.
If this screen is unavailable
- If no records appear, clear active filters and confirm the workspace and your access before creating a duplicate.
- If the list cannot load, retry once and quote the displayed support reference; do not infer that the workspace is empty.
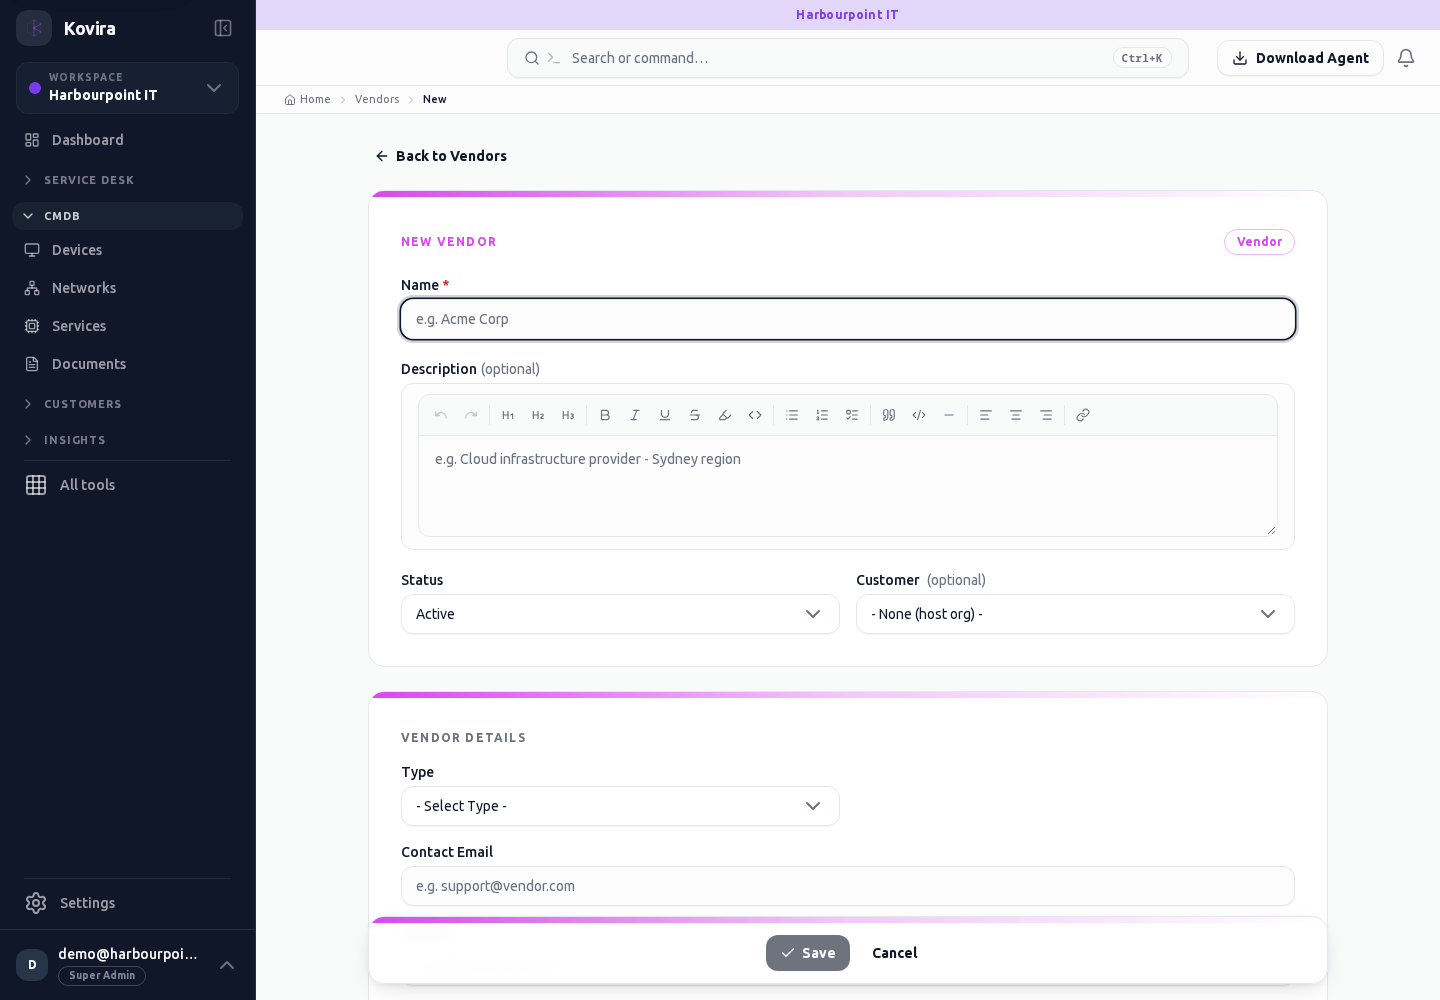
Assets / Vendors / New
Configuration items. Create a new entry and review the information before submitting.
Access
- Default workspace roles for opening this screen: Super Admin, Admin, Operator. Custom role settings, the current workspace, plan and record sharing can further restrict access.
- Opening a screen does not grant every action on it. Changes, exports and lifecycle actions can require additional permissions.
Controls and information
- Type selector
- search and filters
- record fields
- relationships
- history
Steps for this screen
- Choose the correct item type and workspace. Review ownership, lifecycle, source and linked records before changing the item.
- Complete the required fields. Review linked records, dates and any recipient or customer selection.
- Use the form’s create or save action once and wait for its result. Cancel to leave without submitting.
Check the result
- Reopen the item and check its fields and relationships; collector data should have an appropriate observation time.
- Open the newly created record from the resulting list or confirmation and check the saved values.
If this screen is unavailable
- If no records appear, clear active filters and confirm the workspace and your access before creating a duplicate.
- If saving fails or a conflict appears, keep a copy of your intended changes, reopen the current record and review it before submitting again.
Assets / Vendors / Details
Configuration items. Review this screen in the context of the current workspace and record.
Access
- Default workspace roles for opening this screen: Super Admin, Admin, Operator, View Only. Custom role settings, the current workspace, plan and record sharing can further restrict access.
- Opening a screen does not grant every action on it. Changes, exports and lifecycle actions can require additional permissions.
Controls and information
- Type selector
- search and filters
- record fields
- relationships
- history
Steps for this screen
- Choose the correct item type and workspace. Review ownership, lifecycle, source and linked records before changing the item.
- Read the summary, current state and related records. Review the action and its prerequisites before changing the record.
Check the result
- Reopen the item and check its fields and relationships; collector data should have an appropriate observation time.
If this screen is unavailable
- If the record is unavailable, return to its list and confirm the workspace and link. Ask an administrator to check record access before creating a replacement.
- If saving fails or a conflict appears, keep a copy of your intended changes, reopen the current record and review it before submitting again.
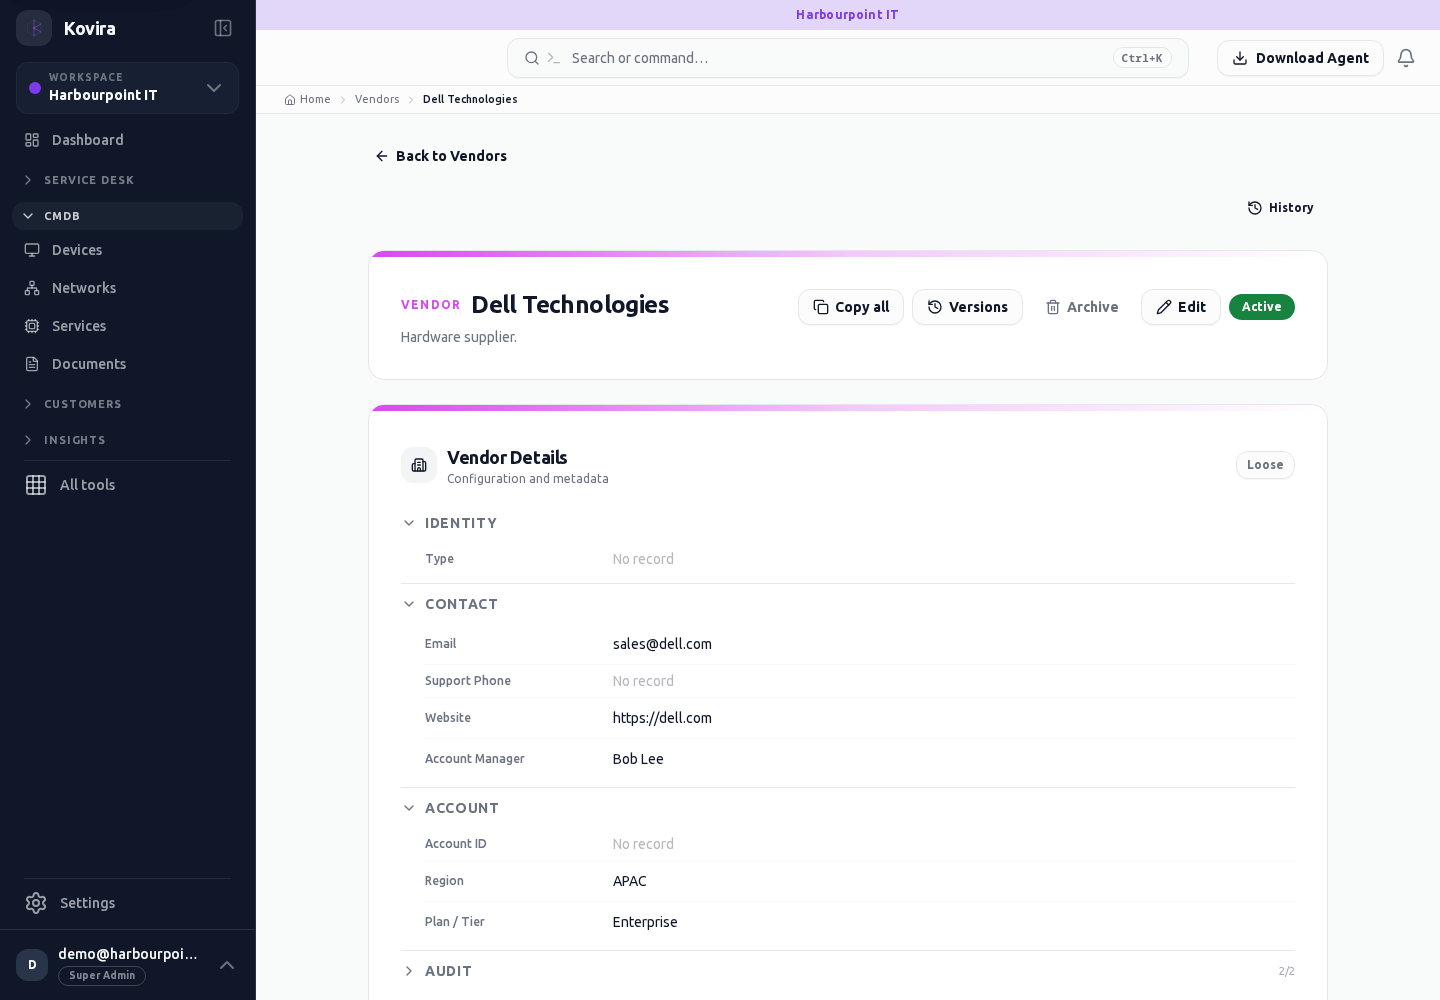
Assets / Locations
Configuration items. Review this screen in the context of the current workspace and record.
Access
- Default workspace roles for opening this screen: Super Admin, Admin, Operator, View Only. Custom role settings, the current workspace, plan and record sharing can further restrict access.
- Opening a screen does not grant every action on it. Changes, exports and lifecycle actions can require additional permissions.
Controls and information
- Type selector
- search and filters
- record fields
- relationships
- history
Steps for this screen
- Choose the correct item type and workspace. Review ownership, lifecycle, source and linked records before changing the item.
- Use the available search, date and status filters to narrow the view. Open a record link for its detail.
- Clear filters when you need to compare the full accessible list.
Check the result
- Reopen the item and check its fields and relationships; collector data should have an appropriate observation time.
If this screen is unavailable
- If no records appear, clear active filters and confirm the workspace and your access before creating a duplicate.
- If the list cannot load, retry once and quote the displayed support reference; do not infer that the workspace is empty.
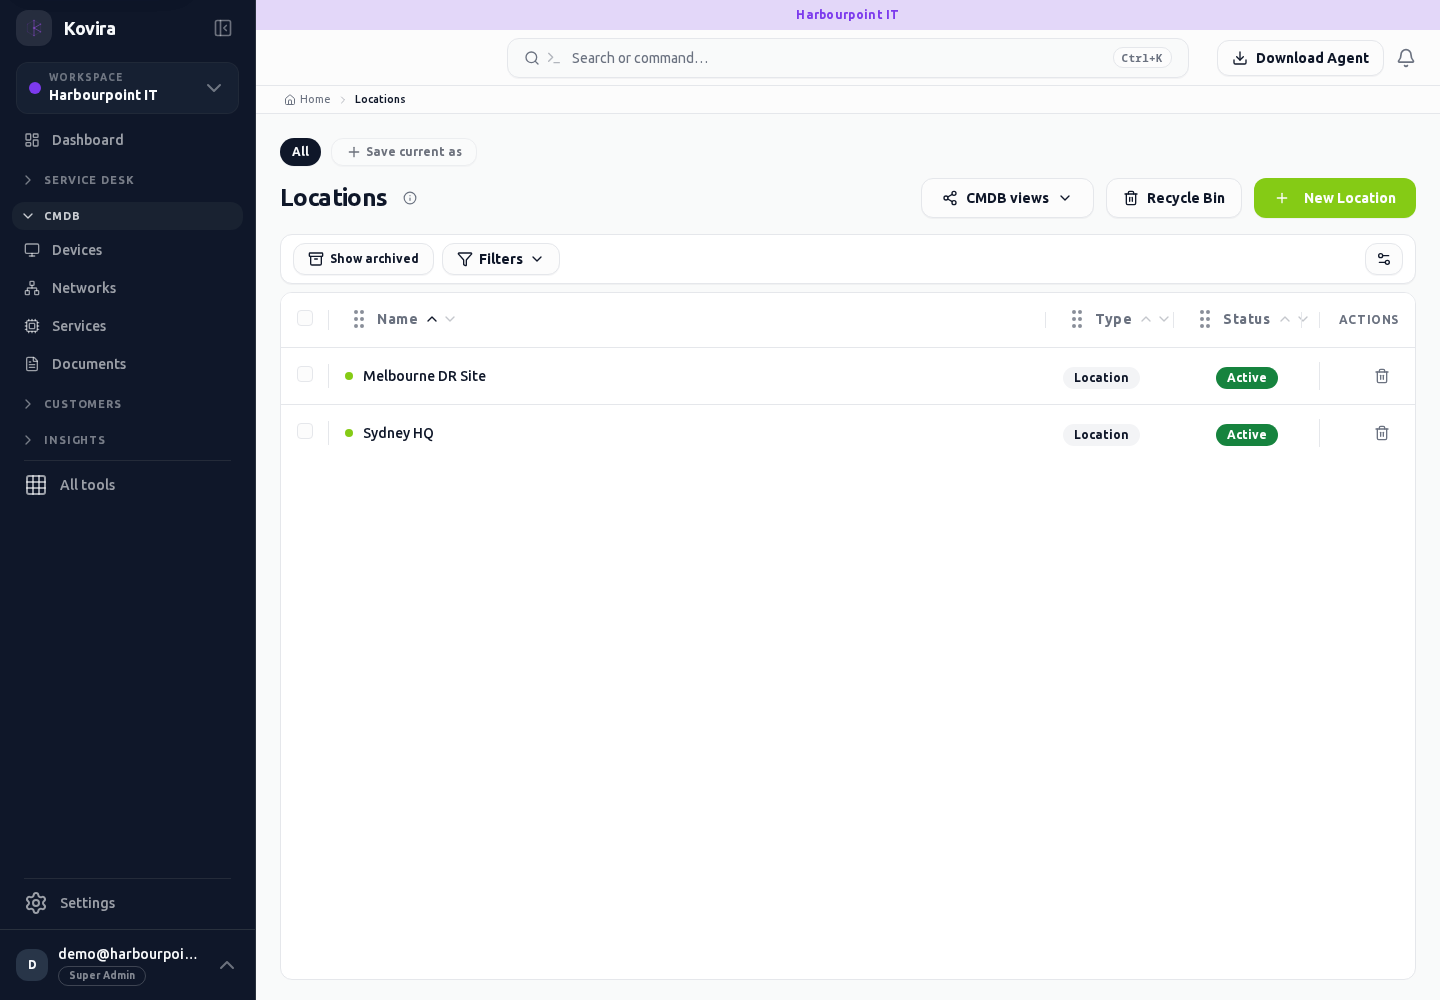
Assets / Locations / New
Configuration items. Create a new entry and review the information before submitting.
Access
- Default workspace roles for opening this screen: Super Admin, Admin, Operator. Custom role settings, the current workspace, plan and record sharing can further restrict access.
- Opening a screen does not grant every action on it. Changes, exports and lifecycle actions can require additional permissions.
Controls and information
- Type selector
- search and filters
- record fields
- relationships
- history
Steps for this screen
- Choose the correct item type and workspace. Review ownership, lifecycle, source and linked records before changing the item.
- Complete the required fields. Review linked records, dates and any recipient or customer selection.
- Use the form’s create or save action once and wait for its result. Cancel to leave without submitting.
Check the result
- Reopen the item and check its fields and relationships; collector data should have an appropriate observation time.
- Open the newly created record from the resulting list or confirmation and check the saved values.
If this screen is unavailable
- If no records appear, clear active filters and confirm the workspace and your access before creating a duplicate.
- If saving fails or a conflict appears, keep a copy of your intended changes, reopen the current record and review it before submitting again.
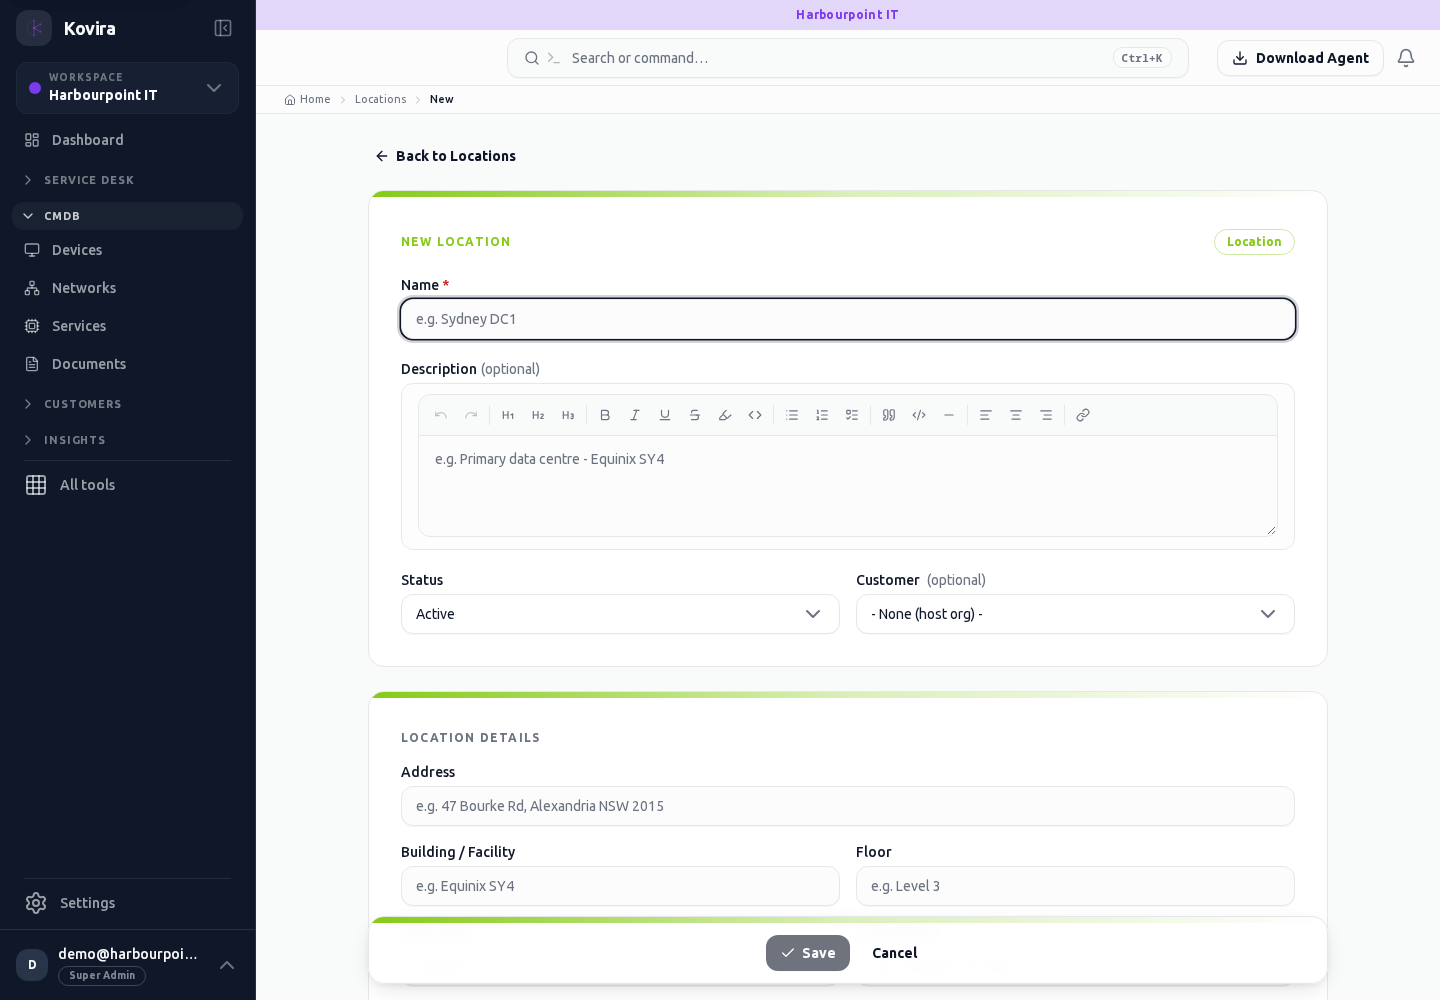
Assets / Locations / Details
Configuration items. Review this screen in the context of the current workspace and record.
Access
- Default workspace roles for opening this screen: Super Admin, Admin, Operator, View Only. Custom role settings, the current workspace, plan and record sharing can further restrict access.
- Opening a screen does not grant every action on it. Changes, exports and lifecycle actions can require additional permissions.
Controls and information
- Type selector
- search and filters
- record fields
- relationships
- history
Steps for this screen
- Choose the correct item type and workspace. Review ownership, lifecycle, source and linked records before changing the item.
- Read the summary, current state and related records. Review the action and its prerequisites before changing the record.
Check the result
- Reopen the item and check its fields and relationships; collector data should have an appropriate observation time.
If this screen is unavailable
- If the record is unavailable, return to its list and confirm the workspace and link. Ask an administrator to check record access before creating a replacement.
- If saving fails or a conflict appears, keep a copy of your intended changes, reopen the current record and review it before submitting again.
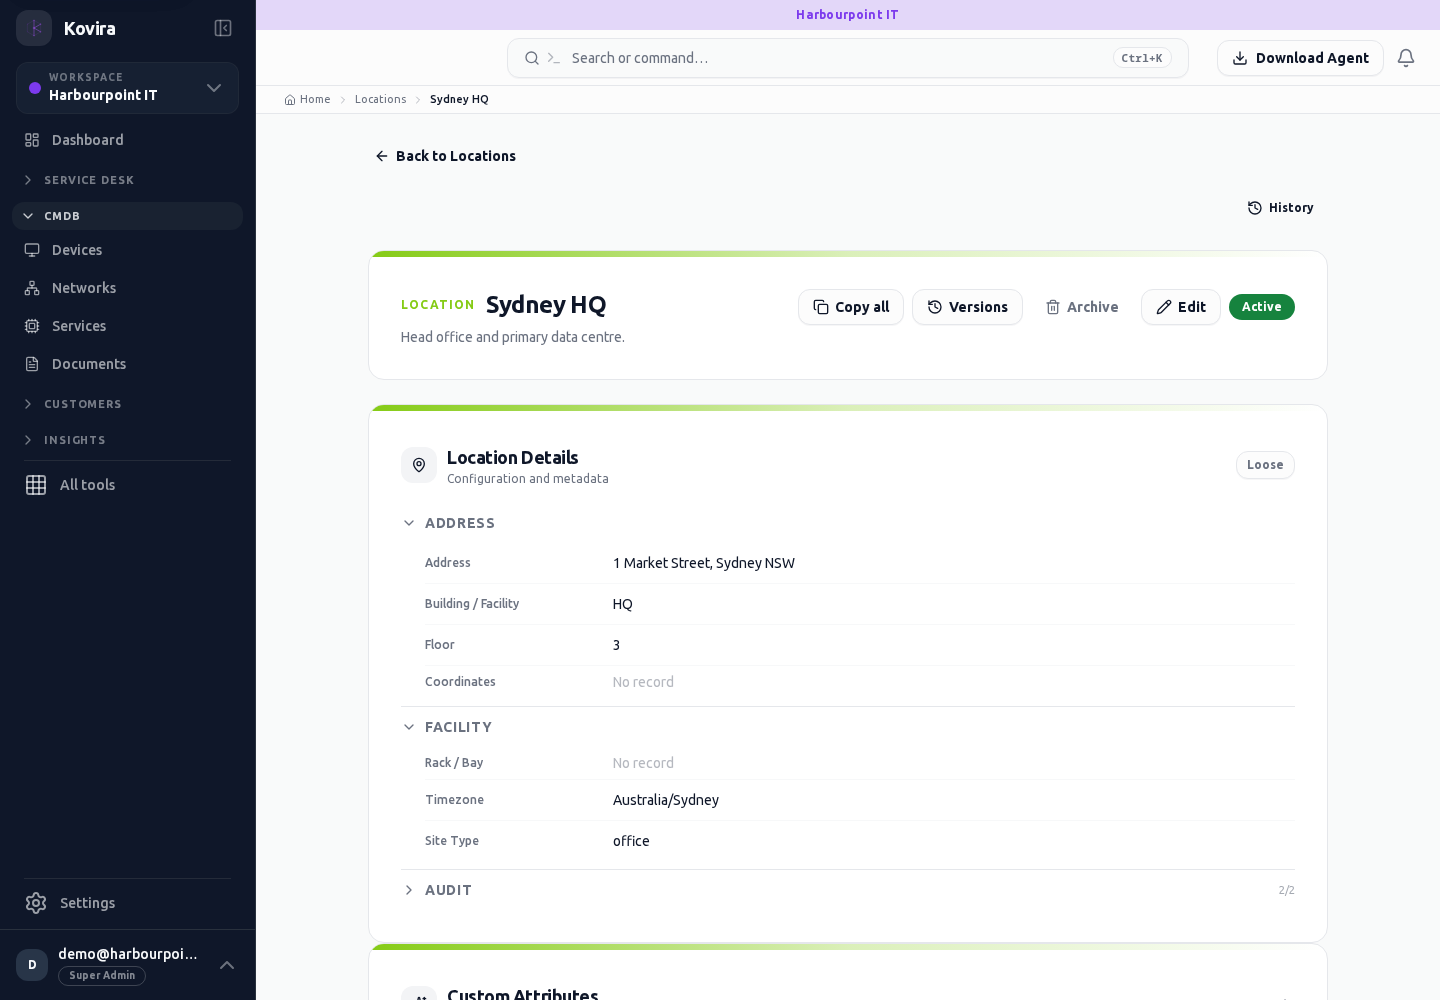
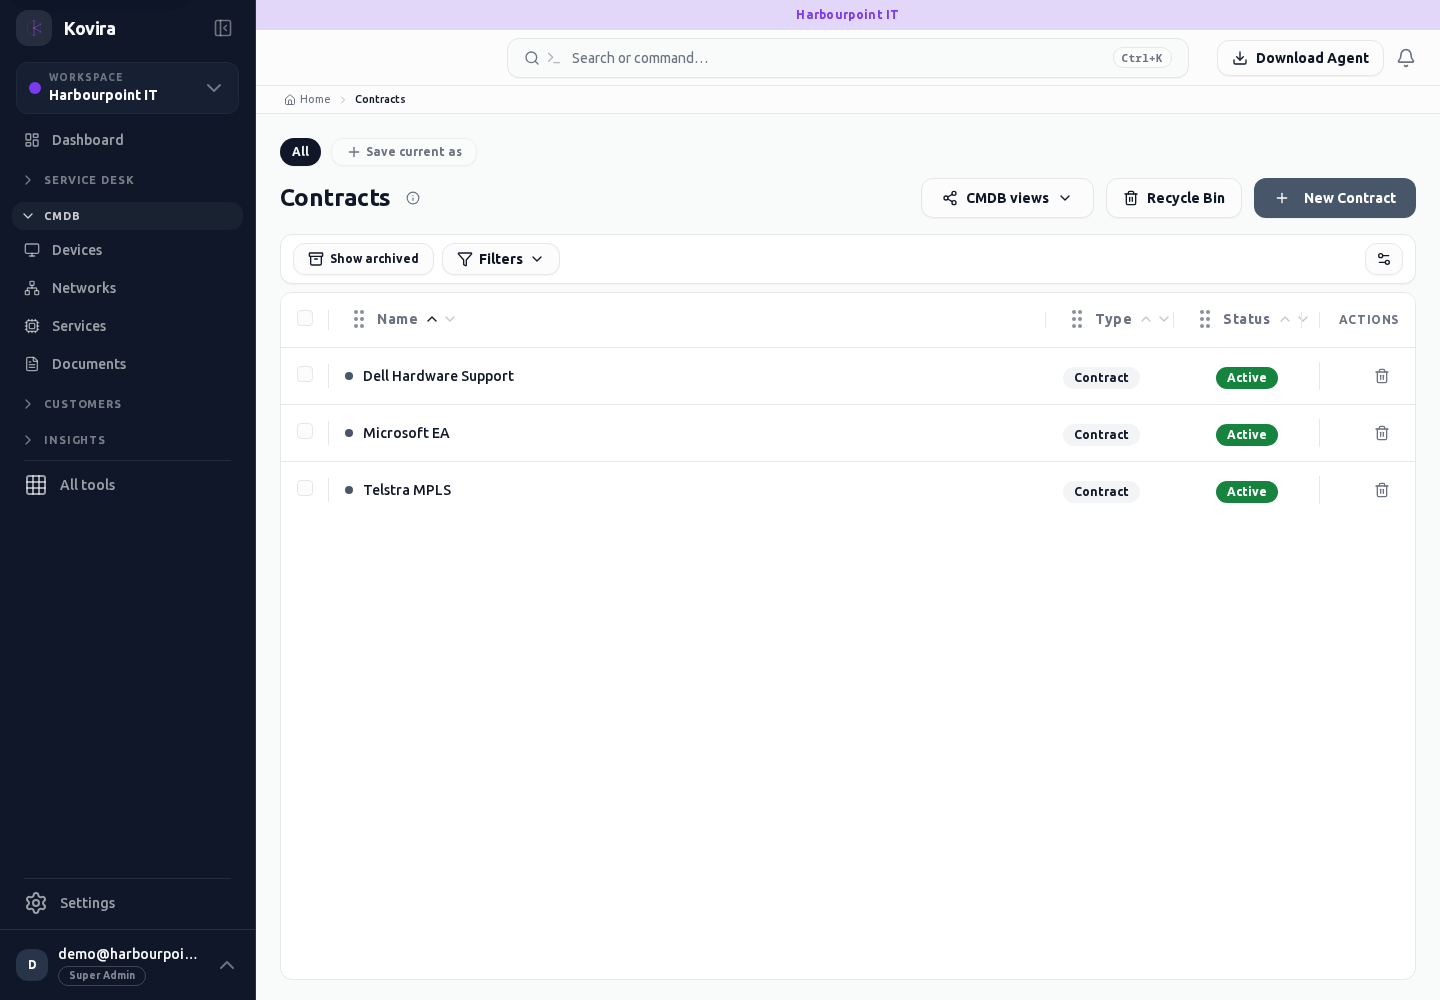
Assets / Contracts
Configuration items. Review this screen in the context of the current workspace and record.
Access
- Default workspace roles for opening this screen: Super Admin, Admin, Operator, View Only. Custom role settings, the current workspace, plan and record sharing can further restrict access.
- Opening a screen does not grant every action on it. Changes, exports and lifecycle actions can require additional permissions.
Controls and information
- Type selector
- search and filters
- record fields
- relationships
- history
Steps for this screen
- Choose the correct item type and workspace. Review ownership, lifecycle, source and linked records before changing the item.
- Use the available search, date and status filters to narrow the view. Open a record link for its detail.
- Clear filters when you need to compare the full accessible list.
Check the result
- Reopen the item and check its fields and relationships; collector data should have an appropriate observation time.
If this screen is unavailable
- If no records appear, clear active filters and confirm the workspace and your access before creating a duplicate.
- If the list cannot load, retry once and quote the displayed support reference; do not infer that the workspace is empty.
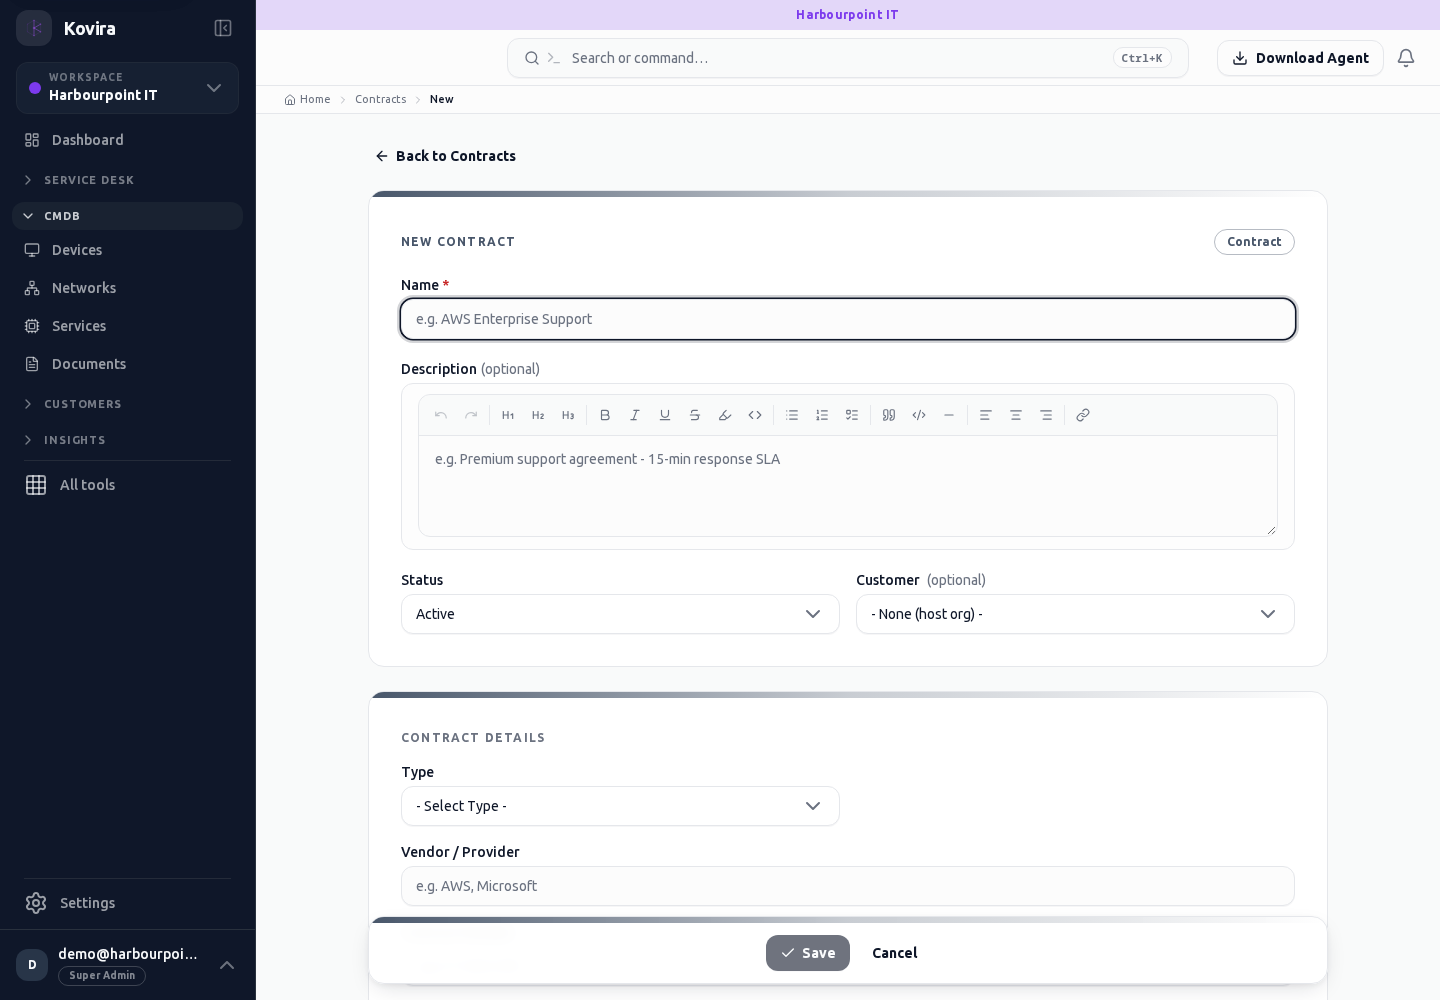
Assets / Contracts / New
Configuration items. Create a new entry and review the information before submitting.
Access
- Default workspace roles for opening this screen: Super Admin, Admin, Operator. Custom role settings, the current workspace, plan and record sharing can further restrict access.
- Opening a screen does not grant every action on it. Changes, exports and lifecycle actions can require additional permissions.
Controls and information
- Type selector
- search and filters
- record fields
- relationships
- history
Steps for this screen
- Choose the correct item type and workspace. Review ownership, lifecycle, source and linked records before changing the item.
- Complete the required fields. Review linked records, dates and any recipient or customer selection.
- Use the form’s create or save action once and wait for its result. Cancel to leave without submitting.
Check the result
- Reopen the item and check its fields and relationships; collector data should have an appropriate observation time.
- Open the newly created record from the resulting list or confirmation and check the saved values.
If this screen is unavailable
- If no records appear, clear active filters and confirm the workspace and your access before creating a duplicate.
- If saving fails or a conflict appears, keep a copy of your intended changes, reopen the current record and review it before submitting again.
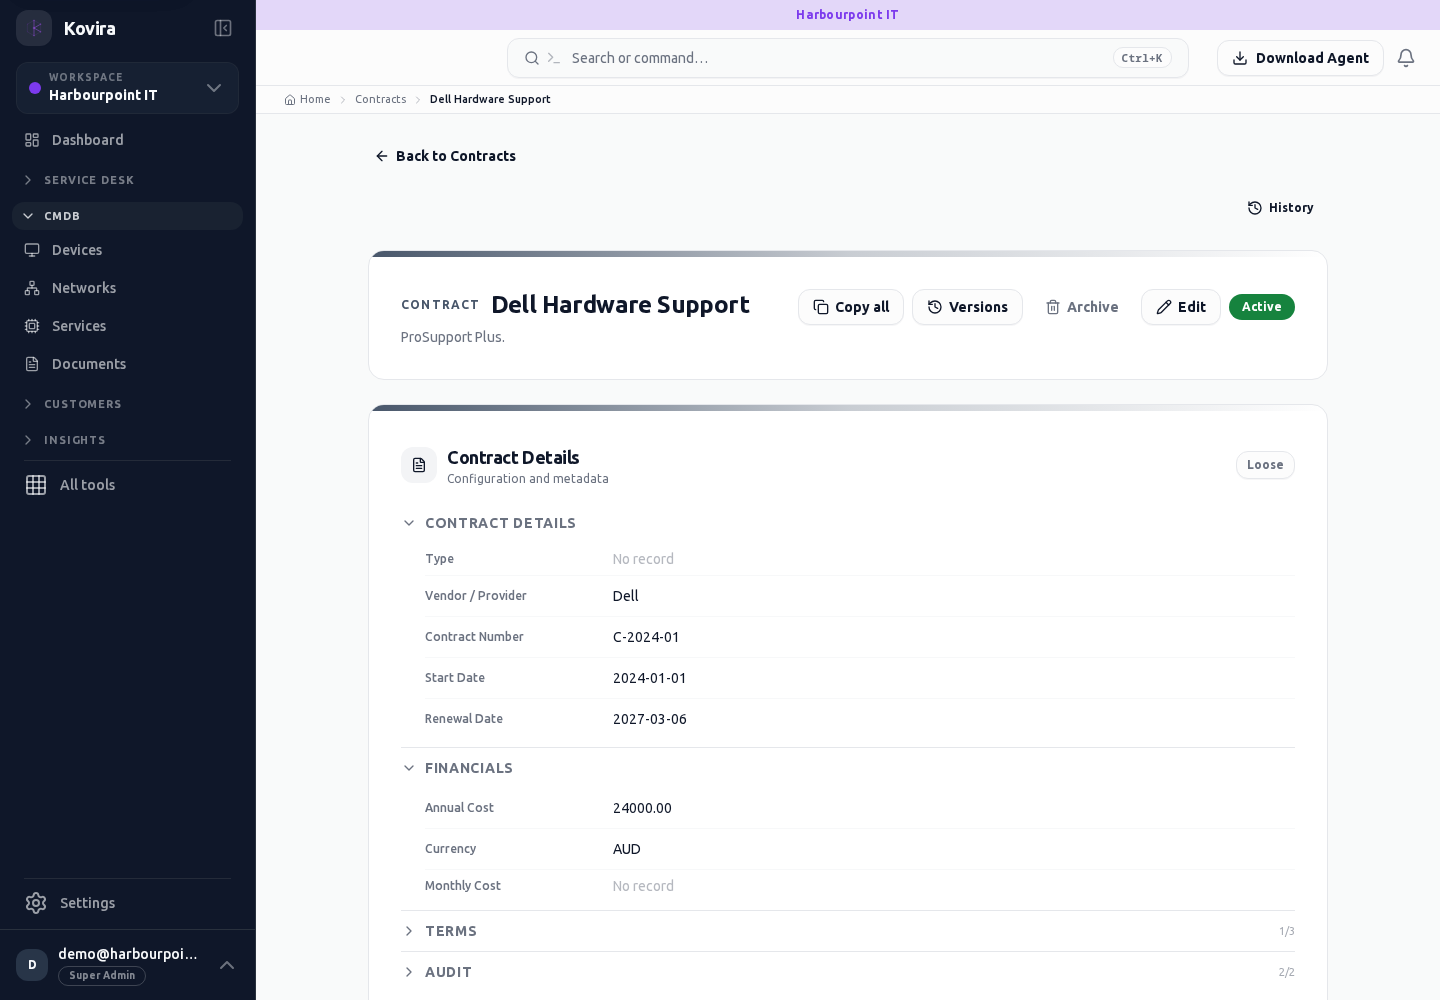
Assets / Contracts / Details
Configuration items. Review this screen in the context of the current workspace and record.
Access
- Default workspace roles for opening this screen: Super Admin, Admin, Operator, View Only. Custom role settings, the current workspace, plan and record sharing can further restrict access.
- Opening a screen does not grant every action on it. Changes, exports and lifecycle actions can require additional permissions.
Controls and information
- Type selector
- search and filters
- record fields
- relationships
- history
Steps for this screen
- Choose the correct item type and workspace. Review ownership, lifecycle, source and linked records before changing the item.
- Read the summary, current state and related records. Review the action and its prerequisites before changing the record.
Check the result
- Reopen the item and check its fields and relationships; collector data should have an appropriate observation time.
If this screen is unavailable
- If the record is unavailable, return to its list and confirm the workspace and link. Ask an administrator to check record access before creating a replacement.
- If saving fails or a conflict appears, keep a copy of your intended changes, reopen the current record and review it before submitting again.
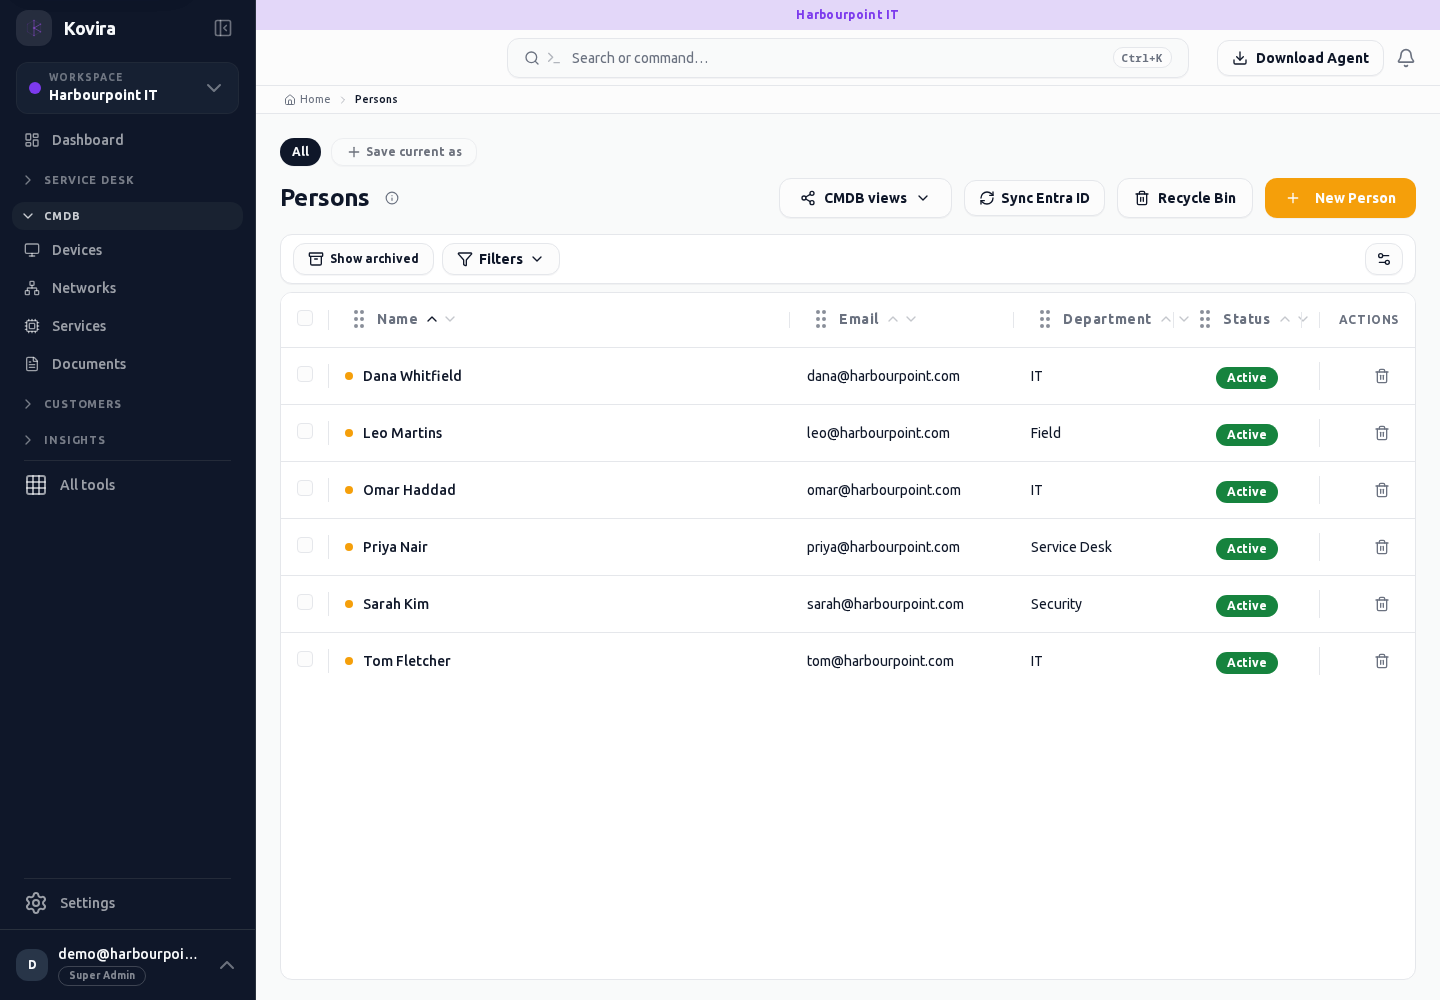
Assets / Persons
Configuration items. Review this screen in the context of the current workspace and record.
Access
- Default workspace roles for opening this screen: Super Admin, Admin, Operator, View Only. Custom role settings, the current workspace, plan and record sharing can further restrict access.
- Opening a screen does not grant every action on it. Changes, exports and lifecycle actions can require additional permissions.
Controls and information
- Type selector
- search and filters
- record fields
- relationships
- history
Steps for this screen
- Choose the correct item type and workspace. Review ownership, lifecycle, source and linked records before changing the item.
- Use the available search, date and status filters to narrow the view. Open a record link for its detail.
- Clear filters when you need to compare the full accessible list.
Check the result
- Reopen the item and check its fields and relationships; collector data should have an appropriate observation time.
If this screen is unavailable
- If no records appear, clear active filters and confirm the workspace and your access before creating a duplicate.
- If the list cannot load, retry once and quote the displayed support reference; do not infer that the workspace is empty.
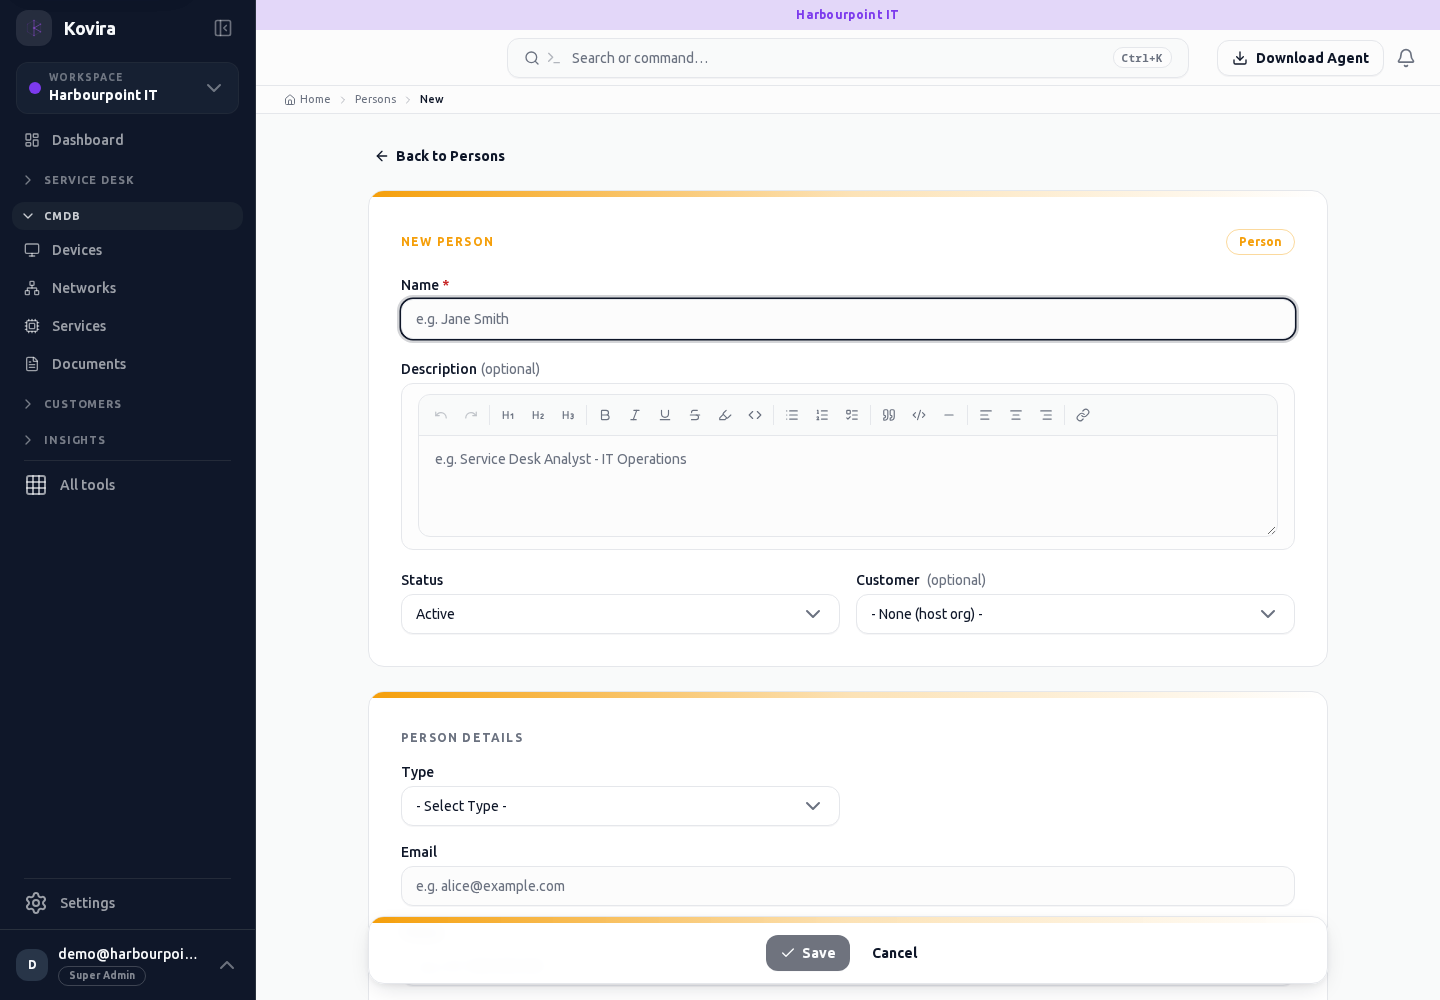
Assets / Persons / New
Configuration items. Create a new entry and review the information before submitting.
Access
- Default workspace roles for opening this screen: Super Admin, Admin, Operator. Custom role settings, the current workspace, plan and record sharing can further restrict access.
- Opening a screen does not grant every action on it. Changes, exports and lifecycle actions can require additional permissions.
Controls and information
- Type selector
- search and filters
- record fields
- relationships
- history
Steps for this screen
- Choose the correct item type and workspace. Review ownership, lifecycle, source and linked records before changing the item.
- Complete the required fields. Review linked records, dates and any recipient or customer selection.
- Use the form’s create or save action once and wait for its result. Cancel to leave without submitting.
Check the result
- Reopen the item and check its fields and relationships; collector data should have an appropriate observation time.
- Open the newly created record from the resulting list or confirmation and check the saved values.
If this screen is unavailable
- If no records appear, clear active filters and confirm the workspace and your access before creating a duplicate.
- If saving fails or a conflict appears, keep a copy of your intended changes, reopen the current record and review it before submitting again.
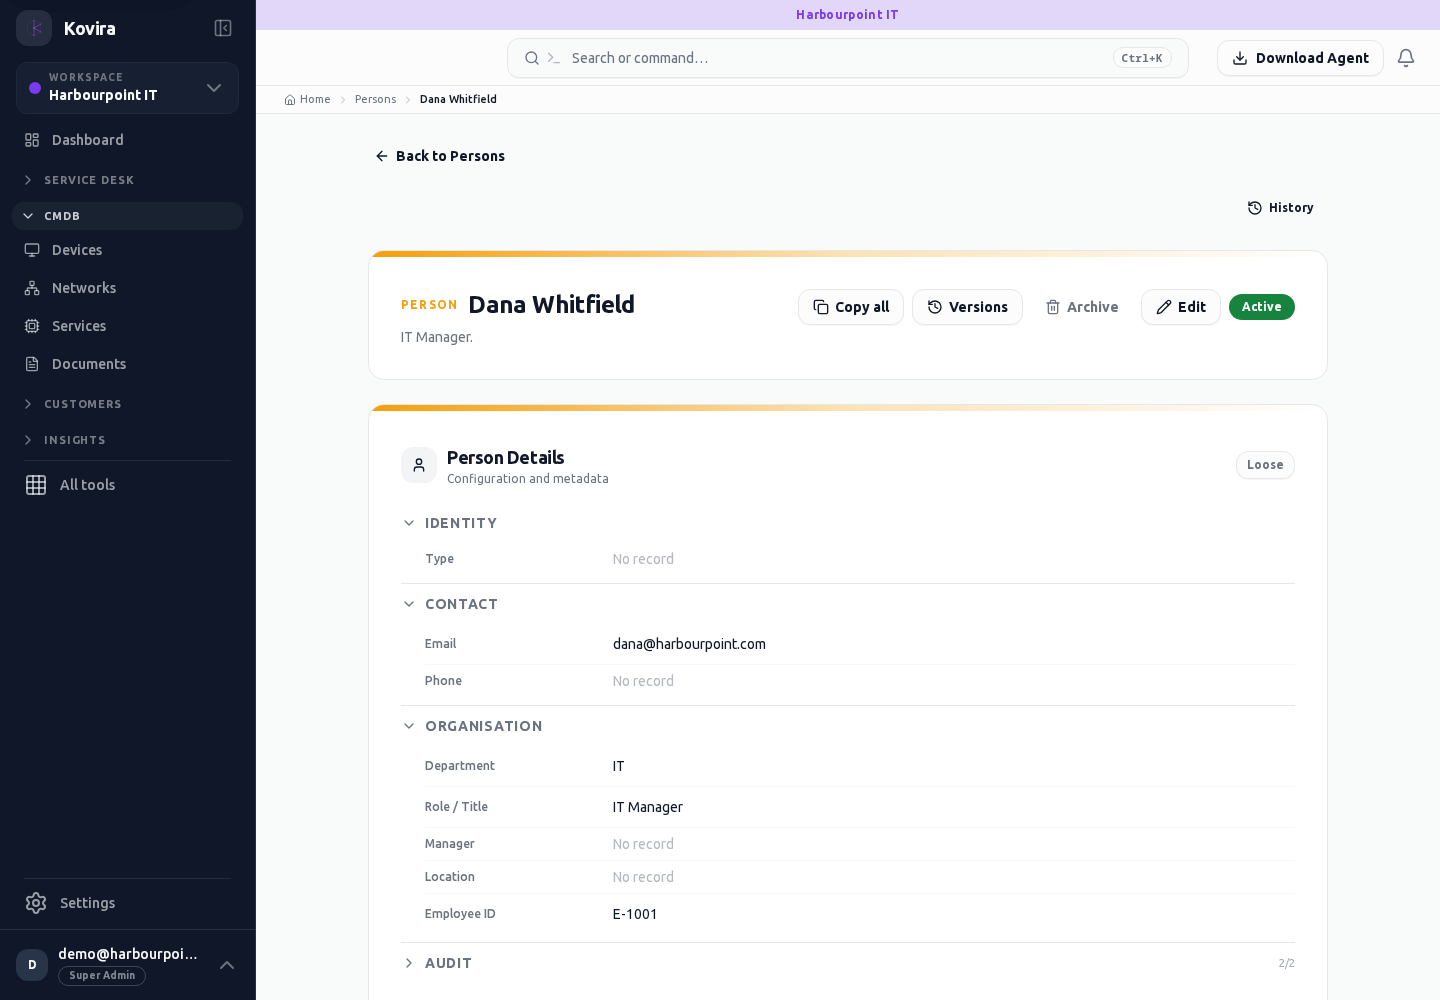
Assets / Persons / Details
Configuration items. Review this screen in the context of the current workspace and record.
Access
- Default workspace roles for opening this screen: Super Admin, Admin, Operator, View Only. Custom role settings, the current workspace, plan and record sharing can further restrict access.
- Opening a screen does not grant every action on it. Changes, exports and lifecycle actions can require additional permissions.
Controls and information
- Type selector
- search and filters
- record fields
- relationships
- history
Steps for this screen
- Choose the correct item type and workspace. Review ownership, lifecycle, source and linked records before changing the item.
- Read the summary, current state and related records. Review the action and its prerequisites before changing the record.
Check the result
- Reopen the item and check its fields and relationships; collector data should have an appropriate observation time.
If this screen is unavailable
- If the record is unavailable, return to its list and confirm the workspace and link. Ask an administrator to check record access before creating a replacement.
- If saving fails or a conflict appears, keep a copy of your intended changes, reopen the current record and review it before submitting again.
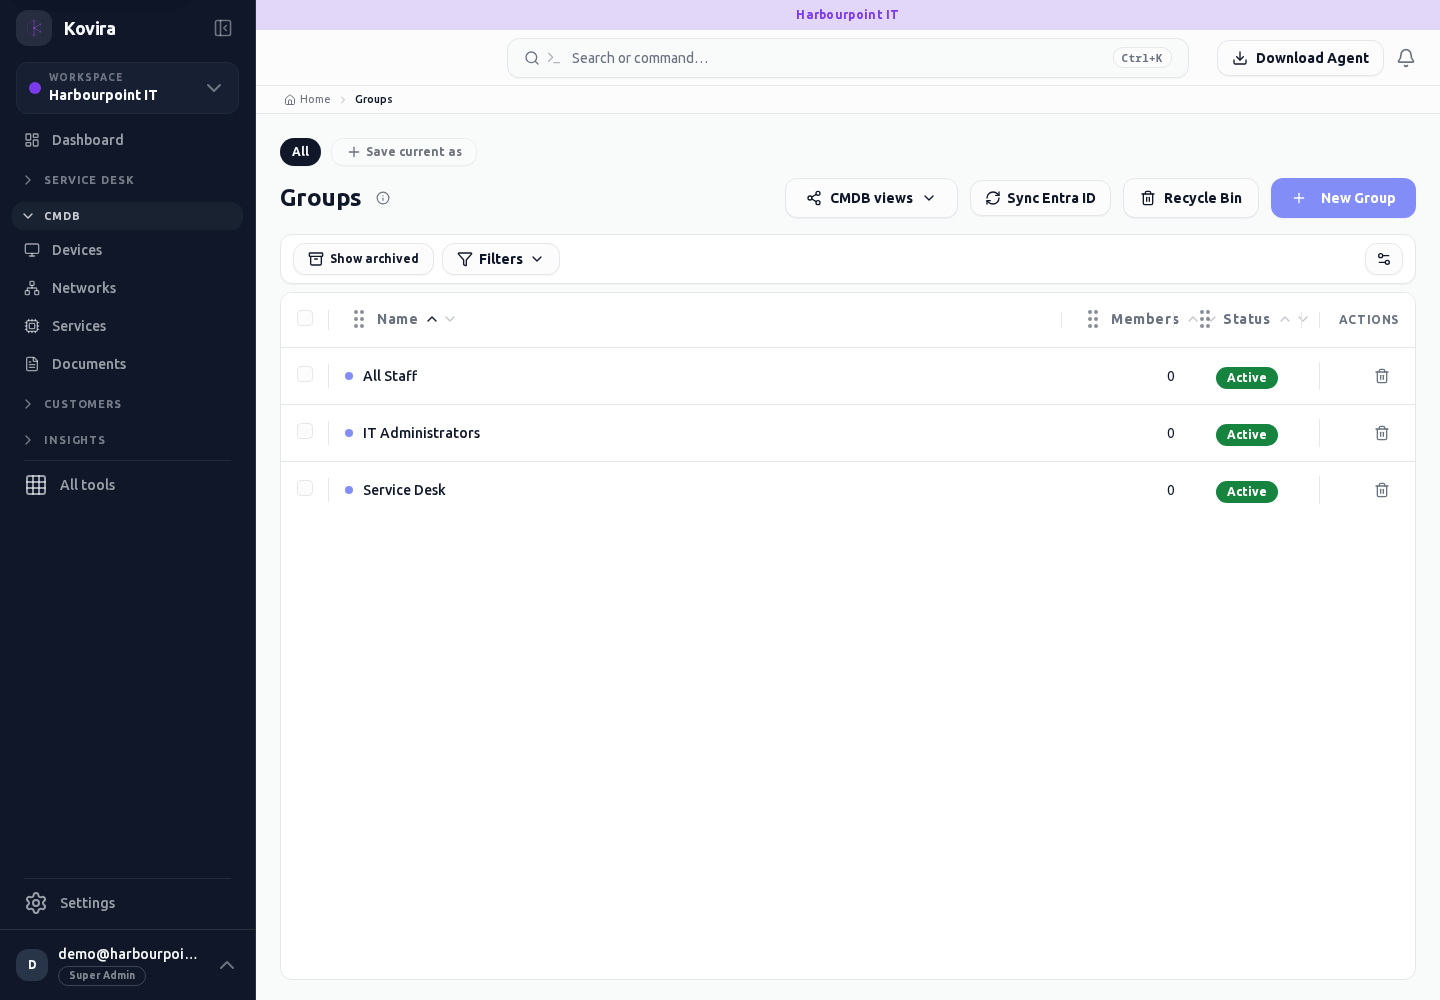
Assets / Groups
Configuration items. Review this screen in the context of the current workspace and record.
Access
- Default workspace roles for opening this screen: Super Admin, Admin, Operator, View Only. Custom role settings, the current workspace, plan and record sharing can further restrict access.
- Opening a screen does not grant every action on it. Changes, exports and lifecycle actions can require additional permissions.
Controls and information
- Type selector
- search and filters
- record fields
- relationships
- history
Steps for this screen
- Choose the correct item type and workspace. Review ownership, lifecycle, source and linked records before changing the item.
- Use the available search, date and status filters to narrow the view. Open a record link for its detail.
- Clear filters when you need to compare the full accessible list.
Check the result
- Reopen the item and check its fields and relationships; collector data should have an appropriate observation time.
If this screen is unavailable
- If no records appear, clear active filters and confirm the workspace and your access before creating a duplicate.
- If the list cannot load, retry once and quote the displayed support reference; do not infer that the workspace is empty.
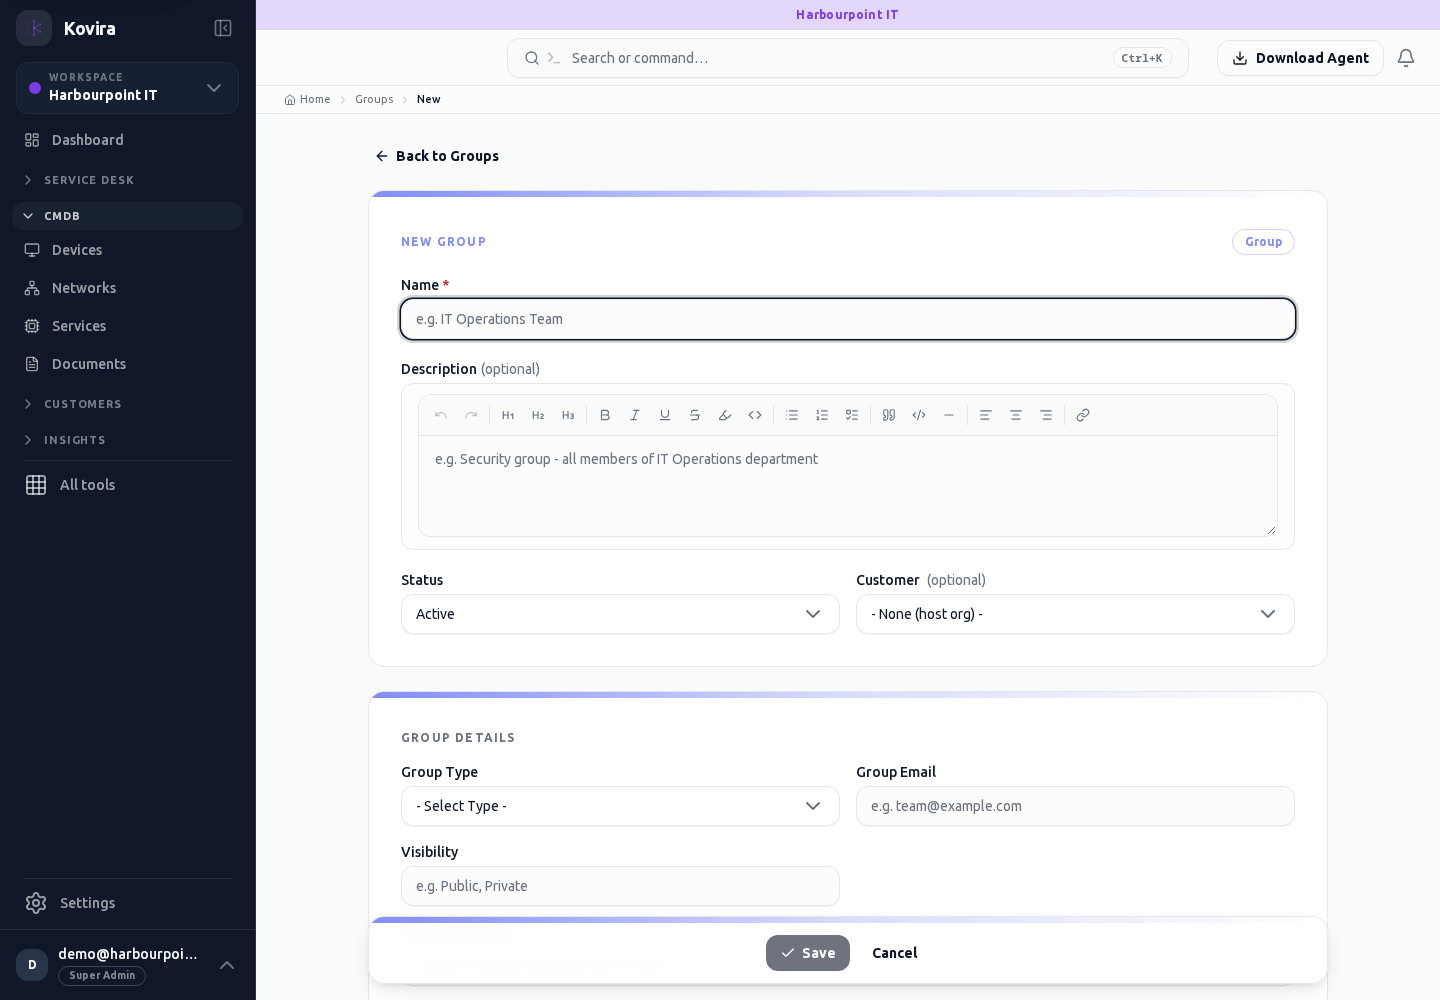
Assets / Groups / New
Configuration items. Create a new entry and review the information before submitting.
Access
- Default workspace roles for opening this screen: Super Admin, Admin, Operator. Custom role settings, the current workspace, plan and record sharing can further restrict access.
- Opening a screen does not grant every action on it. Changes, exports and lifecycle actions can require additional permissions.
Controls and information
- Type selector
- search and filters
- record fields
- relationships
- history
Steps for this screen
- Choose the correct item type and workspace. Review ownership, lifecycle, source and linked records before changing the item.
- Complete the required fields. Review linked records, dates and any recipient or customer selection.
- Use the form’s create or save action once and wait for its result. Cancel to leave without submitting.
Check the result
- Reopen the item and check its fields and relationships; collector data should have an appropriate observation time.
- Open the newly created record from the resulting list or confirmation and check the saved values.
If this screen is unavailable
- If no records appear, clear active filters and confirm the workspace and your access before creating a duplicate.
- If saving fails or a conflict appears, keep a copy of your intended changes, reopen the current record and review it before submitting again.
Assets / Groups / Details
Configuration items. Review this screen in the context of the current workspace and record.
Access
- Default workspace roles for opening this screen: Super Admin, Admin, Operator, View Only. Custom role settings, the current workspace, plan and record sharing can further restrict access.
- Opening a screen does not grant every action on it. Changes, exports and lifecycle actions can require additional permissions.
Controls and information
- Type selector
- search and filters
- record fields
- relationships
- history
Steps for this screen
- Choose the correct item type and workspace. Review ownership, lifecycle, source and linked records before changing the item.
- Read the summary, current state and related records. Review the action and its prerequisites before changing the record.
Check the result
- Reopen the item and check its fields and relationships; collector data should have an appropriate observation time.
If this screen is unavailable
- If the record is unavailable, return to its list and confirm the workspace and link. Ask an administrator to check record access before creating a replacement.
- If saving fails or a conflict appears, keep a copy of your intended changes, reopen the current record and review it before submitting again.
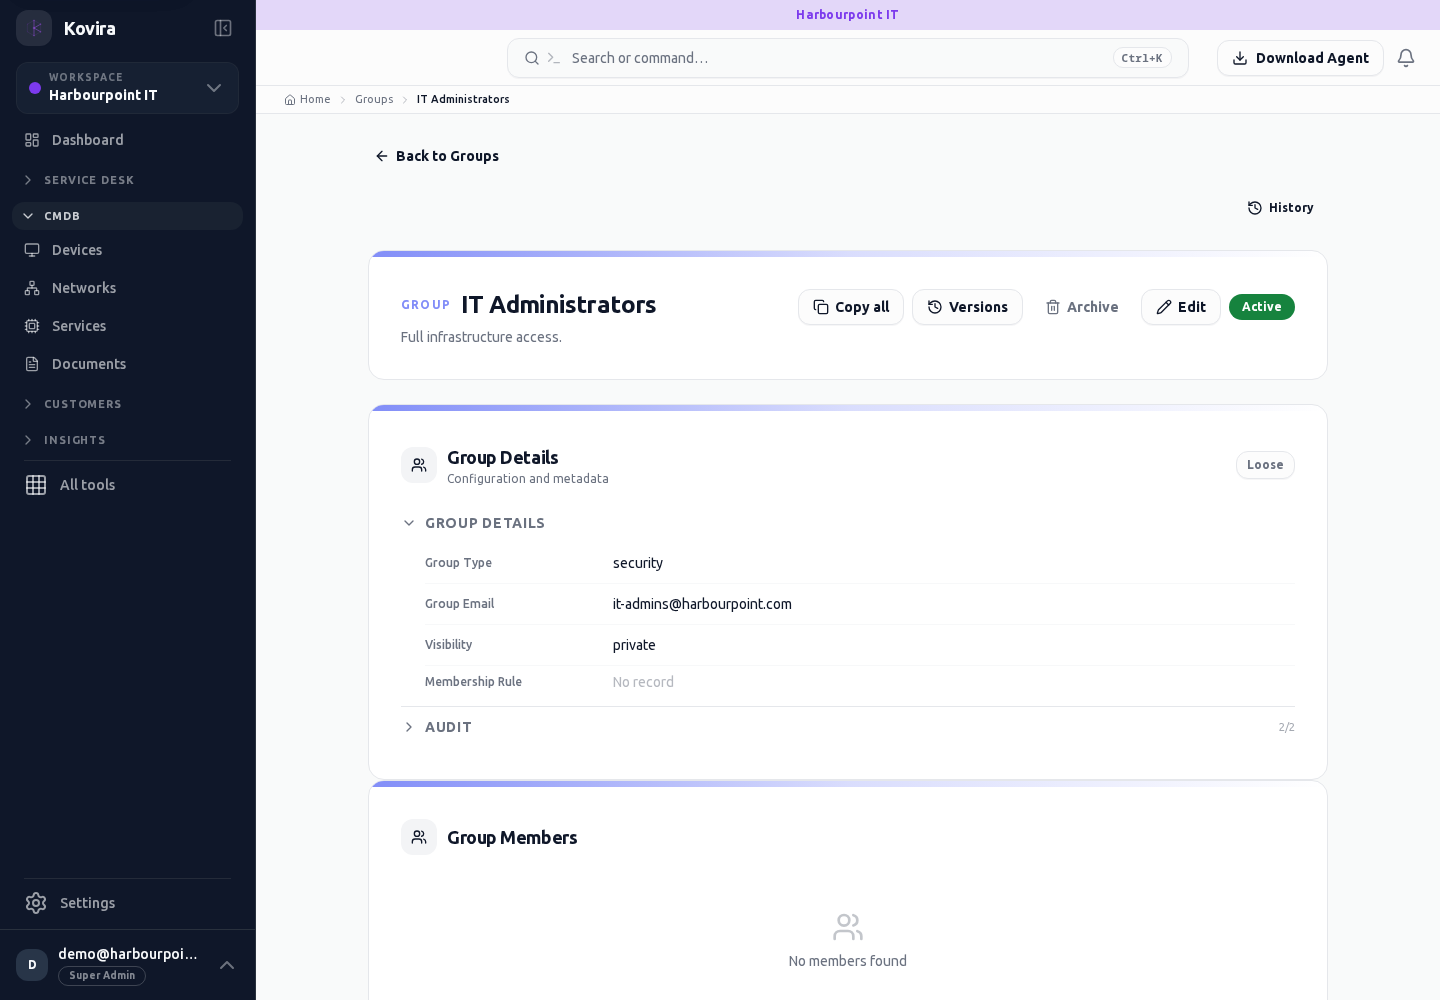
Assets / Incidents
Configuration items. Review this screen in the context of the current workspace and record.
Access
- Default workspace roles for opening this screen: Super Admin, Admin, Operator, View Only. Custom role settings, the current workspace, plan and record sharing can further restrict access.
- Opening a screen does not grant every action on it. Changes, exports and lifecycle actions can require additional permissions.
Controls and information
- Type selector
- search and filters
- record fields
- relationships
- history
Steps for this screen
- Choose the correct item type and workspace. Review ownership, lifecycle, source and linked records before changing the item.
- Use the available search, date and status filters to narrow the view. Open a record link for its detail.
- Clear filters when you need to compare the full accessible list.
Check the result
- Reopen the item and check its fields and relationships; collector data should have an appropriate observation time.
If this screen is unavailable
- If no records appear, clear active filters and confirm the workspace and your access before creating a duplicate.
- If the list cannot load, retry once and quote the displayed support reference; do not infer that the workspace is empty.
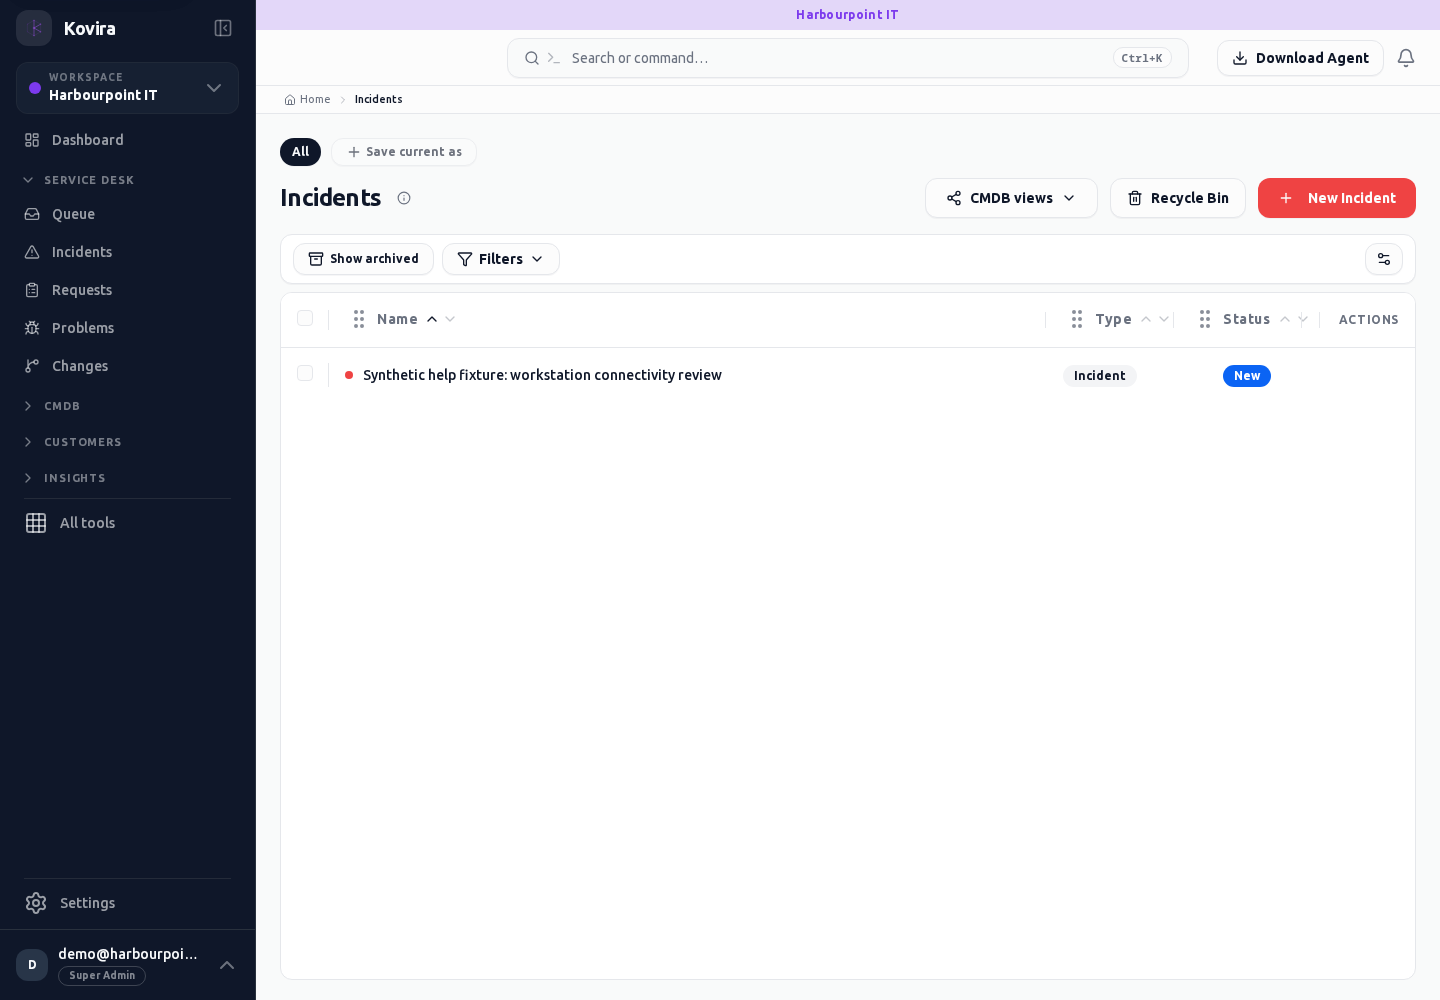
Assets / Incidents / New
Configuration items. Open the linked destination and continue there.
Access
- Default workspace roles for opening this screen: Super Admin, Admin, Operator. Custom role settings, the current workspace, plan and record sharing can further restrict access.
- Opening a screen does not grant every action on it. Changes, exports and lifecycle actions can require additional permissions.
Controls and information
- Type selector
- search and filters
- record fields
- relationships
- history
Steps for this screen
- Choose the correct item type and workspace. Review ownership, lifecycle, source and linked records before changing the item.
- This entry opens the corresponding destination screen. Check the heading and continue with the destination’s controls.
Check the result
- Reopen the item and check its fields and relationships; collector data should have an appropriate observation time.
If this screen is unavailable
- If no records appear, clear active filters and confirm the workspace and your access before creating a duplicate.
- If the destination cannot be opened, use its navigation entry and confirm that your role and plan include it.
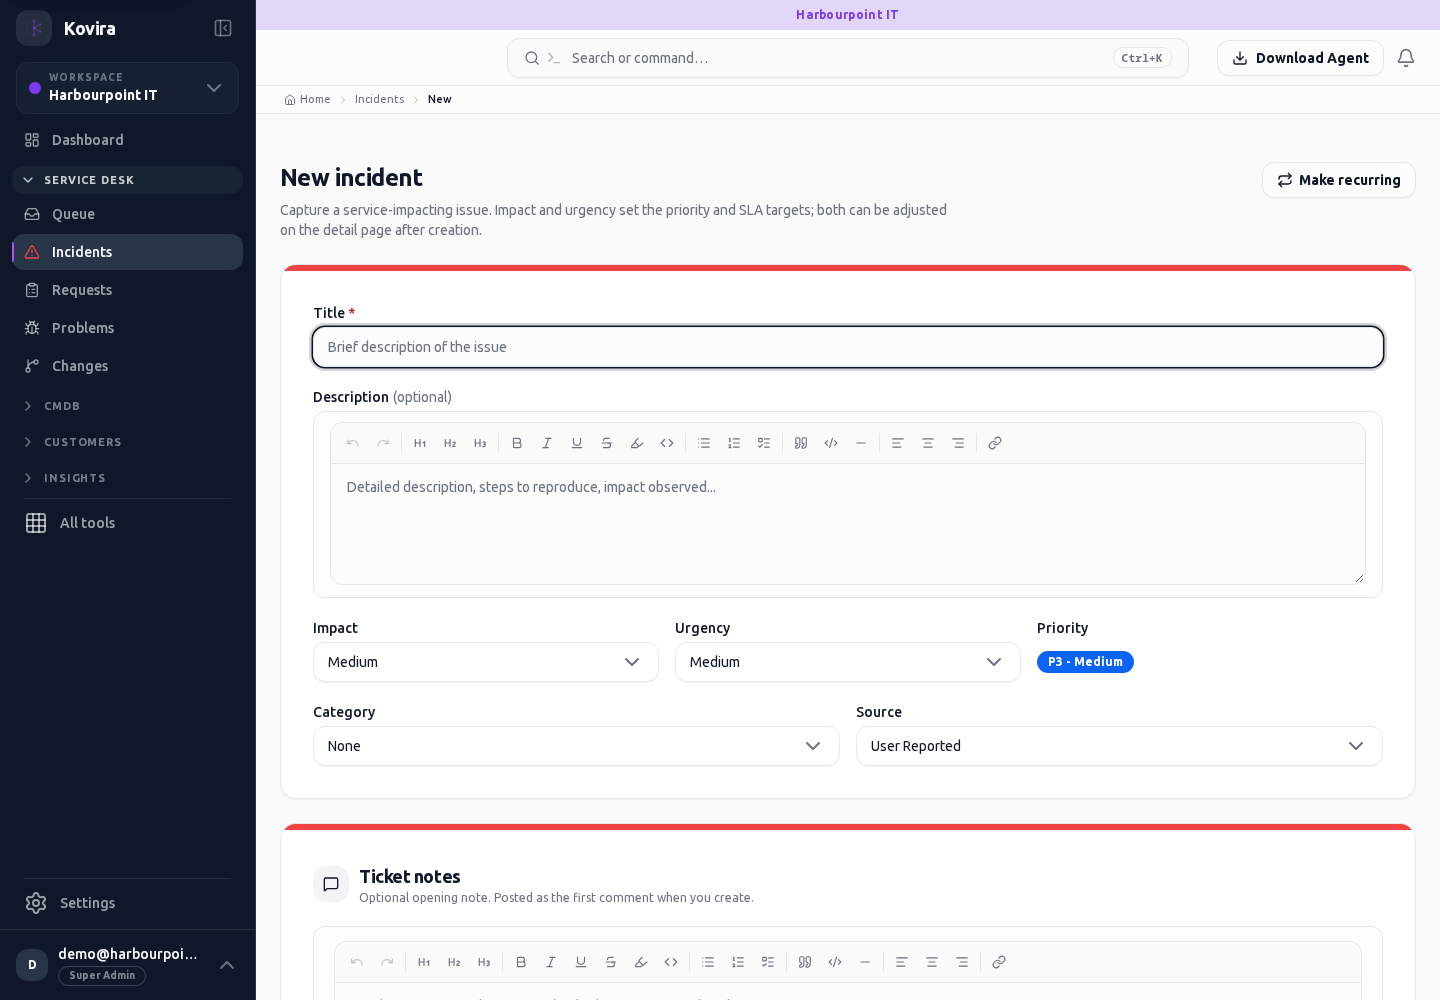
Assets / Incidents / Details
Configuration items. Open the linked destination and continue there.
Access
- Default workspace roles for opening this screen: Super Admin, Admin, Operator, View Only. Custom role settings, the current workspace, plan and record sharing can further restrict access.
- Opening a screen does not grant every action on it. Changes, exports and lifecycle actions can require additional permissions.
Controls and information
- Type selector
- search and filters
- record fields
- relationships
- history
Steps for this screen
- Choose the correct item type and workspace. Review ownership, lifecycle, source and linked records before changing the item.
- This entry opens the corresponding destination screen. Check the heading and continue with the destination’s controls.
Check the result
- Reopen the item and check its fields and relationships; collector data should have an appropriate observation time.
If this screen is unavailable
- If no records appear, clear active filters and confirm the workspace and your access before creating a duplicate.
- If the destination cannot be opened, use its navigation entry and confirm that your role and plan include it.
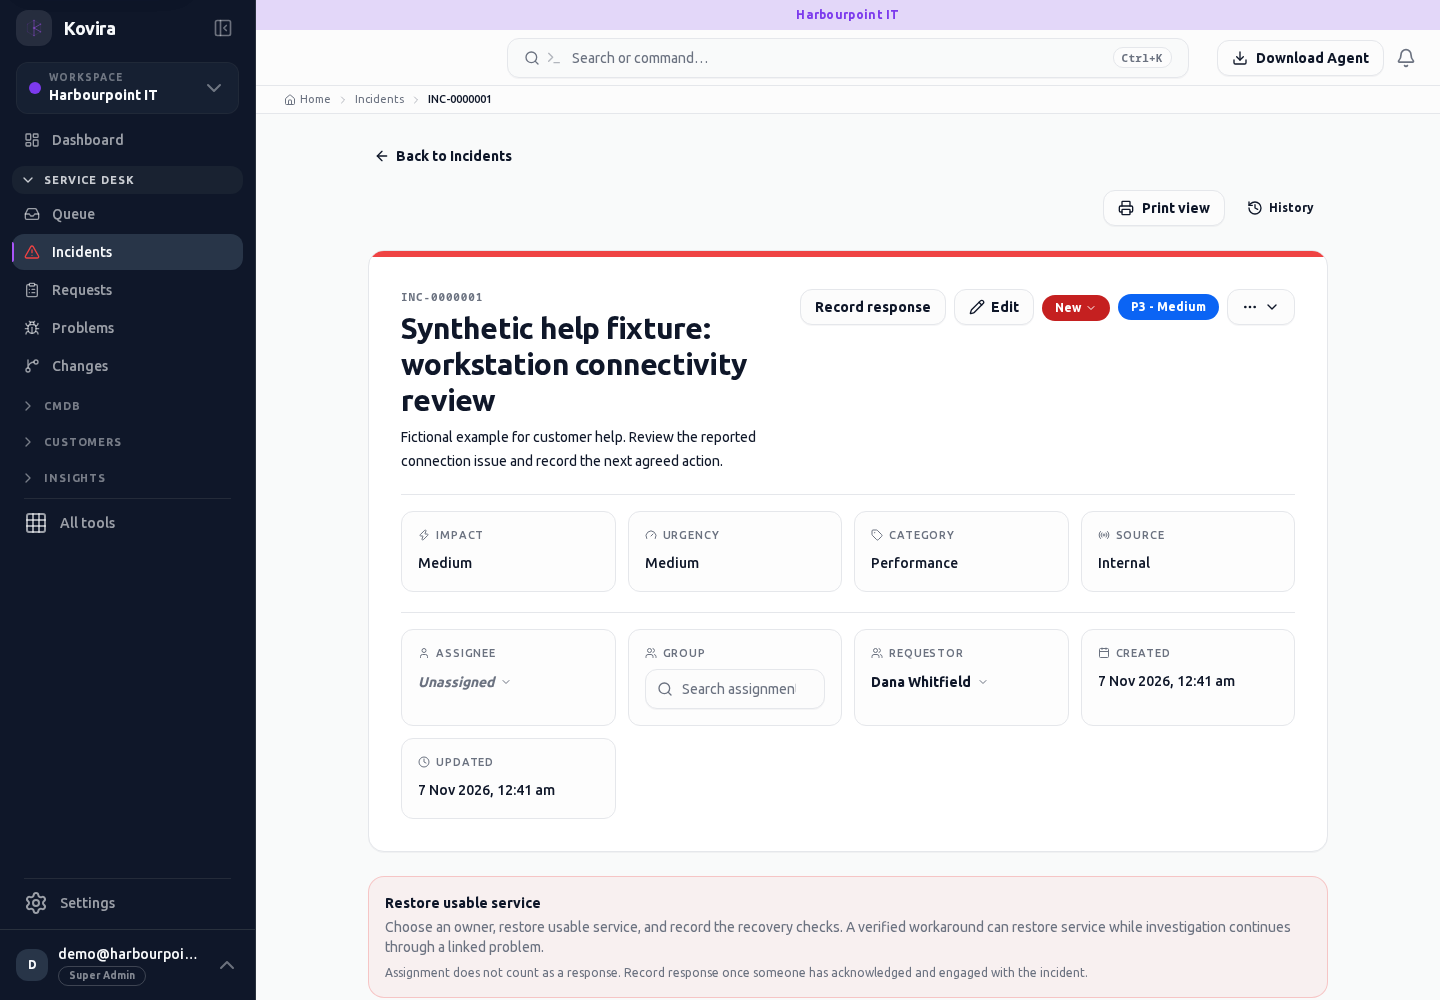
Assets / Changes
Configuration items. Review this screen in the context of the current workspace and record.
Access
- Default workspace roles for opening this screen: Super Admin, Admin, Operator, View Only. Custom role settings, the current workspace, plan and record sharing can further restrict access.
- Opening a screen does not grant every action on it. Changes, exports and lifecycle actions can require additional permissions.
Controls and information
- Type selector
- search and filters
- record fields
- relationships
- history
Steps for this screen
- Choose the correct item type and workspace. Review ownership, lifecycle, source and linked records before changing the item.
- Use the available search, date and status filters to narrow the view. Open a record link for its detail.
- Clear filters when you need to compare the full accessible list.
Check the result
- Reopen the item and check its fields and relationships; collector data should have an appropriate observation time.
If this screen is unavailable
- If no records appear, clear active filters and confirm the workspace and your access before creating a duplicate.
- If the list cannot load, retry once and quote the displayed support reference; do not infer that the workspace is empty.
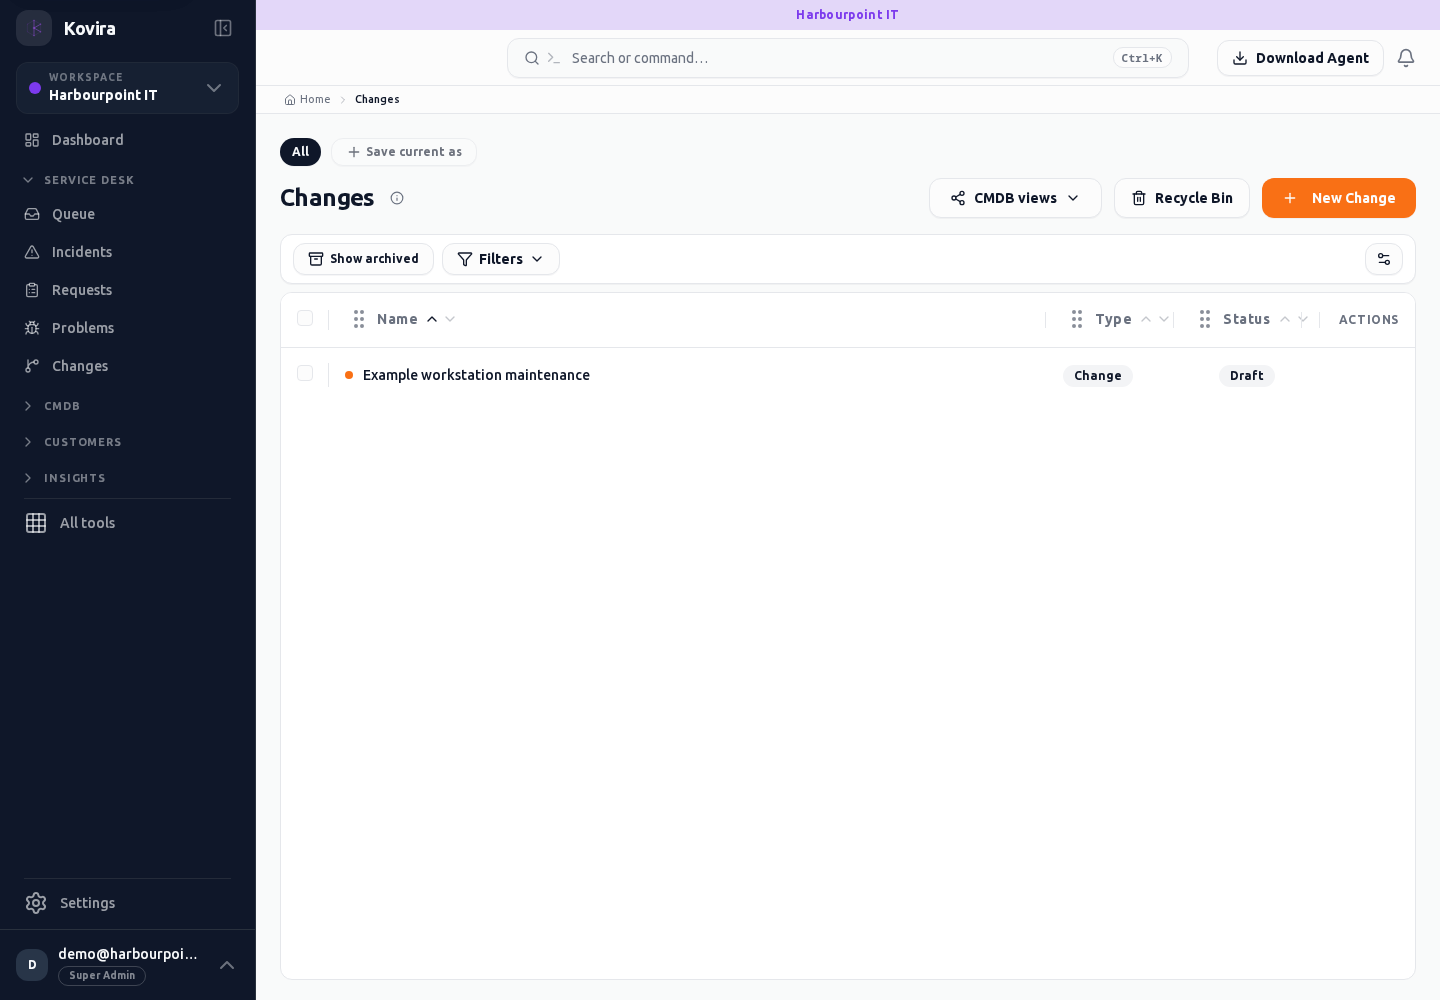
Assets / Changes / New
Configuration items. Open the linked destination and continue there.
Access
- Default workspace roles for opening this screen: Super Admin, Admin, Operator. Custom role settings, the current workspace, plan and record sharing can further restrict access.
- Opening a screen does not grant every action on it. Changes, exports and lifecycle actions can require additional permissions.
Controls and information
- Type selector
- search and filters
- record fields
- relationships
- history
Steps for this screen
- Choose the correct item type and workspace. Review ownership, lifecycle, source and linked records before changing the item.
- This entry opens the corresponding destination screen. Check the heading and continue with the destination’s controls.
Check the result
- Reopen the item and check its fields and relationships; collector data should have an appropriate observation time.
If this screen is unavailable
- If no records appear, clear active filters and confirm the workspace and your access before creating a duplicate.
- If the destination cannot be opened, use its navigation entry and confirm that your role and plan include it.
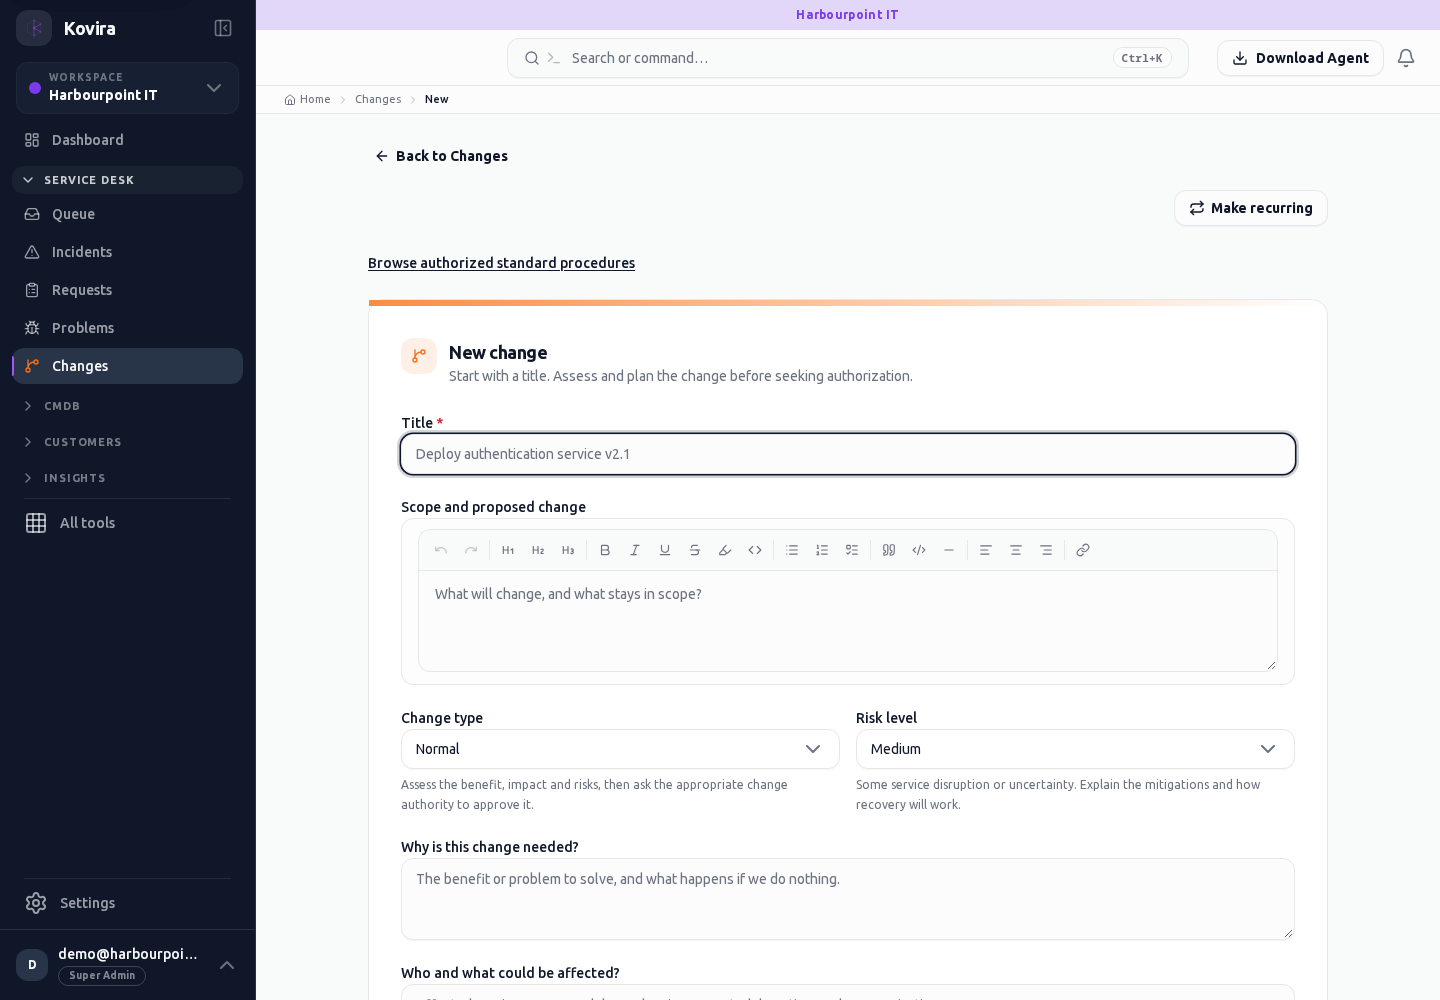
Assets / Changes / Details
Configuration items. Open the linked destination and continue there.
Access
- Default workspace roles for opening this screen: Super Admin, Admin, Operator, View Only. Custom role settings, the current workspace, plan and record sharing can further restrict access.
- Opening a screen does not grant every action on it. Changes, exports and lifecycle actions can require additional permissions.
Controls and information
- Type selector
- search and filters
- record fields
- relationships
- history
Steps for this screen
- Choose the correct item type and workspace. Review ownership, lifecycle, source and linked records before changing the item.
- This entry opens the corresponding destination screen. Check the heading and continue with the destination’s controls.
Check the result
- Reopen the item and check its fields and relationships; collector data should have an appropriate observation time.
If this screen is unavailable
- If no records appear, clear active filters and confirm the workspace and your access before creating a duplicate.
- If the destination cannot be opened, use its navigation entry and confirm that your role and plan include it.
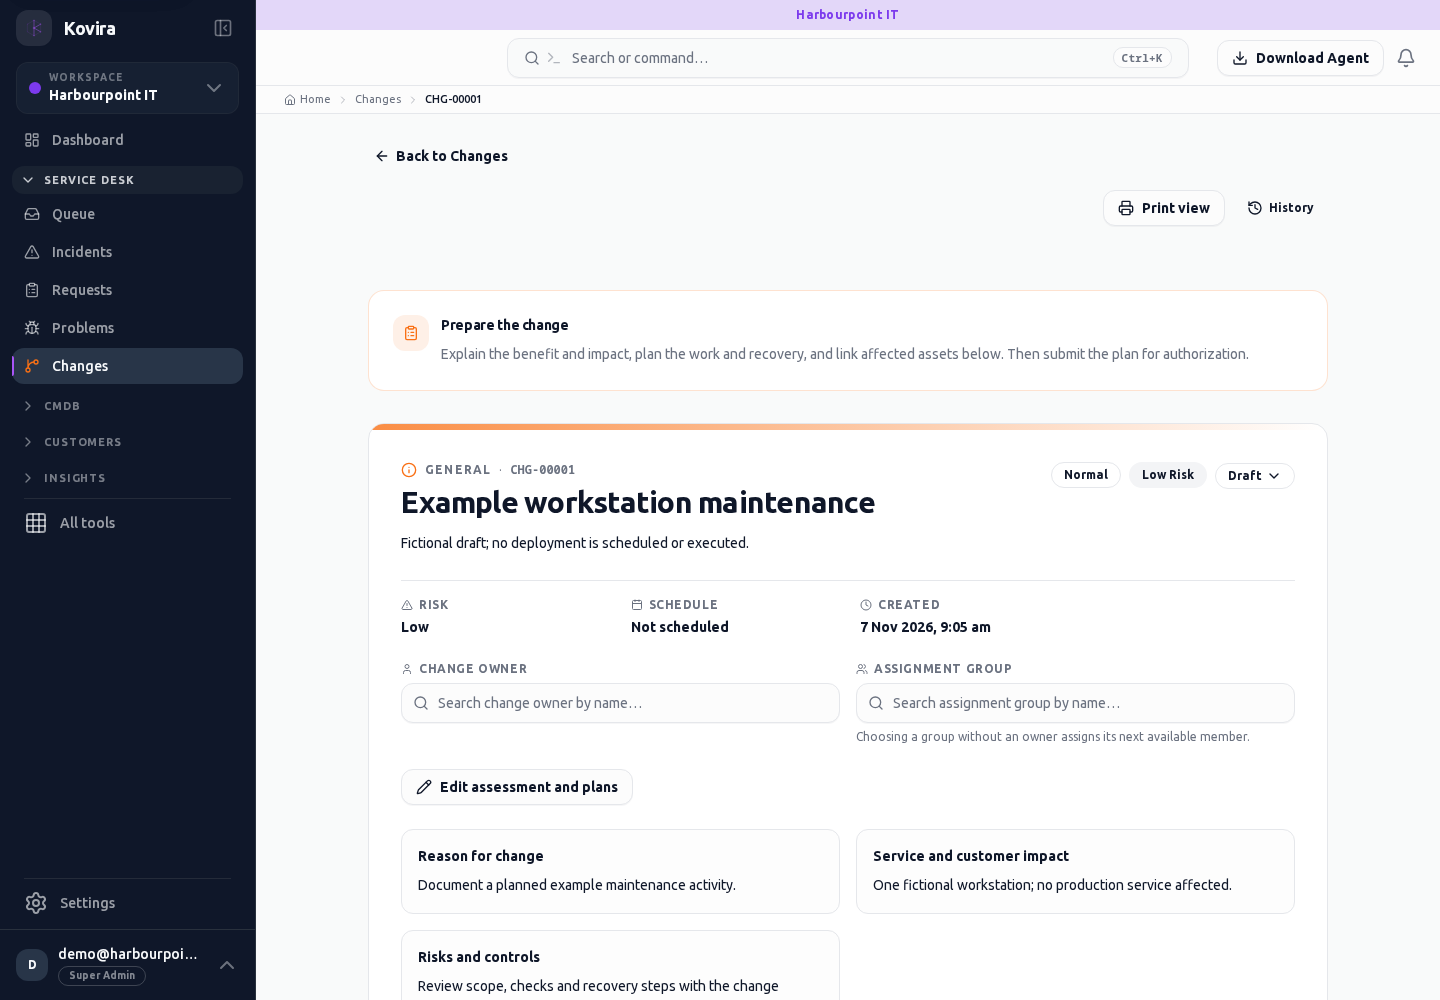
Assets / Passwords
Configuration items. Review this screen in the context of the current workspace and record.
Access
- Default workspace roles for opening this screen: Super Admin, Admin, Operator, View Only. Custom role settings, the current workspace, plan and record sharing can further restrict access.
- Opening a screen does not grant every action on it. Changes, exports and lifecycle actions can require additional permissions.
Controls and information
- Type selector
- search and filters
- record fields
- relationships
- history
Steps for this screen
- Choose the correct item type and workspace. Review ownership, lifecycle, source and linked records before changing the item.
- Use the available search, date and status filters to narrow the view. Open a record link for its detail.
- Clear filters when you need to compare the full accessible list.
Check the result
- Reopen the item and check its fields and relationships; collector data should have an appropriate observation time.
If this screen is unavailable
- If no records appear, clear active filters and confirm the workspace and your access before creating a duplicate.
- If the list cannot load, retry once and quote the displayed support reference; do not infer that the workspace is empty.
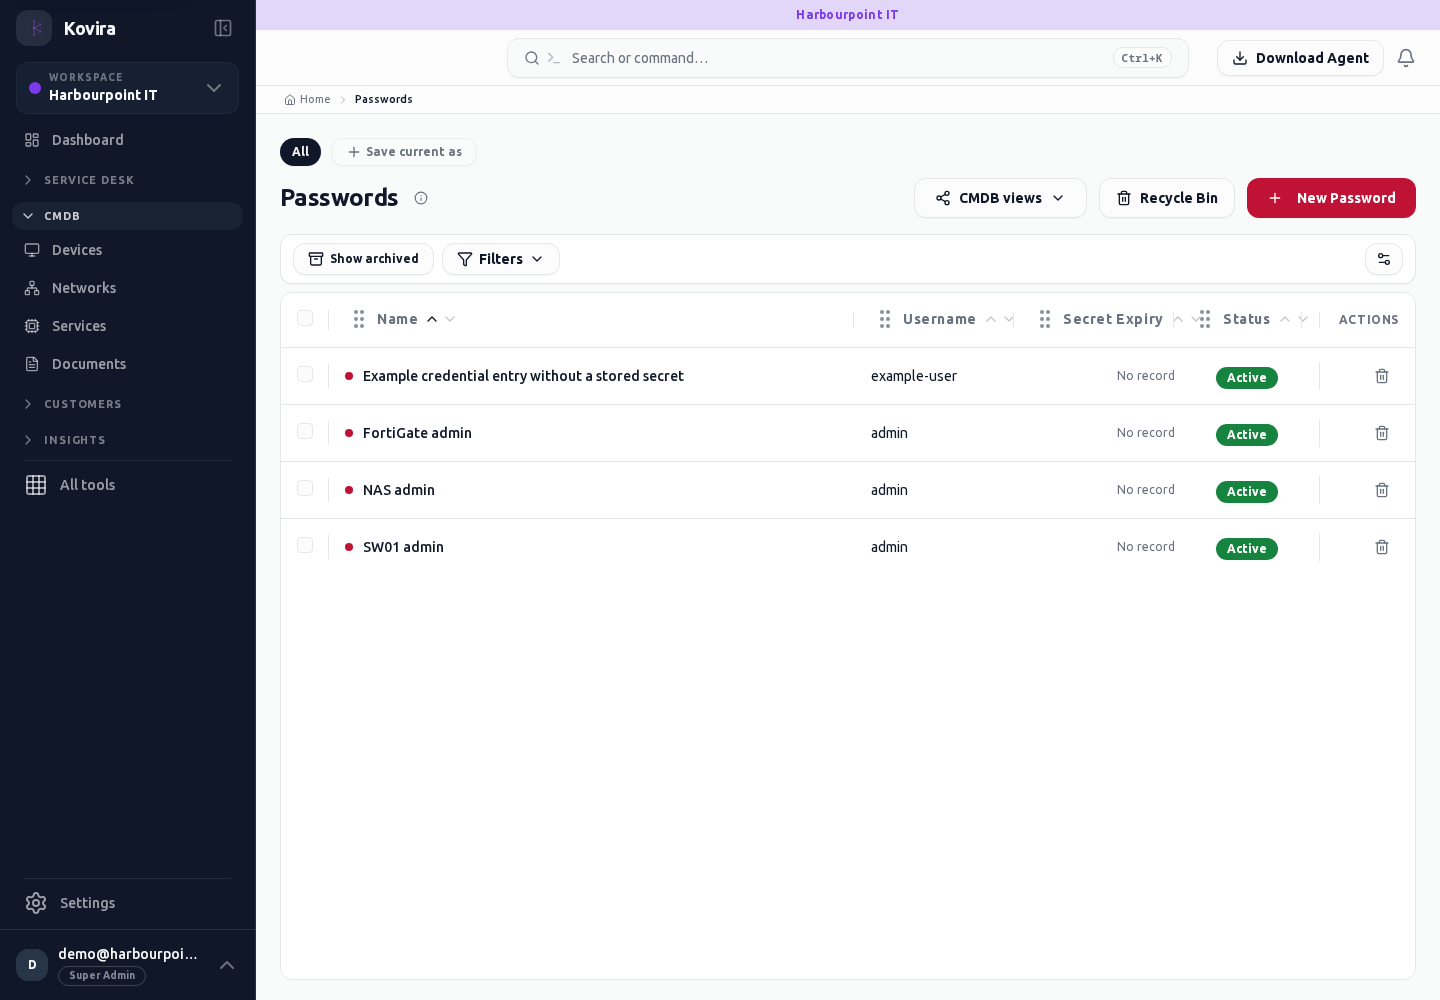
Assets / Passwords / New
Configuration items. Create a new entry and review the information before submitting.
Access
- Default workspace roles for opening this screen: Super Admin, Admin, Operator. Custom role settings, the current workspace, plan and record sharing can further restrict access.
- Opening a screen does not grant every action on it. Changes, exports and lifecycle actions can require additional permissions.
Controls and information
- Type selector
- search and filters
- record fields
- relationships
- history
Steps for this screen
- Choose the correct item type and workspace. Review ownership, lifecycle, source and linked records before changing the item.
- Complete the required fields. Review linked records, dates and any recipient or customer selection.
- Use the form’s create or save action once and wait for its result. Cancel to leave without submitting.
Check the result
- Reopen the item and check its fields and relationships; collector data should have an appropriate observation time.
- Open the newly created record from the resulting list or confirmation and check the saved values.
If this screen is unavailable
- If no records appear, clear active filters and confirm the workspace and your access before creating a duplicate.
- If saving fails or a conflict appears, keep a copy of your intended changes, reopen the current record and review it before submitting again.
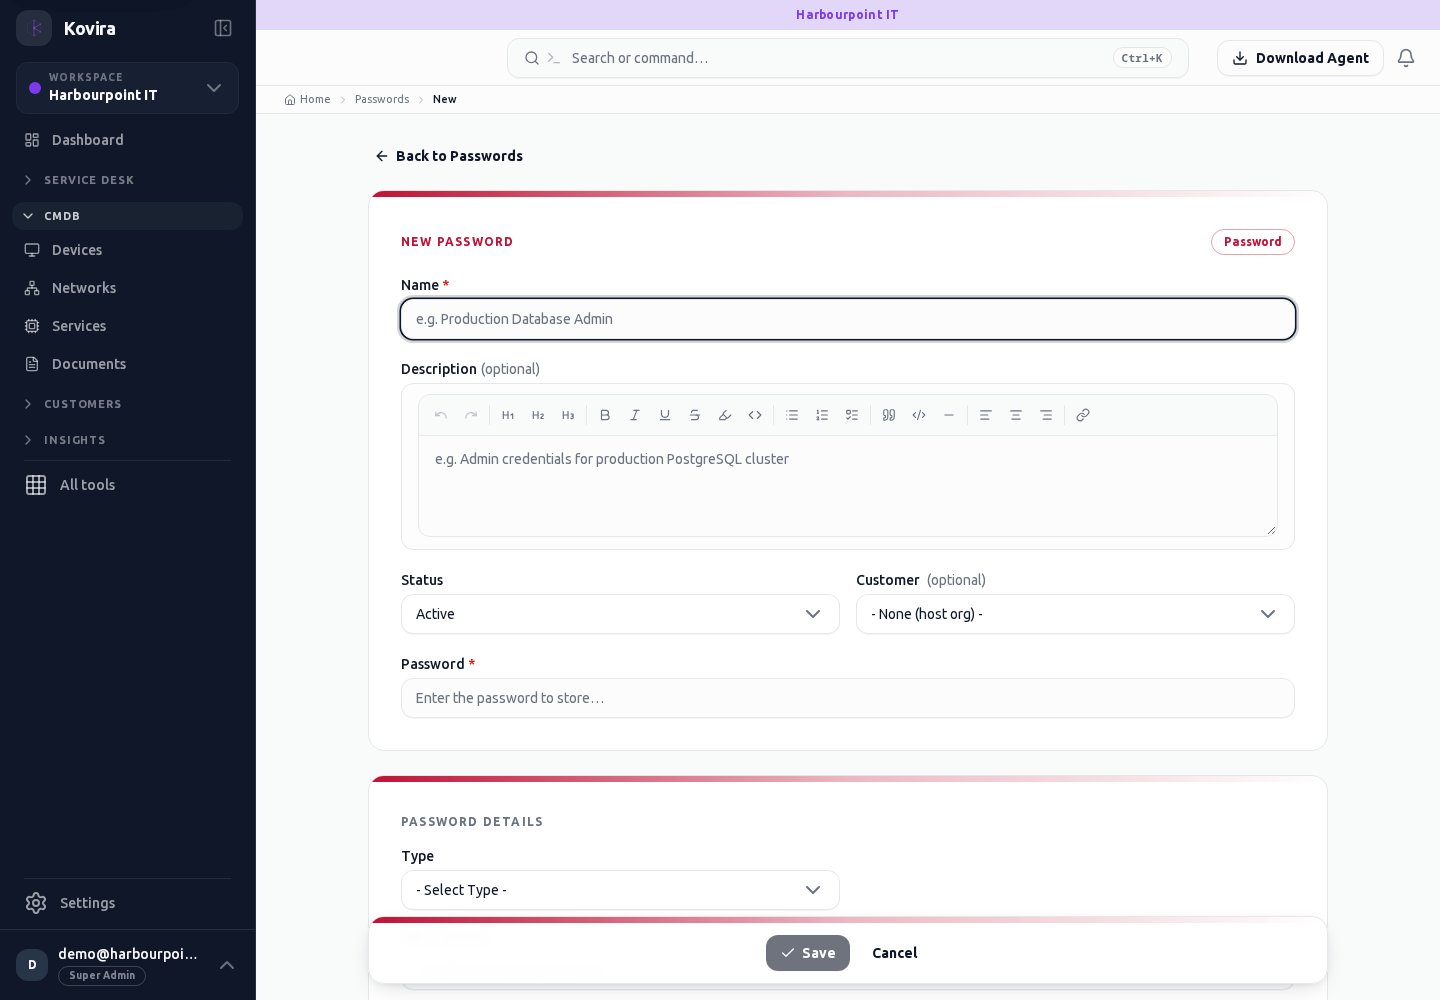
Assets / Passwords / Details
Configuration items. Review this screen in the context of the current workspace and record.
Access
- Default workspace roles for opening this screen: Super Admin, Admin, Operator, View Only. Custom role settings, the current workspace, plan and record sharing can further restrict access.
- Opening a screen does not grant every action on it. Changes, exports and lifecycle actions can require additional permissions.
Controls and information
- Type selector
- search and filters
- record fields
- relationships
- history
Steps for this screen
- Choose the correct item type and workspace. Review ownership, lifecycle, source and linked records before changing the item.
- Read the summary, current state and related records. Review the action and its prerequisites before changing the record.
Check the result
- Reopen the item and check its fields and relationships; collector data should have an appropriate observation time.
If this screen is unavailable
- If the record is unavailable, return to its list and confirm the workspace and link. Ask an administrator to check record access before creating a replacement.
- If saving fails or a conflict appears, keep a copy of your intended changes, reopen the current record and review it before submitting again.
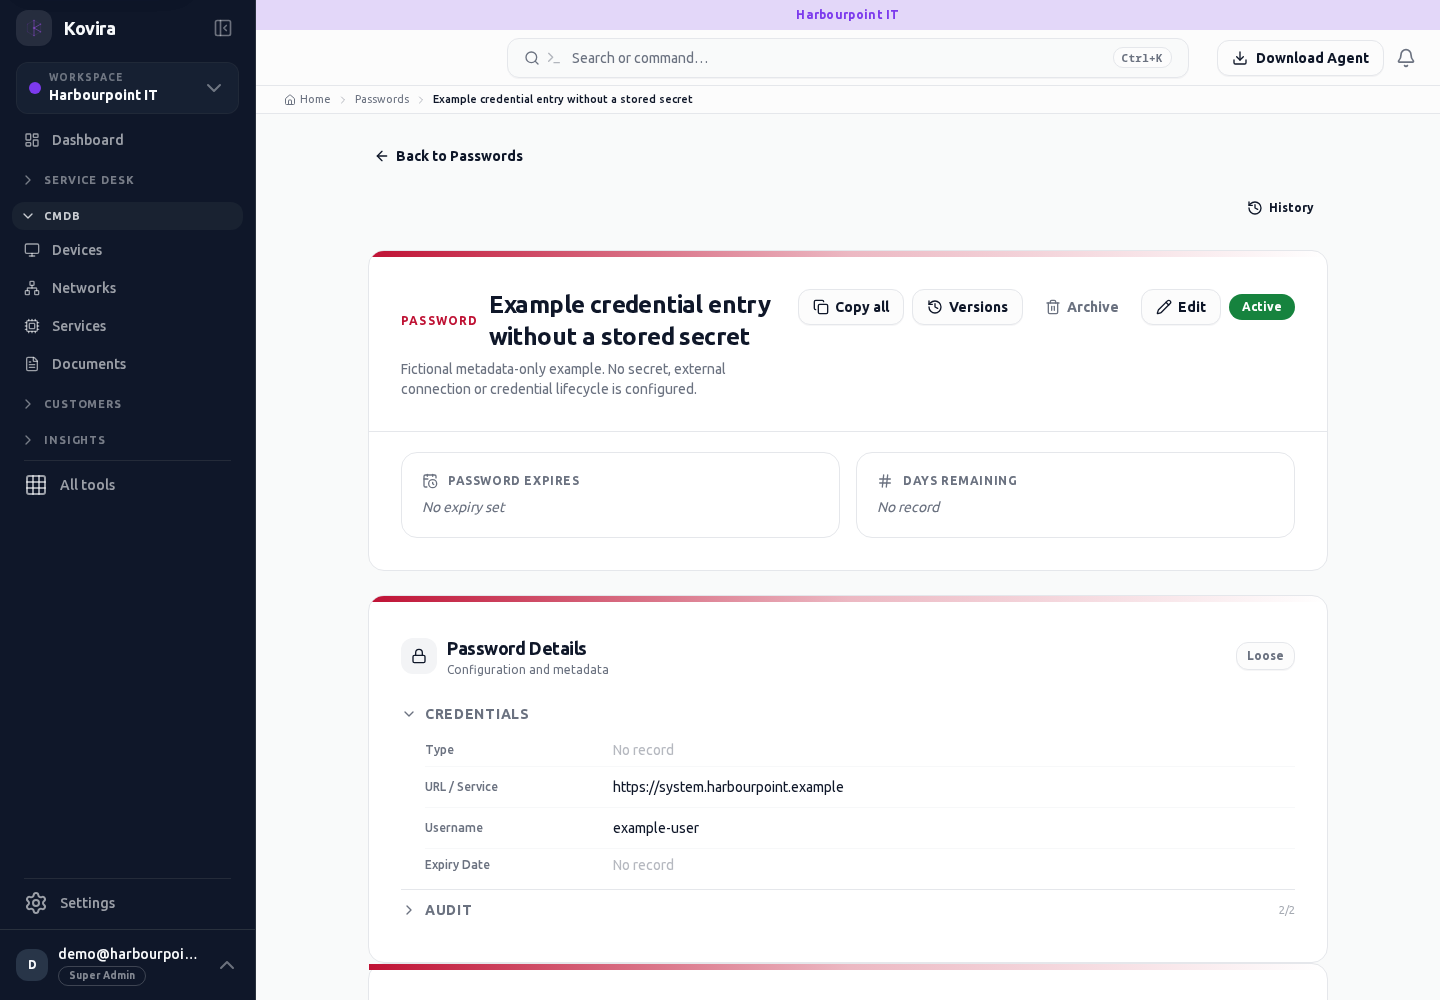
Assets / APIs
Configuration items. Review this screen in the context of the current workspace and record.
Access
- Default workspace roles for opening this screen: Super Admin, Admin, Operator, View Only. Custom role settings, the current workspace, plan and record sharing can further restrict access.
- Opening a screen does not grant every action on it. Changes, exports and lifecycle actions can require additional permissions.
Controls and information
- Type selector
- search and filters
- record fields
- relationships
- history
Steps for this screen
- Choose the correct item type and workspace. Review ownership, lifecycle, source and linked records before changing the item.
- Use the available search, date and status filters to narrow the view. Open a record link for its detail.
- Clear filters when you need to compare the full accessible list.
Check the result
- Reopen the item and check its fields and relationships; collector data should have an appropriate observation time.
If this screen is unavailable
- If no records appear, clear active filters and confirm the workspace and your access before creating a duplicate.
- If the list cannot load, retry once and quote the displayed support reference; do not infer that the workspace is empty.
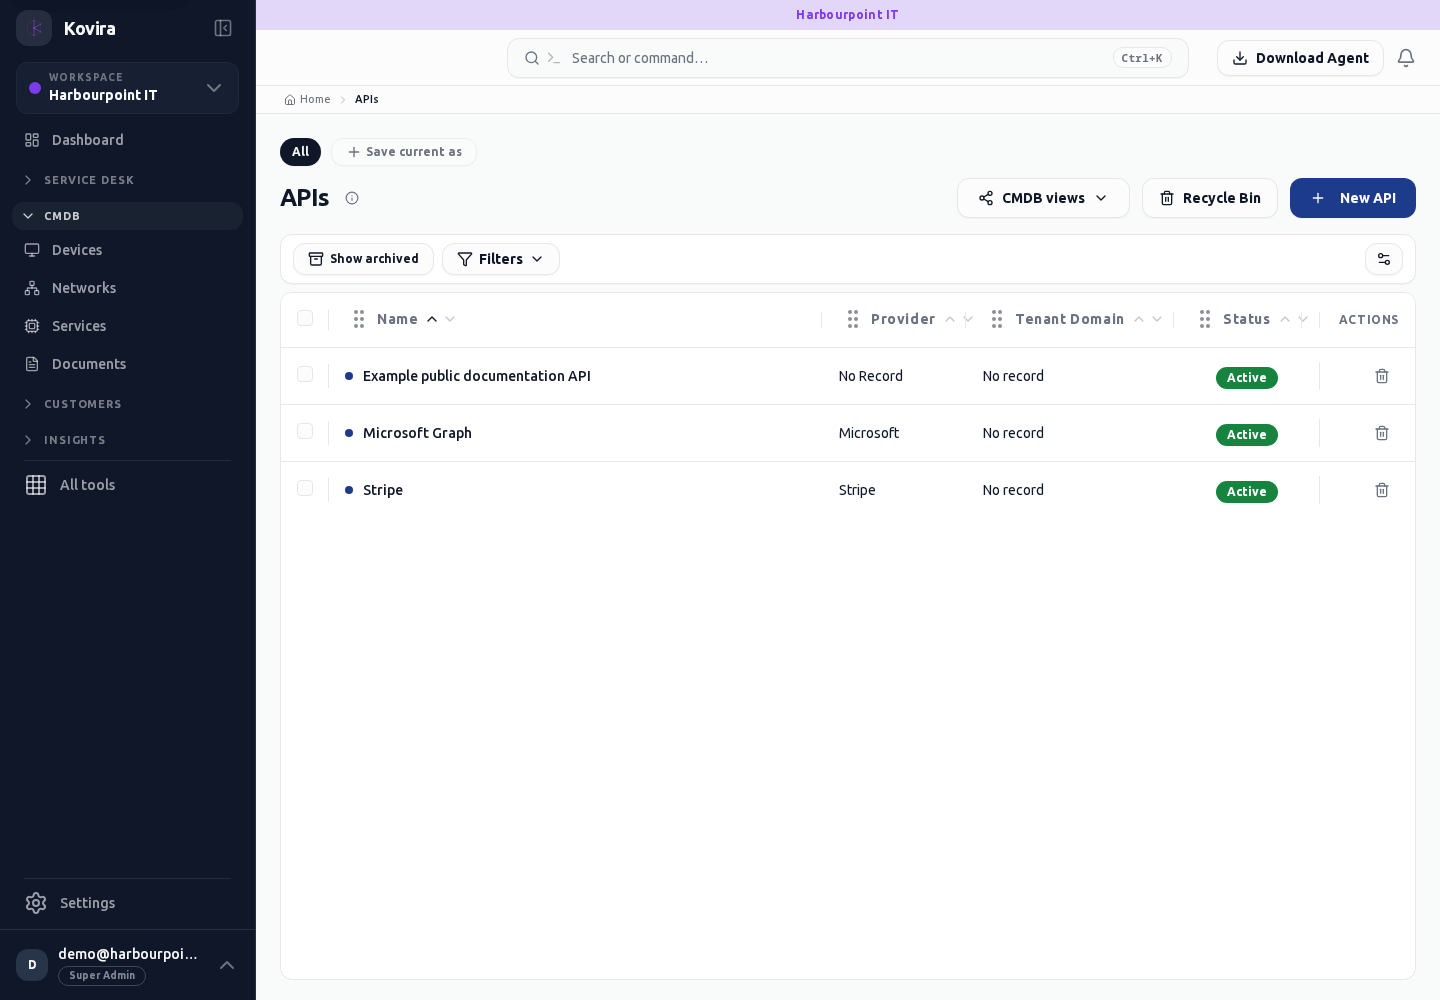
Assets / APIs / New
Configuration items. Create a new entry and review the information before submitting.
Access
- Default workspace roles for opening this screen: Super Admin, Admin, Operator. Custom role settings, the current workspace, plan and record sharing can further restrict access.
- Opening a screen does not grant every action on it. Changes, exports and lifecycle actions can require additional permissions.
Controls and information
- Type selector
- search and filters
- record fields
- relationships
- history
Steps for this screen
- Choose the correct item type and workspace. Review ownership, lifecycle, source and linked records before changing the item.
- Complete the required fields. Review linked records, dates and any recipient or customer selection.
- Use the form’s create or save action once and wait for its result. Cancel to leave without submitting.
Check the result
- Reopen the item and check its fields and relationships; collector data should have an appropriate observation time.
- Open the newly created record from the resulting list or confirmation and check the saved values.
If this screen is unavailable
- If no records appear, clear active filters and confirm the workspace and your access before creating a duplicate.
- If saving fails or a conflict appears, keep a copy of your intended changes, reopen the current record and review it before submitting again.
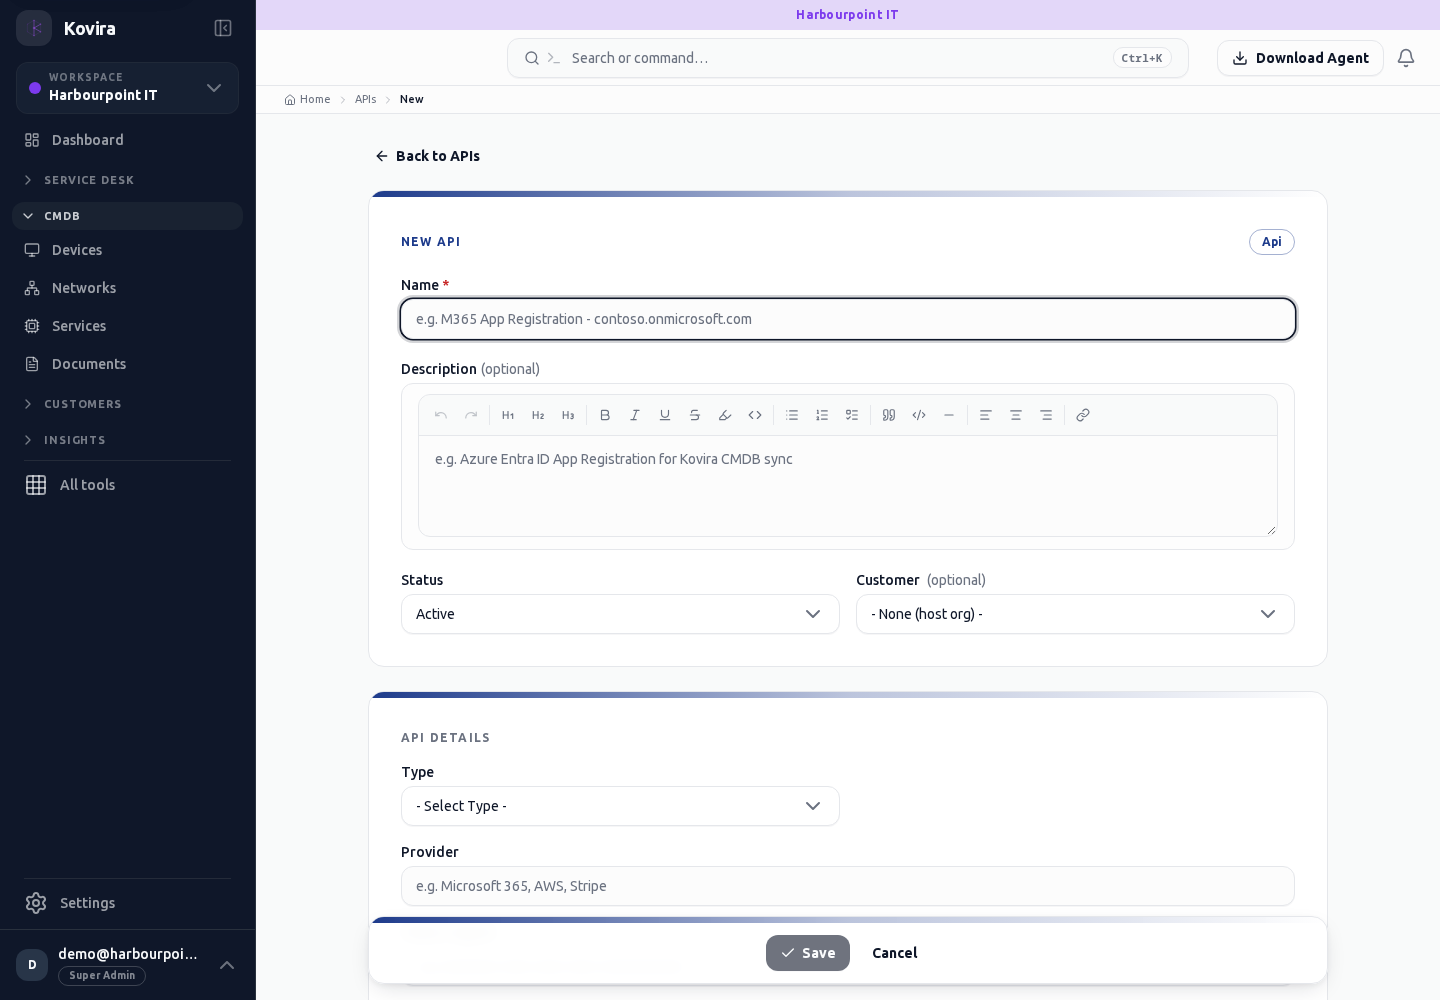
Assets / APIs / Details
Configuration items. Review this screen in the context of the current workspace and record.
Access
- Default workspace roles for opening this screen: Super Admin, Admin, Operator, View Only. Custom role settings, the current workspace, plan and record sharing can further restrict access.
- Opening a screen does not grant every action on it. Changes, exports and lifecycle actions can require additional permissions.
Controls and information
- Type selector
- search and filters
- record fields
- relationships
- history
Steps for this screen
- Choose the correct item type and workspace. Review ownership, lifecycle, source and linked records before changing the item.
- Read the summary, current state and related records. Review the action and its prerequisites before changing the record.
Check the result
- Reopen the item and check its fields and relationships; collector data should have an appropriate observation time.
If this screen is unavailable
- If the record is unavailable, return to its list and confirm the workspace and link. Ask an administrator to check record access before creating a replacement.
- If saving fails or a conflict appears, keep a copy of your intended changes, reopen the current record and review it before submitting again.
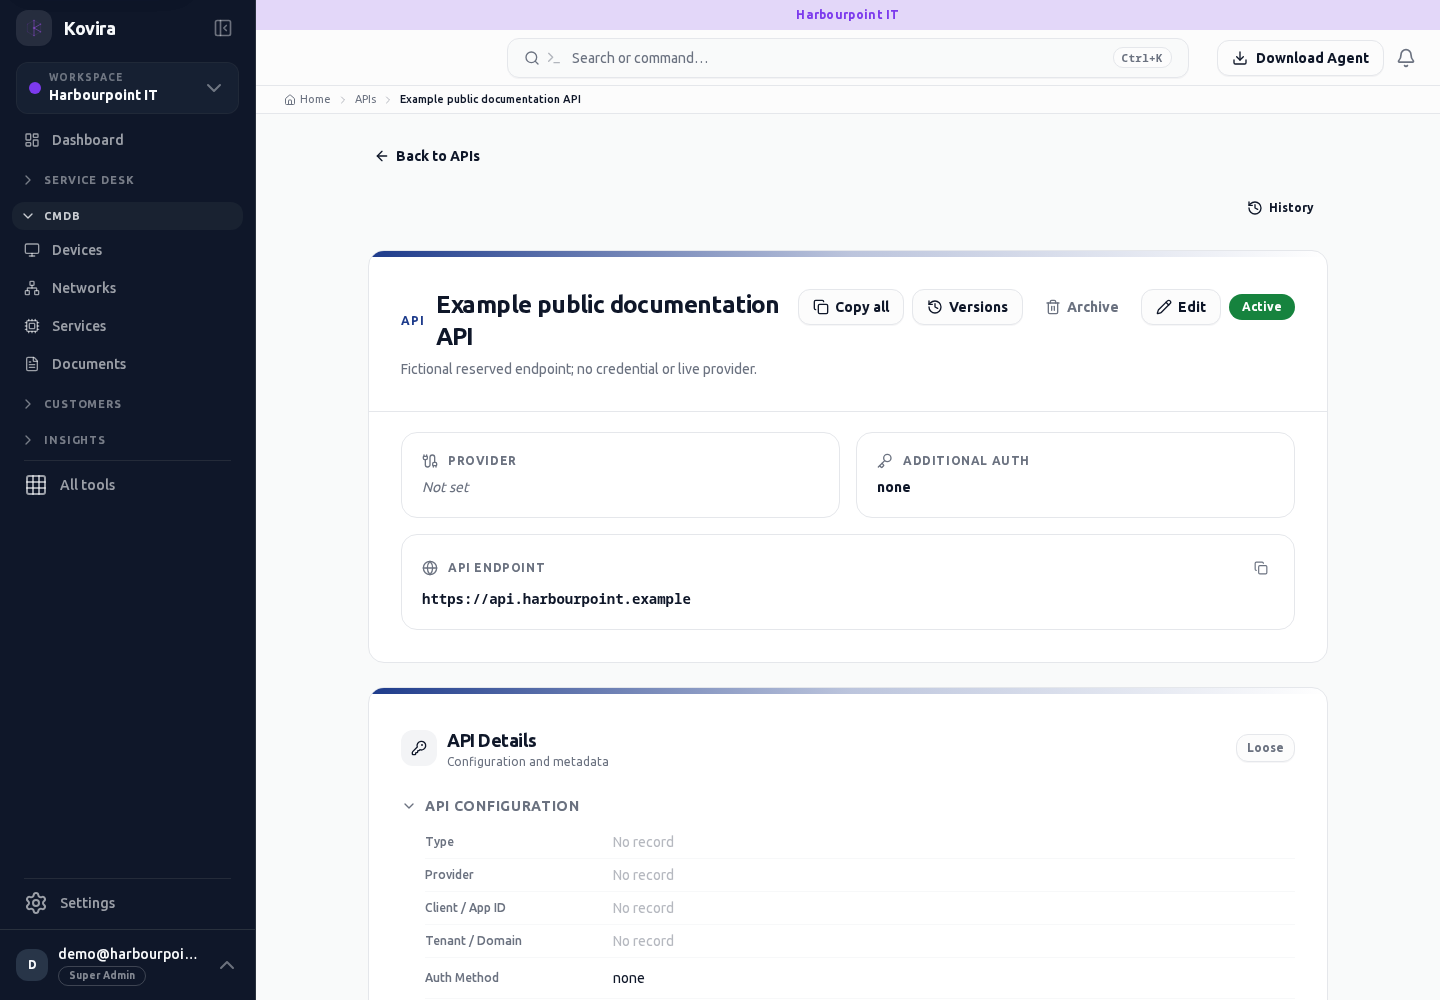
Assets / Licenses
Configuration items. Review this screen in the context of the current workspace and record.
Access
- Default workspace roles for opening this screen: Super Admin, Admin, Operator, View Only. Custom role settings, the current workspace, plan and record sharing can further restrict access.
- Opening a screen does not grant every action on it. Changes, exports and lifecycle actions can require additional permissions.
Controls and information
- Type selector
- search and filters
- record fields
- relationships
- history
Steps for this screen
- Choose the correct item type and workspace. Review ownership, lifecycle, source and linked records before changing the item.
- Use the available search, date and status filters to narrow the view. Open a record link for its detail.
- Clear filters when you need to compare the full accessible list.
Check the result
- Reopen the item and check its fields and relationships; collector data should have an appropriate observation time.
If this screen is unavailable
- If no records appear, clear active filters and confirm the workspace and your access before creating a duplicate.
- If the list cannot load, retry once and quote the displayed support reference; do not infer that the workspace is empty.
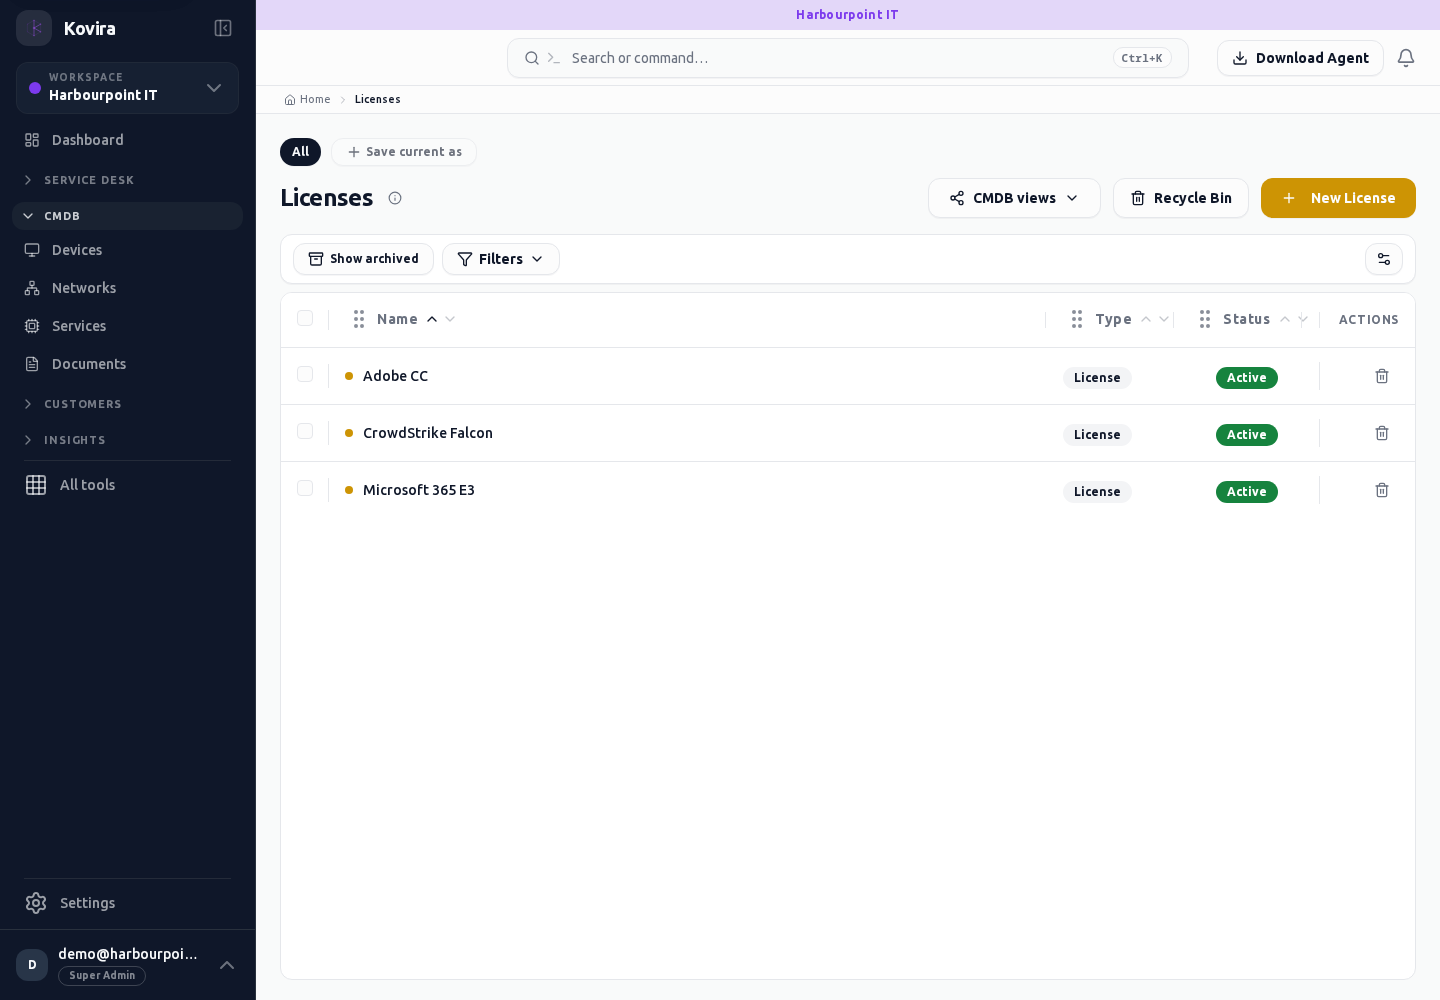
Assets / Licenses / New
Configuration items. Create a new entry and review the information before submitting.
Access
- Default workspace roles for opening this screen: Super Admin, Admin, Operator. Custom role settings, the current workspace, plan and record sharing can further restrict access.
- Opening a screen does not grant every action on it. Changes, exports and lifecycle actions can require additional permissions.
Controls and information
- Type selector
- search and filters
- record fields
- relationships
- history
Steps for this screen
- Choose the correct item type and workspace. Review ownership, lifecycle, source and linked records before changing the item.
- Complete the required fields. Review linked records, dates and any recipient or customer selection.
- Use the form’s create or save action once and wait for its result. Cancel to leave without submitting.
Check the result
- Reopen the item and check its fields and relationships; collector data should have an appropriate observation time.
- Open the newly created record from the resulting list or confirmation and check the saved values.
If this screen is unavailable
- If no records appear, clear active filters and confirm the workspace and your access before creating a duplicate.
- If saving fails or a conflict appears, keep a copy of your intended changes, reopen the current record and review it before submitting again.
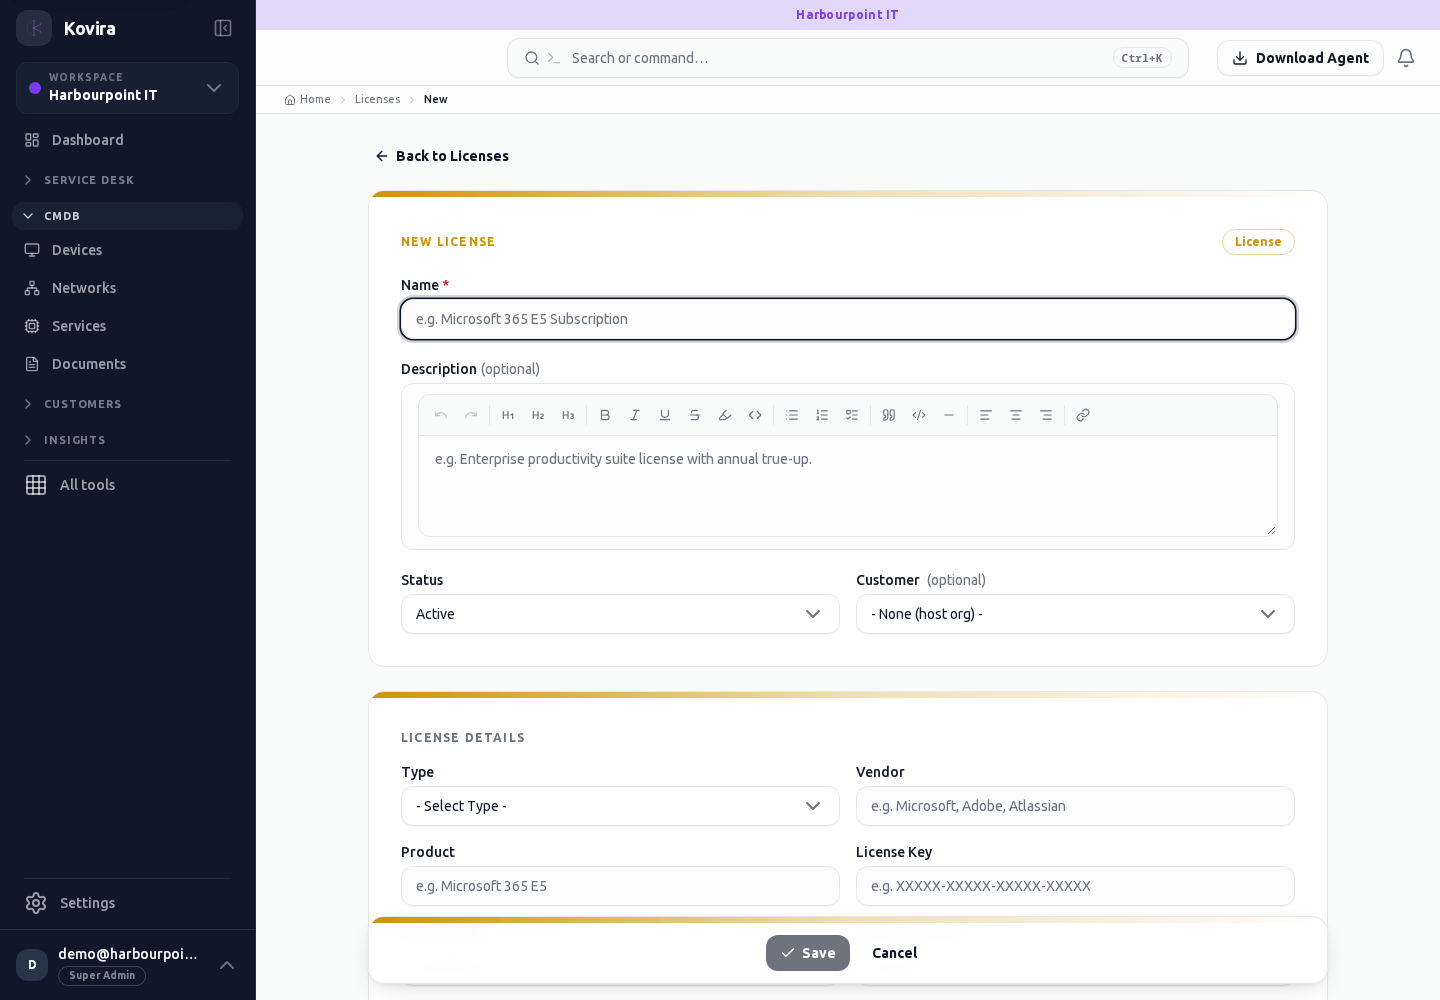
Assets / Licenses / Details
Configuration items. Review this screen in the context of the current workspace and record.
Access
- Default workspace roles for opening this screen: Super Admin, Admin, Operator, View Only. Custom role settings, the current workspace, plan and record sharing can further restrict access.
- Opening a screen does not grant every action on it. Changes, exports and lifecycle actions can require additional permissions.
Controls and information
- Type selector
- search and filters
- record fields
- relationships
- history
Steps for this screen
- Choose the correct item type and workspace. Review ownership, lifecycle, source and linked records before changing the item.
- Read the summary, current state and related records. Review the action and its prerequisites before changing the record.
Check the result
- Reopen the item and check its fields and relationships; collector data should have an appropriate observation time.
If this screen is unavailable
- If the record is unavailable, return to its list and confirm the workspace and link. Ask an administrator to check record access before creating a replacement.
- If saving fails or a conflict appears, keep a copy of your intended changes, reopen the current record and review it before submitting again.
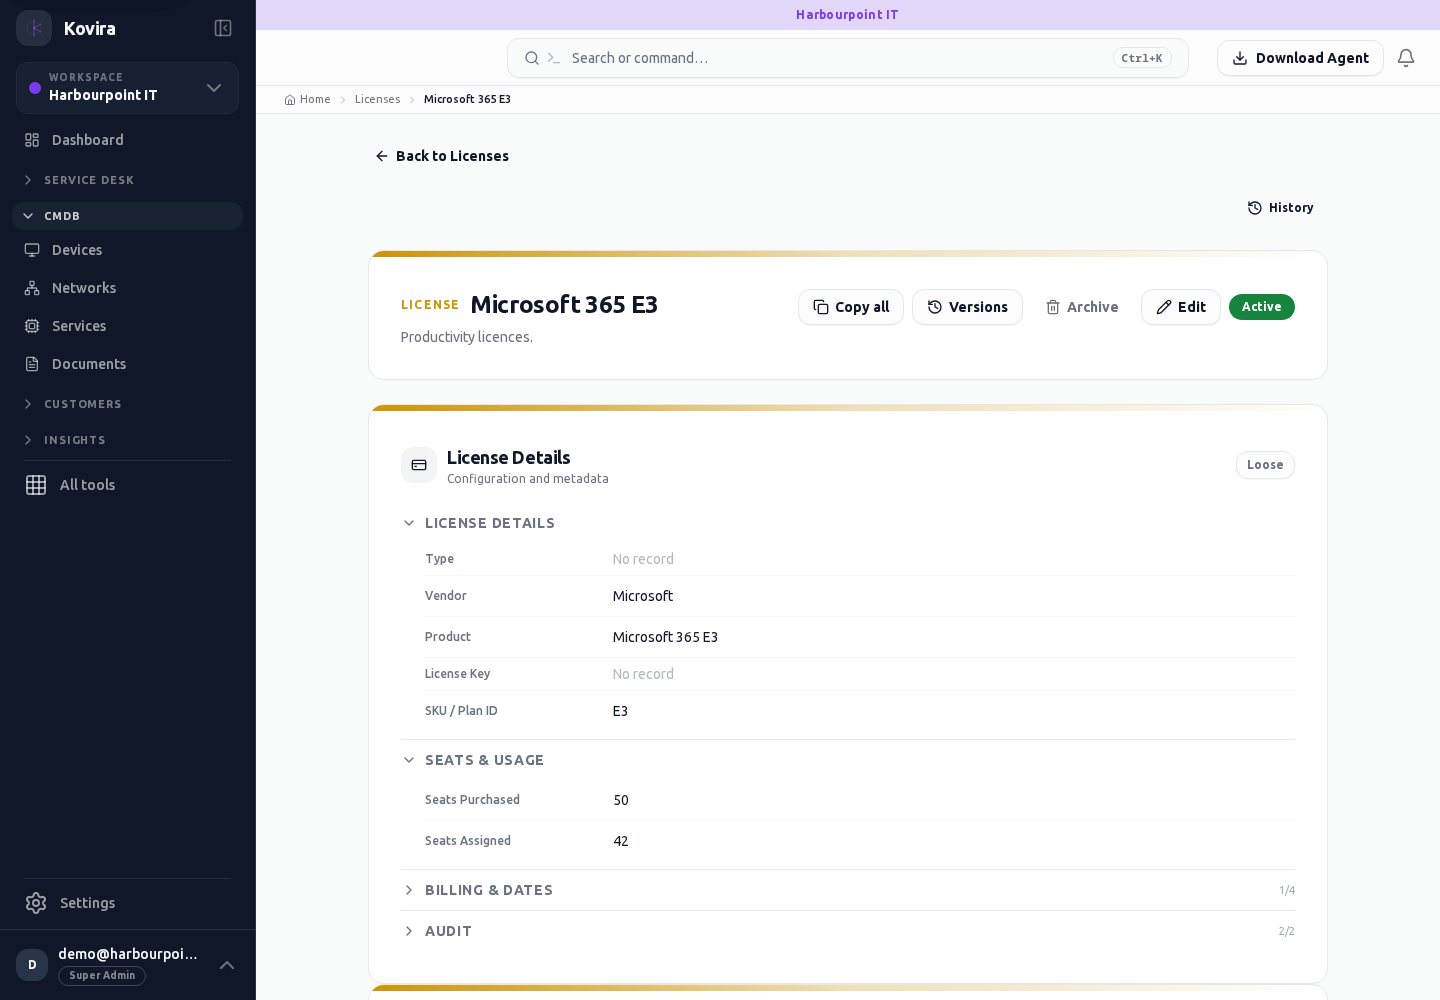
Assets / Software
Configuration items. Review this screen in the context of the current workspace and record.
Access
- Default workspace roles for opening this screen: Super Admin, Admin, Operator, View Only. Custom role settings, the current workspace, plan and record sharing can further restrict access.
- Opening a screen does not grant every action on it. Changes, exports and lifecycle actions can require additional permissions.
Controls and information
- Type selector
- search and filters
- record fields
- relationships
- history
Steps for this screen
- Choose the correct item type and workspace. Review ownership, lifecycle, source and linked records before changing the item.
- Use the available search, date and status filters to narrow the view. Open a record link for its detail.
- Clear filters when you need to compare the full accessible list.
Check the result
- Reopen the item and check its fields and relationships; collector data should have an appropriate observation time.
If this screen is unavailable
- If no records appear, clear active filters and confirm the workspace and your access before creating a duplicate.
- If the list cannot load, retry once and quote the displayed support reference; do not infer that the workspace is empty.
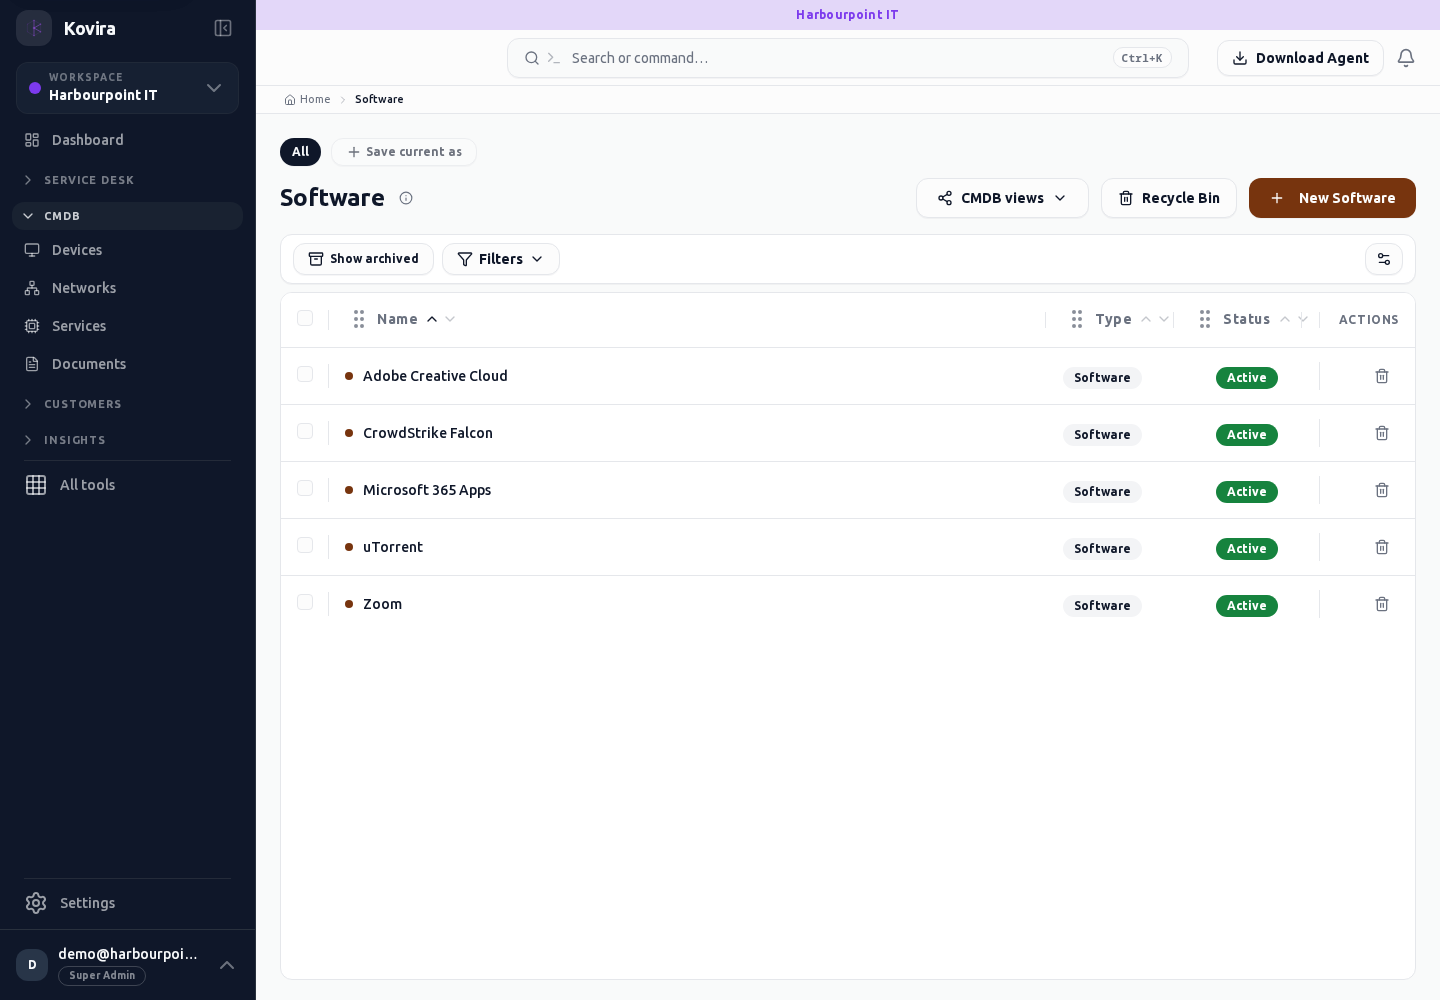
Assets / Software / New
Configuration items. Create a new entry and review the information before submitting.
Access
- Default workspace roles for opening this screen: Super Admin, Admin, Operator. Custom role settings, the current workspace, plan and record sharing can further restrict access.
- Opening a screen does not grant every action on it. Changes, exports and lifecycle actions can require additional permissions.
Controls and information
- Type selector
- search and filters
- record fields
- relationships
- history
Steps for this screen
- Choose the correct item type and workspace. Review ownership, lifecycle, source and linked records before changing the item.
- Complete the required fields. Review linked records, dates and any recipient or customer selection.
- Use the form’s create or save action once and wait for its result. Cancel to leave without submitting.
Check the result
- Reopen the item and check its fields and relationships; collector data should have an appropriate observation time.
- Open the newly created record from the resulting list or confirmation and check the saved values.
If this screen is unavailable
- If no records appear, clear active filters and confirm the workspace and your access before creating a duplicate.
- If saving fails or a conflict appears, keep a copy of your intended changes, reopen the current record and review it before submitting again.
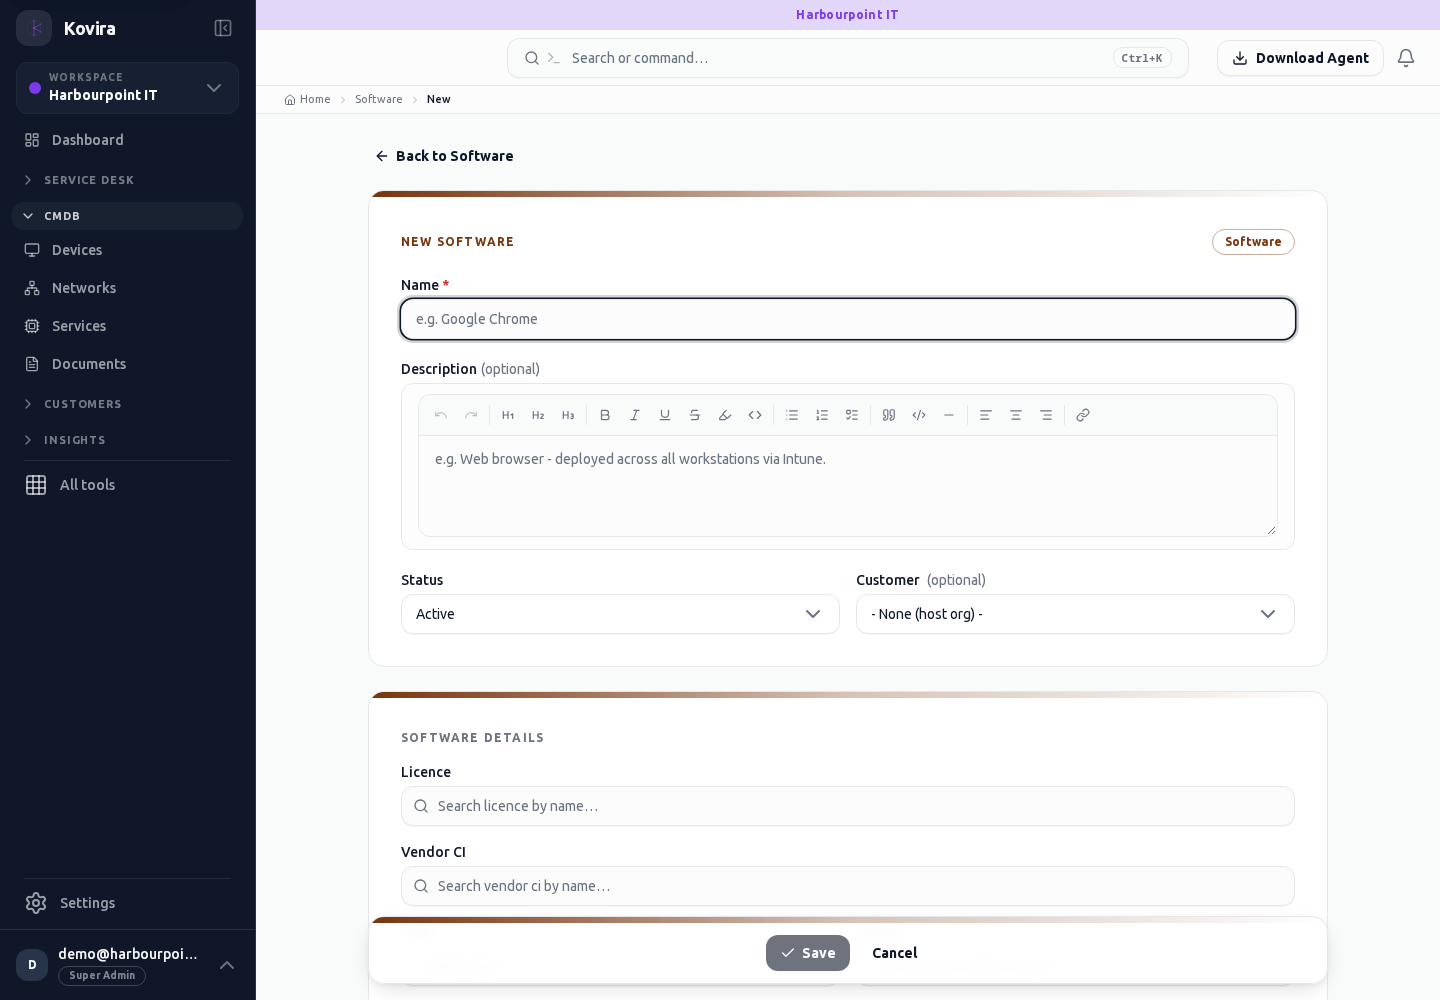
Assets / Software / Details
Configuration items. Review this screen in the context of the current workspace and record.
Access
- Default workspace roles for opening this screen: Super Admin, Admin, Operator, View Only. Custom role settings, the current workspace, plan and record sharing can further restrict access.
- Opening a screen does not grant every action on it. Changes, exports and lifecycle actions can require additional permissions.
Controls and information
- Type selector
- search and filters
- record fields
- relationships
- history
Steps for this screen
- Choose the correct item type and workspace. Review ownership, lifecycle, source and linked records before changing the item.
- Read the summary, current state and related records. Review the action and its prerequisites before changing the record.
Check the result
- Reopen the item and check its fields and relationships; collector data should have an appropriate observation time.
If this screen is unavailable
- If the record is unavailable, return to its list and confirm the workspace and link. Ask an administrator to check record access before creating a replacement.
- If saving fails or a conflict appears, keep a copy of your intended changes, reopen the current record and review it before submitting again.
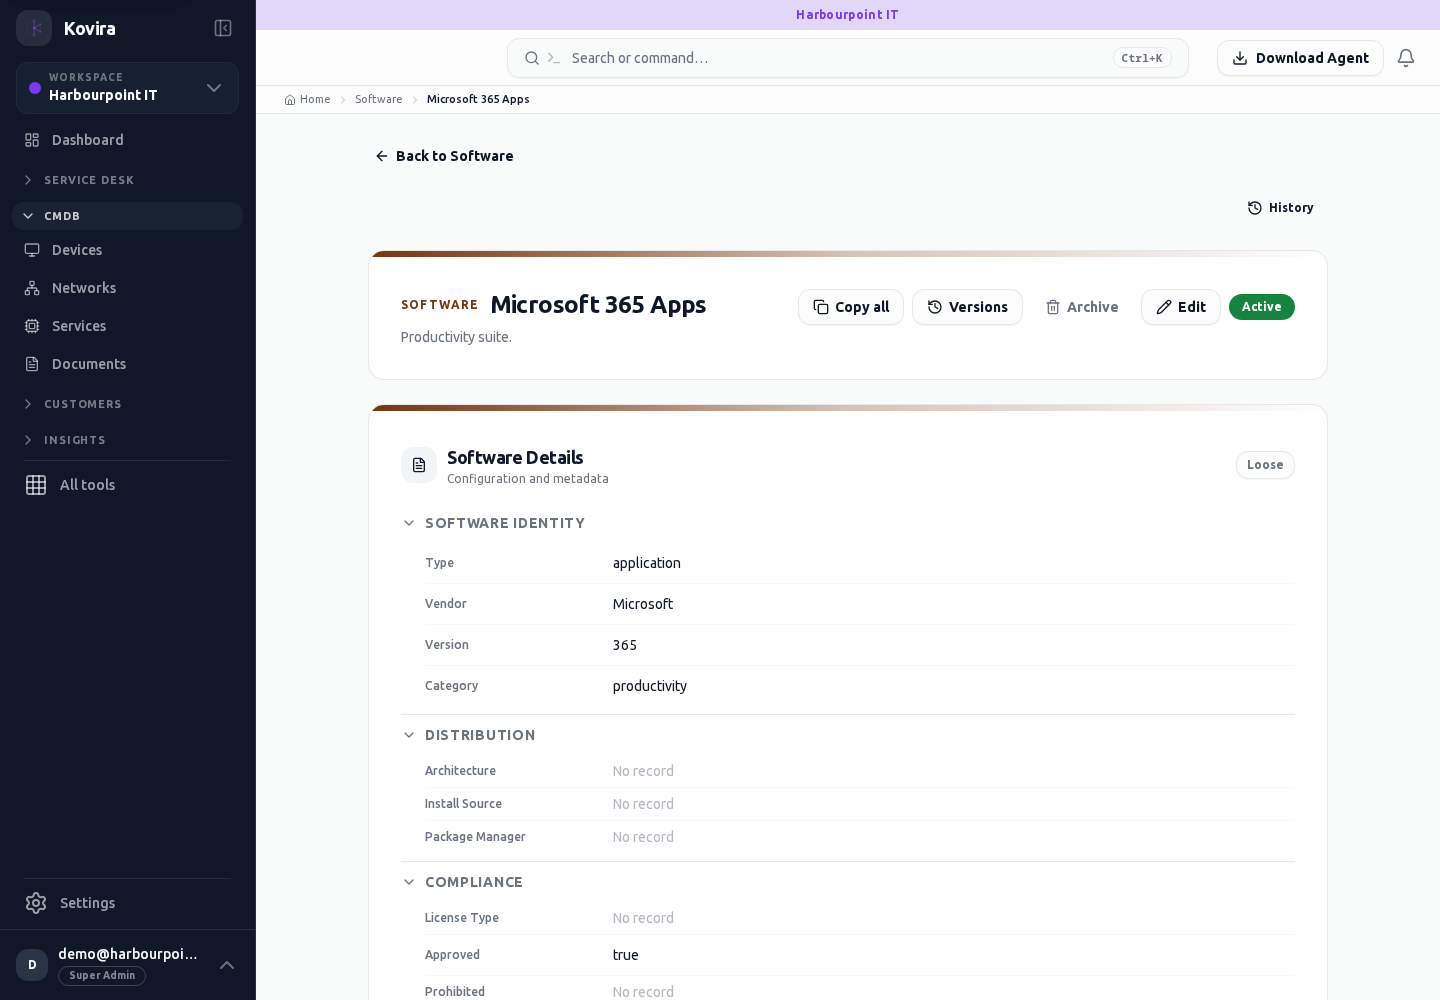
Assets / Wans
Configuration items. Review this screen in the context of the current workspace and record.
Access
- Default workspace roles for opening this screen: Super Admin, Admin, Operator, View Only. Custom role settings, the current workspace, plan and record sharing can further restrict access.
- Opening a screen does not grant every action on it. Changes, exports and lifecycle actions can require additional permissions.
Controls and information
- Type selector
- search and filters
- record fields
- relationships
- history
Steps for this screen
- Choose the correct item type and workspace. Review ownership, lifecycle, source and linked records before changing the item.
- Use the available search, date and status filters to narrow the view. Open a record link for its detail.
- Clear filters when you need to compare the full accessible list.
Check the result
- Reopen the item and check its fields and relationships; collector data should have an appropriate observation time.
If this screen is unavailable
- If no records appear, clear active filters and confirm the workspace and your access before creating a duplicate.
- If the list cannot load, retry once and quote the displayed support reference; do not infer that the workspace is empty.
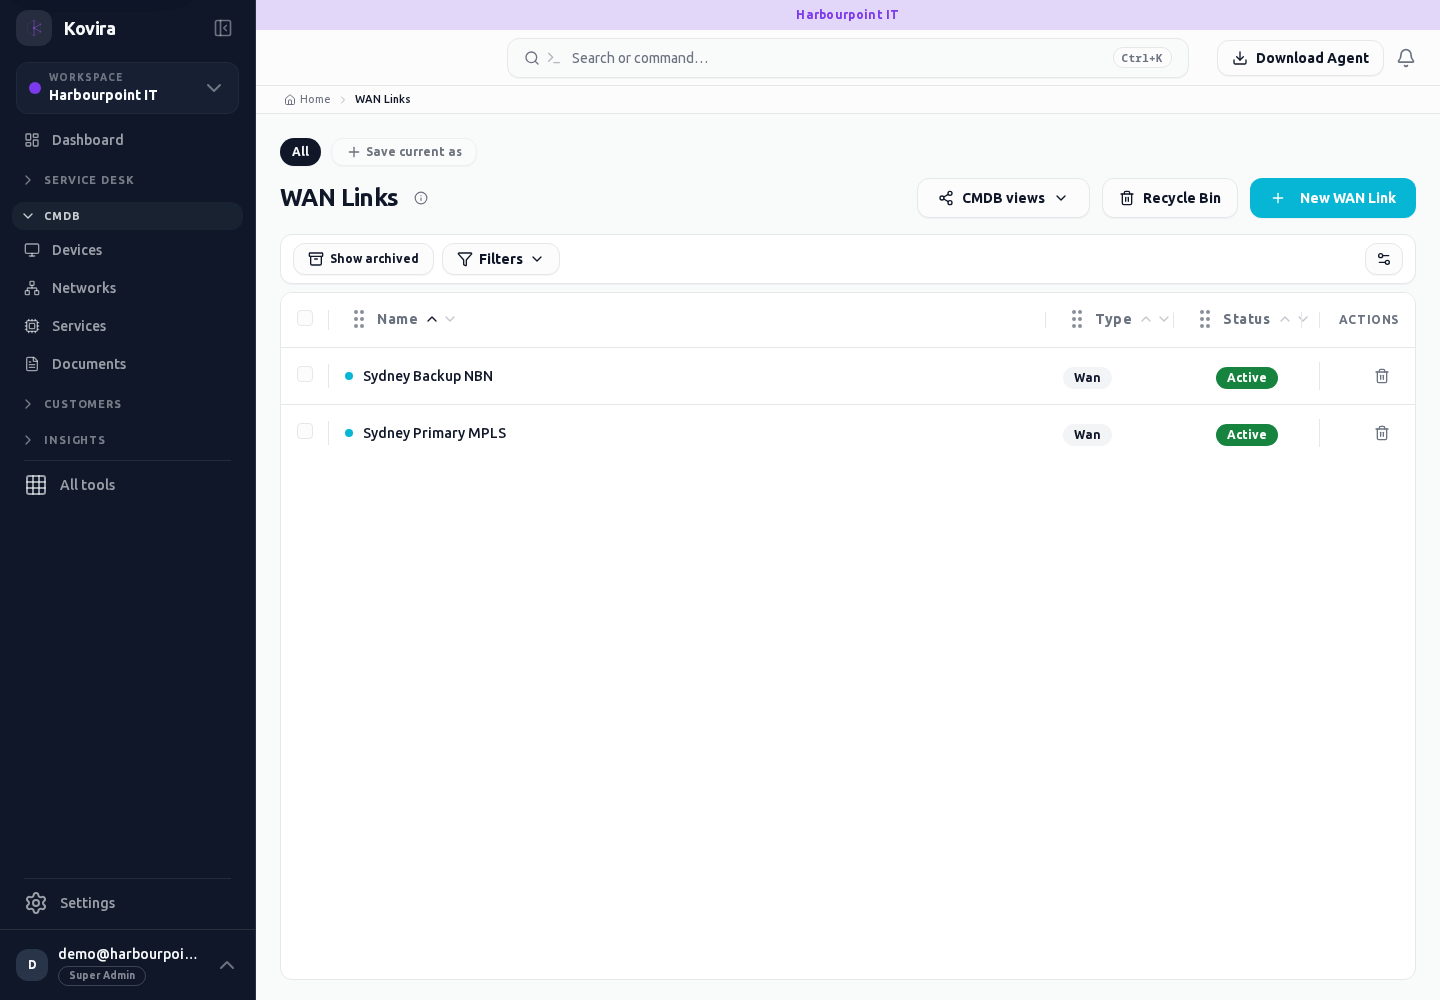
Assets / Wans / New
Configuration items. Create a new entry and review the information before submitting.
Access
- Default workspace roles for opening this screen: Super Admin, Admin, Operator. Custom role settings, the current workspace, plan and record sharing can further restrict access.
- Opening a screen does not grant every action on it. Changes, exports and lifecycle actions can require additional permissions.
Controls and information
- Type selector
- search and filters
- record fields
- relationships
- history
Steps for this screen
- Choose the correct item type and workspace. Review ownership, lifecycle, source and linked records before changing the item.
- Complete the required fields. Review linked records, dates and any recipient or customer selection.
- Use the form’s create or save action once and wait for its result. Cancel to leave without submitting.
Check the result
- Reopen the item and check its fields and relationships; collector data should have an appropriate observation time.
- Open the newly created record from the resulting list or confirmation and check the saved values.
If this screen is unavailable
- If no records appear, clear active filters and confirm the workspace and your access before creating a duplicate.
- If saving fails or a conflict appears, keep a copy of your intended changes, reopen the current record and review it before submitting again.
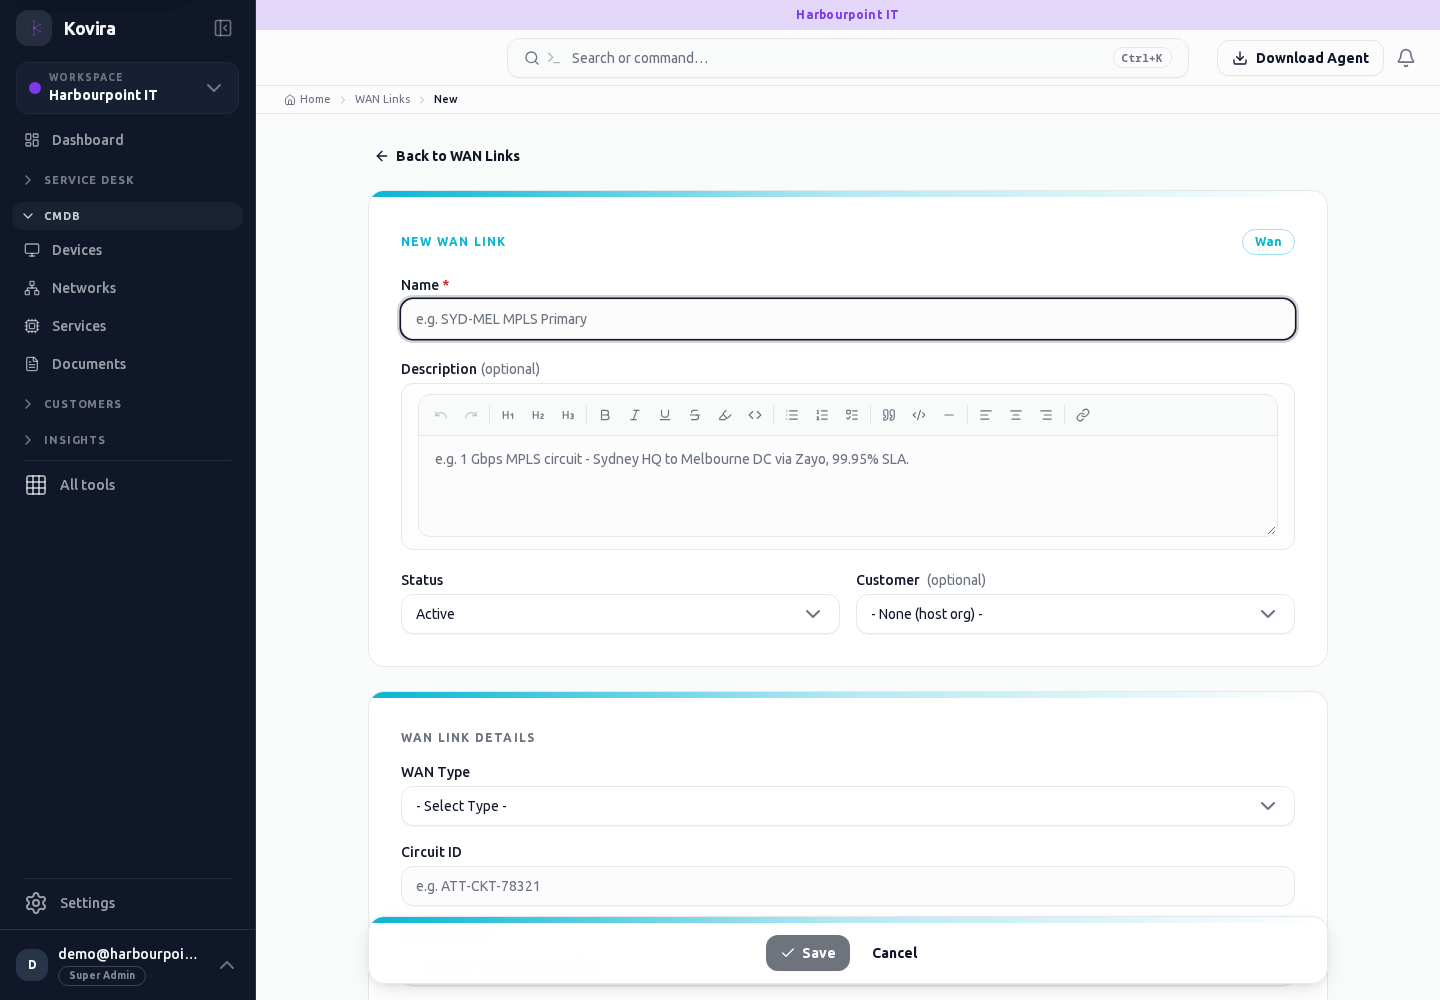
Assets / Wans / Details
Configuration items. Review this screen in the context of the current workspace and record.
Access
- Default workspace roles for opening this screen: Super Admin, Admin, Operator, View Only. Custom role settings, the current workspace, plan and record sharing can further restrict access.
- Opening a screen does not grant every action on it. Changes, exports and lifecycle actions can require additional permissions.
Controls and information
- Type selector
- search and filters
- record fields
- relationships
- history
Steps for this screen
- Choose the correct item type and workspace. Review ownership, lifecycle, source and linked records before changing the item.
- Read the summary, current state and related records. Review the action and its prerequisites before changing the record.
Check the result
- Reopen the item and check its fields and relationships; collector data should have an appropriate observation time.
If this screen is unavailable
- If the record is unavailable, return to its list and confirm the workspace and link. Ask an administrator to check record access before creating a replacement.
- If saving fails or a conflict appears, keep a copy of your intended changes, reopen the current record and review it before submitting again.
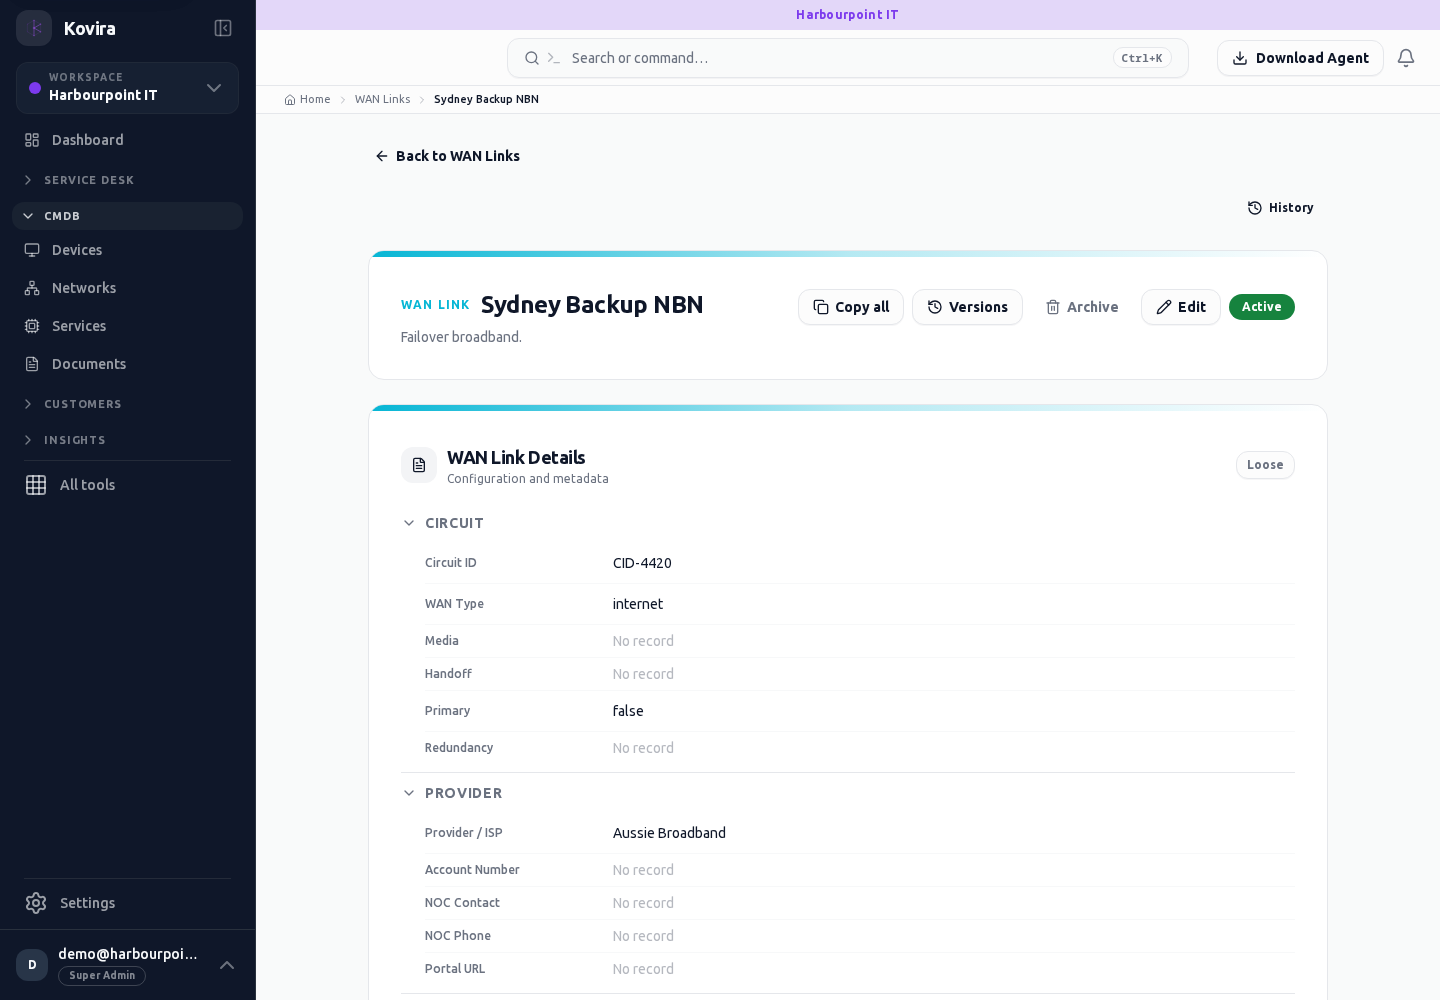
Assets / Slas
Configuration items. Review this screen in the context of the current workspace and record.
Access
- Default workspace roles for opening this screen: Super Admin, Admin, Operator, View Only. Custom role settings, the current workspace, plan and record sharing can further restrict access.
- Opening a screen does not grant every action on it. Changes, exports and lifecycle actions can require additional permissions.
Controls and information
- Type selector
- search and filters
- record fields
- relationships
- history
Steps for this screen
- Choose the correct item type and workspace. Review ownership, lifecycle, source and linked records before changing the item.
- Use the available search, date and status filters to narrow the view. Open a record link for its detail.
- Clear filters when you need to compare the full accessible list.
Check the result
- Reopen the item and check its fields and relationships; collector data should have an appropriate observation time.
If this screen is unavailable
- If no records appear, clear active filters and confirm the workspace and your access before creating a duplicate.
- If the list cannot load, retry once and quote the displayed support reference; do not infer that the workspace is empty.
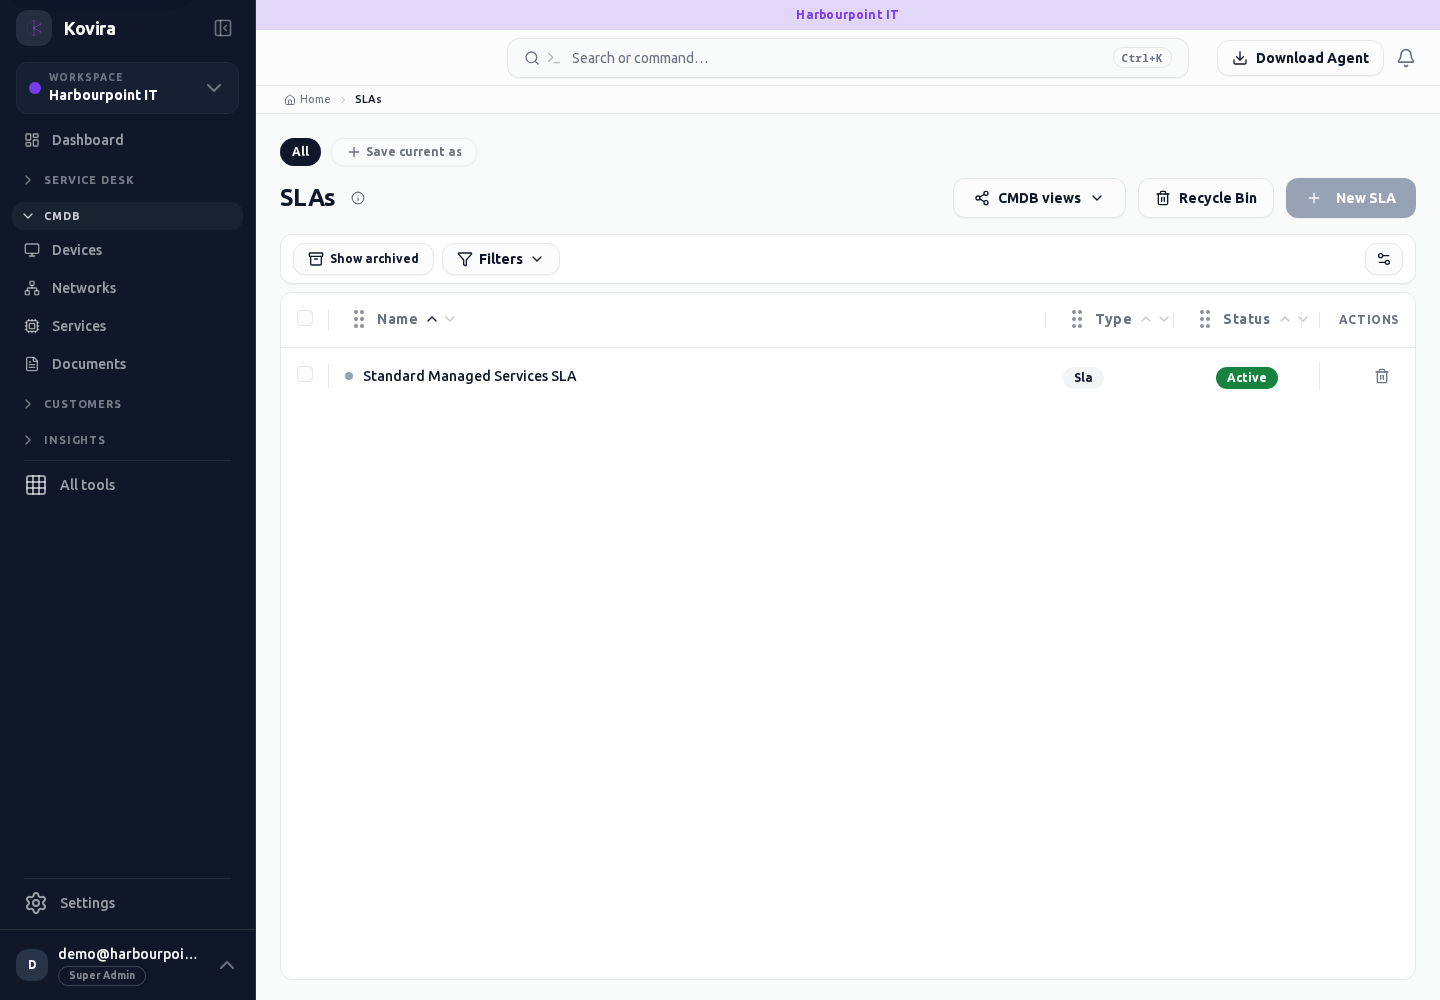
Assets / Slas / New
Configuration items. Create a new entry and review the information before submitting.
Access
- Default workspace roles for opening this screen: Super Admin, Admin, Operator. Custom role settings, the current workspace, plan and record sharing can further restrict access.
- Opening a screen does not grant every action on it. Changes, exports and lifecycle actions can require additional permissions.
Controls and information
- Type selector
- search and filters
- record fields
- relationships
- history
Steps for this screen
- Choose the correct item type and workspace. Review ownership, lifecycle, source and linked records before changing the item.
- Complete the required fields. Review linked records, dates and any recipient or customer selection.
- Use the form’s create or save action once and wait for its result. Cancel to leave without submitting.
Check the result
- Reopen the item and check its fields and relationships; collector data should have an appropriate observation time.
- Open the newly created record from the resulting list or confirmation and check the saved values.
If this screen is unavailable
- If no records appear, clear active filters and confirm the workspace and your access before creating a duplicate.
- If saving fails or a conflict appears, keep a copy of your intended changes, reopen the current record and review it before submitting again.
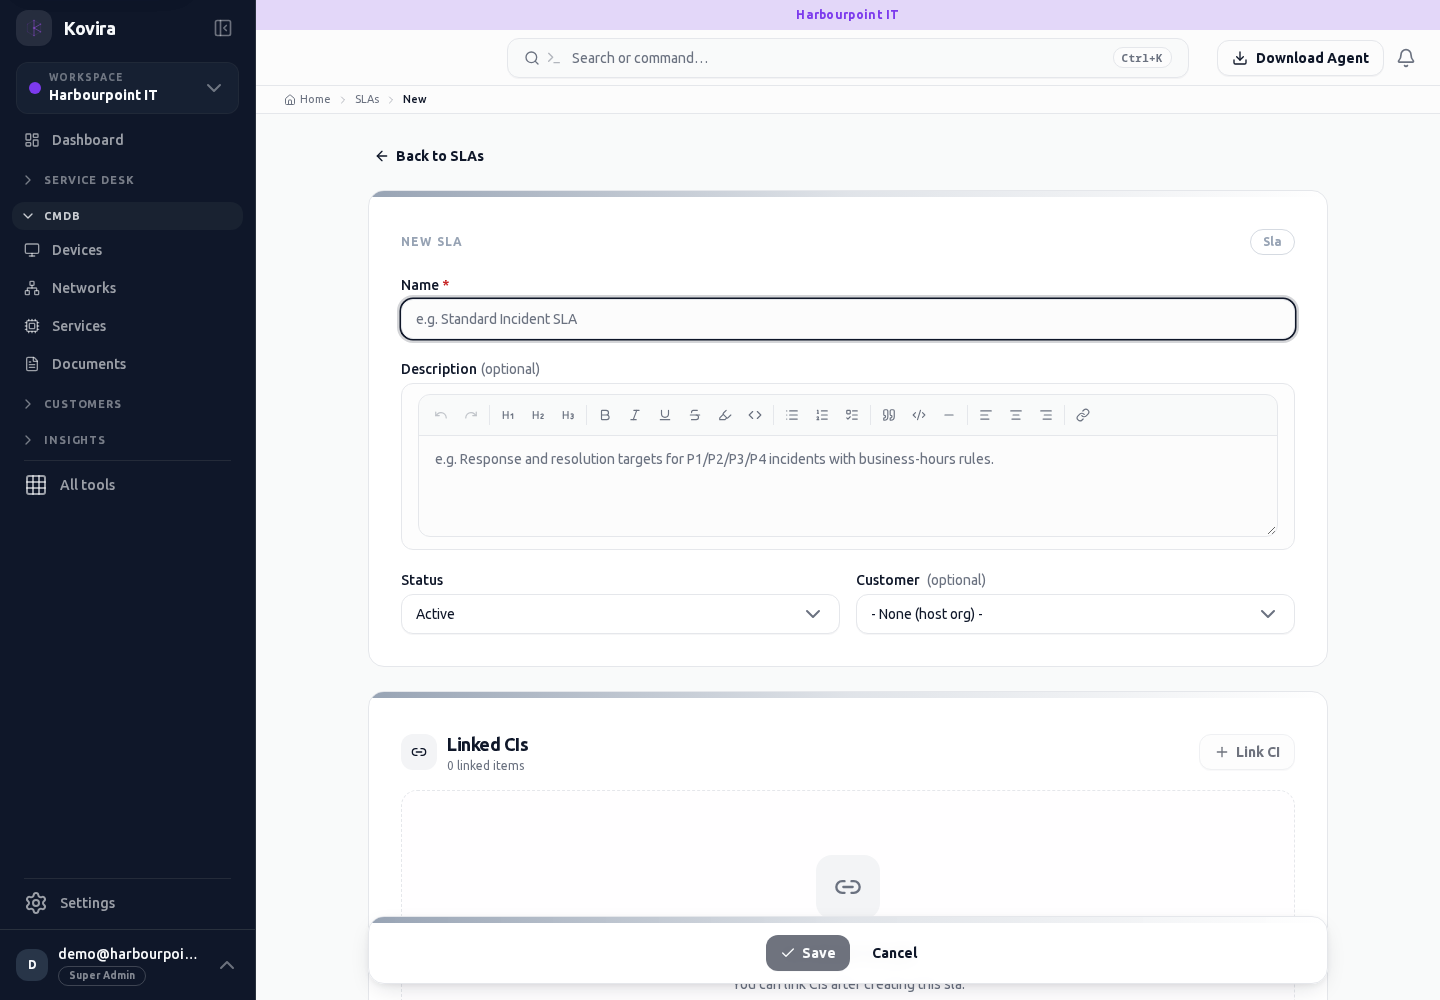
Assets / Slas / Details
Configuration items. Review this screen in the context of the current workspace and record.
Access
- Default workspace roles for opening this screen: Super Admin, Admin, Operator, View Only. Custom role settings, the current workspace, plan and record sharing can further restrict access.
- Opening a screen does not grant every action on it. Changes, exports and lifecycle actions can require additional permissions.
Controls and information
- Type selector
- search and filters
- record fields
- relationships
- history
Steps for this screen
- Choose the correct item type and workspace. Review ownership, lifecycle, source and linked records before changing the item.
- Read the summary, current state and related records. Review the action and its prerequisites before changing the record.
Check the result
- Reopen the item and check its fields and relationships; collector data should have an appropriate observation time.
If this screen is unavailable
- If the record is unavailable, return to its list and confirm the workspace and link. Ask an administrator to check record access before creating a replacement.
- If saving fails or a conflict appears, keep a copy of your intended changes, reopen the current record and review it before submitting again.
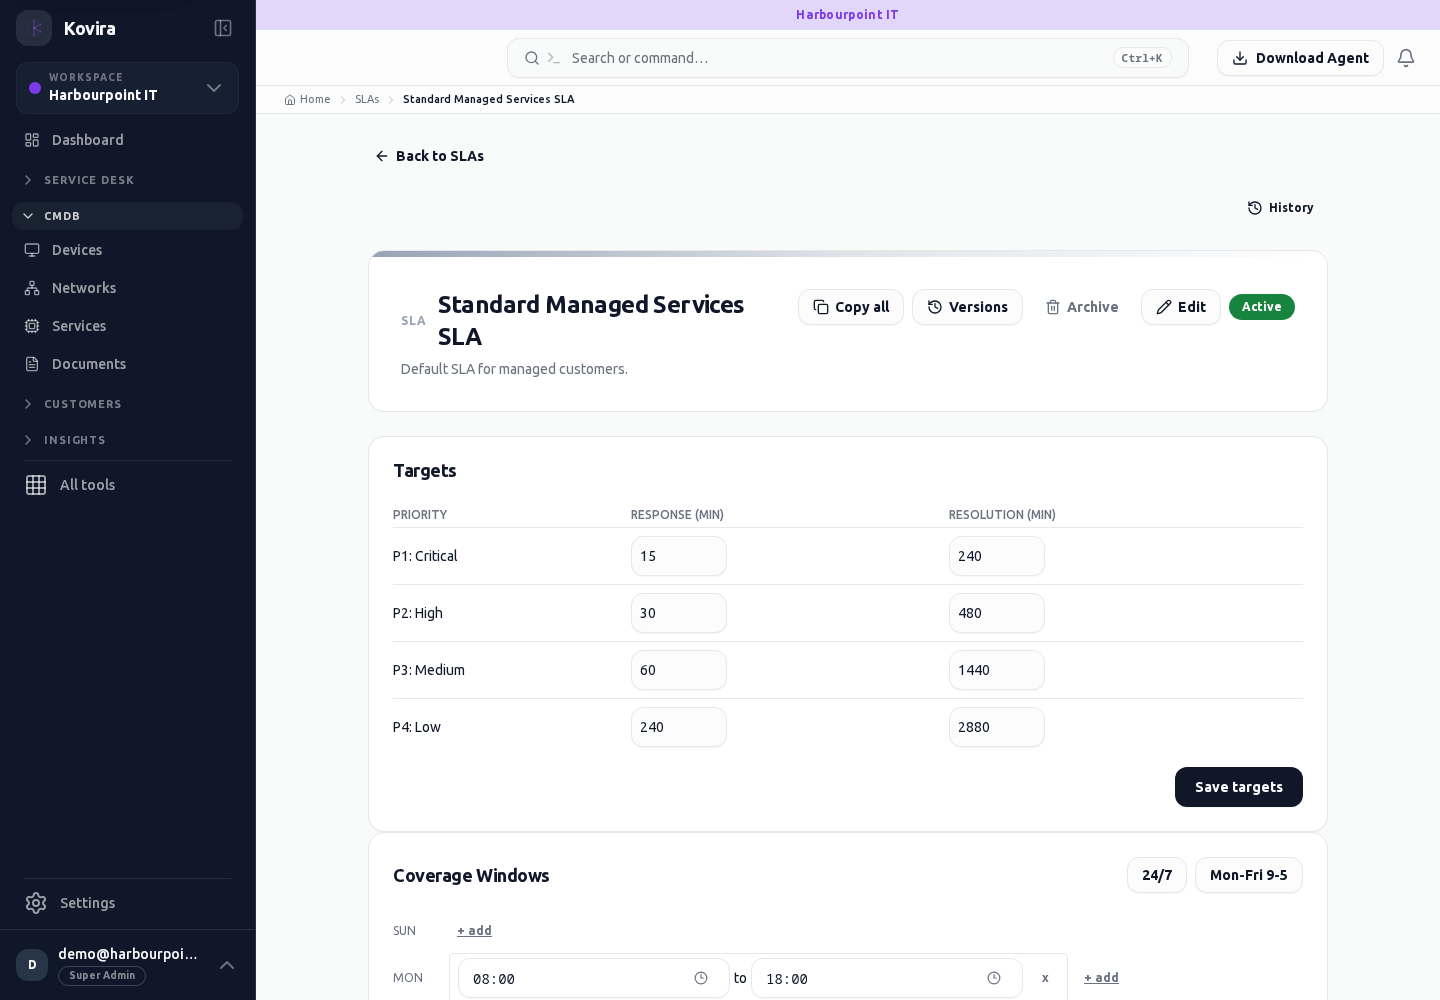
Assets / Entra Id
Configuration items. Review this screen in the context of the current workspace and record.
Access
- Default workspace roles for opening this screen: Super Admin, Admin, Operator, View Only. Custom role settings, the current workspace, plan and record sharing can further restrict access.
- Opening a screen does not grant every action on it. Changes, exports and lifecycle actions can require additional permissions.
Controls and information
- Type selector
- search and filters
- record fields
- relationships
- history
Steps for this screen
- Choose the correct item type and workspace. Review ownership, lifecycle, source and linked records before changing the item.
Check the result
- Reopen the item and check its fields and relationships; collector data should have an appropriate observation time.
If this screen is unavailable
- If no records appear, clear active filters and confirm the workspace and your access before creating a duplicate.
- If saving fails or a conflict appears, keep a copy of your intended changes, reopen the current record and review it before submitting again.
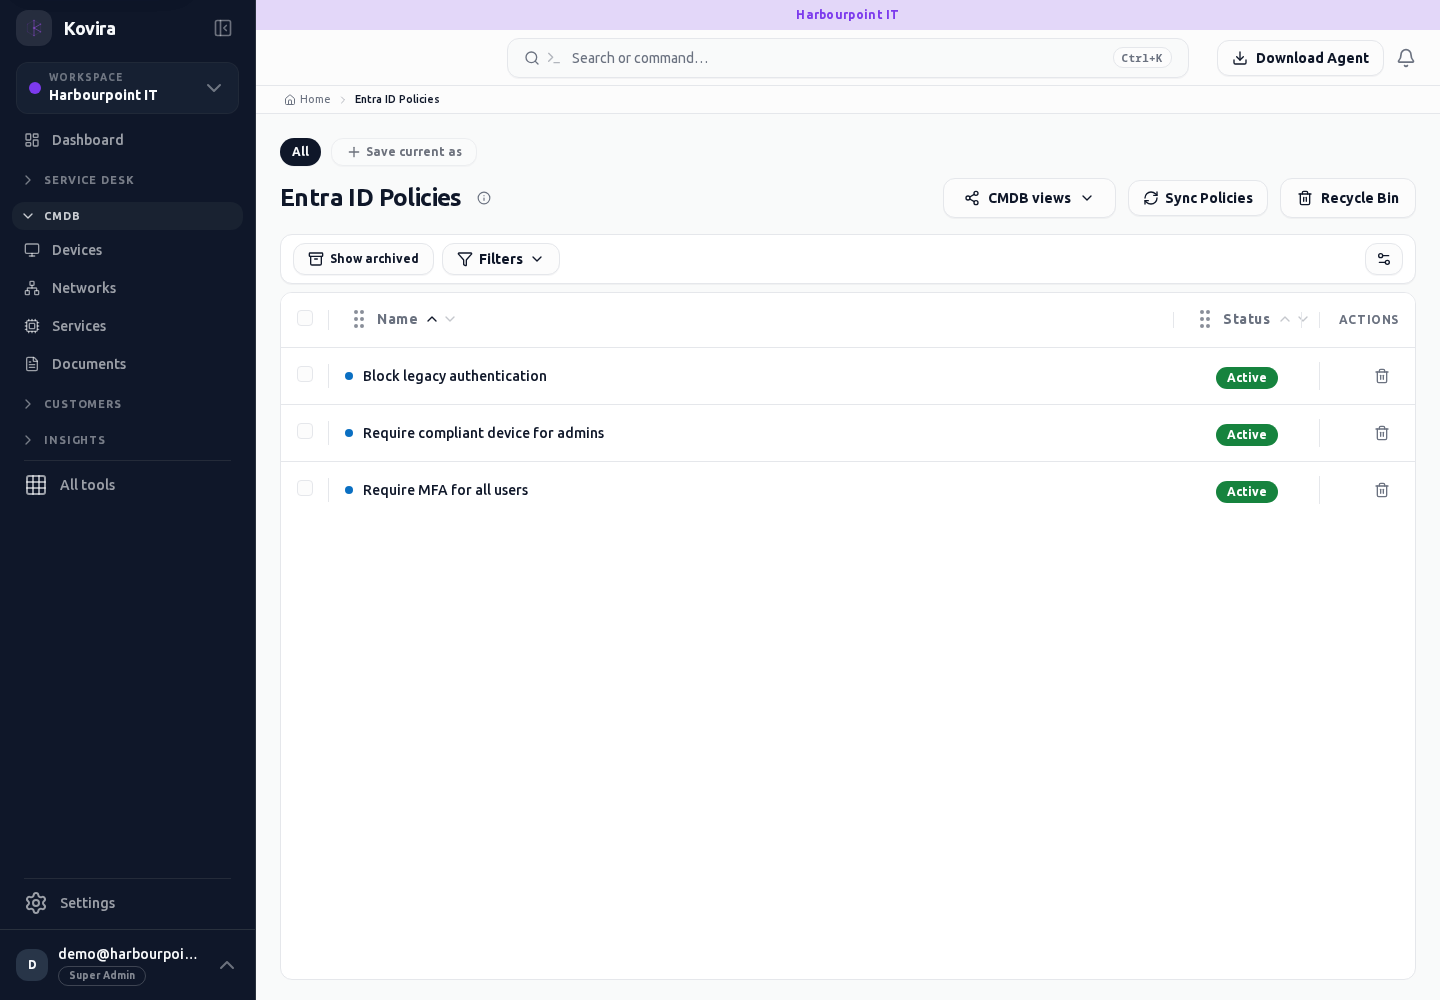
Assets / Entra Id / New
Configuration items. Open the linked destination and continue there.
Access
- Default workspace roles for opening this screen: Super Admin, Admin, Operator. Custom role settings, the current workspace, plan and record sharing can further restrict access.
- Opening a screen does not grant every action on it. Changes, exports and lifecycle actions can require additional permissions.
Controls and information
- Type selector
- search and filters
- record fields
- relationships
- history
Steps for this screen
- Choose the correct item type and workspace. Review ownership, lifecycle, source and linked records before changing the item.
- This entry opens the corresponding destination screen. Check the heading and continue with the destination’s controls.
Check the result
- Reopen the item and check its fields and relationships; collector data should have an appropriate observation time.
If this screen is unavailable
- If no records appear, clear active filters and confirm the workspace and your access before creating a duplicate.
- If the destination cannot be opened, use its navigation entry and confirm that your role and plan include it.
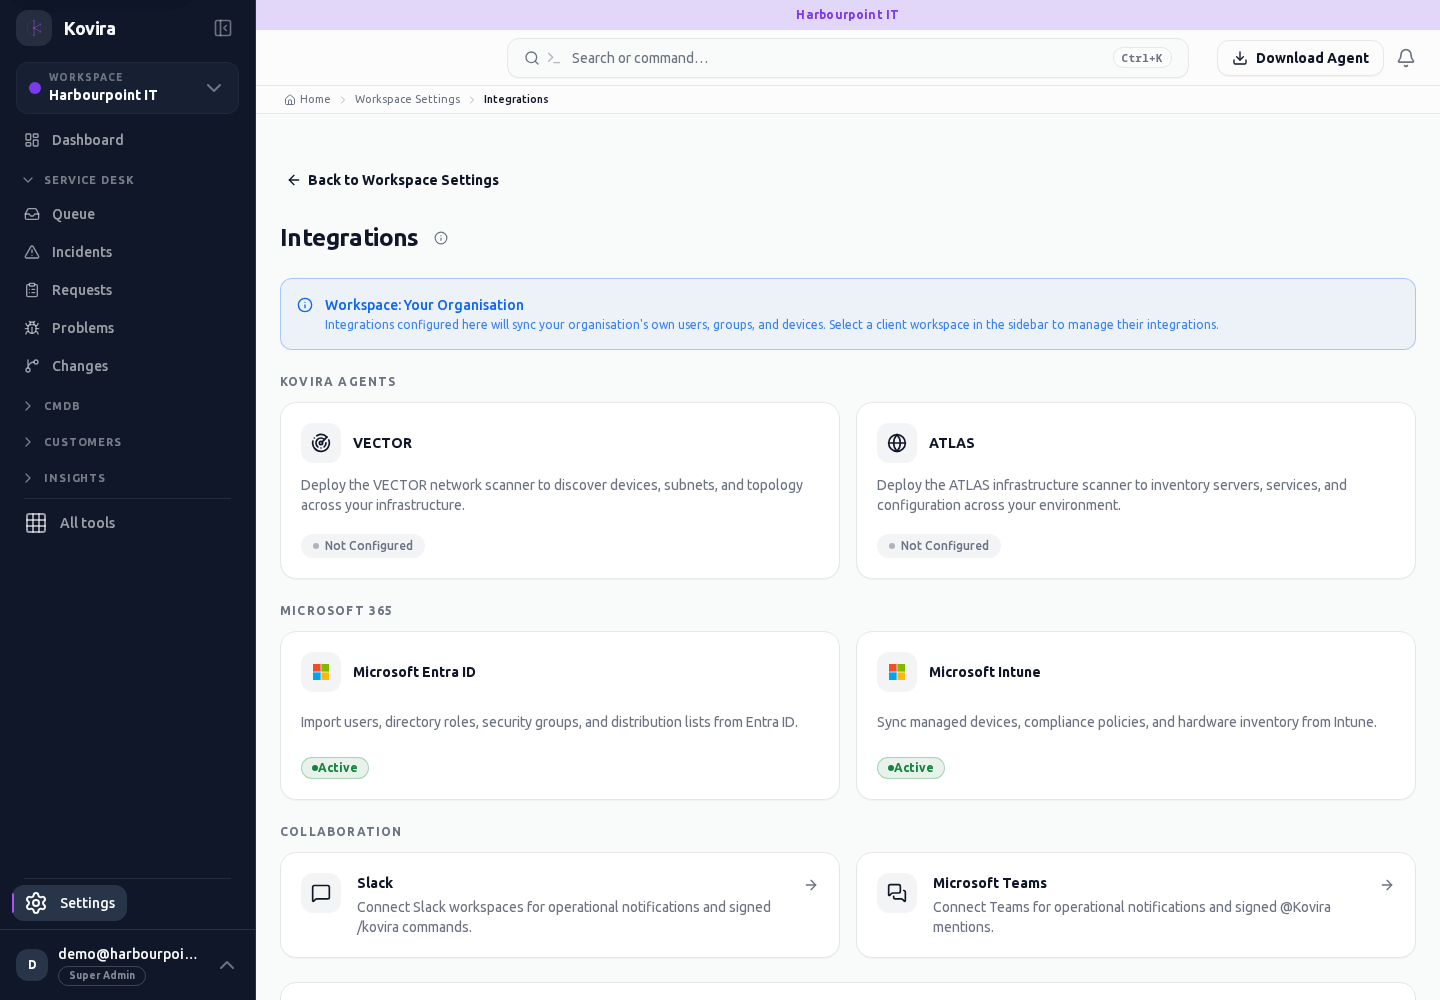
Assets / Entra Id / Details
Configuration items. Review this screen in the context of the current workspace and record.
Access
- Default workspace roles for opening this screen: Super Admin, Admin, Operator, View Only. Custom role settings, the current workspace, plan and record sharing can further restrict access.
- Opening a screen does not grant every action on it. Changes, exports and lifecycle actions can require additional permissions.
Controls and information
- Type selector
- search and filters
- record fields
- relationships
- history
Steps for this screen
- Choose the correct item type and workspace. Review ownership, lifecycle, source and linked records before changing the item.
- Read the summary, current state and related records. Review the action and its prerequisites before changing the record.
Check the result
- Reopen the item and check its fields and relationships; collector data should have an appropriate observation time.
If this screen is unavailable
- If the record is unavailable, return to its list and confirm the workspace and link. Ask an administrator to check record access before creating a replacement.
- If saving fails or a conflict appears, keep a copy of your intended changes, reopen the current record and review it before submitting again.
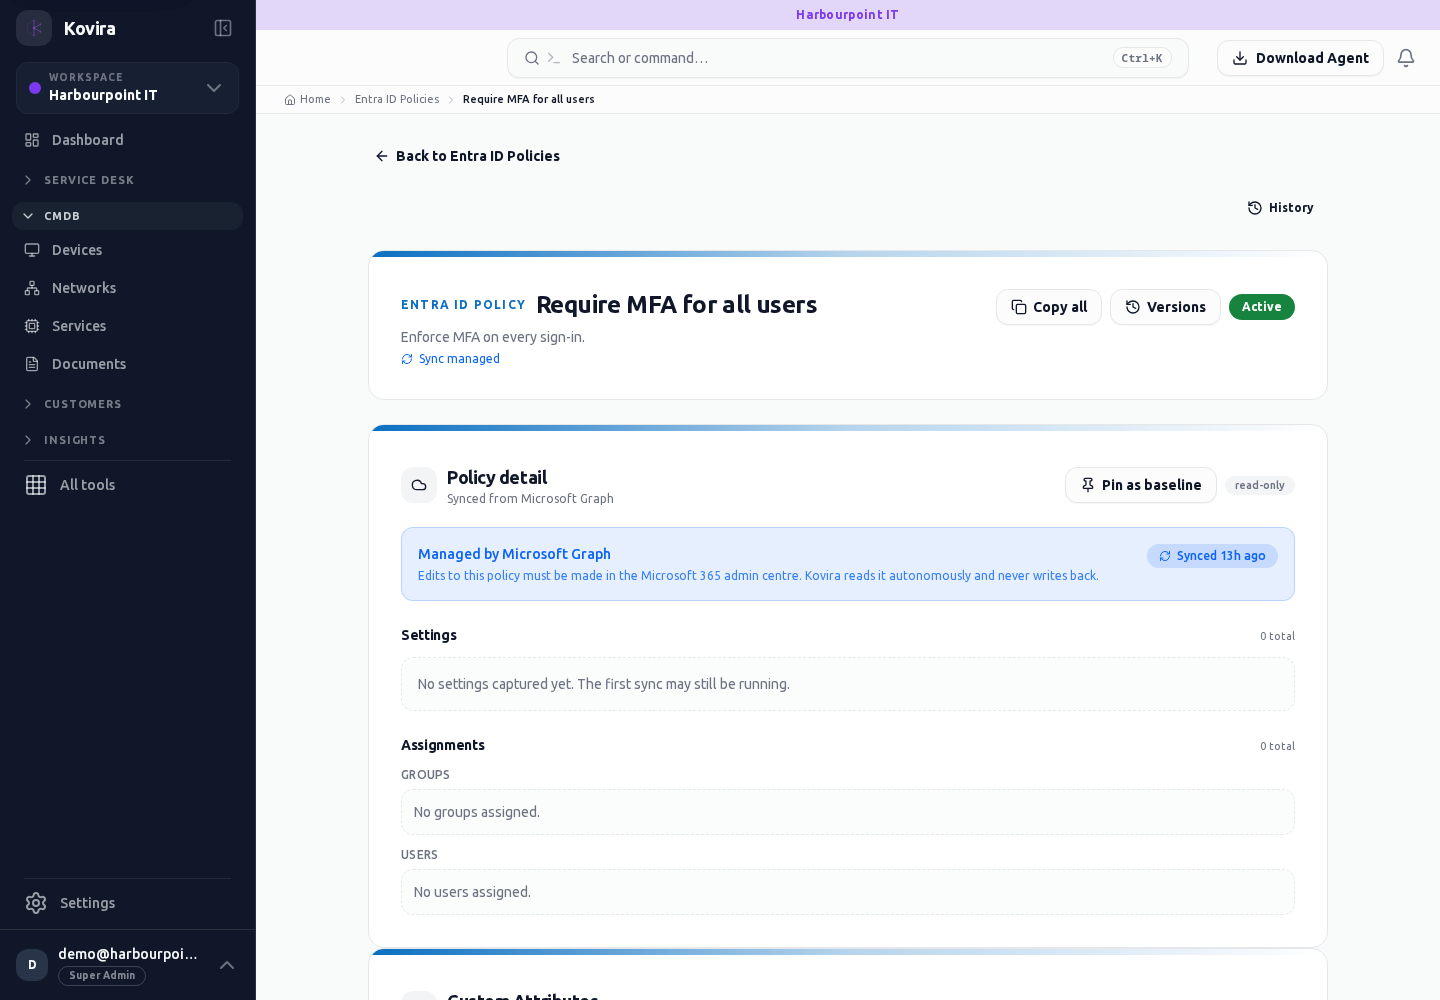
Assets / Intune
Configuration items. Review this screen in the context of the current workspace and record.
Access
- Default workspace roles for opening this screen: Super Admin, Admin, Operator, View Only. Custom role settings, the current workspace, plan and record sharing can further restrict access.
- Opening a screen does not grant every action on it. Changes, exports and lifecycle actions can require additional permissions.
Controls and information
- Type selector
- search and filters
- record fields
- relationships
- history
Steps for this screen
- Choose the correct item type and workspace. Review ownership, lifecycle, source and linked records before changing the item.
- Use the available search, date and status filters to narrow the view. Open a record link for its detail.
- Clear filters when you need to compare the full accessible list.
Check the result
- Reopen the item and check its fields and relationships; collector data should have an appropriate observation time.
If this screen is unavailable
- If no records appear, clear active filters and confirm the workspace and your access before creating a duplicate.
- If the list cannot load, retry once and quote the displayed support reference; do not infer that the workspace is empty.
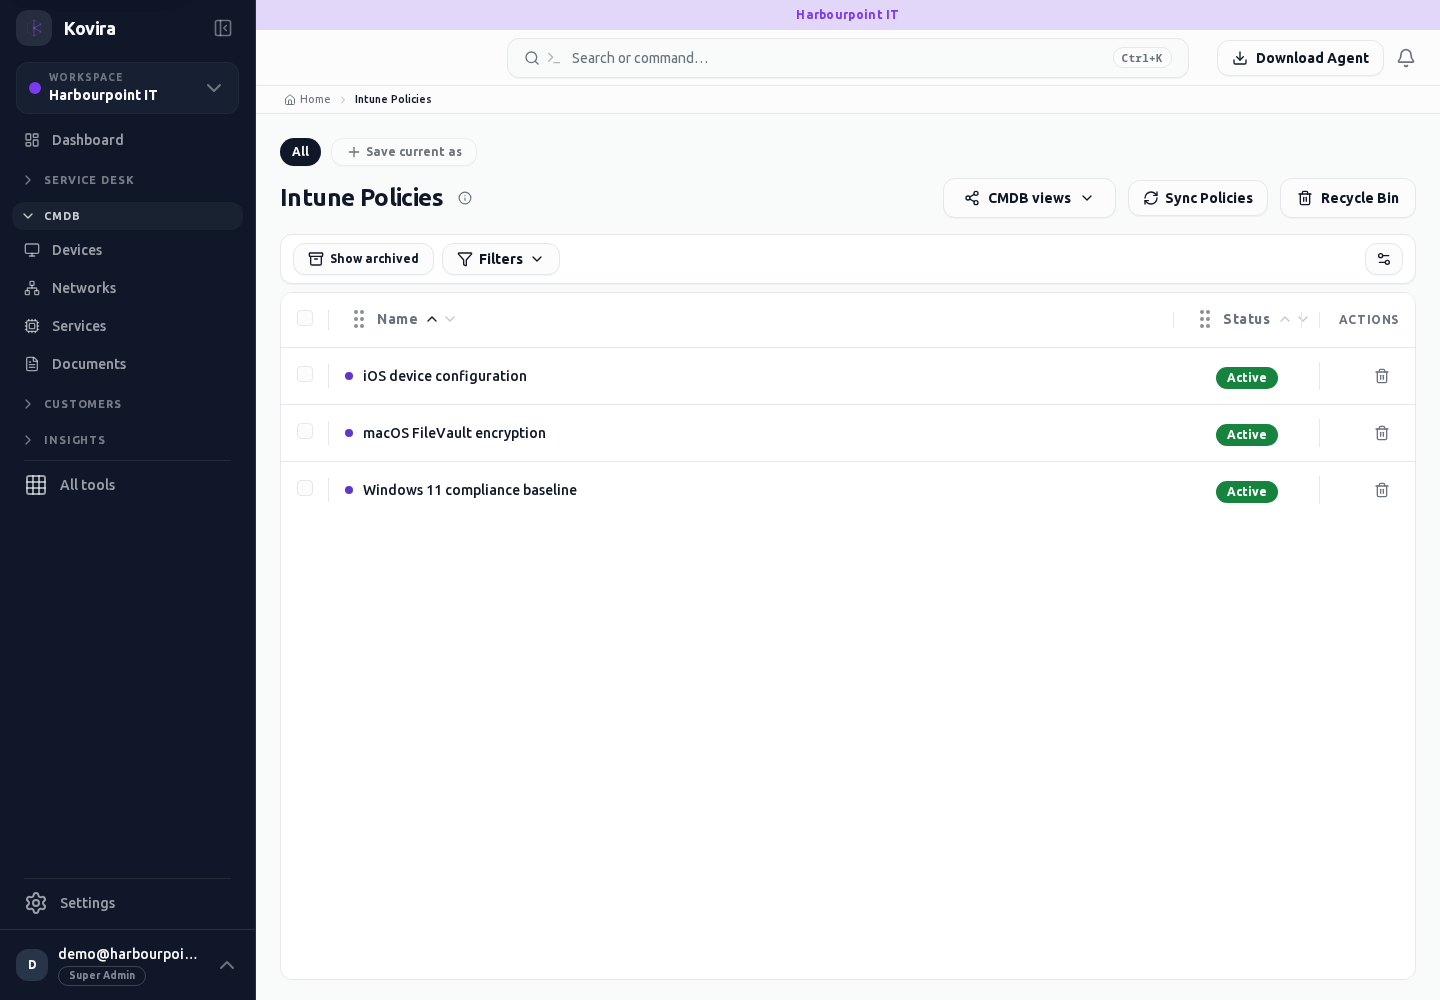
Assets / Intune / New
Configuration items. Open the linked destination and continue there.
Access
- Default workspace roles for opening this screen: Super Admin, Admin, Operator. Custom role settings, the current workspace, plan and record sharing can further restrict access.
- Opening a screen does not grant every action on it. Changes, exports and lifecycle actions can require additional permissions.
Controls and information
- Type selector
- search and filters
- record fields
- relationships
- history
Steps for this screen
- Choose the correct item type and workspace. Review ownership, lifecycle, source and linked records before changing the item.
- This entry opens the corresponding destination screen. Check the heading and continue with the destination’s controls.
Check the result
- Reopen the item and check its fields and relationships; collector data should have an appropriate observation time.
If this screen is unavailable
- If no records appear, clear active filters and confirm the workspace and your access before creating a duplicate.
- If the destination cannot be opened, use its navigation entry and confirm that your role and plan include it.
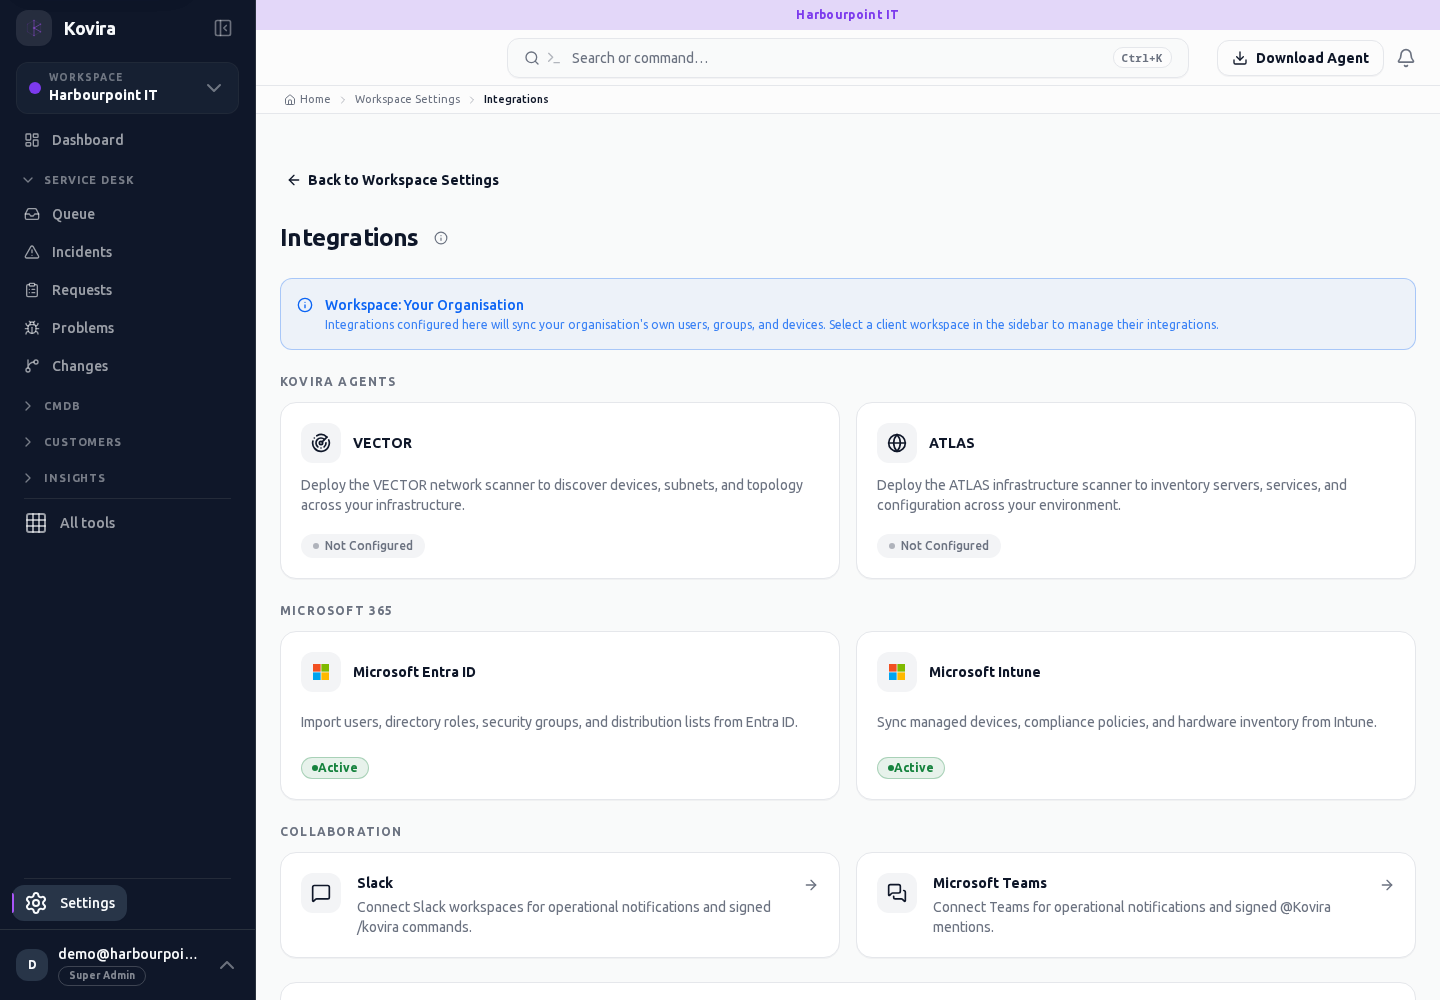
Assets / Intune / Details
Configuration items. Review this screen in the context of the current workspace and record.
Access
- Default workspace roles for opening this screen: Super Admin, Admin, Operator, View Only. Custom role settings, the current workspace, plan and record sharing can further restrict access.
- Opening a screen does not grant every action on it. Changes, exports and lifecycle actions can require additional permissions.
Controls and information
- Type selector
- search and filters
- record fields
- relationships
- history
Steps for this screen
- Choose the correct item type and workspace. Review ownership, lifecycle, source and linked records before changing the item.
- Read the summary, current state and related records. Review the action and its prerequisites before changing the record.
Check the result
- Reopen the item and check its fields and relationships; collector data should have an appropriate observation time.
If this screen is unavailable
- If the record is unavailable, return to its list and confirm the workspace and link. Ask an administrator to check record access before creating a replacement.
- If saving fails or a conflict appears, keep a copy of your intended changes, reopen the current record and review it before submitting again.
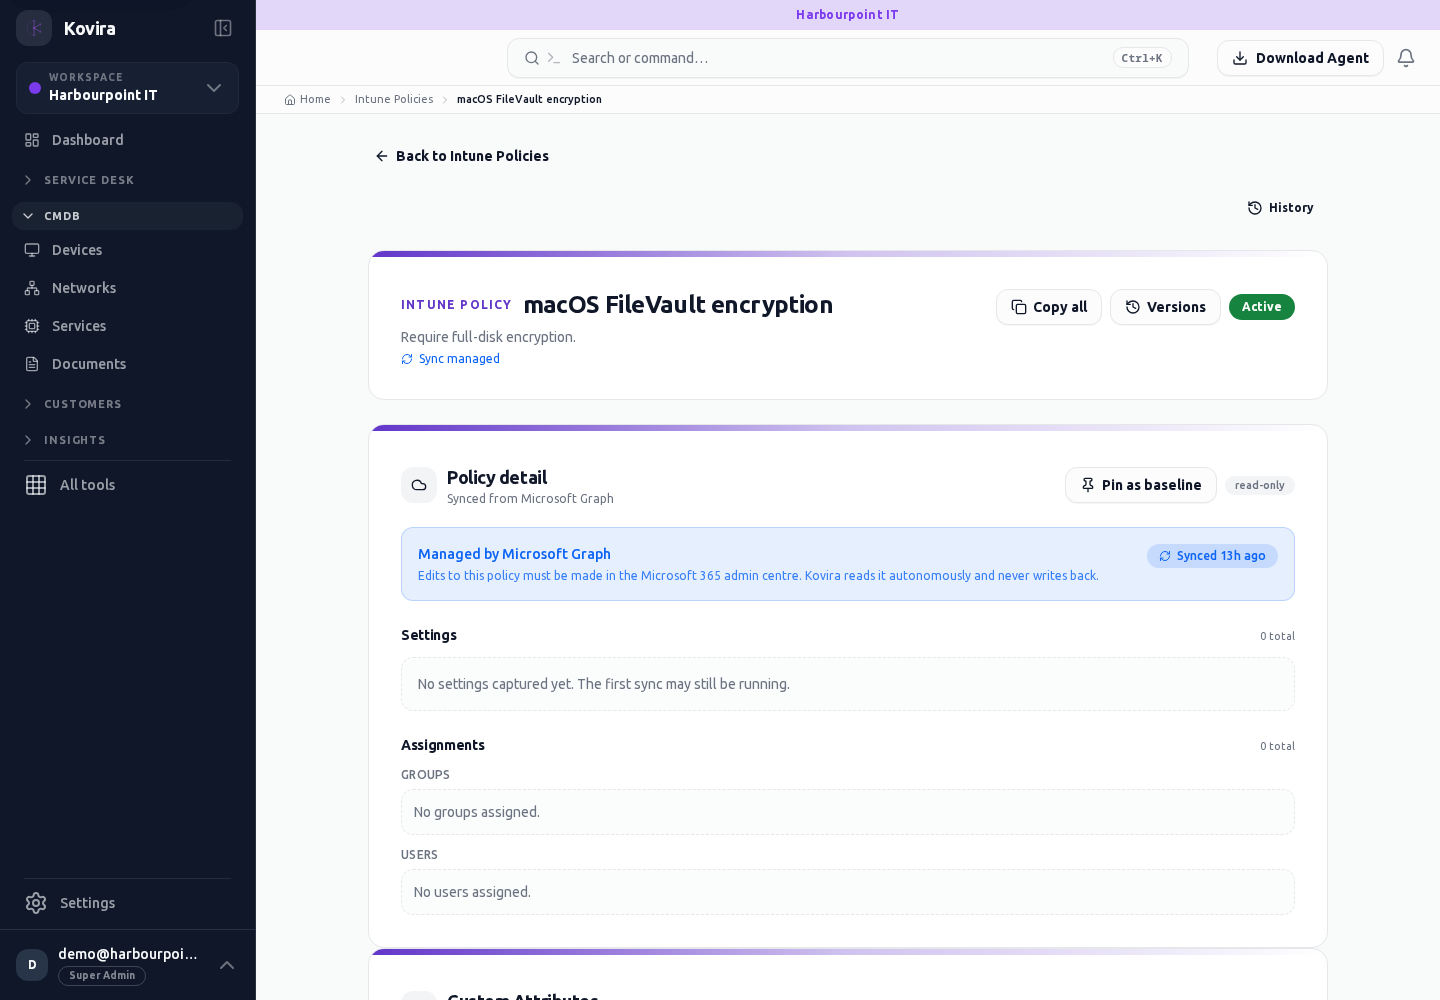
Assets / Saas Apps
Configuration items. Review this screen in the context of the current workspace and record.
Access
- Default workspace roles for opening this screen: Super Admin, Admin, Operator, View Only. Custom role settings, the current workspace, plan and record sharing can further restrict access.
- Opening a screen does not grant every action on it. Changes, exports and lifecycle actions can require additional permissions.
Controls and information
- Type selector
- search and filters
- record fields
- relationships
- history
Steps for this screen
- Choose the correct item type and workspace. Review ownership, lifecycle, source and linked records before changing the item.
Check the result
- Reopen the item and check its fields and relationships; collector data should have an appropriate observation time.
If this screen is unavailable
- If no records appear, clear active filters and confirm the workspace and your access before creating a duplicate.
- If saving fails or a conflict appears, keep a copy of your intended changes, reopen the current record and review it before submitting again.
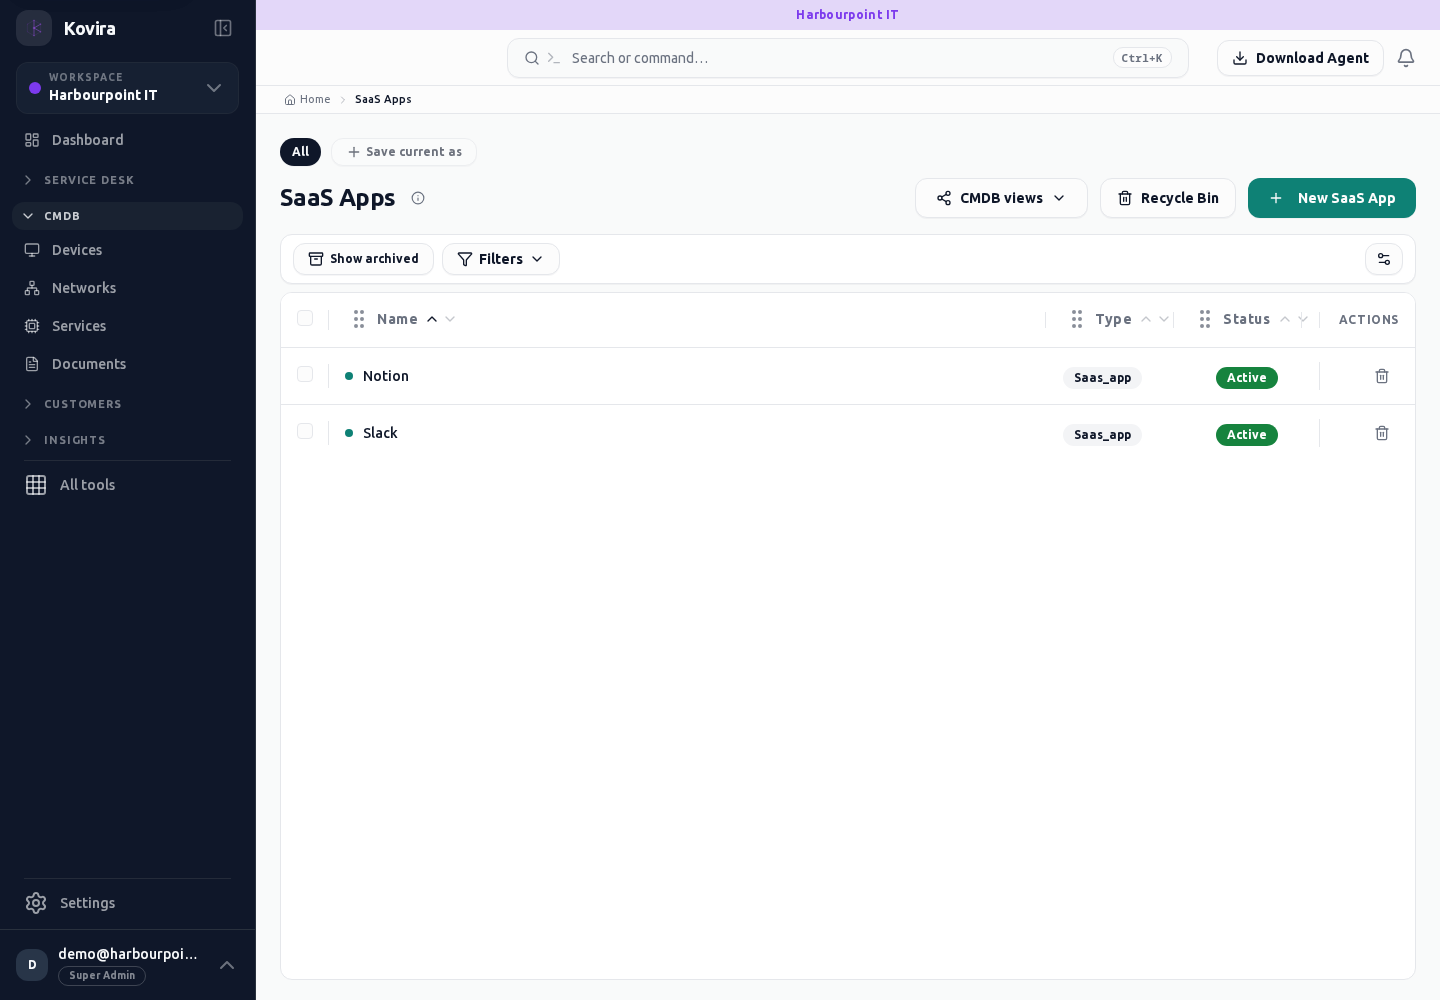
Assets / Saas Apps / New
Configuration items. Create a new entry and review the information before submitting.
Access
- Default workspace roles for opening this screen: Super Admin, Admin, Operator. Custom role settings, the current workspace, plan and record sharing can further restrict access.
- Opening a screen does not grant every action on it. Changes, exports and lifecycle actions can require additional permissions.
Controls and information
- Type selector
- search and filters
- record fields
- relationships
- history
Steps for this screen
- Choose the correct item type and workspace. Review ownership, lifecycle, source and linked records before changing the item.
- Complete the required fields. Review linked records, dates and any recipient or customer selection.
- Use the form’s create or save action once and wait for its result. Cancel to leave without submitting.
Check the result
- Reopen the item and check its fields and relationships; collector data should have an appropriate observation time.
- Open the newly created record from the resulting list or confirmation and check the saved values.
If this screen is unavailable
- If no records appear, clear active filters and confirm the workspace and your access before creating a duplicate.
- If saving fails or a conflict appears, keep a copy of your intended changes, reopen the current record and review it before submitting again.
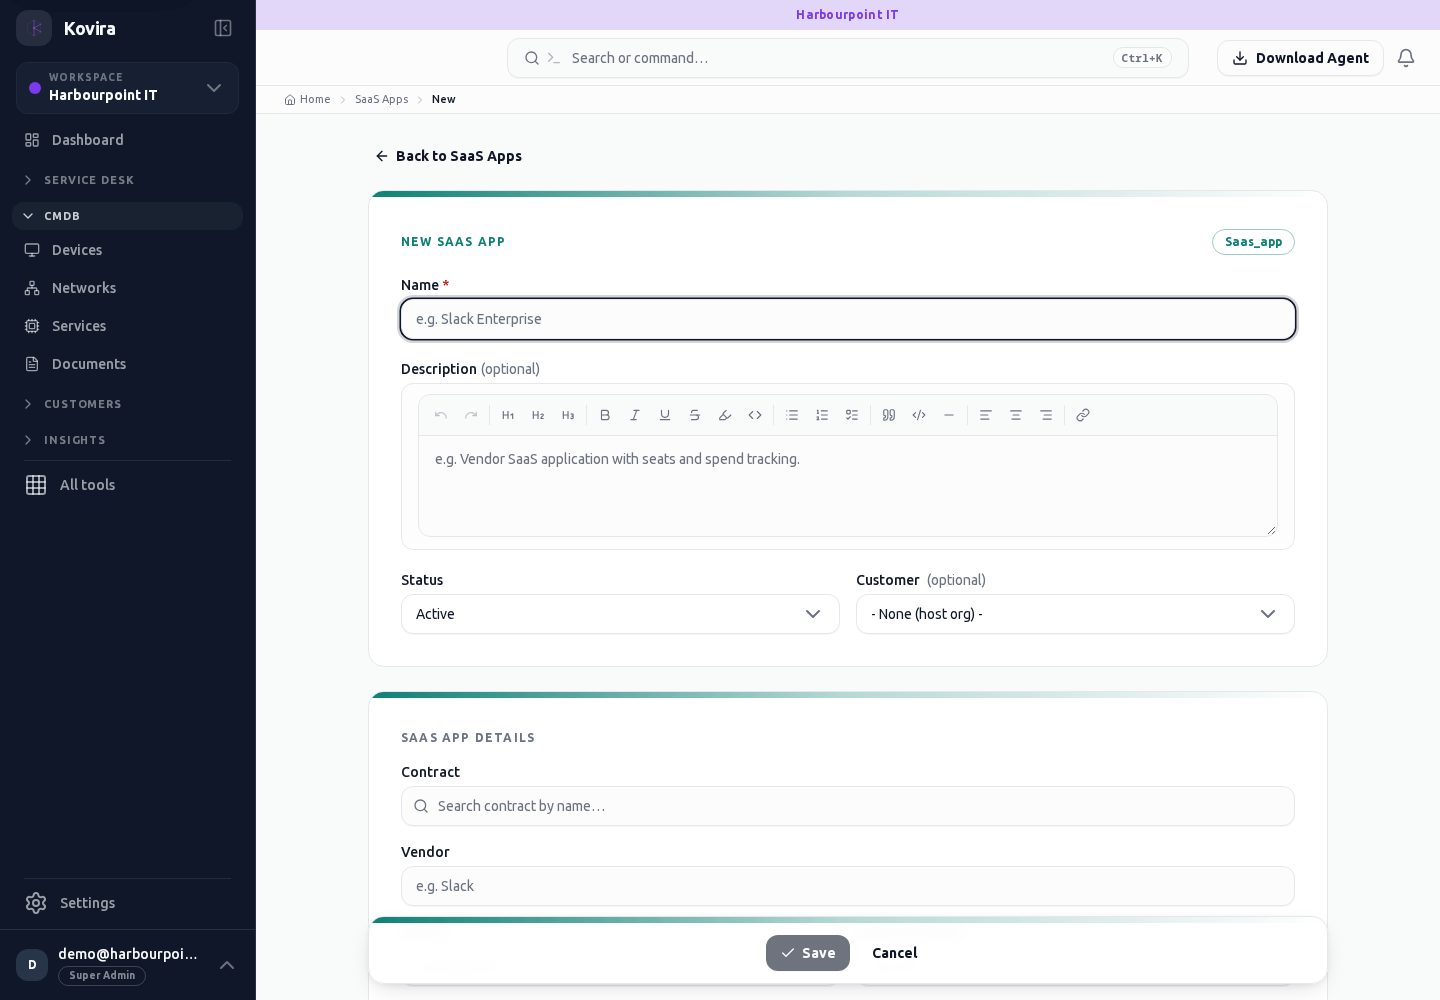
Assets / Saas Apps / Details
Configuration items. Review this screen in the context of the current workspace and record.
Access
- Default workspace roles for opening this screen: Super Admin, Admin, Operator, View Only. Custom role settings, the current workspace, plan and record sharing can further restrict access.
- Opening a screen does not grant every action on it. Changes, exports and lifecycle actions can require additional permissions.
Controls and information
- Type selector
- search and filters
- record fields
- relationships
- history
Steps for this screen
- Choose the correct item type and workspace. Review ownership, lifecycle, source and linked records before changing the item.
- Read the summary, current state and related records. Review the action and its prerequisites before changing the record.
Check the result
- Reopen the item and check its fields and relationships; collector data should have an appropriate observation time.
If this screen is unavailable
- If the record is unavailable, return to its list and confirm the workspace and link. Ask an administrator to check record access before creating a replacement.
- If saving fails or a conflict appears, keep a copy of your intended changes, reopen the current record and review it before submitting again.
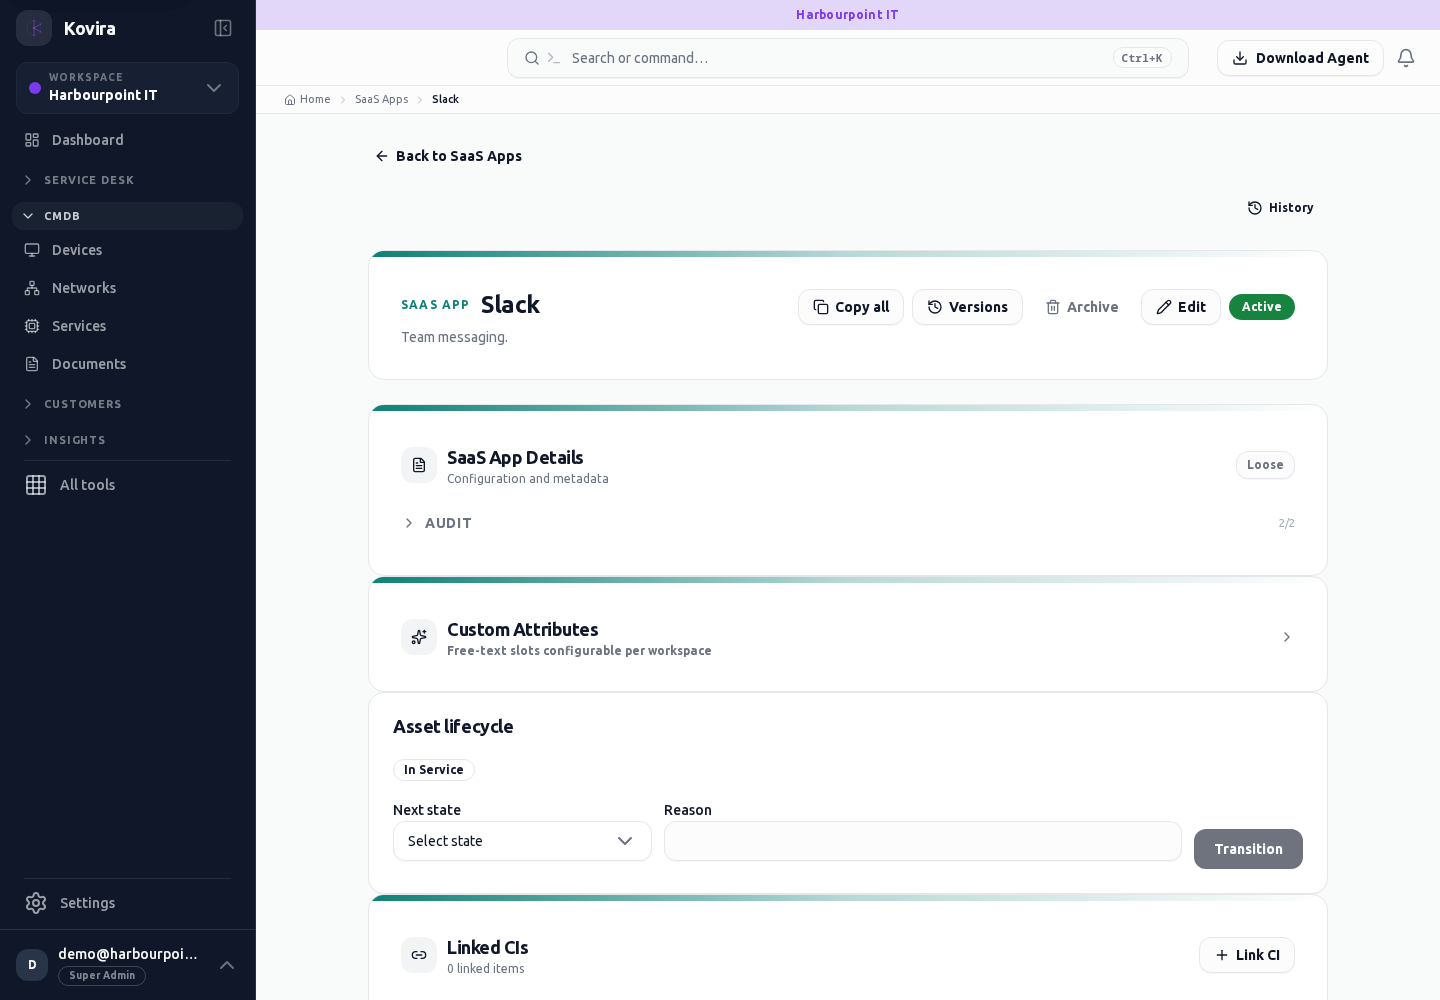
Assets / Business Services
Configuration items. Review this screen in the context of the current workspace and record.
Access
- Default workspace roles for opening this screen: Super Admin, Admin, Operator, View Only. Custom role settings, the current workspace, plan and record sharing can further restrict access.
- Opening a screen does not grant every action on it. Changes, exports and lifecycle actions can require additional permissions.
Controls and information
- Type selector
- search and filters
- record fields
- relationships
- history
Steps for this screen
- Choose the correct item type and workspace. Review ownership, lifecycle, source and linked records before changing the item.
Check the result
- Reopen the item and check its fields and relationships; collector data should have an appropriate observation time.
If this screen is unavailable
- If no records appear, clear active filters and confirm the workspace and your access before creating a duplicate.
- If saving fails or a conflict appears, keep a copy of your intended changes, reopen the current record and review it before submitting again.
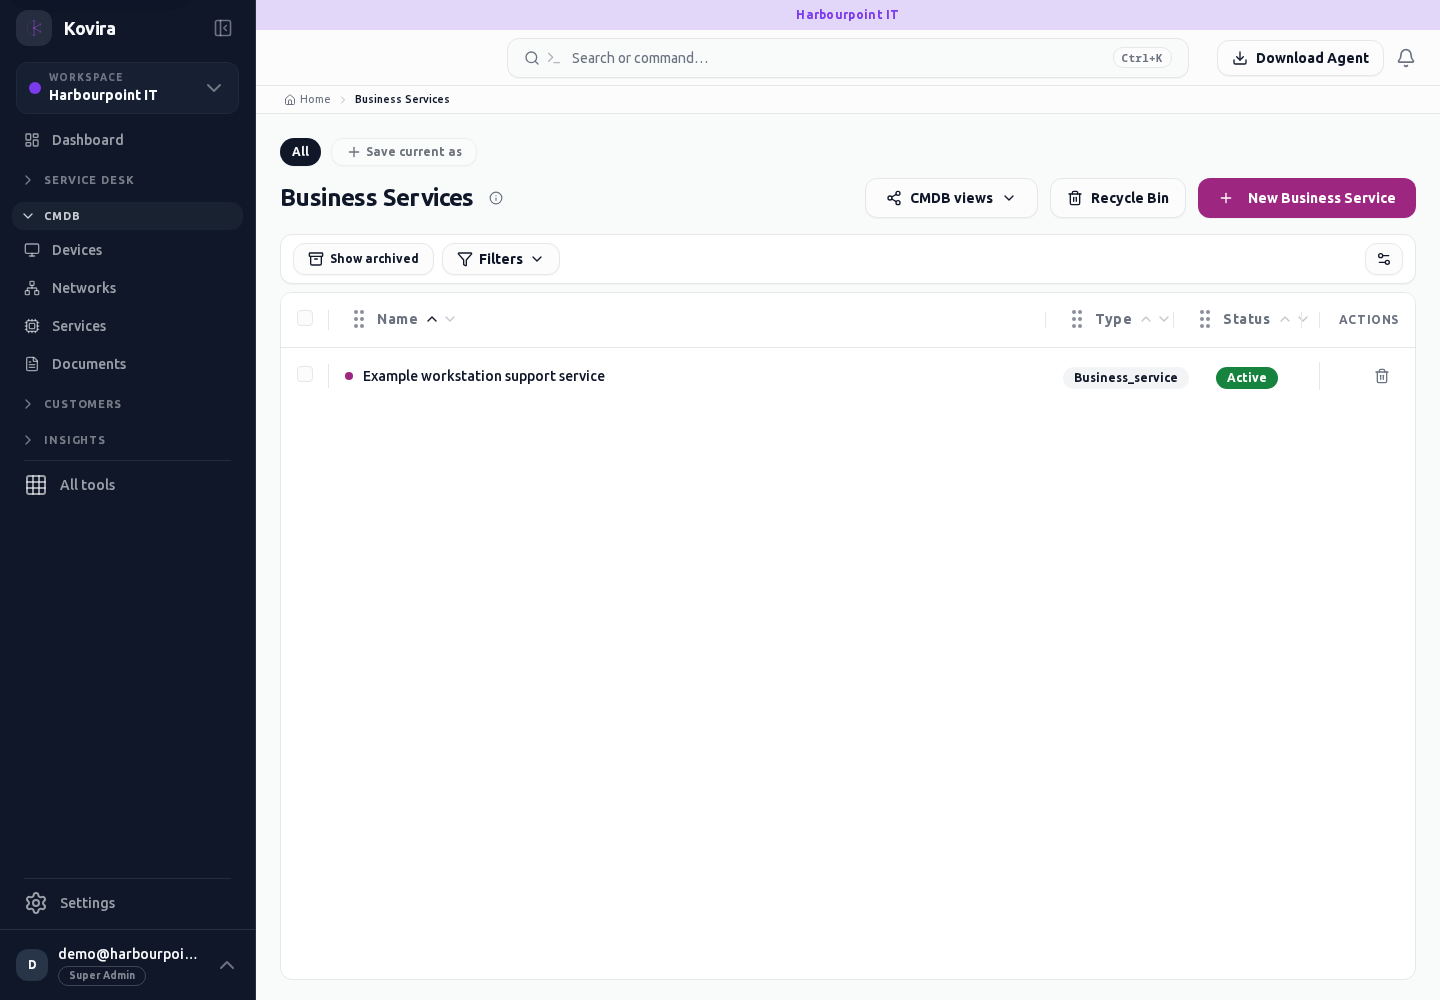
Assets / Business Services / New
Configuration items. Create a new entry and review the information before submitting.
Access
- Default workspace roles for opening this screen: Super Admin, Admin, Operator. Custom role settings, the current workspace, plan and record sharing can further restrict access.
- Opening a screen does not grant every action on it. Changes, exports and lifecycle actions can require additional permissions.
Controls and information
- Type selector
- search and filters
- record fields
- relationships
- history
Steps for this screen
- Choose the correct item type and workspace. Review ownership, lifecycle, source and linked records before changing the item.
- Complete the required fields. Review linked records, dates and any recipient or customer selection.
- Use the form’s create or save action once and wait for its result. Cancel to leave without submitting.
Check the result
- Reopen the item and check its fields and relationships; collector data should have an appropriate observation time.
- Open the newly created record from the resulting list or confirmation and check the saved values.
If this screen is unavailable
- If no records appear, clear active filters and confirm the workspace and your access before creating a duplicate.
- If saving fails or a conflict appears, keep a copy of your intended changes, reopen the current record and review it before submitting again.
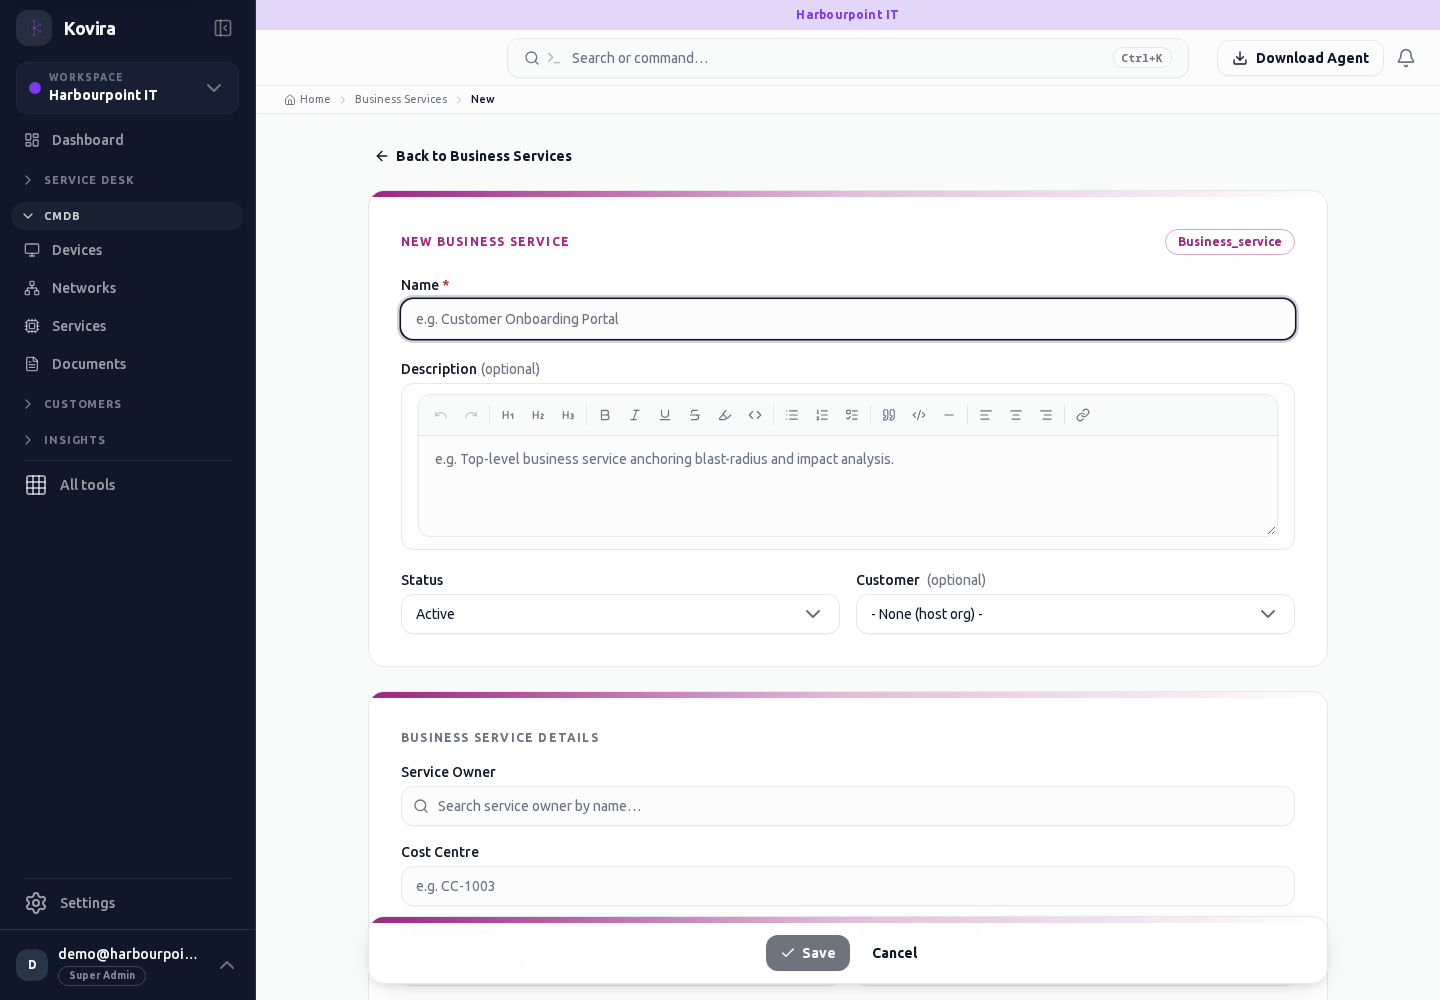
Assets / Business Services / Details
Configuration items. Review this screen in the context of the current workspace and record.
Access
- Default workspace roles for opening this screen: Super Admin, Admin, Operator, View Only. Custom role settings, the current workspace, plan and record sharing can further restrict access.
- Opening a screen does not grant every action on it. Changes, exports and lifecycle actions can require additional permissions.
Controls and information
- Type selector
- search and filters
- record fields
- relationships
- history
Steps for this screen
- Choose the correct item type and workspace. Review ownership, lifecycle, source and linked records before changing the item.
- Read the summary, current state and related records. Review the action and its prerequisites before changing the record.
Check the result
- Reopen the item and check its fields and relationships; collector data should have an appropriate observation time.
If this screen is unavailable
- If the record is unavailable, return to its list and confirm the workspace and link. Ask an administrator to check record access before creating a replacement.
- If saving fails or a conflict appears, keep a copy of your intended changes, reopen the current record and review it before submitting again.
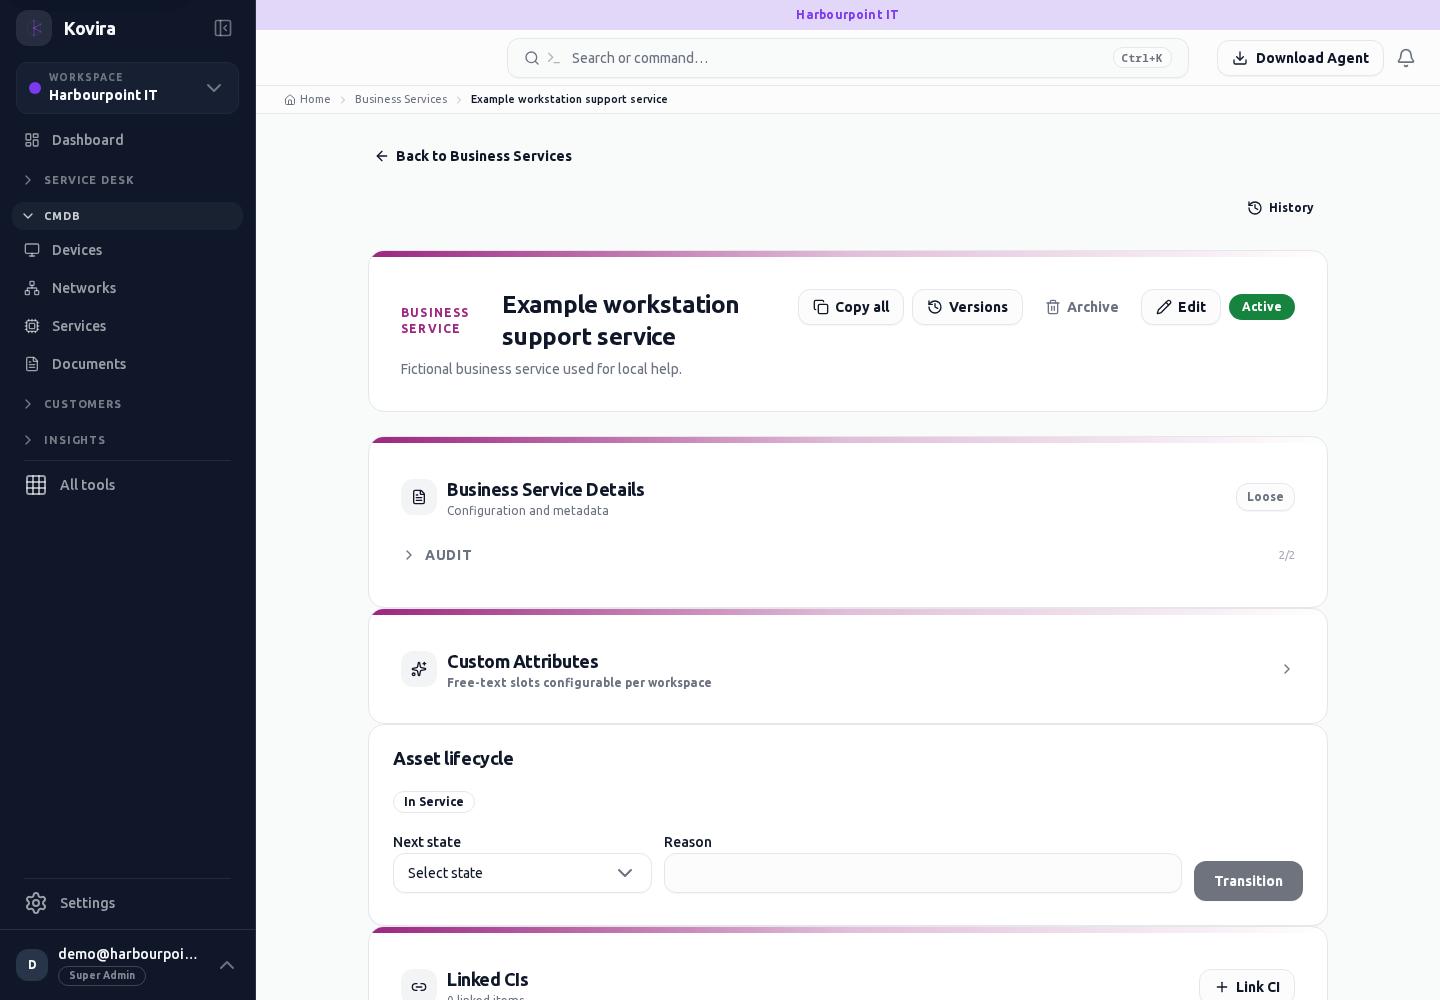
Assets / Quotes
Configuration items. Review this screen in the context of the current workspace and record.
Access
- Default workspace roles for opening this screen: Super Admin, Admin, Operator, View Only. Custom role settings, the current workspace, plan and record sharing can further restrict access.
- Opening a screen does not grant every action on it. Changes, exports and lifecycle actions can require additional permissions.
Controls and information
- Type selector
- search and filters
- record fields
- relationships
- history
Steps for this screen
- Choose the correct item type and workspace. Review ownership, lifecycle, source and linked records before changing the item.
- Use the available search, date and status filters to narrow the view. Open a record link for its detail.
- Clear filters when you need to compare the full accessible list.
Check the result
- Reopen the item and check its fields and relationships; collector data should have an appropriate observation time.
If this screen is unavailable
- If no records appear, clear active filters and confirm the workspace and your access before creating a duplicate.
- If the list cannot load, retry once and quote the displayed support reference; do not infer that the workspace is empty.
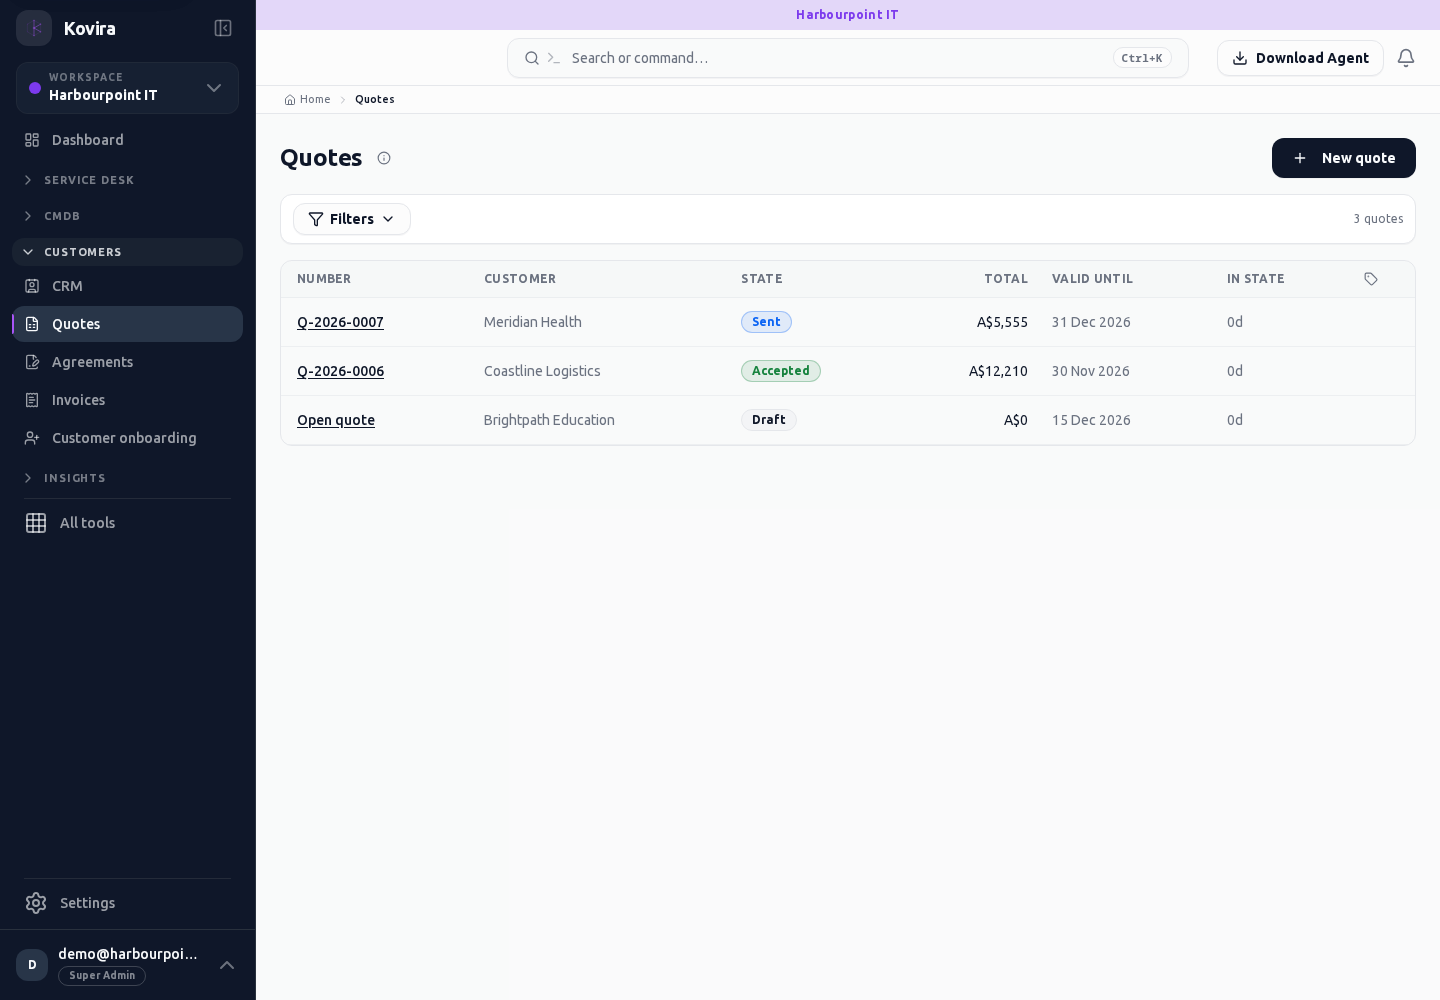
Assets / Quotes / New
Configuration items. Create a new entry and review the information before submitting.
Access
- Default workspace roles for opening this screen: Super Admin, Admin, Operator. Custom role settings, the current workspace, plan and record sharing can further restrict access.
- Opening a screen does not grant every action on it. Changes, exports and lifecycle actions can require additional permissions.
Controls and information
- Type selector
- search and filters
- record fields
- relationships
- history
Steps for this screen
- Choose the correct item type and workspace. Review ownership, lifecycle, source and linked records before changing the item.
- Complete the required fields. Review linked records, dates and any recipient or customer selection.
- Use the form’s create or save action once and wait for its result. Cancel to leave without submitting.
Check the result
- Reopen the item and check its fields and relationships; collector data should have an appropriate observation time.
- Open the newly created record from the resulting list or confirmation and check the saved values.
If this screen is unavailable
- If no records appear, clear active filters and confirm the workspace and your access before creating a duplicate.
- If saving fails or a conflict appears, keep a copy of your intended changes, reopen the current record and review it before submitting again.
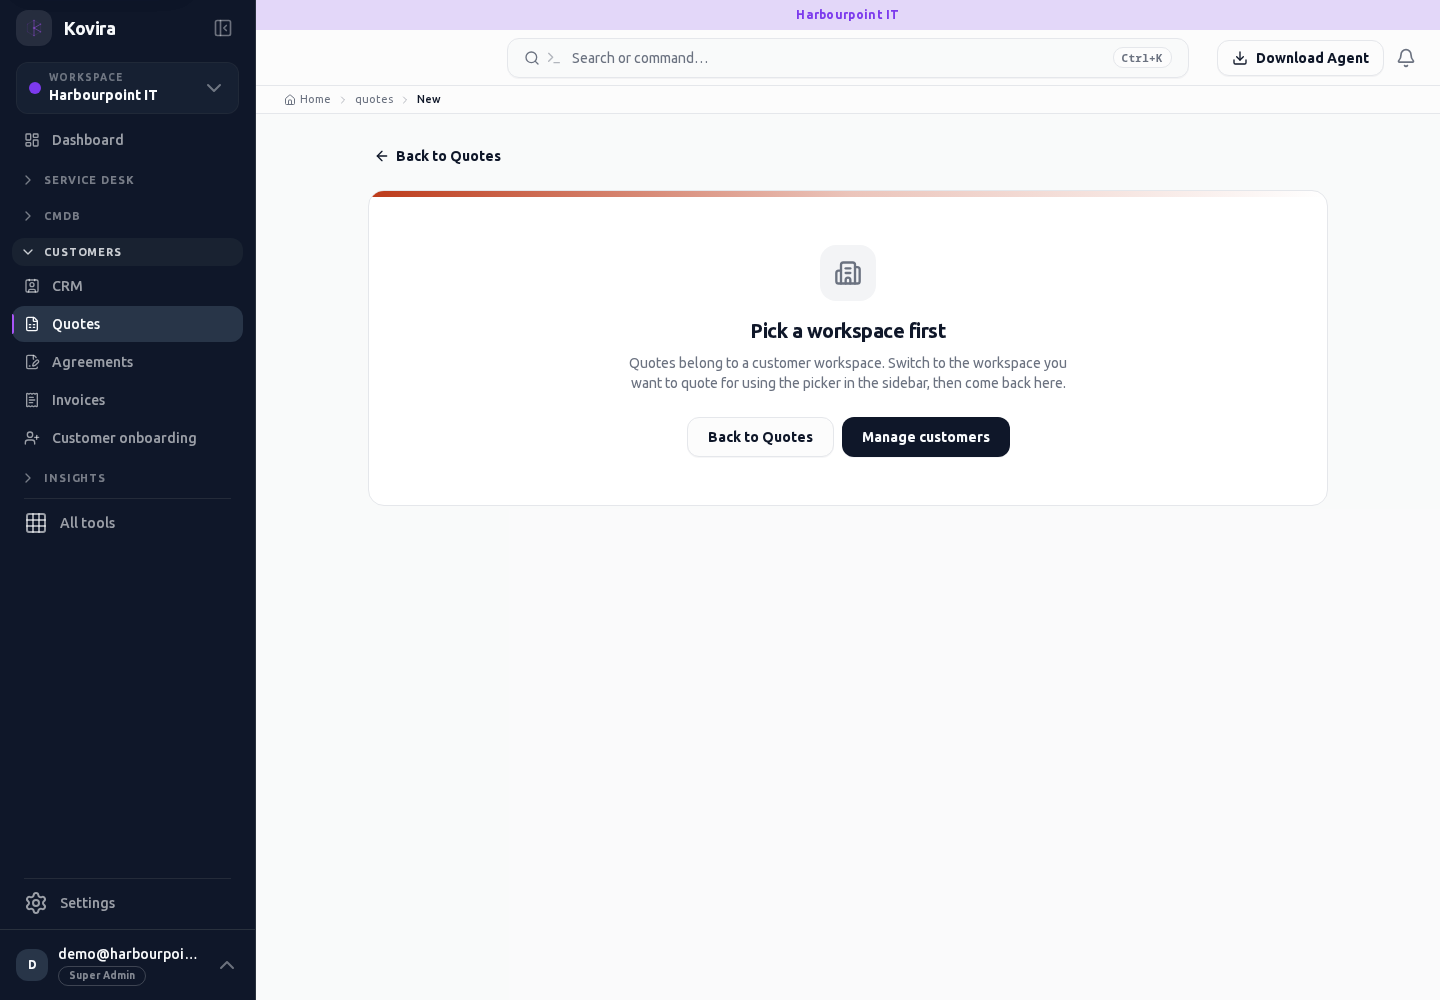
Assets / Quotes / Details
Configuration items. Review this screen in the context of the current workspace and record.
Access
- Default workspace roles for opening this screen: Super Admin, Admin, Operator, View Only. Custom role settings, the current workspace, plan and record sharing can further restrict access.
- Opening a screen does not grant every action on it. Changes, exports and lifecycle actions can require additional permissions.
Controls and information
- Type selector
- search and filters
- record fields
- relationships
- history
Steps for this screen
- Choose the correct item type and workspace. Review ownership, lifecycle, source and linked records before changing the item.
- Read the summary, current state and related records. Review the action and its prerequisites before changing the record.
Check the result
- Reopen the item and check its fields and relationships; collector data should have an appropriate observation time.
If this screen is unavailable
- If the record is unavailable, return to its list and confirm the workspace and link. Ask an administrator to check record access before creating a replacement.
- If saving fails or a conflict appears, keep a copy of your intended changes, reopen the current record and review it before submitting again.
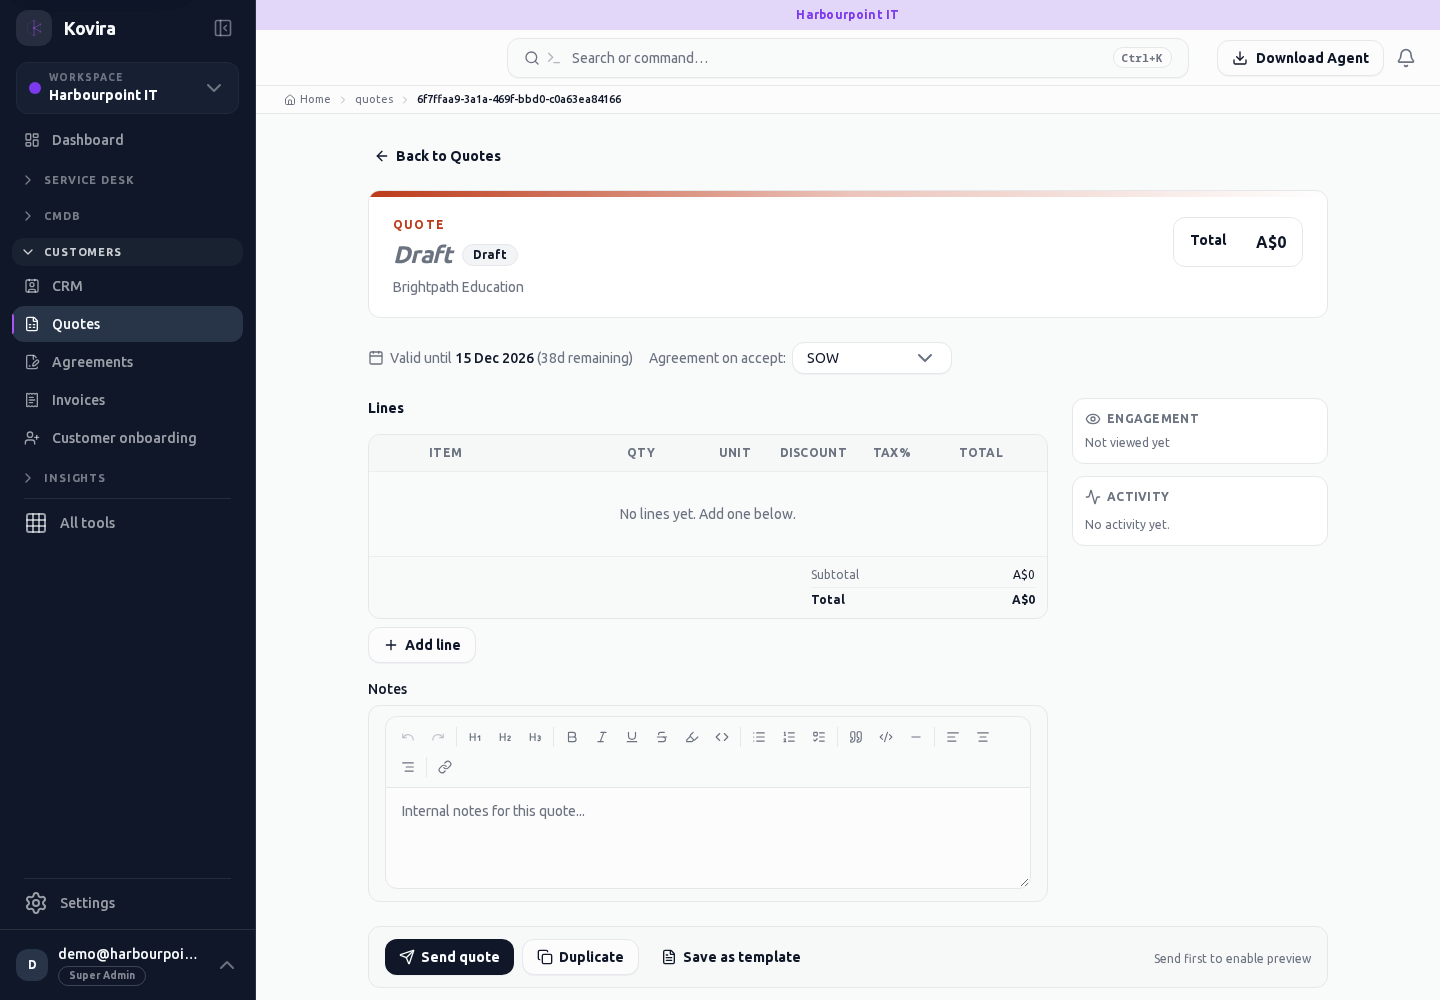
Dependency graphs, topology and racks
Applies to: KOVIRA, VECTOR, ATLAS
Understand dependencies and network connections, and inspect rack placement.
Before you begin
- Inventory records and permission to read their relationships; discovery data for network views.
Steps
- Open Dependency graph and select a record or service. Inspect link direction and relationship type before assessing impact.
- Open Network graph to inspect discovered devices, ports, VLANs and links. Use the available layout, search, fit and zoom controls to find a device.
- Select a node or link and review its inspector. Compare its timestamp and supporting records with the observed network.
- Open a rack record to review unit positions and linked devices. Confirm rack capacity and the intended location before saving changes.
- Review linked CIs and network anomalies to identify items that require investigation.
Check the result
- Compare an important dependency with both linked records.
- Confirm uncertain topology against your network documentation before acting on it.
If you need help
- A missing link can reflect limited device reporting or an old observation. Recheck discovery status before manually correcting topology.
- A graph is operational evidence, not a guarantee of the complete physical network.
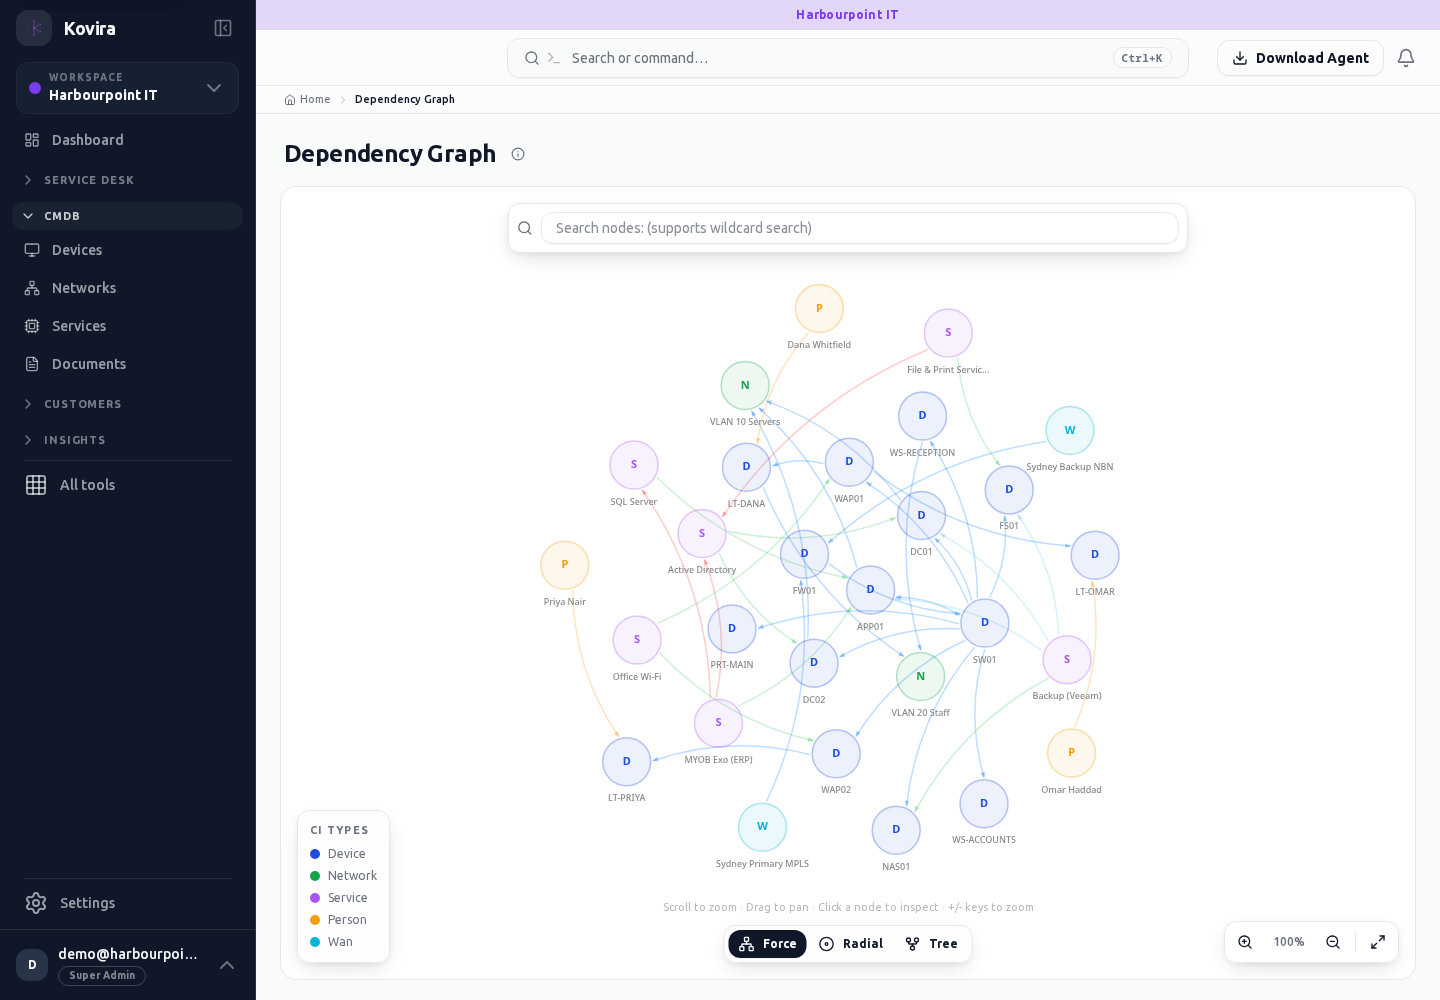
Related screens (4)
Architecture
Relationships and topology. Review this screen in the context of the current workspace and record.
Access
- Default workspace roles for opening this screen: Super Admin. Custom role settings, the current workspace, plan and record sharing can further restrict access.
- Opening a screen does not grant every action on it. Changes, exports and lifecycle actions can require additional permissions.
Controls and information
- Search
- zoom and fit
- node or link selection
- relationship inspector
Steps for this screen
- Find the affected record, then select a node or link to inspect the relationship direction and type.
Check the result
- Compare the displayed relationships and observation dates with the underlying records before assessing impact.
If this screen is unavailable
- If no records appear, clear active filters and confirm the workspace and your access before creating a duplicate.
- If saving fails or a conflict appears, keep a copy of your intended changes, reopen the current record and review it before submitting again.
Dependency Graph
Relationships and topology. Review this screen in the context of the current workspace and record.
Access
- Default workspace roles for opening this screen: Super Admin, Admin, Operator, View Only. Custom role settings, the current workspace, plan and record sharing can further restrict access.
- Opening a screen does not grant every action on it. Changes, exports and lifecycle actions can require additional permissions.
Controls and information
- Search
- zoom and fit
- node or link selection
- relationship inspector
Steps for this screen
- Find the affected record, then select a node or link to inspect the relationship direction and type.
Check the result
- Compare the displayed relationships and observation dates with the underlying records before assessing impact.
If this screen is unavailable
- If no records appear, clear active filters and confirm the workspace and your access before creating a duplicate.
- If saving fails or a conflict appears, keep a copy of your intended changes, reopen the current record and review it before submitting again.
Linked Cis
Relationships and topology. Review this screen in the context of the current workspace and record.
Access
- Default workspace roles for opening this screen: Super Admin, Admin, Operator, View Only. Custom role settings, the current workspace, plan and record sharing can further restrict access.
- Opening a screen does not grant every action on it. Changes, exports and lifecycle actions can require additional permissions.
Controls and information
- Search
- zoom and fit
- node or link selection
- relationship inspector
Steps for this screen
- Find the affected record, then select a node or link to inspect the relationship direction and type.
Check the result
- Compare the displayed relationships and observation dates with the underlying records before assessing impact.
If this screen is unavailable
- If no records appear, clear active filters and confirm the workspace and your access before creating a duplicate.
- If saving fails or a conflict appears, keep a copy of your intended changes, reopen the current record and review it before submitting again.
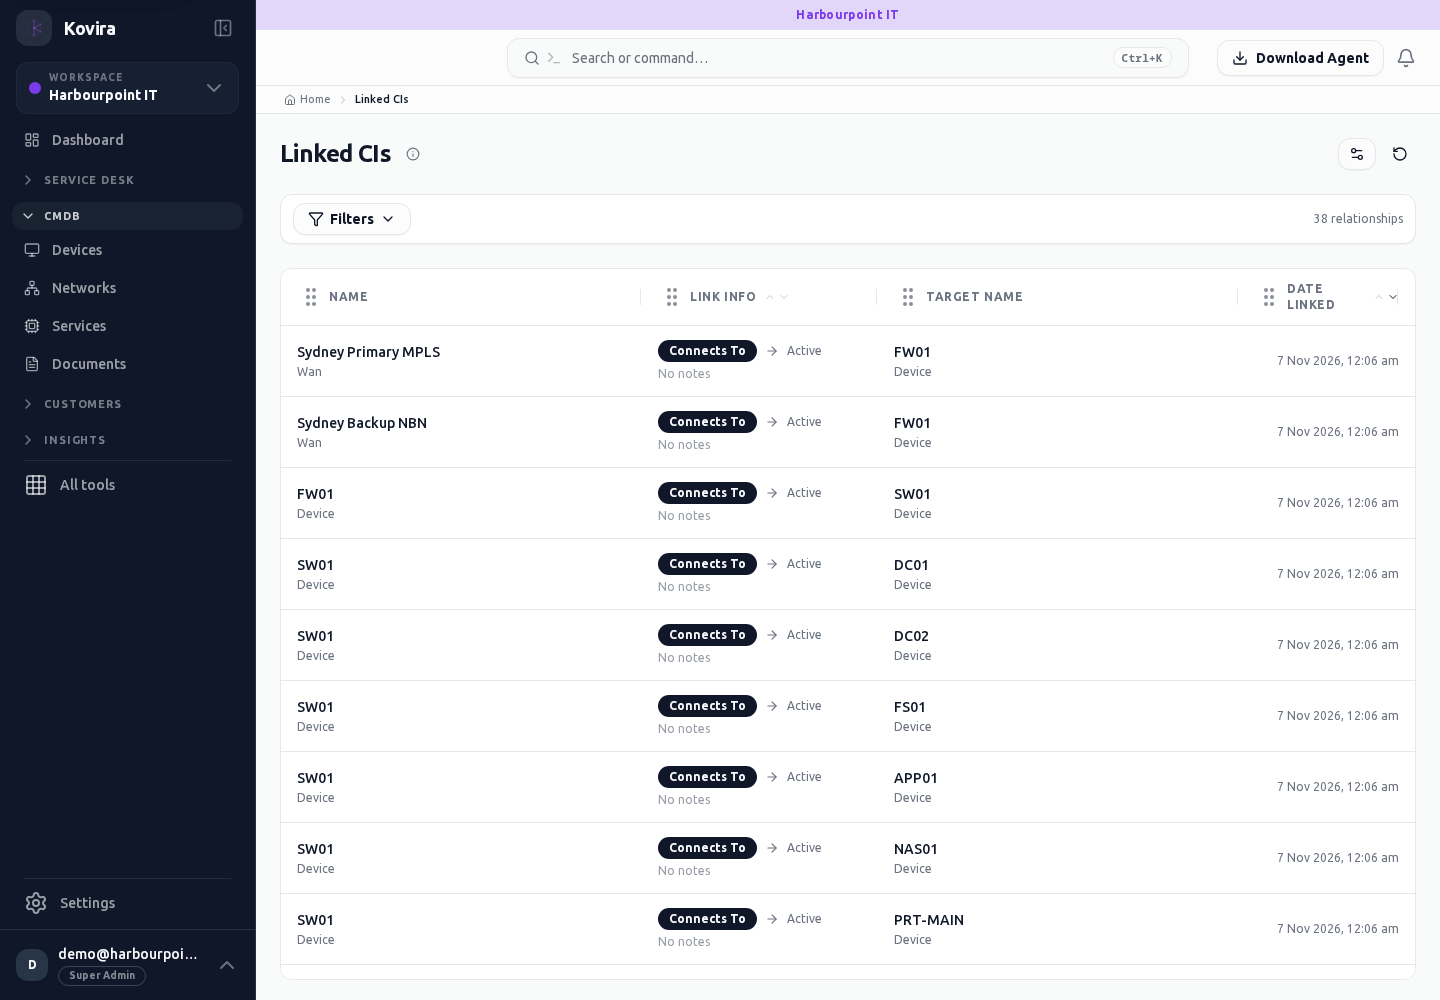
Network Graph
Relationships and topology. Review this screen in the context of the current workspace and record.
Access
- Default workspace roles for opening this screen: Super Admin, Admin, Operator, View Only. Custom role settings, the current workspace, plan and record sharing can further restrict access.
- Opening a screen does not grant every action on it. Changes, exports and lifecycle actions can require additional permissions.
Controls and information
- Search
- zoom and fit
- node or link selection
- relationship inspector
Steps for this screen
- Find the affected record, then select a node or link to inspect the relationship direction and type.
Check the result
- Compare the displayed relationships and observation dates with the underlying records before assessing impact.
If this screen is unavailable
- If no records appear, clear active filters and confirm the workspace and your access before creating a duplicate.
- If saving fails or a conflict appears, keep a copy of your intended changes, reopen the current record and review it before submitting again.
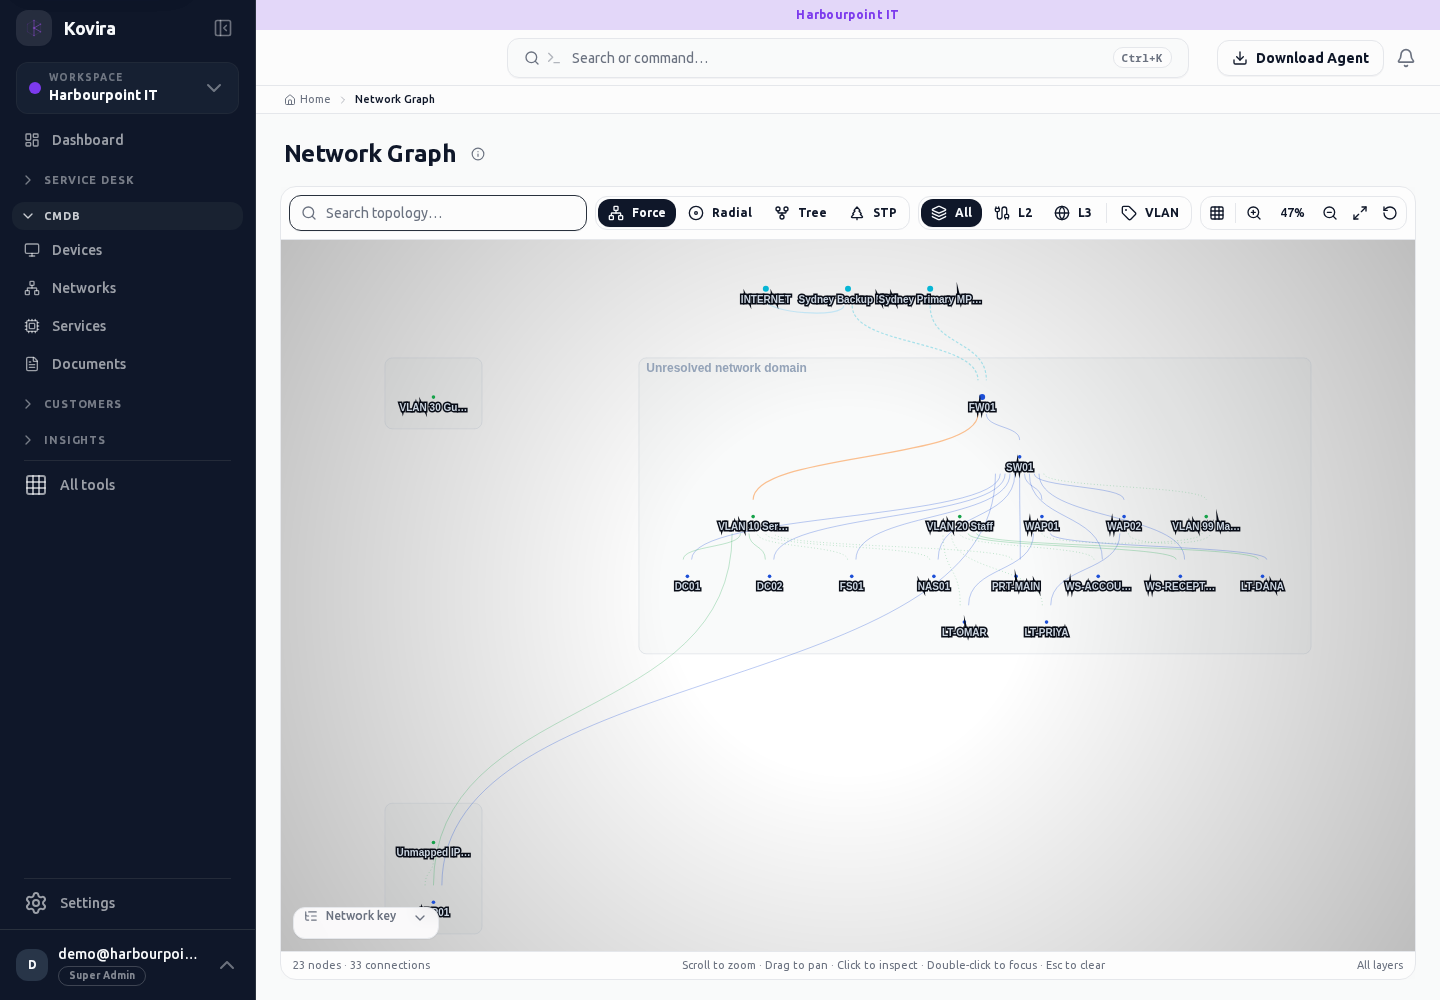
IT asset lifecycle and spare parts
Applies to: KOVIRA
Track asset ownership, depreciation, software entitlements and spare stock.
Before you begin
- Asset access; finance or inventory permissions for financial values and stock movements.
Steps
- Open ITAM to review the asset portfolio, lifecycle and financial overview. Open underlying records to inspect costs and dates.
- Review software and licence records against assigned devices and purchased entitlements. Record renewals and ownership where applicable.
- Open Parts to create a spare item and record a receipt, issue, return or adjustment using the offered movement action. Record quantity, location and reason.
- Have an administrator review depreciation defaults and tax/currency settings before relying on financial reports.
Check the result
- Verify a stock movement in the item’s history and confirm the remaining quantity.
- Review financial totals in the configured currency and date range.
If you need help
- A financial total can exclude assets with missing purchase information. Review the underlying records.
- Correct inventory errors with an auditable adjustment rather than silently changing historical movements.
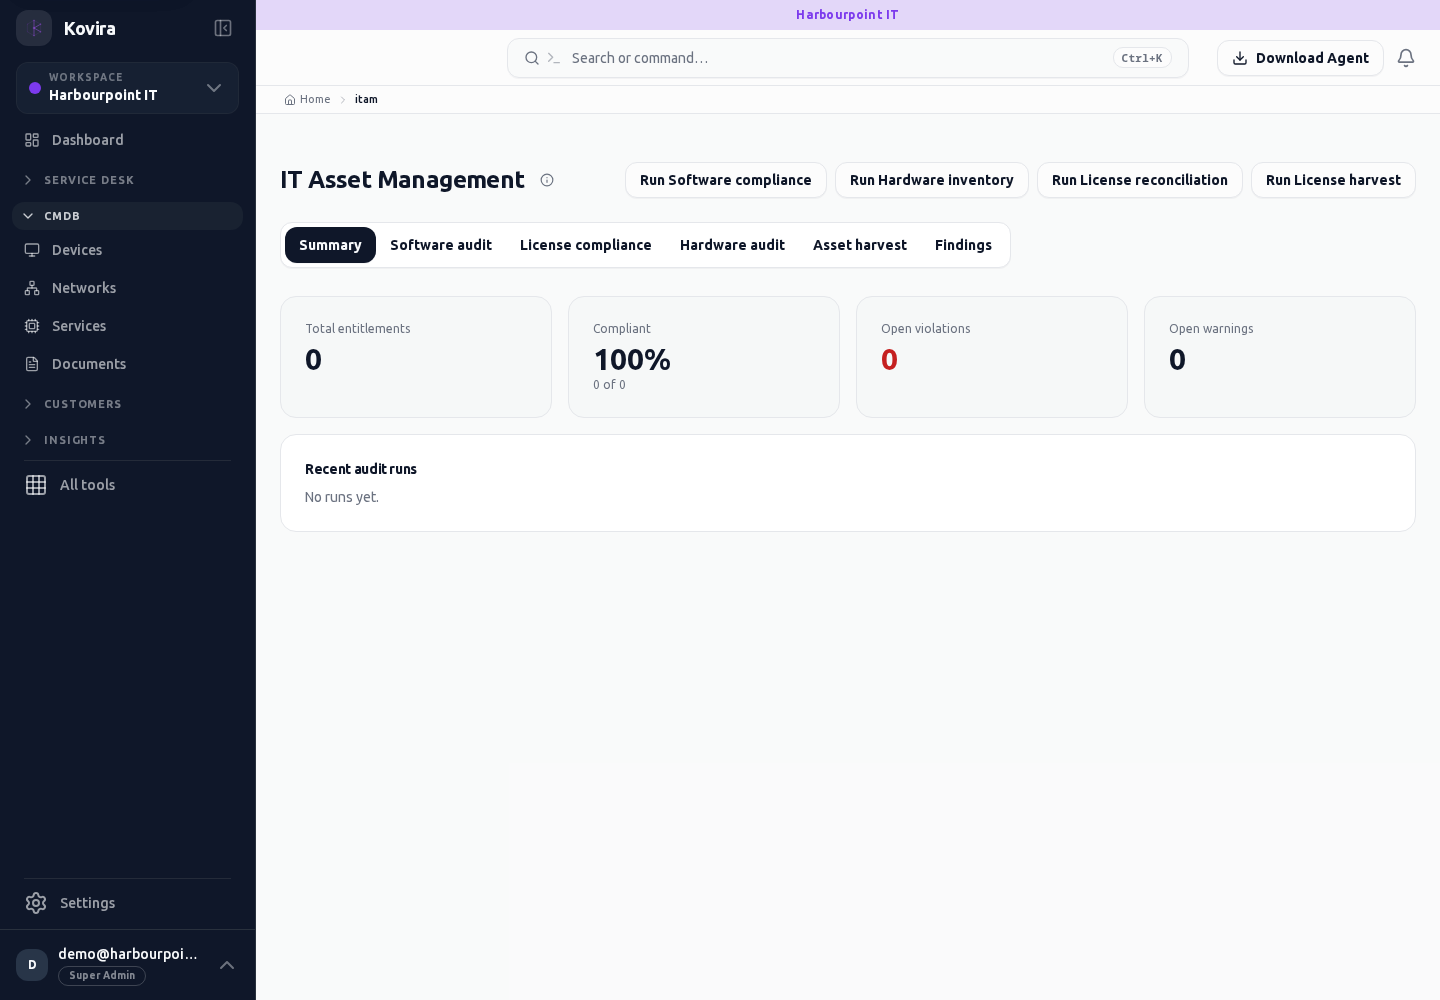
Related screens (4)
Itam
Asset lifecycle and parts. Review this screen in the context of the current workspace and record.
Access
- Default workspace roles for opening this screen: Super Admin, Admin, Operator. Custom role settings, the current workspace, plan and record sharing can further restrict access.
- Opening a screen does not grant every action on it. Changes, exports and lifecycle actions can require additional permissions.
Controls and information
- Asset portfolio
- lifecycle fields
- licence allocations
- stock movements
Steps for this screen
- Review the asset or part and its current ownership, quantity and lifecycle before recording a movement or transition.
Check the result
- Check the resulting balance or lifecycle and its movement/history entry; a draft is not a completed transaction.
If this screen is unavailable
- If no records appear, clear active filters and confirm the workspace and your access before creating a duplicate.
- If saving fails or a conflict appears, keep a copy of your intended changes, reopen the current record and review it before submitting again.
Parts / Details
Asset lifecycle and parts. Review this screen in the context of the current workspace and record.
Access
- Default workspace roles for opening this screen: Super Admin, Admin, Operator. Custom role settings, the current workspace, plan and record sharing can further restrict access.
- Opening a screen does not grant every action on it. Changes, exports and lifecycle actions can require additional permissions.
Controls and information
- Asset portfolio
- lifecycle fields
- licence allocations
- stock movements
Steps for this screen
- Review the asset or part and its current ownership, quantity and lifecycle before recording a movement or transition.
- Read the summary, current state and related records. Review the action and its prerequisites before changing the record.
Check the result
- Check the resulting balance or lifecycle and its movement/history entry; a draft is not a completed transaction.
If this screen is unavailable
- If the record is unavailable, return to its list and confirm the workspace and link. Ask an administrator to check record access before creating a replacement.
- If saving fails or a conflict appears, keep a copy of your intended changes, reopen the current record and review it before submitting again.
Parts / New
Asset lifecycle and parts. Create a new entry and review the information before submitting.
Access
- Default workspace roles for opening this screen: Super Admin, Admin. Custom role settings, the current workspace, plan and record sharing can further restrict access.
- Opening a screen does not grant every action on it. Changes, exports and lifecycle actions can require additional permissions.
Controls and information
- Asset portfolio
- lifecycle fields
- licence allocations
- stock movements
Steps for this screen
- Review the asset or part and its current ownership, quantity and lifecycle before recording a movement or transition.
- Complete the required fields. Review linked records, dates and any recipient or customer selection.
- Use the form’s create or save action once and wait for its result. Cancel to leave without submitting.
Check the result
- Check the resulting balance or lifecycle and its movement/history entry; a draft is not a completed transaction.
- Open the newly created record from the resulting list or confirmation and check the saved values.
If this screen is unavailable
- If no records appear, clear active filters and confirm the workspace and your access before creating a duplicate.
- If saving fails or a conflict appears, keep a copy of your intended changes, reopen the current record and review it before submitting again.
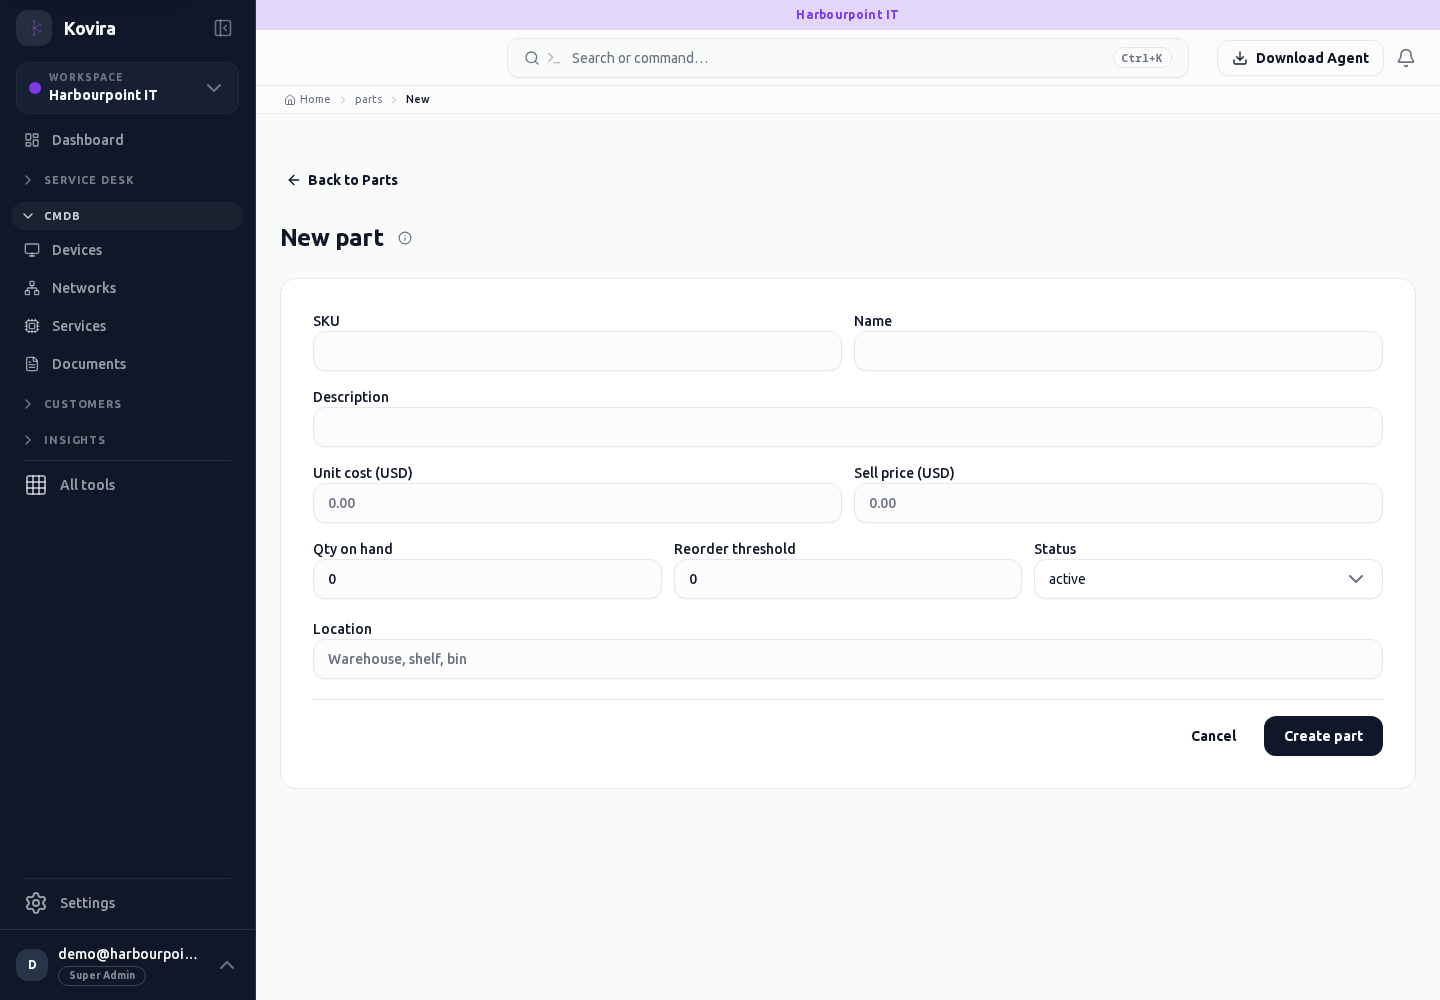
Parts
Asset lifecycle and parts. Review this screen in the context of the current workspace and record.
Access
- Default workspace roles for opening this screen: Super Admin, Admin, Operator. Custom role settings, the current workspace, plan and record sharing can further restrict access.
- Opening a screen does not grant every action on it. Changes, exports and lifecycle actions can require additional permissions.
Controls and information
- Asset portfolio
- lifecycle fields
- licence allocations
- stock movements
Steps for this screen
- Review the asset or part and its current ownership, quantity and lifecycle before recording a movement or transition.
- Use the available search, date and status filters to narrow the view. Open a record link for its detail.
- Clear filters when you need to compare the full accessible list.
Check the result
- Check the resulting balance or lifecycle and its movement/history entry; a draft is not a completed transaction.
If this screen is unavailable
- If no records appear, clear active filters and confirm the workspace and your access before creating a duplicate.
- If the list cannot load, retry once and quote the displayed support reference; do not infer that the workspace is empty.
Restore service with incident management
Applies to: KOVIRA
Record an interruption, coordinate response and verify recovery.
Before you begin
- Permission to create or work on incidents.
Steps
- Open Incidents and create a record with a clear summary, affected service or CI, impact, urgency and requester.
- Assign the incident to the appropriate group or responder. Add observations and communicate progress through the record.
- Review the SLA panel and escalation context. Keep status and next actions accurate when work is waiting on another party.
- Record the workaround or resolution and verify that service has recovered before completing the relevant recovery and closure actions.
- Reopen an incident if the service fails again and retain the earlier history. Link a problem for underlying-cause work when appropriate.
Check the result
- Check the saved status, assignment and SLA information on the detail page.
- Review recovery/closure evidence and related records.
If you need help
- If an action is unavailable, inspect the displayed prerequisites and your role.
- Avoid adding access tokens, passwords or private message dumps to incident notes.
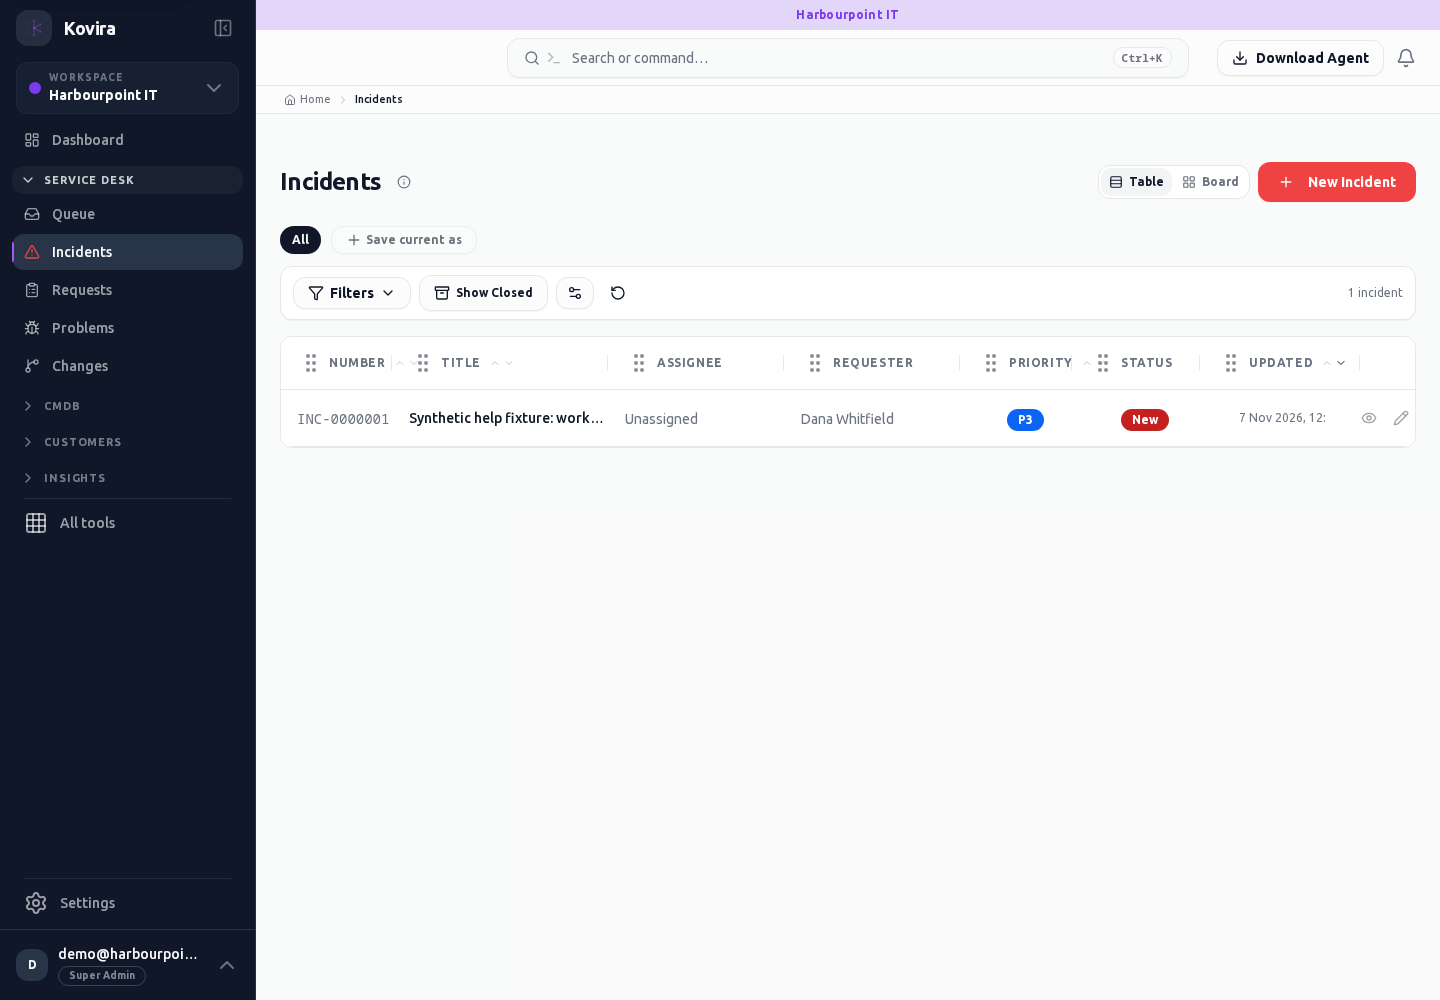
Related screens (4)
Incidents / Details
Incident response. Review this screen in the context of the current workspace and record.
Access
- Default workspace roles for opening this screen: Super Admin, Admin, Operator, View Only. Custom role settings, the current workspace, plan and record sharing can further restrict access.
- Opening a screen does not grant every action on it. Changes, exports and lifecycle actions can require additional permissions.
Controls and information
- Assignment
- status
- comments
- linked CIs
- SLA
- resolution
- print view
Steps for this screen
- Review the requester, affected service, impact and urgency. Record the next action, responsible responder and customer communication.
- Read the summary, current state and related records. Review the action and its prerequisites before changing the record.
Check the result
- Confirm the saved assignment and status. Verify recovery before resolving and use closure only after the required confirmation.
If this screen is unavailable
- If the record is unavailable, return to its list and confirm the workspace and link. Ask an administrator to check record access before creating a replacement.
- If saving fails or a conflict appears, keep a copy of your intended changes, reopen the current record and review it before submitting again.
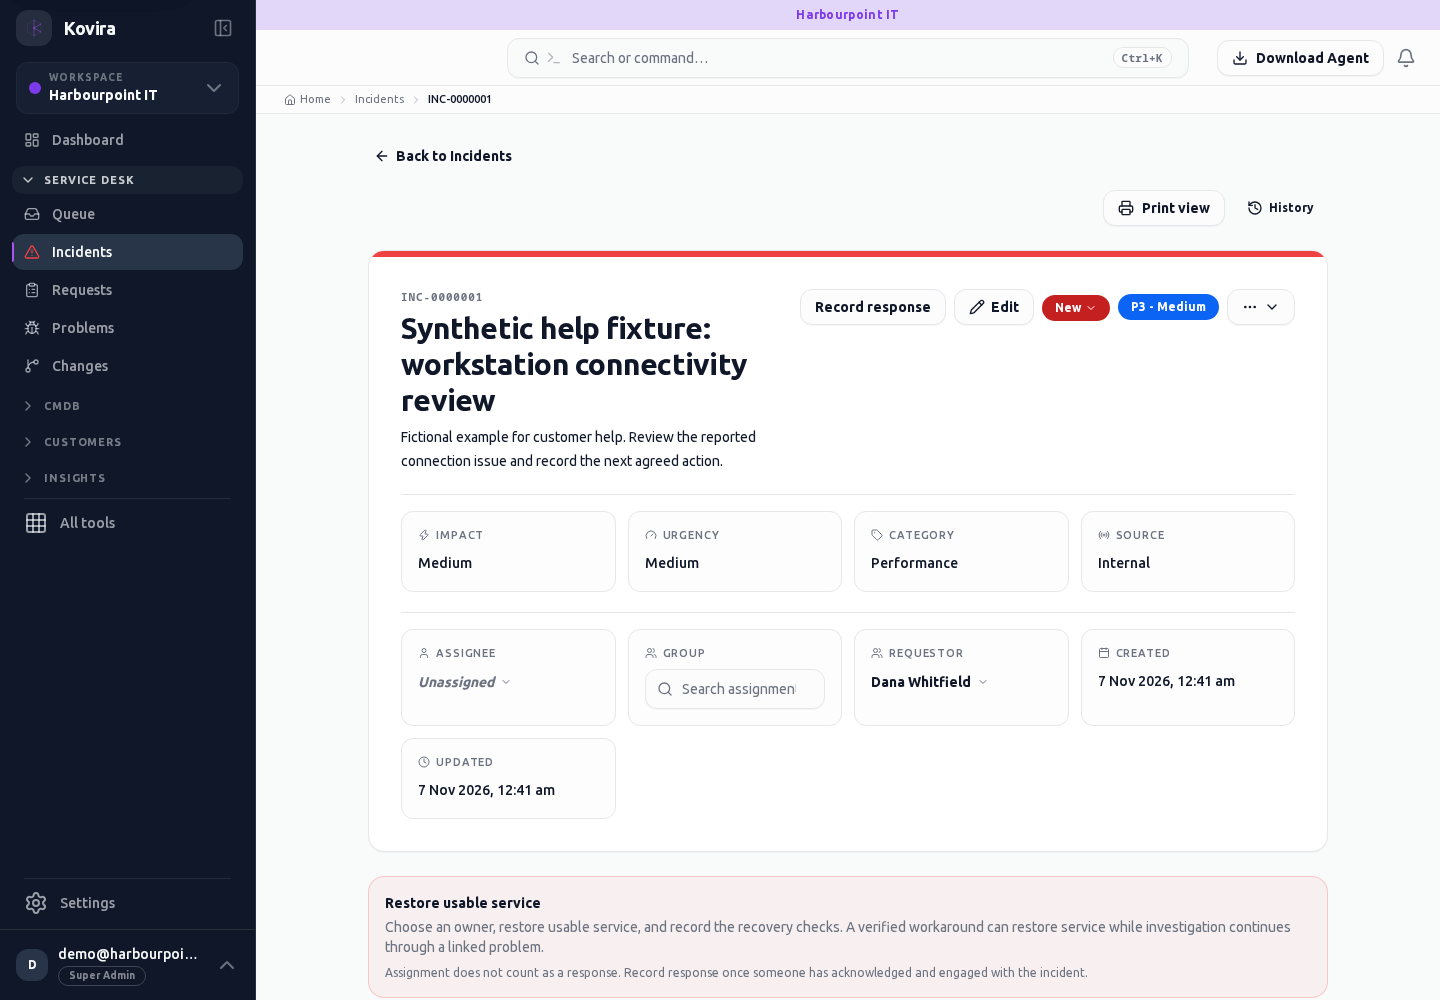
Incidents / New
Incident response. Create a new entry and review the information before submitting.
Access
- Default workspace roles for opening this screen: Super Admin, Admin, Operator. Custom role settings, the current workspace, plan and record sharing can further restrict access.
- Opening a screen does not grant every action on it. Changes, exports and lifecycle actions can require additional permissions.
Controls and information
- Assignment
- status
- comments
- linked CIs
- SLA
- resolution
- print view
Steps for this screen
- Review the requester, affected service, impact and urgency. Record the next action, responsible responder and customer communication.
- Complete the required fields. Review linked records, dates and any recipient or customer selection.
- Use the form’s create or save action once and wait for its result. Cancel to leave without submitting.
Check the result
- Confirm the saved assignment and status. Verify recovery before resolving and use closure only after the required confirmation.
- Open the newly created record from the resulting list or confirmation and check the saved values.
If this screen is unavailable
- If no records appear, clear active filters and confirm the workspace and your access before creating a duplicate.
- If saving fails or a conflict appears, keep a copy of your intended changes, reopen the current record and review it before submitting again.
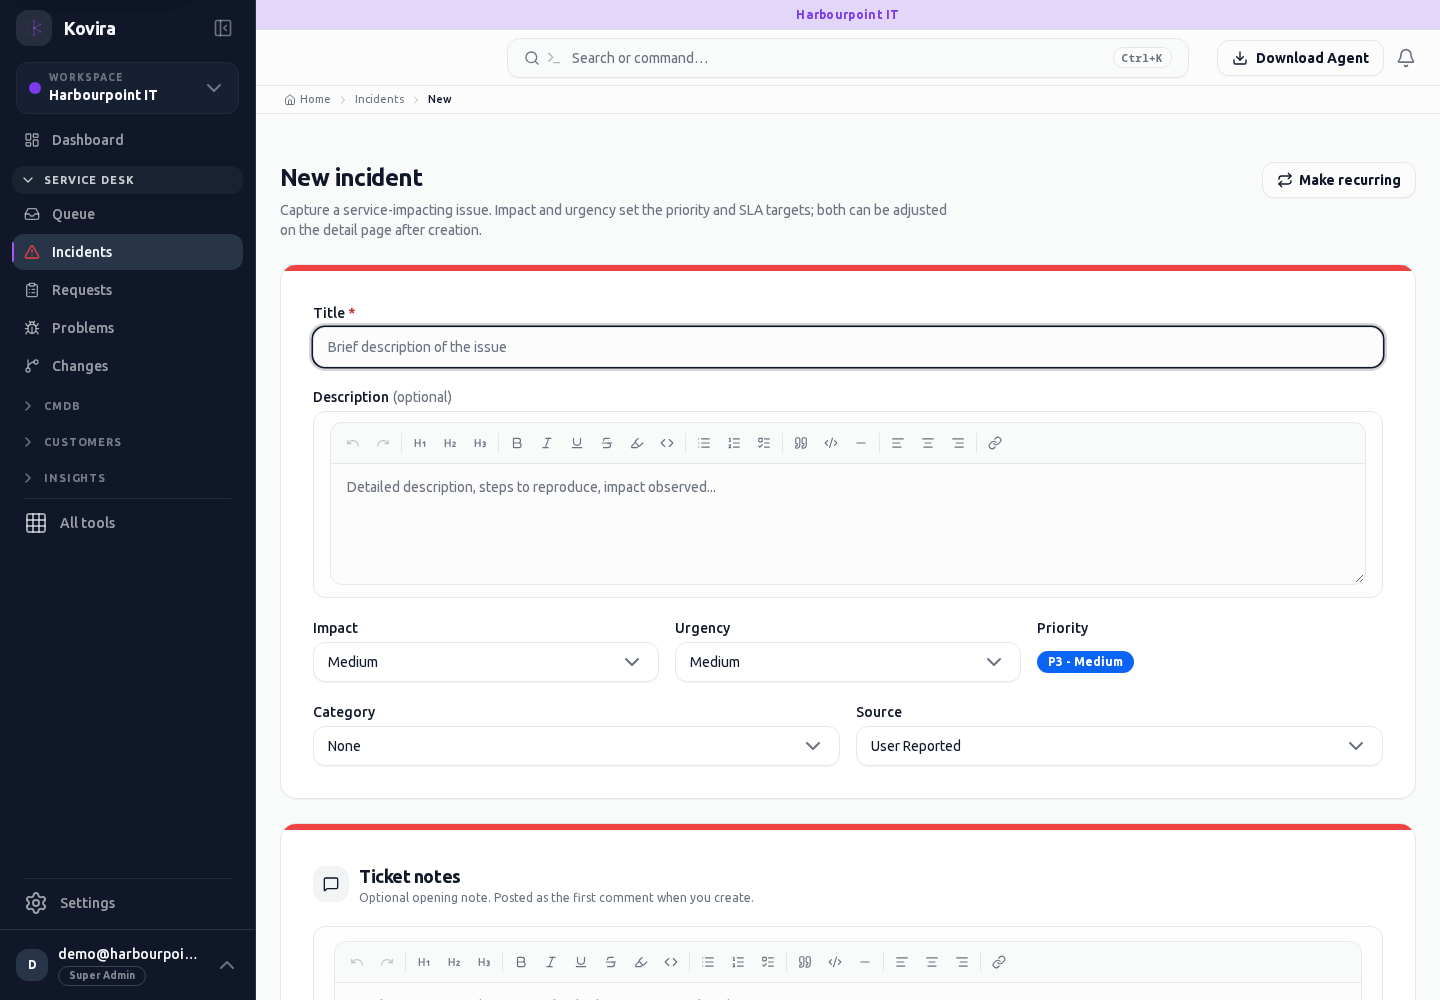
Incidents
Incident response. Review this screen in the context of the current workspace and record.
Access
- Default workspace roles for opening this screen: Super Admin, Admin, Operator, View Only. Custom role settings, the current workspace, plan and record sharing can further restrict access.
- Opening a screen does not grant every action on it. Changes, exports and lifecycle actions can require additional permissions.
Controls and information
- Assignment
- status
- comments
- linked CIs
- SLA
- resolution
- print view
Steps for this screen
- Review the requester, affected service, impact and urgency. Record the next action, responsible responder and customer communication.
- Use the available search, date and status filters to narrow the view. Open a record link for its detail.
- Clear filters when you need to compare the full accessible list.
Check the result
- Confirm the saved assignment and status. Verify recovery before resolving and use closure only after the required confirmation.
If this screen is unavailable
- If no records appear, clear active filters and confirm the workspace and your access before creating a duplicate.
- If the list cannot load, retry once and quote the displayed support reference; do not infer that the workspace is empty.
Print / Incident / Details
Incident response. Review this screen in the context of the current workspace and record.
Access
- Default workspace roles for opening this screen: Super Admin, Admin, Operator, View Only. Custom role settings, the current workspace, plan and record sharing can further restrict access.
- Opening a screen does not grant every action on it. Changes, exports and lifecycle actions can require additional permissions.
Controls and information
- Record content
- Browser print preview
- Page size and destination
Steps for this screen
- Review the requester, affected service, impact and urgency. Record the next action, responsible responder and customer communication.
- Review the selected record and document content. Use your browser print or PDF controls and check the print preview before saving or printing.
Check the result
- Check page breaks, clipped text and the selected record in print preview before distributing a copy.
If this screen is unavailable
- If no records appear, clear active filters and confirm the workspace and your access before creating a duplicate.
- If saving fails or a conflict appears, keep a copy of your intended changes, reopen the current record and review it before submitting again.
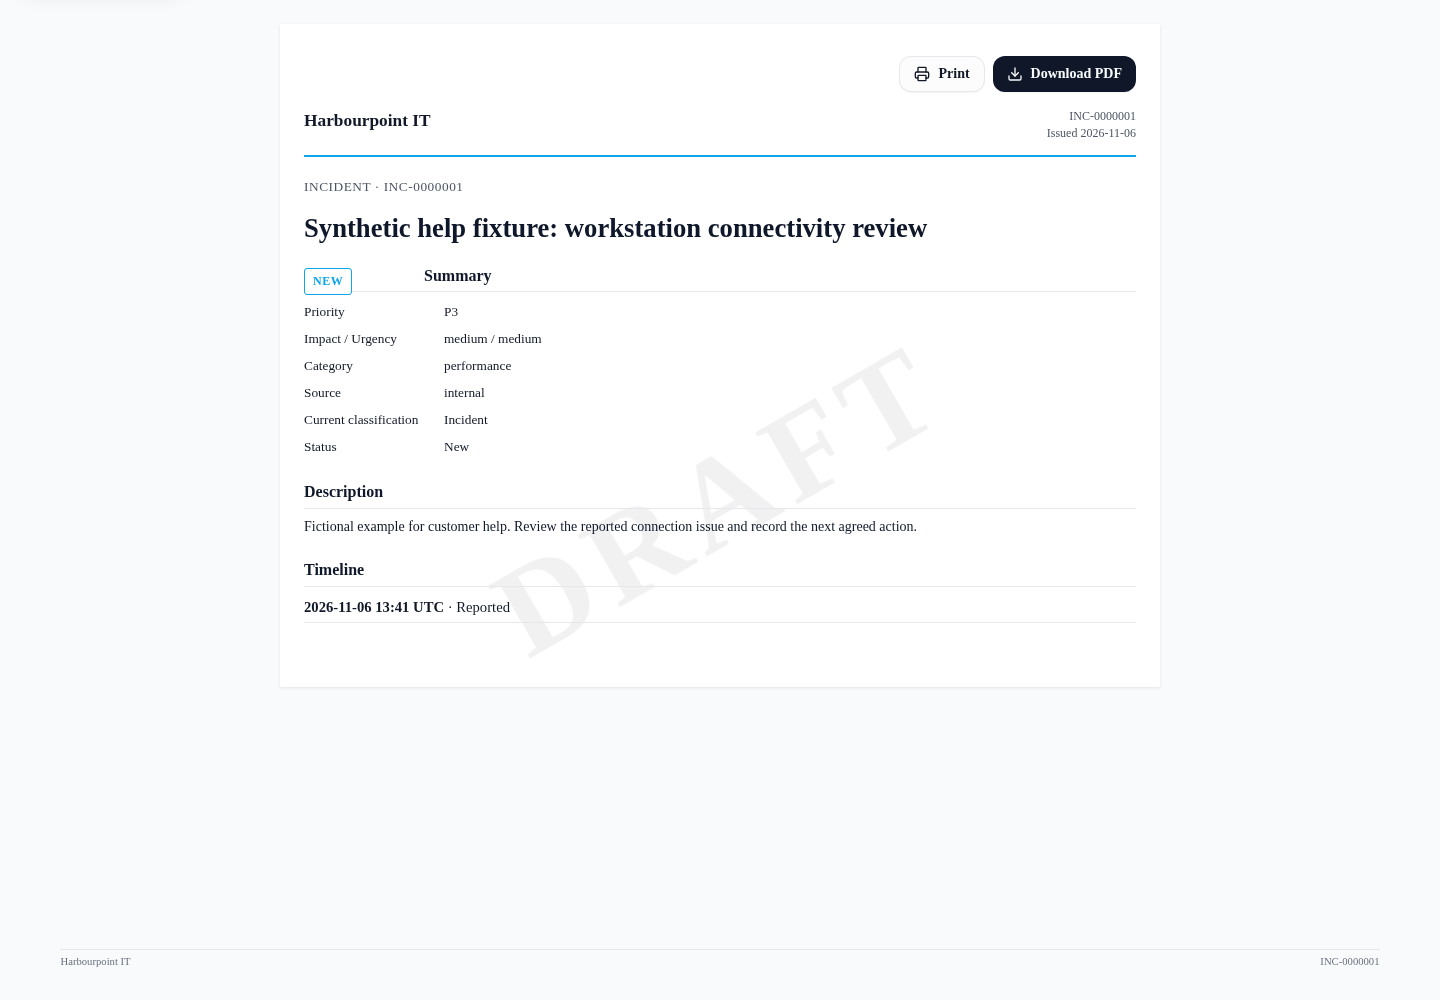
Investigate problems and maintain known errors
Applies to: KOVIRA
Track underlying causes and reusable workarounds.
Before you begin
- Problem-management access and relevant incident evidence.
Steps
- Create a problem from Problems and link the affected services, CIs and incidents.
- Record investigation, suspected cause and a tested workaround. Assign ownership and review progress.
- Publish a known error only after checking that its workaround is appropriate for the intended readers. Withdraw it when it is no longer valid.
- Record verification and closure evidence after the fix is deployed; keep related change and incident links.
Check the result
- Confirm related incidents show the correct problem association.
- Review the known-error publication state and verification record.
If you need help
- Closing an incident does not establish that its underlying problem is fixed. Verify the long-term remedy.
- Restrict sensitive investigation details to the appropriate audience.
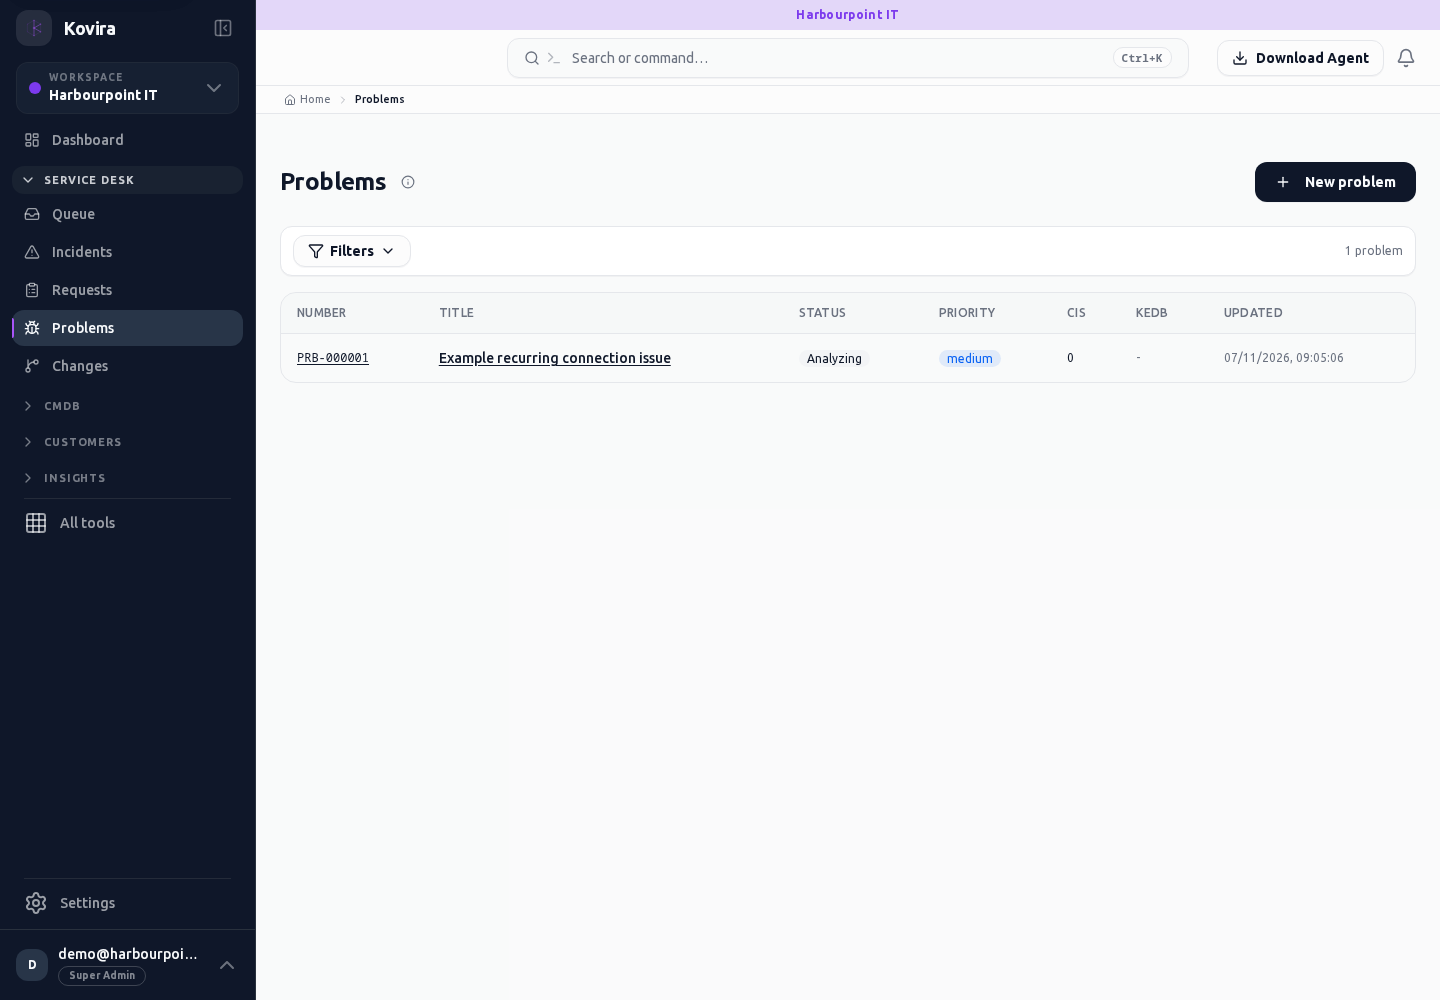
Related screens (4)
Problems / Details
Problem investigation. Review this screen in the context of the current workspace and record.
Access
- Default workspace roles for opening this screen: Super Admin, Admin, Operator, View Only. Custom role settings, the current workspace, plan and record sharing can further restrict access.
- Opening a screen does not grant every action on it. Changes, exports and lifecycle actions can require additional permissions.
Controls and information
- Related incidents
- investigation
- workaround
- known error
- review document
Steps for this screen
- Record what is known, distinguish suspected cause from verified cause and link supporting incidents and CIs.
- Read the summary, current state and related records. Review the action and its prerequisites before changing the record.
Check the result
- Check that the workaround and resolution evidence are current and suitable for their intended readers.
If this screen is unavailable
- If the record is unavailable, return to its list and confirm the workspace and link. Ask an administrator to check record access before creating a replacement.
- If saving fails or a conflict appears, keep a copy of your intended changes, reopen the current record and review it before submitting again.
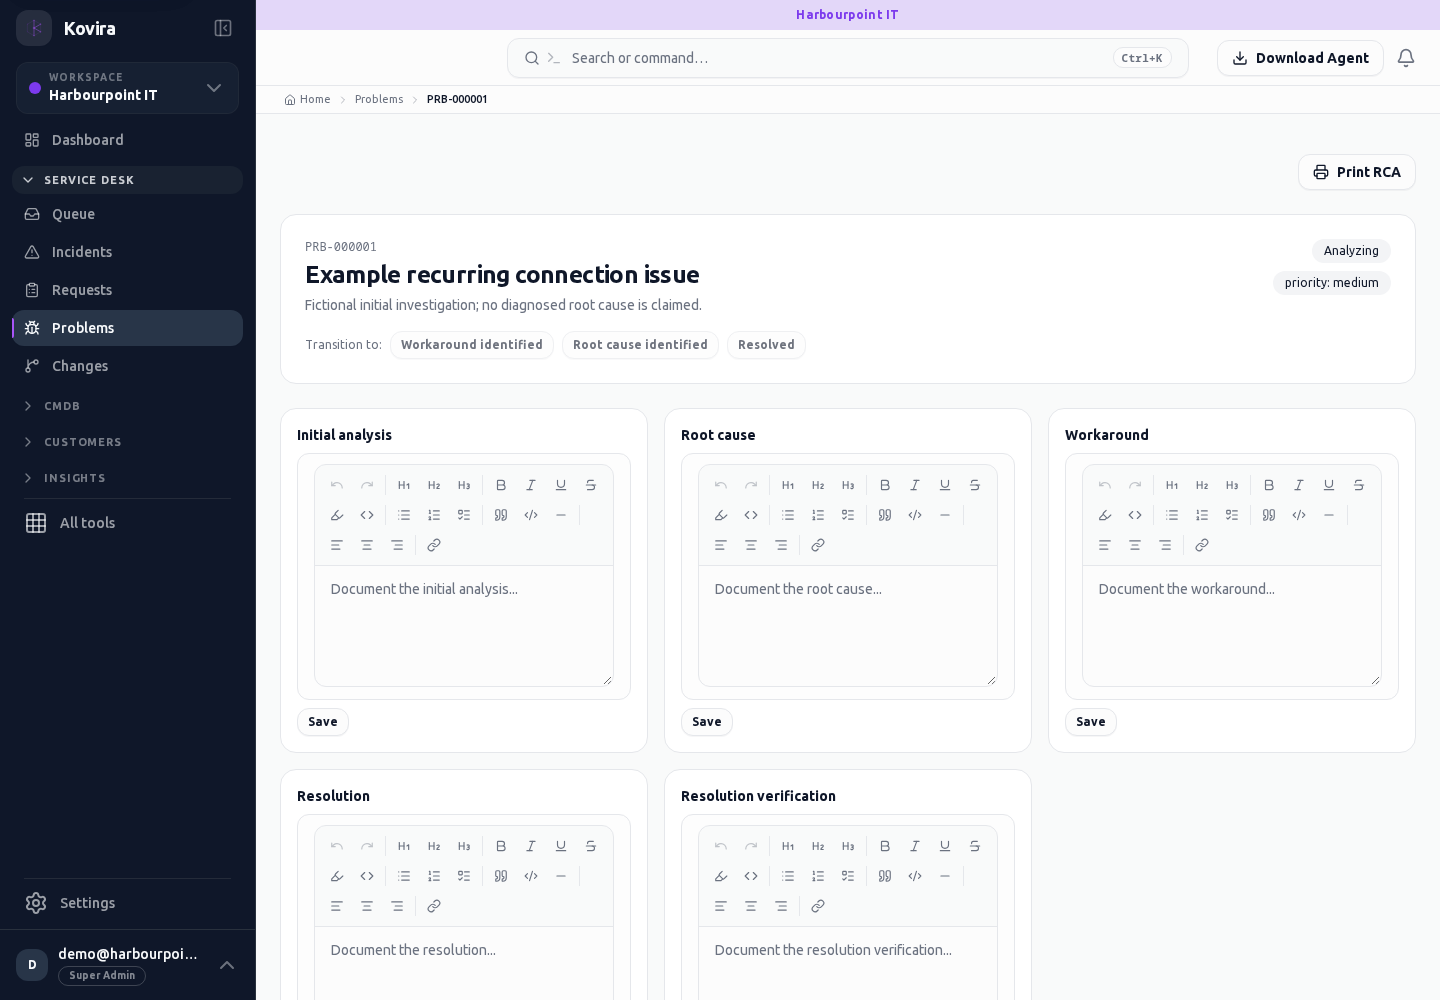
Problems / New
Problem investigation. Create a new entry and review the information before submitting.
Access
- Default workspace roles for opening this screen: Super Admin, Admin, Operator. Custom role settings, the current workspace, plan and record sharing can further restrict access.
- Opening a screen does not grant every action on it. Changes, exports and lifecycle actions can require additional permissions.
Controls and information
- Related incidents
- investigation
- workaround
- known error
- review document
Steps for this screen
- Record what is known, distinguish suspected cause from verified cause and link supporting incidents and CIs.
- Complete the required fields. Review linked records, dates and any recipient or customer selection.
- Use the form’s create or save action once and wait for its result. Cancel to leave without submitting.
Check the result
- Check that the workaround and resolution evidence are current and suitable for their intended readers.
- Open the newly created record from the resulting list or confirmation and check the saved values.
If this screen is unavailable
- If no records appear, clear active filters and confirm the workspace and your access before creating a duplicate.
- If saving fails or a conflict appears, keep a copy of your intended changes, reopen the current record and review it before submitting again.
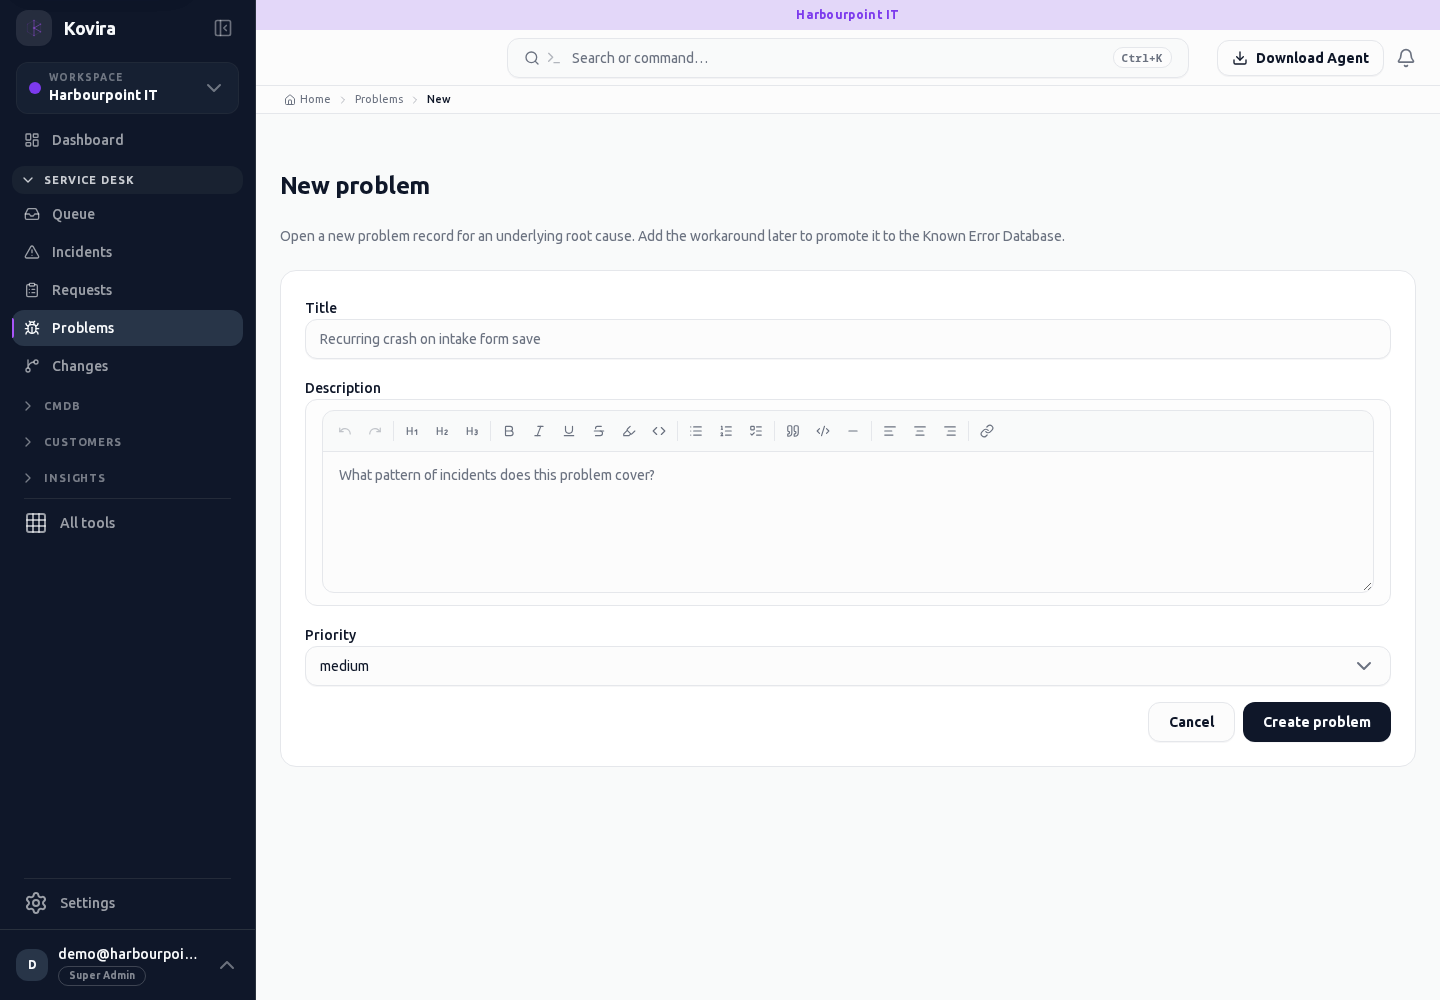
Problems
Problem investigation. Review this screen in the context of the current workspace and record.
Access
- Default workspace roles for opening this screen: Super Admin, Admin, Operator, View Only. Custom role settings, the current workspace, plan and record sharing can further restrict access.
- Opening a screen does not grant every action on it. Changes, exports and lifecycle actions can require additional permissions.
Controls and information
- Related incidents
- investigation
- workaround
- known error
- review document
Steps for this screen
- Record what is known, distinguish suspected cause from verified cause and link supporting incidents and CIs.
- Use the available search, date and status filters to narrow the view. Open a record link for its detail.
- Clear filters when you need to compare the full accessible list.
Check the result
- Check that the workaround and resolution evidence are current and suitable for their intended readers.
If this screen is unavailable
- If no records appear, clear active filters and confirm the workspace and your access before creating a duplicate.
- If the list cannot load, retry once and quote the displayed support reference; do not infer that the workspace is empty.
Print / Rca / Problem
Problem investigation. Review this screen in the context of the current workspace and record.
Access
- Default workspace roles for opening this screen: Super Admin, Admin, Operator, View Only. Custom role settings, the current workspace, plan and record sharing can further restrict access.
- Opening a screen does not grant every action on it. Changes, exports and lifecycle actions can require additional permissions.
Controls and information
- Record content
- Browser print preview
- Page size and destination
Steps for this screen
- Record what is known, distinguish suspected cause from verified cause and link supporting incidents and CIs.
- Review the selected record and document content. Use your browser print or PDF controls and check the print preview before saving or printing.
Check the result
- Check page breaks, clipped text and the selected record in print preview before distributing a copy.
If this screen is unavailable
- If no records appear, clear active filters and confirm the workspace and your access before creating a duplicate.
- If saving fails or a conflict appears, keep a copy of your intended changes, reopen the current record and review it before submitting again.
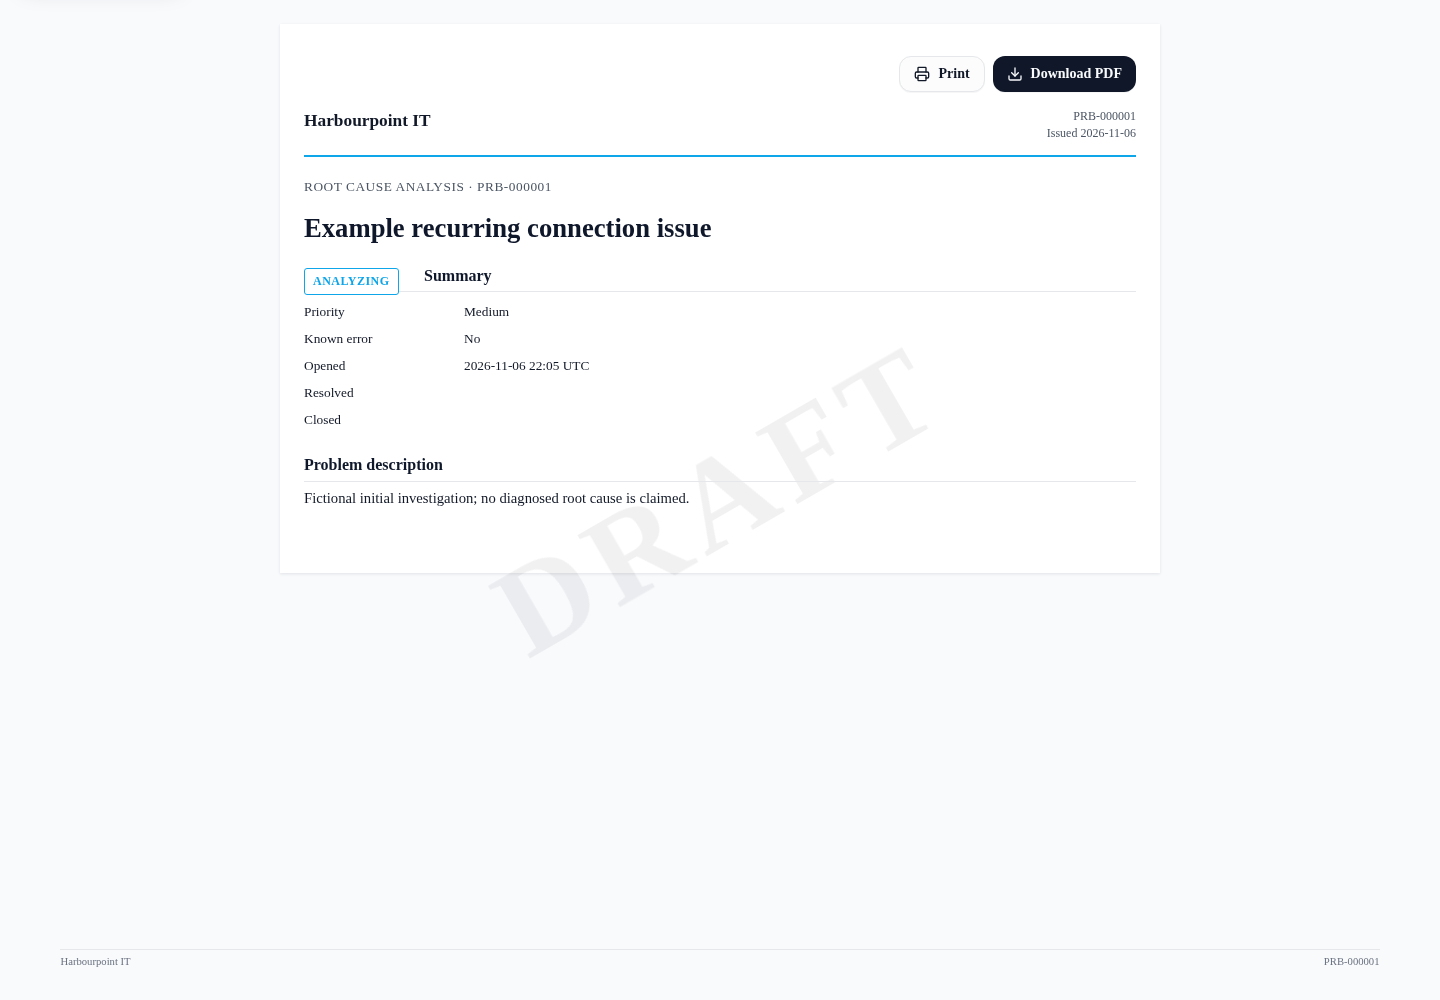
Service requests and the catalogue
Applies to: KOVIRA
Submit a service request and track approval and fulfilment.
Before you begin
- Access to a request type; approval/fulfilment permissions for the relevant task.
Steps
- Open Requests and select the appropriate request type. Complete the requested information and submit.
- Review the request detail for approval progress, assigned work and communications.
- Approvers should review the request and any entitlement or cost information before recording a decision.
- Fulfilment staff should record the delivered outcome and supporting evidence before completing the request.
- Administrators maintain request types, catalogue entries, entitlements and approval chains in Settings.
Check the result
- Confirm a submitted request has a reference and expected status.
- Confirm the final outcome and approval history on the request.
If you need help
- If a request type is missing, check your entitlement with the catalogue administrator.
- Use the visible approval status to identify the next responsible person rather than resubmitting duplicates.
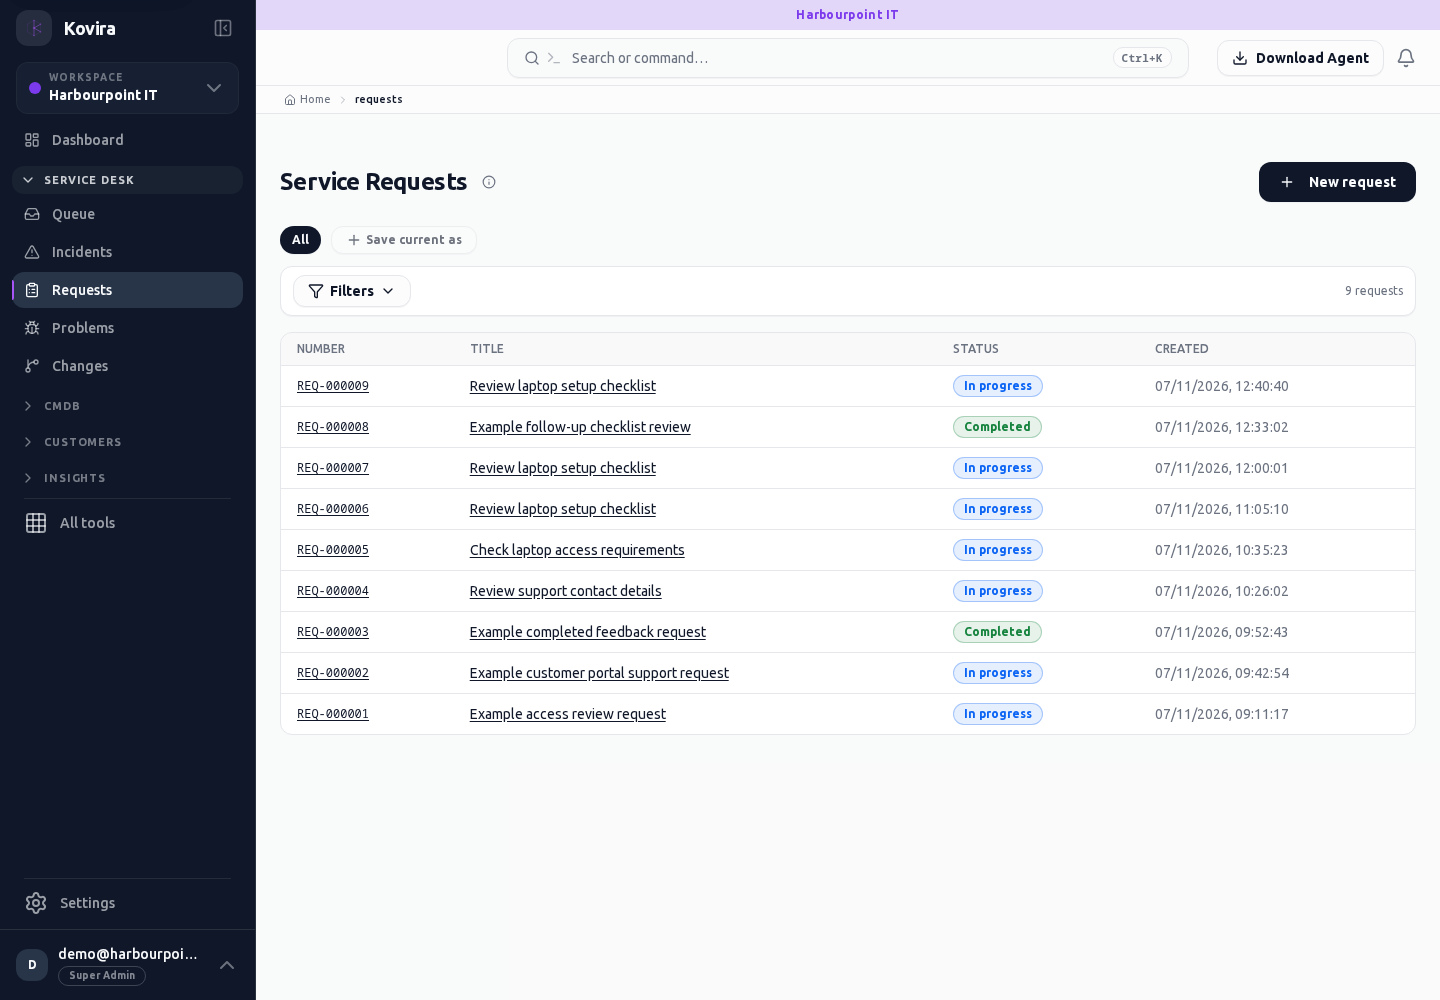
Related screens (4)
Requests / Details
Service requests. Review this screen in the context of the current workspace and record.
Access
- Default workspace roles for opening this screen: Super Admin, Admin, Operator, View Only. Custom role settings, the current workspace, plan and record sharing can further restrict access.
- Opening a screen does not grant every action on it. Changes, exports and lifecycle actions can require additional permissions.
Controls and information
- Request type
- requested information
- approval
- fulfilment
- comments
Steps for this screen
- Choose the appropriate catalogue item, supply the requested information and review any approval requirement.
- Read the summary, current state and related records. Review the action and its prerequisites before changing the record.
Check the result
- Check the request number and current approval/fulfilment state. Submission alone does not show delivery.
If this screen is unavailable
- If the record is unavailable, return to its list and confirm the workspace and link. Ask an administrator to check record access before creating a replacement.
- If saving fails or a conflict appears, keep a copy of your intended changes, reopen the current record and review it before submitting again.
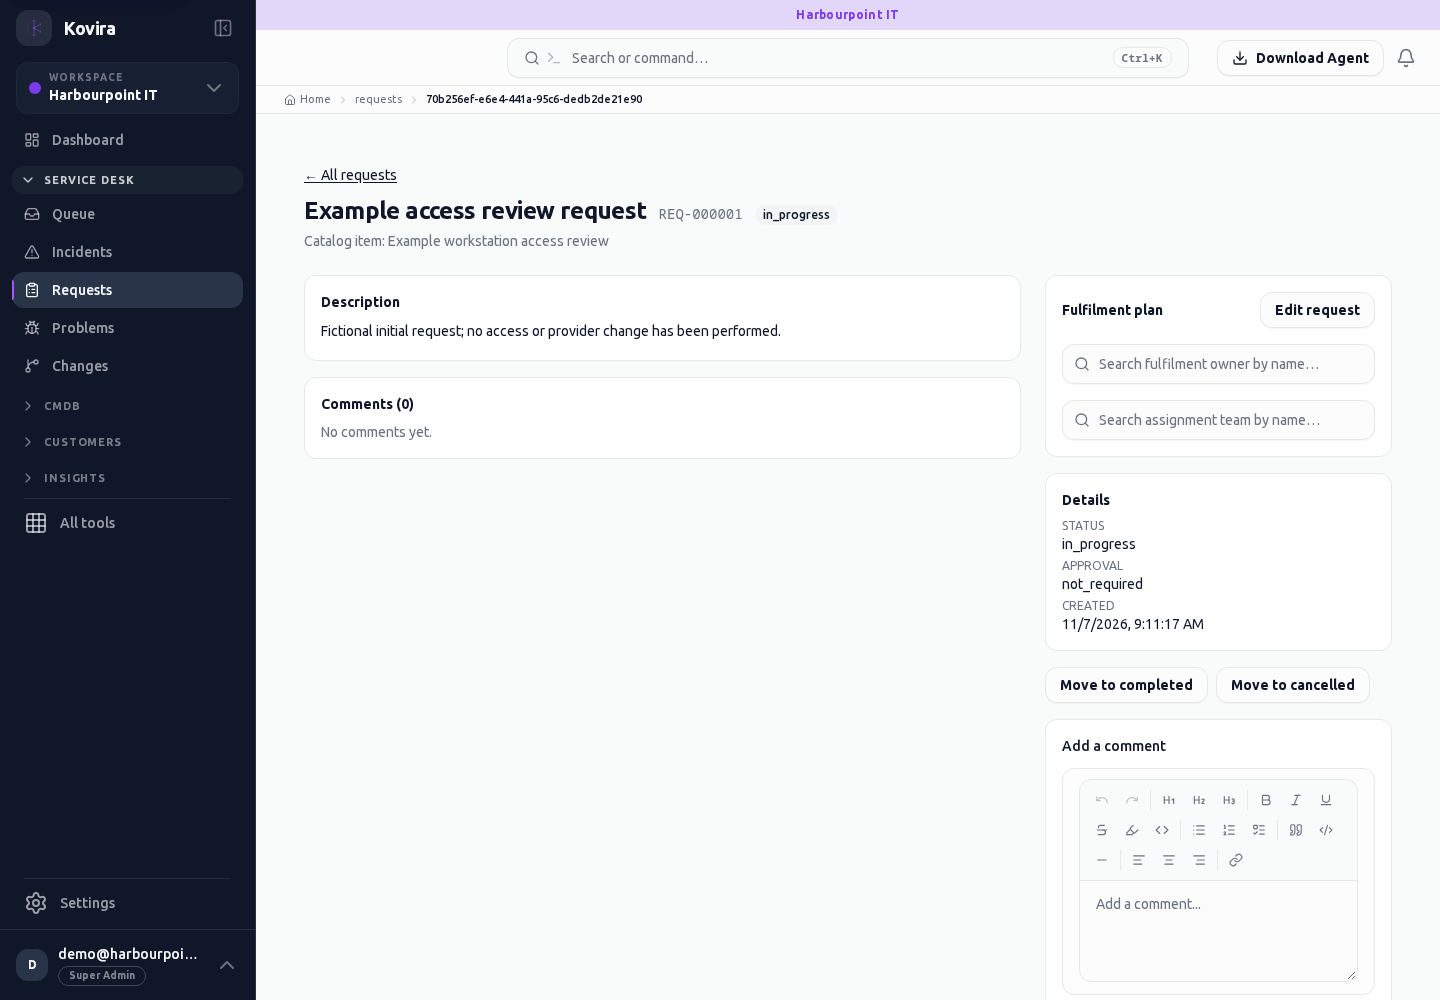
Requests / New / Request type
Service requests. Create a new entry and review the information before submitting.
Access
- Default workspace roles for opening this screen: Super Admin, Admin, Operator, View Only. Custom role settings, the current workspace, plan and record sharing can further restrict access.
- Opening a screen does not grant every action on it. Changes, exports and lifecycle actions can require additional permissions.
Controls and information
- Request type
- requested information
- approval
- fulfilment
- comments
Steps for this screen
- Choose the appropriate catalogue item, supply the requested information and review any approval requirement.
- Complete the required fields. Review linked records, dates and any recipient or customer selection.
- Use the form’s create or save action once and wait for its result. Cancel to leave without submitting.
Check the result
- Check the request number and current approval/fulfilment state. Submission alone does not show delivery.
- Open the newly created record from the resulting list or confirmation and check the saved values.
If this screen is unavailable
- If no records appear, clear active filters and confirm the workspace and your access before creating a duplicate.
- If saving fails or a conflict appears, keep a copy of your intended changes, reopen the current record and review it before submitting again.
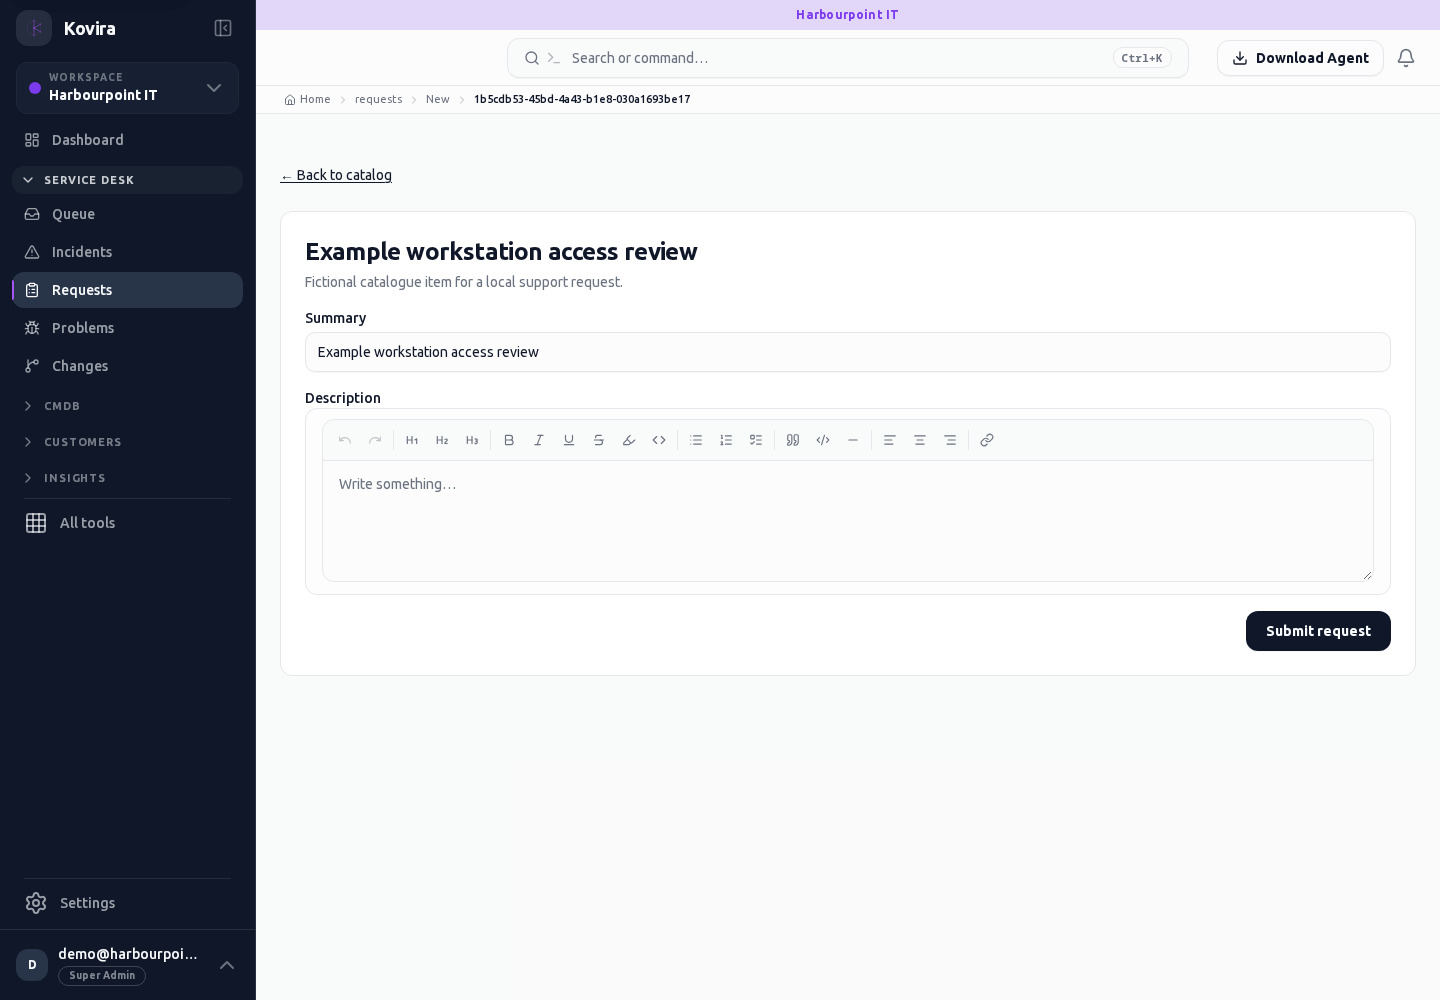
Requests / New
Service requests. Create a new entry and review the information before submitting.
Access
- Default workspace roles for opening this screen: Super Admin, Admin, Operator, View Only. Custom role settings, the current workspace, plan and record sharing can further restrict access.
- Opening a screen does not grant every action on it. Changes, exports and lifecycle actions can require additional permissions.
Controls and information
- Request type
- requested information
- approval
- fulfilment
- comments
Steps for this screen
- Choose the appropriate catalogue item, supply the requested information and review any approval requirement.
- Complete the required fields. Review linked records, dates and any recipient or customer selection.
- Use the form’s create or save action once and wait for its result. Cancel to leave without submitting.
Check the result
- Check the request number and current approval/fulfilment state. Submission alone does not show delivery.
- Open the newly created record from the resulting list or confirmation and check the saved values.
If this screen is unavailable
- If no records appear, clear active filters and confirm the workspace and your access before creating a duplicate.
- If saving fails or a conflict appears, keep a copy of your intended changes, reopen the current record and review it before submitting again.
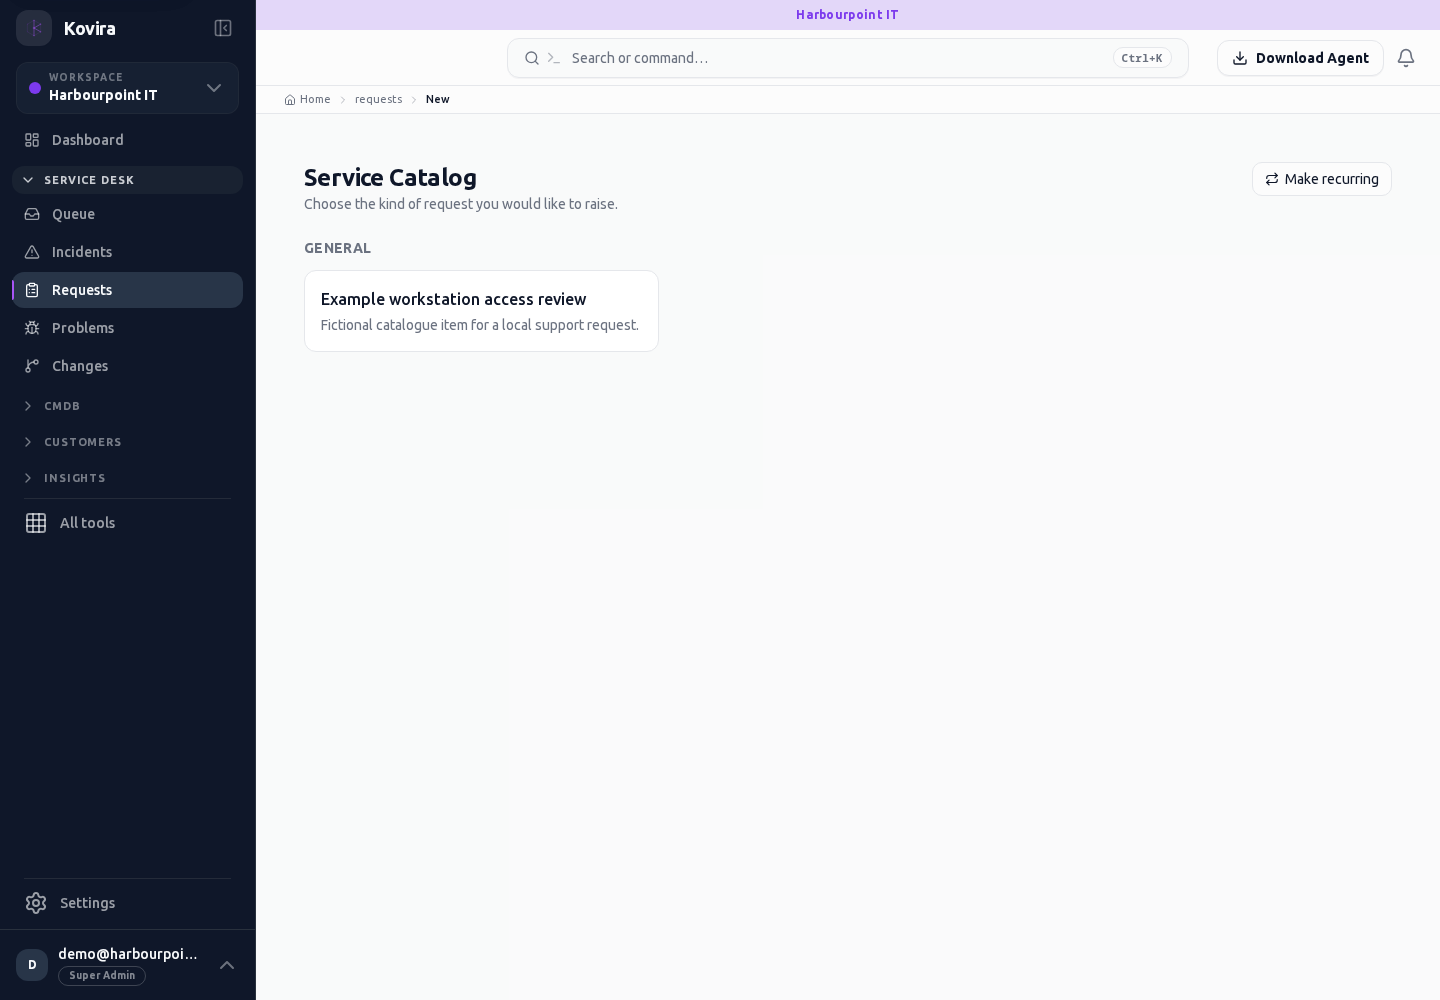
Requests
Service requests. Review this screen in the context of the current workspace and record.
Access
- Default workspace roles for opening this screen: Super Admin, Admin, Operator, View Only. Custom role settings, the current workspace, plan and record sharing can further restrict access.
- Opening a screen does not grant every action on it. Changes, exports and lifecycle actions can require additional permissions.
Controls and information
- Request type
- requested information
- approval
- fulfilment
- comments
Steps for this screen
- Choose the appropriate catalogue item, supply the requested information and review any approval requirement.
- Use the available search, date and status filters to narrow the view. Open a record link for its detail.
- Clear filters when you need to compare the full accessible list.
Check the result
- Check the request number and current approval/fulfilment state. Submission alone does not show delivery.
If this screen is unavailable
- If no records appear, clear active filters and confirm the workspace and your access before creating a duplicate.
- If the list cannot load, retry once and quote the displayed support reference; do not infer that the workspace is empty.
Plan, authorise and verify changes
Applies to: KOVIRA
Assess operational change, obtain approval and verify the result.
Before you begin
- Change-management access and an accountable change owner.
Steps
- Open Changes and create a proposal with affected services/CIs, impact, implementation plan, test plan, rollback plan and proposed window.
- Review the change calendar, freeze periods and conflicts before requesting authorisation.
- Use the offered approval or CAB flow. Standard models should be reviewed before reuse.
- Record implementation work, related tickets and results. If the implementation fails, follow the approved rollback plan and record what occurred.
- Complete the review and verification steps before closing the change.
Check the result
- Check the authorised scope and window on the saved change.
- Confirm implementation, rollback and closure evidence are available to reviewers.
If you need help
- A calendar entry is not by itself authorisation to implement a change.
- If authorisation is blocked, resolve the displayed missing information or decision.
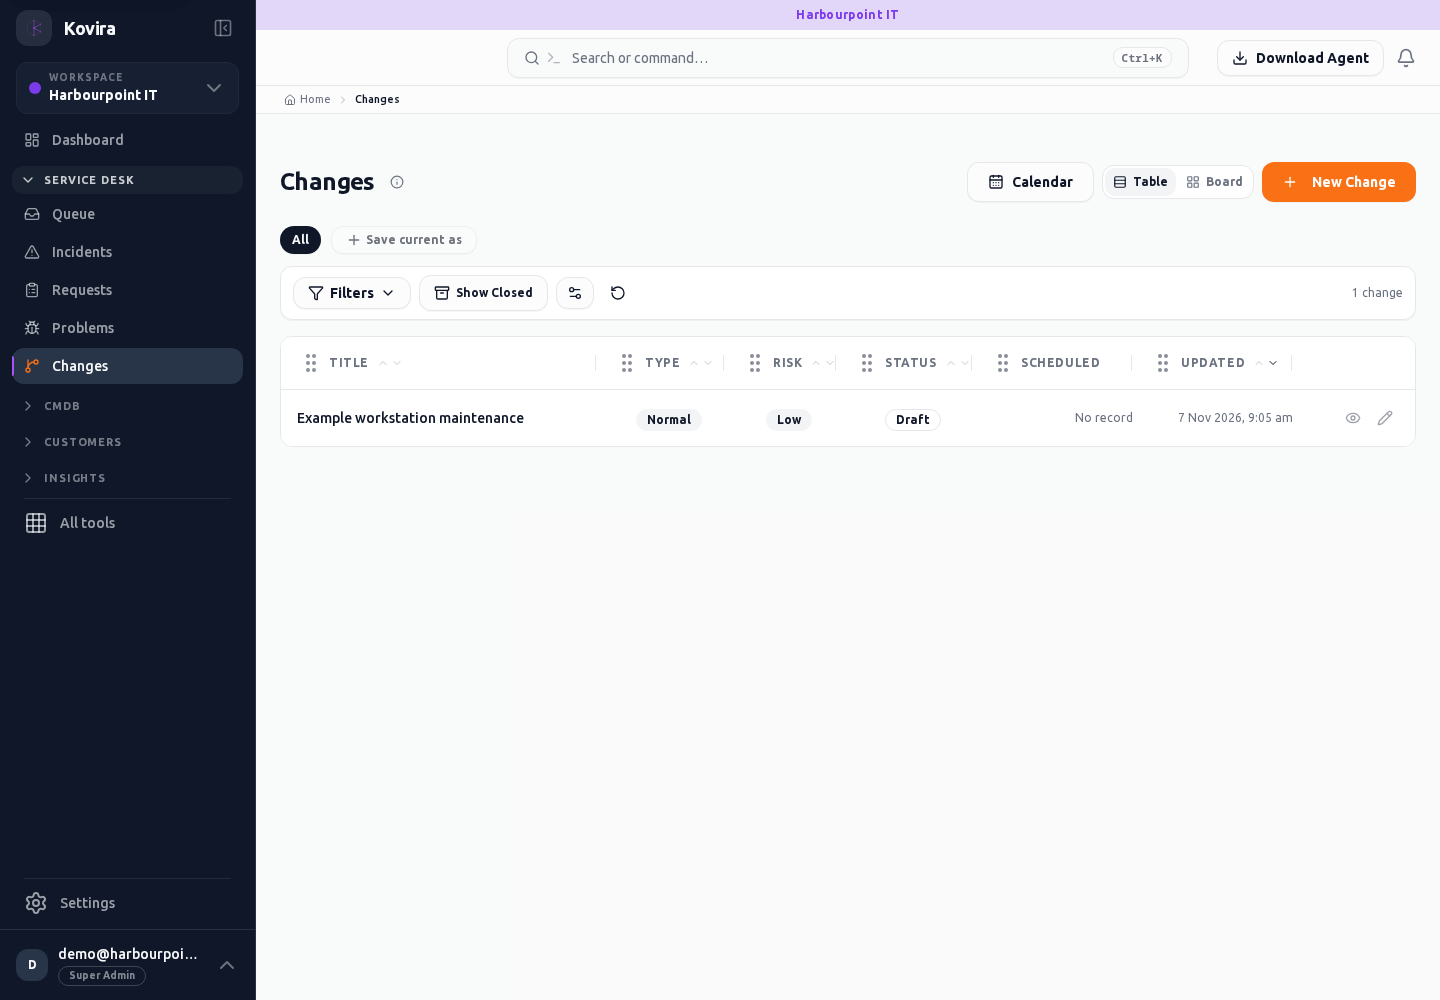
Related screens (7)
Changes / Details
Change planning. Review this screen in the context of the current workspace and record.
Access
- Default workspace roles for opening this screen: Super Admin, Admin, Operator, View Only. Custom role settings, the current workspace, plan and record sharing can further restrict access.
- Opening a screen does not grant every action on it. Changes, exports and lifecycle actions can require additional permissions.
Controls and information
- Implementation, test and rollback plans
- schedule
- approval
- related tickets
Steps for this screen
- Review the affected scope, implementation window, tests and recovery plan before requesting the offered authorisation.
- Read the summary, current state and related records. Review the action and its prerequisites before changing the record.
Check the result
- Check approval and readiness before implementation. Record the actual outcome and verification after work is complete.
If this screen is unavailable
- If the record is unavailable, return to its list and confirm the workspace and link. Ask an administrator to check record access before creating a replacement.
- If saving fails or a conflict appears, keep a copy of your intended changes, reopen the current record and review it before submitting again.
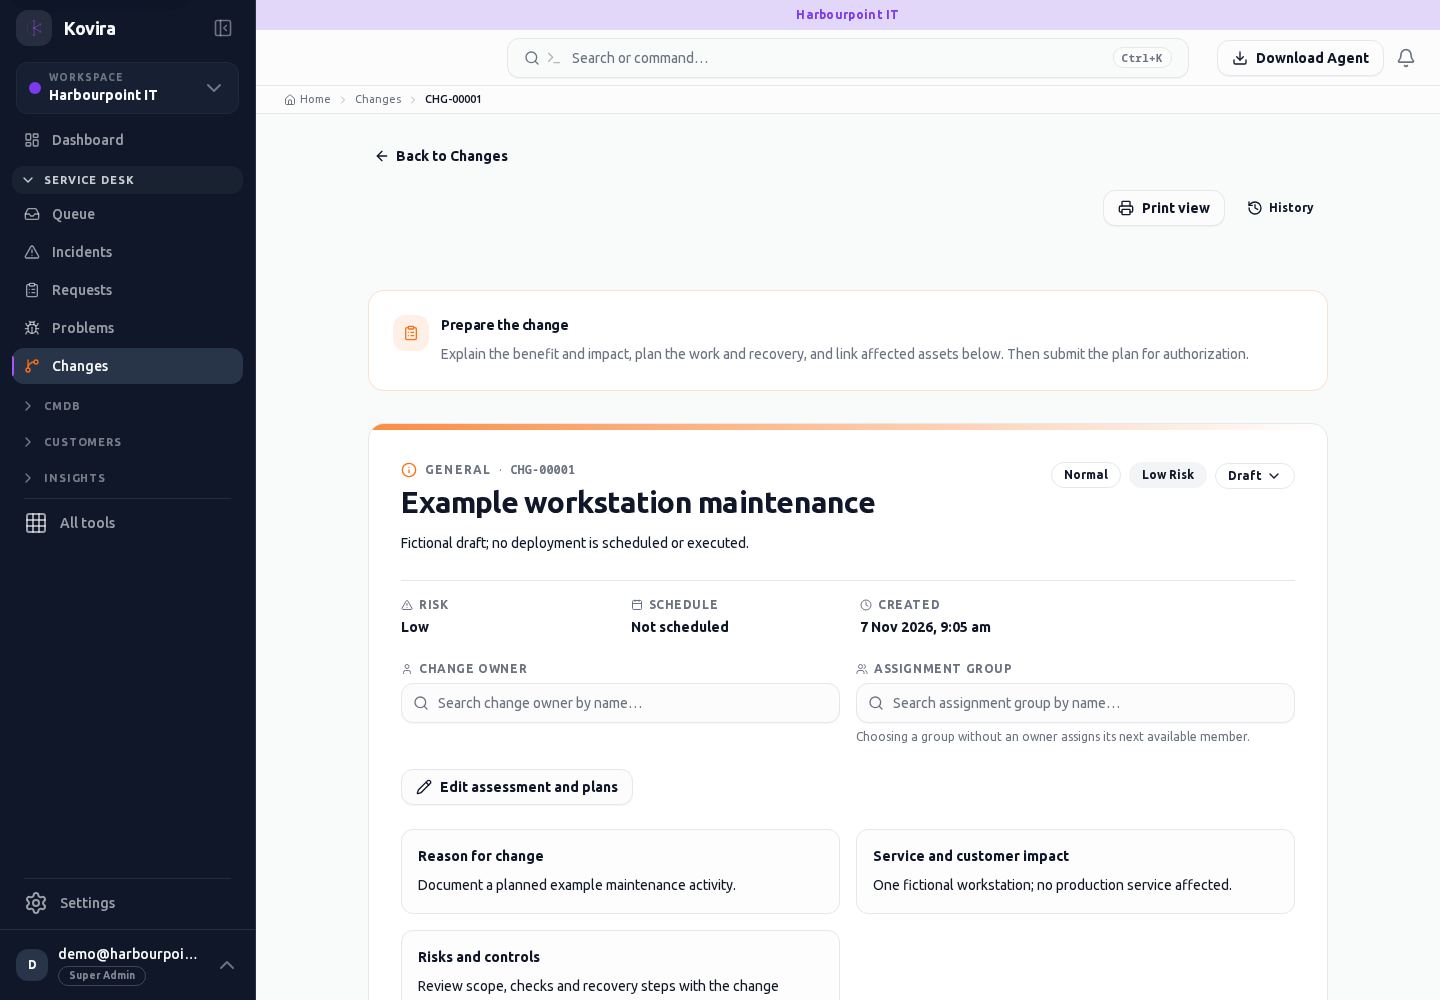
Changes / Details / Tickets / Linked ticket
Change planning. Review this screen in the context of the current workspace and record.
Access
- Default workspace roles for opening this screen: Super Admin, Admin, Operator, View Only. Custom role settings, the current workspace, plan and record sharing can further restrict access.
- Opening a screen does not grant every action on it. Changes, exports and lifecycle actions can require additional permissions.
Controls and information
- Implementation, test and rollback plans
- schedule
- approval
- related tickets
Steps for this screen
- Review the affected scope, implementation window, tests and recovery plan before requesting the offered authorisation.
- Read the summary, current state and related records. Review the action and its prerequisites before changing the record.
Check the result
- Check approval and readiness before implementation. Record the actual outcome and verification after work is complete.
If this screen is unavailable
- If the record is unavailable, return to its list and confirm the workspace and link. Ask an administrator to check record access before creating a replacement.
- If saving fails or a conflict appears, keep a copy of your intended changes, reopen the current record and review it before submitting again.
Changes / Calendar
Change planning. Review this screen in the context of the current workspace and record.
Access
- Default workspace roles for opening this screen: Super Admin, Admin, Operator, View Only. Custom role settings, the current workspace, plan and record sharing can further restrict access.
- Opening a screen does not grant every action on it. Changes, exports and lifecycle actions can require additional permissions.
Controls and information
- Implementation, test and rollback plans
- schedule
- approval
- related tickets
Steps for this screen
- Review the affected scope, implementation window, tests and recovery plan before requesting the offered authorisation.
Check the result
- Check approval and readiness before implementation. Record the actual outcome and verification after work is complete.
If this screen is unavailable
- If no records appear, clear active filters and confirm the workspace and your access before creating a duplicate.
- If saving fails or a conflict appears, keep a copy of your intended changes, reopen the current record and review it before submitting again.
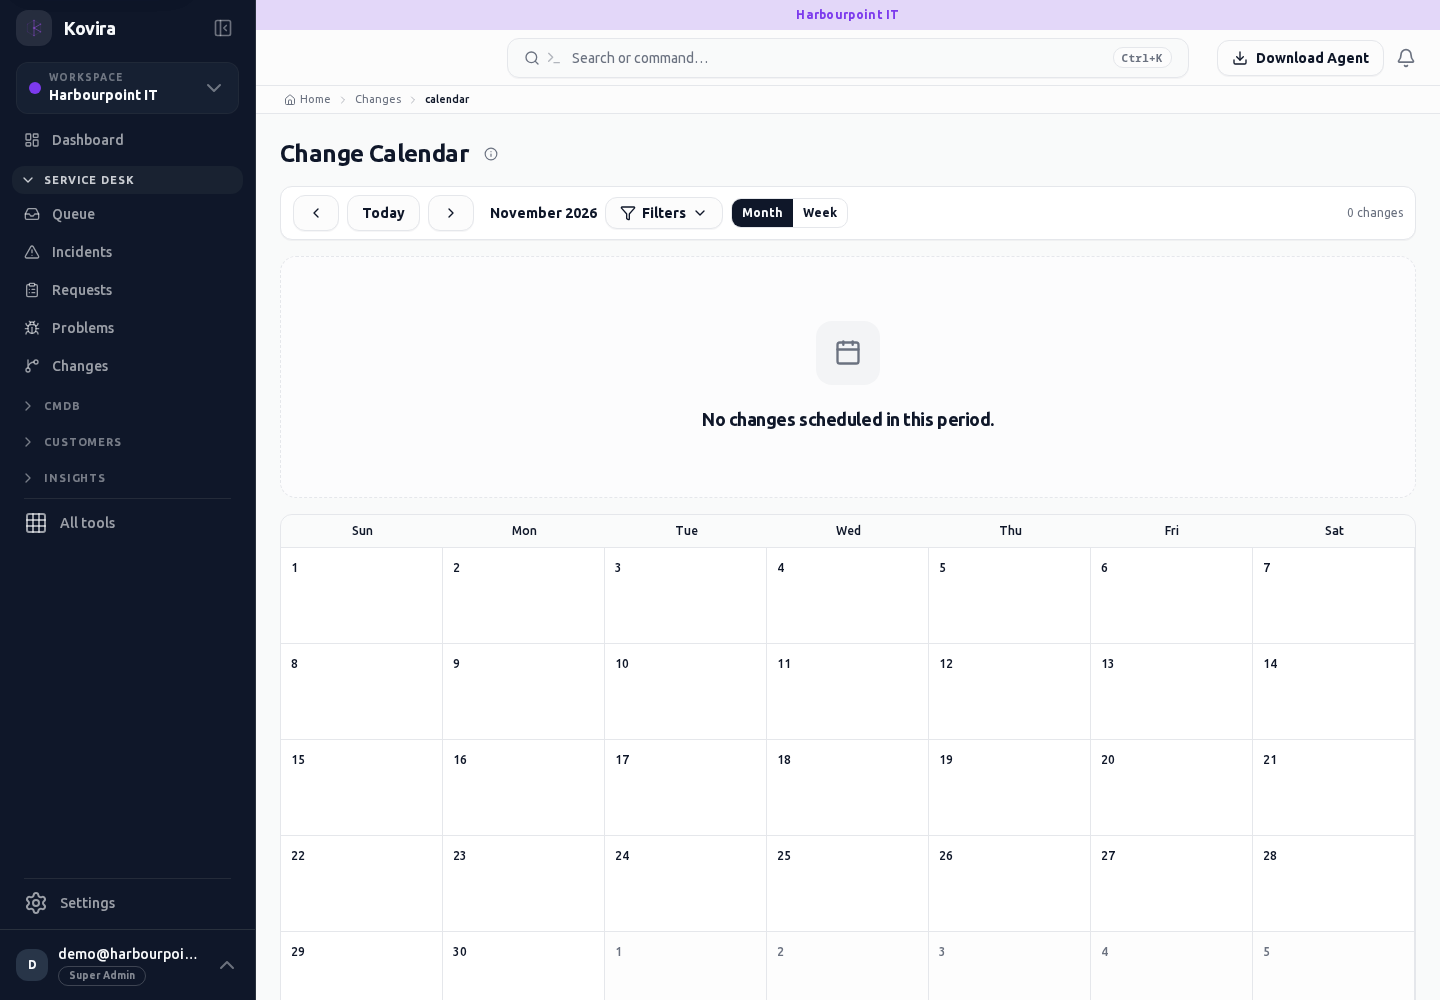
Changes / New
Change planning. Create a new entry and review the information before submitting.
Access
- Default workspace roles for opening this screen: Super Admin, Admin, Operator. Custom role settings, the current workspace, plan and record sharing can further restrict access.
- Opening a screen does not grant every action on it. Changes, exports and lifecycle actions can require additional permissions.
Controls and information
- Implementation, test and rollback plans
- schedule
- approval
- related tickets
Steps for this screen
- Review the affected scope, implementation window, tests and recovery plan before requesting the offered authorisation.
- Complete the required fields. Review linked records, dates and any recipient or customer selection.
- Use the form’s create or save action once and wait for its result. Cancel to leave without submitting.
Check the result
- Check approval and readiness before implementation. Record the actual outcome and verification after work is complete.
- Open the newly created record from the resulting list or confirmation and check the saved values.
If this screen is unavailable
- If no records appear, clear active filters and confirm the workspace and your access before creating a duplicate.
- If saving fails or a conflict appears, keep a copy of your intended changes, reopen the current record and review it before submitting again.
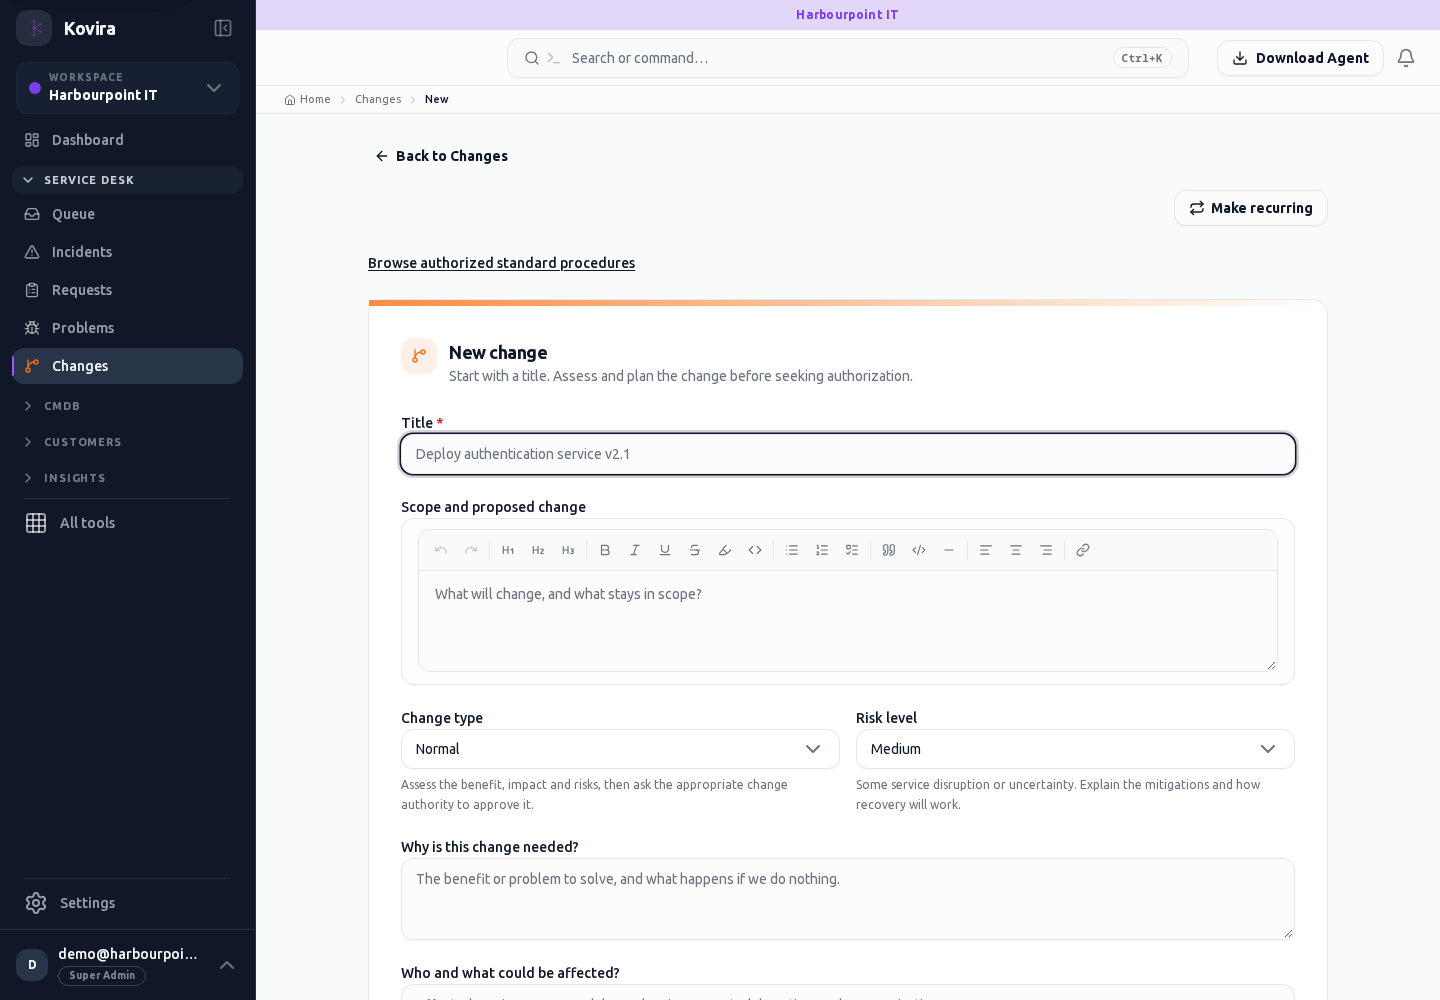
Changes
Change planning. Review this screen in the context of the current workspace and record.
Access
- Default workspace roles for opening this screen: Super Admin, Admin, Operator, View Only. Custom role settings, the current workspace, plan and record sharing can further restrict access.
- Opening a screen does not grant every action on it. Changes, exports and lifecycle actions can require additional permissions.
Controls and information
- Implementation, test and rollback plans
- schedule
- approval
- related tickets
Steps for this screen
- Review the affected scope, implementation window, tests and recovery plan before requesting the offered authorisation.
- Use the available search, date and status filters to narrow the view. Open a record link for its detail.
- Clear filters when you need to compare the full accessible list.
Check the result
- Check approval and readiness before implementation. Record the actual outcome and verification after work is complete.
If this screen is unavailable
- If no records appear, clear active filters and confirm the workspace and your access before creating a duplicate.
- If the list cannot load, retry once and quote the displayed support reference; do not infer that the workspace is empty.
Changes / Standard Models
Change planning. Review this screen in the context of the current workspace and record.
Access
- Default workspace roles for opening this screen: Super Admin, Admin, Operator, View Only. Custom role settings, the current workspace, plan and record sharing can further restrict access.
- Opening a screen does not grant every action on it. Changes, exports and lifecycle actions can require additional permissions.
Controls and information
- Implementation, test and rollback plans
- schedule
- approval
- related tickets
Steps for this screen
- Review the affected scope, implementation window, tests and recovery plan before requesting the offered authorisation.
- Use the available search, date and status filters to narrow the view. Open a record link for its detail.
- Clear filters when you need to compare the full accessible list.
Check the result
- Check approval and readiness before implementation. Record the actual outcome and verification after work is complete.
If this screen is unavailable
- If no records appear, clear active filters and confirm the workspace and your access before creating a duplicate.
- If the list cannot load, retry once and quote the displayed support reference; do not infer that the workspace is empty.
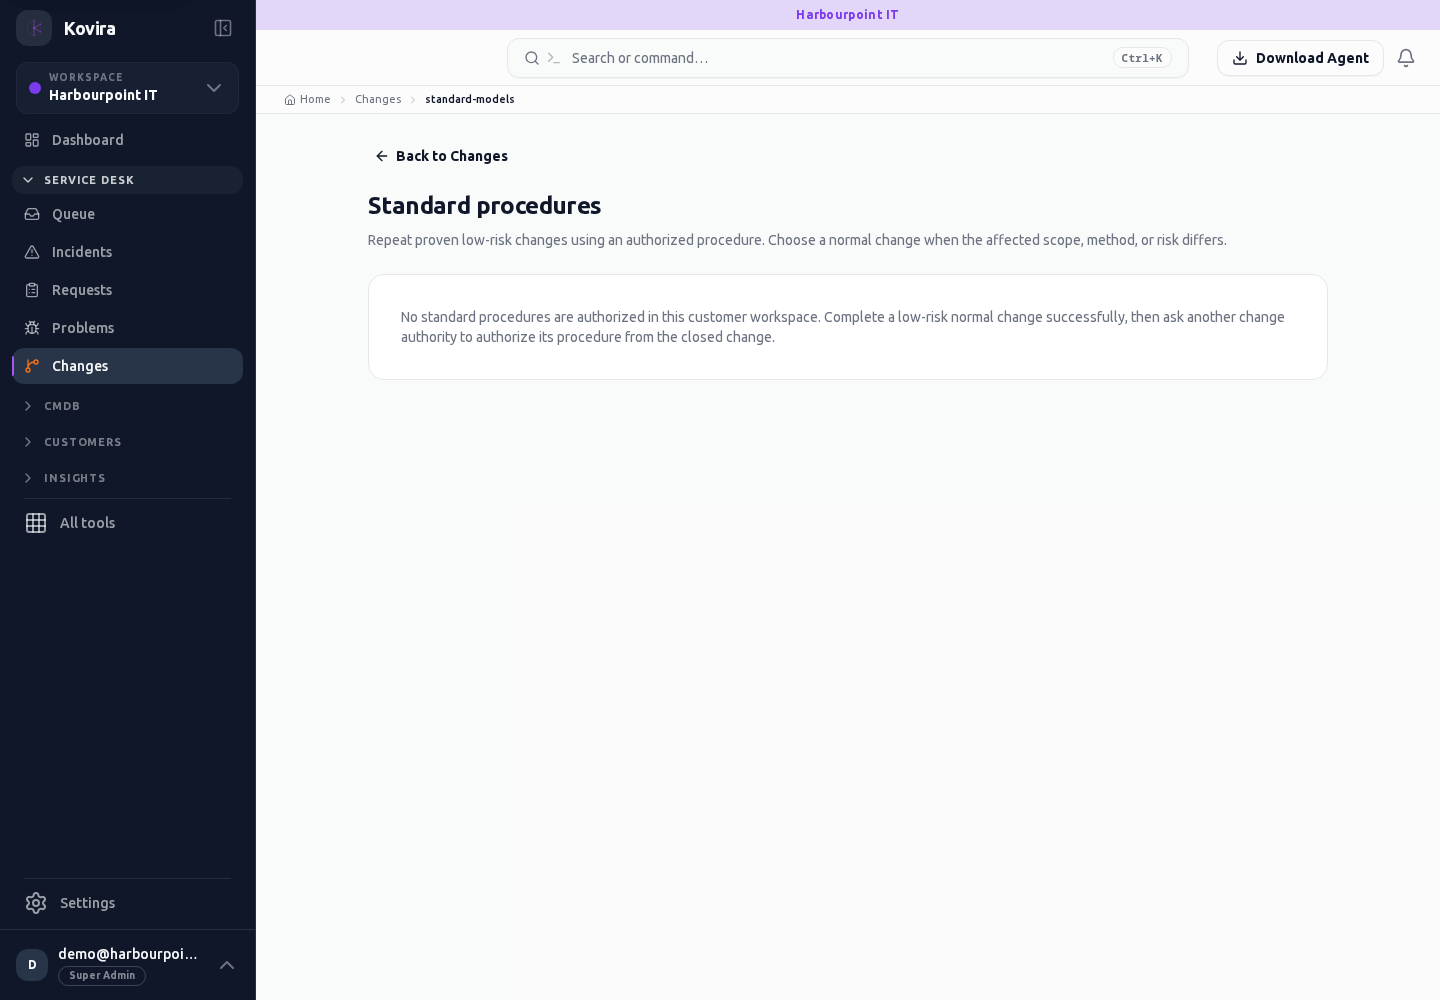
Print / Change / Details
Change planning. Review this screen in the context of the current workspace and record.
Access
- Default workspace roles for opening this screen: Super Admin, Admin, Operator, View Only. Custom role settings, the current workspace, plan and record sharing can further restrict access.
- Opening a screen does not grant every action on it. Changes, exports and lifecycle actions can require additional permissions.
Controls and information
- Record content
- Browser print preview
- Page size and destination
Steps for this screen
- Review the affected scope, implementation window, tests and recovery plan before requesting the offered authorisation.
- Review the selected record and document content. Use your browser print or PDF controls and check the print preview before saving or printing.
Check the result
- Check page breaks, clipped text and the selected record in print preview before distributing a copy.
If this screen is unavailable
- If no records appear, clear active filters and confirm the workspace and your access before creating a duplicate.
- If saving fails or a conflict appears, keep a copy of your intended changes, reopen the current record and review it before submitting again.
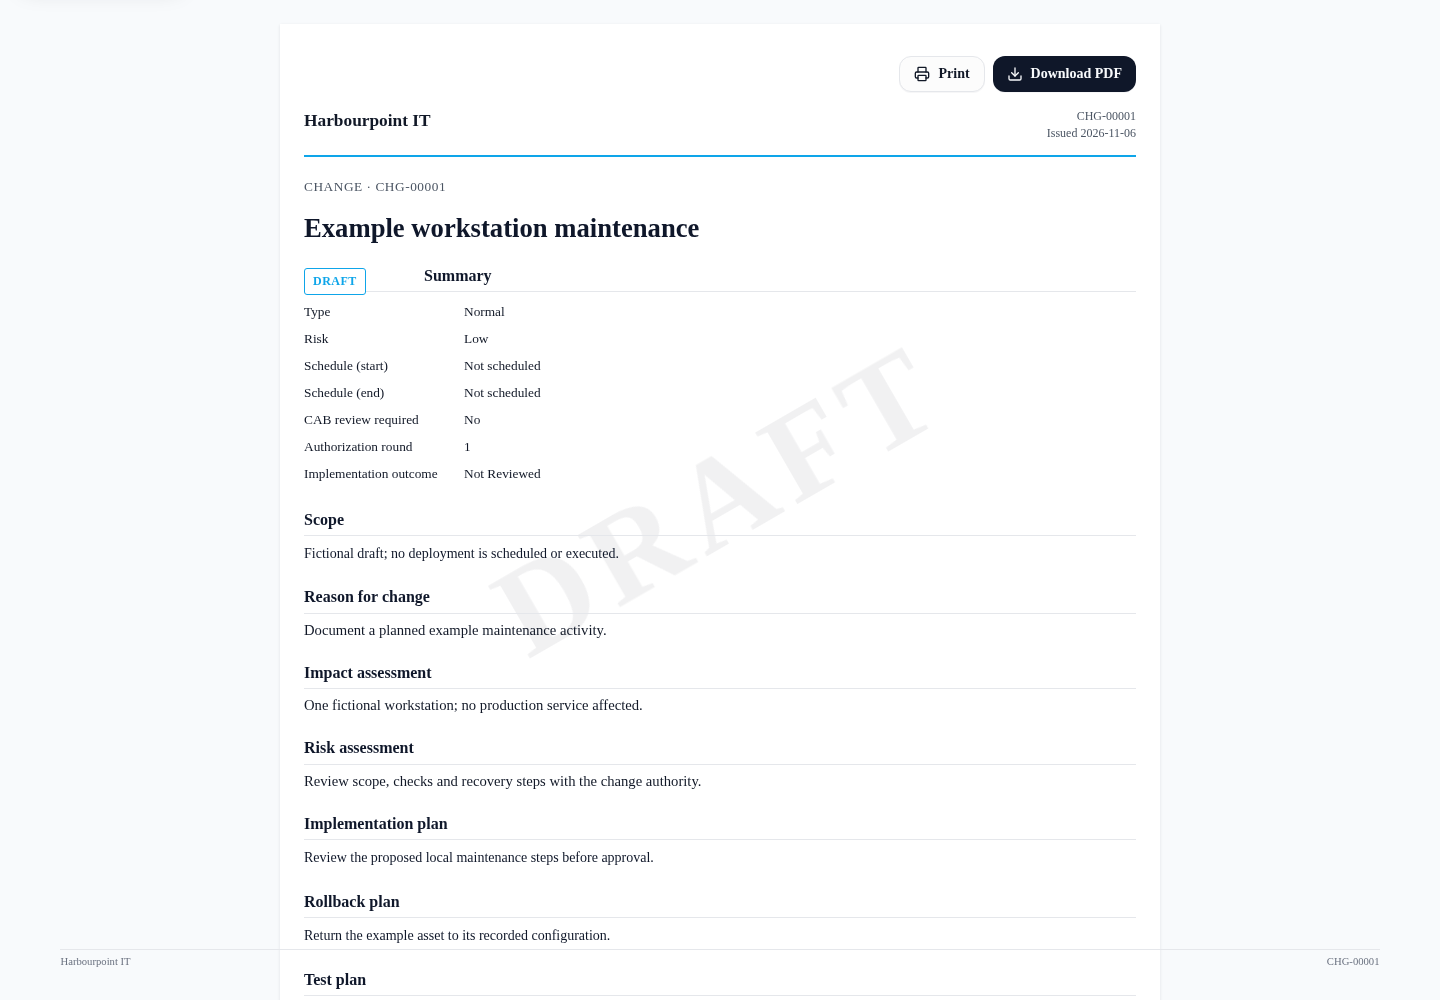
Coordinate releases
Applies to: KOVIRA
Group delivery work and review readiness before deployment.
Before you begin
- Release-management access and associated delivery records.
Steps
- Create a release with an owner, planned dates, scope and associated changes.
- Review the release plan, dependencies, acceptance evidence and deployment readiness indicators.
- Resolve readiness blockers before proceeding with the offered lifecycle action.
- Record deployment progress and verify the outcome. Review unsuccessful delivery and capture corrective work.
Check the result
- Check the release calendar and detail page for the saved dates and state.
- Inspect linked changes and evidence before signing off.
If you need help
- A successful test run alone does not prove deployment readiness; review all displayed release prerequisites.
- Keep rollback responsibilities and communication ownership clear.
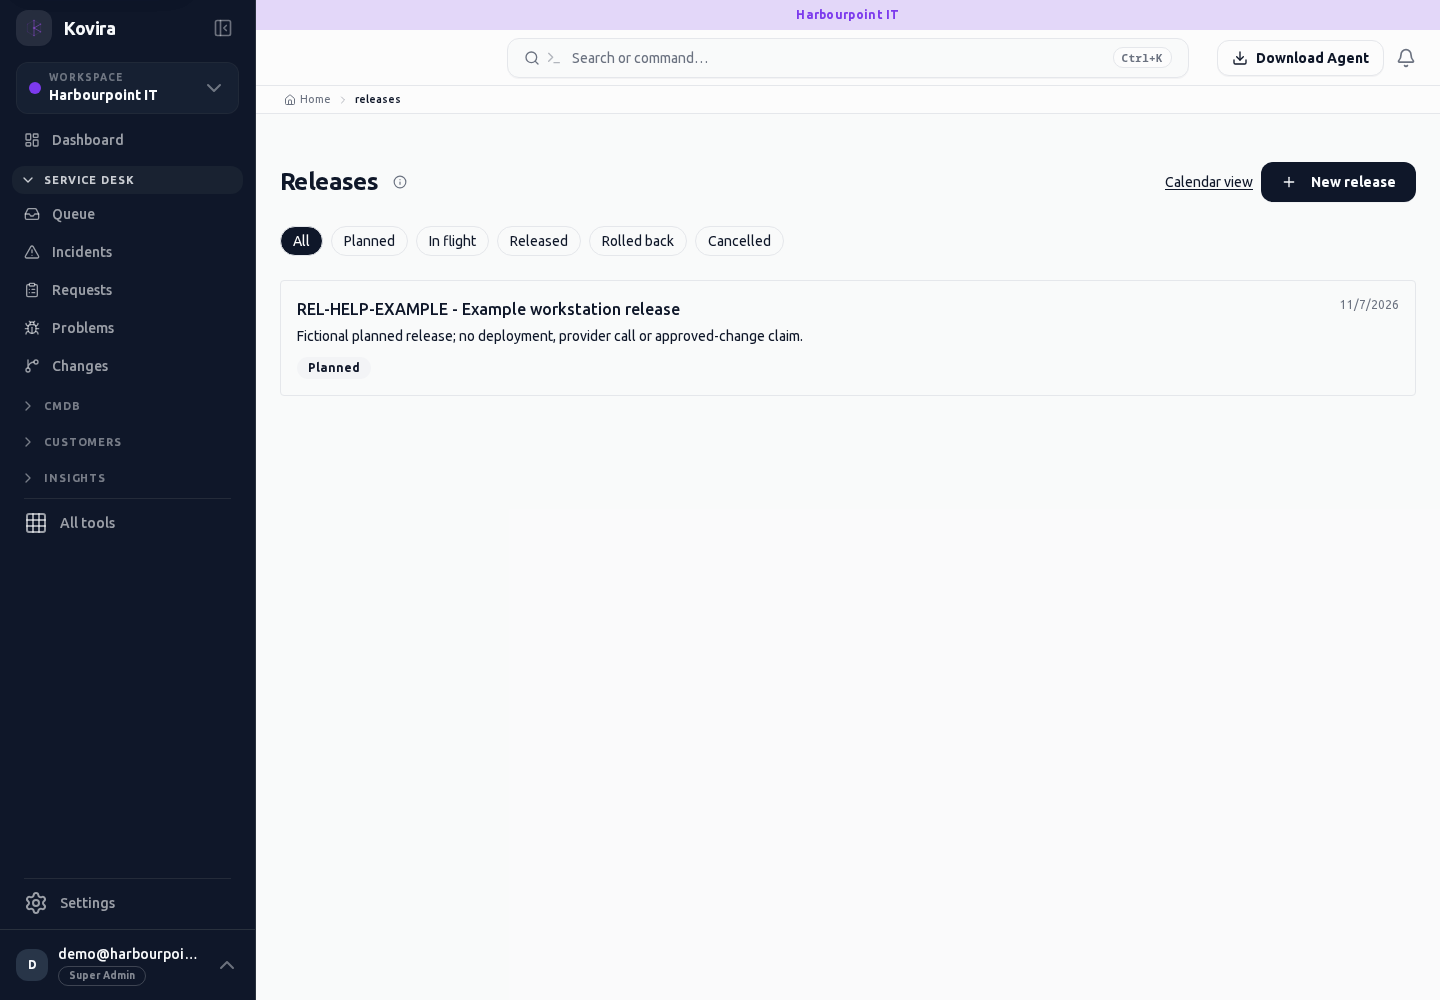
Related screens (4)
Releases / Details
Release coordination. Review this screen in the context of the current workspace and record.
Access
- Default workspace roles for opening this screen: Super Admin, Admin, Operator, View Only. Custom role settings, the current workspace, plan and record sharing can further restrict access.
- Opening a screen does not grant every action on it. Changes, exports and lifecycle actions can require additional permissions.
Controls and information
- Scope
- owner
- associated changes
- readiness
- lifecycle actions
Steps for this screen
- Confirm the release owner, planned dates and related work. Resolve readiness issues before proceeding.
- Read the summary, current state and related records. Review the action and its prerequisites before changing the record.
Check the result
- Check the saved release state and evidence from the actual deployment; a planned release does not prove deployment.
If this screen is unavailable
- If the record is unavailable, return to its list and confirm the workspace and link. Ask an administrator to check record access before creating a replacement.
- If saving fails or a conflict appears, keep a copy of your intended changes, reopen the current record and review it before submitting again.
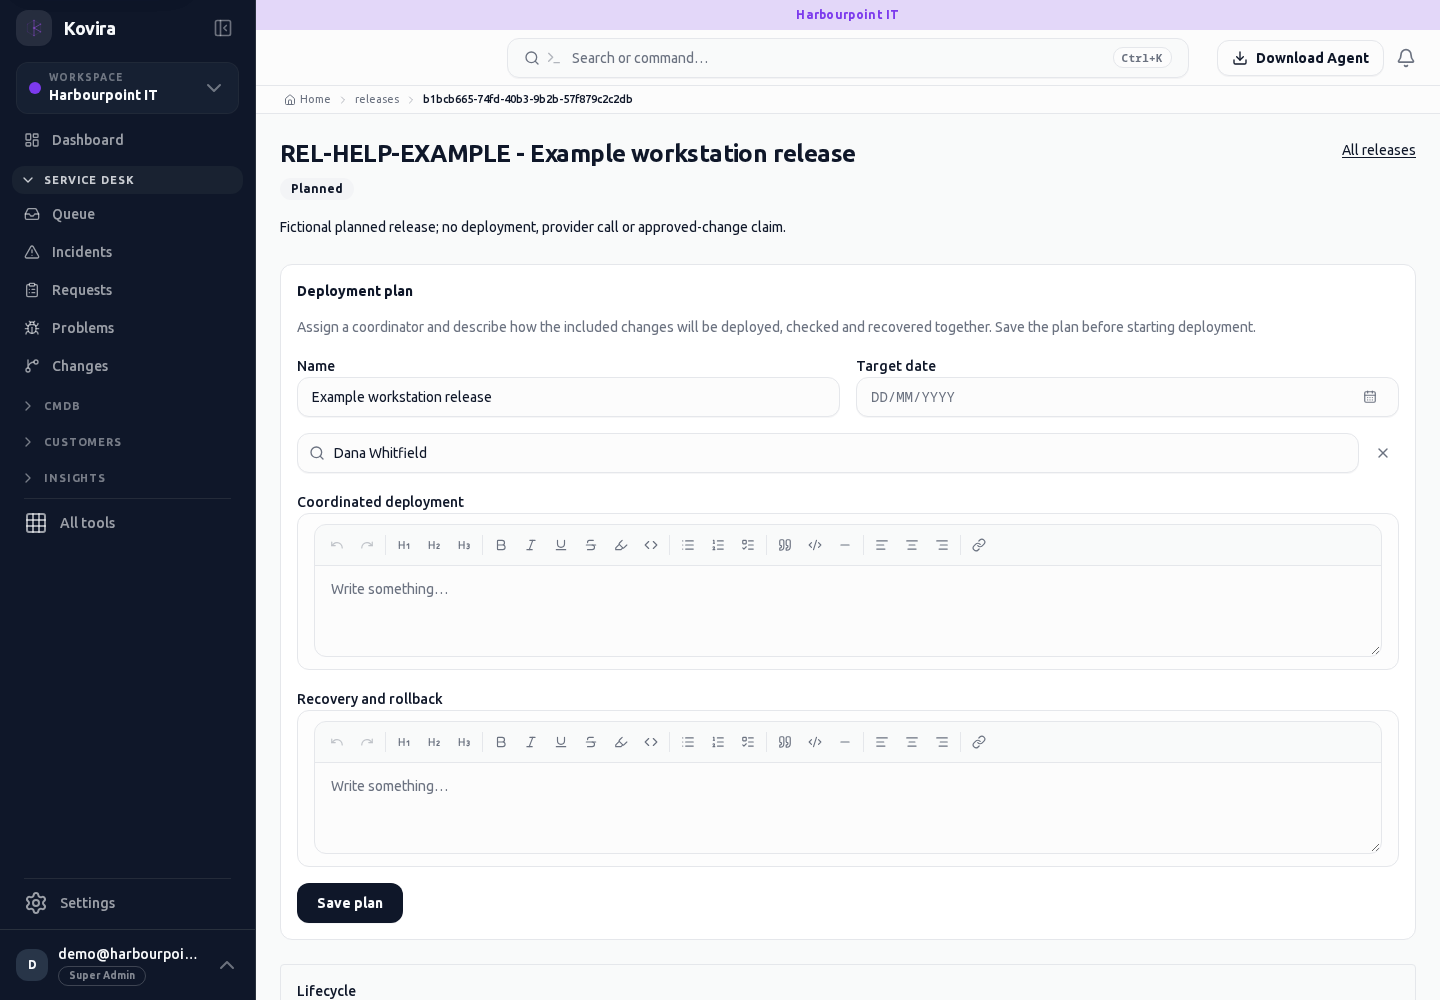
Releases / Calendar
Release coordination. Review this screen in the context of the current workspace and record.
Access
- Default workspace roles for opening this screen: Super Admin, Admin, Operator, View Only. Custom role settings, the current workspace, plan and record sharing can further restrict access.
- Opening a screen does not grant every action on it. Changes, exports and lifecycle actions can require additional permissions.
Controls and information
- Scope
- owner
- associated changes
- readiness
- lifecycle actions
Steps for this screen
- Confirm the release owner, planned dates and related work. Resolve readiness issues before proceeding.
Check the result
- Check the saved release state and evidence from the actual deployment; a planned release does not prove deployment.
If this screen is unavailable
- If no records appear, clear active filters and confirm the workspace and your access before creating a duplicate.
- If saving fails or a conflict appears, keep a copy of your intended changes, reopen the current record and review it before submitting again.
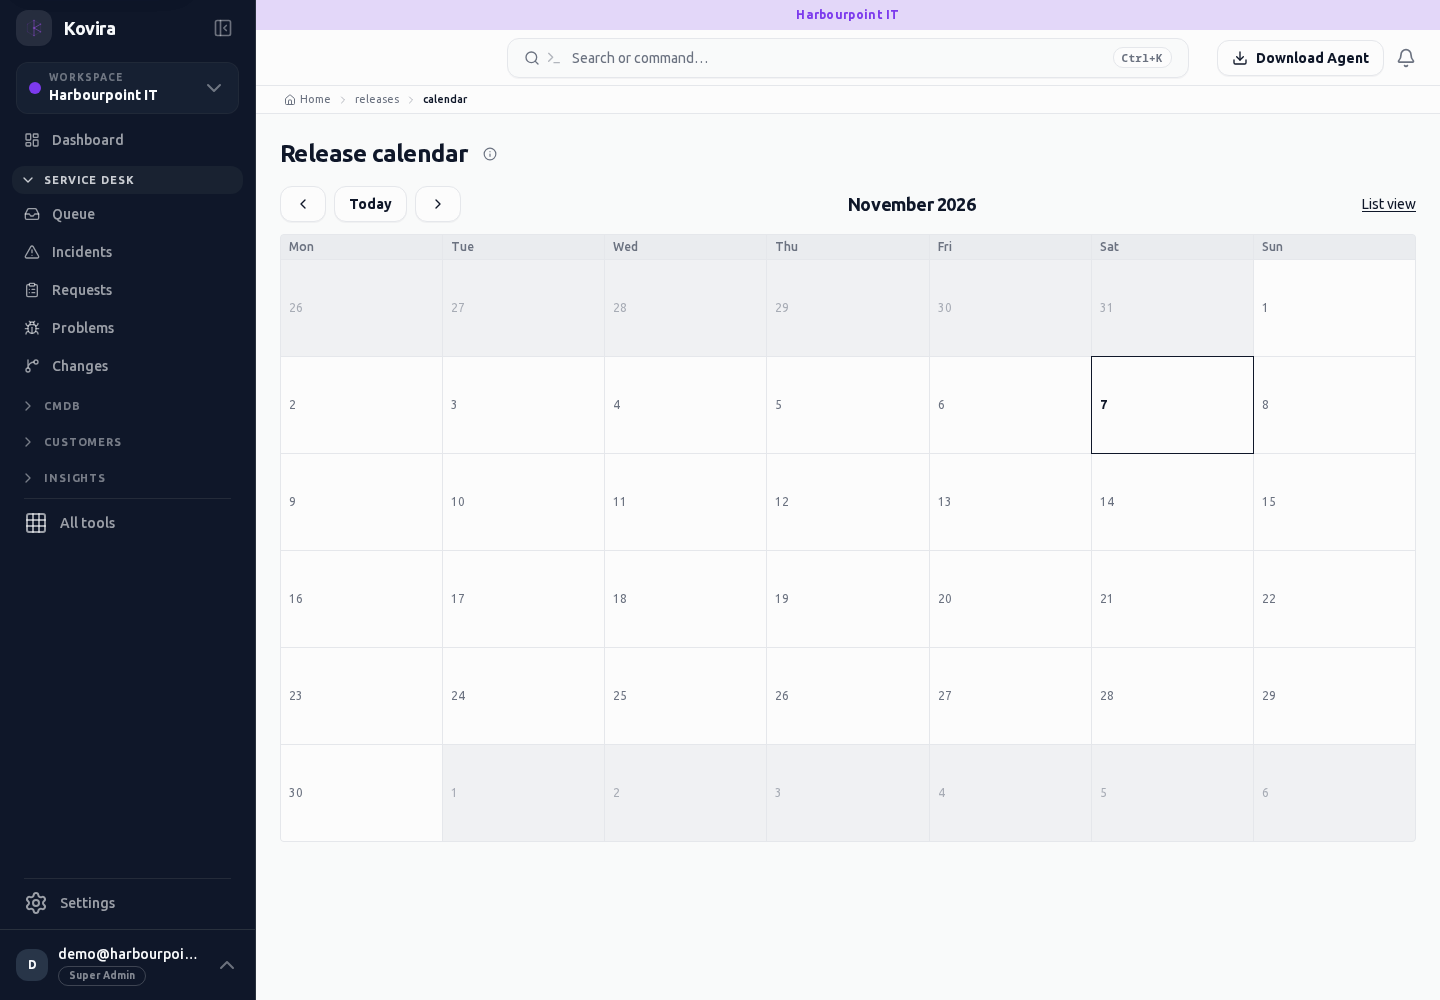
Releases / New
Release coordination. Create a new entry and review the information before submitting.
Access
- Default workspace roles for opening this screen: Super Admin, Admin. Custom role settings, the current workspace, plan and record sharing can further restrict access.
- Opening a screen does not grant every action on it. Changes, exports and lifecycle actions can require additional permissions.
Controls and information
- Scope
- owner
- associated changes
- readiness
- lifecycle actions
Steps for this screen
- Confirm the release owner, planned dates and related work. Resolve readiness issues before proceeding.
- Complete the required fields. Review linked records, dates and any recipient or customer selection.
- Use the form’s create or save action once and wait for its result. Cancel to leave without submitting.
Check the result
- Check the saved release state and evidence from the actual deployment; a planned release does not prove deployment.
- Open the newly created record from the resulting list or confirmation and check the saved values.
If this screen is unavailable
- If no records appear, clear active filters and confirm the workspace and your access before creating a duplicate.
- If saving fails or a conflict appears, keep a copy of your intended changes, reopen the current record and review it before submitting again.
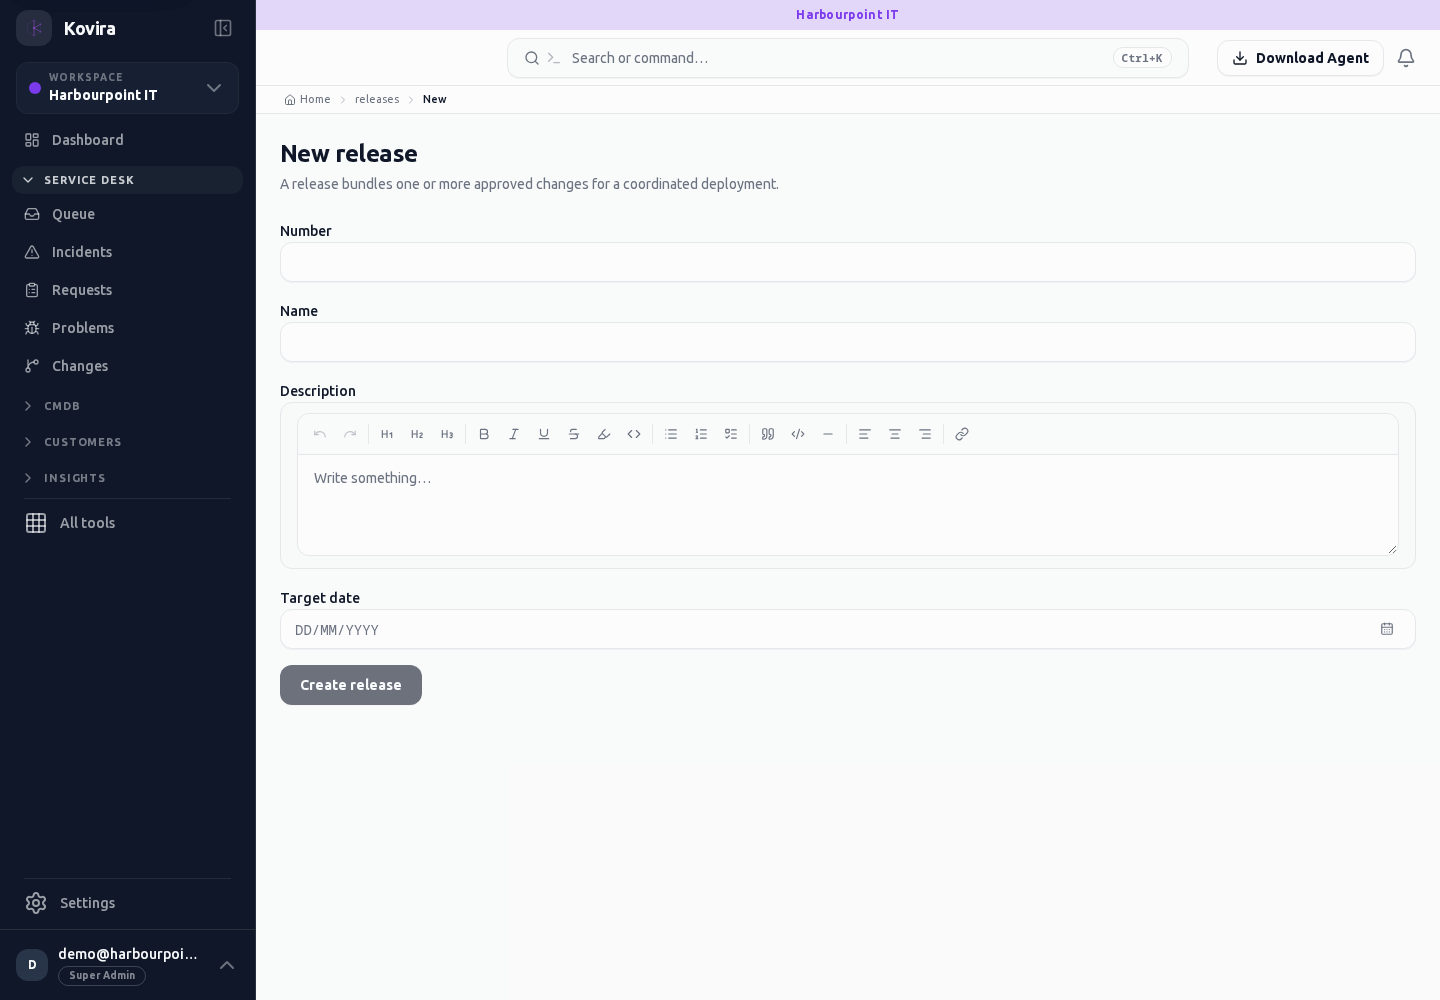
Releases
Release coordination. Review this screen in the context of the current workspace and record.
Access
- Default workspace roles for opening this screen: Super Admin, Admin, Operator, View Only. Custom role settings, the current workspace, plan and record sharing can further restrict access.
- Opening a screen does not grant every action on it. Changes, exports and lifecycle actions can require additional permissions.
Controls and information
- Scope
- owner
- associated changes
- readiness
- lifecycle actions
Steps for this screen
- Confirm the release owner, planned dates and related work. Resolve readiness issues before proceeding.
- Use the available search, date and status filters to narrow the view. Open a record link for its detail.
- Clear filters when you need to compare the full accessible list.
Check the result
- Check the saved release state and evidence from the actual deployment; a planned release does not prove deployment.
If this screen is unavailable
- If no records appear, clear active filters and confirm the workspace and your access before creating a duplicate.
- If the list cannot load, retry once and quote the displayed support reference; do not infer that the workspace is empty.
Documents and knowledge articles
Applies to: KOVIRA
Maintain reusable operational knowledge and controlled documents.
Before you begin
- Read/write access to the intended document or knowledge audience.
Steps
- Open Documents to create or upload a document; use headings and descriptive titles. Link the appropriate CIs.
- Review the available history and access controls before changing or sharing a document.
- Use Broken links to find references that need repair. Update or remove stale references.
- Open Knowledge base to write a reusable article. Follow moderation and publication controls before making it available.
- Check attachments for private data and ensure readers have permission for linked records.
Check the result
- Open the saved article or document as an intended reader.
- Check links, attachments and publication status.
If you need help
- A record link does not grant access to the linked record.
- Do not paste secrets or proprietary implementation details into broadly visible knowledge articles.
Projects, design, capacity and availability
Applies to: KOVIRA
Plan work and validate operational service delivery.
Before you begin
- Permissions for the relevant delivery area.
Steps
- Create a Project and set an owner, dates and objectives. Maintain tasks, milestones and project members from its detail pages.
- Use Design to maintain blueprints, test cases and test runs. Record actual results and follow-up work against the intended design.
- Review Capacity for demand and resource constraints; check the reporting period and inputs before drawing conclusions.
- Review Availability and its service detail to investigate service performance and supporting records.
- Use Dispatch and Team availability to assign work to people with the required availability; review On-call separately for response coverage.
Check the result
- Confirm project membership and the saved task/milestone status.
- Review test-run evidence rather than relying on a result label alone.
If you need help
- A missing capacity or availability measure can mean its source data is incomplete. Review inputs.
- Resolve overlapping assignments with the responsible team before changing commitments.
Portfolio, risk, security and continuity
Applies to: KOVIRA
Maintain service governance and evidence for operational decisions.
Before you begin
- Appropriate governance role and visibility of the associated services.
Steps
- Open Portfolio to review offerings, ownership and review status. Record decisions and evidence during a portfolio review.
- Open Risk to record an exposure, likelihood, impact, owner and treatment. Review treatment progress and related services.
- Use Security to maintain controls, policies, exceptions and security incidents with the correct audience and expiry/review dates.
- Open Continuity for a service, maintain its business impact assessment and plans, and record drill outcomes and corrective actions.
- Use Compliance settings to review frameworks, controls and evidence. Have a responsible reviewer assess evidence before treating a control as satisfied.
Check the result
- Check ownership, review dates and linked evidence on each record.
- Confirm a drill or review records what was actually performed.
If you need help
- A dashboard or framework mapping is not a certification. Review the underlying evidence and applicable scope.
- Keep sensitive incident and continuity details restricted to authorised readers.
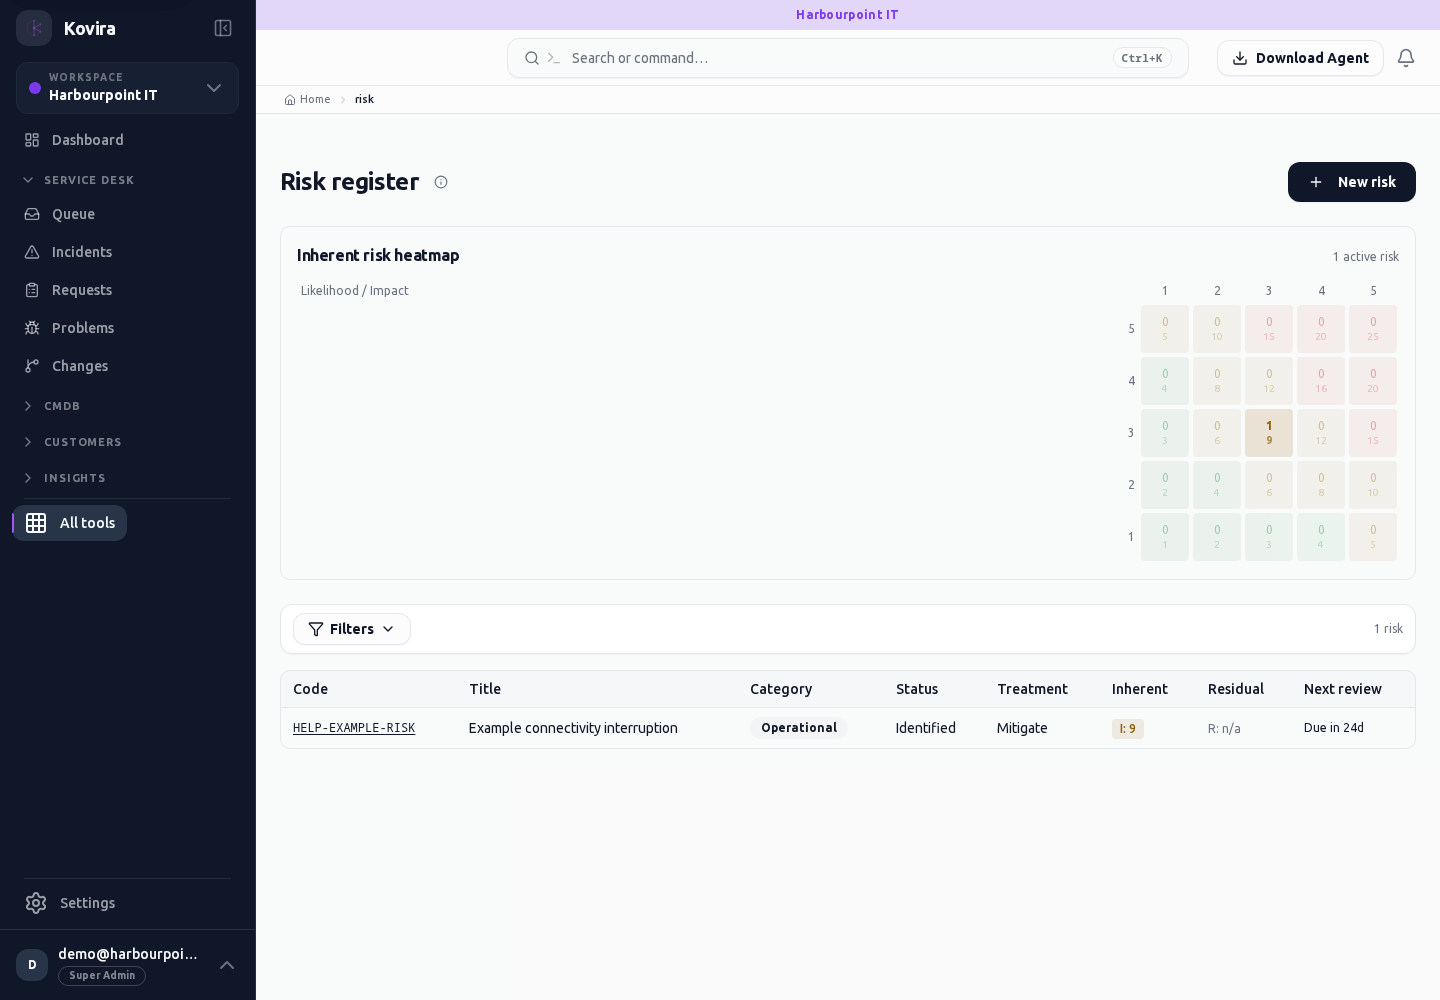
Related screens (11)
Risk / Details
Risk and security oversight. Review this screen in the context of the current workspace and record.
Access
- Default workspace roles for opening this screen: Super Admin, Admin, Operator, View Only. Custom role settings, the current workspace, plan and record sharing can further restrict access.
- Opening a screen does not grant every action on it. Changes, exports and lifecycle actions can require additional permissions.
Controls and information
- Controls
- policies
- exceptions
- risks
- reviews
- evidence
Steps for this screen
- Review the record owner, scope, treatment and review dates before recording a decision or changing its state.
- Read the summary, current state and related records. Review the action and its prerequisites before changing the record.
Check the result
- Verify saved dates and evidence. A checklist or control entry is not an independent certification.
If this screen is unavailable
- If the record is unavailable, return to its list and confirm the workspace and link. Ask an administrator to check record access before creating a replacement.
- If saving fails or a conflict appears, keep a copy of your intended changes, reopen the current record and review it before submitting again.
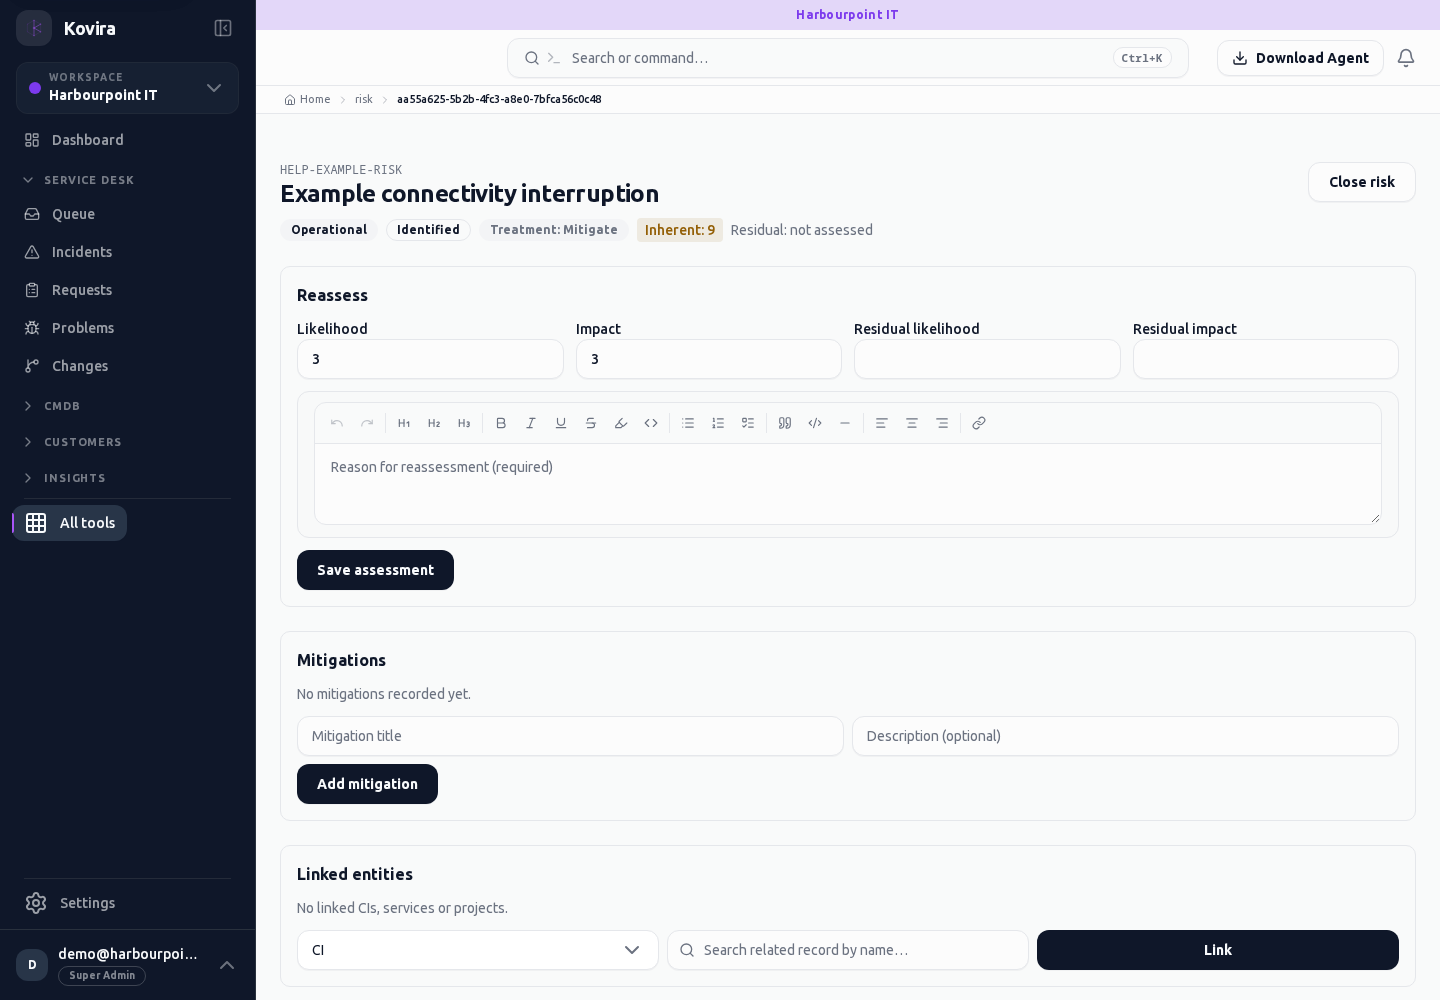
Risk / New
Risk and security oversight. Create a new entry and review the information before submitting.
Access
- Default workspace roles for opening this screen: Super Admin, Admin. Custom role settings, the current workspace, plan and record sharing can further restrict access.
- Opening a screen does not grant every action on it. Changes, exports and lifecycle actions can require additional permissions.
Controls and information
- Controls
- policies
- exceptions
- risks
- reviews
- evidence
Steps for this screen
- Review the record owner, scope, treatment and review dates before recording a decision or changing its state.
- Complete the required fields. Review linked records, dates and any recipient or customer selection.
- Use the form’s create or save action once and wait for its result. Cancel to leave without submitting.
Check the result
- Verify saved dates and evidence. A checklist or control entry is not an independent certification.
- Open the newly created record from the resulting list or confirmation and check the saved values.
If this screen is unavailable
- If no records appear, clear active filters and confirm the workspace and your access before creating a duplicate.
- If saving fails or a conflict appears, keep a copy of your intended changes, reopen the current record and review it before submitting again.
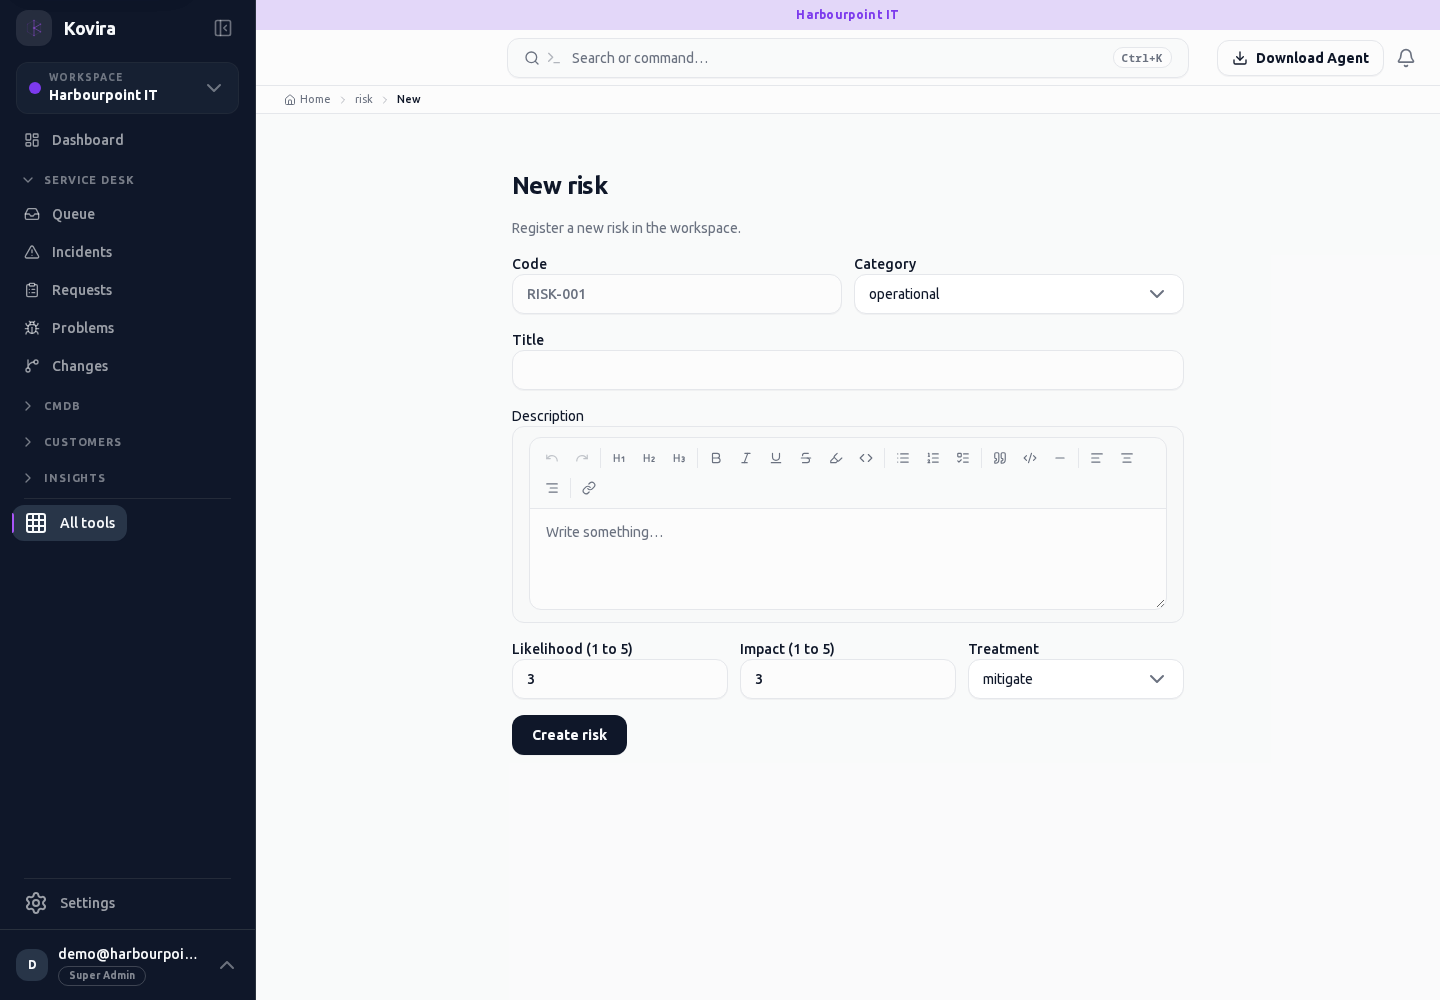
Risk
Risk and security oversight. Review this screen in the context of the current workspace and record.
Access
- Default workspace roles for opening this screen: Super Admin, Admin, Operator, View Only. Custom role settings, the current workspace, plan and record sharing can further restrict access.
- Opening a screen does not grant every action on it. Changes, exports and lifecycle actions can require additional permissions.
Controls and information
- Controls
- policies
- exceptions
- risks
- reviews
- evidence
Steps for this screen
- Review the record owner, scope, treatment and review dates before recording a decision or changing its state.
- Use the available search, date and status filters to narrow the view. Open a record link for its detail.
- Clear filters when you need to compare the full accessible list.
Check the result
- Verify saved dates and evidence. A checklist or control entry is not an independent certification.
If this screen is unavailable
- If no records appear, clear active filters and confirm the workspace and your access before creating a duplicate.
- If the list cannot load, retry once and quote the displayed support reference; do not infer that the workspace is empty.
Security / Controls
Risk and security oversight. Review this screen in the context of the current workspace and record.
Access
- Default workspace roles for opening this screen: Super Admin, Admin. Custom role settings, the current workspace, plan and record sharing can further restrict access.
- Opening a screen does not grant every action on it. Changes, exports and lifecycle actions can require additional permissions.
Controls and information
- Controls
- policies
- exceptions
- risks
- reviews
- evidence
Steps for this screen
- Review the record owner, scope, treatment and review dates before recording a decision or changing its state.
Check the result
- Verify saved dates and evidence. A checklist or control entry is not an independent certification.
If this screen is unavailable
- If no records appear, clear active filters and confirm the workspace and your access before creating a duplicate.
- If saving fails or a conflict appears, keep a copy of your intended changes, reopen the current record and review it before submitting again.
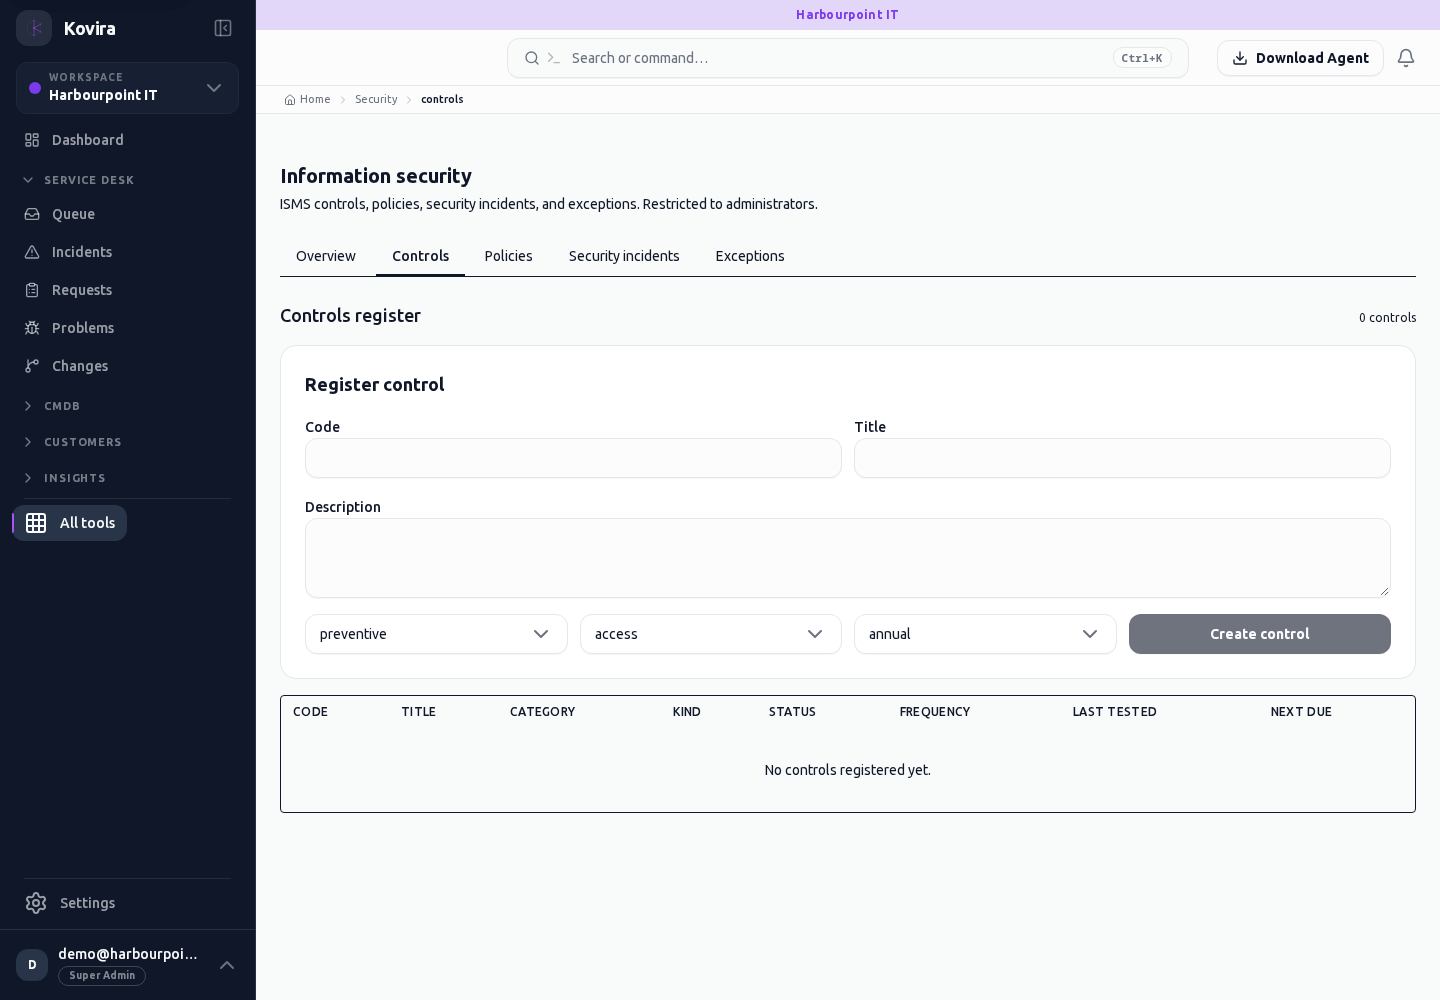
Security / Exceptions
Risk and security oversight. Review this screen in the context of the current workspace and record.
Access
- Default workspace roles for opening this screen: Super Admin, Admin. Custom role settings, the current workspace, plan and record sharing can further restrict access.
- Opening a screen does not grant every action on it. Changes, exports and lifecycle actions can require additional permissions.
Controls and information
- Controls
- policies
- exceptions
- risks
- reviews
- evidence
Steps for this screen
- Review the record owner, scope, treatment and review dates before recording a decision or changing its state.
Check the result
- Verify saved dates and evidence. A checklist or control entry is not an independent certification.
If this screen is unavailable
- If no records appear, clear active filters and confirm the workspace and your access before creating a duplicate.
- If saving fails or a conflict appears, keep a copy of your intended changes, reopen the current record and review it before submitting again.
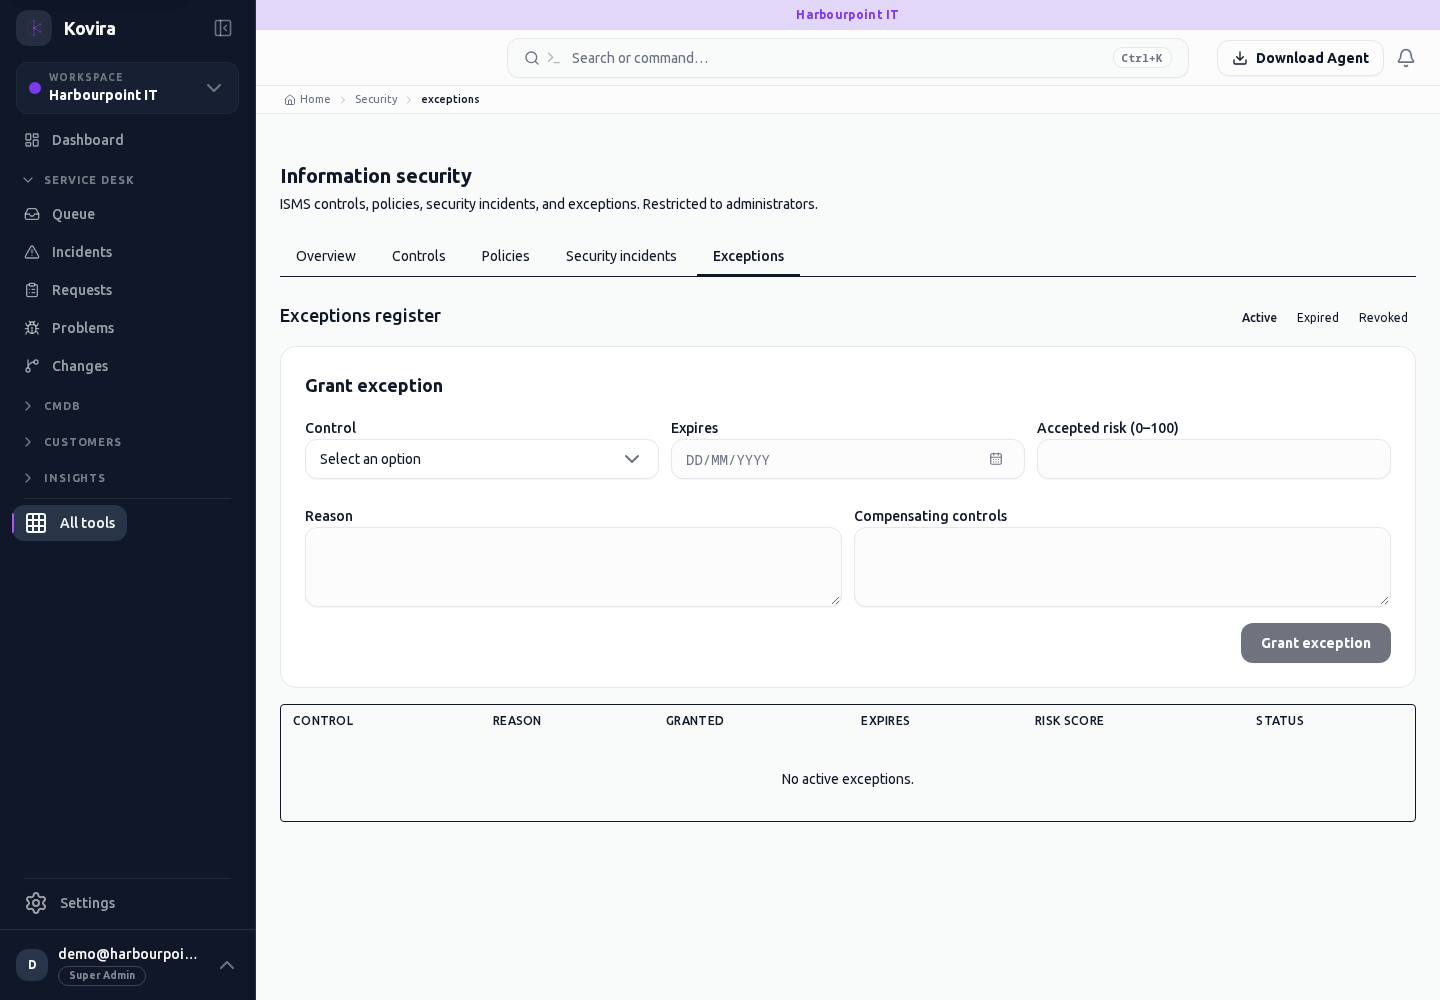
Security / Incidents
Risk and security oversight. Review this screen in the context of the current workspace and record.
Access
- Default workspace roles for opening this screen: Super Admin, Admin. Custom role settings, the current workspace, plan and record sharing can further restrict access.
- Opening a screen does not grant every action on it. Changes, exports and lifecycle actions can require additional permissions.
Controls and information
- Controls
- policies
- exceptions
- risks
- reviews
- evidence
Steps for this screen
- Review the record owner, scope, treatment and review dates before recording a decision or changing its state.
Check the result
- Verify saved dates and evidence. A checklist or control entry is not an independent certification.
If this screen is unavailable
- If no records appear, clear active filters and confirm the workspace and your access before creating a duplicate.
- If saving fails or a conflict appears, keep a copy of your intended changes, reopen the current record and review it before submitting again.
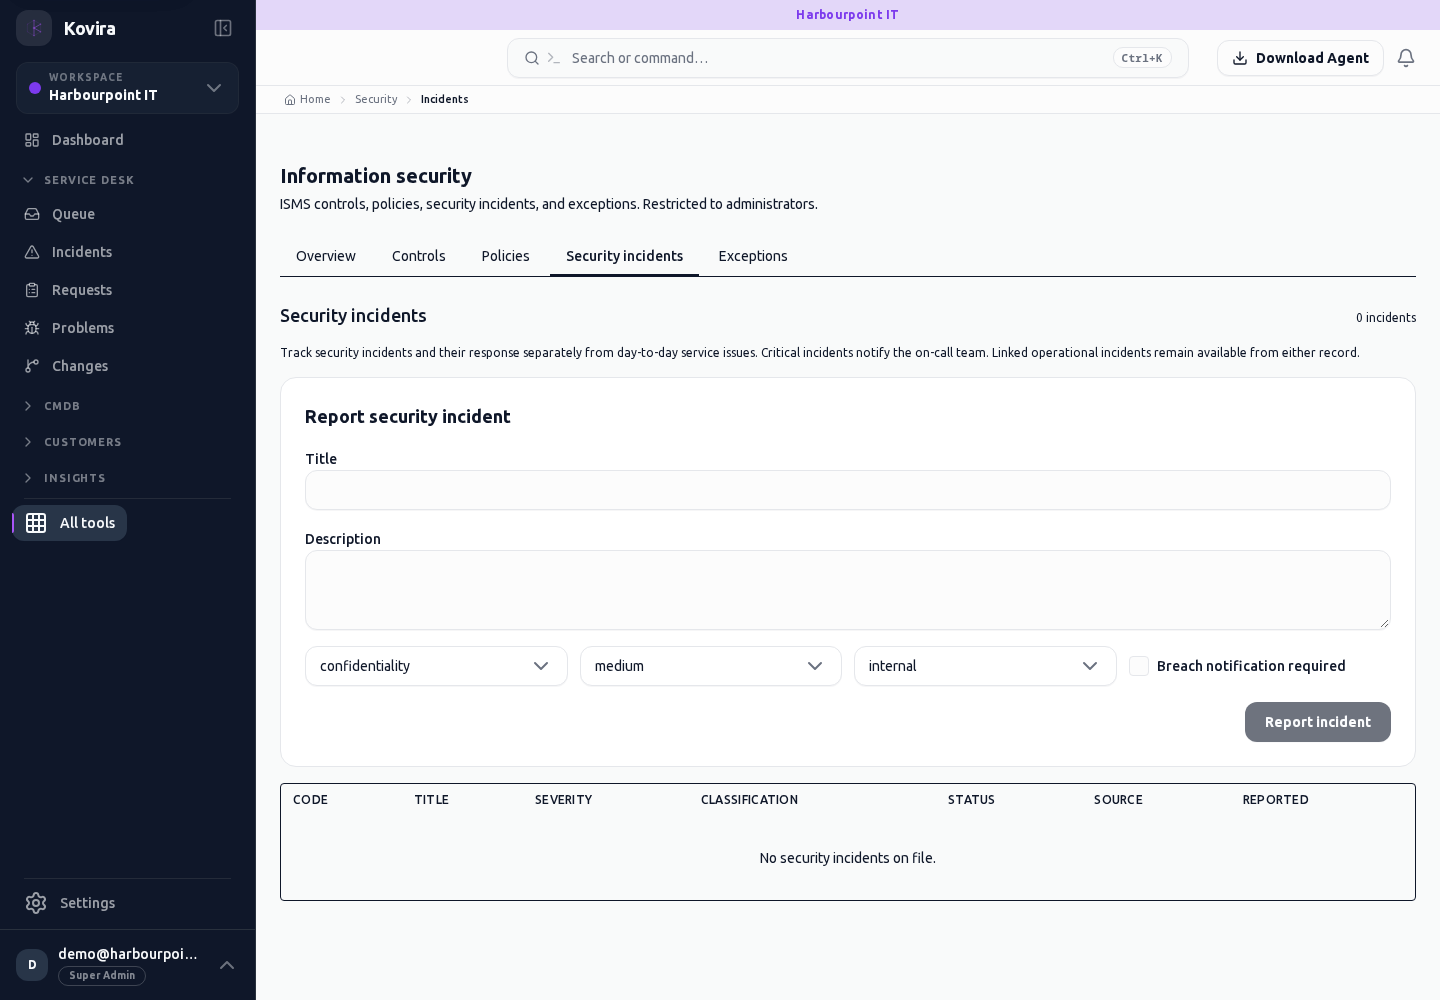
Security
Risk and security oversight. Review this screen in the context of the current workspace and record.
Access
- Default workspace roles for opening this screen: Super Admin, Admin. Custom role settings, the current workspace, plan and record sharing can further restrict access.
- Opening a screen does not grant every action on it. Changes, exports and lifecycle actions can require additional permissions.
Controls and information
- Controls
- policies
- exceptions
- risks
- reviews
- evidence
Steps for this screen
- Review the record owner, scope, treatment and review dates before recording a decision or changing its state.
Check the result
- Verify saved dates and evidence. A checklist or control entry is not an independent certification.
If this screen is unavailable
- If no records appear, clear active filters and confirm the workspace and your access before creating a duplicate.
- If saving fails or a conflict appears, keep a copy of your intended changes, reopen the current record and review it before submitting again.
Security / Policies
Risk and security oversight. Review this screen in the context of the current workspace and record.
Access
- Default workspace roles for opening this screen: Super Admin, Admin. Custom role settings, the current workspace, plan and record sharing can further restrict access.
- Opening a screen does not grant every action on it. Changes, exports and lifecycle actions can require additional permissions.
Controls and information
- Controls
- policies
- exceptions
- risks
- reviews
- evidence
Steps for this screen
- Review the record owner, scope, treatment and review dates before recording a decision or changing its state.
Check the result
- Verify saved dates and evidence. A checklist or control entry is not an independent certification.
If this screen is unavailable
- If no records appear, clear active filters and confirm the workspace and your access before creating a duplicate.
- If saving fails or a conflict appears, keep a copy of your intended changes, reopen the current record and review it before submitting again.
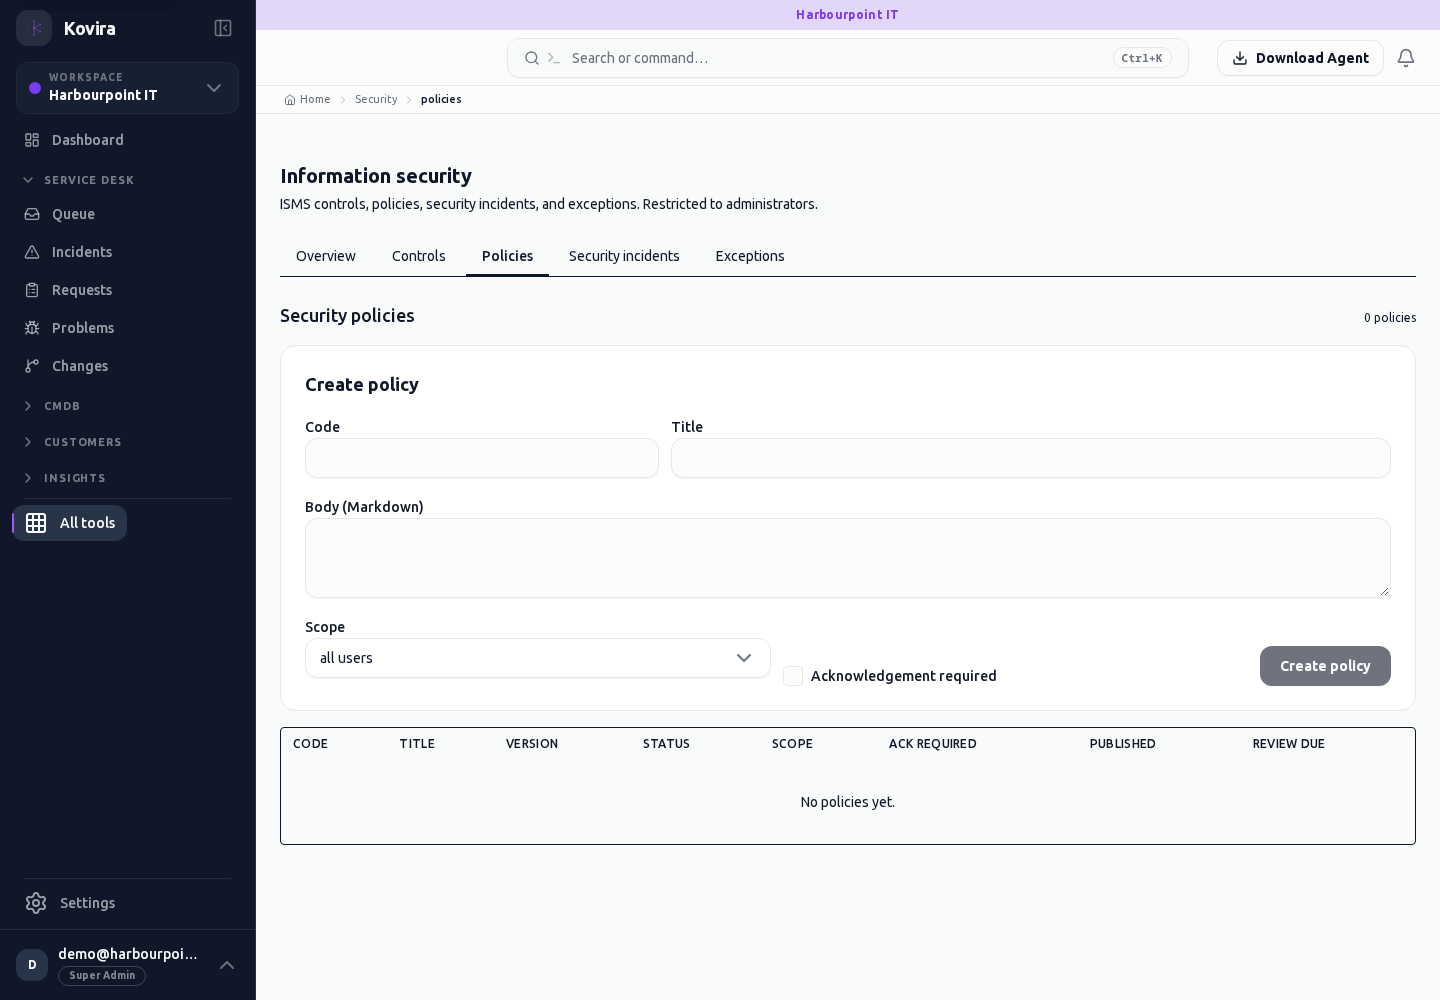
Compliance evidence / Control
Compliance evidence for the selected account, workspace or record.
Access
- Default workspace roles for opening this screen: Super Admin, Admin, Operator, View Only. Custom role settings, the current workspace, plan and record sharing can further restrict access.
- Opening a screen does not grant every action on it. Changes, exports and lifecycle actions can require additional permissions.
Controls and information
- Framework
- control
- assessment
- supporting evidence
Steps for this screen
- Choose the framework and control, then review the recorded assessment and supporting evidence.
- Read the summary, current state and related records. Review the action and its prerequisites before changing the record.
Check the result
- Check ownership, dates and evidence. A framework entry or checklist is not independent certification.
If this screen is unavailable
- If the record is unavailable, return to its list and confirm the workspace and link. Ask an administrator to check record access before creating a replacement.
- If saving fails or a conflict appears, keep a copy of your intended changes, reopen the current record and review it before submitting again.
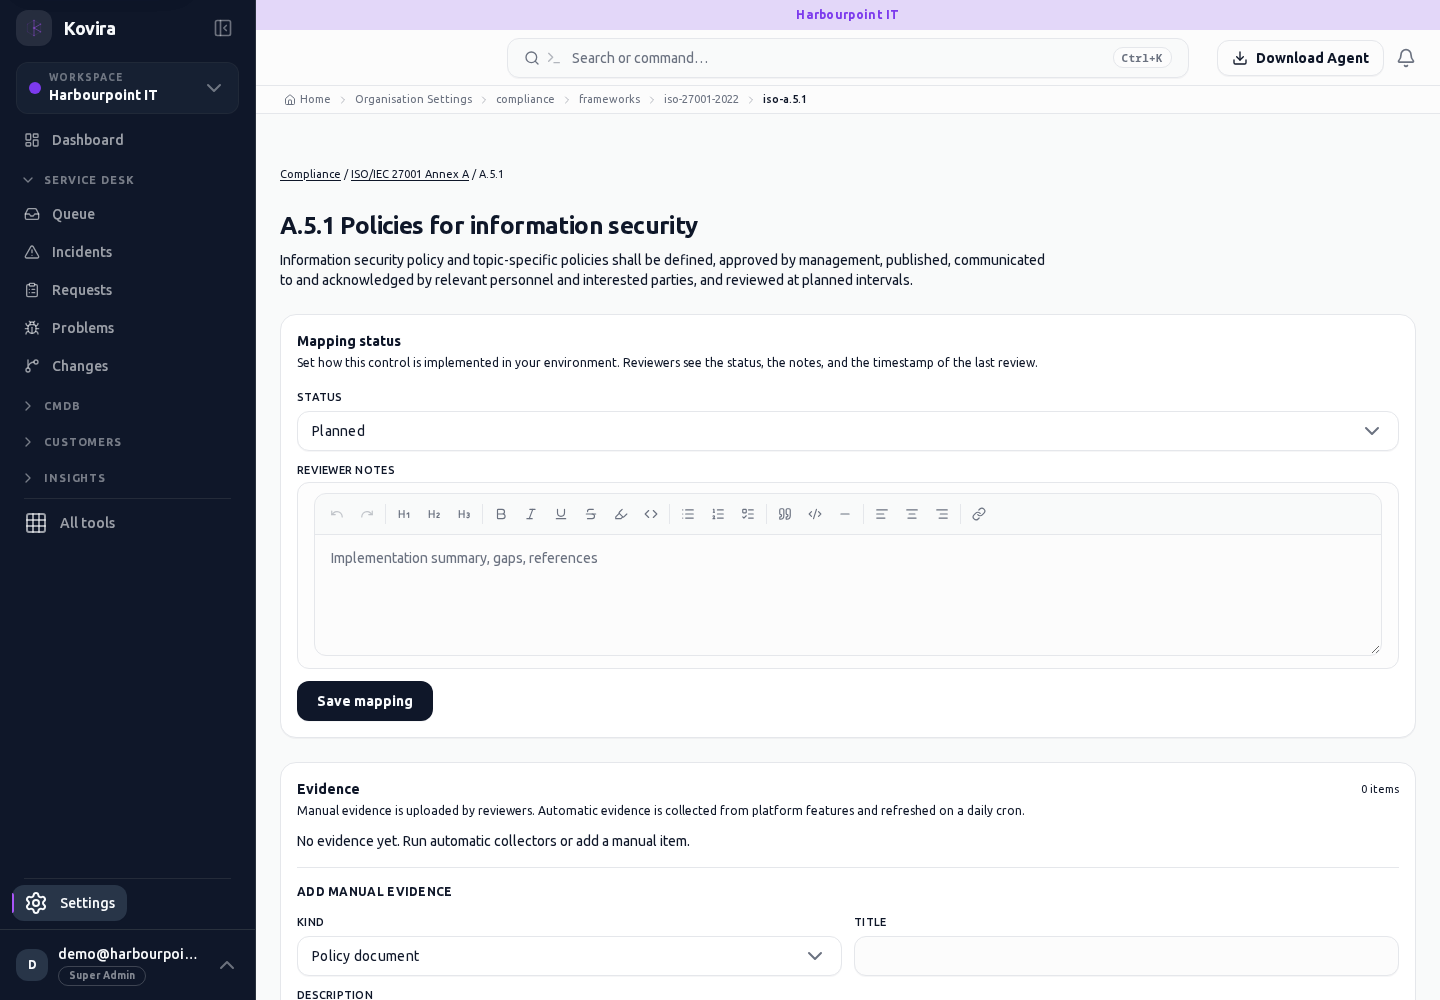
Compliance evidence / Framework
Compliance evidence for the selected account, workspace or record.
Access
- Default workspace roles for opening this screen: Super Admin, Admin, Operator, View Only. Custom role settings, the current workspace, plan and record sharing can further restrict access.
- Opening a screen does not grant every action on it. Changes, exports and lifecycle actions can require additional permissions.
Controls and information
- Framework
- control
- assessment
- supporting evidence
Steps for this screen
- Choose the framework and control, then review the recorded assessment and supporting evidence.
- Read the summary, current state and related records. Review the action and its prerequisites before changing the record.
Check the result
- Check ownership, dates and evidence. A framework entry or checklist is not independent certification.
If this screen is unavailable
- If the record is unavailable, return to its list and confirm the workspace and link. Ask an administrator to check record access before creating a replacement.
- If saving fails or a conflict appears, keep a copy of your intended changes, reopen the current record and review it before submitting again.
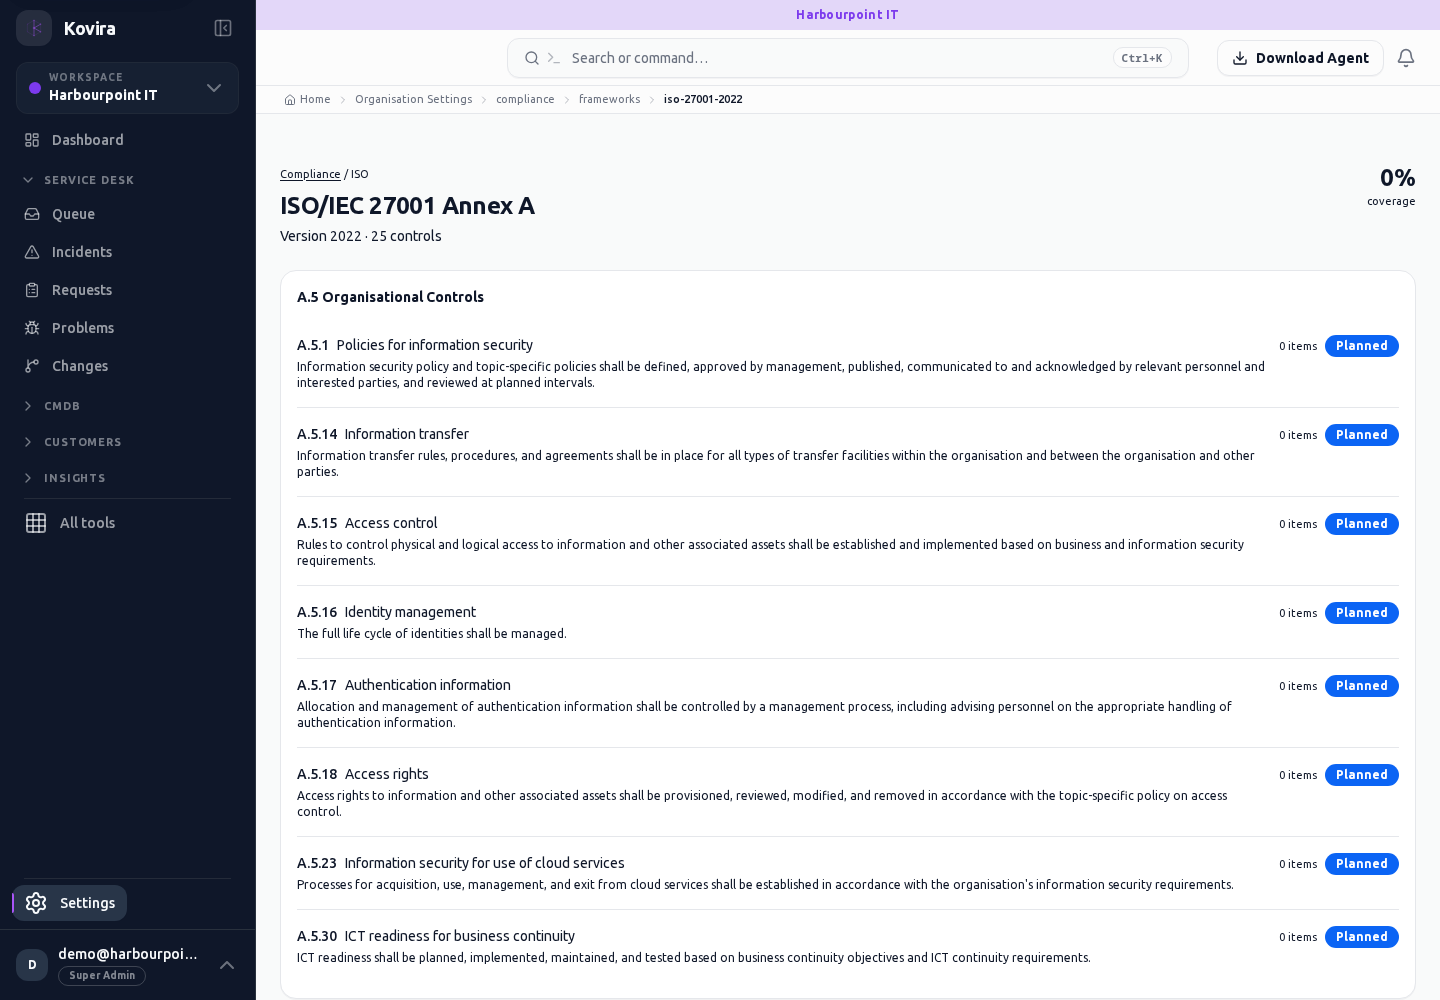
Compliance evidence
Compliance evidence for the selected account, workspace or record.
Access
- Default workspace roles for opening this screen: Super Admin, Admin, Operator, View Only. Custom role settings, the current workspace, plan and record sharing can further restrict access.
- Opening a screen does not grant every action on it. Changes, exports and lifecycle actions can require additional permissions.
Controls and information
- Framework
- control
- assessment
- supporting evidence
Steps for this screen
- Choose the framework and control, then review the recorded assessment and supporting evidence.
Check the result
- Check ownership, dates and evidence. A framework entry or checklist is not independent certification.
If this screen is unavailable
- If no records appear, clear active filters and confirm the workspace and your access before creating a duplicate.
- If saving fails or a conflict appears, keep a copy of your intended changes, reopen the current record and review it before submitting again.
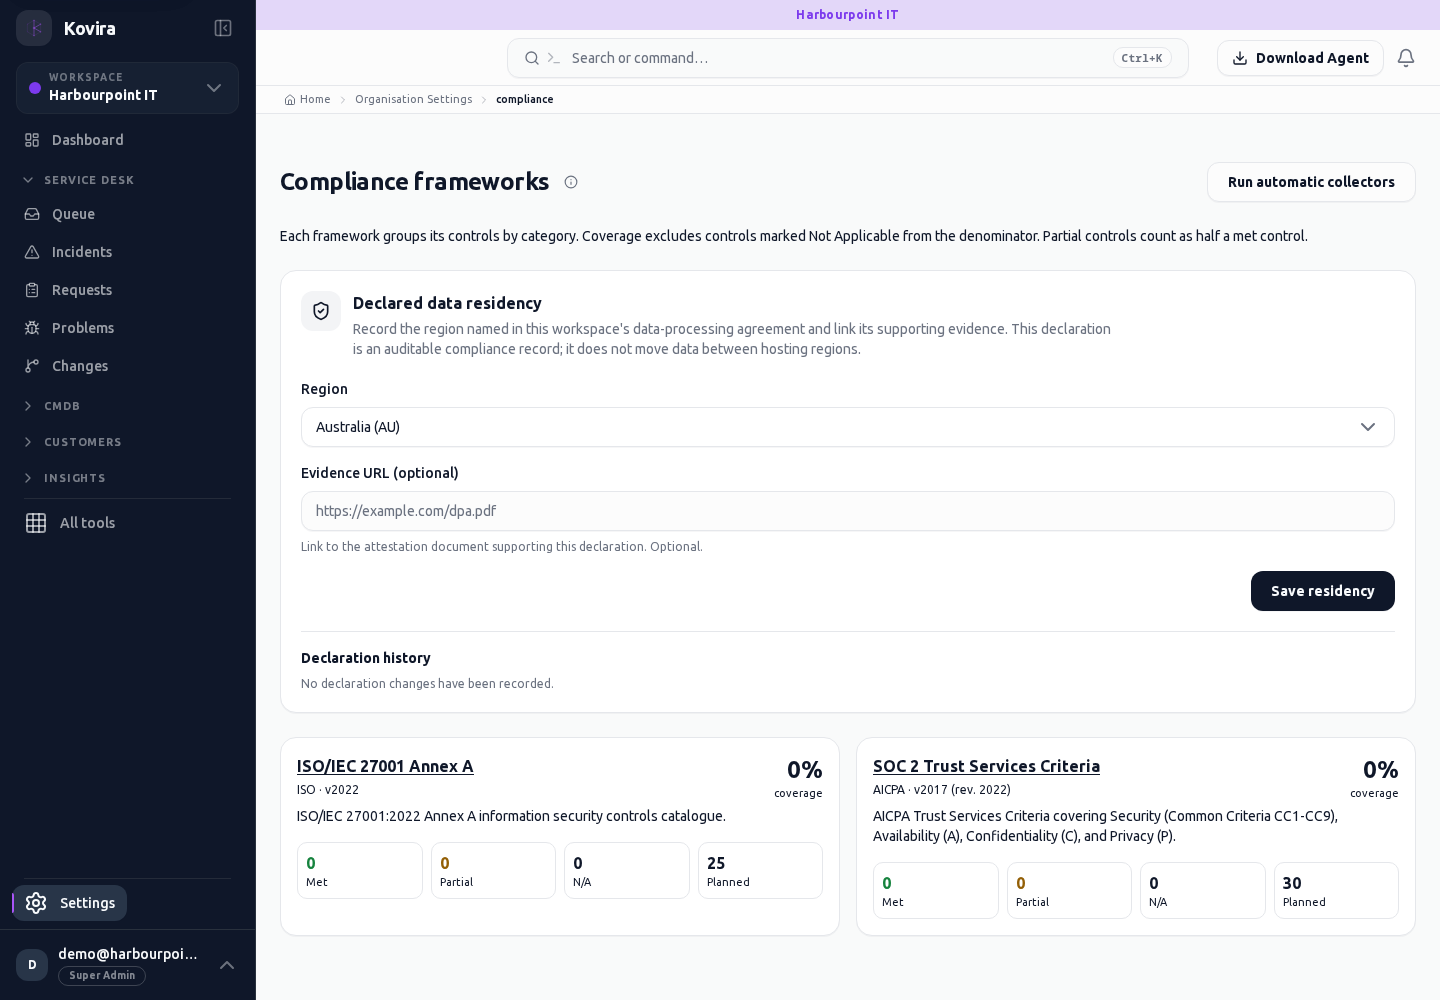
Build and operate workflows
Applies to: KOVIRA
Automate repeatable work and inspect execution outcomes.
Before you begin
- Workflow-edit permission; approval to connect the data and external actions used by the workflow.
Steps
- Open Workflows, choose a template or create a workflow and give it a clear purpose and owner.
- Configure the offered trigger and its scope. Add conditions, branches and actions using the builder’s available fields.
- Review every action that changes records or sends information to an external service. Test with a disposable record using the offered dry-run facility.
- Inspect the run timeline and step outcomes. Resolve errors before enabling the workflow for normal use.
- Use Runs, Queue and Diagnostics to investigate delayed or failed work. Confirm a replay or retry cannot create an unwanted duplicate before using it.
- Review recurring-work and escalation settings for related automation and record their owners.
Check the result
- Confirm the intended trigger produced one expected run and review the record changes.
- Check failure handling and recipients with representative test data.
If you need help
- A dry run may not exercise every external dependency. Verify permitted real actions in your test environment.
- Do not include credentials or sensitive payloads in workflow names or general log notes.
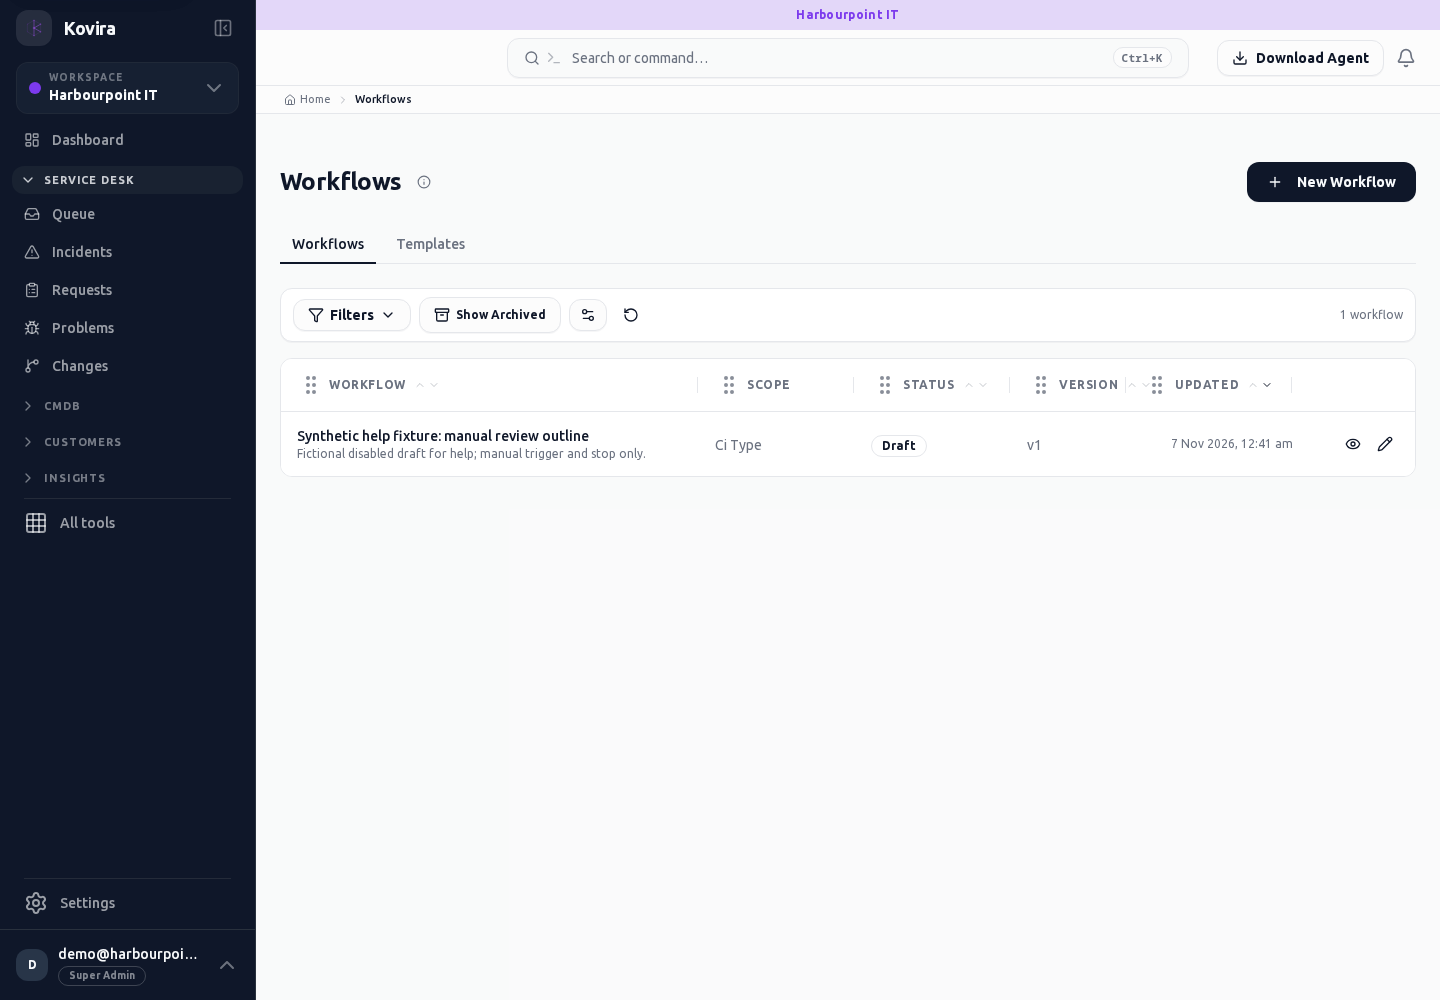
Related screens (9)
Workflows / Details
Workflow design and operation. Review this screen in the context of the current workspace and record.
Access
- Default workspace roles for opening this screen: Super Admin, Admin, Operator, View Only. Custom role settings, the current workspace, plan and record sharing can further restrict access.
- Opening a screen does not grant every action on it. Changes, exports and lifecycle actions can require additional permissions.
Controls and information
- Builder
- trigger
- conditions
- actions
- versions
- dry run
- run history
Steps for this screen
- Review the trigger and every action. Test with a disposable record before publishing or activating a workflow.
- Read the summary, current state and related records. Review the action and its prerequisites before changing the record.
Check the result
- Inspect the version and individual step outcomes. A successful dry run does not demonstrate external delivery or live side effects.
If this screen is unavailable
- If the record is unavailable, return to its list and confirm the workspace and link. Ask an administrator to check record access before creating a replacement.
- If saving fails or a conflict appears, keep a copy of your intended changes, reopen the current record and review it before submitting again.
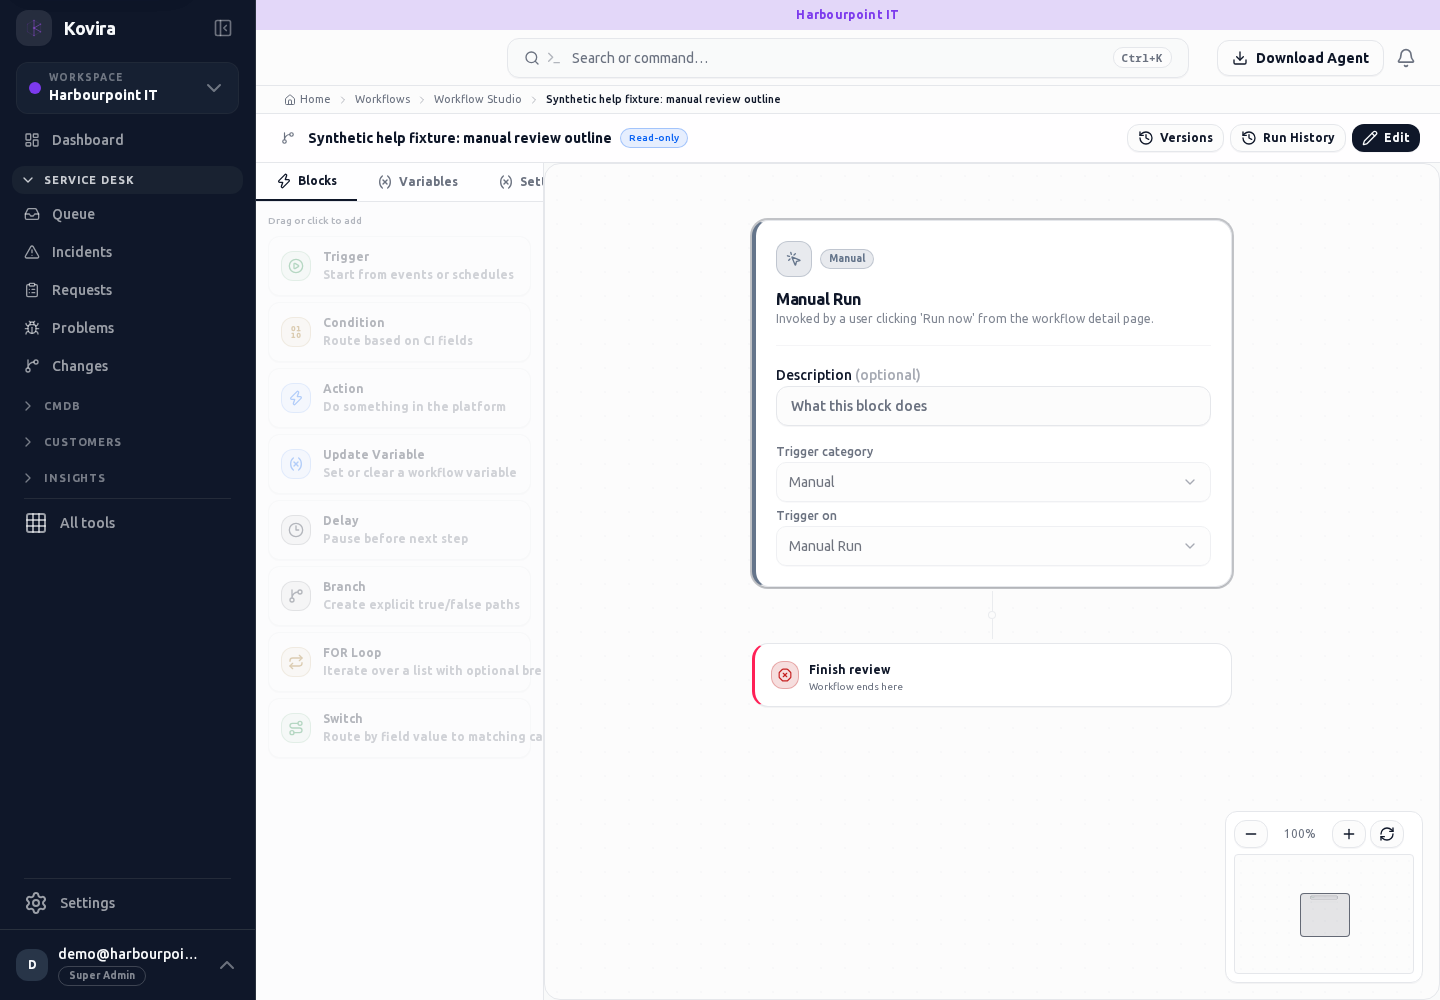
Workflows / Details / Runs
Workflow design and operation. Review this screen in the context of the current workspace and record.
Access
- Default workspace roles for opening this screen: Super Admin, Admin, Operator, View Only. Custom role settings, the current workspace, plan and record sharing can further restrict access.
- Opening a screen does not grant every action on it. Changes, exports and lifecycle actions can require additional permissions.
Controls and information
- Builder
- trigger
- conditions
- actions
- versions
- dry run
- run history
Steps for this screen
- Review the trigger and every action. Test with a disposable record before publishing or activating a workflow.
- Use the available search, date and status filters to narrow the view. Open a record link for its detail.
- Clear filters when you need to compare the full accessible list.
Check the result
- Inspect the version and individual step outcomes. A successful dry run does not demonstrate external delivery or live side effects.
If this screen is unavailable
- If no records appear, clear active filters and confirm the workspace and your access before creating a duplicate.
- If the list cannot load, retry once and quote the displayed support reference; do not infer that the workspace is empty.
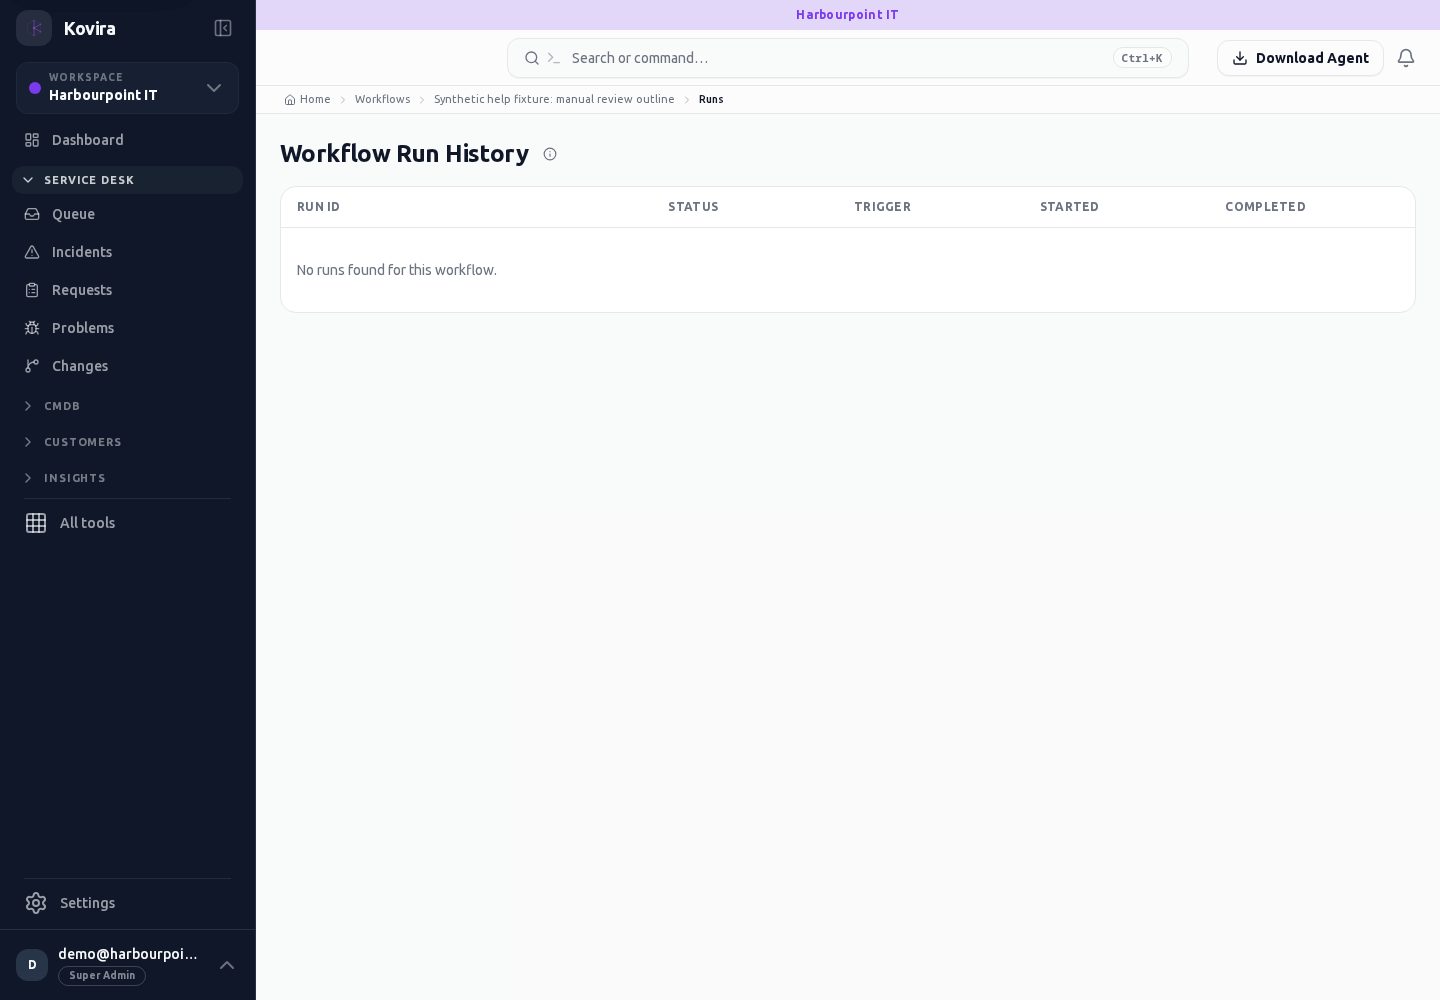
Workflows / Diagnostics
Workflow design and operation. Review this screen in the context of the current workspace and record.
Access
- Default workspace roles for opening this screen: Super Admin, Admin, Operator, View Only. Custom role settings, the current workspace, plan and record sharing can further restrict access.
- Opening a screen does not grant every action on it. Changes, exports and lifecycle actions can require additional permissions.
Controls and information
- Builder
- trigger
- conditions
- actions
- versions
- dry run
- run history
Steps for this screen
- Review the trigger and every action. Test with a disposable record before publishing or activating a workflow.
Check the result
- Inspect the version and individual step outcomes. A successful dry run does not demonstrate external delivery or live side effects.
If this screen is unavailable
- If no records appear, clear active filters and confirm the workspace and your access before creating a duplicate.
- If saving fails or a conflict appears, keep a copy of your intended changes, reopen the current record and review it before submitting again.
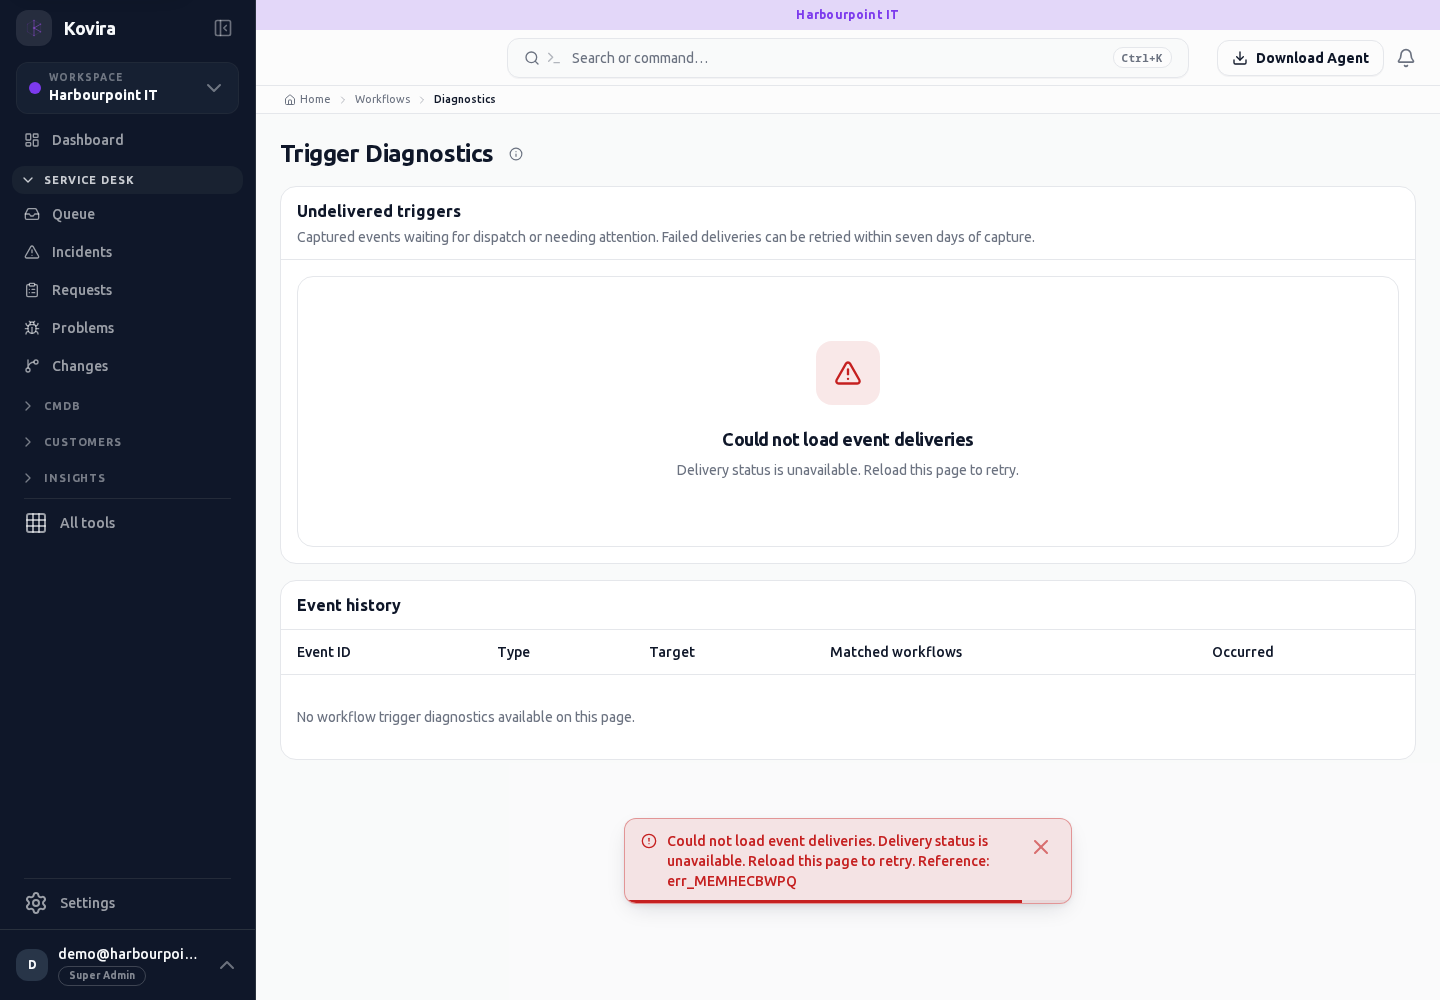
Workflows / Dry Runs / Dry run
Workflow design and operation. Review this screen in the context of the current workspace and record.
Access
- Default workspace roles for opening this screen: Super Admin, Admin, Operator, View Only. Custom role settings, the current workspace, plan and record sharing can further restrict access.
- Opening a screen does not grant every action on it. Changes, exports and lifecycle actions can require additional permissions.
Controls and information
- Builder
- trigger
- conditions
- actions
- versions
- dry run
- run history
Steps for this screen
- Review the trigger and every action. Test with a disposable record before publishing or activating a workflow.
- Read the summary, current state and related records. Review the action and its prerequisites before changing the record.
Check the result
- Inspect the version and individual step outcomes. A successful dry run does not demonstrate external delivery or live side effects.
If this screen is unavailable
- If the record is unavailable, return to its list and confirm the workspace and link. Ask an administrator to check record access before creating a replacement.
- If saving fails or a conflict appears, keep a copy of your intended changes, reopen the current record and review it before submitting again.
Workflows / New
Workflow design and operation. Create a new entry and review the information before submitting.
Access
- Default workspace roles for opening this screen: Super Admin, Admin, Operator. Custom role settings, the current workspace, plan and record sharing can further restrict access.
- Opening a screen does not grant every action on it. Changes, exports and lifecycle actions can require additional permissions.
Controls and information
- Builder
- trigger
- conditions
- actions
- versions
- dry run
- run history
Steps for this screen
- Review the trigger and every action. Test with a disposable record before publishing or activating a workflow.
- Complete the required fields. Review linked records, dates and any recipient or customer selection.
- Use the form’s create or save action once and wait for its result. Cancel to leave without submitting.
Check the result
- Inspect the version and individual step outcomes. A successful dry run does not demonstrate external delivery or live side effects.
- Open the newly created record from the resulting list or confirmation and check the saved values.
If this screen is unavailable
- If no records appear, clear active filters and confirm the workspace and your access before creating a duplicate.
- If saving fails or a conflict appears, keep a copy of your intended changes, reopen the current record and review it before submitting again.
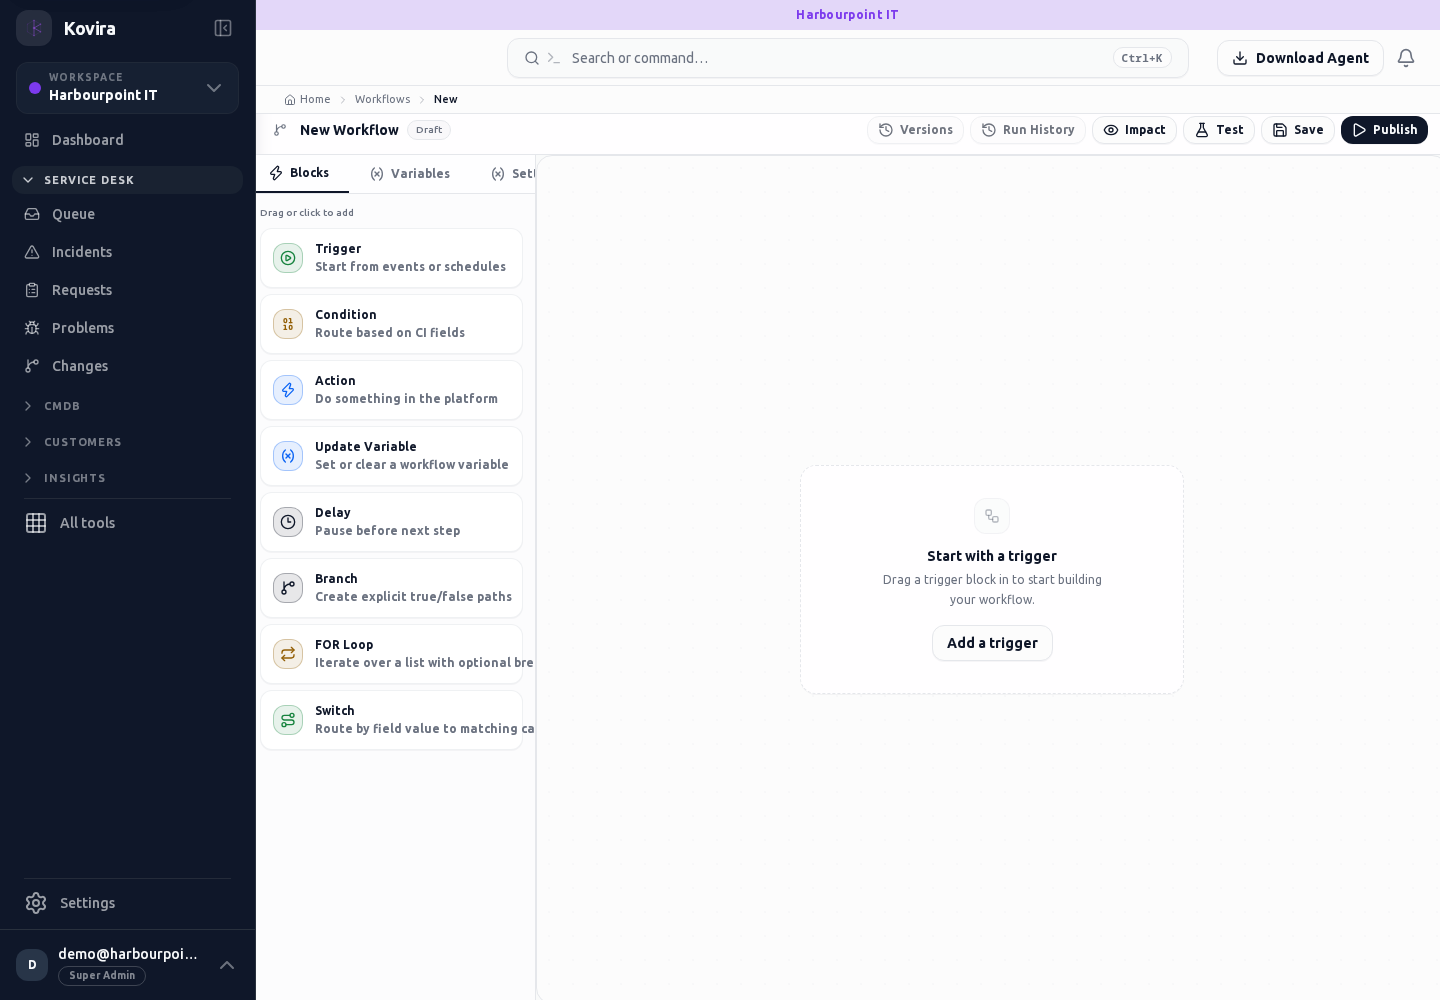
Workflows
Workflow design and operation. Review this screen in the context of the current workspace and record.
Access
- Default workspace roles for opening this screen: Super Admin, Admin, Operator, View Only. Custom role settings, the current workspace, plan and record sharing can further restrict access.
- Opening a screen does not grant every action on it. Changes, exports and lifecycle actions can require additional permissions.
Controls and information
- Builder
- trigger
- conditions
- actions
- versions
- dry run
- run history
Steps for this screen
- Review the trigger and every action. Test with a disposable record before publishing or activating a workflow.
- Use the available search, date and status filters to narrow the view. Open a record link for its detail.
- Clear filters when you need to compare the full accessible list.
Check the result
- Inspect the version and individual step outcomes. A successful dry run does not demonstrate external delivery or live side effects.
If this screen is unavailable
- If no records appear, clear active filters and confirm the workspace and your access before creating a duplicate.
- If the list cannot load, retry once and quote the displayed support reference; do not infer that the workspace is empty.
Workflows / Queue
Workflow design and operation. Review this screen in the context of the current workspace and record.
Access
- Default workspace roles for opening this screen: Super Admin, Admin, Operator, View Only. Custom role settings, the current workspace, plan and record sharing can further restrict access.
- Opening a screen does not grant every action on it. Changes, exports and lifecycle actions can require additional permissions.
Controls and information
- Builder
- trigger
- conditions
- actions
- versions
- dry run
- run history
Steps for this screen
- Review the trigger and every action. Test with a disposable record before publishing or activating a workflow.
- Use the available search, date and status filters to narrow the view. Open a record link for its detail.
- Clear filters when you need to compare the full accessible list.
Check the result
- Inspect the version and individual step outcomes. A successful dry run does not demonstrate external delivery or live side effects.
If this screen is unavailable
- If no records appear, clear active filters and confirm the workspace and your access before creating a duplicate.
- If the list cannot load, retry once and quote the displayed support reference; do not infer that the workspace is empty.
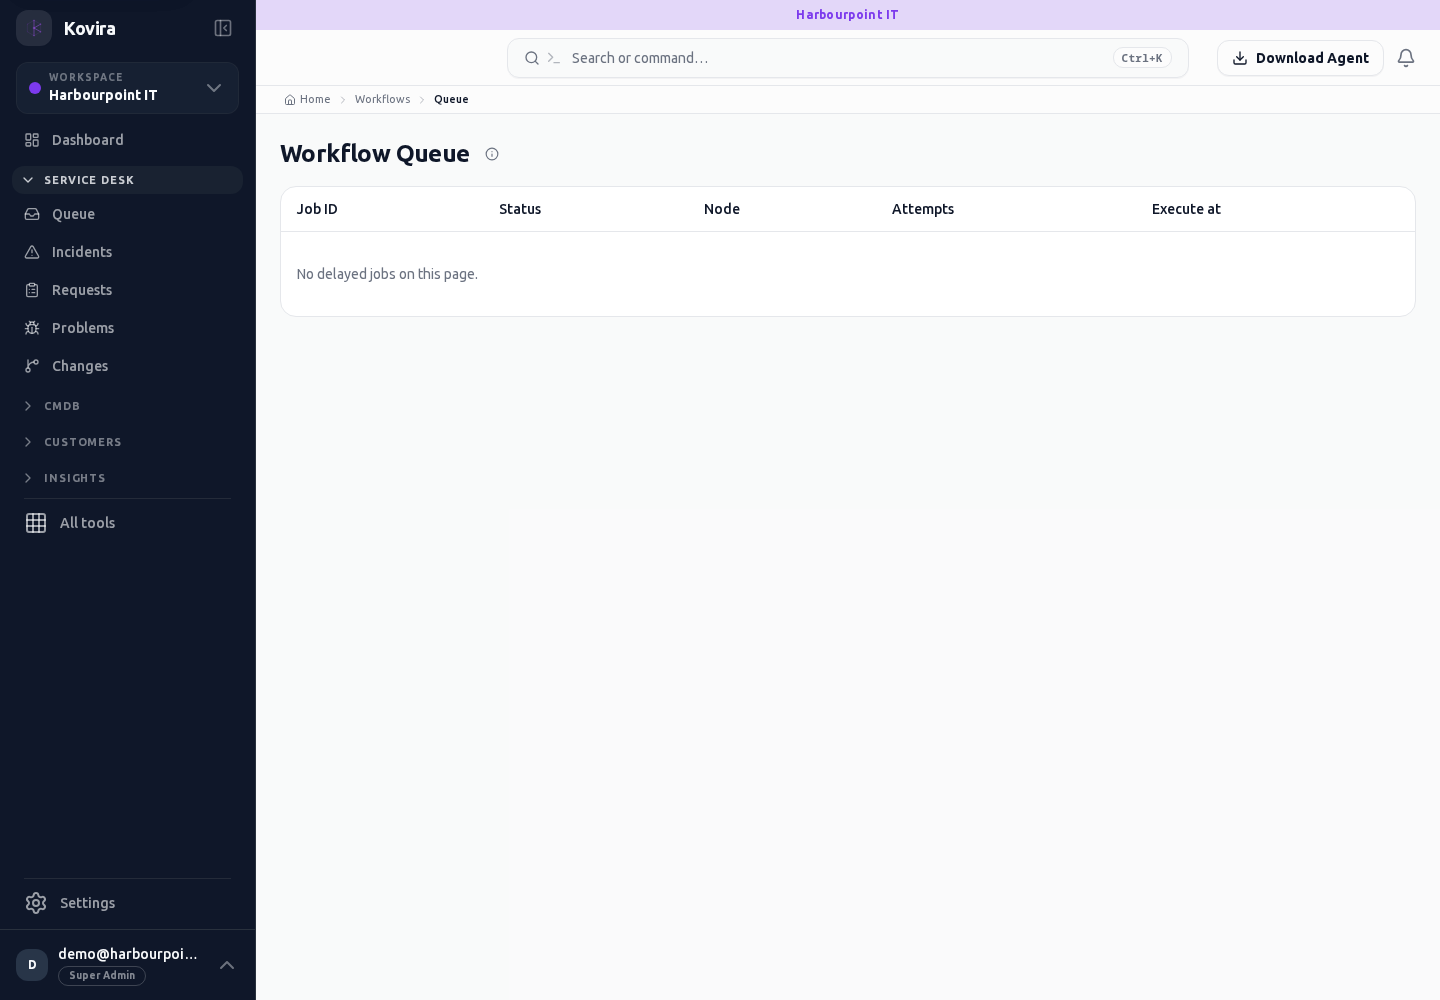
Workflows / Runs / Run
Workflow design and operation. Review this screen in the context of the current workspace and record.
Access
- Default workspace roles for opening this screen: Super Admin, Admin, Operator, View Only. Custom role settings, the current workspace, plan and record sharing can further restrict access.
- Opening a screen does not grant every action on it. Changes, exports and lifecycle actions can require additional permissions.
Controls and information
- Builder
- trigger
- conditions
- actions
- versions
- dry run
- run history
Steps for this screen
- Review the trigger and every action. Test with a disposable record before publishing or activating a workflow.
- Read the summary, current state and related records. Review the action and its prerequisites before changing the record.
Check the result
- Inspect the version and individual step outcomes. A successful dry run does not demonstrate external delivery or live side effects.
If this screen is unavailable
- If the record is unavailable, return to its list and confirm the workspace and link. Ask an administrator to check record access before creating a replacement.
- If saving fails or a conflict appears, keep a copy of your intended changes, reopen the current record and review it before submitting again.
Workflows / Templates
Workflow design and operation. Review this screen in the context of the current workspace and record.
Access
- Default workspace roles for opening this screen: Super Admin, Admin, Operator, View Only. Custom role settings, the current workspace, plan and record sharing can further restrict access.
- Opening a screen does not grant every action on it. Changes, exports and lifecycle actions can require additional permissions.
Controls and information
- Builder
- trigger
- conditions
- actions
- versions
- dry run
- run history
Steps for this screen
- Review the trigger and every action. Test with a disposable record before publishing or activating a workflow.
- Use the available search, date and status filters to narrow the view. Open a record link for its detail.
- Clear filters when you need to compare the full accessible list.
Check the result
- Inspect the version and individual step outcomes. A successful dry run does not demonstrate external delivery or live side effects.
If this screen is unavailable
- If no records appear, clear active filters and confirm the workspace and your access before creating a duplicate.
- If the list cannot load, retry once and quote the displayed support reference; do not infer that the workspace is empty.
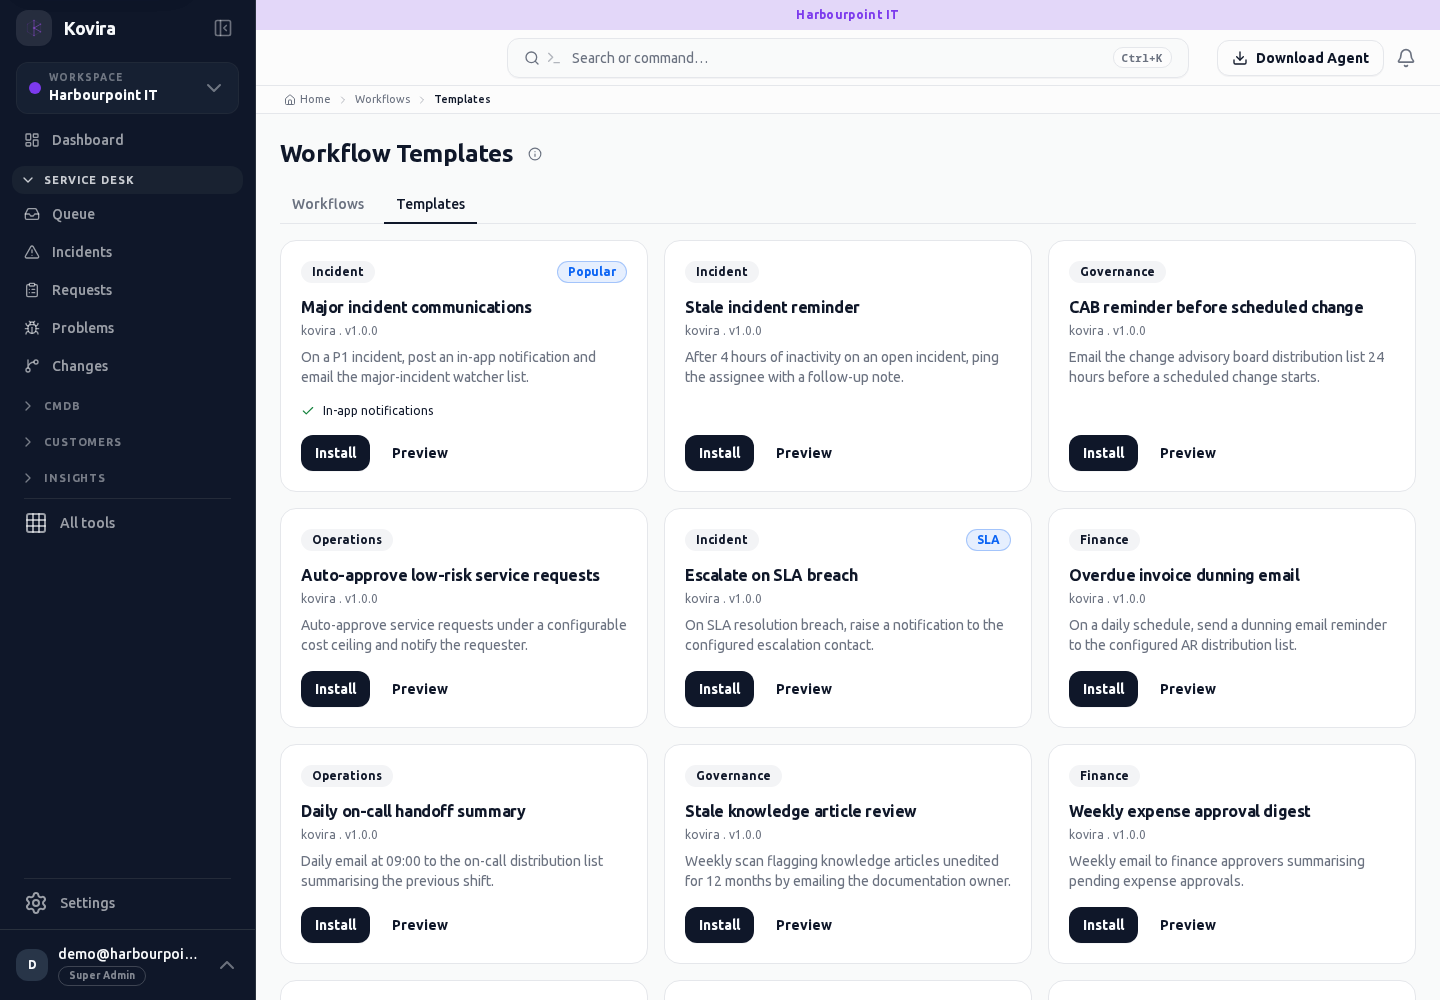
Reports, dashboards, intelligence and surveys
Applies to: KOVIRA
Create and distribute reports with the correct scope and audience.
Before you begin
- Access to the datasets and recipients involved.
Steps
- Open Reports and create or edit a report. Select a dataset, fields, filters, grouping, sort order and limit as offered by the builder.
- Preview the result and compare it with known records. Save the report with a descriptive title.
- Create a Dashboard to combine relevant reports. Check each widget’s date range and filters.
- Use Schedules, Subscriptions and Distribution to control delivery. Confirm recipient access and content before enabling a schedule.
- Review SLA, accounts-receivable and PSA reports for their intended operational or financial context.
- Use Business intelligence for higher-level analysis. Use Surveys and CSAT settings to gather feedback, and CSI to track agreed improvements.
Check the result
- Compare a report total with a known filtered source list.
- Check the first scheduled delivery with an authorised recipient.
If you need help
- An empty report can reflect filters or access restrictions. Review both before changing the dataset.
- Treat exports and shared/embed links as sensitive; revoke a link when its audience changes.
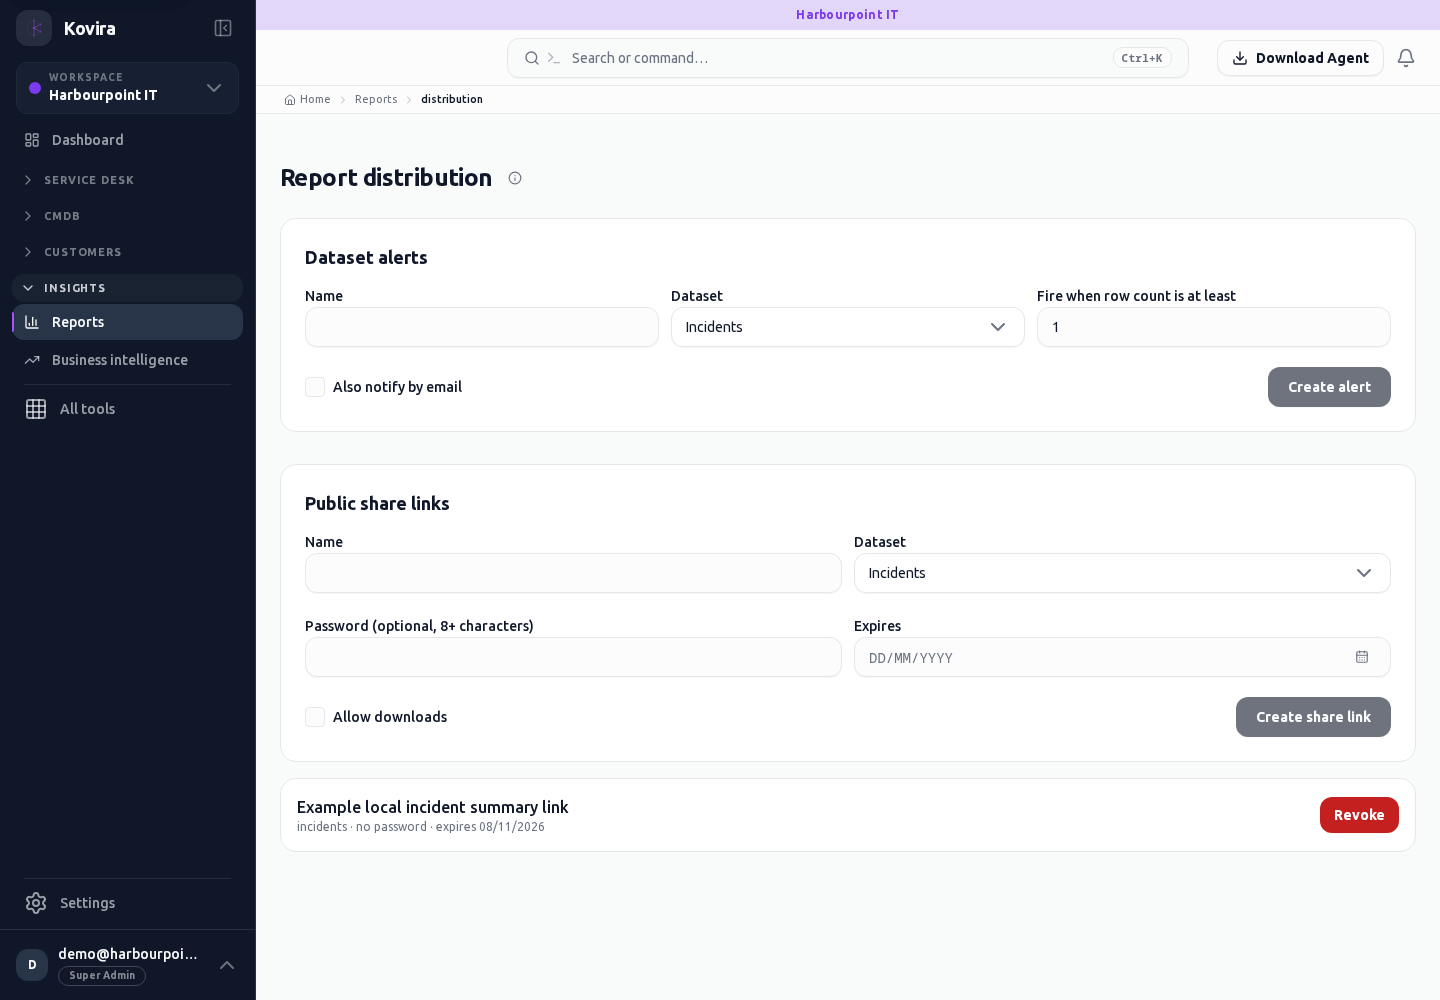
Related screens (22)
Business Intelligence
Reports and dashboards. Review this screen in the context of the current workspace and record.
Access
- Default workspace roles for opening this screen: Super Admin, Admin. Custom role settings, the current workspace, plan and record sharing can further restrict access.
- Opening a screen does not grant every action on it. Changes, exports and lifecycle actions can require additional permissions.
Controls and information
- Dataset and fields
- filters
- grouping
- preview
- dashboard tiles
- schedules
Steps for this screen
- Choose the appropriate dataset and reporting period. Compare the preview with known records before sharing or scheduling.
Check the result
- Check saved filters, period, recipients and access. A scheduled definition is not evidence that a report was delivered.
If this screen is unavailable
- If no records appear, clear active filters and confirm the workspace and your access before creating a duplicate.
- If saving fails or a conflict appears, keep a copy of your intended changes, reopen the current record and review it before submitting again.
Reports / Details / Edit
Reports and dashboards. Review and change the saved entry using the actions available for its current state.
Access
- Default workspace roles for opening this screen: Super Admin, Admin, Operator. Custom role settings, the current workspace, plan and record sharing can further restrict access.
- Opening a screen does not grant every action on it. Changes, exports and lifecycle actions can require additional permissions.
Controls and information
- Dataset and fields
- filters
- grouping
- preview
- dashboard tiles
- schedules
Steps for this screen
- Choose the appropriate dataset and reporting period. Compare the preview with known records before sharing or scheduling.
- Read the current saved values before editing. Make the intended change and review all affected fields.
- Save once and wait for confirmation. Use Cancel to discard an unsubmitted change.
Check the result
- Check saved filters, period, recipients and access. A scheduled definition is not evidence that a report was delivered.
- Reopen the record and verify the saved value before making another change.
If this screen is unavailable
- If no records appear, clear active filters and confirm the workspace and your access before creating a duplicate.
- If saving fails or a conflict appears, keep a copy of your intended changes, reopen the current record and review it before submitting again.
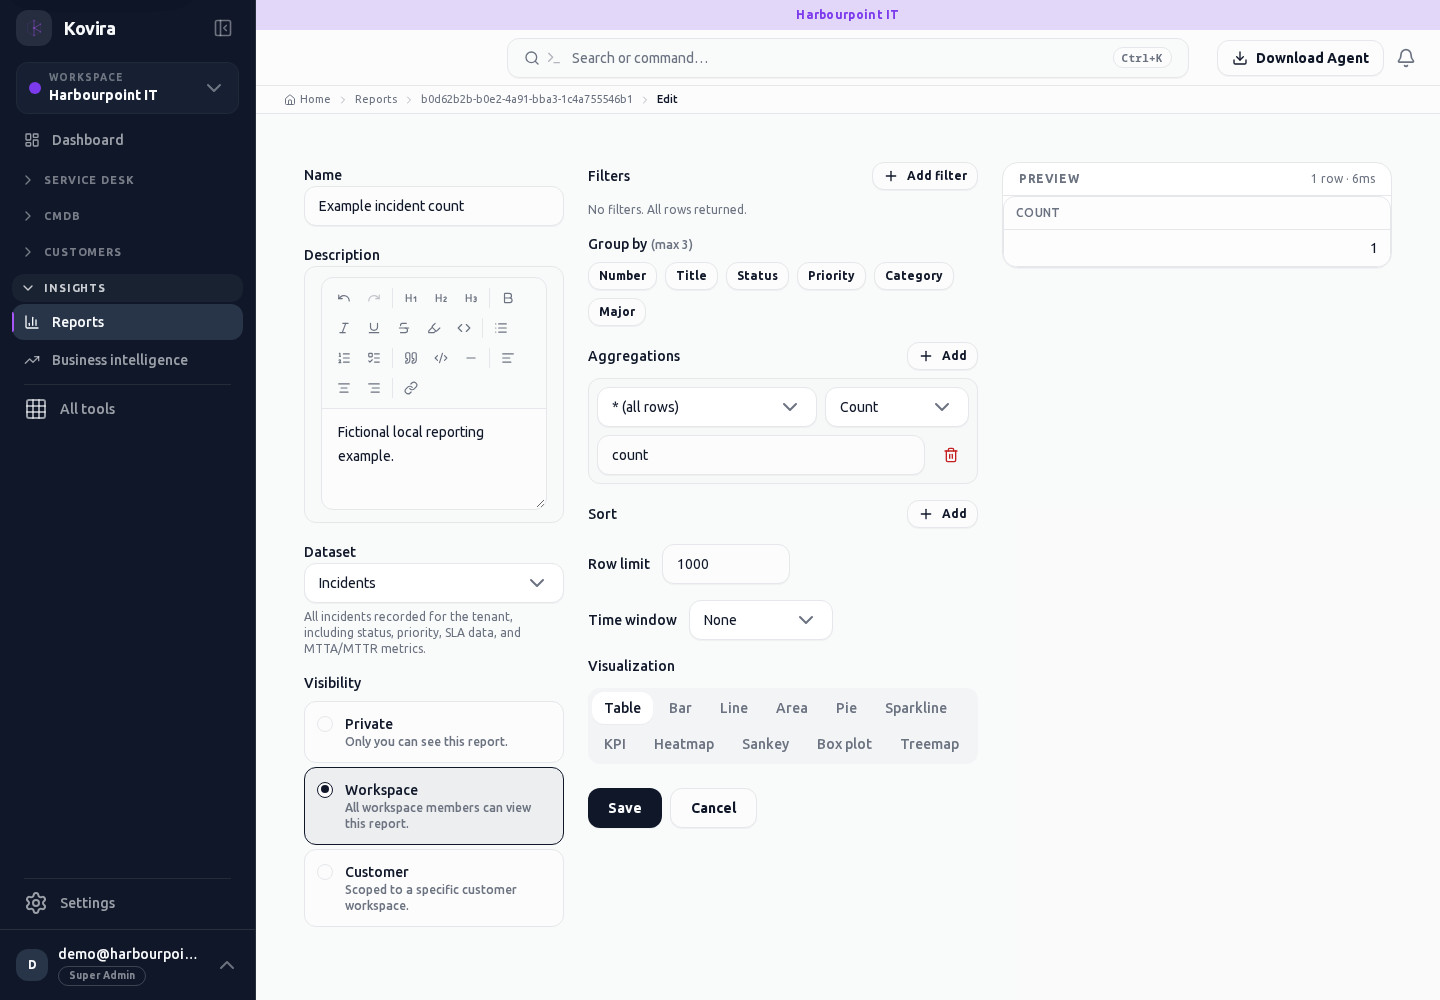
Reports / Details
Reports and dashboards. Review this screen in the context of the current workspace and record.
Access
- Default workspace roles for opening this screen: Super Admin, Admin, Operator, View Only. Custom role settings, the current workspace, plan and record sharing can further restrict access.
- Opening a screen does not grant every action on it. Changes, exports and lifecycle actions can require additional permissions.
Controls and information
- Dataset and fields
- filters
- grouping
- preview
- dashboard tiles
- schedules
Steps for this screen
- Choose the appropriate dataset and reporting period. Compare the preview with known records before sharing or scheduling.
- Read the summary, current state and related records. Review the action and its prerequisites before changing the record.
Check the result
- Check saved filters, period, recipients and access. A scheduled definition is not evidence that a report was delivered.
If this screen is unavailable
- If the record is unavailable, return to its list and confirm the workspace and link. Ask an administrator to check record access before creating a replacement.
- If saving fails or a conflict appears, keep a copy of your intended changes, reopen the current record and review it before submitting again.
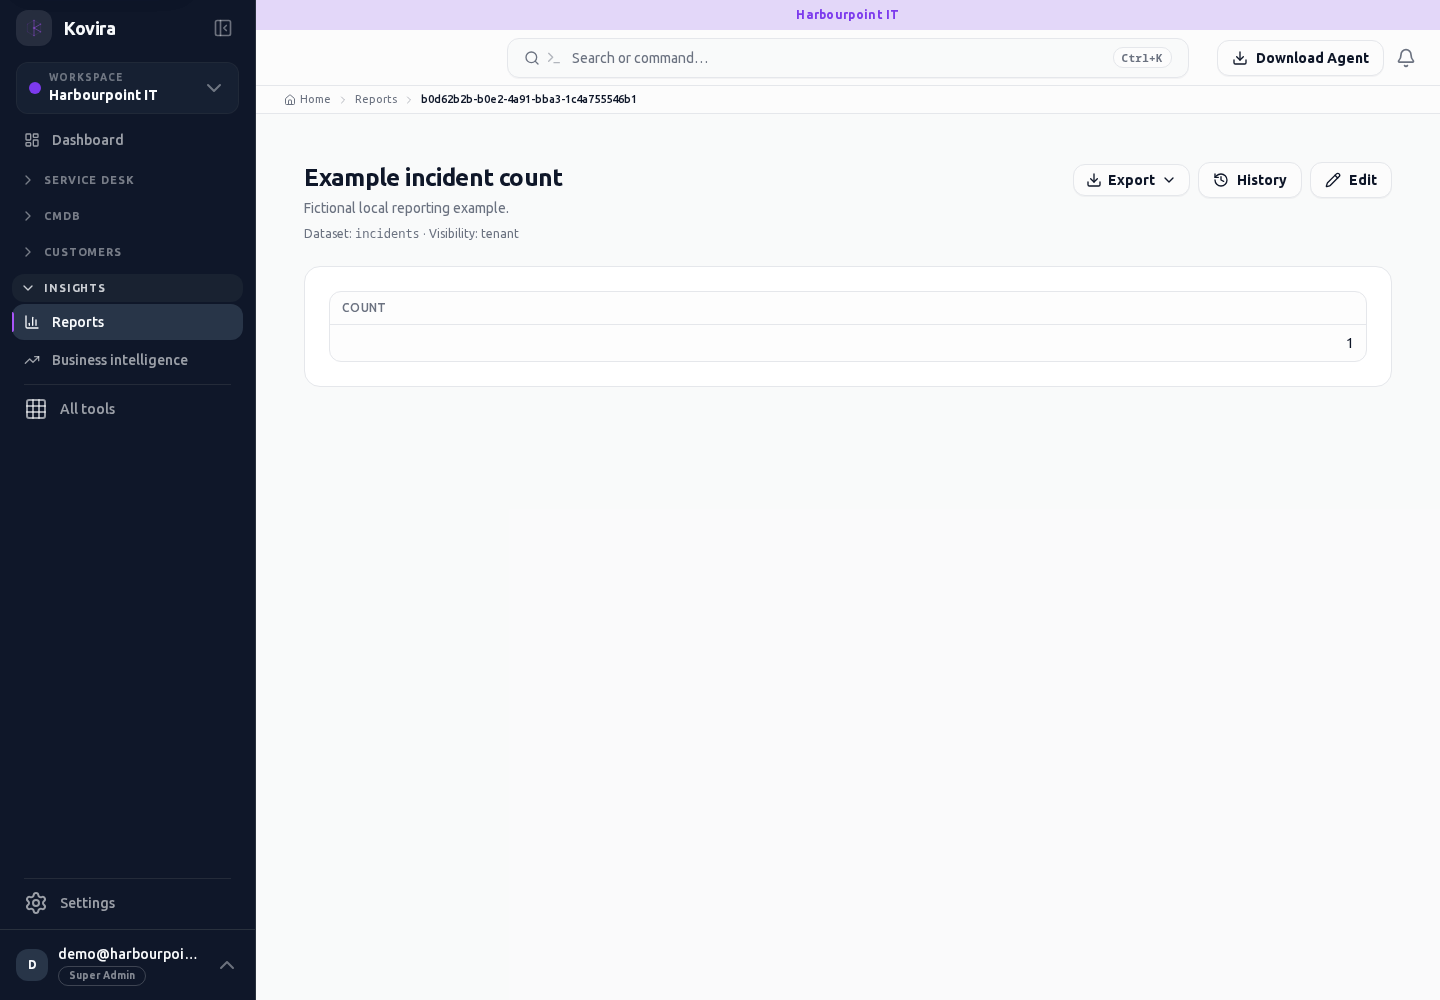
Reports / Ar Aging
Reports and dashboards. Review this screen in the context of the current workspace and record.
Access
- Your current workspace role, plan and record access determine whether this screen and its actions are available. Ask an administrator if the required action is missing.
Controls and information
- Dataset and fields
- filters
- grouping
- preview
- dashboard tiles
- schedules
Steps for this screen
- Choose the appropriate dataset and reporting period. Compare the preview with known records before sharing or scheduling.
Check the result
- Check saved filters, period, recipients and access. A scheduled definition is not evidence that a report was delivered.
If this screen is unavailable
- If no records appear, clear active filters and confirm the workspace and your access before creating a duplicate.
- If saving fails or a conflict appears, keep a copy of your intended changes, reopen the current record and review it before submitting again.
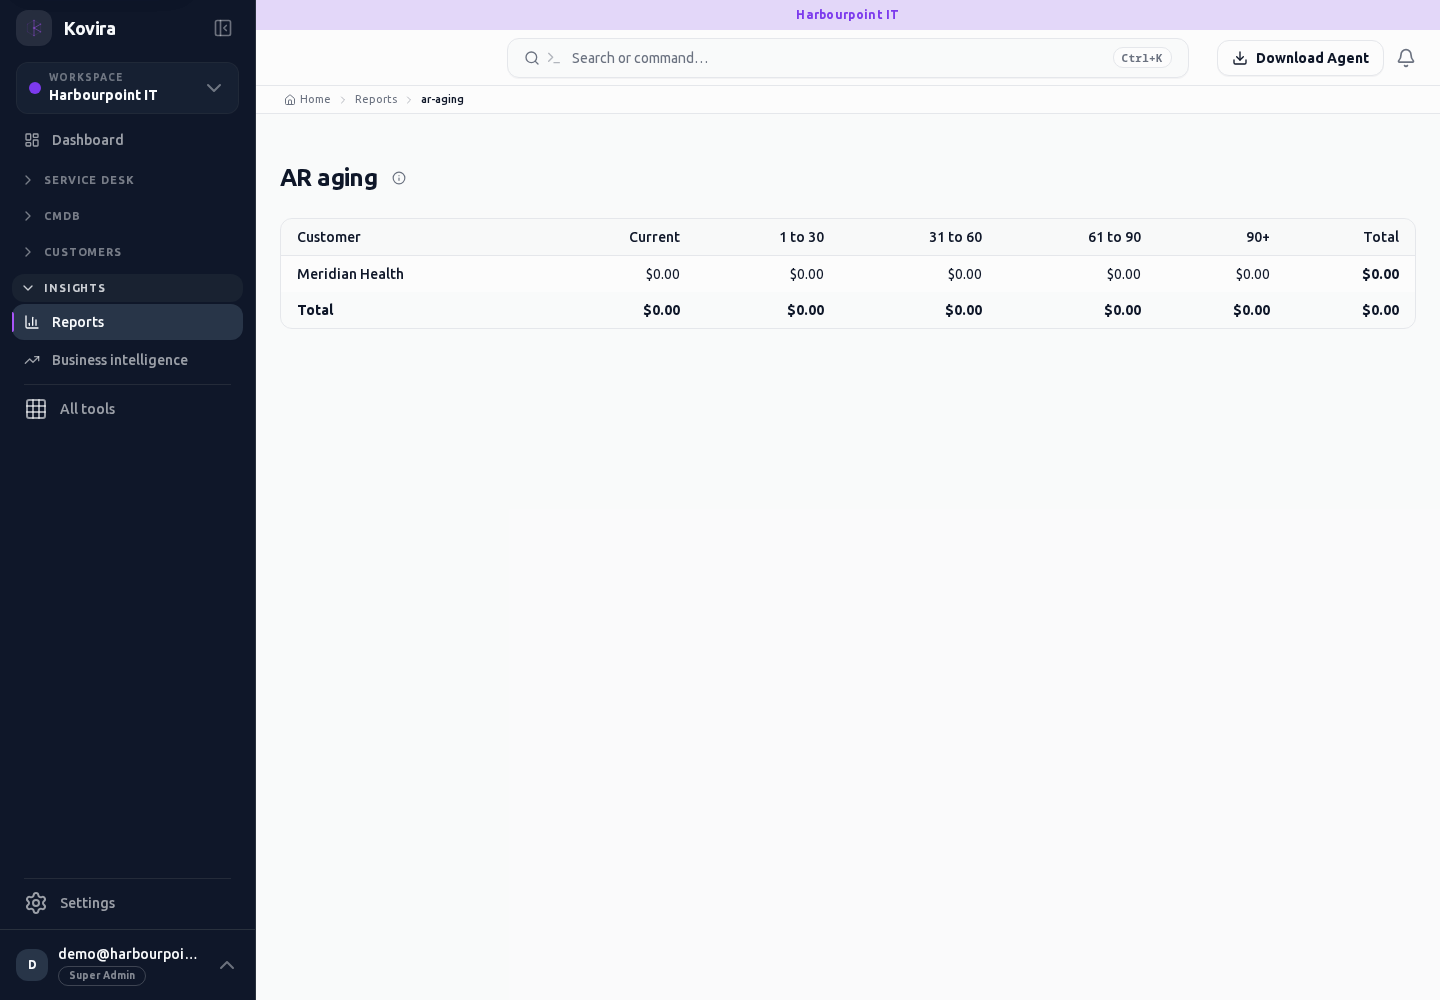
Reports / Dashboards / Details / Edit
Reports and dashboards. Review and change the saved entry using the actions available for its current state.
Access
- Default workspace roles for opening this screen: Super Admin, Admin, Operator. Custom role settings, the current workspace, plan and record sharing can further restrict access.
- Opening a screen does not grant every action on it. Changes, exports and lifecycle actions can require additional permissions.
Controls and information
- Dataset and fields
- filters
- grouping
- preview
- dashboard tiles
- schedules
Steps for this screen
- Choose the appropriate dataset and reporting period. Compare the preview with known records before sharing or scheduling.
- Read the current saved values before editing. Make the intended change and review all affected fields.
- Save once and wait for confirmation. Use Cancel to discard an unsubmitted change.
Check the result
- Check saved filters, period, recipients and access. A scheduled definition is not evidence that a report was delivered.
- Reopen the record and verify the saved value before making another change.
If this screen is unavailable
- If no records appear, clear active filters and confirm the workspace and your access before creating a duplicate.
- If saving fails or a conflict appears, keep a copy of your intended changes, reopen the current record and review it before submitting again.
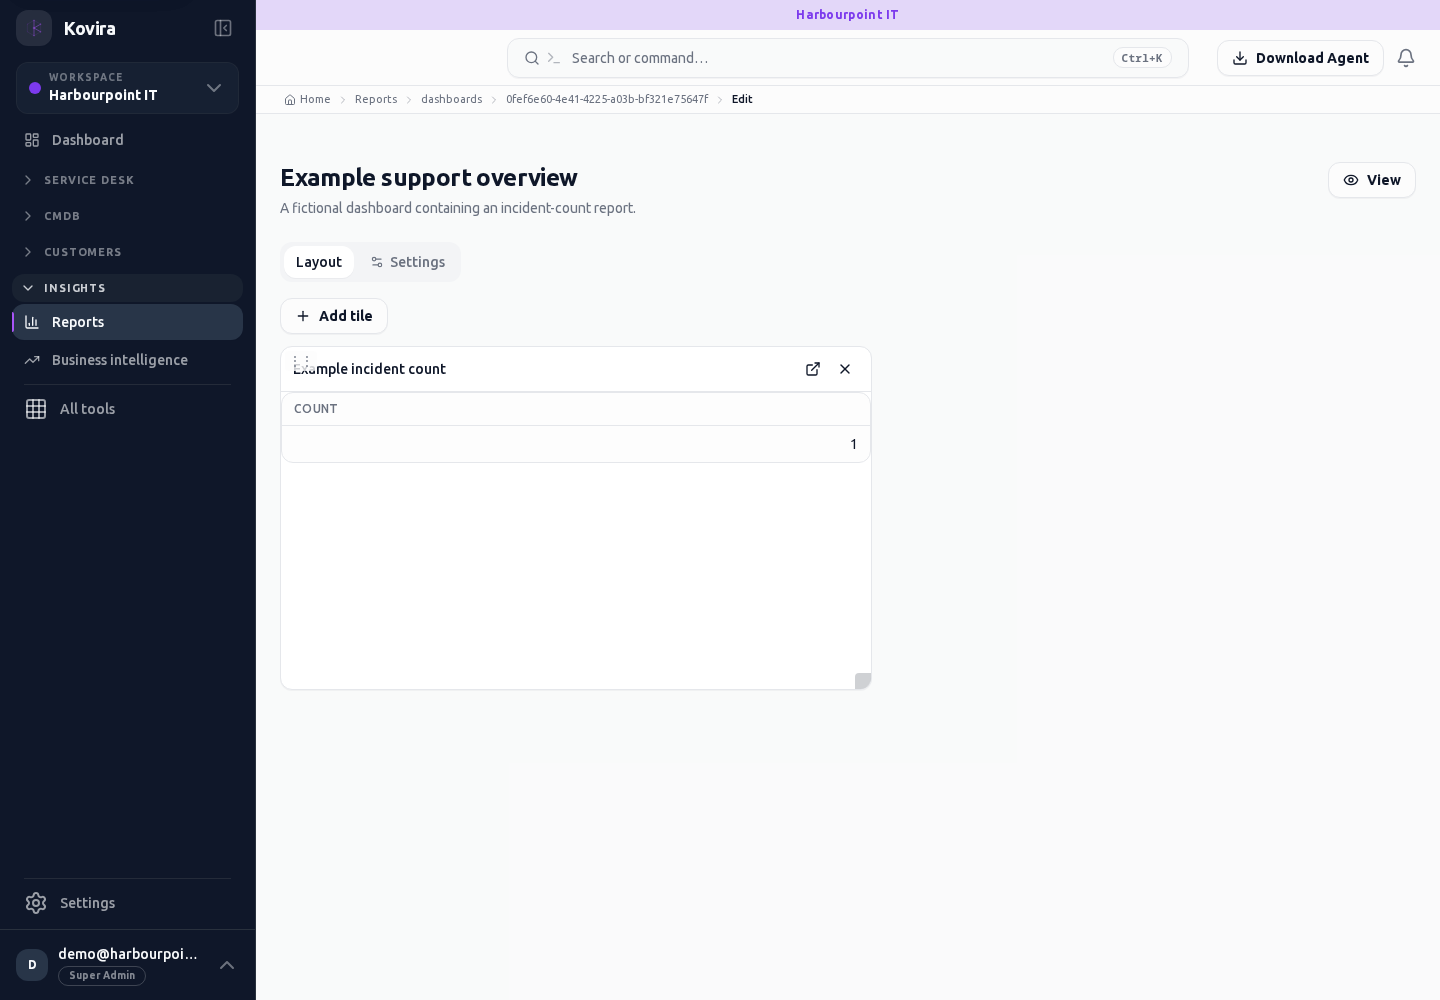
Reports / Dashboards / Details
Reports and dashboards. Review this screen in the context of the current workspace and record.
Access
- Default workspace roles for opening this screen: Super Admin, Admin, Operator, View Only. Custom role settings, the current workspace, plan and record sharing can further restrict access.
- Opening a screen does not grant every action on it. Changes, exports and lifecycle actions can require additional permissions.
Controls and information
- Dataset and fields
- filters
- grouping
- preview
- dashboard tiles
- schedules
Steps for this screen
- Choose the appropriate dataset and reporting period. Compare the preview with known records before sharing or scheduling.
- Read the summary, current state and related records. Review the action and its prerequisites before changing the record.
Check the result
- Check saved filters, period, recipients and access. A scheduled definition is not evidence that a report was delivered.
If this screen is unavailable
- If the record is unavailable, return to its list and confirm the workspace and link. Ask an administrator to check record access before creating a replacement.
- If saving fails or a conflict appears, keep a copy of your intended changes, reopen the current record and review it before submitting again.
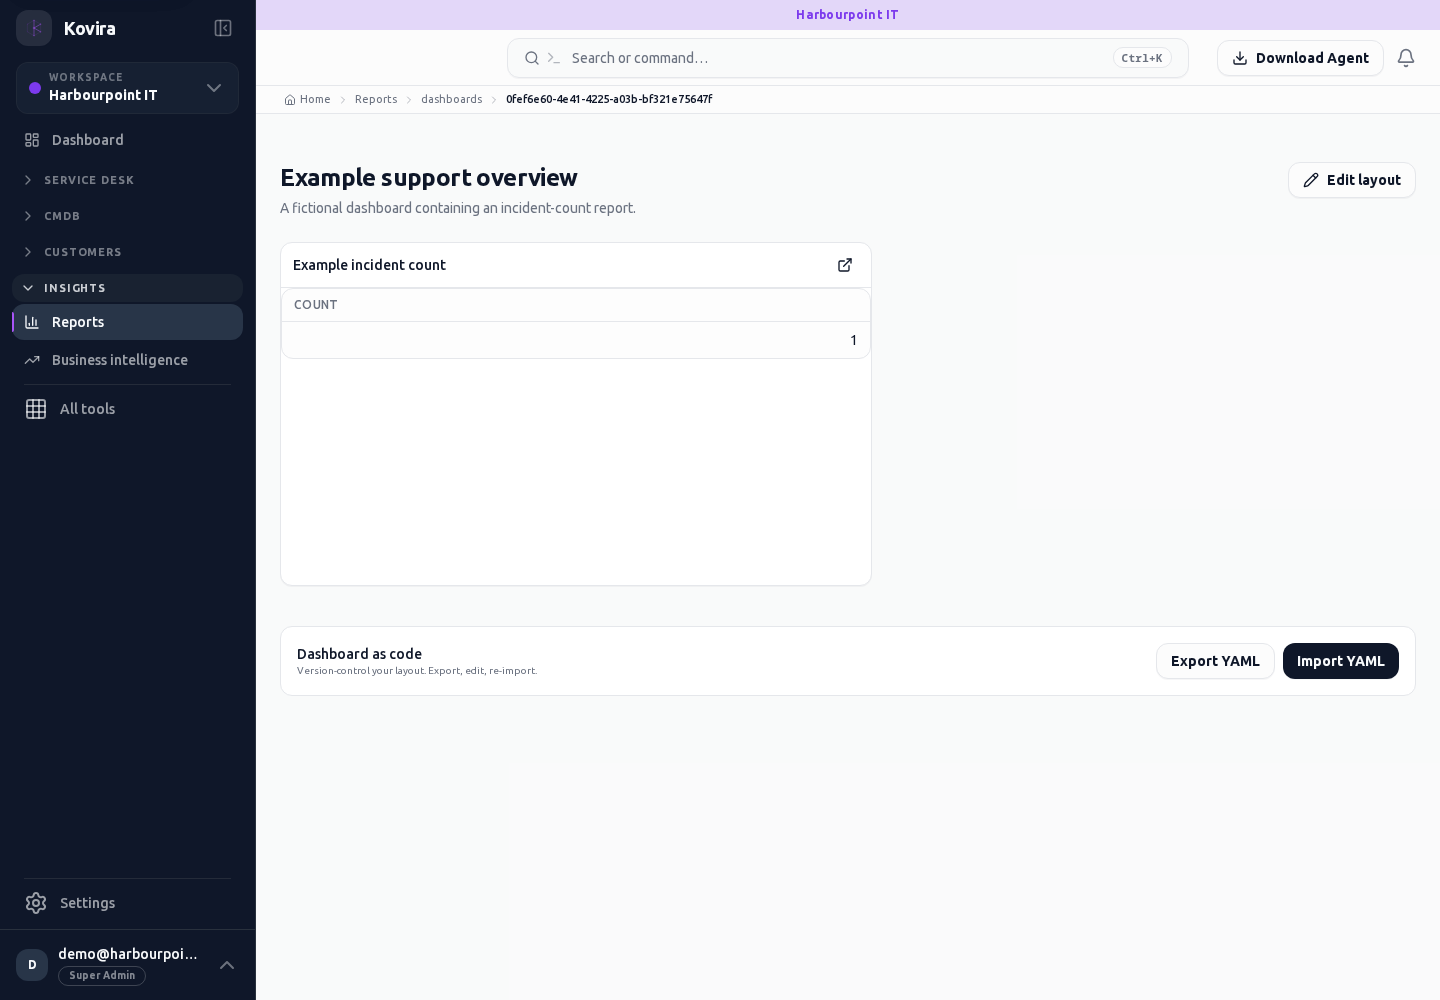
Reports / Dashboards / New
Reports and dashboards. Create a new entry and review the information before submitting.
Access
- Default workspace roles for opening this screen: Super Admin, Admin, Operator. Custom role settings, the current workspace, plan and record sharing can further restrict access.
- Opening a screen does not grant every action on it. Changes, exports and lifecycle actions can require additional permissions.
Controls and information
- Dataset and fields
- filters
- grouping
- preview
- dashboard tiles
- schedules
Steps for this screen
- Choose the appropriate dataset and reporting period. Compare the preview with known records before sharing or scheduling.
- Complete the required fields. Review linked records, dates and any recipient or customer selection.
- Use the form’s create or save action once and wait for its result. Cancel to leave without submitting.
Check the result
- Check saved filters, period, recipients and access. A scheduled definition is not evidence that a report was delivered.
- Open the newly created record from the resulting list or confirmation and check the saved values.
If this screen is unavailable
- If no records appear, clear active filters and confirm the workspace and your access before creating a duplicate.
- If saving fails or a conflict appears, keep a copy of your intended changes, reopen the current record and review it before submitting again.
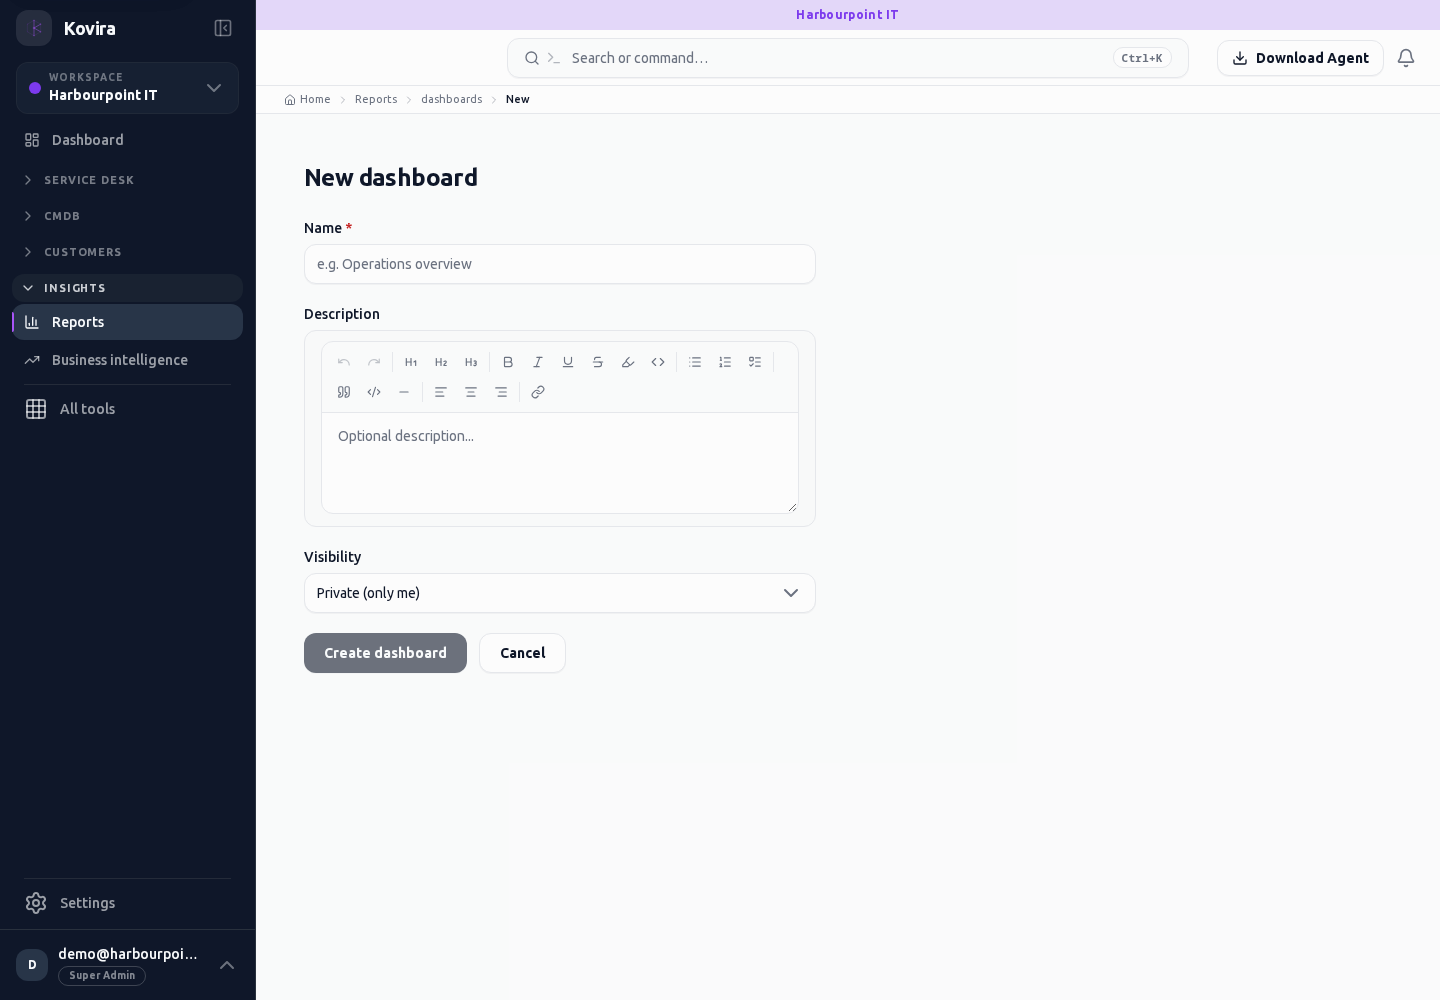
Reports / Dashboards
Reports and dashboards. Review this screen in the context of the current workspace and record.
Access
- Default workspace roles for opening this screen: Super Admin, Admin, Operator, View Only. Custom role settings, the current workspace, plan and record sharing can further restrict access.
- Opening a screen does not grant every action on it. Changes, exports and lifecycle actions can require additional permissions.
Controls and information
- Dataset and fields
- filters
- grouping
- preview
- dashboard tiles
- schedules
Steps for this screen
- Choose the appropriate dataset and reporting period. Compare the preview with known records before sharing or scheduling.
- Use the available search, date and status filters to narrow the view. Open a record link for its detail.
- Clear filters when you need to compare the full accessible list.
Check the result
- Check saved filters, period, recipients and access. A scheduled definition is not evidence that a report was delivered.
If this screen is unavailable
- If no records appear, clear active filters and confirm the workspace and your access before creating a duplicate.
- If the list cannot load, retry once and quote the displayed support reference; do not infer that the workspace is empty.
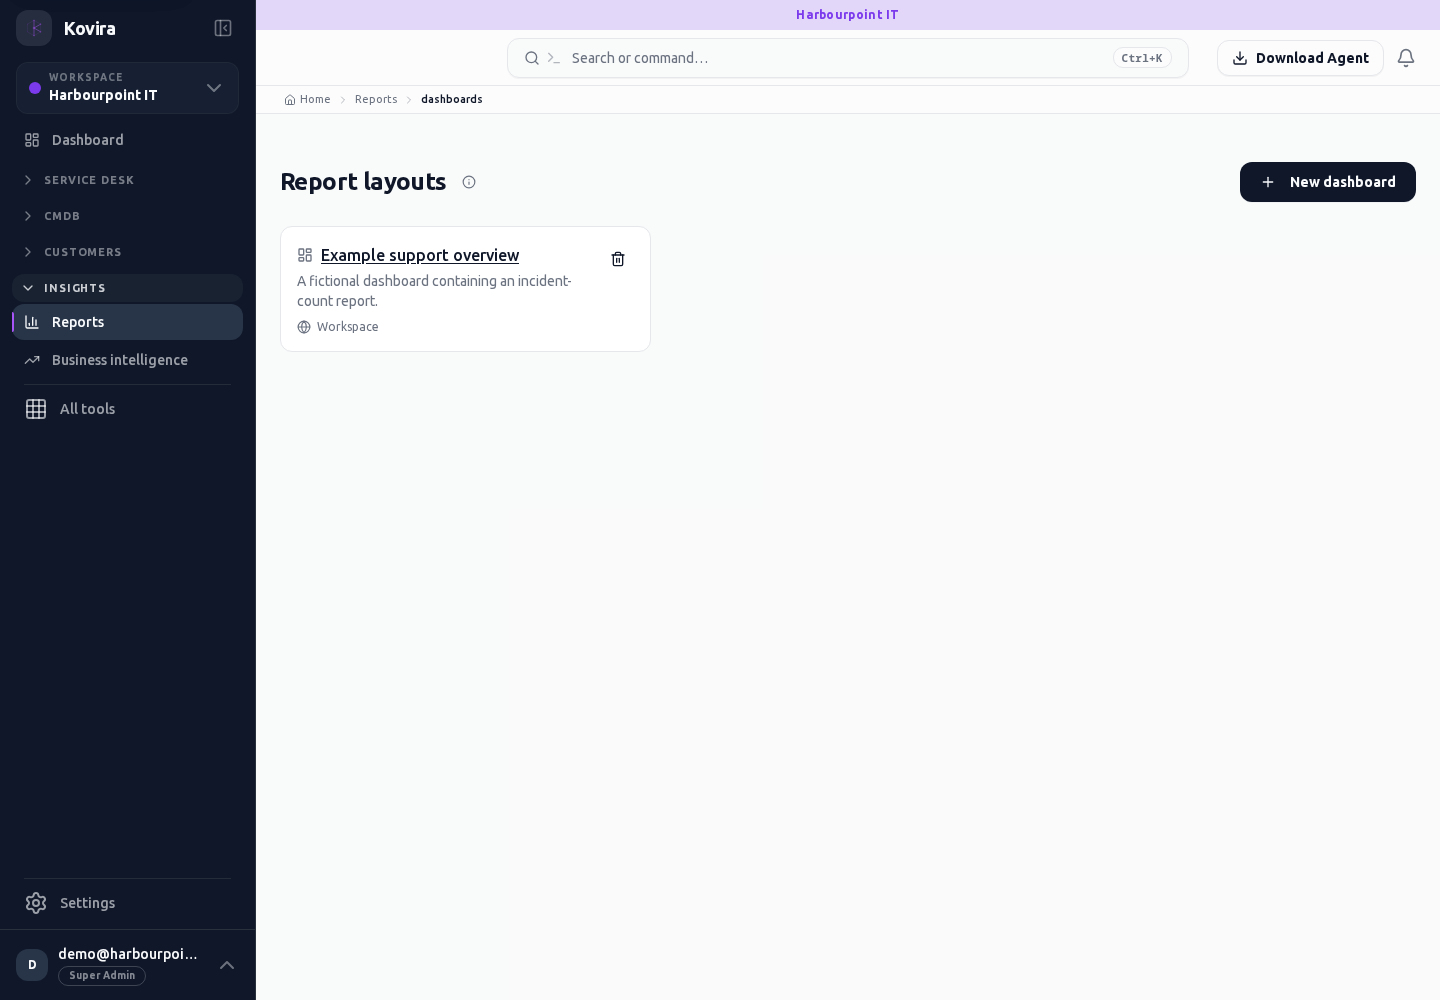
Reports / Distribution
Reports and dashboards. Review this screen in the context of the current workspace and record.
Access
- Default workspace roles for opening this screen: Super Admin, Admin, Operator, View Only. Custom role settings, the current workspace, plan and record sharing can further restrict access.
- Opening a screen does not grant every action on it. Changes, exports and lifecycle actions can require additional permissions.
Controls and information
- Dataset and fields
- filters
- grouping
- preview
- dashboard tiles
- schedules
Steps for this screen
- Choose the appropriate dataset and reporting period. Compare the preview with known records before sharing or scheduling.
- Use the available search, date and status filters to narrow the view. Open a record link for its detail.
- Clear filters when you need to compare the full accessible list.
Check the result
- Check saved filters, period, recipients and access. A scheduled definition is not evidence that a report was delivered.
If this screen is unavailable
- If no records appear, clear active filters and confirm the workspace and your access before creating a duplicate.
- If the list cannot load, retry once and quote the displayed support reference; do not infer that the workspace is empty.
Reports / New
Reports and dashboards. Create a new entry and review the information before submitting.
Access
- Default workspace roles for opening this screen: Super Admin, Admin, Operator. Custom role settings, the current workspace, plan and record sharing can further restrict access.
- Opening a screen does not grant every action on it. Changes, exports and lifecycle actions can require additional permissions.
Controls and information
- Dataset and fields
- filters
- grouping
- preview
- dashboard tiles
- schedules
Steps for this screen
- Choose the appropriate dataset and reporting period. Compare the preview with known records before sharing or scheduling.
- Complete the required fields. Review linked records, dates and any recipient or customer selection.
- Use the form’s create or save action once and wait for its result. Cancel to leave without submitting.
Check the result
- Check saved filters, period, recipients and access. A scheduled definition is not evidence that a report was delivered.
- Open the newly created record from the resulting list or confirmation and check the saved values.
If this screen is unavailable
- If no records appear, clear active filters and confirm the workspace and your access before creating a duplicate.
- If saving fails or a conflict appears, keep a copy of your intended changes, reopen the current record and review it before submitting again.
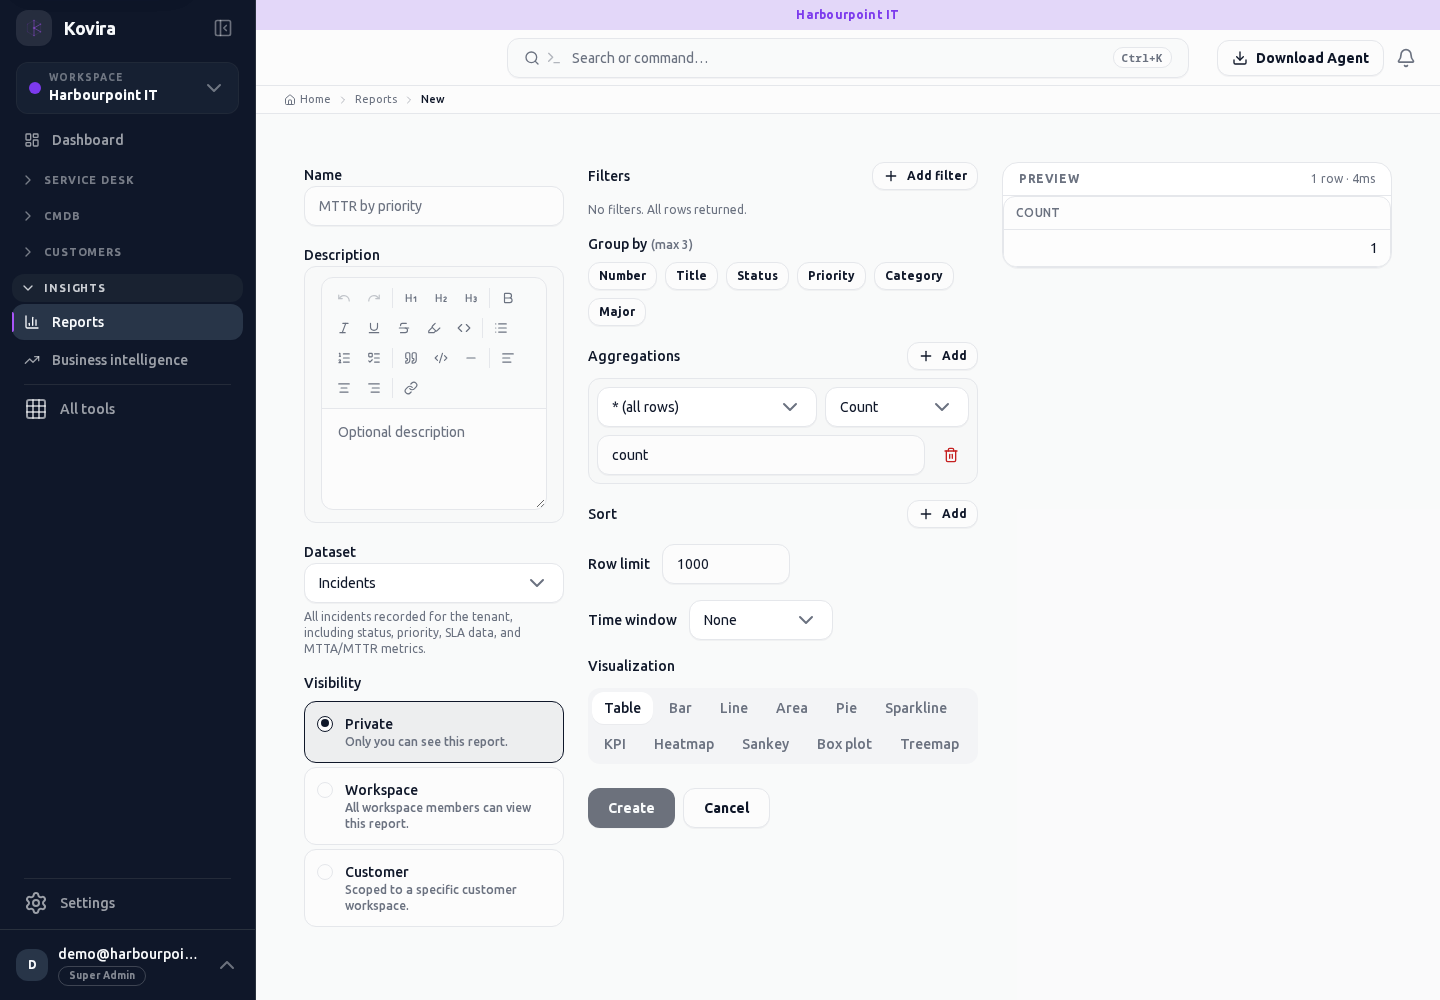
Reports
Reports and dashboards. Review this screen in the context of the current workspace and record.
Access
- Default workspace roles for opening this screen: Super Admin, Admin, Operator, View Only. Custom role settings, the current workspace, plan and record sharing can further restrict access.
- Opening a screen does not grant every action on it. Changes, exports and lifecycle actions can require additional permissions.
Controls and information
- Dataset and fields
- filters
- grouping
- preview
- dashboard tiles
- schedules
Steps for this screen
- Choose the appropriate dataset and reporting period. Compare the preview with known records before sharing or scheduling.
- Use the available search, date and status filters to narrow the view. Open a record link for its detail.
- Clear filters when you need to compare the full accessible list.
Check the result
- Check saved filters, period, recipients and access. A scheduled definition is not evidence that a report was delivered.
If this screen is unavailable
- If no records appear, clear active filters and confirm the workspace and your access before creating a duplicate.
- If the list cannot load, retry once and quote the displayed support reference; do not infer that the workspace is empty.
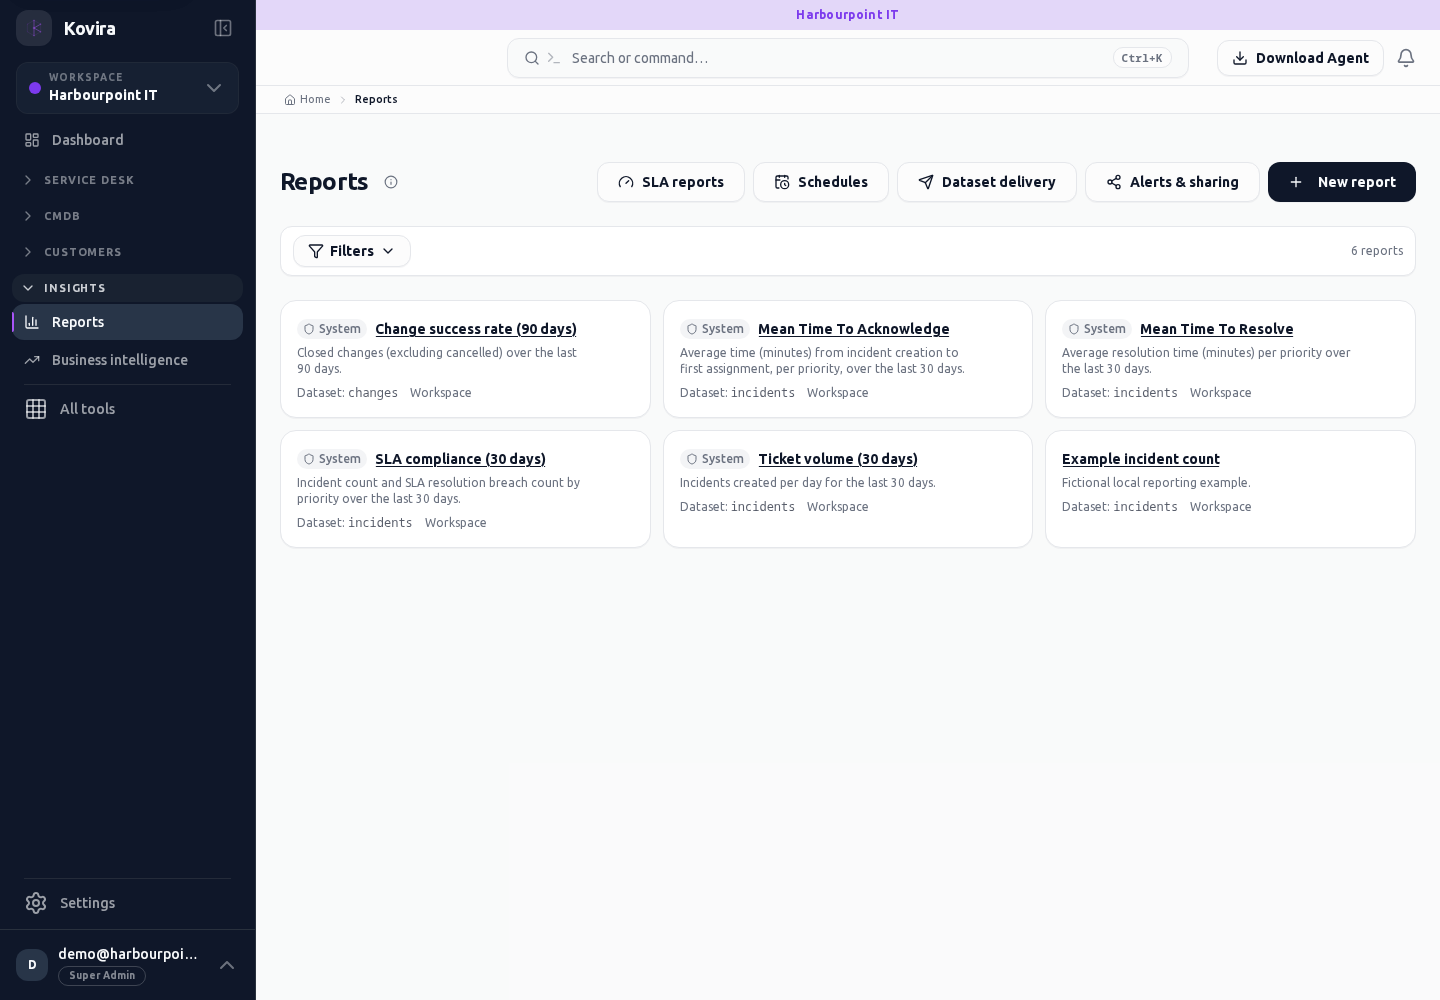
Reports / Psa / Customer Margin
Reports and dashboards. Review this screen in the context of the current workspace and record.
Access
- Default workspace roles for opening this screen: Super Admin, Admin, Operator, View Only. Custom role settings, the current workspace, plan and record sharing can further restrict access.
- Opening a screen does not grant every action on it. Changes, exports and lifecycle actions can require additional permissions.
Controls and information
- Dataset and fields
- filters
- grouping
- preview
- dashboard tiles
- schedules
Steps for this screen
- Choose the appropriate dataset and reporting period. Compare the preview with known records before sharing or scheduling.
Check the result
- Check saved filters, period, recipients and access. A scheduled definition is not evidence that a report was delivered.
If this screen is unavailable
- If no records appear, clear active filters and confirm the workspace and your access before creating a duplicate.
- If saving fails or a conflict appears, keep a copy of your intended changes, reopen the current record and review it before submitting again.
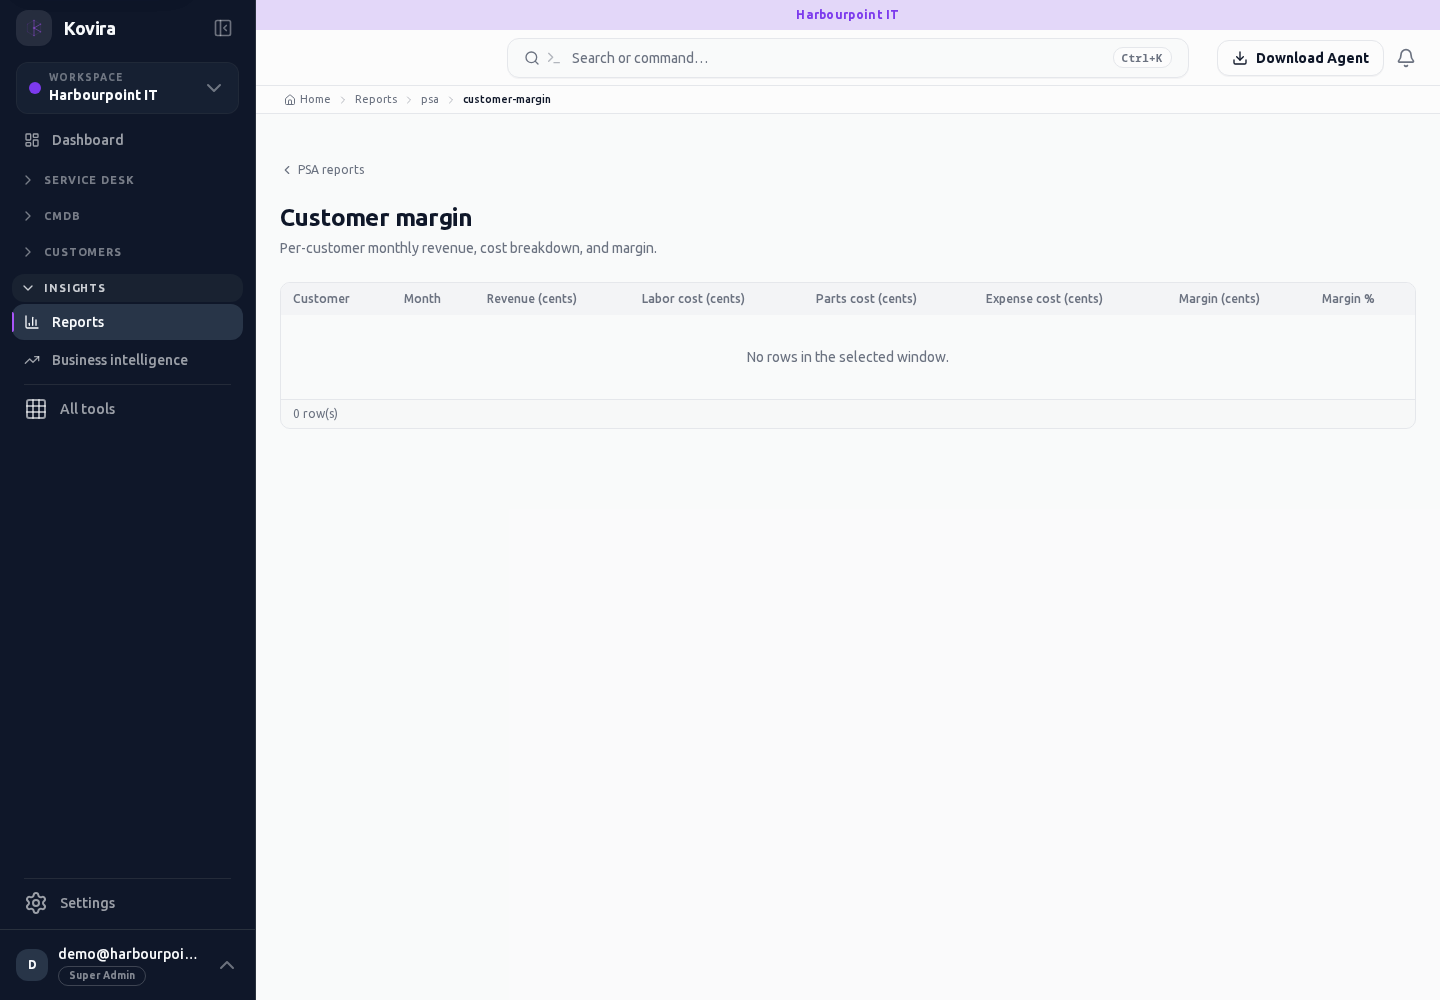
Reports / Psa
Reports and dashboards. Review this screen in the context of the current workspace and record.
Access
- Default workspace roles for opening this screen: Super Admin, Admin, Operator, View Only. Custom role settings, the current workspace, plan and record sharing can further restrict access.
- Opening a screen does not grant every action on it. Changes, exports and lifecycle actions can require additional permissions.
Controls and information
- Dataset and fields
- filters
- grouping
- preview
- dashboard tiles
- schedules
Steps for this screen
- Choose the appropriate dataset and reporting period. Compare the preview with known records before sharing or scheduling.
Check the result
- Check saved filters, period, recipients and access. A scheduled definition is not evidence that a report was delivered.
If this screen is unavailable
- If no records appear, clear active filters and confirm the workspace and your access before creating a duplicate.
- If saving fails or a conflict appears, keep a copy of your intended changes, reopen the current record and review it before submitting again.
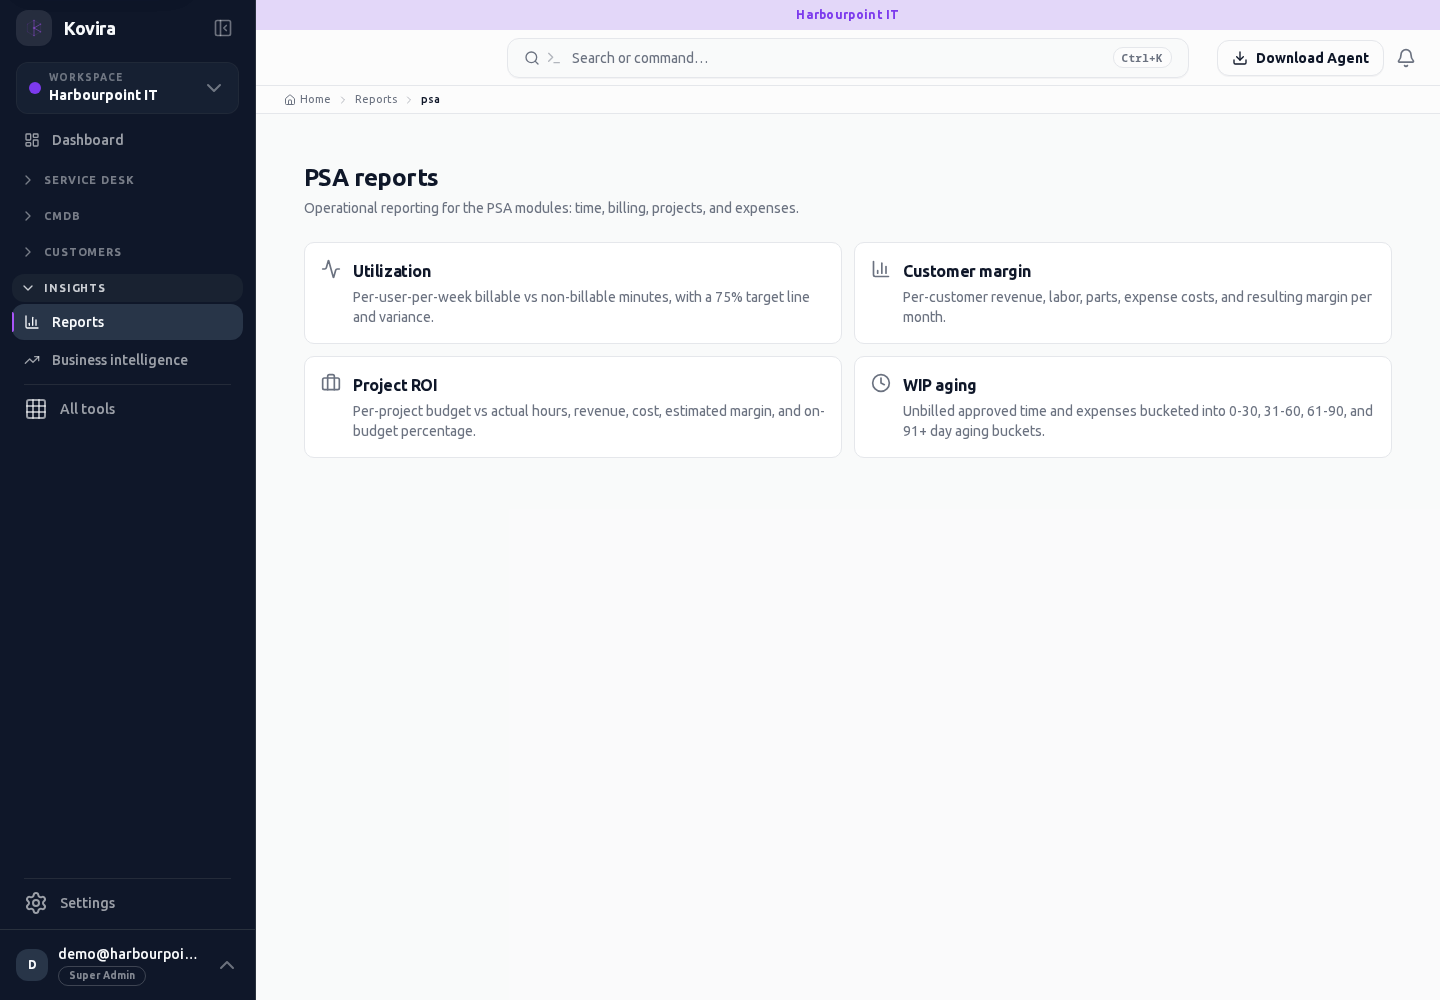
Reports / Psa / Project Roi
Reports and dashboards. Review this screen in the context of the current workspace and record.
Access
- Default workspace roles for opening this screen: Super Admin, Admin, Operator, View Only. Custom role settings, the current workspace, plan and record sharing can further restrict access.
- Opening a screen does not grant every action on it. Changes, exports and lifecycle actions can require additional permissions.
Controls and information
- Dataset and fields
- filters
- grouping
- preview
- dashboard tiles
- schedules
Steps for this screen
- Choose the appropriate dataset and reporting period. Compare the preview with known records before sharing or scheduling.
Check the result
- Check saved filters, period, recipients and access. A scheduled definition is not evidence that a report was delivered.
If this screen is unavailable
- If no records appear, clear active filters and confirm the workspace and your access before creating a duplicate.
- If saving fails or a conflict appears, keep a copy of your intended changes, reopen the current record and review it before submitting again.
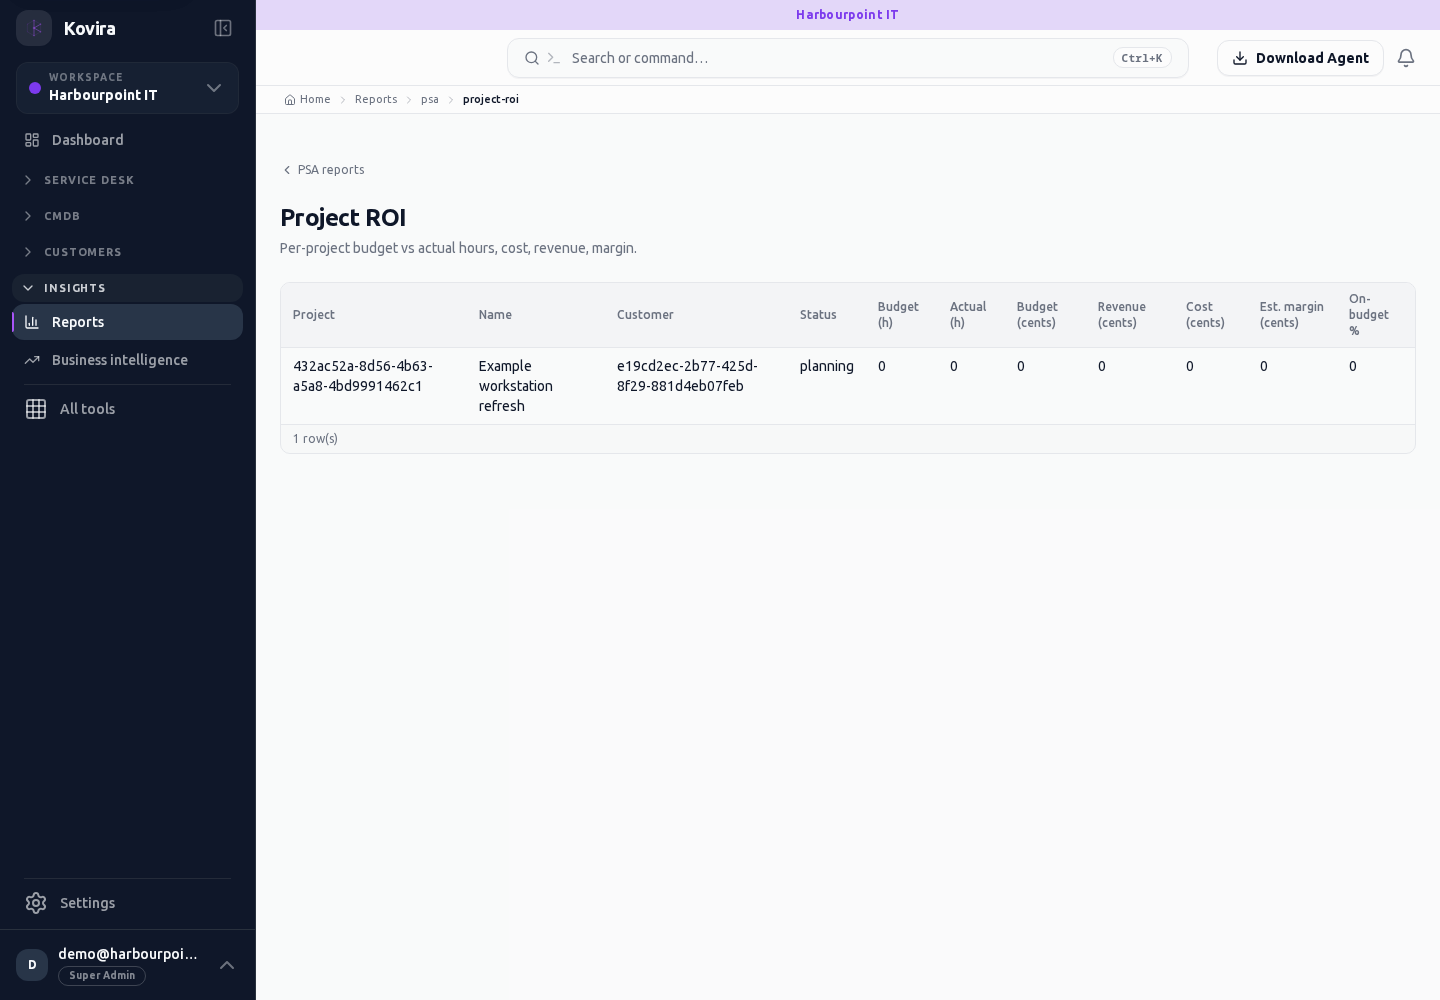
Reports / Psa / Utilization
Reports and dashboards. Review this screen in the context of the current workspace and record.
Access
- Default workspace roles for opening this screen: Super Admin, Admin, Operator, View Only. Custom role settings, the current workspace, plan and record sharing can further restrict access.
- Opening a screen does not grant every action on it. Changes, exports and lifecycle actions can require additional permissions.
Controls and information
- Dataset and fields
- filters
- grouping
- preview
- dashboard tiles
- schedules
Steps for this screen
- Choose the appropriate dataset and reporting period. Compare the preview with known records before sharing or scheduling.
Check the result
- Check saved filters, period, recipients and access. A scheduled definition is not evidence that a report was delivered.
If this screen is unavailable
- If no records appear, clear active filters and confirm the workspace and your access before creating a duplicate.
- If saving fails or a conflict appears, keep a copy of your intended changes, reopen the current record and review it before submitting again.
Reports / Psa / Wip Aging
Reports and dashboards. Review this screen in the context of the current workspace and record.
Access
- Default workspace roles for opening this screen: Super Admin, Admin, Operator, View Only. Custom role settings, the current workspace, plan and record sharing can further restrict access.
- Opening a screen does not grant every action on it. Changes, exports and lifecycle actions can require additional permissions.
Controls and information
- Dataset and fields
- filters
- grouping
- preview
- dashboard tiles
- schedules
Steps for this screen
- Choose the appropriate dataset and reporting period. Compare the preview with known records before sharing or scheduling.
Check the result
- Check saved filters, period, recipients and access. A scheduled definition is not evidence that a report was delivered.
If this screen is unavailable
- If no records appear, clear active filters and confirm the workspace and your access before creating a duplicate.
- If saving fails or a conflict appears, keep a copy of your intended changes, reopen the current record and review it before submitting again.
Reports / Schedules / Details
Reports and dashboards. Review this screen in the context of the current workspace and record.
Access
- Default workspace roles for opening this screen: Super Admin, Admin. Custom role settings, the current workspace, plan and record sharing can further restrict access.
- Opening a screen does not grant every action on it. Changes, exports and lifecycle actions can require additional permissions.
Controls and information
- Dataset and fields
- filters
- grouping
- preview
- dashboard tiles
- schedules
Steps for this screen
- Choose the appropriate dataset and reporting period. Compare the preview with known records before sharing or scheduling.
- Read the summary, current state and related records. Review the action and its prerequisites before changing the record.
Check the result
- Check saved filters, period, recipients and access. A scheduled definition is not evidence that a report was delivered.
If this screen is unavailable
- If the record is unavailable, return to its list and confirm the workspace and link. Ask an administrator to check record access before creating a replacement.
- If saving fails or a conflict appears, keep a copy of your intended changes, reopen the current record and review it before submitting again.
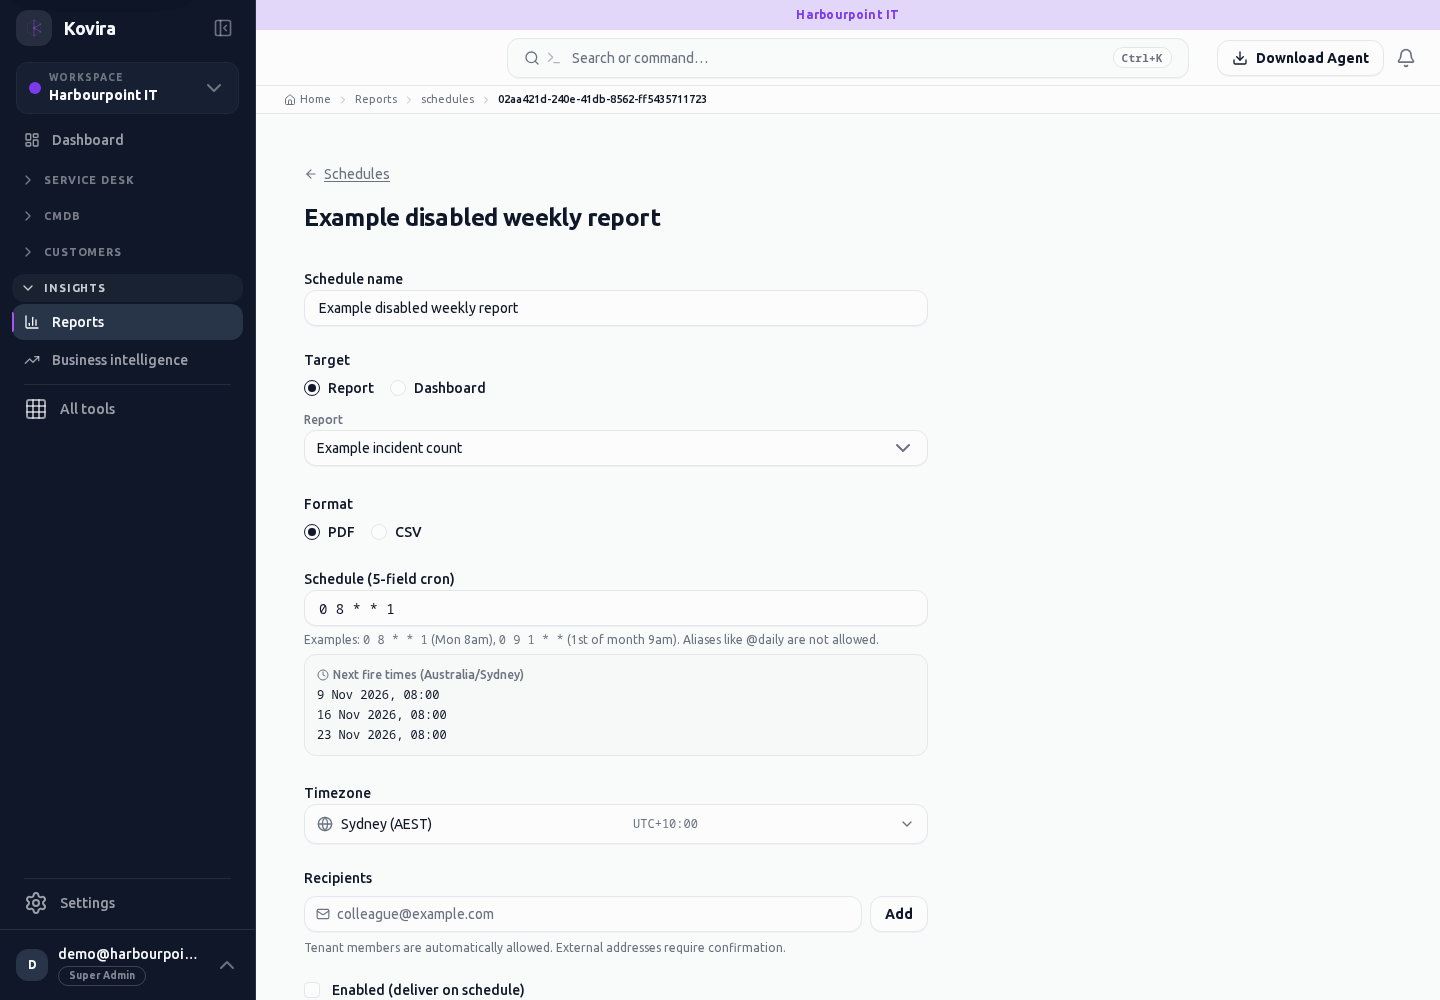
Reports / Schedules / New
Reports and dashboards. Create a new entry and review the information before submitting.
Access
- Default workspace roles for opening this screen: Super Admin, Admin. Custom role settings, the current workspace, plan and record sharing can further restrict access.
- Opening a screen does not grant every action on it. Changes, exports and lifecycle actions can require additional permissions.
Controls and information
- Dataset and fields
- filters
- grouping
- preview
- dashboard tiles
- schedules
Steps for this screen
- Choose the appropriate dataset and reporting period. Compare the preview with known records before sharing or scheduling.
- Complete the required fields. Review linked records, dates and any recipient or customer selection.
- Use the form’s create or save action once and wait for its result. Cancel to leave without submitting.
Check the result
- Check saved filters, period, recipients and access. A scheduled definition is not evidence that a report was delivered.
- Open the newly created record from the resulting list or confirmation and check the saved values.
If this screen is unavailable
- If no records appear, clear active filters and confirm the workspace and your access before creating a duplicate.
- If saving fails or a conflict appears, keep a copy of your intended changes, reopen the current record and review it before submitting again.
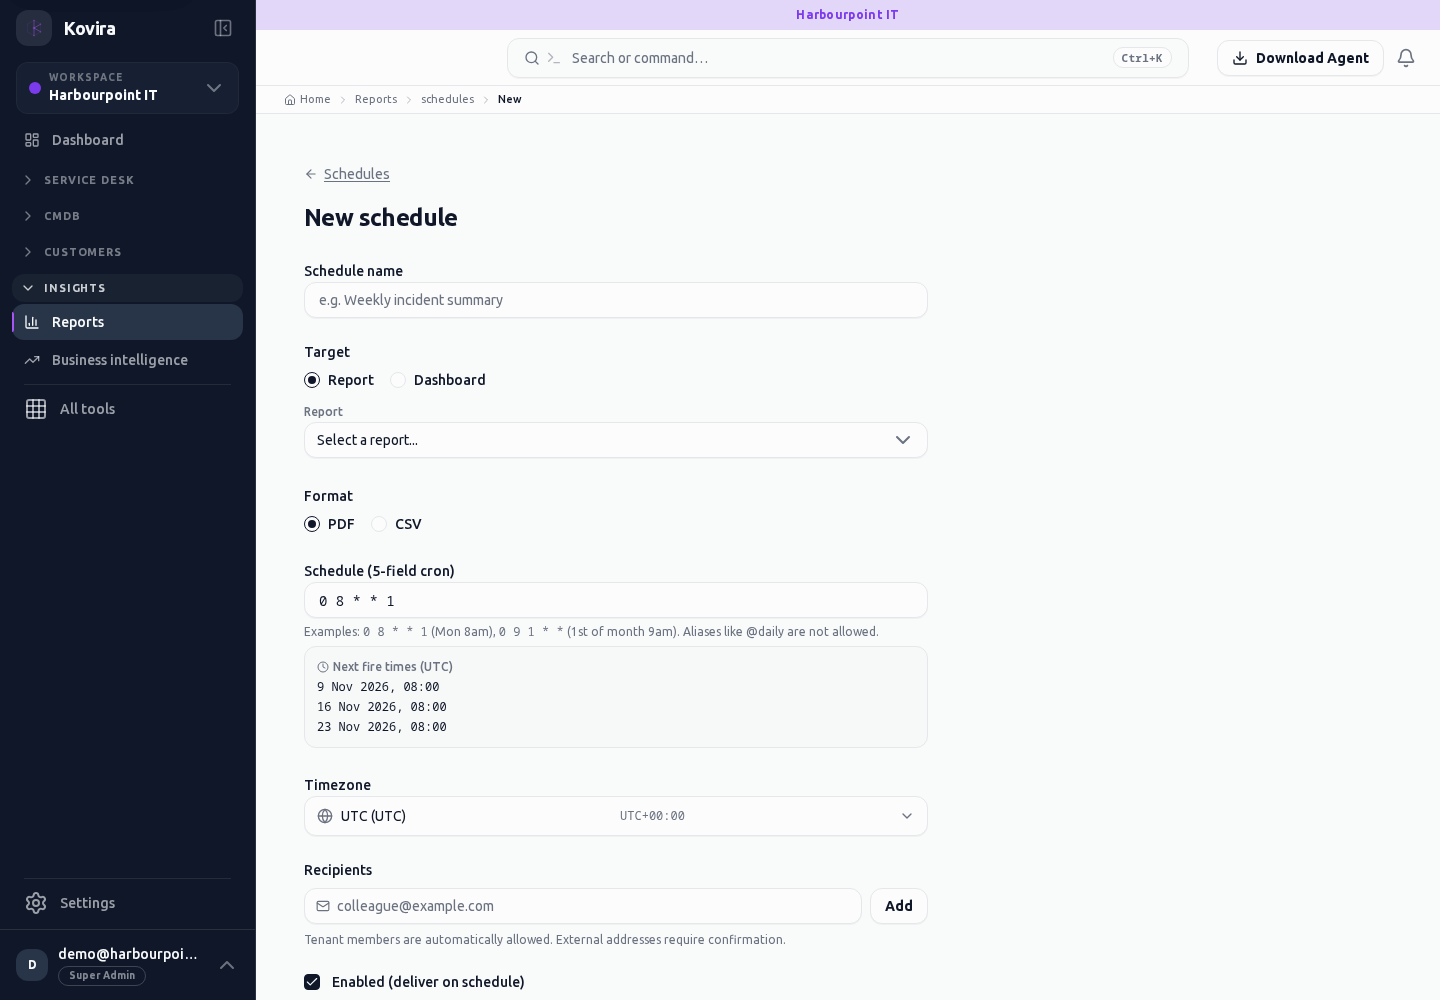
Reports / Schedules
Reports and dashboards. Review this screen in the context of the current workspace and record.
Access
- Default workspace roles for opening this screen: Super Admin, Admin. Custom role settings, the current workspace, plan and record sharing can further restrict access.
- Opening a screen does not grant every action on it. Changes, exports and lifecycle actions can require additional permissions.
Controls and information
- Dataset and fields
- filters
- grouping
- preview
- dashboard tiles
- schedules
Steps for this screen
- Choose the appropriate dataset and reporting period. Compare the preview with known records before sharing or scheduling.
- Use the available search, date and status filters to narrow the view. Open a record link for its detail.
- Clear filters when you need to compare the full accessible list.
Check the result
- Check saved filters, period, recipients and access. A scheduled definition is not evidence that a report was delivered.
If this screen is unavailable
- If no records appear, clear active filters and confirm the workspace and your access before creating a duplicate.
- If the list cannot load, retry once and quote the displayed support reference; do not infer that the workspace is empty.
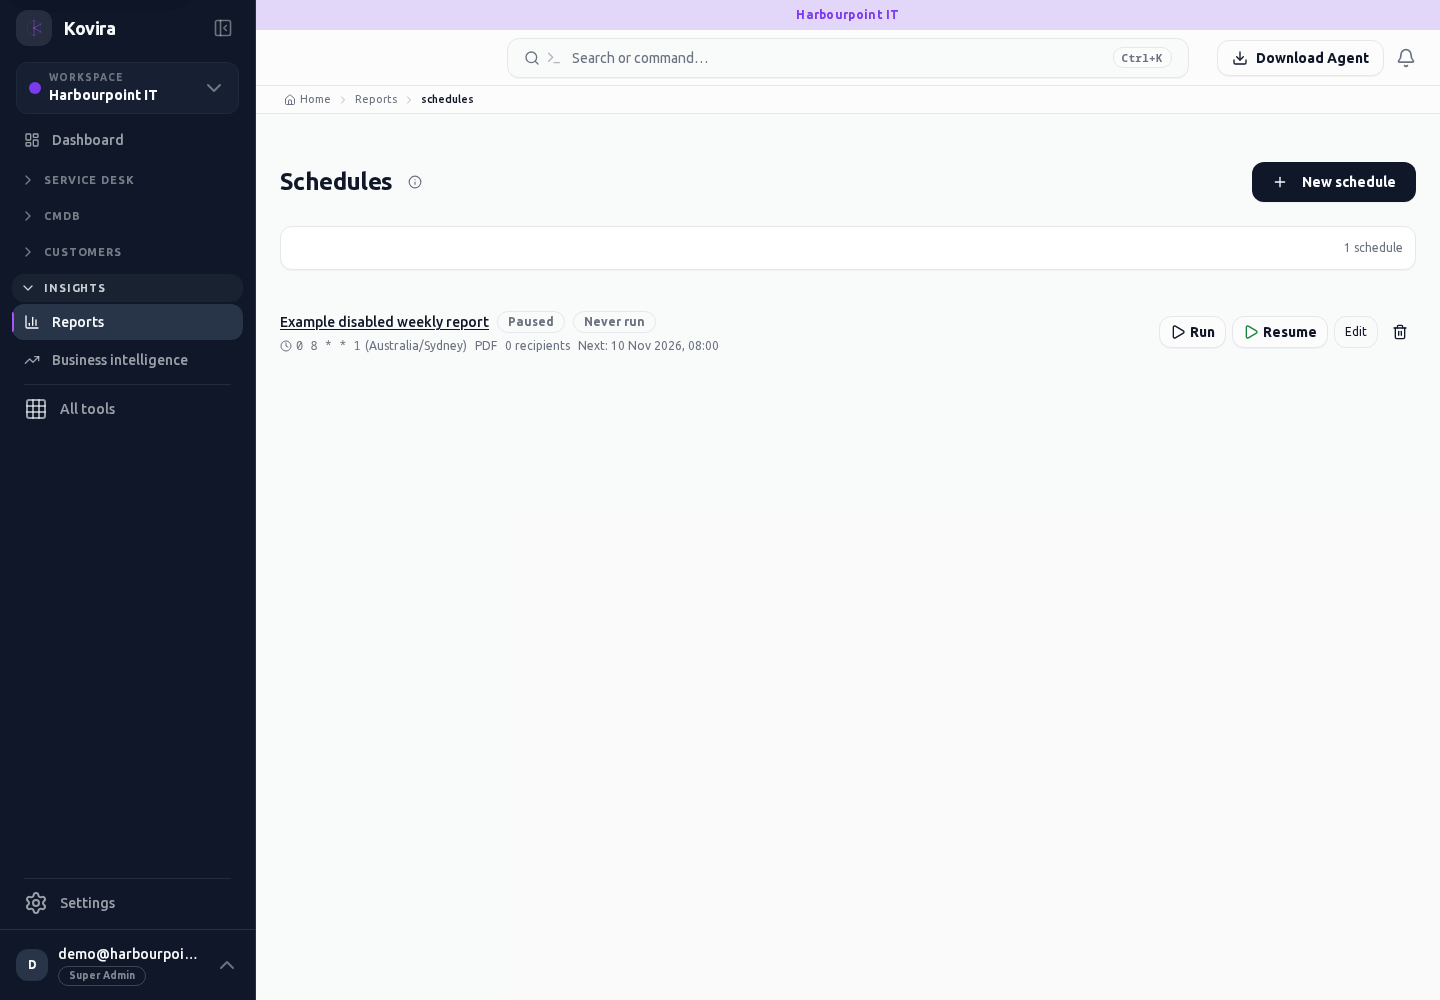
Reports / Sla / Details
Reports and dashboards. Review this screen in the context of the current workspace and record.
Access
- Default workspace roles for opening this screen: Super Admin, Admin, Operator, View Only. Custom role settings, the current workspace, plan and record sharing can further restrict access.
- Opening a screen does not grant every action on it. Changes, exports and lifecycle actions can require additional permissions.
Controls and information
- Dataset and fields
- filters
- grouping
- preview
- dashboard tiles
- schedules
Steps for this screen
- Choose the appropriate dataset and reporting period. Compare the preview with known records before sharing or scheduling.
- Read the summary, current state and related records. Review the action and its prerequisites before changing the record.
Check the result
- Check saved filters, period, recipients and access. A scheduled definition is not evidence that a report was delivered.
If this screen is unavailable
- If the record is unavailable, return to its list and confirm the workspace and link. Ask an administrator to check record access before creating a replacement.
- If saving fails or a conflict appears, keep a copy of your intended changes, reopen the current record and review it before submitting again.
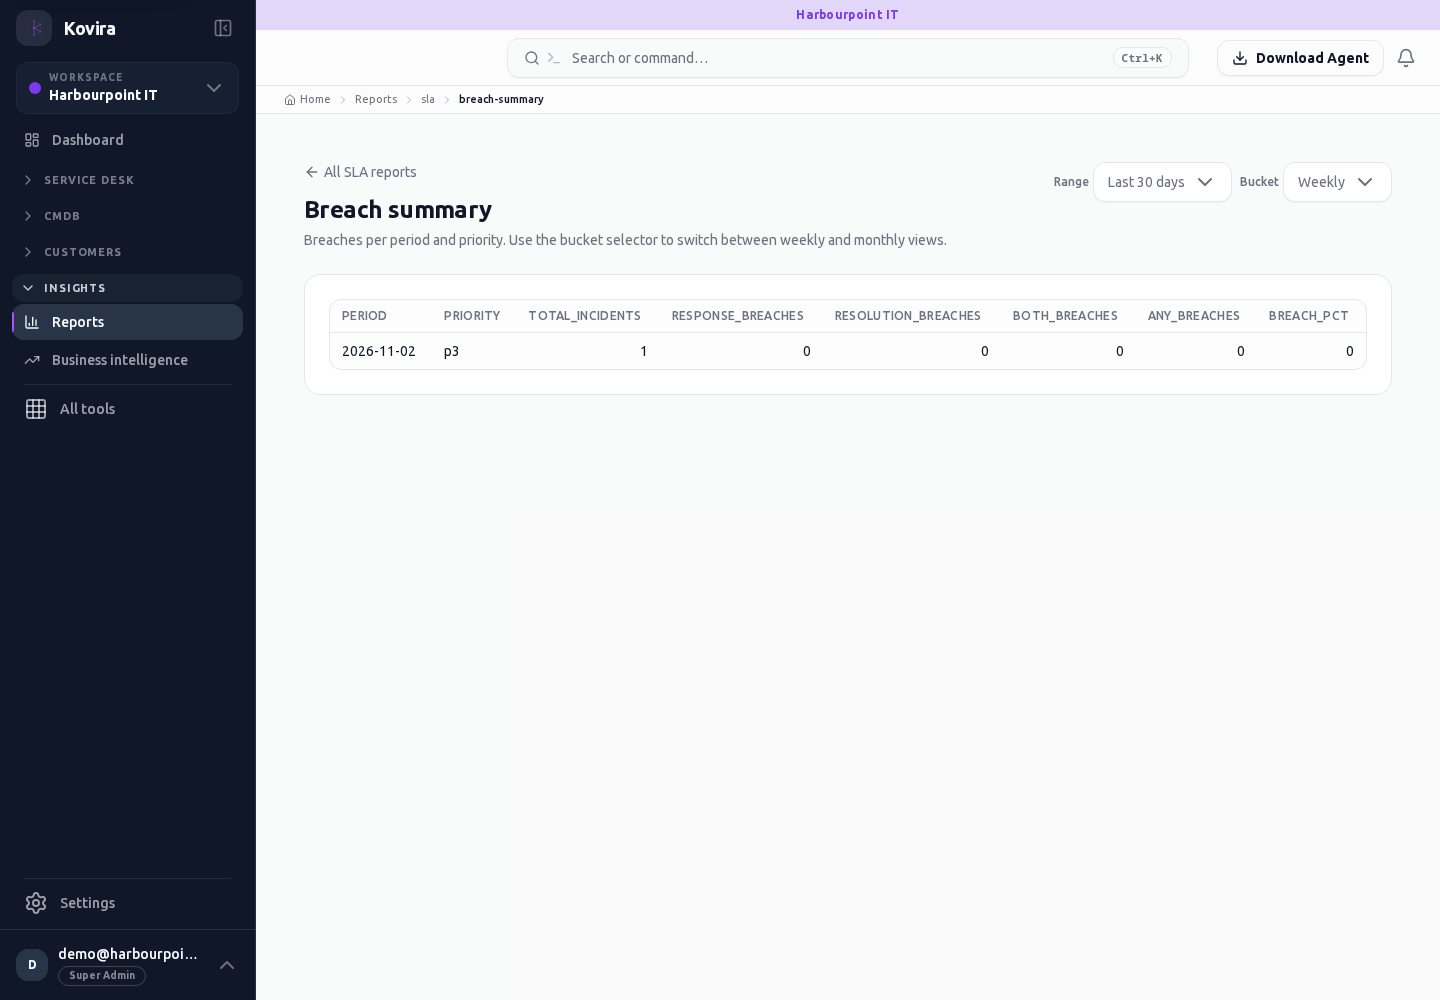
Reports / Sla
Reports and dashboards. Review this screen in the context of the current workspace and record.
Access
- Default workspace roles for opening this screen: Super Admin, Admin, Operator, View Only. Custom role settings, the current workspace, plan and record sharing can further restrict access.
- Opening a screen does not grant every action on it. Changes, exports and lifecycle actions can require additional permissions.
Controls and information
- Dataset and fields
- filters
- grouping
- preview
- dashboard tiles
- schedules
Steps for this screen
- Choose the appropriate dataset and reporting period. Compare the preview with known records before sharing or scheduling.
- Use the available search, date and status filters to narrow the view. Open a record link for its detail.
- Clear filters when you need to compare the full accessible list.
Check the result
- Check saved filters, period, recipients and access. A scheduled definition is not evidence that a report was delivered.
If this screen is unavailable
- If no records appear, clear active filters and confirm the workspace and your access before creating a duplicate.
- If the list cannot load, retry once and quote the displayed support reference; do not infer that the workspace is empty.
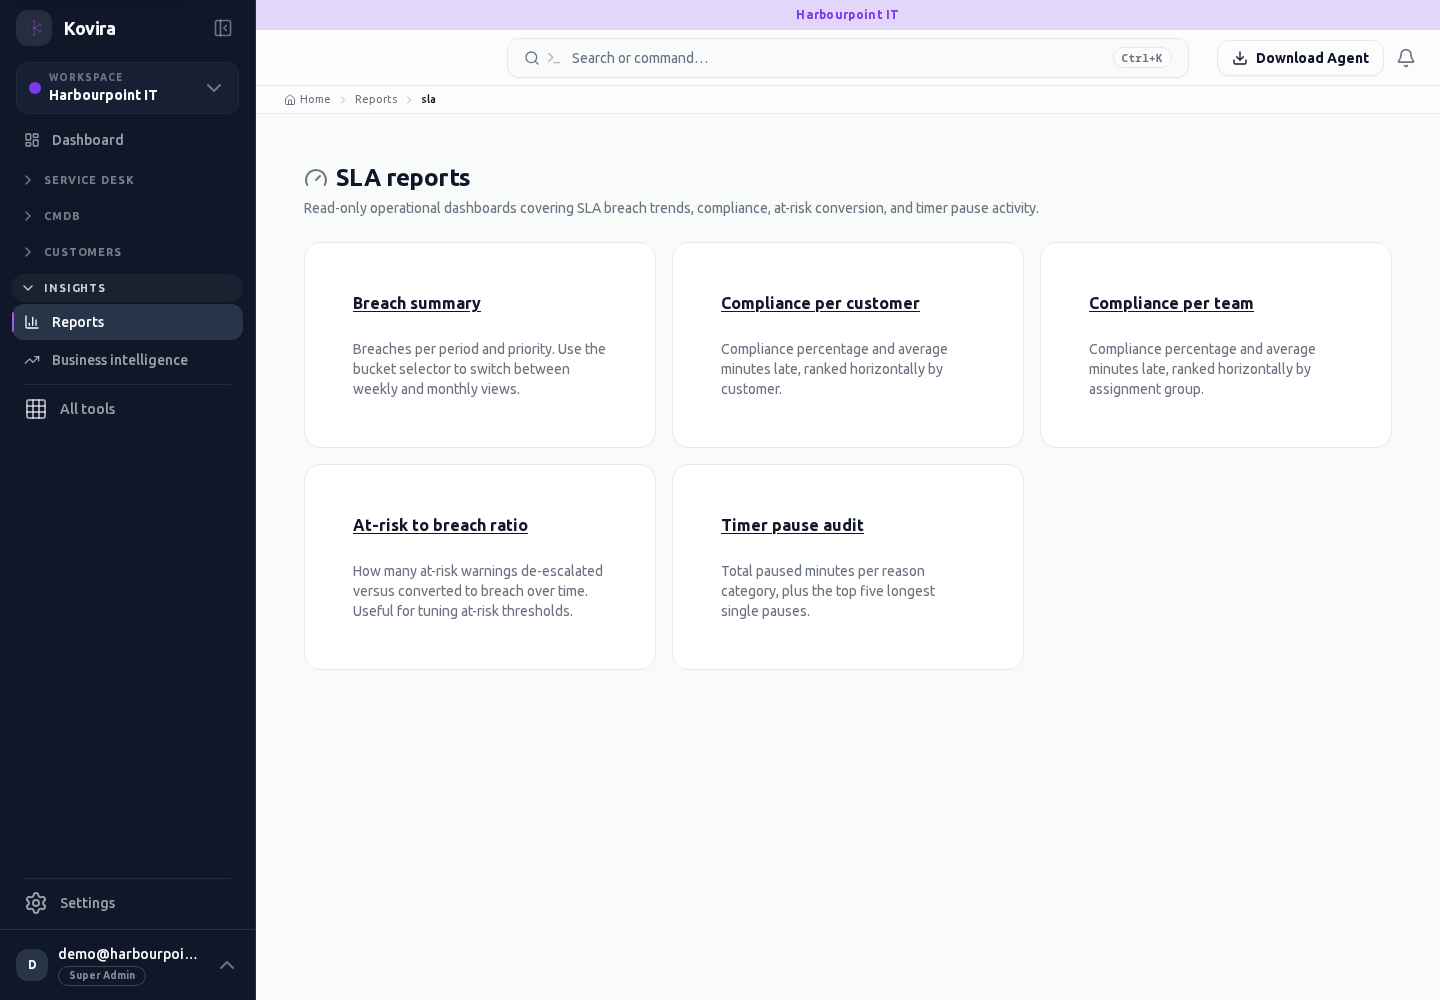
Reports / Subscriptions
Reports and dashboards. Review this screen in the context of the current workspace and record.
Access
- Default workspace roles for opening this screen: Super Admin. Custom role settings, the current workspace, plan and record sharing can further restrict access.
- Opening a screen does not grant every action on it. Changes, exports and lifecycle actions can require additional permissions.
Controls and information
- Dataset and fields
- filters
- grouping
- preview
- dashboard tiles
- schedules
Steps for this screen
- Choose the appropriate dataset and reporting period. Compare the preview with known records before sharing or scheduling.
- Use the available search, date and status filters to narrow the view. Open a record link for its detail.
- Clear filters when you need to compare the full accessible list.
Check the result
- Check saved filters, period, recipients and access. A scheduled definition is not evidence that a report was delivered.
If this screen is unavailable
- If no records appear, clear active filters and confirm the workspace and your access before creating a duplicate.
- If the list cannot load, retry once and quote the displayed support reference; do not infer that the workspace is empty.
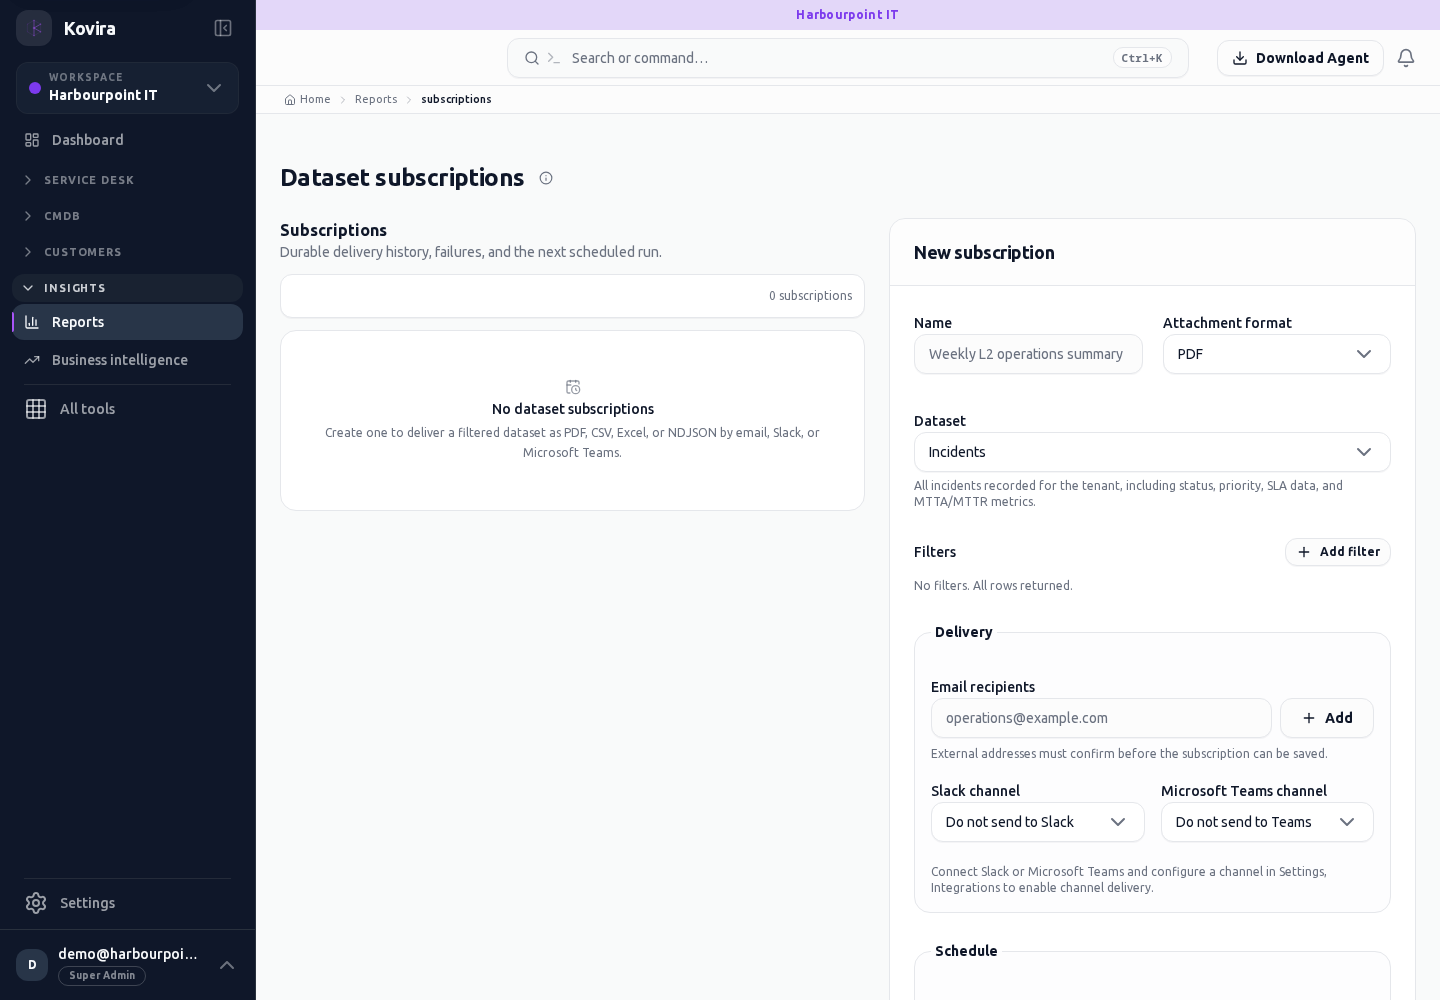
CRM, quotes, invoices, expenses and agreements
Applies to: KOVIRA
Manage customer relationships and commercial work.
Before you begin
- Appropriate sales or finance role and approved customer records.
Steps
- Use CRM to maintain contacts, leads, opportunities, activities and forecast stages. Keep owners and next actions current.
- Create a Quote for the correct customer. Review line items, quantities, discounts, taxes, currency and validity before sending or requesting approval.
- Check the quote’s recipient and acceptance state before converting or generating downstream work. Revisions should preserve the intended commercial history.
- Create or review Invoices and record payments/credits only when supported by the relevant transaction evidence. Check due dates and outstanding balances.
- Use Expenses and Time to record costs and effort against the right customer/project. Check billable status before approving downstream billing.
- Use Agreements for service terms, dates and billing context. Maintain customer onboarding playbooks and runs to track handover work.
Check the result
- Reopen the commercial record and confirm customer, totals, tax, currency and lifecycle state.
- Compare outstanding balances and recognised payments with the supporting transaction evidence.
If you need help
- A visible amount is not an instruction to collect or pay money; follow your organisation’s approval process.
- If a quote or invoice cannot advance, review its displayed prerequisites and linked records.
Supplier oversight and renewals
Applies to: KOVIRA
Track supplier performance, risk, renewals and subprocessors.
Before you begin
- Access to vendor and supplier records.
Steps
- Open Suppliers and choose a vendor. Review overview, performance, risks, renewals and audit history.
- Record an owner and important renewal dates. Review related contracts and services before a renewal decision.
- Review the subprocessors area when assessing data-handling relationships.
- Keep supplier contacts, performance evidence and risk treatments current.
Check the result
- Confirm renewal dates, ownership and supporting contract links.
- Check that an updated supplier risk appears in the appropriate review.
If you need help
- A vendor record may be incomplete; validate commercial and data-handling commitments against the approved contract.
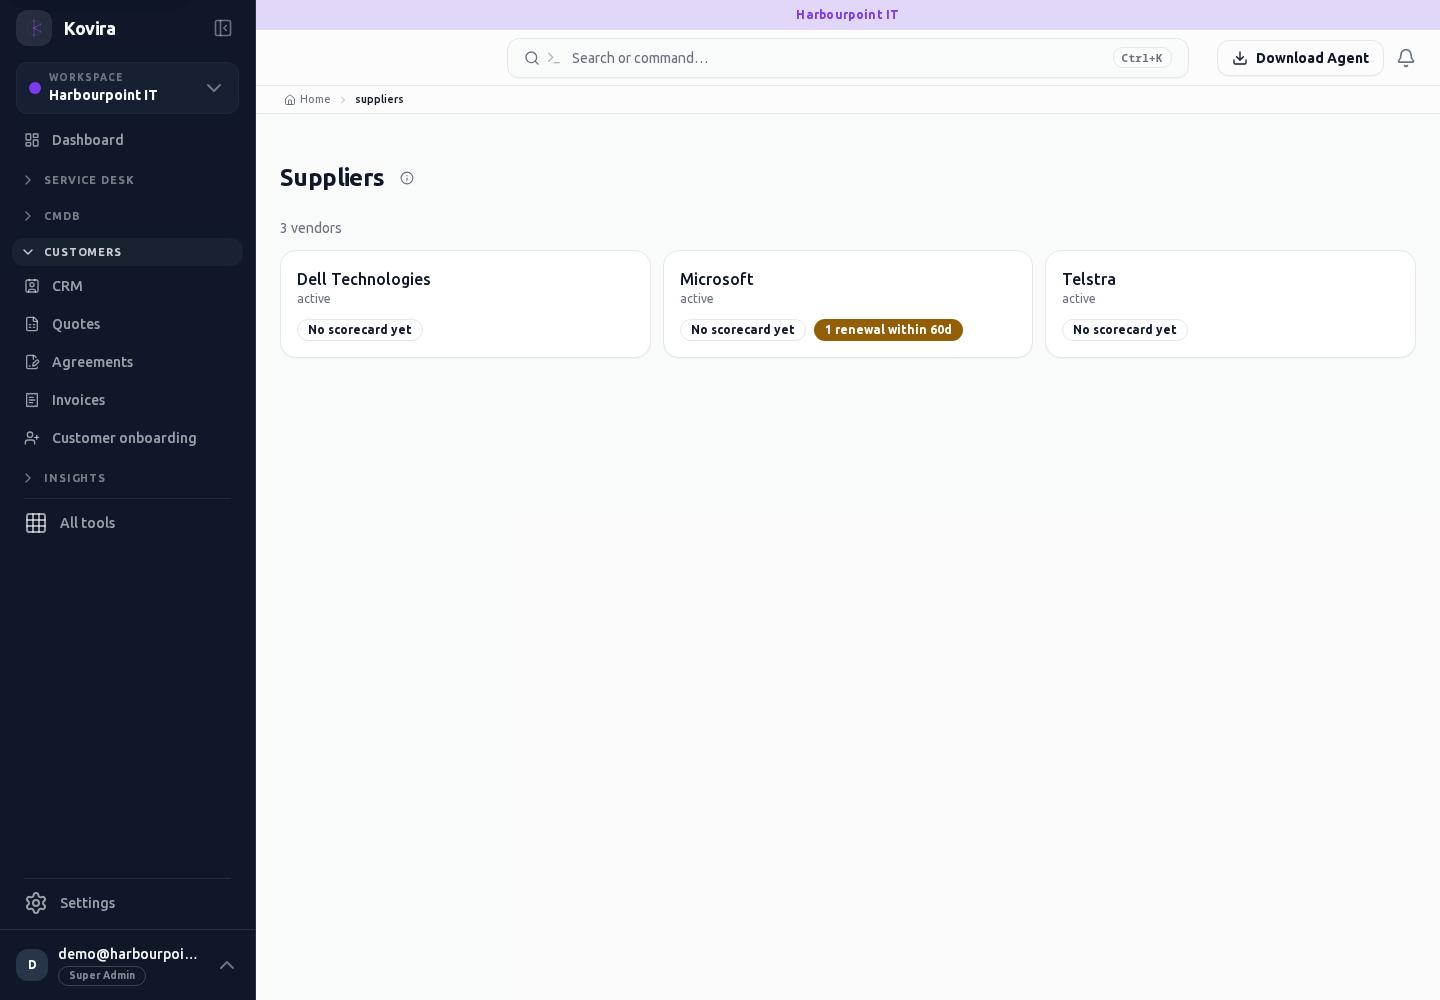
Related screens (8)
Suppliers / Supplier / Audit
Supplier oversight. Review this screen in the context of the current workspace and record.
Access
- Default workspace roles for opening this screen: Super Admin, Admin, Operator, View Only. Custom role settings, the current workspace, plan and record sharing can further restrict access.
- Opening a screen does not grant every action on it. Changes, exports and lifecycle actions can require additional permissions.
Controls and information
- Overview
- performance
- risks
- renewals
- audit
- subprocessors
Steps for this screen
- Choose the supplier and review its linked services, contracts and responsible owner.
- Read the summary, current state and related records. Review the action and its prerequisites before changing the record.
Check the result
- Verify renewal dates, review evidence and any follow-up work before making a decision.
If this screen is unavailable
- If the record is unavailable, return to its list and confirm the workspace and link. Ask an administrator to check record access before creating a replacement.
- If saving fails or a conflict appears, keep a copy of your intended changes, reopen the current record and review it before submitting again.
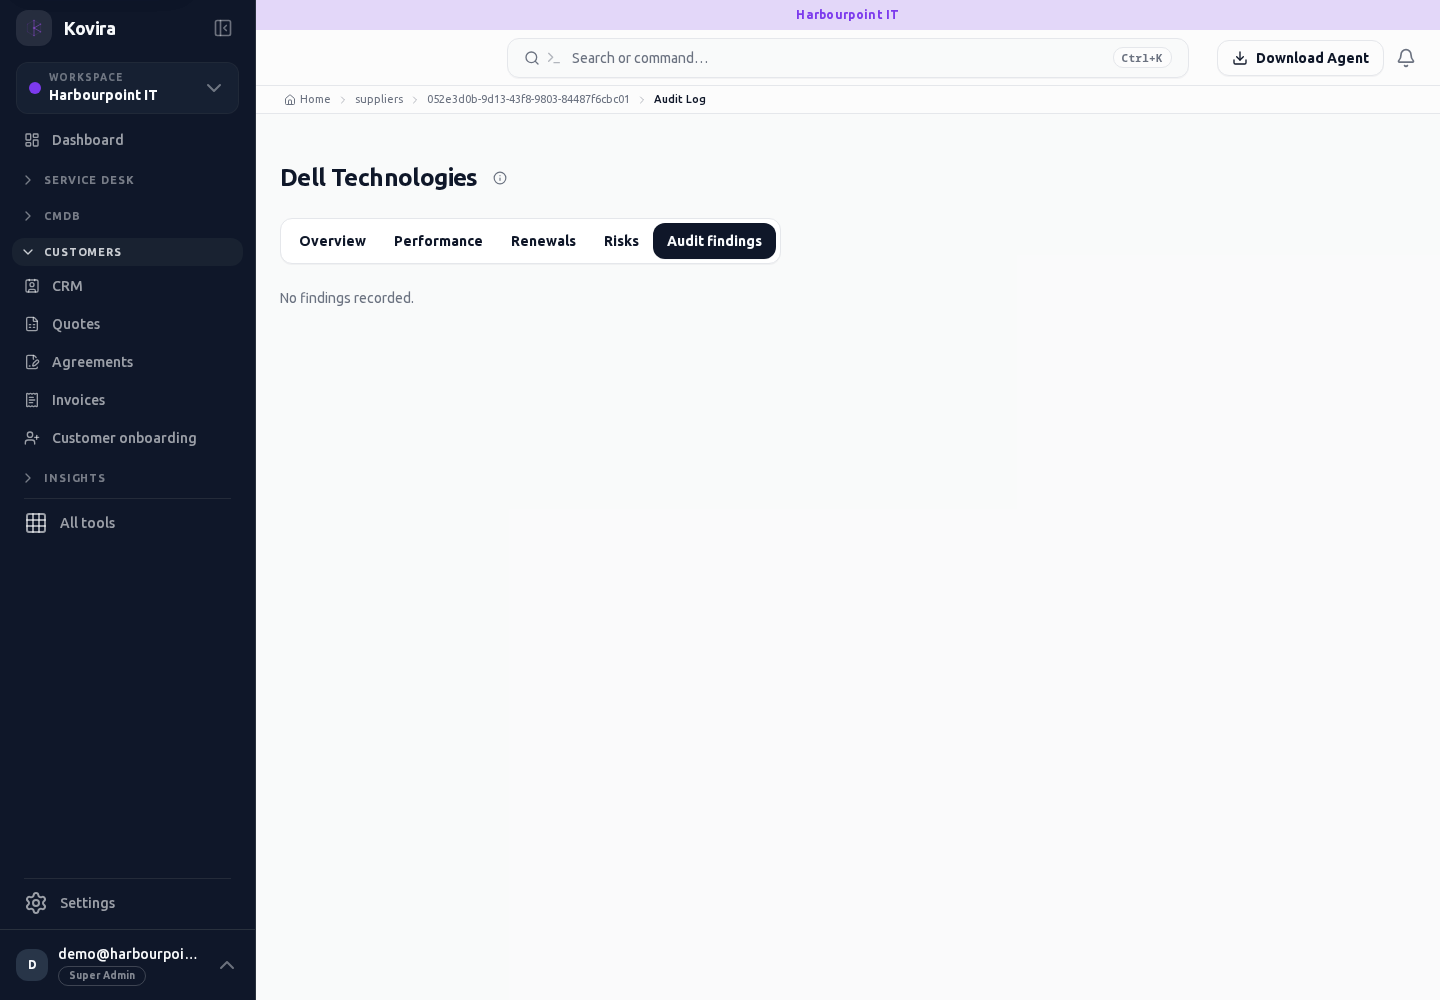
Suppliers / Supplier / Overview
Supplier oversight. Review this screen in the context of the current workspace and record.
Access
- Default workspace roles for opening this screen: Super Admin, Admin, Operator, View Only. Custom role settings, the current workspace, plan and record sharing can further restrict access.
- Opening a screen does not grant every action on it. Changes, exports and lifecycle actions can require additional permissions.
Controls and information
- Overview
- performance
- risks
- renewals
- audit
- subprocessors
Steps for this screen
- Choose the supplier and review its linked services, contracts and responsible owner.
- Read the summary, current state and related records. Review the action and its prerequisites before changing the record.
Check the result
- Verify renewal dates, review evidence and any follow-up work before making a decision.
If this screen is unavailable
- If the record is unavailable, return to its list and confirm the workspace and link. Ask an administrator to check record access before creating a replacement.
- If saving fails or a conflict appears, keep a copy of your intended changes, reopen the current record and review it before submitting again.
Suppliers / Supplier
Supplier oversight. Open the linked destination and continue there.
Access
- Your current workspace role, plan and record access determine whether this screen and its actions are available. Ask an administrator if the required action is missing.
Controls and information
- Overview
- performance
- risks
- renewals
- audit
- subprocessors
Steps for this screen
- Choose the supplier and review its linked services, contracts and responsible owner.
- This entry opens the corresponding destination screen. Check the heading and continue with the destination’s controls.
Check the result
- Verify renewal dates, review evidence and any follow-up work before making a decision.
If this screen is unavailable
- If no records appear, clear active filters and confirm the workspace and your access before creating a duplicate.
- If the destination cannot be opened, use its navigation entry and confirm that your role and plan include it.
Suppliers / Supplier / Performance
Supplier oversight. Review this screen in the context of the current workspace and record.
Access
- Default workspace roles for opening this screen: Super Admin, Admin, Operator, View Only. Custom role settings, the current workspace, plan and record sharing can further restrict access.
- Opening a screen does not grant every action on it. Changes, exports and lifecycle actions can require additional permissions.
Controls and information
- Overview
- performance
- risks
- renewals
- audit
- subprocessors
Steps for this screen
- Choose the supplier and review its linked services, contracts and responsible owner.
- Read the summary, current state and related records. Review the action and its prerequisites before changing the record.
Check the result
- Verify renewal dates, review evidence and any follow-up work before making a decision.
If this screen is unavailable
- If the record is unavailable, return to its list and confirm the workspace and link. Ask an administrator to check record access before creating a replacement.
- If saving fails or a conflict appears, keep a copy of your intended changes, reopen the current record and review it before submitting again.
Suppliers / Supplier / Renewals
Supplier oversight. Review this screen in the context of the current workspace and record.
Access
- Default workspace roles for opening this screen: Super Admin, Admin, Operator, View Only. Custom role settings, the current workspace, plan and record sharing can further restrict access.
- Opening a screen does not grant every action on it. Changes, exports and lifecycle actions can require additional permissions.
Controls and information
- Overview
- performance
- risks
- renewals
- audit
- subprocessors
Steps for this screen
- Choose the supplier and review its linked services, contracts and responsible owner.
- Read the summary, current state and related records. Review the action and its prerequisites before changing the record.
Check the result
- Verify renewal dates, review evidence and any follow-up work before making a decision.
If this screen is unavailable
- If the record is unavailable, return to its list and confirm the workspace and link. Ask an administrator to check record access before creating a replacement.
- If saving fails or a conflict appears, keep a copy of your intended changes, reopen the current record and review it before submitting again.
Suppliers / Supplier / Risks
Supplier oversight. Review this screen in the context of the current workspace and record.
Access
- Default workspace roles for opening this screen: Super Admin, Admin, Operator, View Only. Custom role settings, the current workspace, plan and record sharing can further restrict access.
- Opening a screen does not grant every action on it. Changes, exports and lifecycle actions can require additional permissions.
Controls and information
- Overview
- performance
- risks
- renewals
- audit
- subprocessors
Steps for this screen
- Choose the supplier and review its linked services, contracts and responsible owner.
- Read the summary, current state and related records. Review the action and its prerequisites before changing the record.
Check the result
- Verify renewal dates, review evidence and any follow-up work before making a decision.
If this screen is unavailable
- If the record is unavailable, return to its list and confirm the workspace and link. Ask an administrator to check record access before creating a replacement.
- If saving fails or a conflict appears, keep a copy of your intended changes, reopen the current record and review it before submitting again.
Suppliers
Supplier oversight. Review this screen in the context of the current workspace and record.
Access
- Default workspace roles for opening this screen: Super Admin, Admin, Operator, View Only. Custom role settings, the current workspace, plan and record sharing can further restrict access.
- Opening a screen does not grant every action on it. Changes, exports and lifecycle actions can require additional permissions.
Controls and information
- Overview
- performance
- risks
- renewals
- audit
- subprocessors
Steps for this screen
- Choose the supplier and review its linked services, contracts and responsible owner.
- Use the available search, date and status filters to narrow the view. Open a record link for its detail.
- Clear filters when you need to compare the full accessible list.
Check the result
- Verify renewal dates, review evidence and any follow-up work before making a decision.
If this screen is unavailable
- If no records appear, clear active filters and confirm the workspace and your access before creating a duplicate.
- If the list cannot load, retry once and quote the displayed support reference; do not infer that the workspace is empty.
Suppliers / Sub Processors
Supplier oversight. Review this screen in the context of the current workspace and record.
Access
- Your current workspace role, plan and record access determine whether this screen and its actions are available. Ask an administrator if the required action is missing.
Controls and information
- Overview
- performance
- risks
- renewals
- audit
- subprocessors
Steps for this screen
- Choose the supplier and review its linked services, contracts and responsible owner.
Check the result
- Verify renewal dates, review evidence and any follow-up work before making a decision.
If this screen is unavailable
- If no records appear, clear active filters and confirm the workspace and your access before creating a duplicate.
- If saving fails or a conflict appears, keep a copy of your intended changes, reopen the current record and review it before submitting again.
Workspace administration and access
Applies to: KOVIRA
Configure your organisation, access and controls.
Before you begin
- Workspace owner or an explicitly delegated administrative role.
Steps
- Open Settings and review General, Branding, plan Usage and Billing settings. Verify organisation, currency, tax and billing contacts before changing them.
- Manage Users, Members, Groups, Roles and Assignment groups. Give each person only the access required for their work. Review inactive and deleted users separately.
- Use Access policies, access reviews and SCIM settings to manage identity lifecycle. Test an identity configuration with a separate administrator session available.
- Set approval chains, delegations, CAB, SLA, escalation, on-call, team availability and calendar settings according to your service process.
- Configure custom types, fields, data quality, depreciation, request/catalogue entries and templates before relying on related workflows.
- Use Audit and Audit search/exports to investigate administrative changes. Handle exported audit records as private operational data.
- Platform administration pages are restricted to platform operators and may not be available to tenant administrators.
Check the result
- Verify a representative reader and editor can access the intended records and actions.
- Check audit history for significant administrative changes.
If you need help
- Keep at least one supported administrator recovery path when changing sign-in or access policies.
- A missing administrative action may reflect your role or plan. Ask the responsible owner before changing access.
Integrations, imports, exports and API access
Applies to: KOVIRA, VECTOR, ATLAS
Connect external services and move authorised data.
Before you begin
- Administrative permission; approved third-party account and data-sharing scope.
Steps
- Open Integrations or Workspace settings and choose the supported integration. Review required permissions before connecting Microsoft 365, cloud, Slack, Teams or another offered service.
- Review sync history and drift for connected Microsoft 365 data. Confirm the intended tenant before reconnecting.
- For an import, use the offered format/template, map fields, inspect validation errors and review the result with a small sample before a large import.
- Choose the required scope and format for an export; store the file in an approved location.
- Create API keys with the minimum required permissions and revoke keys that are no longer needed. Use the public API reference at /docs/api for supported integration contracts.
- Configure webhooks with an approved HTTPS recipient, verify authenticity using the public /docs/webhooks reference and inspect delivery history before retrying a failed delivery.
- For monitored mailboxes, review overview, routing, allow/block settings and activity. Test with a synthetic message before enabling the intended routing.
Check the result
- Check the connected account/tenant, last successful sync and sample imported records.
- Confirm a test webhook or mailbox event reached the intended destination once.
If you need help
- Do not screenshot API keys, one-time credentials, webhook secrets, calendar feed URLs or signed download links.
- If authorisation expires, reconnect through the offered UI rather than sharing credentials in a ticket.
Related screens (36)
Assets / Microsoft 365 / Drift
Integrations and data exchange. Review this screen in the context of the current workspace and record.
Access
- Default workspace roles for opening this screen: Super Admin, Admin, Operator, View Only. Custom role settings, the current workspace, plan and record sharing can further restrict access.
- Opening a screen does not grant every action on it. Changes, exports and lifecycle actions can require additional permissions.
Controls and information
- Connection status
- prerequisites
- sync history
- imports
- API access
Steps for this screen
- Confirm the target workspace and connection owner. Review the permissions and prerequisites before connecting or importing.
Check the result
- Check the actual connection, sync or import result. An empty configuration is not a successful connection or collector check-in.
If this screen is unavailable
- If no records appear, clear active filters and confirm the workspace and your access before creating a duplicate.
- If saving fails or a conflict appears, keep a copy of your intended changes, reopen the current record and review it before submitting again.
Assets / Microsoft 365 / Sync History
Integrations and data exchange. Review this screen in the context of the current workspace and record.
Access
- Default workspace roles for opening this screen: Super Admin, Admin, Operator, View Only. Custom role settings, the current workspace, plan and record sharing can further restrict access.
- Opening a screen does not grant every action on it. Changes, exports and lifecycle actions can require additional permissions.
Controls and information
- Connection status
- prerequisites
- sync history
- imports
- API access
Steps for this screen
- Confirm the target workspace and connection owner. Review the permissions and prerequisites before connecting or importing.
Check the result
- Check the actual connection, sync or import result. An empty configuration is not a successful connection or collector check-in.
If this screen is unavailable
- If no records appear, clear active filters and confirm the workspace and your access before creating a duplicate.
- If saving fails or a conflict appears, keep a copy of your intended changes, reopen the current record and review it before submitting again.
Assets / Microsoft 365 / Tenant
Integrations and data exchange. Review this screen in the context of the current workspace and record.
Access
- Default workspace roles for opening this screen: Super Admin, Admin, Operator, View Only. Custom role settings, the current workspace, plan and record sharing can further restrict access.
- Opening a screen does not grant every action on it. Changes, exports and lifecycle actions can require additional permissions.
Controls and information
- Connection status
- prerequisites
- sync history
- imports
- API access
Steps for this screen
- Confirm the target workspace and connection owner. Review the permissions and prerequisites before connecting or importing.
Check the result
- Check the actual connection, sync or import result. An empty configuration is not a successful connection or collector check-in.
If this screen is unavailable
- If no records appear, clear active filters and confirm the workspace and your access before creating a duplicate.
- If saving fails or a conflict appears, keep a copy of your intended changes, reopen the current record and review it before submitting again.
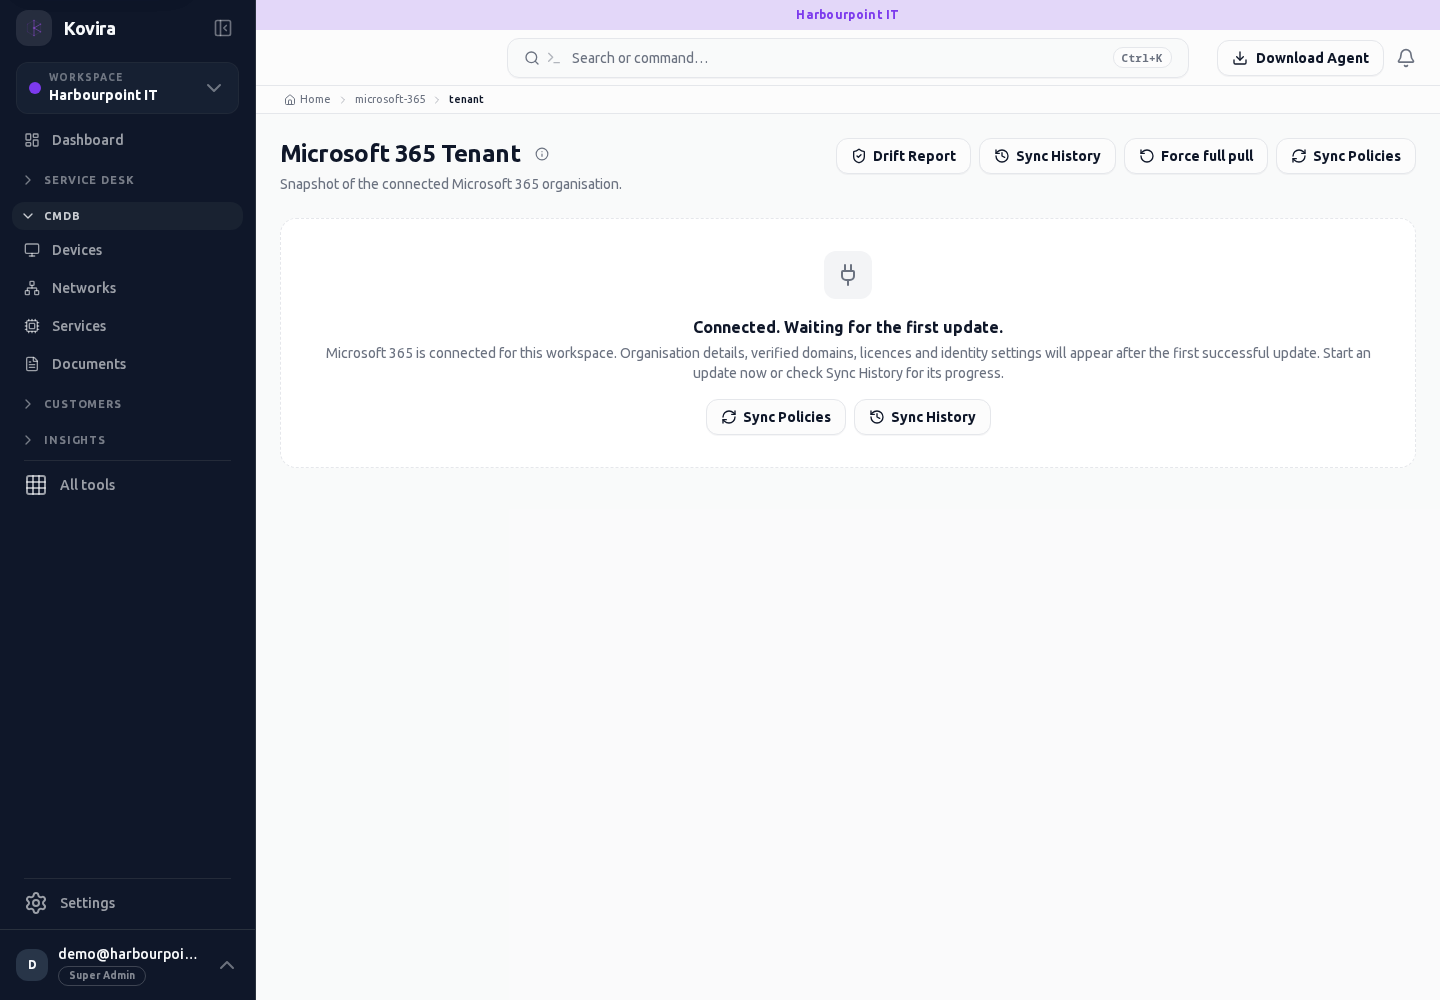
Integrations / Cloud
Integrations and data exchange. Review this screen in the context of the current workspace and record.
Access
- Default workspace roles for opening this screen: Super Admin, Admin. Custom role settings, the current workspace, plan and record sharing can further restrict access.
- Opening a screen does not grant every action on it. Changes, exports and lifecycle actions can require additional permissions.
Controls and information
- Connection status
- prerequisites
- sync history
- imports
- API access
Steps for this screen
- Confirm the target workspace and connection owner. Review the permissions and prerequisites before connecting or importing.
Check the result
- Check the actual connection, sync or import result. An empty configuration is not a successful connection or collector check-in.
If this screen is unavailable
- If no records appear, clear active filters and confirm the workspace and your access before creating a duplicate.
- If saving fails or a conflict appears, keep a copy of your intended changes, reopen the current record and review it before submitting again.
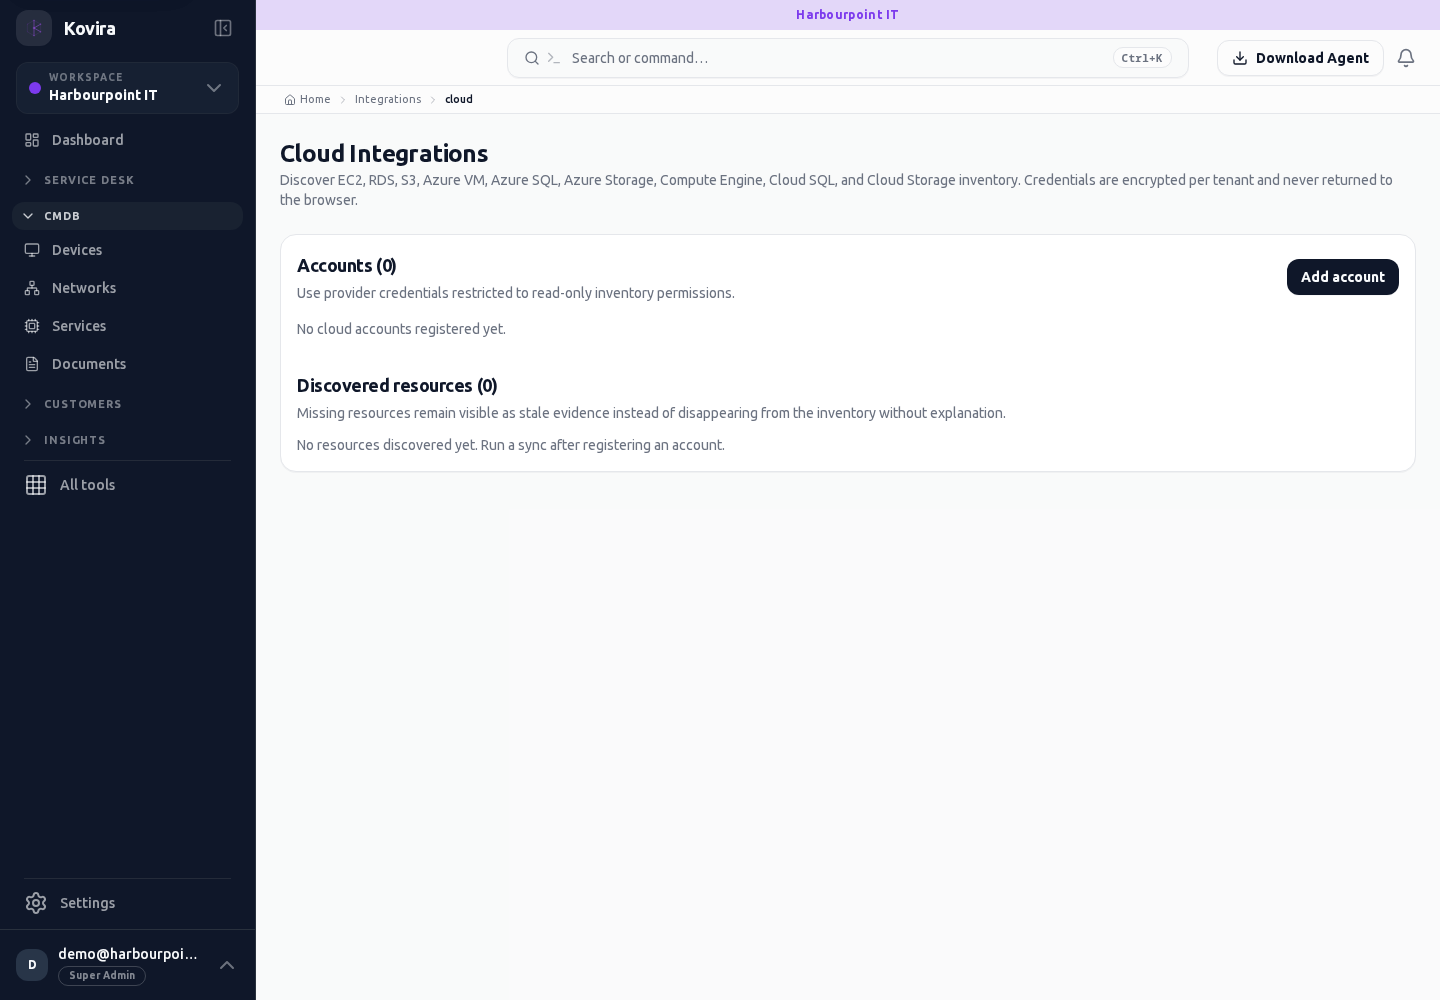
Integrations
Integrations and data exchange. Open the linked destination and continue there.
Access
- Your current workspace role, plan and record access determine whether this screen and its actions are available. Ask an administrator if the required action is missing.
Controls and information
- Connection status
- prerequisites
- sync history
- imports
- API access
Steps for this screen
- Confirm the target workspace and connection owner. Review the permissions and prerequisites before connecting or importing.
- This entry opens the corresponding destination screen. Check the heading and continue with the destination’s controls.
Check the result
- Check the actual connection, sync or import result. An empty configuration is not a successful connection or collector check-in.
If this screen is unavailable
- If no records appear, clear active filters and confirm the workspace and your access before creating a duplicate.
- If the destination cannot be opened, use its navigation entry and confirm that your role and plan include it.
Registered agent instances / Details
Registered agent instances for the selected account, workspace or record.
Access
- Default workspace roles for opening this screen: Super Admin, Admin. Custom role settings, the current workspace, plan and record sharing can further restrict access.
- Opening a screen does not grant every action on it. Changes, exports and lifecycle actions can require additional permissions.
Controls and information
- Instance list
- recent health
- instance details
Steps for this screen
- Open the registered instance and compare its expected machine, product and recent activity with your deployment records.
- Read the summary, current state and related records. Review the action and its prerequisites before changing the record.
Check the result
- A registration or empty instance list does not demonstrate a native installation or successful inventory collection.
If this screen is unavailable
- If the record is unavailable, return to its list and confirm the workspace and link. Ask an administrator to check record access before creating a replacement.
- If saving fails or a conflict appears, keep a copy of your intended changes, reopen the current record and review it before submitting again.
Registered agent instances
Registered agent instances for the selected account, workspace or record.
Access
- Default workspace roles for opening this screen: Super Admin, Admin. Custom role settings, the current workspace, plan and record sharing can further restrict access.
- Opening a screen does not grant every action on it. Changes, exports and lifecycle actions can require additional permissions.
Controls and information
- Instance list
- recent health
- instance details
Steps for this screen
- Open the registered instance and compare its expected machine, product and recent activity with your deployment records.
Check the result
- A registration or empty instance list does not demonstrate a native installation or successful inventory collection.
If this screen is unavailable
- If no records appear, clear active filters and confirm the workspace and your access before creating a duplicate.
- If saving fails or a conflict appears, keep a copy of your intended changes, reopen the current record and review it before submitting again.
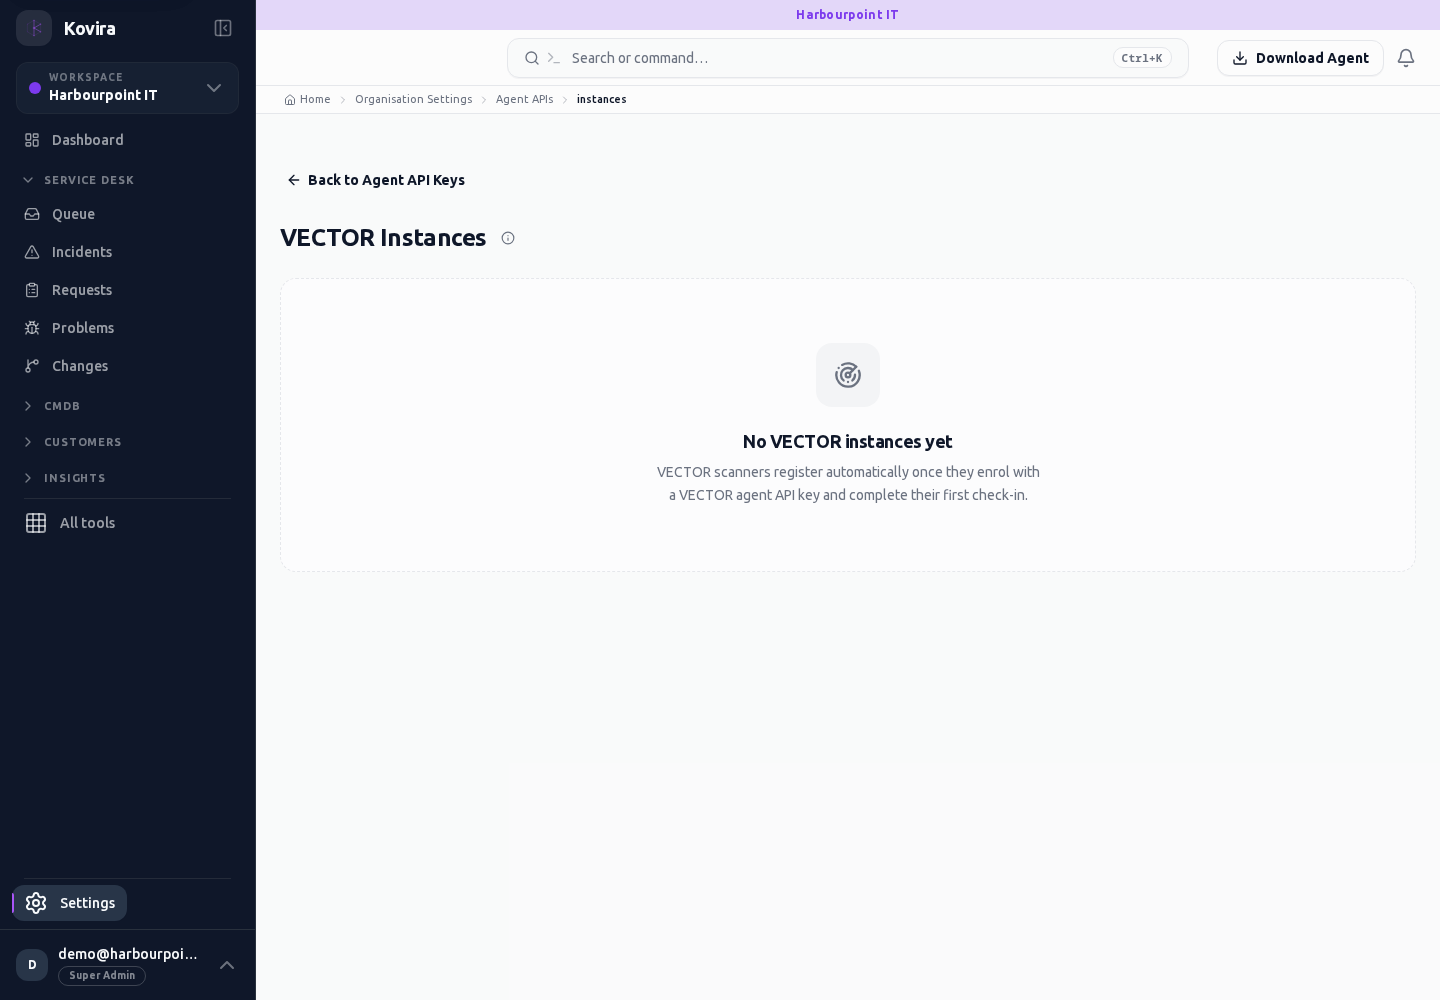
Agent API administration
Agent API administration for the selected account, workspace or record.
Access
- Your current workspace role, plan and record access determine whether this screen and its actions are available. Ask an administrator if the required action is missing.
Controls and information
- Keys
- expiry and scope
- instance navigation
Steps for this screen
- Review an agent key’s intended scope and expiry before issuing or revoking it. Store any once-shown credential securely.
- This entry opens the corresponding destination screen. Check the heading and continue with the destination’s controls.
Check the result
- Check the intended agents after rotation; never publish the generated value.
If this screen is unavailable
- If no records appear, clear active filters and confirm the workspace and your access before creating a duplicate.
- If the destination cannot be opened, use its navigation entry and confirm that your role and plan include it.
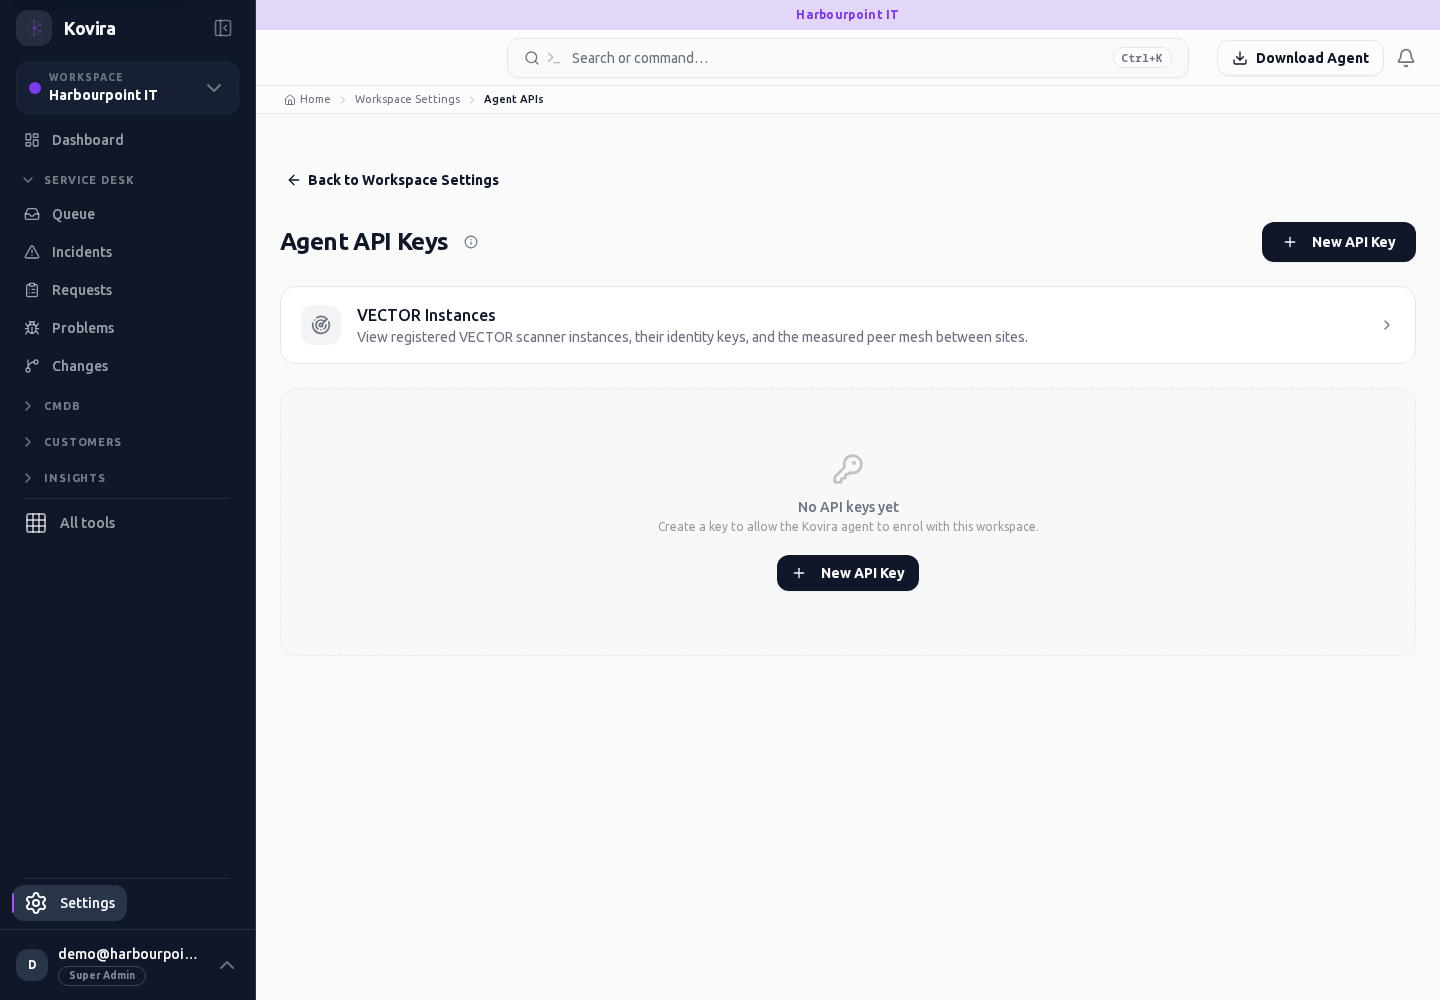
Integration catalogue
Integration catalogue for the selected account, workspace or record.
Access
- Default workspace roles for opening this screen: Super Admin, Admin. Custom role settings, the current workspace, plan and record sharing can further restrict access.
- Opening a screen does not grant every action on it. Changes, exports and lifecycle actions can require additional permissions.
Controls and information
- Available integrations
- setup requirements
- connection navigation
Steps for this screen
- Choose the supported integration and read its prerequisites before starting setup.
Check the result
- Confirm the intended organisation and permissions during the provider’s consent flow.
If this screen is unavailable
- If no records appear, clear active filters and confirm the workspace and your access before creating a duplicate.
- If saving fails or a conflict appears, keep a copy of your intended changes, reopen the current record and review it before submitting again.
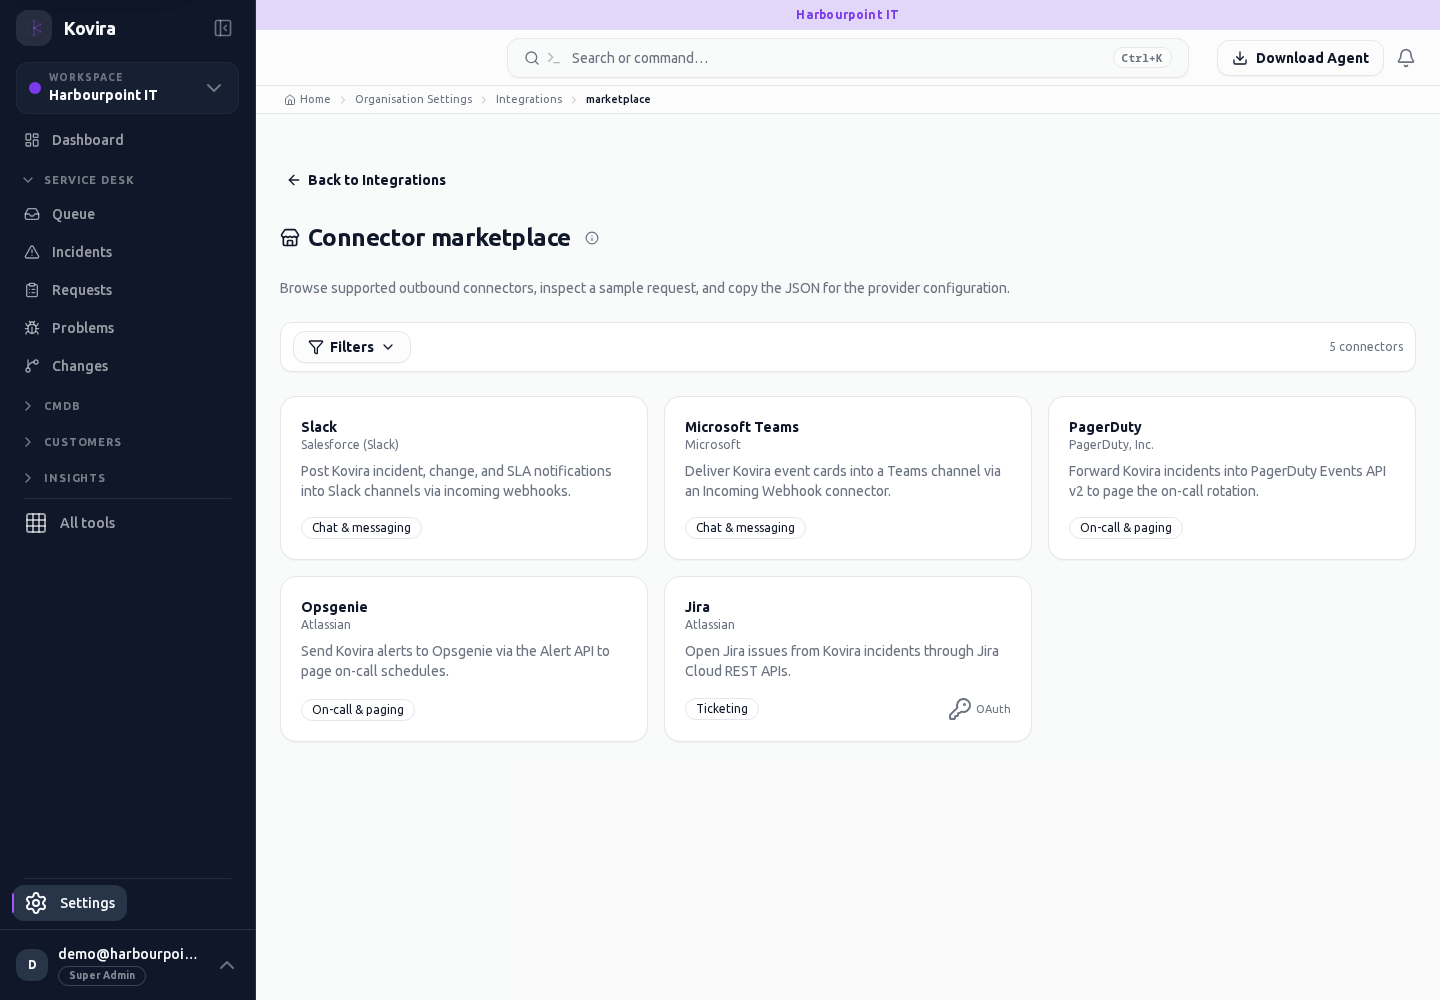
Settings / Integrations
Integrations and data exchange. Open the linked destination and continue there.
Access
- Your current workspace role, plan and record access determine whether this screen and its actions are available. Ask an administrator if the required action is missing.
Controls and information
- Connection status
- prerequisites
- sync history
- imports
- API access
Steps for this screen
- Confirm the target workspace and connection owner. Review the permissions and prerequisites before connecting or importing.
- This entry opens the corresponding destination screen. Check the heading and continue with the destination’s controls.
Check the result
- Check the actual connection, sync or import result. An empty configuration is not a successful connection or collector check-in.
If this screen is unavailable
- If no records appear, clear active filters and confirm the workspace and your access before creating a duplicate.
- If the destination cannot be opened, use its navigation entry and confirm that your role and plan include it.
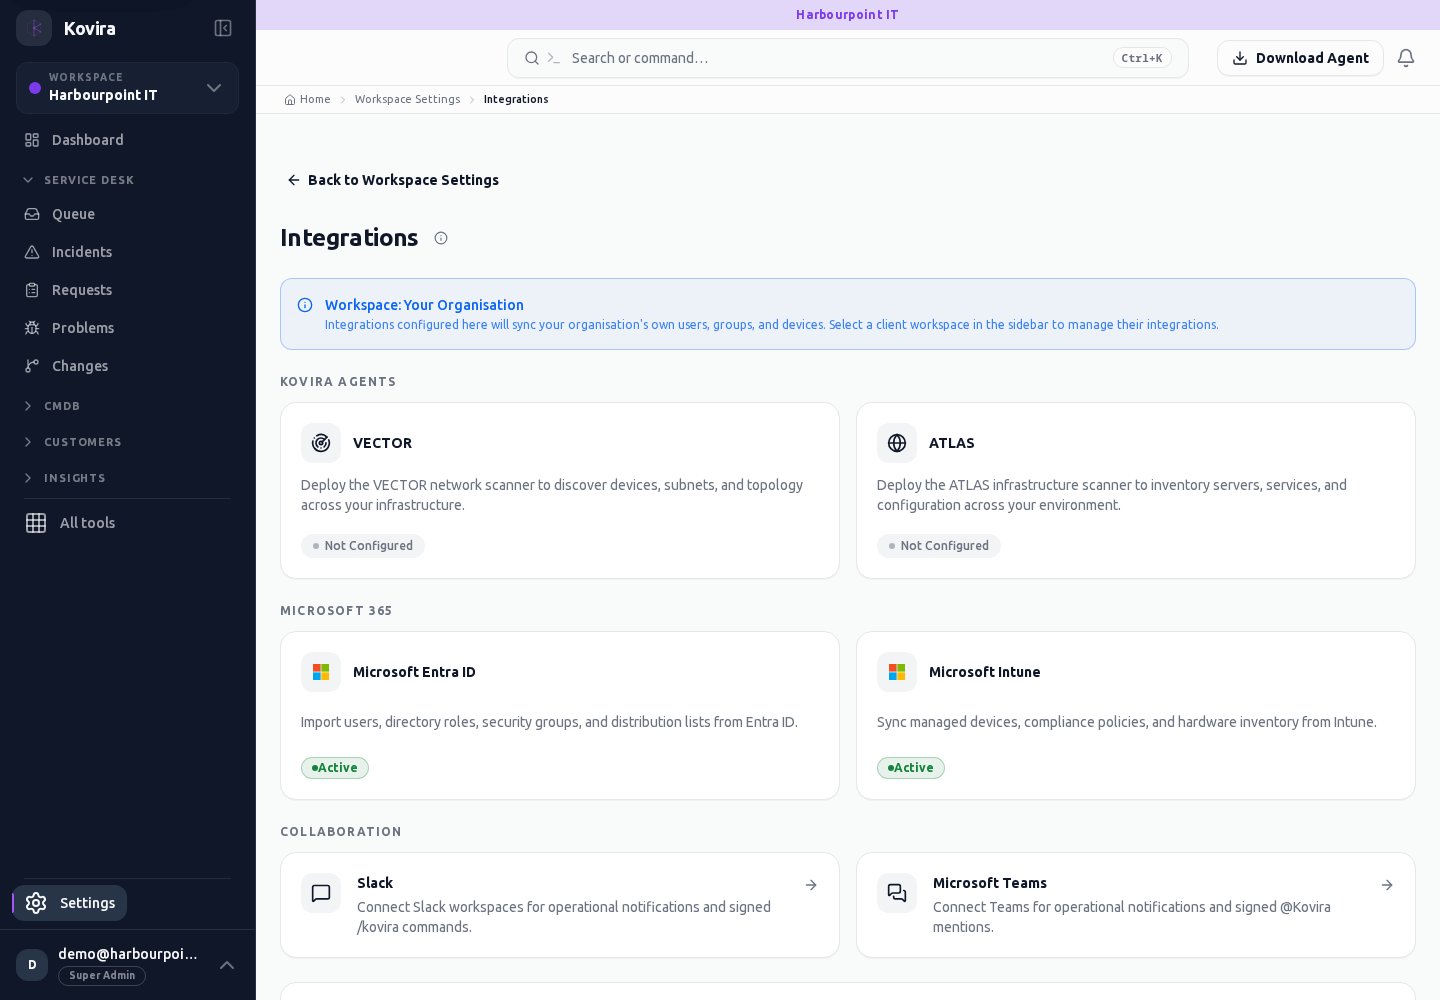
Slack integration / Details
Slack integration for the selected account, workspace or record.
Access
- Default workspace roles for opening this screen: Super Admin, Admin. Custom role settings, the current workspace, plan and record sharing can further restrict access.
- Opening a screen does not grant every action on it. Changes, exports and lifecycle actions can require additional permissions.
Controls and information
- Workspace status
- channel subscriptions
- activity
Steps for this screen
- Review the connected workspace and intended notification subscriptions. Connect through the supported consent flow when configured.
- Read the summary, current state and related records. Review the action and its prerequisites before changing the record.
Check the result
- Check actual connection and delivery activity; a revoked or unconfigured workspace is not a successful provider connection.
If this screen is unavailable
- If the record is unavailable, return to its list and confirm the workspace and link. Ask an administrator to check record access before creating a replacement.
- If saving fails or a conflict appears, keep a copy of your intended changes, reopen the current record and review it before submitting again.
Slack integration
Slack integration for the selected account, workspace or record.
Access
- Your current workspace role, plan and record access determine whether this screen and its actions are available. Ask an administrator if the required action is missing.
Controls and information
- Workspace status
- channel subscriptions
- activity
Steps for this screen
- Review the connected workspace and intended notification subscriptions. Connect through the supported consent flow when configured.
Check the result
- Check actual connection and delivery activity; a revoked or unconfigured workspace is not a successful provider connection.
If this screen is unavailable
- If no records appear, clear active filters and confirm the workspace and your access before creating a duplicate.
- If saving fails or a conflict appears, keep a copy of your intended changes, reopen the current record and review it before submitting again.
Microsoft Teams integration / Details
Microsoft Teams integration for the selected account, workspace or record.
Access
- Default workspace roles for opening this screen: Super Admin, Admin. Custom role settings, the current workspace, plan and record sharing can further restrict access.
- Opening a screen does not grant every action on it. Changes, exports and lifecycle actions can require additional permissions.
Controls and information
- Workspace status
- target team
- channel subscriptions
- activity
Steps for this screen
- Review the connected organisation and target team before changing notification destinations.
- Read the summary, current state and related records. Review the action and its prerequisites before changing the record.
Check the result
- Check the saved destination and actual delivery activity; a configuration form does not demonstrate a Teams post.
If this screen is unavailable
- If the record is unavailable, return to its list and confirm the workspace and link. Ask an administrator to check record access before creating a replacement.
- If saving fails or a conflict appears, keep a copy of your intended changes, reopen the current record and review it before submitting again.
Microsoft Teams integration
Microsoft Teams integration for the selected account, workspace or record.
Access
- Your current workspace role, plan and record access determine whether this screen and its actions are available. Ask an administrator if the required action is missing.
Controls and information
- Workspace status
- target team
- channel subscriptions
- activity
Steps for this screen
- Review the connected organisation and target team before changing notification destinations.
Check the result
- Check the saved destination and actual delivery activity; a configuration form does not demonstrate a Teams post.
If this screen is unavailable
- If no records appear, clear active filters and confirm the workspace and your access before creating a duplicate.
- If saving fails or a conflict appears, keep a copy of your intended changes, reopen the current record and review it before submitting again.
Agent key configuration / New
Agent key configuration for the selected account, workspace or record.
Access
- Default workspace roles for opening this screen: Super Admin, Admin. Custom role settings, the current workspace, plan and record sharing can further restrict access.
- Opening a screen does not grant every action on it. Changes, exports and lifecycle actions can require additional permissions.
Controls and information
- Agent product
- scope
- expiry
- key state
Steps for this screen
- Choose the intended agent product and authorised scope before issuing a key. Keep the generated value private.
- Complete the required fields. Review linked records, dates and any recipient or customer selection.
- Use the form’s create or save action once and wait for its result. Cancel to leave without submitting.
Check the result
- Confirm the intended native agent can check in; key creation alone does not demonstrate enrolment.
- Open the newly created record from the resulting list or confirmation and check the saved values.
If this screen is unavailable
- If no records appear, clear active filters and confirm the workspace and your access before creating a duplicate.
- If saving fails or a conflict appears, keep a copy of your intended changes, reopen the current record and review it before submitting again.
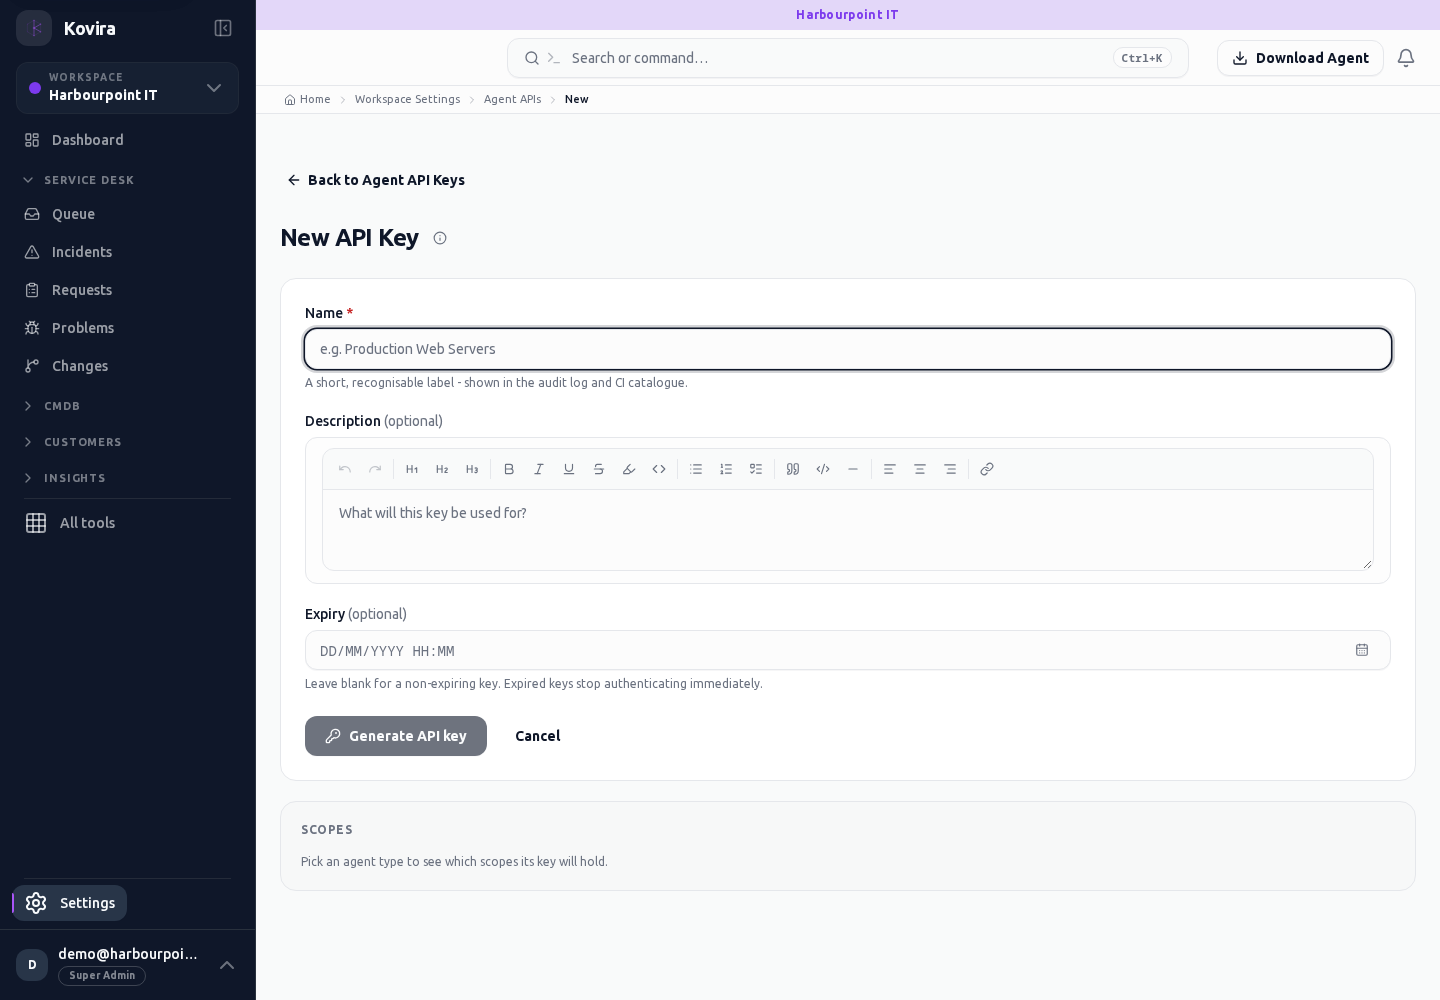
Agent key configuration
Agent key configuration for the selected account, workspace or record.
Access
- Default workspace roles for opening this screen: Super Admin, Admin. Custom role settings, the current workspace, plan and record sharing can further restrict access.
- Opening a screen does not grant every action on it. Changes, exports and lifecycle actions can require additional permissions.
Controls and information
- Agent product
- scope
- expiry
- key state
Steps for this screen
- Choose the intended agent product and authorised scope before issuing a key. Keep the generated value private.
Check the result
- Confirm the intended native agent can check in; key creation alone does not demonstrate enrolment.
If this screen is unavailable
- If no records appear, clear active filters and confirm the workspace and your access before creating a duplicate.
- If saving fails or a conflict appears, keep a copy of your intended changes, reopen the current record and review it before submitting again.
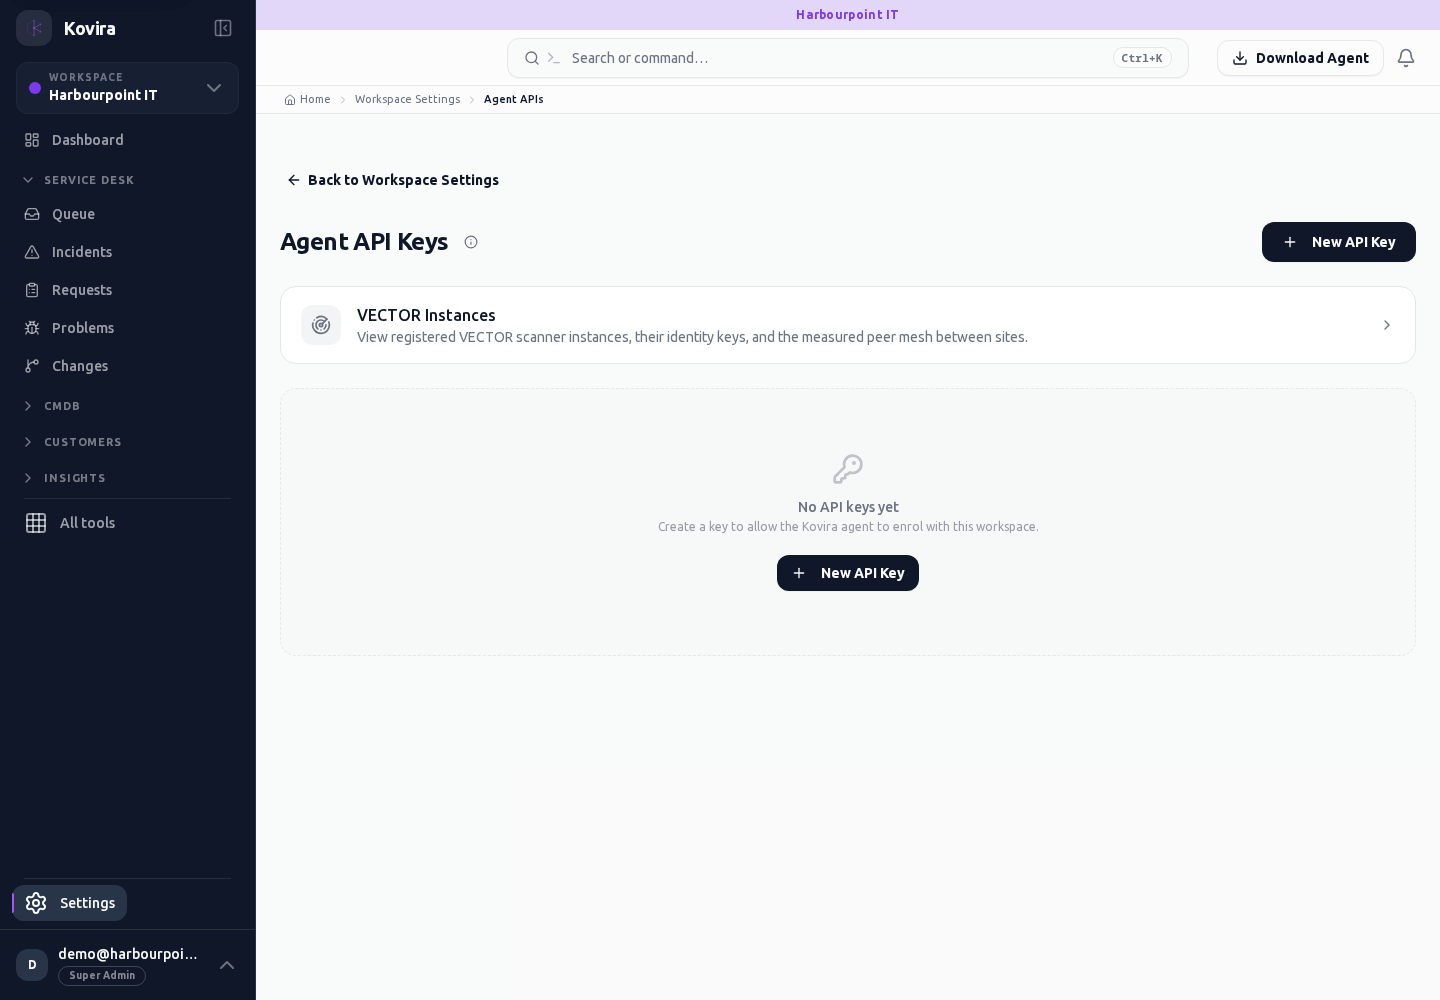
API keys
API keys for the selected account, workspace or record.
Access
- Default workspace roles for opening this screen: Super Admin, Admin. Custom role settings, the current workspace, plan and record sharing can further restrict access.
- Opening a screen does not grant every action on it. Changes, exports and lifecycle actions can require additional permissions.
Controls and information
- Key purpose
- permissions
- expiry
- creation and revocation
Steps for this screen
- Review the intended API client and scope before issuing a key. Save its once-shown value privately and keep it out of help screenshots.
Check the result
- Test only the intended authorised operation and confirm expiry/revocation behaviour separately.
If this screen is unavailable
- If no records appear, clear active filters and confirm the workspace and your access before creating a duplicate.
- If saving fails or a conflict appears, keep a copy of your intended changes, reopen the current record and review it before submitting again.
Workspace Settings / Custom Types
Integrations and data exchange. Review this screen in the context of the current workspace and record.
Access
- Default workspace roles for opening this screen: Super Admin, Admin. Custom role settings, the current workspace, plan and record sharing can further restrict access.
- Opening a screen does not grant every action on it. Changes, exports and lifecycle actions can require additional permissions.
Controls and information
- Connection status
- prerequisites
- sync history
- imports
- API access
Steps for this screen
- Confirm the target workspace and connection owner. Review the permissions and prerequisites before connecting or importing.
Check the result
- Check the actual connection, sync or import result. An empty configuration is not a successful connection or collector check-in.
If this screen is unavailable
- If no records appear, clear active filters and confirm the workspace and your access before creating a duplicate.
- If saving fails or a conflict appears, keep a copy of your intended changes, reopen the current record and review it before submitting again.
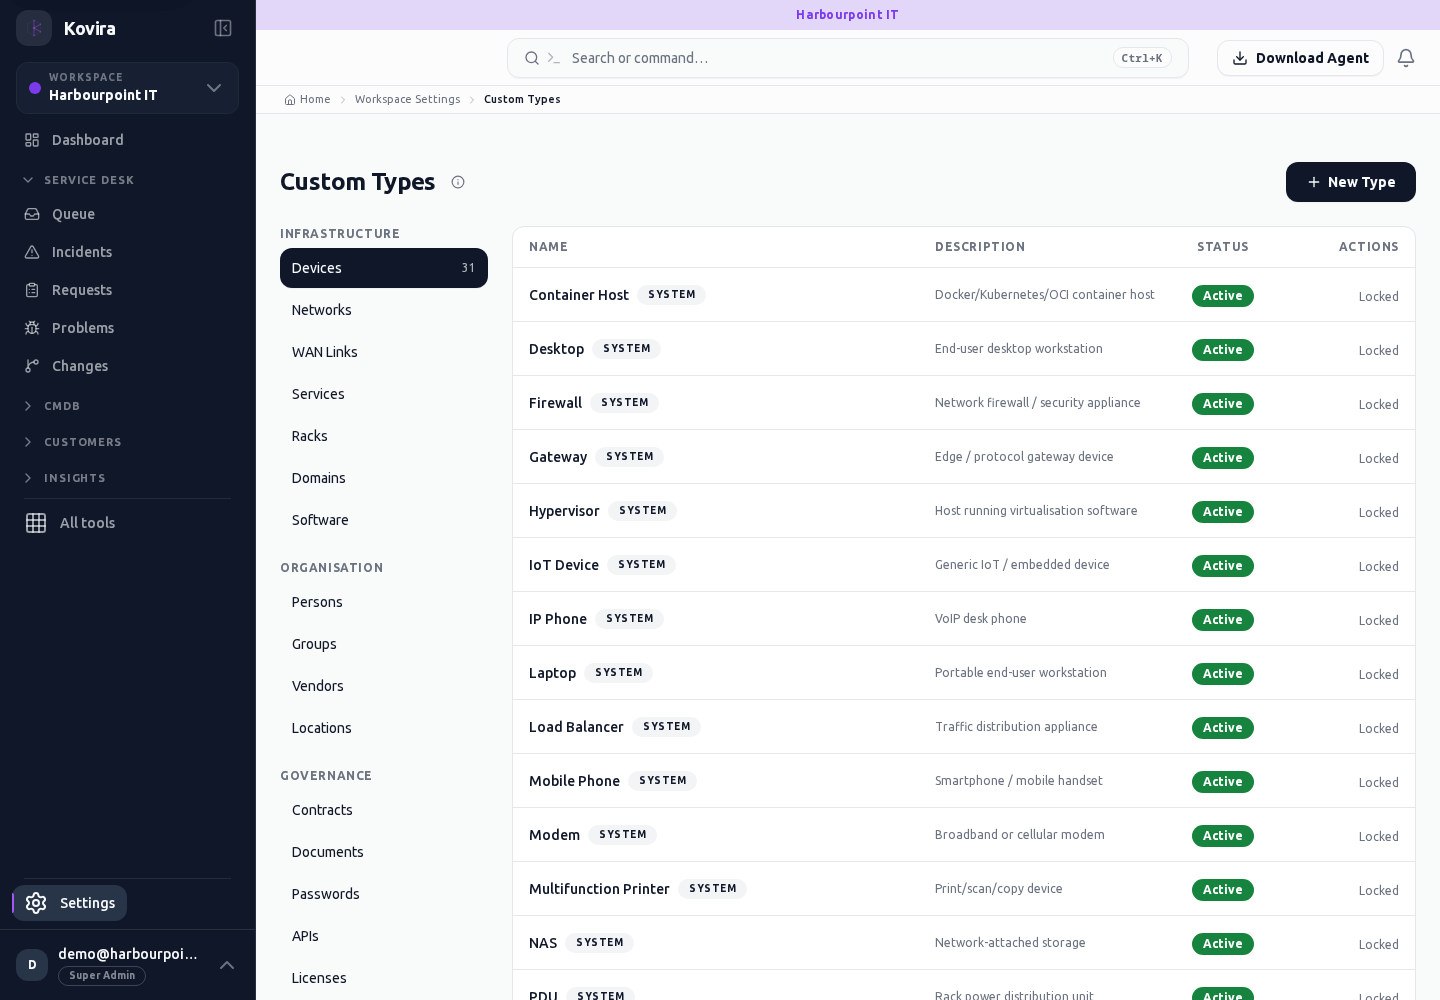
Workspace data export
Workspace data export for the selected account, workspace or record.
Access
- Default workspace roles for opening this screen: Super Admin, Admin. Custom role settings, the current workspace, plan and record sharing can further restrict access.
- Opening a screen does not grant every action on it. Changes, exports and lifecycle actions can require additional permissions.
Controls and information
- Export selection
- request state
- available download
Steps for this screen
- Review the intended workspace and export scope before requesting a file.
Check the result
- Check the completed export and store it in an approved location.
If this screen is unavailable
- If no records appear, clear active filters and confirm the workspace and your access before creating a duplicate.
- If saving fails or a conflict appears, keep a copy of your intended changes, reopen the current record and review it before submitting again.
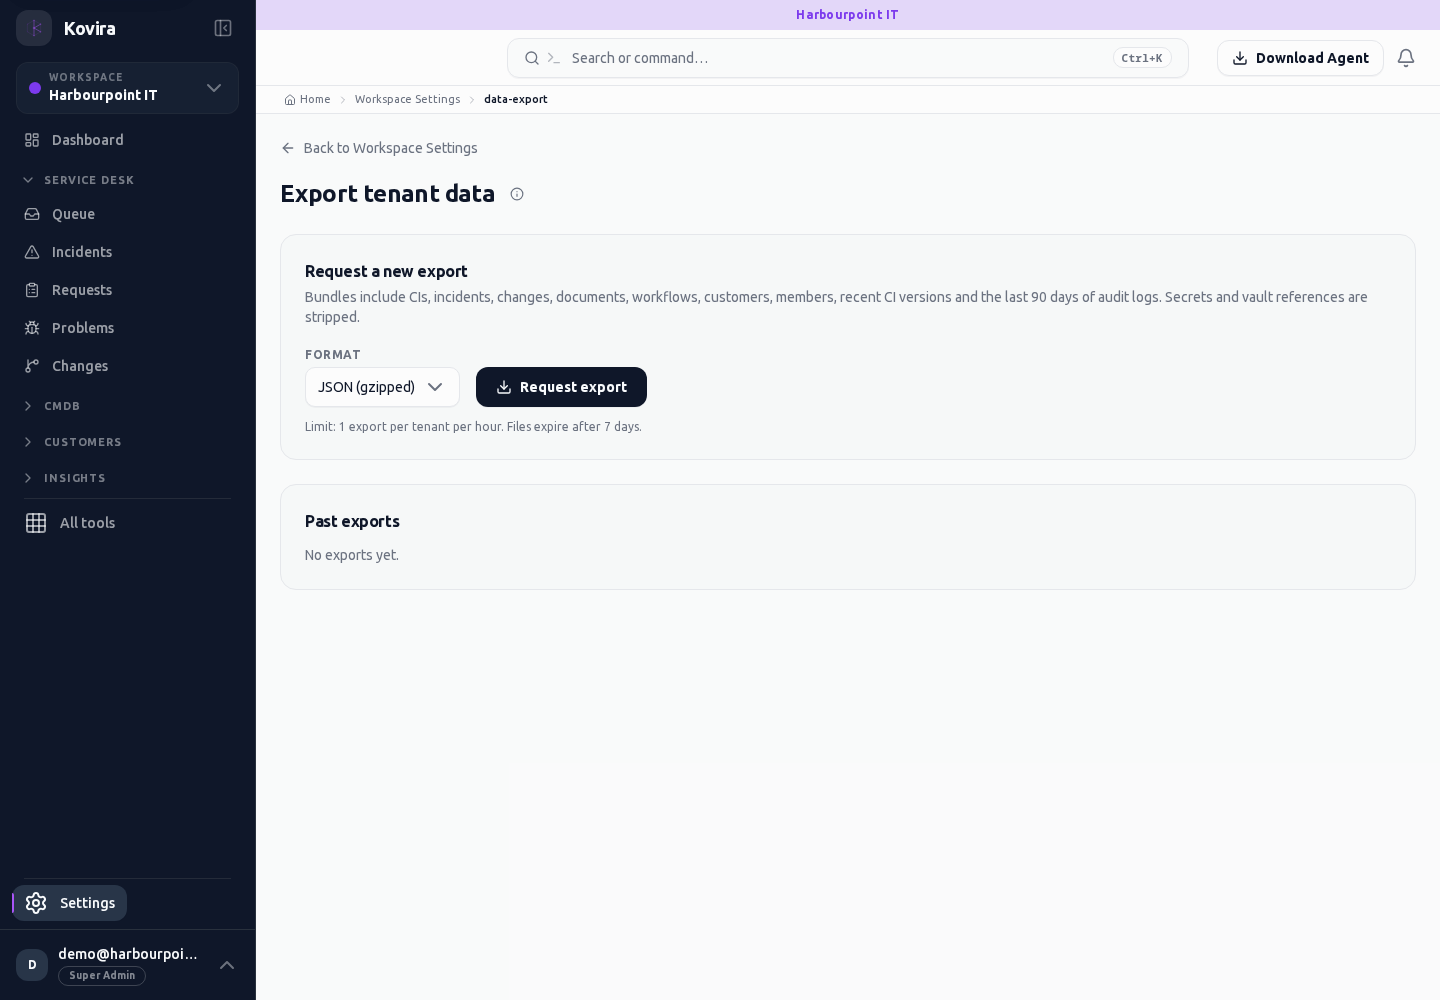
Workspace data import
Workspace data import for the selected account, workspace or record.
Access
- Default workspace roles for opening this screen: Super Admin, Admin. Custom role settings, the current workspace, plan and record sharing can further restrict access.
- Opening a screen does not grant every action on it. Changes, exports and lifecycle actions can require additional permissions.
Controls and information
- Import file
- mapping
- validation
- result summary
Steps for this screen
- Use the supported format and review mapped fields and validation before submitting a small sample.
Check the result
- Inspect created, updated and rejected rows before importing the remaining data.
If this screen is unavailable
- If no records appear, clear active filters and confirm the workspace and your access before creating a duplicate.
- If saving fails or a conflict appears, keep a copy of your intended changes, reopen the current record and review it before submitting again.
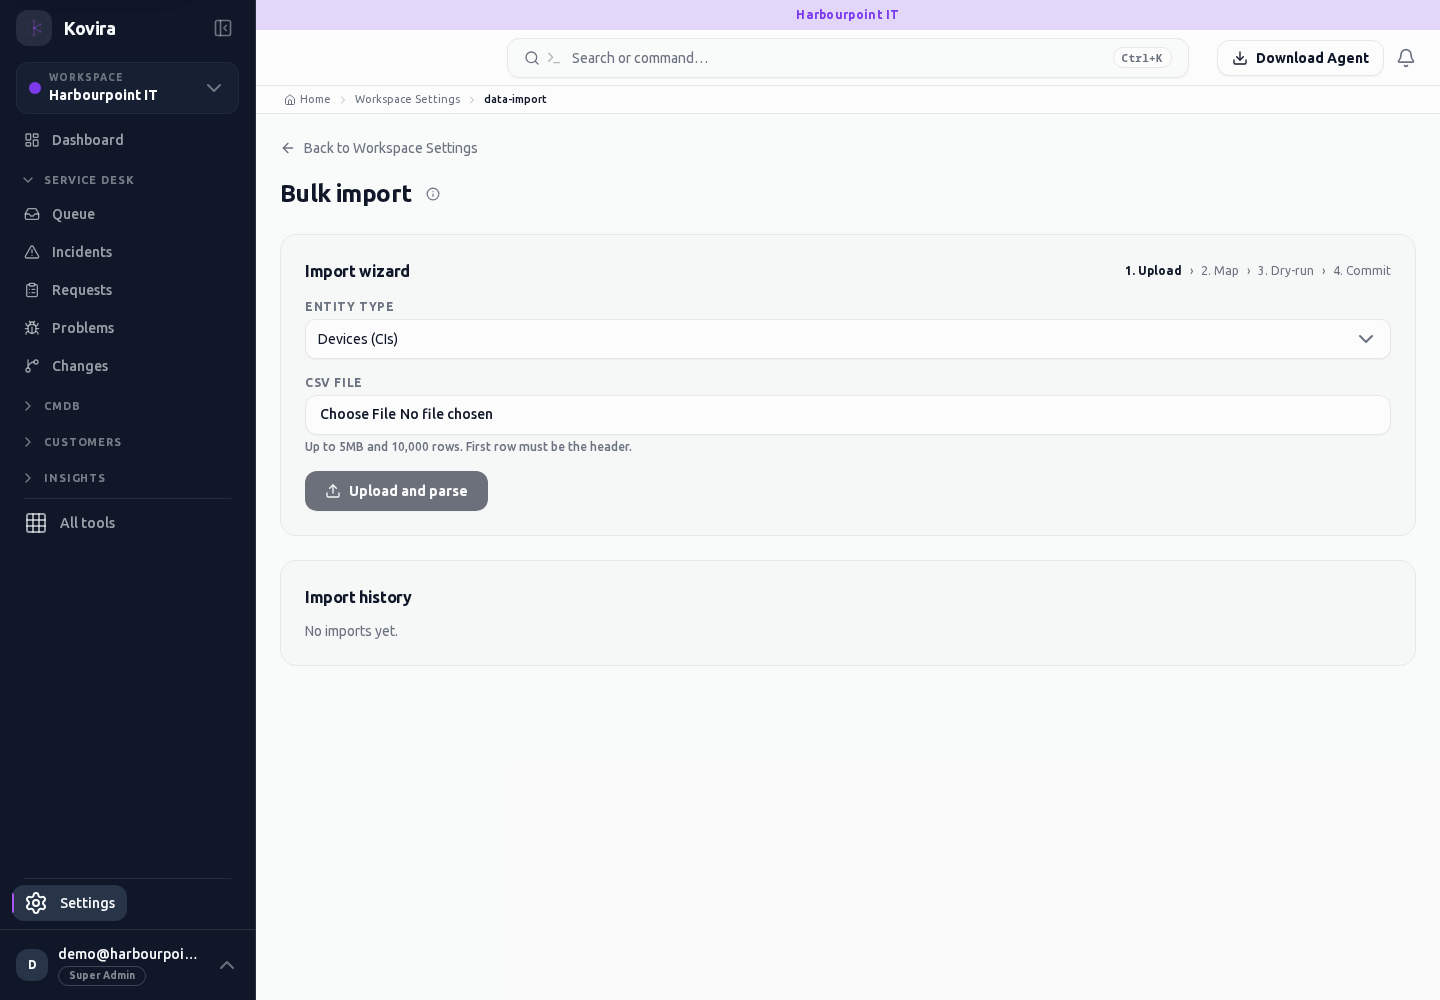
Workspace error history
Workspace error history for the selected account, workspace or record.
Access
- Default workspace roles for opening this screen: Super Admin, Admin. Custom role settings, the current workspace, plan and record sharing can further restrict access.
- Opening a screen does not grant every action on it. Changes, exports and lifecycle actions can require additional permissions.
Controls and information
- Error entries
- time
- visible support reference
Steps for this screen
- Review the error period and affected operation. Keep the displayed support reference when asking for help.
Check the result
- Distinguish a historical error entry from a currently failing operation and verify recovery separately.
If this screen is unavailable
- If no records appear, clear active filters and confirm the workspace and your access before creating a duplicate.
- If saving fails or a conflict appears, keep a copy of your intended changes, reopen the current record and review it before submitting again.
Workspace integrations / Details
Workspace integrations for the selected account, workspace or record.
Access
- Default workspace roles for opening this screen: Super Admin, Admin. Custom role settings, the current workspace, plan and record sharing can further restrict access.
- Opening a screen does not grant every action on it. Changes, exports and lifecycle actions can require additional permissions.
Controls and information
- Provider setup
- scanner administration
- connection status
Steps for this screen
- Choose the relevant provider or scanner. Review setup requirements before connecting or generating a credential.
- Read the summary, current state and related records. Review the action and its prerequisites before changing the record.
Check the result
- Check actual connection/check-in history; an empty configuration is not installation, consent or synchronisation proof.
If this screen is unavailable
- If the record is unavailable, return to its list and confirm the workspace and link. Ask an administrator to check record access before creating a replacement.
- If saving fails or a conflict appears, keep a copy of your intended changes, reopen the current record and review it before submitting again.
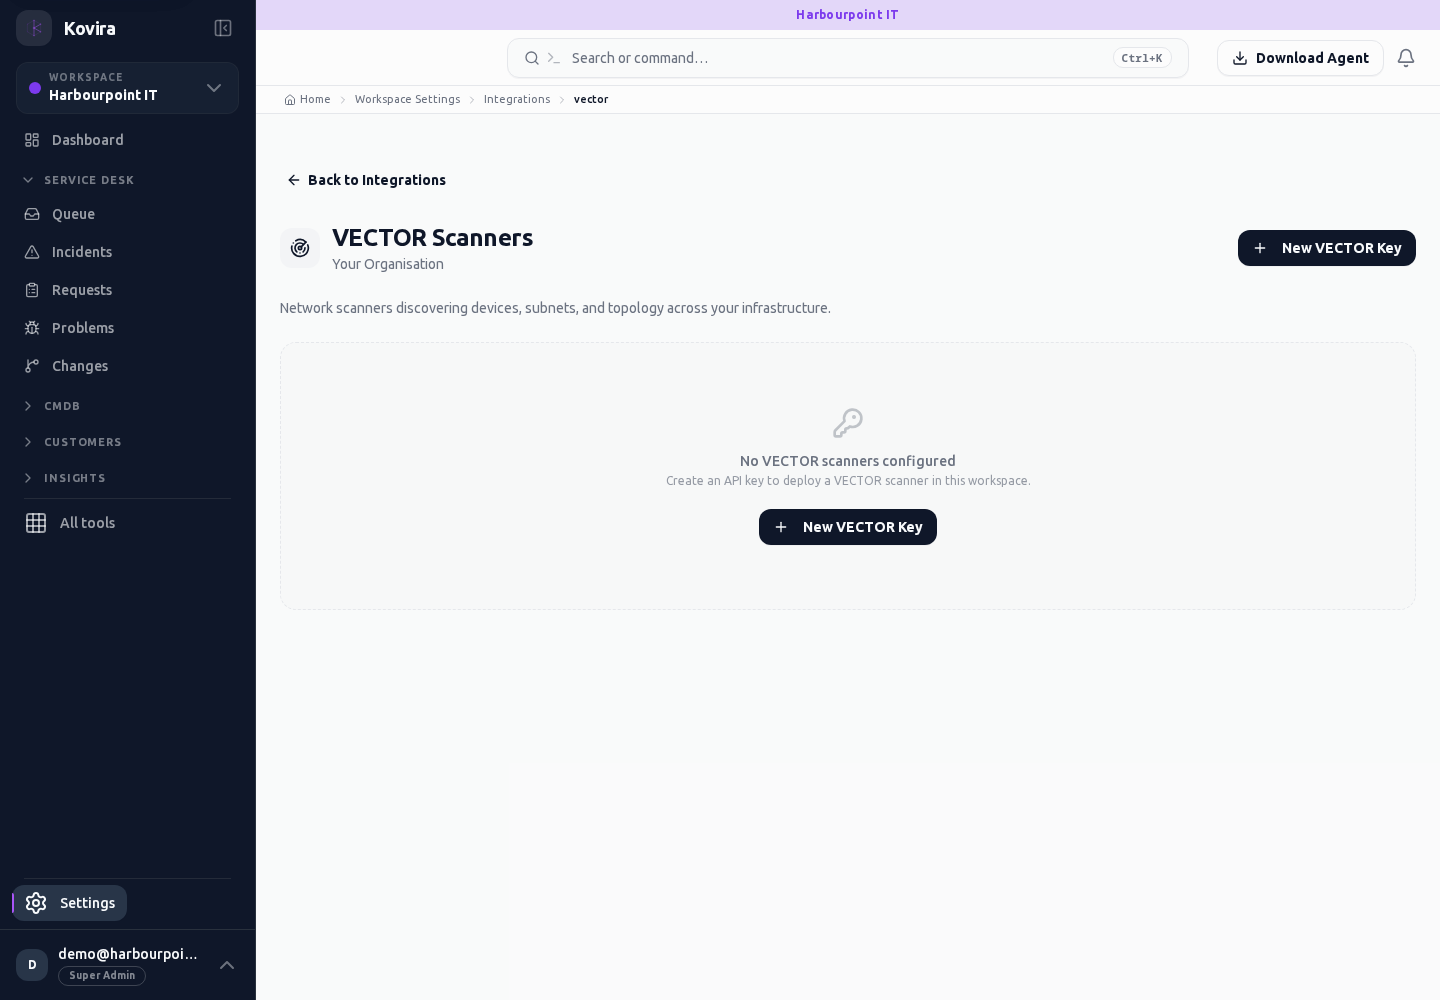
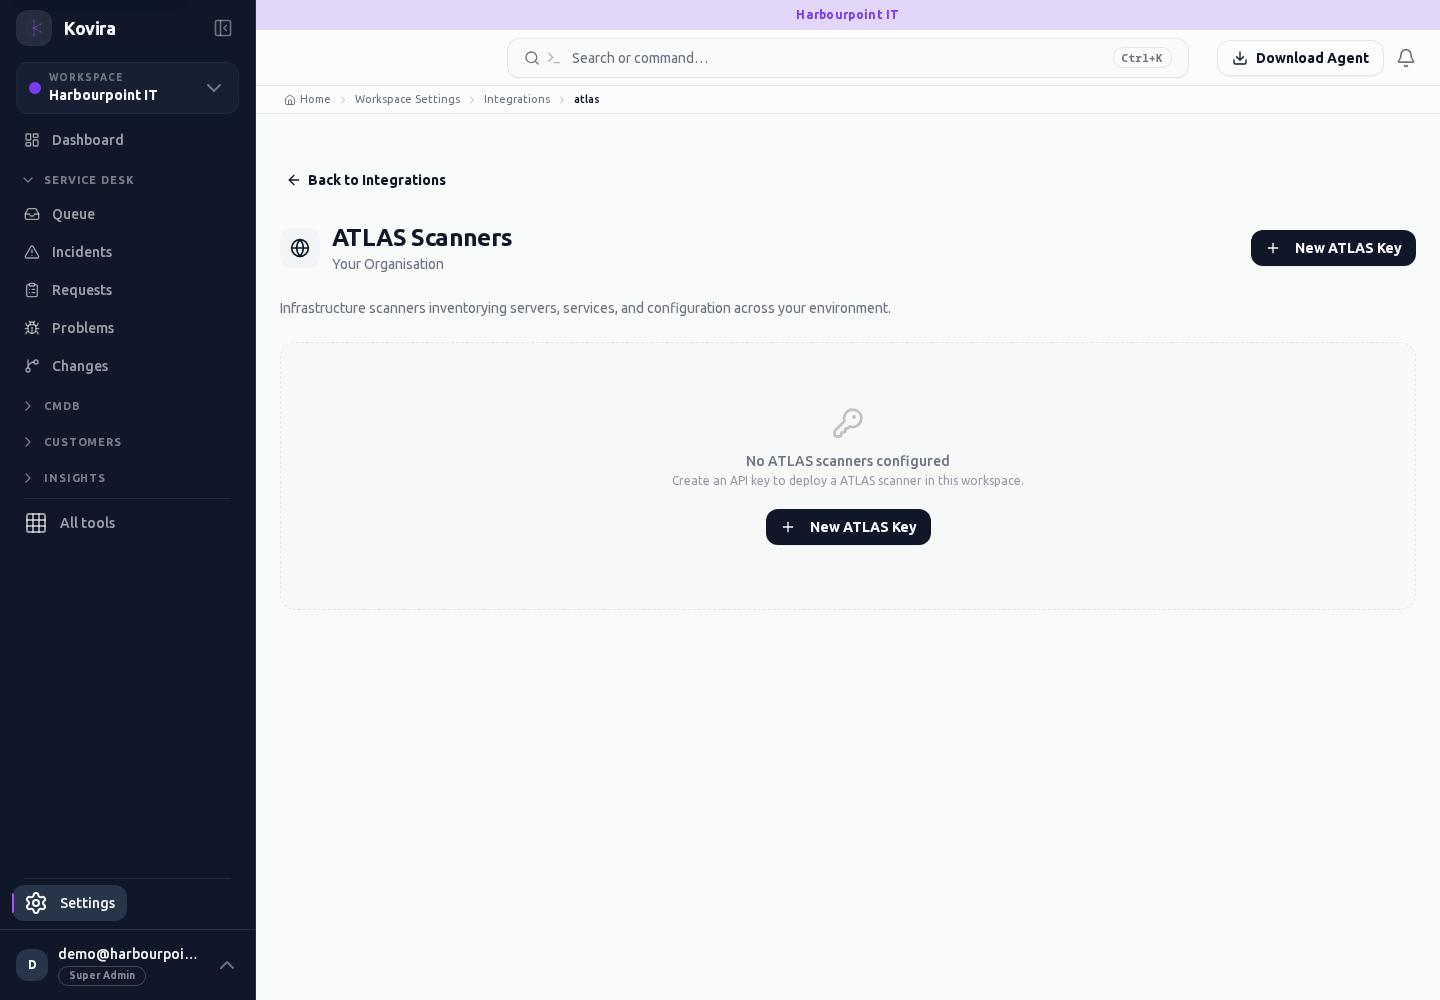
Workspace integrations
Workspace integrations for the selected account, workspace or record.
Access
- Default workspace roles for opening this screen: Super Admin, Admin. Custom role settings, the current workspace, plan and record sharing can further restrict access.
- Opening a screen does not grant every action on it. Changes, exports and lifecycle actions can require additional permissions.
Controls and information
- Provider setup
- scanner administration
- connection status
Steps for this screen
- Choose the relevant provider or scanner. Review setup requirements before connecting or generating a credential.
Check the result
- Check actual connection/check-in history; an empty configuration is not installation, consent or synchronisation proof.
If this screen is unavailable
- If no records appear, clear active filters and confirm the workspace and your access before creating a duplicate.
- If saving fails or a conflict appears, keep a copy of your intended changes, reopen the current record and review it before submitting again.
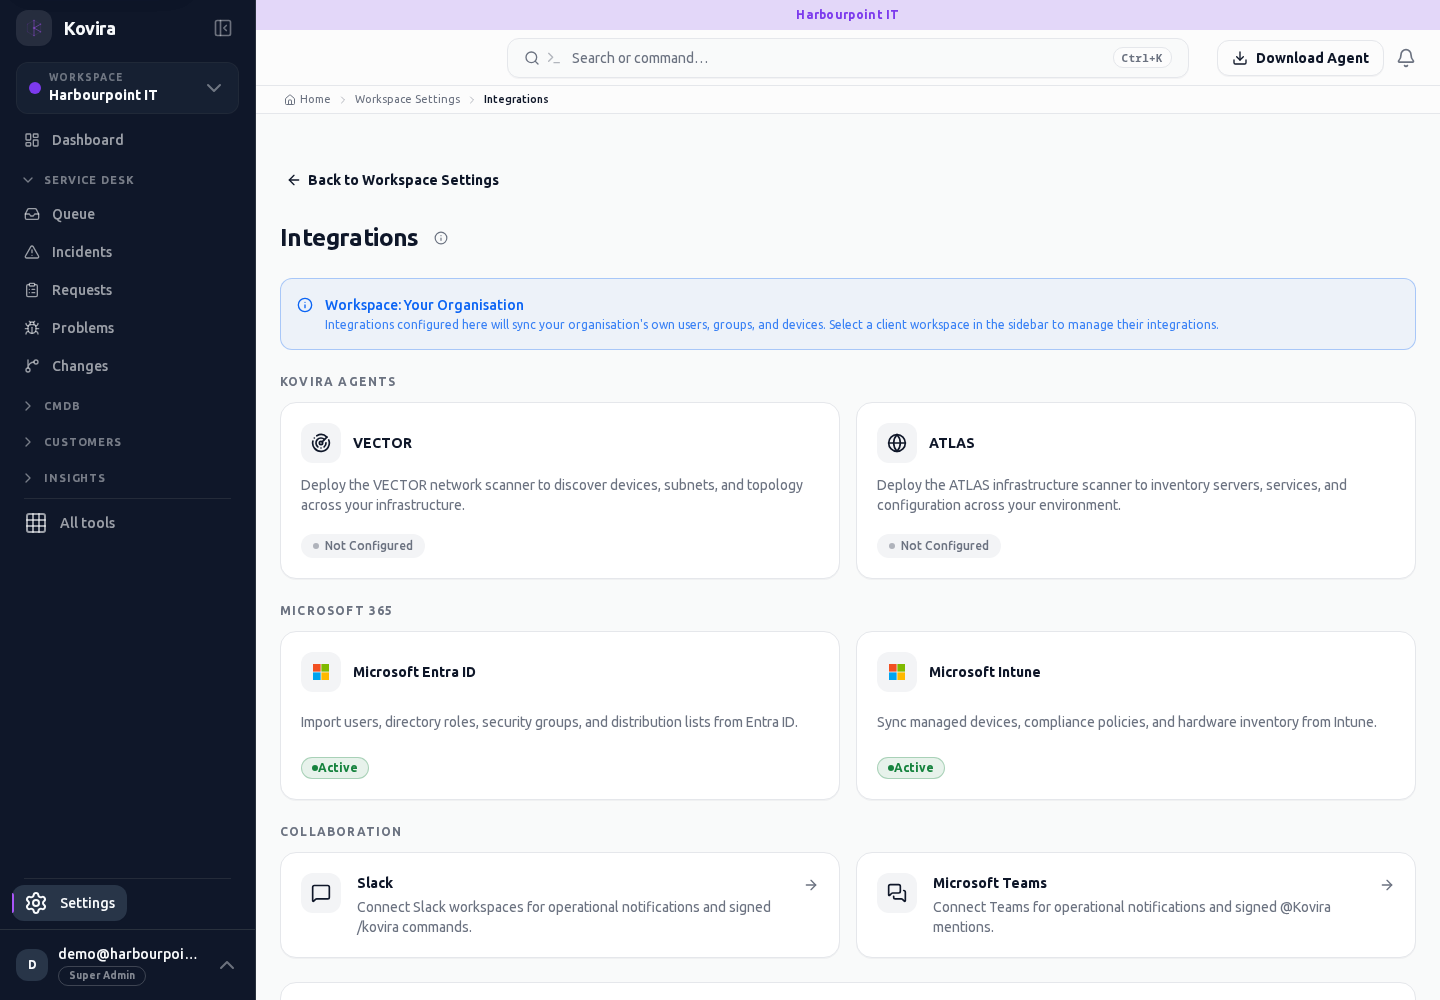
Network anomalies
Network anomalies for the selected account, workspace or record.
Access
- Your current workspace role, plan and record access determine whether this screen and its actions are available. Ask an administrator if the required action is missing.
Controls and information
- Anomaly list
- affected links or devices
- observation time
Steps for this screen
- Review the affected network records and observation time before taking a corrective action.
Check the result
- Compare the finding with current network evidence; a reported anomaly is not a confirmed root cause.
If this screen is unavailable
- If no records appear, clear active filters and confirm the workspace and your access before creating a duplicate.
- If saving fails or a conflict appears, keep a copy of your intended changes, reopen the current record and review it before submitting again.
Workspace memberships
Workspace memberships for the selected account, workspace or record.
Access
- Default workspace roles for opening this screen: Super Admin, Admin. Custom role settings, the current workspace, plan and record sharing can further restrict access.
- Opening a screen does not grant every action on it. Changes, exports and lifecycle actions can require additional permissions.
Controls and information
- Member
- role
- state
- licence
Steps for this screen
- Review the current membership and intended responsibilities before changing role or licence.
Check the result
- Check the saved membership and access with the affected account.
If this screen is unavailable
- If no records appear, clear active filters and confirm the workspace and your access before creating a duplicate.
- If saving fails or a conflict appears, keep a copy of your intended changes, reopen the current record and review it before submitting again.
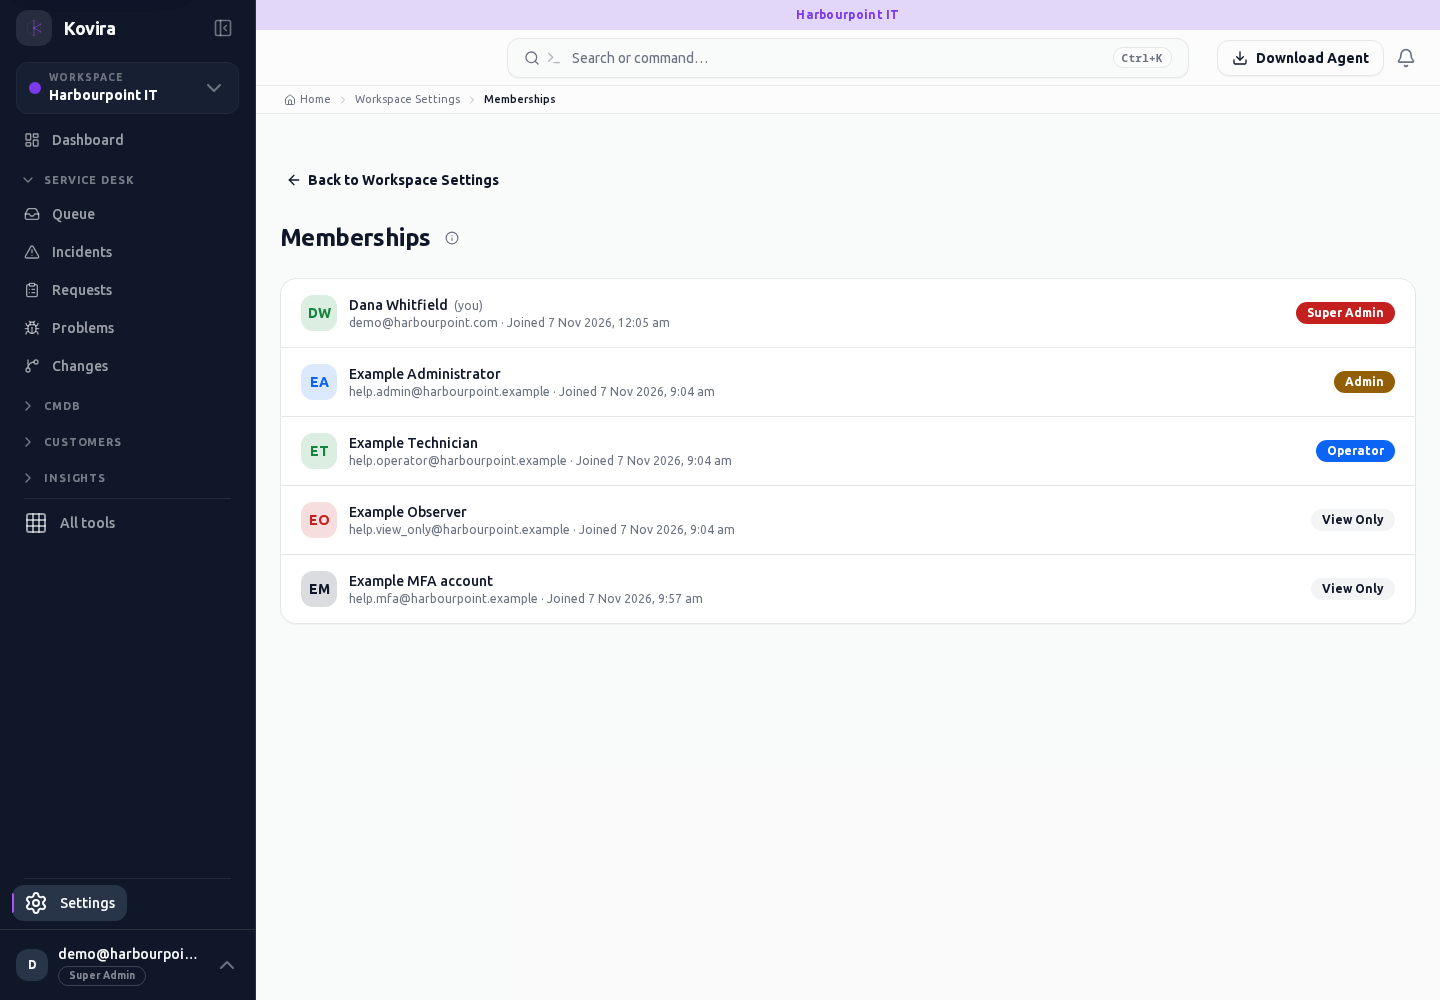
Monitored mailboxes / Details
Monitored mailboxes for the selected account, workspace or record.
Access
- Default workspace roles for opening this screen: Super Admin, Admin. Custom role settings, the current workspace, plan and record sharing can further restrict access.
- Opening a screen does not grant every action on it. Changes, exports and lifecycle actions can require additional permissions.
Controls and information
- Connection state
- overview
- activity
- routing
- allowed and blocked senders
Steps for this screen
- Choose the mailbox and review its current connection and customer scope. Read the relevant tab before changing routing or sender rules.
- Read the summary, current state and related records. Review the action and its prerequisites before changing the record.
Check the result
- Check actual processing activity after an authorised connection; a disconnected example is not successful mailbox synchronisation.
If this screen is unavailable
- If the record is unavailable, return to its list and confirm the workspace and link. Ask an administrator to check record access before creating a replacement.
- If saving fails or a conflict appears, keep a copy of your intended changes, reopen the current record and review it before submitting again.
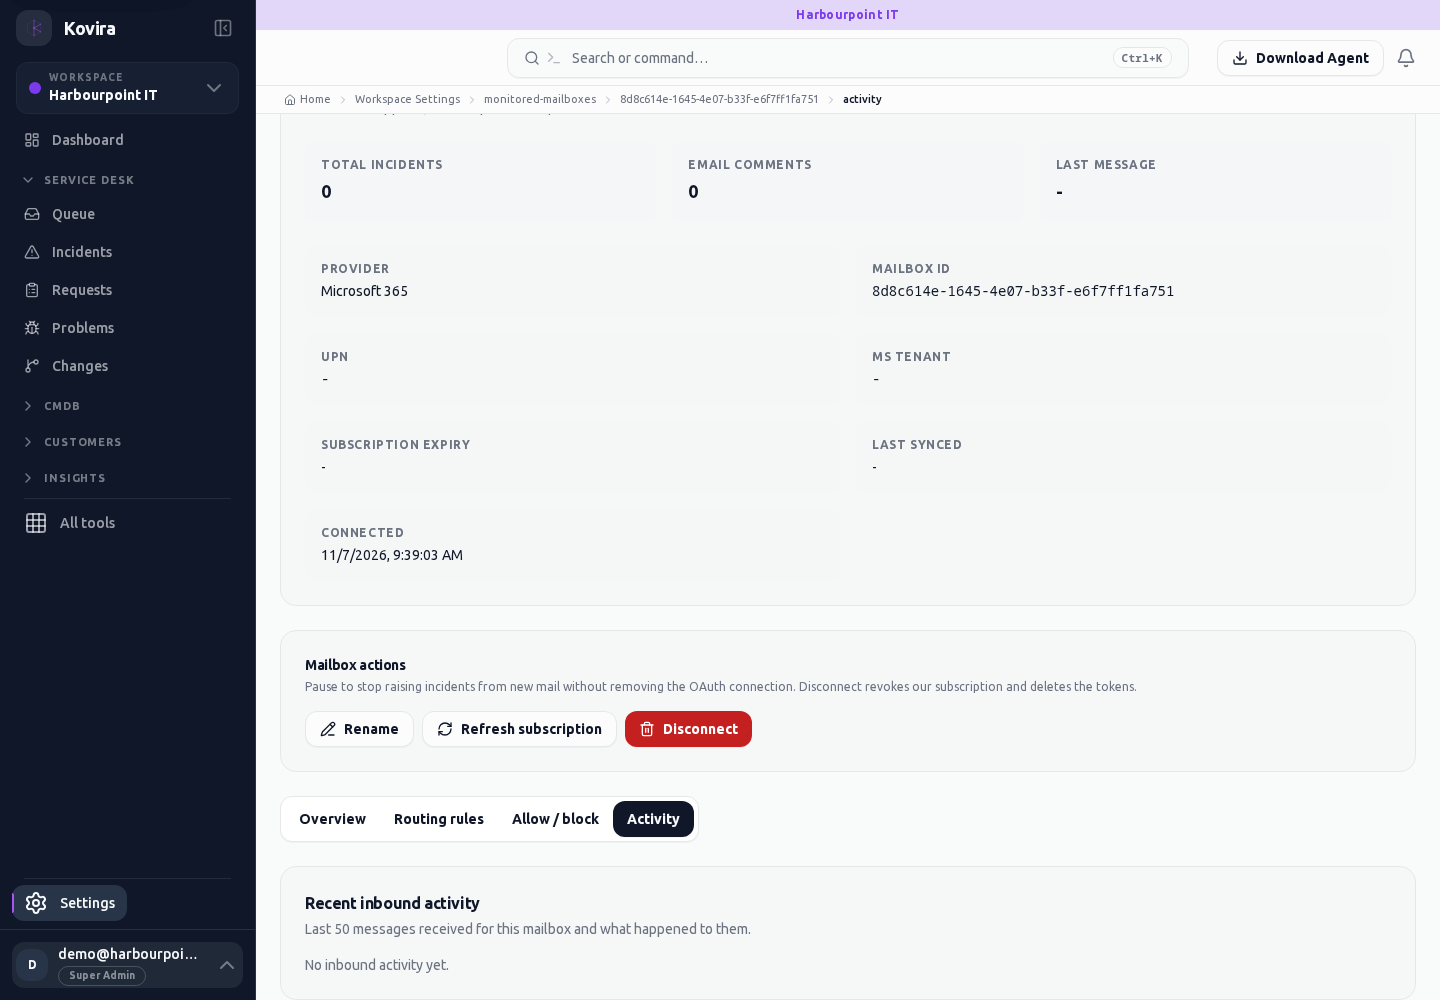
Monitored mailboxes / Details
Monitored mailboxes for the selected account, workspace or record.
Access
- Default workspace roles for opening this screen: Super Admin, Admin. Custom role settings, the current workspace, plan and record sharing can further restrict access.
- Opening a screen does not grant every action on it. Changes, exports and lifecycle actions can require additional permissions.
Controls and information
- Connection state
- overview
- activity
- routing
- allowed and blocked senders
Steps for this screen
- Choose the mailbox and review its current connection and customer scope. Read the relevant tab before changing routing or sender rules.
- Read the summary, current state and related records. Review the action and its prerequisites before changing the record.
Check the result
- Check actual processing activity after an authorised connection; a disconnected example is not successful mailbox synchronisation.
If this screen is unavailable
- If the record is unavailable, return to its list and confirm the workspace and link. Ask an administrator to check record access before creating a replacement.
- If saving fails or a conflict appears, keep a copy of your intended changes, reopen the current record and review it before submitting again.
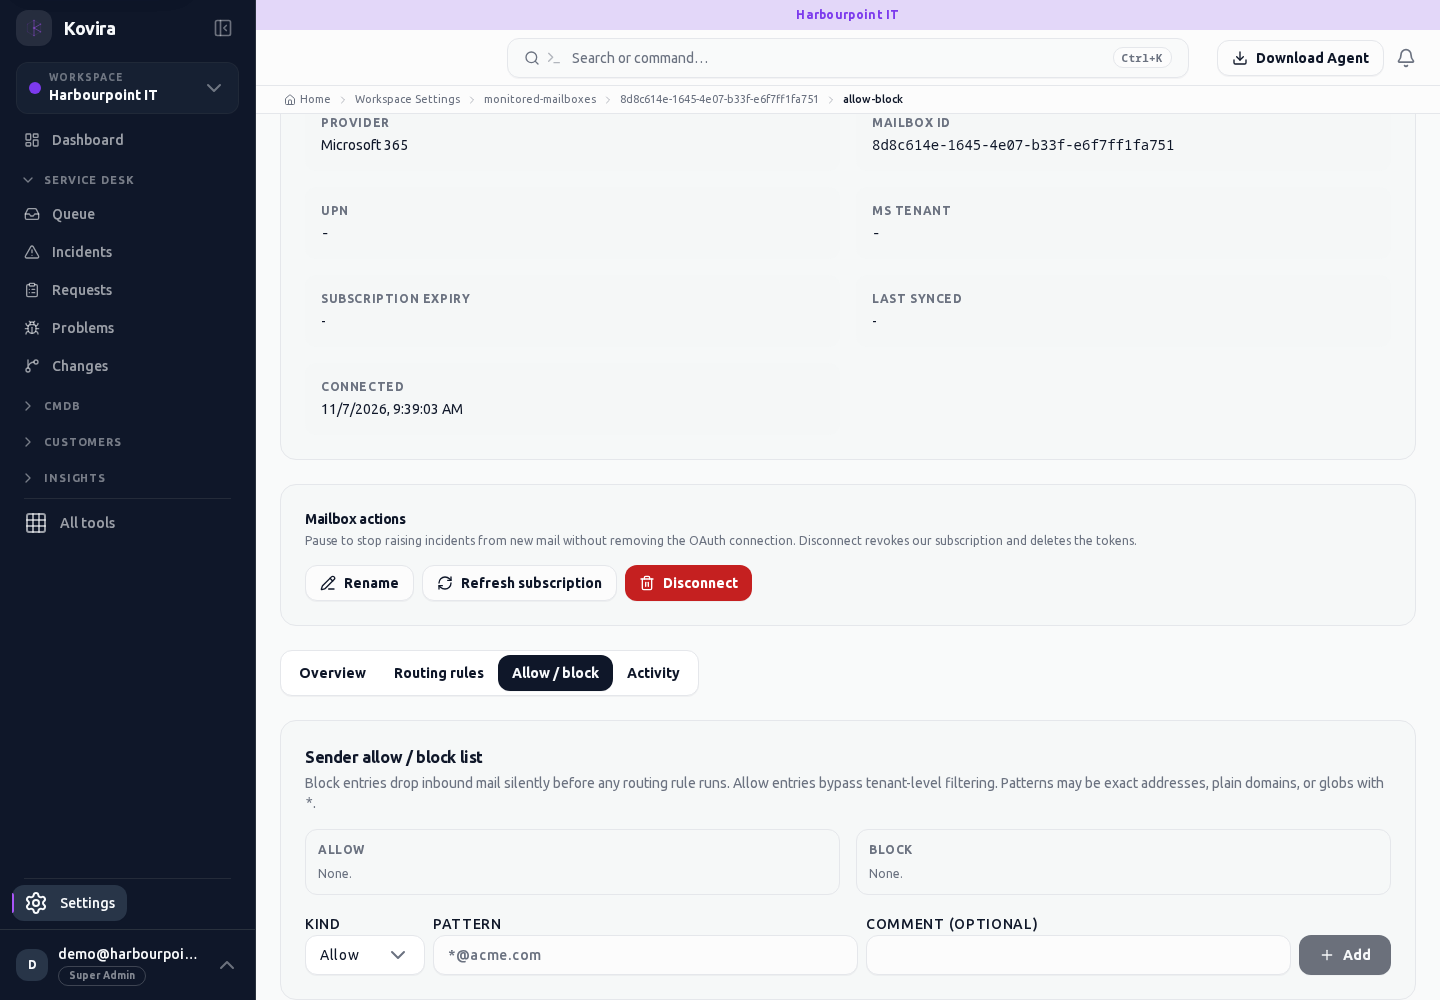
Monitored mailboxes / Details
Monitored mailboxes for the selected account, workspace or record.
Access
- Default workspace roles for opening this screen: Super Admin, Admin. Custom role settings, the current workspace, plan and record sharing can further restrict access.
- Opening a screen does not grant every action on it. Changes, exports and lifecycle actions can require additional permissions.
Controls and information
- Connection state
- overview
- activity
- routing
- allowed and blocked senders
Steps for this screen
- Choose the mailbox and review its current connection and customer scope. Read the relevant tab before changing routing or sender rules.
- Read the summary, current state and related records. Review the action and its prerequisites before changing the record.
Check the result
- Check actual processing activity after an authorised connection; a disconnected example is not successful mailbox synchronisation.
If this screen is unavailable
- If the record is unavailable, return to its list and confirm the workspace and link. Ask an administrator to check record access before creating a replacement.
- If saving fails or a conflict appears, keep a copy of your intended changes, reopen the current record and review it before submitting again.
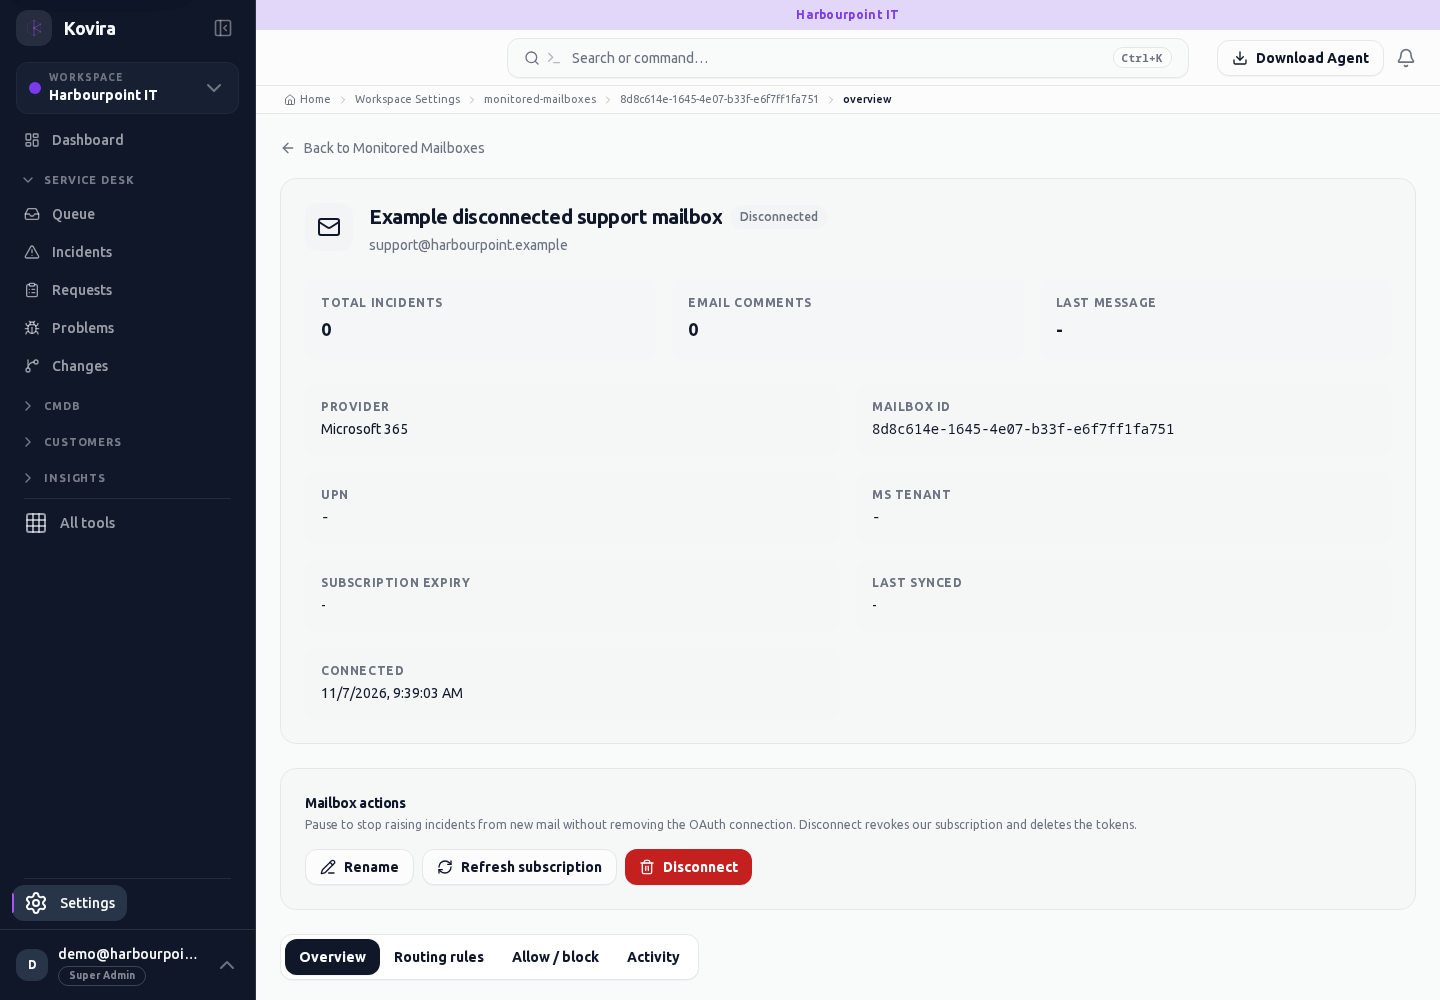
Monitored mailboxes / Details
Monitored mailboxes for the selected account, workspace or record.
Access
- Your current workspace role, plan and record access determine whether this screen and its actions are available. Ask an administrator if the required action is missing.
Controls and information
- Connection state
- overview
- activity
- routing
- allowed and blocked senders
Steps for this screen
- Choose the mailbox and review its current connection and customer scope. Read the relevant tab before changing routing or sender rules.
- This entry opens the corresponding destination screen. Check the heading and continue with the destination’s controls.
Check the result
- Check actual processing activity after an authorised connection; a disconnected example is not successful mailbox synchronisation.
If this screen is unavailable
- If no records appear, clear active filters and confirm the workspace and your access before creating a duplicate.
- If the destination cannot be opened, use its navigation entry and confirm that your role and plan include it.
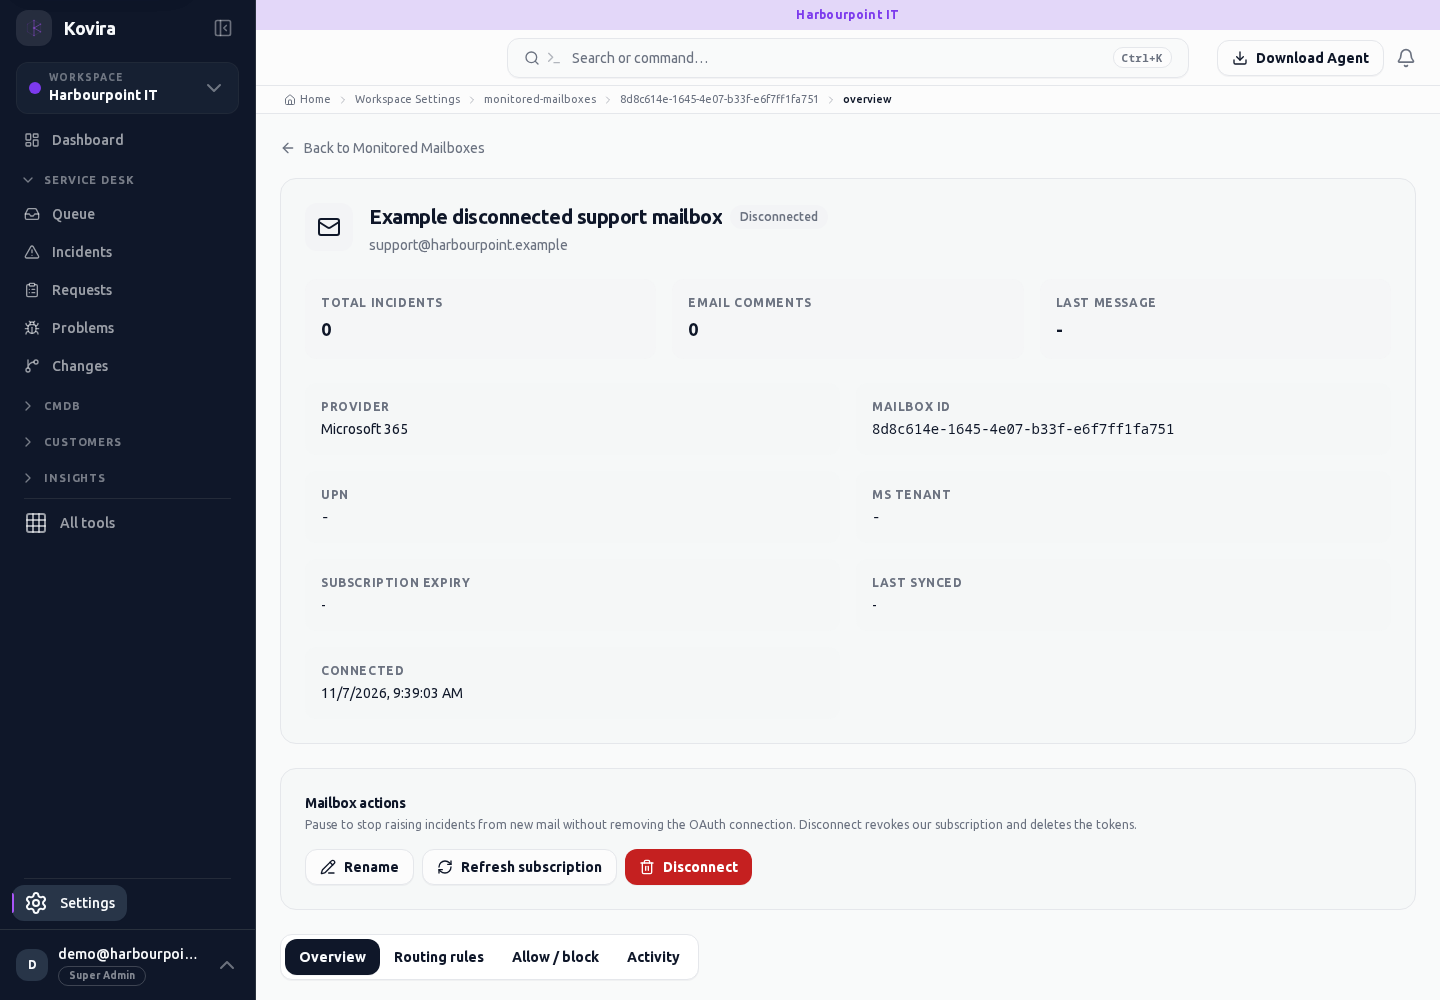
Monitored mailboxes / Details
Monitored mailboxes for the selected account, workspace or record.
Access
- Default workspace roles for opening this screen: Super Admin, Admin. Custom role settings, the current workspace, plan and record sharing can further restrict access.
- Opening a screen does not grant every action on it. Changes, exports and lifecycle actions can require additional permissions.
Controls and information
- Connection state
- overview
- activity
- routing
- allowed and blocked senders
Steps for this screen
- Choose the mailbox and review its current connection and customer scope. Read the relevant tab before changing routing or sender rules.
- Read the summary, current state and related records. Review the action and its prerequisites before changing the record.
Check the result
- Check actual processing activity after an authorised connection; a disconnected example is not successful mailbox synchronisation.
If this screen is unavailable
- If the record is unavailable, return to its list and confirm the workspace and link. Ask an administrator to check record access before creating a replacement.
- If saving fails or a conflict appears, keep a copy of your intended changes, reopen the current record and review it before submitting again.
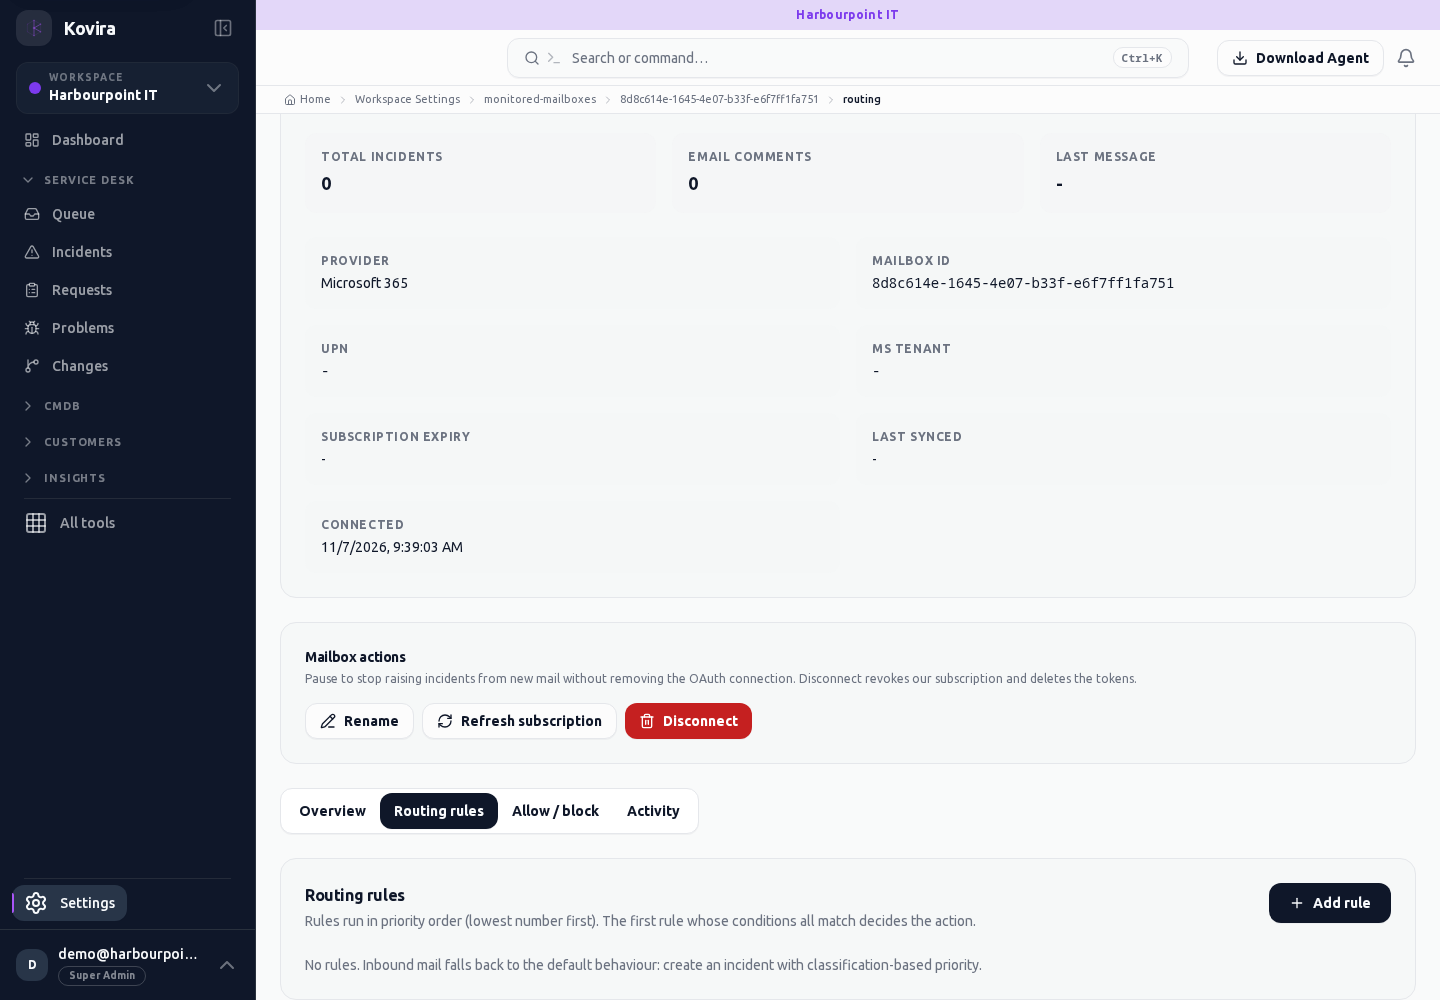
Monitored mailboxes
Monitored mailboxes for the selected account, workspace or record.
Access
- Default workspace roles for opening this screen: Super Admin, Admin. Custom role settings, the current workspace, plan and record sharing can further restrict access.
- Opening a screen does not grant every action on it. Changes, exports and lifecycle actions can require additional permissions.
Controls and information
- Connection state
- overview
- activity
- routing
- allowed and blocked senders
Steps for this screen
- Choose the mailbox and review its current connection and customer scope. Read the relevant tab before changing routing or sender rules.
Check the result
- Check actual processing activity after an authorised connection; a disconnected example is not successful mailbox synchronisation.
If this screen is unavailable
- If no records appear, clear active filters and confirm the workspace and your access before creating a duplicate.
- If saving fails or a conflict appears, keep a copy of your intended changes, reopen the current record and review it before submitting again.
Workspace Settings
Integrations and data exchange. Review this screen in the context of the current workspace and record.
Access
- Default workspace roles for opening this screen: Super Admin, Admin, Operator, View Only. Custom role settings, the current workspace, plan and record sharing can further restrict access.
- Opening a screen does not grant every action on it. Changes, exports and lifecycle actions can require additional permissions.
Controls and information
- Connection status
- prerequisites
- sync history
- imports
- API access
Steps for this screen
- Confirm the target workspace and connection owner. Review the permissions and prerequisites before connecting or importing.
Check the result
- Check the actual connection, sync or import result. An empty configuration is not a successful connection or collector check-in.
If this screen is unavailable
- If no records appear, clear active filters and confirm the workspace and your access before creating a duplicate.
- If saving fails or a conflict appears, keep a copy of your intended changes, reopen the current record and review it before submitting again.
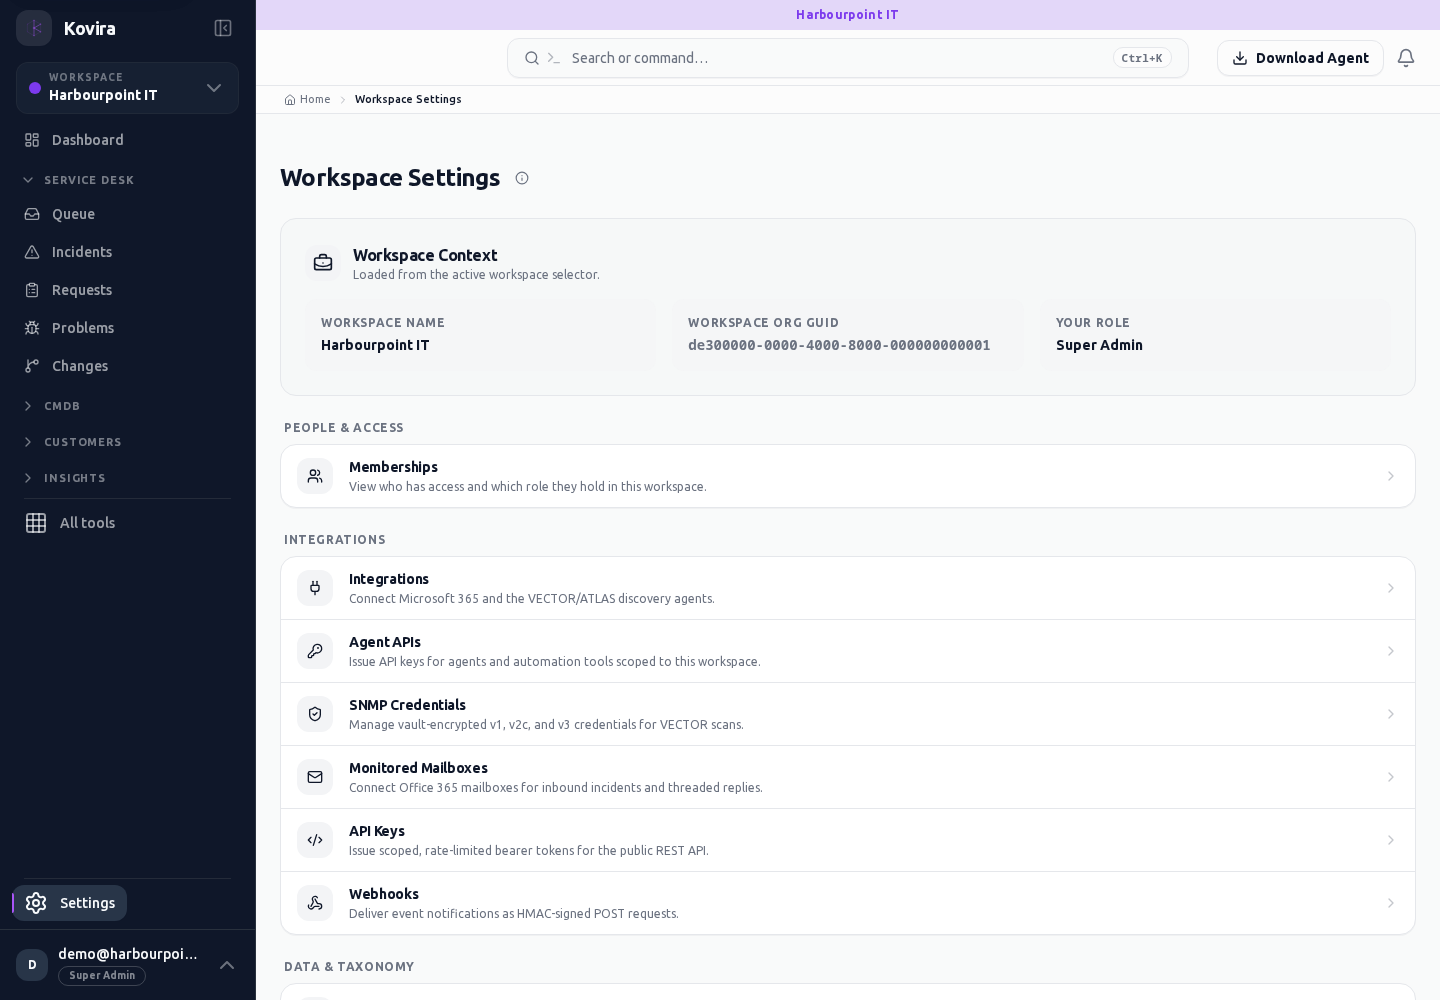
SNMP credential metadata / Details
SNMP credential metadata for the selected account, workspace or record.
Access
- Default workspace roles for opening this screen: Super Admin, Admin. Custom role settings, the current workspace, plan and record sharing can further restrict access.
- Opening a screen does not grant every action on it. Changes, exports and lifecycle actions can require additional permissions.
Controls and information
- Credential label
- version
- target scope
- masked secret fields
Steps for this screen
- Review the credential version and authorised target scope. Use your approved secret-handling process for values and rotation.
- Read the current saved values before editing. Make the intended change and review all affected fields.
- Save once and wait for confirmation. Use Cancel to discard an unsubmitted change.
Check the result
- Check saved metadata without revealing a secret. Native discovery and authentication require separate verification.
- Reopen the record and verify the saved value before making another change.
If this screen is unavailable
- If no records appear, clear active filters and confirm the workspace and your access before creating a duplicate.
- If saving fails or a conflict appears, keep a copy of your intended changes, reopen the current record and review it before submitting again.
SNMP credential metadata / New
SNMP credential metadata for the selected account, workspace or record.
Access
- Default workspace roles for opening this screen: Super Admin, Admin. Custom role settings, the current workspace, plan and record sharing can further restrict access.
- Opening a screen does not grant every action on it. Changes, exports and lifecycle actions can require additional permissions.
Controls and information
- Credential label
- version
- target scope
- masked secret fields
Steps for this screen
- Review the credential version and authorised target scope. Use your approved secret-handling process for values and rotation.
- Complete the required fields. Review linked records, dates and any recipient or customer selection.
- Use the form’s create or save action once and wait for its result. Cancel to leave without submitting.
Check the result
- Check saved metadata without revealing a secret. Native discovery and authentication require separate verification.
- Open the newly created record from the resulting list or confirmation and check the saved values.
If this screen is unavailable
- If no records appear, clear active filters and confirm the workspace and your access before creating a duplicate.
- If saving fails or a conflict appears, keep a copy of your intended changes, reopen the current record and review it before submitting again.
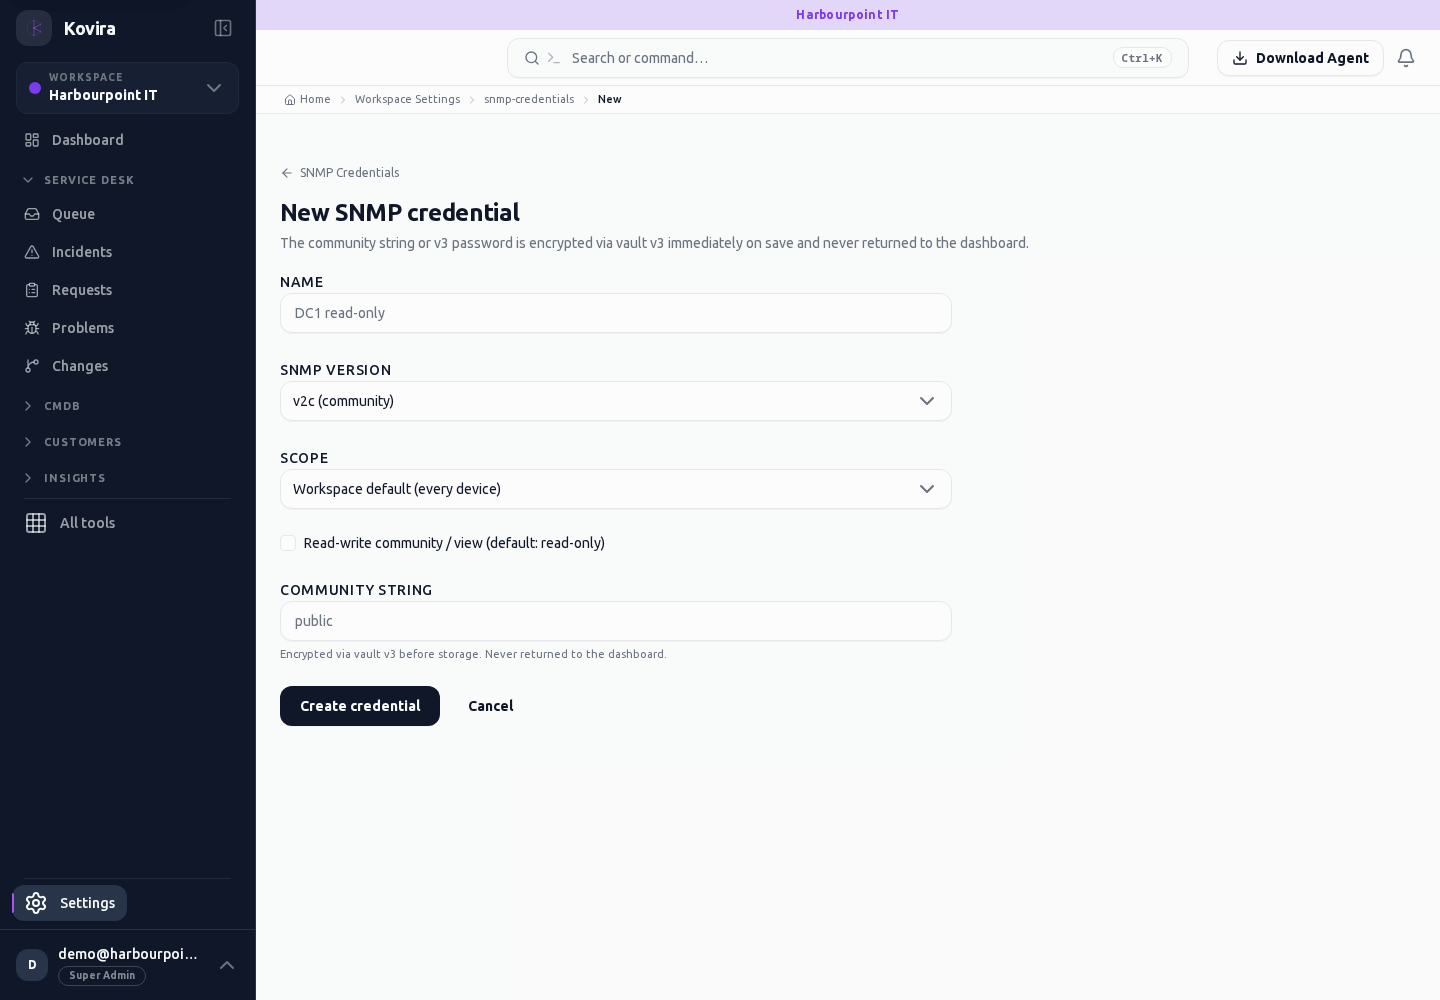
SNMP credential metadata
SNMP credential metadata for the selected account, workspace or record.
Access
- Default workspace roles for opening this screen: Super Admin, Admin. Custom role settings, the current workspace, plan and record sharing can further restrict access.
- Opening a screen does not grant every action on it. Changes, exports and lifecycle actions can require additional permissions.
Controls and information
- Credential label
- version
- target scope
- masked secret fields
Steps for this screen
- Review the credential version and authorised target scope. Use your approved secret-handling process for values and rotation.
Check the result
- Check saved metadata without revealing a secret. Native discovery and authentication require separate verification.
If this screen is unavailable
- If no records appear, clear active filters and confirm the workspace and your access before creating a duplicate.
- If saving fails or a conflict appears, keep a copy of your intended changes, reopen the current record and review it before submitting again.
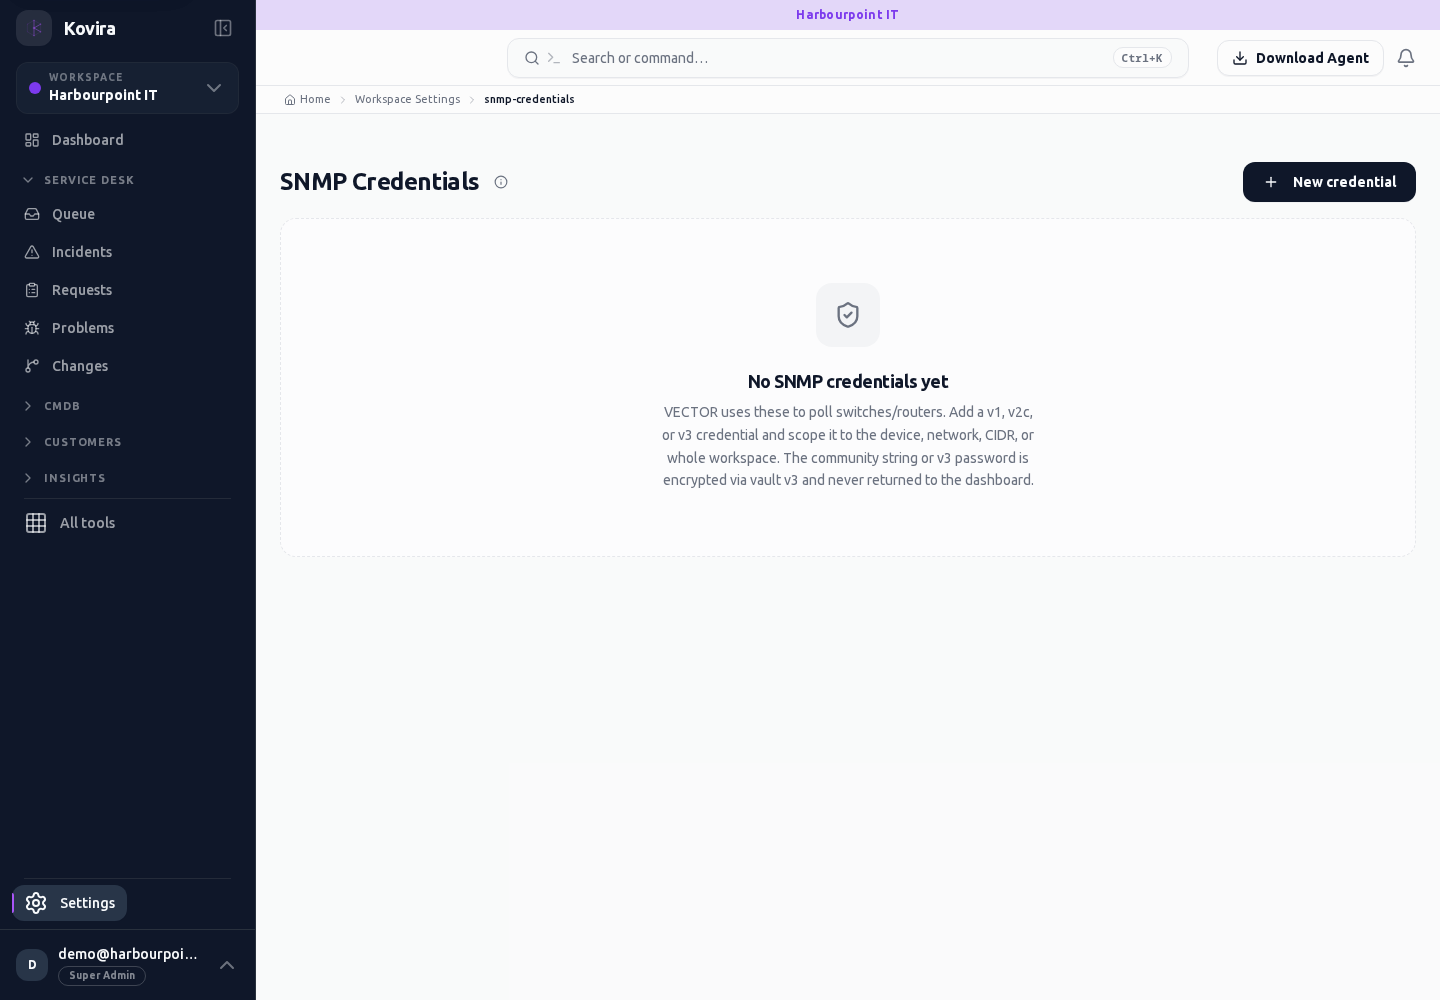
Outbound webhooks
Outbound webhooks for the selected account, workspace or record.
Access
- Default workspace roles for opening this screen: Super Admin, Admin. Custom role settings, the current workspace, plan and record sharing can further restrict access.
- Opening a screen does not grant every action on it. Changes, exports and lifecycle actions can require additional permissions.
Controls and information
- Destination
- event selection
- active state
- delivery history
Steps for this screen
- Review the authorised destination and event types before enabling a subscription. Keep any signing value private.
Check the result
- Inspect an actual delivery outcome; a saved subscription does not demonstrate delivery.
If this screen is unavailable
- If no records appear, clear active filters and confirm the workspace and your access before creating a duplicate.
- If saving fails or a conflict appears, keep a copy of your intended changes, reopen the current record and review it before submitting again.
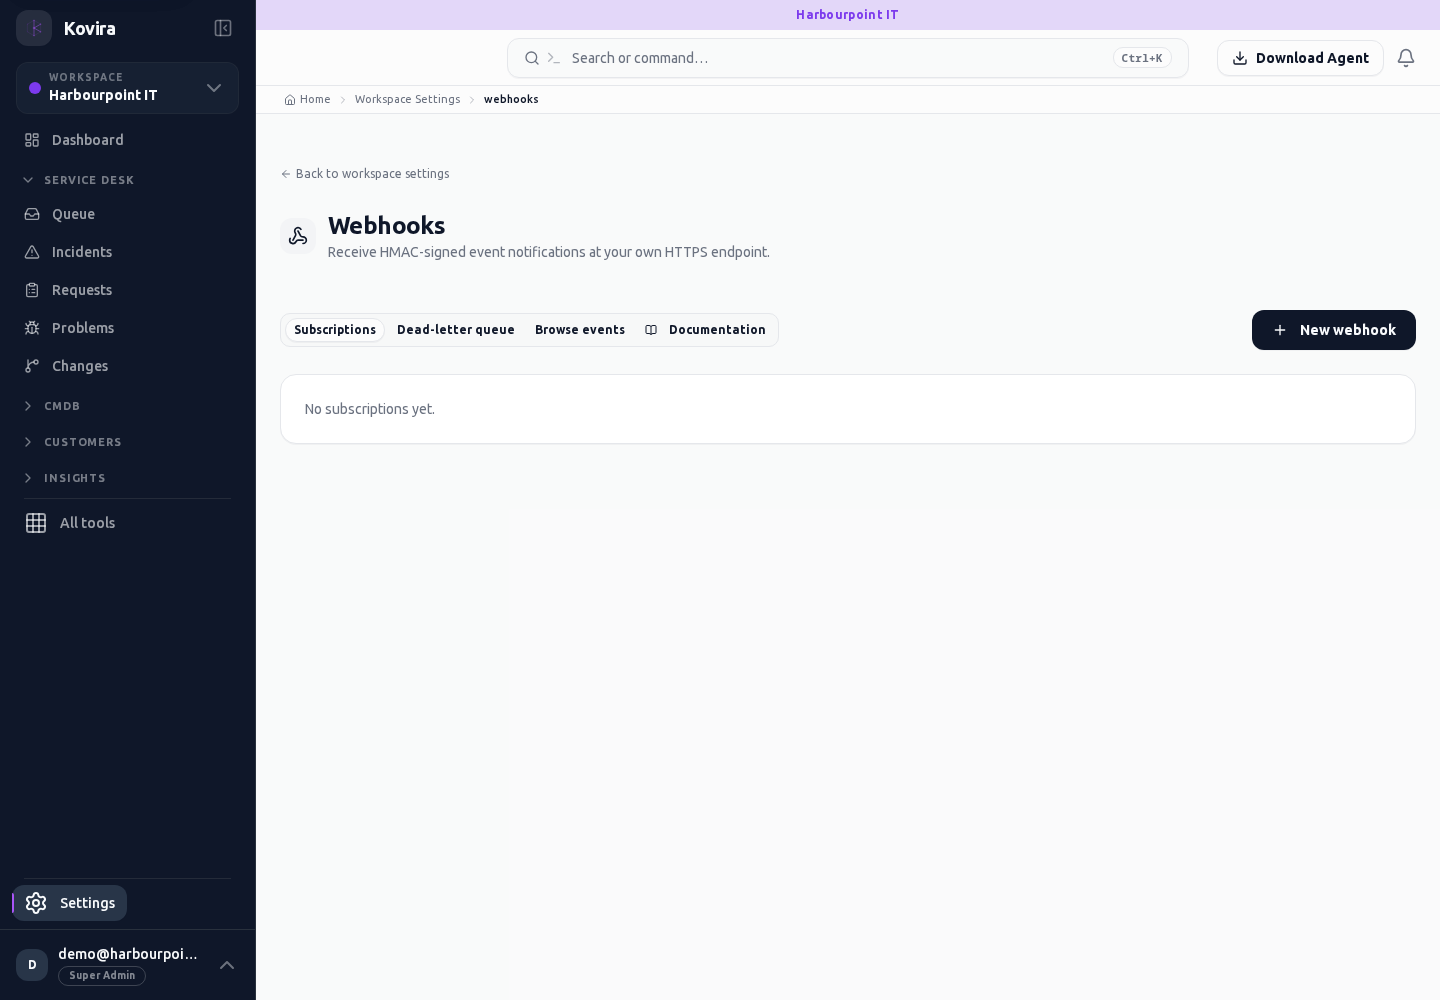
Install and operate VECTOR
Applies to: KOVIRA, VECTOR
Discover authorised networks and review the resulting inventory in KOVIRA.
Before you begin
- Administrator approval to scan the relevant networks.
- A supported VECTOR package from the download offered by KOVIRA and permission to install a background service.
- Workspace identifier, an API key with the required scan scope and a fresh one-time enrolment token from the agent administration area.
- The command-line steps below cover Linux and macOS packages. Windows service installation is not covered here.
Steps
- Open the agent download or agent administration area in KOVIRA. Select VECTOR and the supported operating system/architecture. Follow the displayed installation instructions for that package.
- Place the scanner on an approved network segment. Confirm network ownership and any maintenance requirements before starting discovery.
- For the supported command-line package, run vector deploy --workspace-id <workspace-id> with the required installation privileges. Enter credentials at the secure prompts; avoid putting secrets in command arguments.
- Return to Settings → Agent API → Instances and confirm the scanner appears in the expected workspace and reports a recent check-in.
- Review discovered devices, network records and Network graph. Check source and observation times and resolve duplicates before relying on inventory.
- Review instance details and any peer/connectivity status exposed by the UI. Investigate stale or unreachable instances before changing network access.
- To rotate or retire access, use the available key/instance controls and your organisation’s service-removal procedure; confirm the scanner has stopped reporting.
Check the result
- Confirm the installed version, recent instance check-in and at least one expected device on an authorised network.
- Check that the discovered records belong to the intended workspace.
If you need help
- For enrolment failure, confirm workspace, key scope, token freshness and system time; generate a replacement token rather than reusing a consumed token.
- For missing discoveries, check service health and the approved network/firewall path.
- Do not publish raw diagnostic logs or scan details from a customer network. Share a redacted error, version and time with support.
Install and operate ATLAS
Applies to: KOVIRA, ATLAS
Collect inventory from managed endpoints and review it in KOVIRA.
Before you begin
- Authority to install endpoint software and collect device inventory.
- A supported ATLAS package offered by KOVIRA for the endpoint operating system/architecture.
- An ATLAS-scoped workspace API key and a fresh one-time enrolment token.
- The service-deployment steps below cover Linux. Windows service and macOS launchd deployment are not covered here.
Steps
- Download the supported ATLAS package from KOVIRA. Follow the current platform-specific install instructions shown with the download.
- On the supported command-line package, run atlas-agent deploy with the installation privileges required by your operating system. Enter the API key and enrolment token at the secure prompts.
- Confirm the background service is running using your operating system’s service-management interface.
- Return to the corresponding device in KOVIRA. Review identity, hardware, OS, software, storage, security posture, interfaces, policy and telemetry where supplied by that platform.
- Check the most recent observation and check-in before treating inventory as current. Offline endpoints may report older information until connectivity returns.
- Plan upgrades through your endpoint-management process. Review the installed version after rollout.
- When retiring a device, remove the service using the approved platform procedure, revoke its access and update the asset lifecycle record.
Check the result
- Confirm the expected hostname/device identity, workspace and recent check-in.
- Compare a known inventory value on the endpoint with its KOVIRA record.
If you need help
- A missing field may be unavailable on that platform or require additional operating-system access.
- For enrolment failure, check token freshness, workspace/key scope, time and connectivity.
- Use only platforms currently offered as supported in the download UI; availability of source code does not establish production support.
- Exclude credentials and personal data from support screenshots.
Troubleshooting, accessibility and safe support evidence
Applies to: KOVIRA, VECTOR, ATLAS
Resolve common access and data issues and share safe evidence.
Before you begin
- A description of the task, expected result and actual result.
Steps
- Confirm the workspace, active filters, role and relevant record before retrying an action.
- For a save conflict, reopen the record, review the current data and reapply the intended change. Avoid repeatedly submitting the same mutation.
- For stale collector data, check the last successful observation and service health. For integration errors check the connection and sync/delivery history.
- Use the available keyboard, theme, text and accessibility preferences. Report the affected control and viewport if a task is inaccessible.
- Before sending evidence, crop to the relevant area and remove names, email addresses, addresses, identifiers, credentials, signed links and customer-specific network data that are not needed.
- Send the product/version, time/timezone, safe error text and steps to reproduce through your organisation’s approved support channel.
Check the result
- Verify the original task after applying a correction.
- Have a second authorised person review evidence intended for broad publication.
If you need help
- Do not send full browser traces, session storage, raw network captures or unredacted agent logs through public channels.
Availability and service reliability
Applies to: KOVIRA
Review service availability and investigate interruptions.
Before you begin
- Permission to view the affected service and its availability records.
Steps
- Open Availability and choose the service you are reviewing. Set the available reporting period before comparing values.
- Review the service detail and supporting incidents or outages. Check that planned and unplanned interruptions are represented correctly.
- Review the target alongside the measured value and raise an investigation when results need attention.
Check the result
- Check the service name and period on the result.
- Compare a known interruption with the underlying service records.
If you need help
- An empty period can mean missing observations or access restrictions. Confirm the underlying evidence before reporting uninterrupted service.
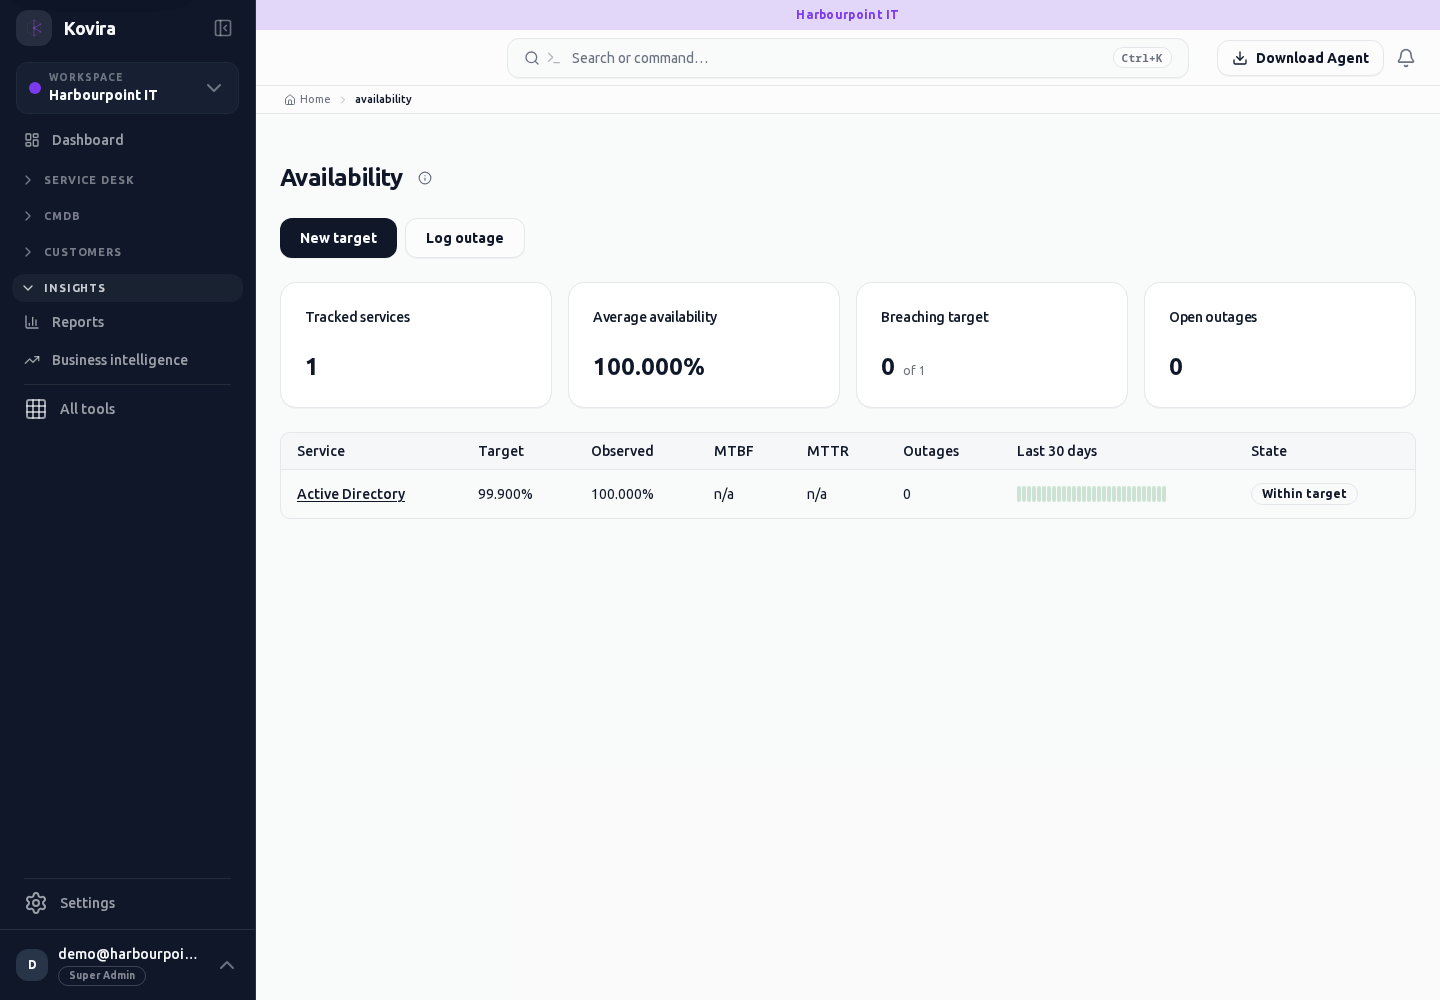
Related screens (2)
Availability / Details
Service availability. Review this screen in the context of the current workspace and record.
Access
- Default workspace roles for opening this screen: Super Admin. Custom role settings, the current workspace, plan and record sharing can further restrict access.
- Opening a screen does not grant every action on it. Changes, exports and lifecycle actions can require additional permissions.
Controls and information
- Service selector
- reporting period
- target
- supporting interruptions
Steps for this screen
- Choose the service and reporting period. Review the target and included interruptions before interpreting the measure.
- Read the summary, current state and related records. Review the action and its prerequisites before changing the record.
Check the result
- Check planned-outage treatment and supporting records; a target does not show an achieved service level.
If this screen is unavailable
- If the record is unavailable, return to its list and confirm the workspace and link. Ask an administrator to check record access before creating a replacement.
- If saving fails or a conflict appears, keep a copy of your intended changes, reopen the current record and review it before submitting again.
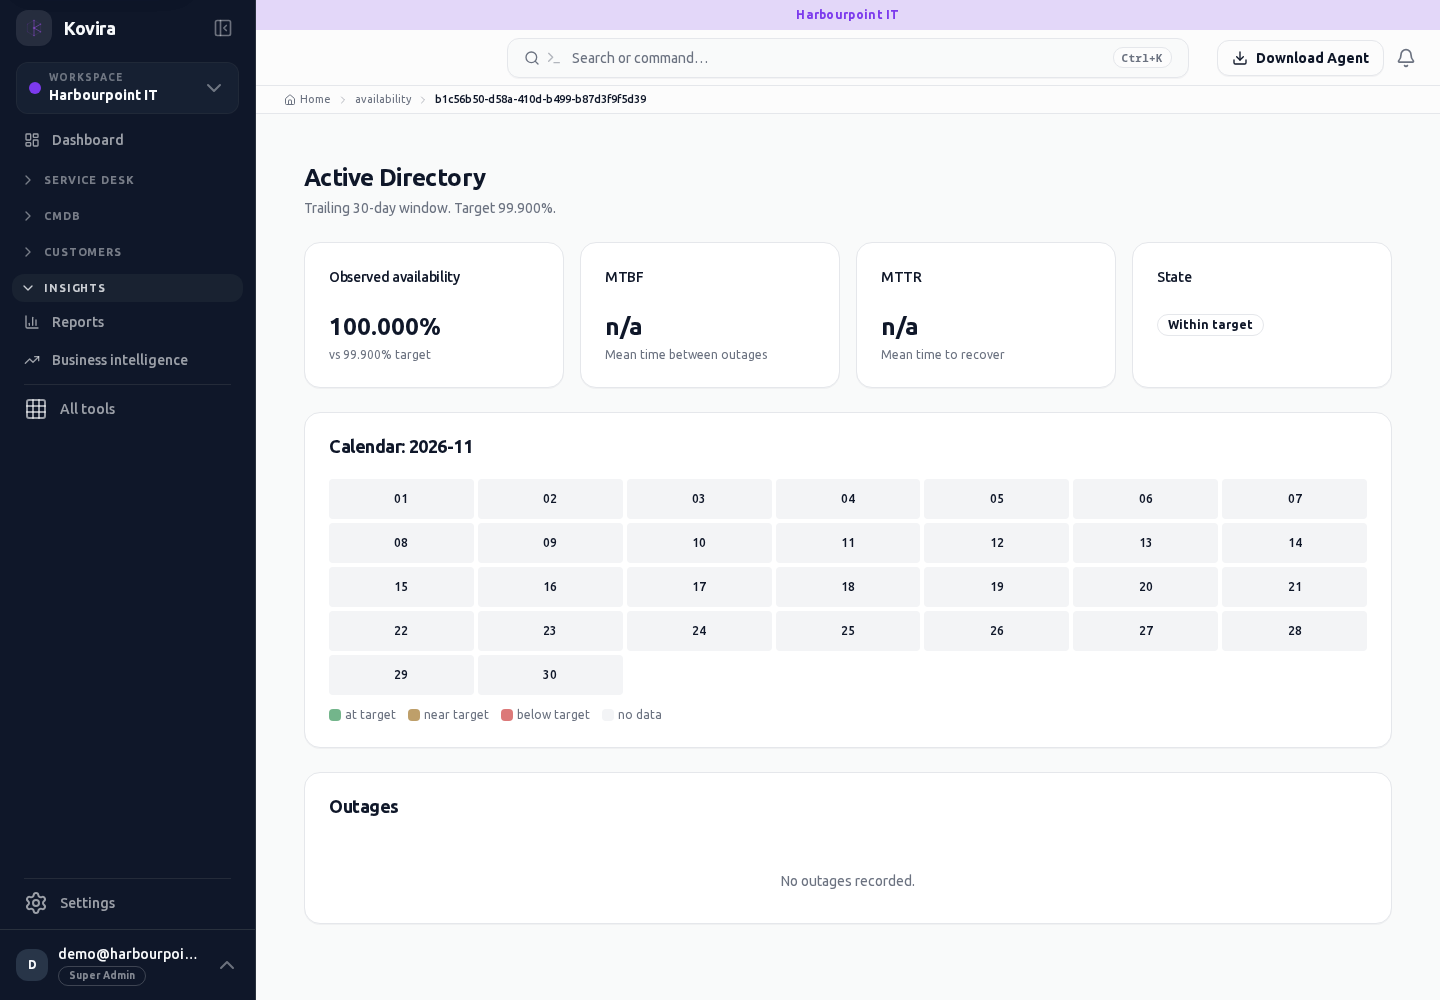
Availability
Service availability. Review this screen in the context of the current workspace and record.
Access
- Default workspace roles for opening this screen: Super Admin. Custom role settings, the current workspace, plan and record sharing can further restrict access.
- Opening a screen does not grant every action on it. Changes, exports and lifecycle actions can require additional permissions.
Controls and information
- Service selector
- reporting period
- target
- supporting interruptions
Steps for this screen
- Choose the service and reporting period. Review the target and included interruptions before interpreting the measure.
- Use the available search, date and status filters to narrow the view. Open a record link for its detail.
- Clear filters when you need to compare the full accessible list.
Check the result
- Check planned-outage treatment and supporting records; a target does not show an achieved service level.
If this screen is unavailable
- If no records appear, clear active filters and confirm the workspace and your access before creating a duplicate.
- If the list cannot load, retry once and quote the displayed support reference; do not infer that the workspace is empty.
Capacity plans and thresholds
Applies to: KOVIRA
Monitor resource demand and keep capacity plans actionable.
Before you begin
- Permission to view capacity information; editing access to change a plan or threshold.
Steps
- Open Capacity and identify the relevant resource or service. Review its current utilisation, forecast and the displayed units.
- When changing a threshold, check the warning and critical values together and confirm the intended scope.
- Record the plan owner, planned action and review date using the fields offered by the form. Reopen the saved entry before relying on it.
Check the result
- Check that the saved thresholds use the intended units and ordering.
- Compare a known sample or period with the displayed capacity assessment.
If you need help
- Do not treat an absent sample as unused capacity. Check collection and reporting dates.
- If validation rejects a threshold, correct the indicated field before submitting again.
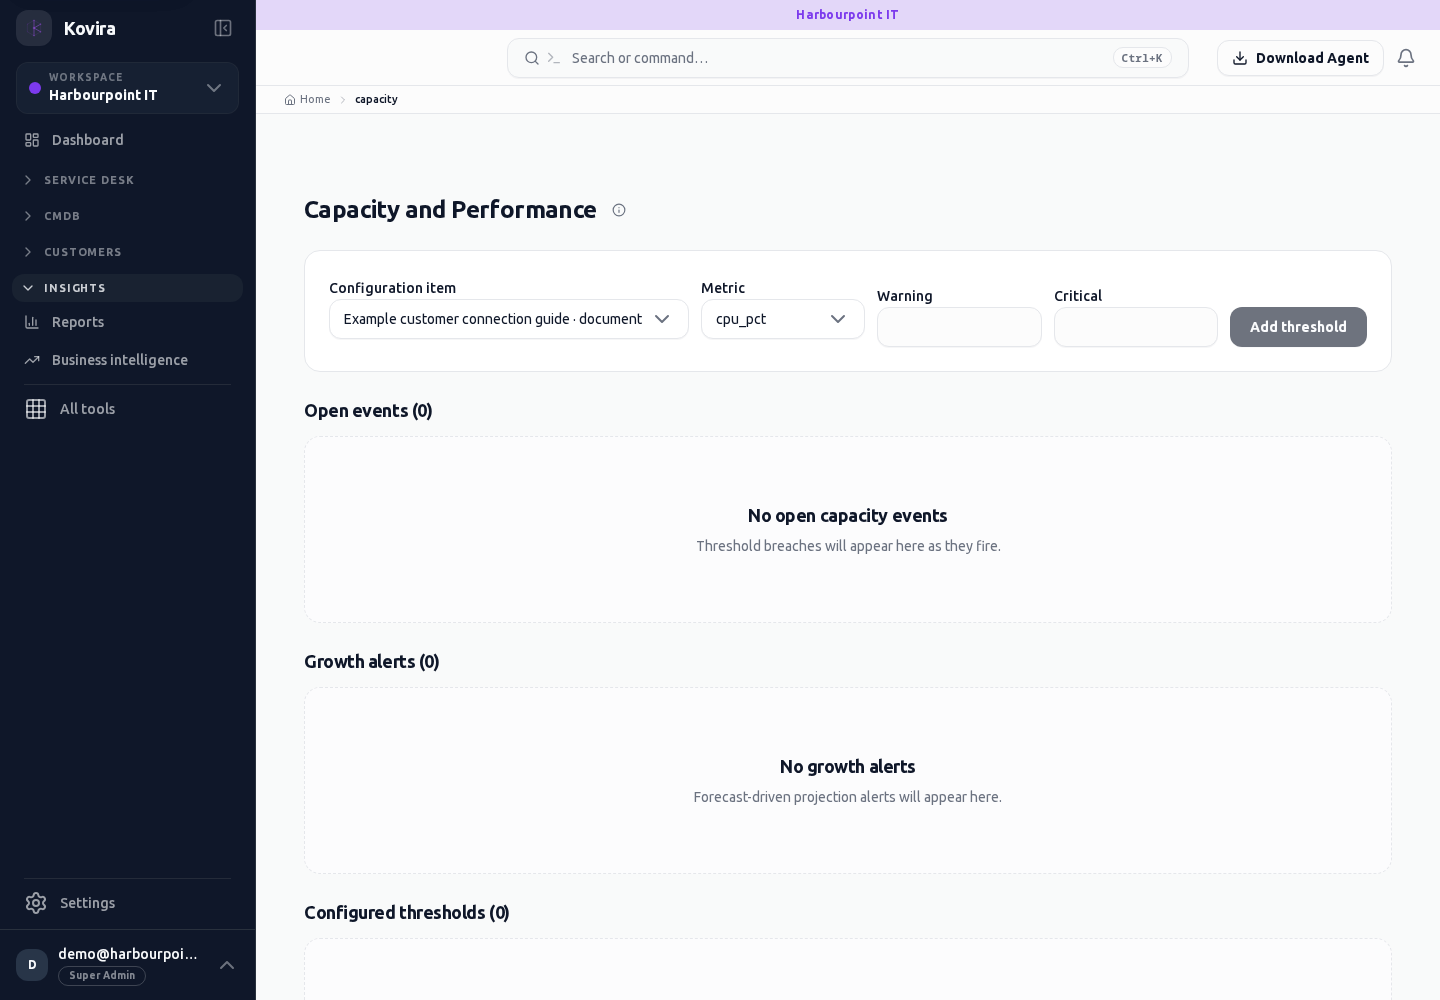
Related screens (1)
Capacity
Capacity planning. Review this screen in the context of the current workspace and record.
Access
- Default workspace roles for opening this screen: Super Admin. Custom role settings, the current workspace, plan and record sharing can further restrict access.
- Opening a screen does not grant every action on it. Changes, exports and lifecycle actions can require additional permissions.
Controls and information
- Resource measurements
- forecast
- warning and critical thresholds
- plans
Steps for this screen
- Review the resource, units, period and current thresholds before adjusting a plan.
Check the result
- Check saved thresholds together and assign an owner and review date to any planned action.
If this screen is unavailable
- If no records appear, clear active filters and confirm the workspace and your access before creating a duplicate.
- If saving fails or a conflict appears, keep a copy of your intended changes, reopen the current record and review it before submitting again.
Business continuity and recovery planning
Applies to: KOVIRA
Maintain service impact assessments, recovery plans, drills and compliance evidence.
Before you begin
- Service ownership information and permission to manage continuity records.
Steps
- Open Continuity and choose the relevant service. Review its current impact assessment before changing recovery priorities.
- Use the BIA screen to record the operational impact and the recovery objectives offered by the form. Confirm objectives with the service owner.
- Open Plans to maintain recovery responsibilities and steps. Keep references usable by the people expected to perform recovery.
- Use Drills to record a planned or completed exercise, its observations and follow-up work. Review Compliance for outstanding evidence.
Check the result
- Reopen each saved record and check the service association, owner and dates.
- Confirm a drill result is supported by observations and that unresolved follow-up work has an owner.
If you need help
- A documented target is not a measured recovery result. Record what the exercise actually demonstrated.
- Do not include passwords or unrestricted recovery credentials in a plan.
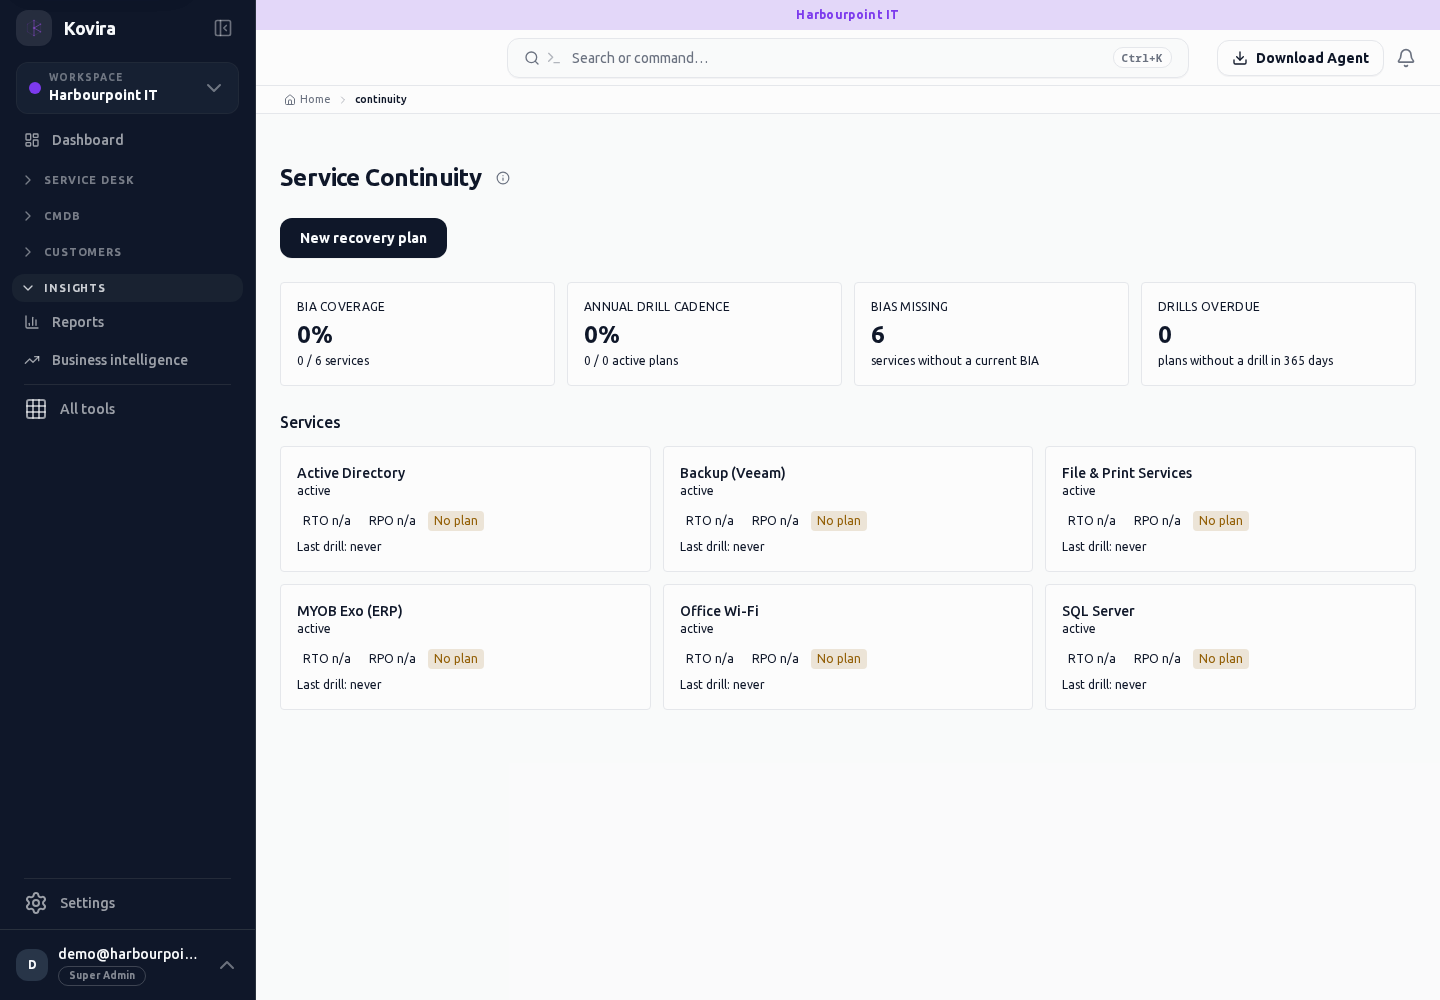
Related screens (6)
Continuity / Service / Bia
Continuity planning. Review this screen in the context of the current workspace and record.
Access
- Default workspace roles for opening this screen: Super Admin. Custom role settings, the current workspace, plan and record sharing can further restrict access.
- Opening a screen does not grant every action on it. Changes, exports and lifecycle actions can require additional permissions.
Controls and information
- Business impact assessment
- recovery objectives
- plans
- drills
- checklist
Steps for this screen
- Choose the service, confirm its owner and review impact before recording recovery objectives or exercise work.
- Read the summary, current state and related records. Review the action and its prerequisites before changing the record.
Check the result
- Check recovery responsibilities and references; a plan or checklist does not prove a successful recovery exercise.
If this screen is unavailable
- If the record is unavailable, return to its list and confirm the workspace and link. Ask an administrator to check record access before creating a replacement.
- If saving fails or a conflict appears, keep a copy of your intended changes, reopen the current record and review it before submitting again.
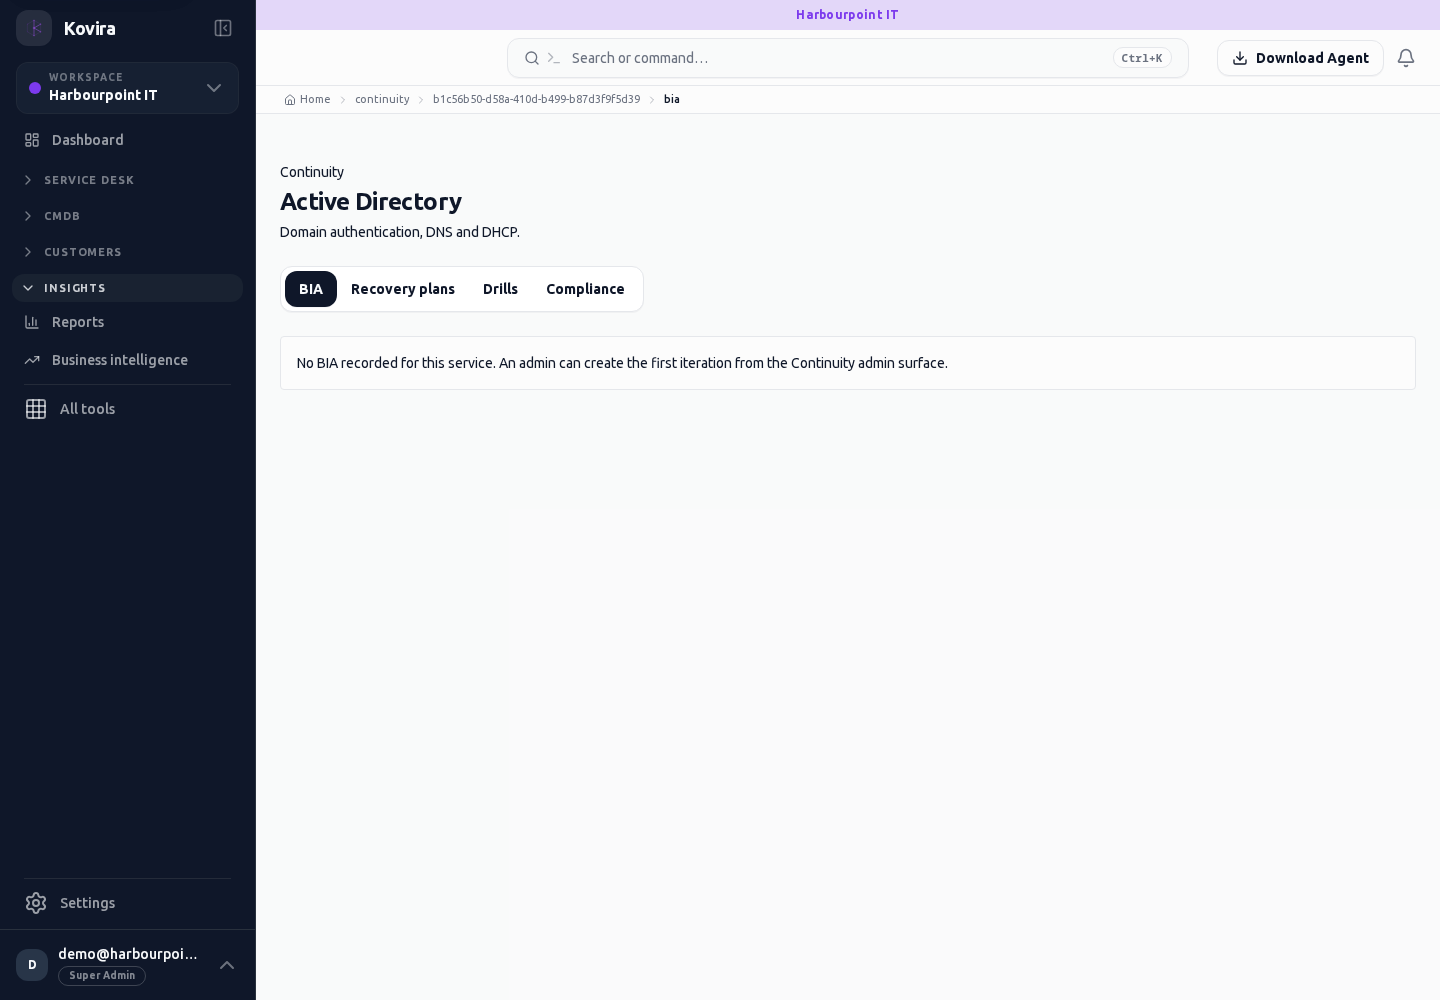
Continuity / Service / Compliance
Continuity planning. Review this screen in the context of the current workspace and record.
Access
- Default workspace roles for opening this screen: Super Admin. Custom role settings, the current workspace, plan and record sharing can further restrict access.
- Opening a screen does not grant every action on it. Changes, exports and lifecycle actions can require additional permissions.
Controls and information
- Business impact assessment
- recovery objectives
- plans
- drills
- checklist
Steps for this screen
- Choose the service, confirm its owner and review impact before recording recovery objectives or exercise work.
- Read the summary, current state and related records. Review the action and its prerequisites before changing the record.
Check the result
- Check recovery responsibilities and references; a plan or checklist does not prove a successful recovery exercise.
If this screen is unavailable
- If the record is unavailable, return to its list and confirm the workspace and link. Ask an administrator to check record access before creating a replacement.
- If saving fails or a conflict appears, keep a copy of your intended changes, reopen the current record and review it before submitting again.
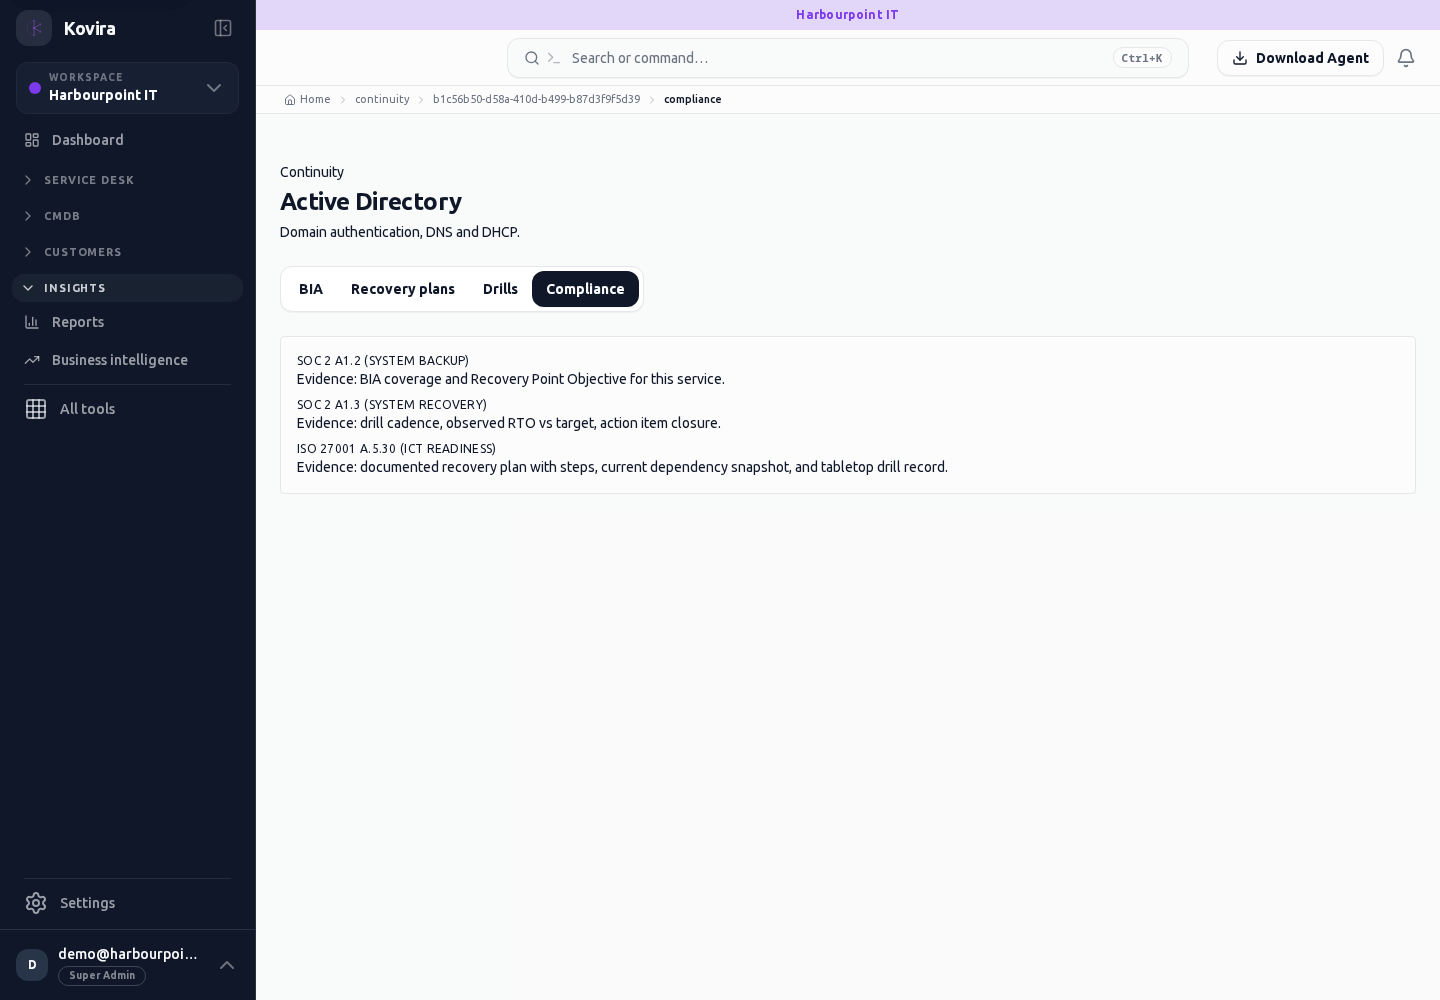
Continuity / Service / Drills
Continuity planning. Review this screen in the context of the current workspace and record.
Access
- Default workspace roles for opening this screen: Super Admin. Custom role settings, the current workspace, plan and record sharing can further restrict access.
- Opening a screen does not grant every action on it. Changes, exports and lifecycle actions can require additional permissions.
Controls and information
- Business impact assessment
- recovery objectives
- plans
- drills
- checklist
Steps for this screen
- Choose the service, confirm its owner and review impact before recording recovery objectives or exercise work.
- Read the summary, current state and related records. Review the action and its prerequisites before changing the record.
Check the result
- Check recovery responsibilities and references; a plan or checklist does not prove a successful recovery exercise.
If this screen is unavailable
- If the record is unavailable, return to its list and confirm the workspace and link. Ask an administrator to check record access before creating a replacement.
- If saving fails or a conflict appears, keep a copy of your intended changes, reopen the current record and review it before submitting again.
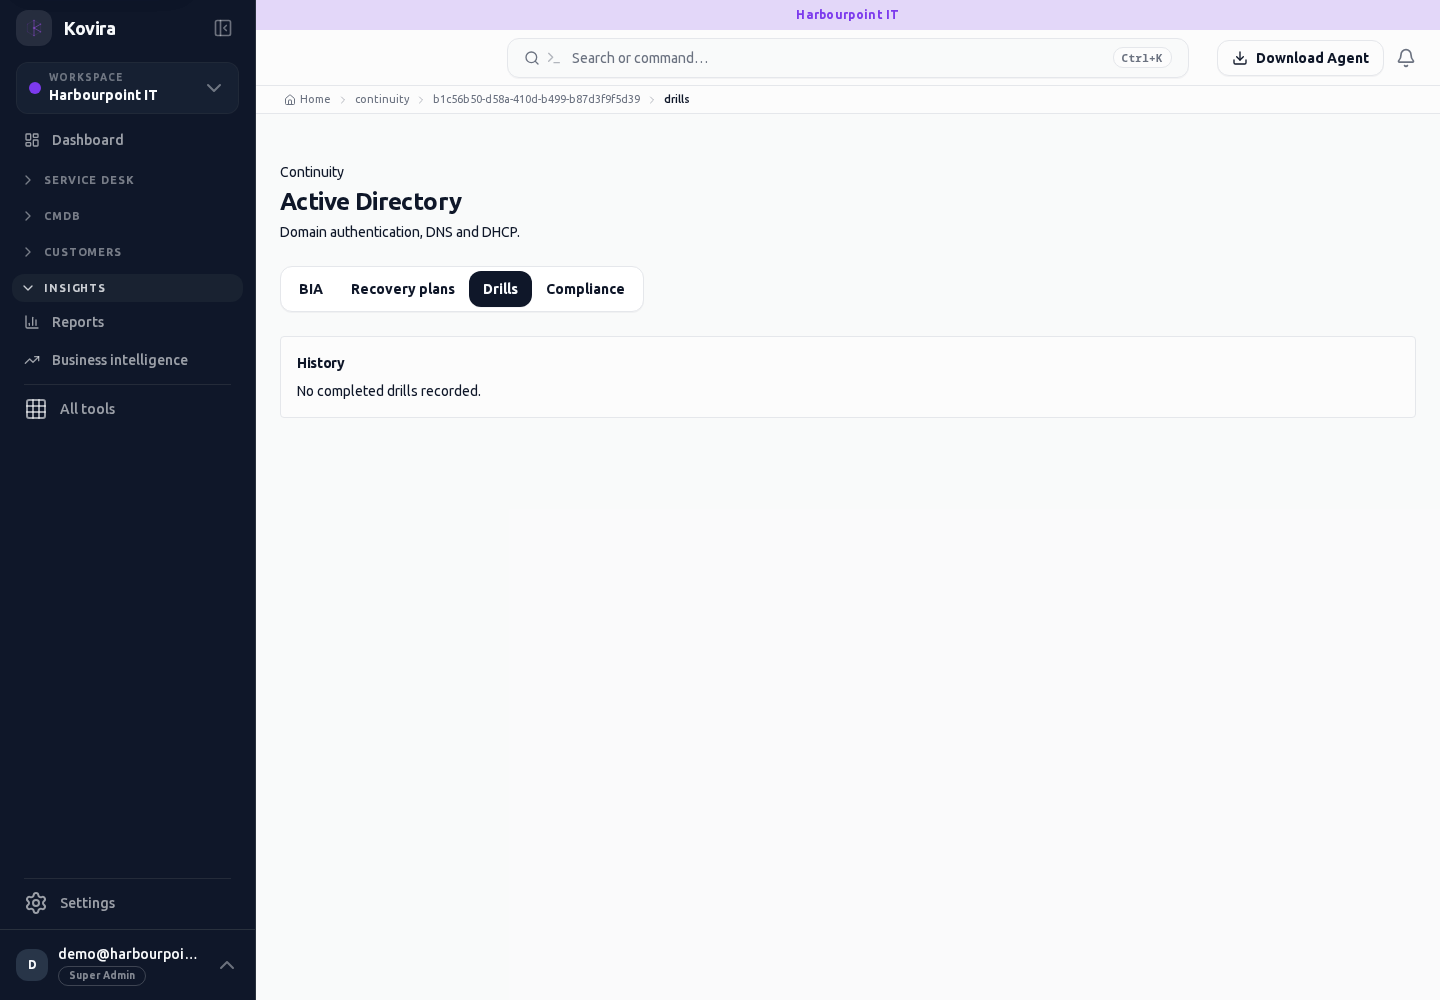
Continuity / Service
Continuity planning. Open the linked destination and continue there.
Access
- Your current workspace role, plan and record access determine whether this screen and its actions are available. Ask an administrator if the required action is missing.
Controls and information
- Business impact assessment
- recovery objectives
- plans
- drills
- checklist
Steps for this screen
- Choose the service, confirm its owner and review impact before recording recovery objectives or exercise work.
- This entry opens the corresponding destination screen. Check the heading and continue with the destination’s controls.
Check the result
- Check recovery responsibilities and references; a plan or checklist does not prove a successful recovery exercise.
If this screen is unavailable
- If no records appear, clear active filters and confirm the workspace and your access before creating a duplicate.
- If the destination cannot be opened, use its navigation entry and confirm that your role and plan include it.
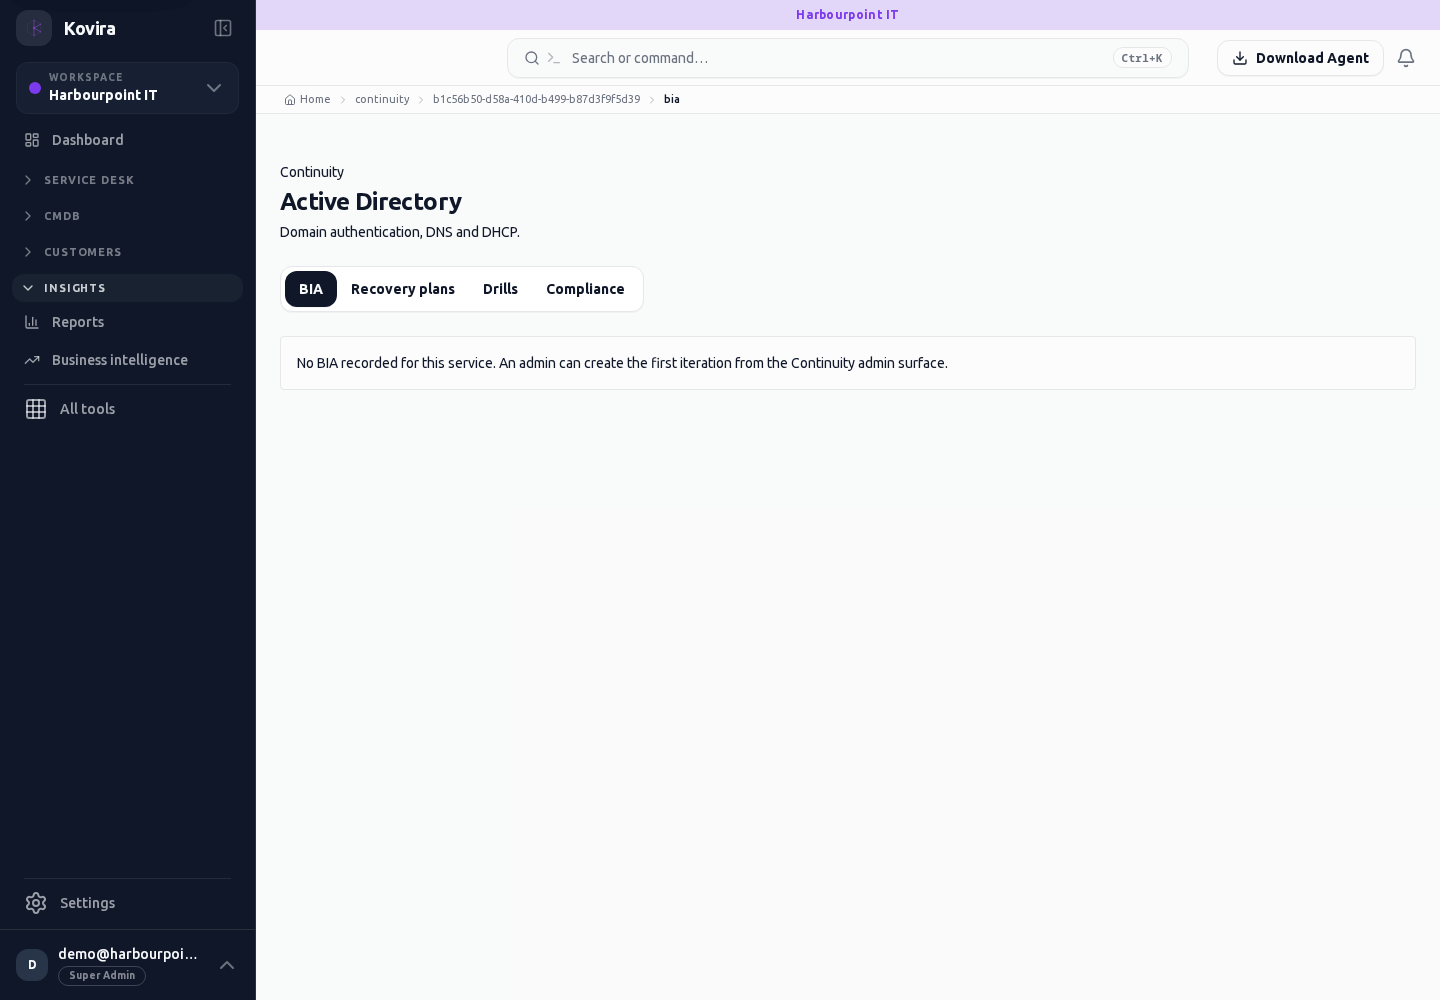
Continuity / Service / Plans
Continuity planning. Review this screen in the context of the current workspace and record.
Access
- Default workspace roles for opening this screen: Super Admin. Custom role settings, the current workspace, plan and record sharing can further restrict access.
- Opening a screen does not grant every action on it. Changes, exports and lifecycle actions can require additional permissions.
Controls and information
- Business impact assessment
- recovery objectives
- plans
- drills
- checklist
Steps for this screen
- Choose the service, confirm its owner and review impact before recording recovery objectives or exercise work.
- Read the summary, current state and related records. Review the action and its prerequisites before changing the record.
Check the result
- Check recovery responsibilities and references; a plan or checklist does not prove a successful recovery exercise.
If this screen is unavailable
- If the record is unavailable, return to its list and confirm the workspace and link. Ask an administrator to check record access before creating a replacement.
- If saving fails or a conflict appears, keep a copy of your intended changes, reopen the current record and review it before submitting again.
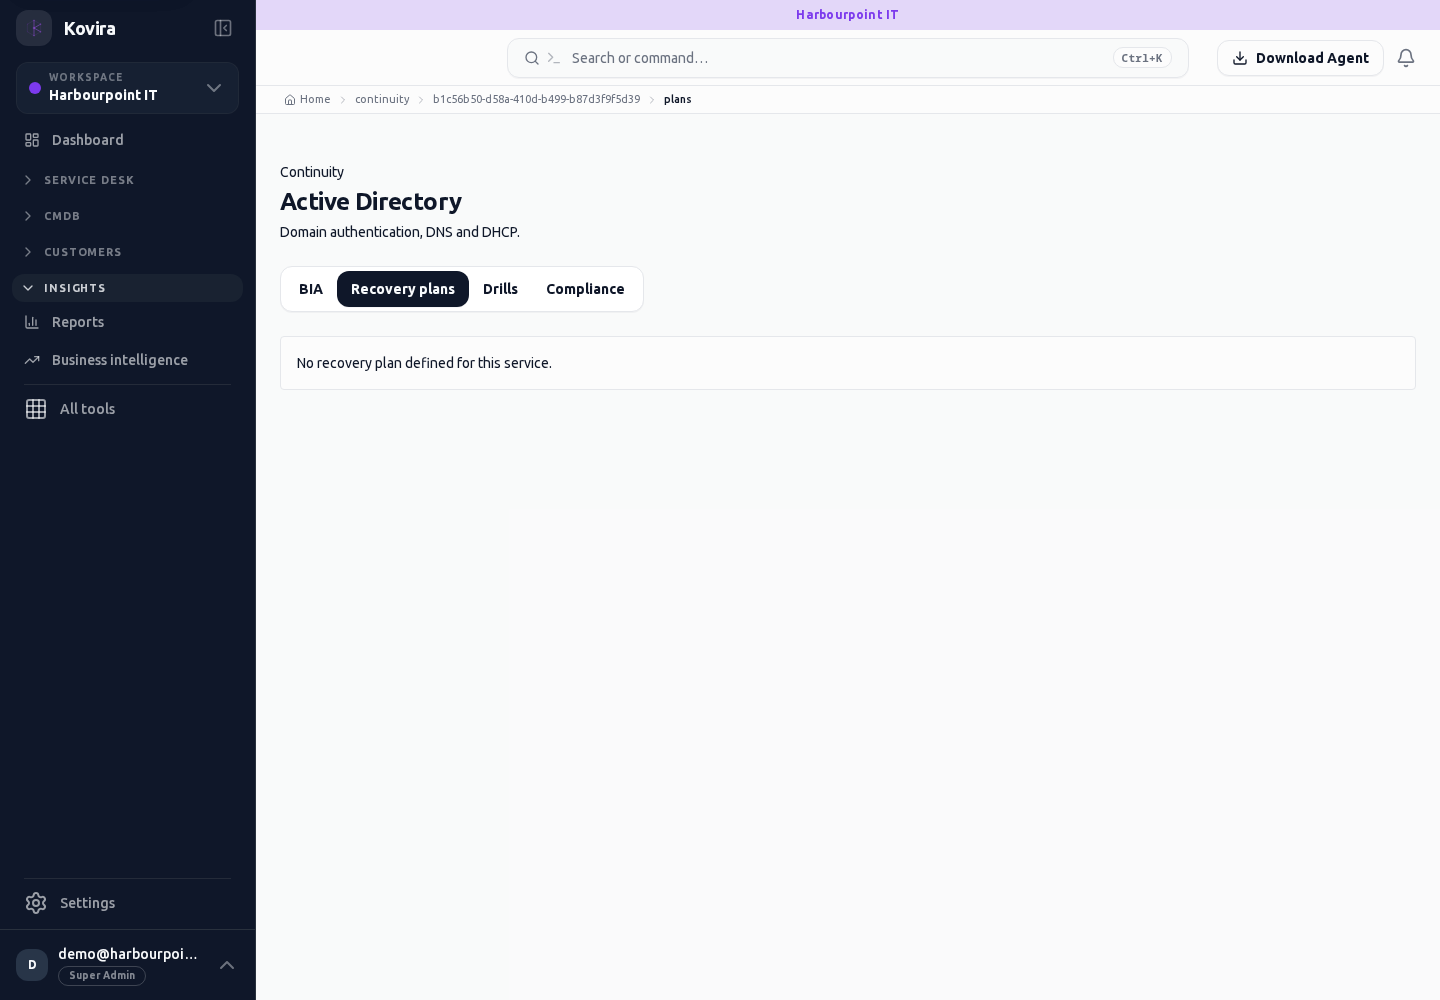
Continuity
Continuity planning. Review this screen in the context of the current workspace and record.
Access
- Default workspace roles for opening this screen: Super Admin. Custom role settings, the current workspace, plan and record sharing can further restrict access.
- Opening a screen does not grant every action on it. Changes, exports and lifecycle actions can require additional permissions.
Controls and information
- Business impact assessment
- recovery objectives
- plans
- drills
- checklist
Steps for this screen
- Choose the service, confirm its owner and review impact before recording recovery objectives or exercise work.
Check the result
- Check recovery responsibilities and references; a plan or checklist does not prove a successful recovery exercise.
If this screen is unavailable
- If no records appear, clear active filters and confirm the workspace and your access before creating a duplicate.
- If saving fails or a conflict appears, keep a copy of your intended changes, reopen the current record and review it before submitting again.
Service design, blueprints and test runs
Applies to: KOVIRA
Define service designs and check them against repeatable test cases.
Before you begin
- Design access and an agreed service owner.
Steps
- Open Design to find or create the relevant blueprint. Review its purpose and related records before editing.
- Open Test cases to maintain the checks required for the service design. Write observable expected results.
- Open Test runs to review a run and its individual results. Preserve the failure evidence and assign corrective work before retesting.
Check the result
- Reopen the blueprint after saving and verify the intended changes.
- Confirm the reviewed test run refers to the correct blueprint and test cases.
If you need help
- A successful save does not establish that a design passed testing. Review the recorded test outcome.
- For a save conflict, reload the current version and compare it with your intended change.
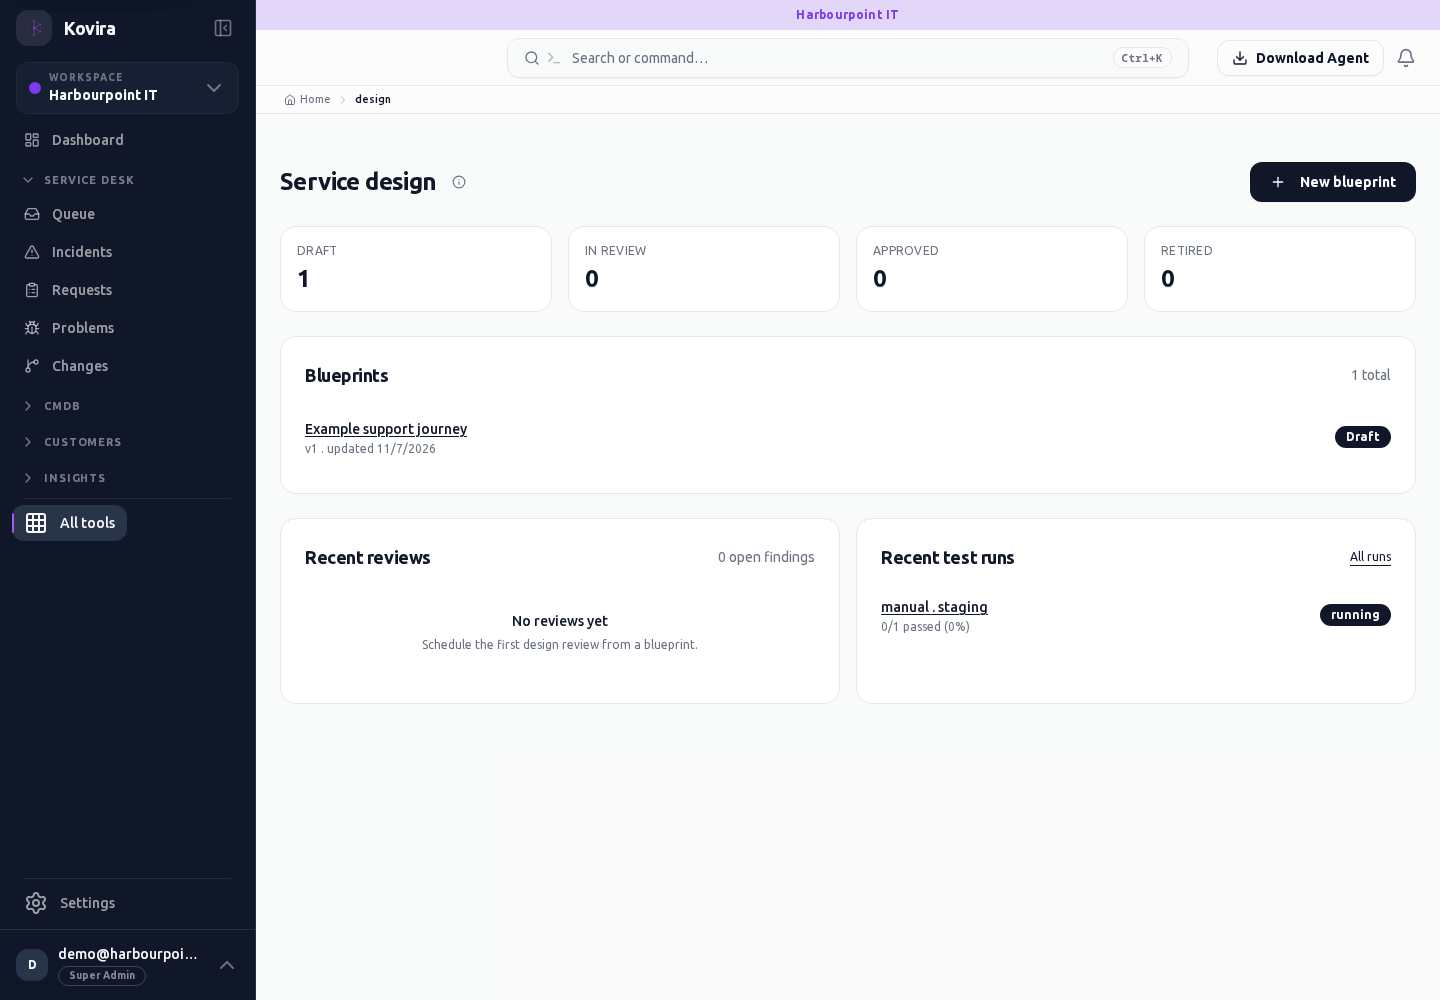
Related screens (6)
Design / Blueprints / Details
Service design. Review this screen in the context of the current workspace and record.
Access
- Default workspace roles for opening this screen: Super Admin. Custom role settings, the current workspace, plan and record sharing can further restrict access.
- Opening a screen does not grant every action on it. Changes, exports and lifecycle actions can require additional permissions.
Controls and information
- Blueprint
- customer journey
- test cases
- test runs
- recorded results
Steps for this screen
- Review the service promise and intended journey. Define observable expected outcomes before recording test results.
- Read the summary, current state and related records. Review the action and its prerequisites before changing the record.
Check the result
- Inspect the individual test outcomes and follow-up work; do not treat an unexecuted test case as a passed test.
If this screen is unavailable
- If the record is unavailable, return to its list and confirm the workspace and link. Ask an administrator to check record access before creating a replacement.
- If saving fails or a conflict appears, keep a copy of your intended changes, reopen the current record and review it before submitting again.
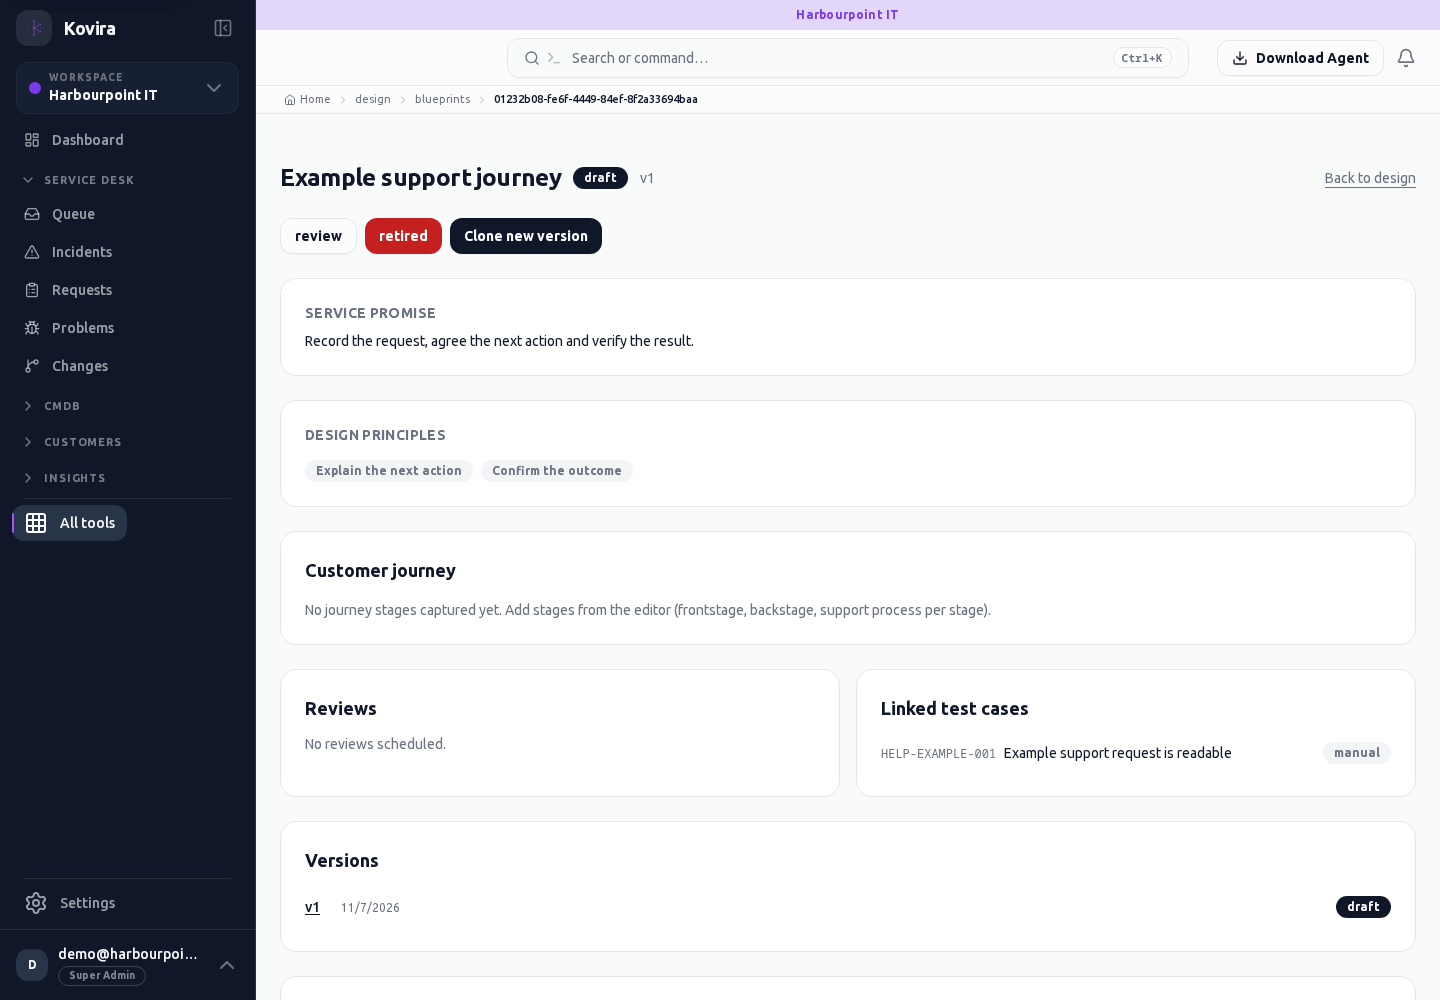
Design / Blueprints / New
Service design. Create a new entry and review the information before submitting.
Access
- Default workspace roles for opening this screen: Super Admin. Custom role settings, the current workspace, plan and record sharing can further restrict access.
- Opening a screen does not grant every action on it. Changes, exports and lifecycle actions can require additional permissions.
Controls and information
- Blueprint
- customer journey
- test cases
- test runs
- recorded results
Steps for this screen
- Review the service promise and intended journey. Define observable expected outcomes before recording test results.
- Complete the required fields. Review linked records, dates and any recipient or customer selection.
- Use the form’s create or save action once and wait for its result. Cancel to leave without submitting.
Check the result
- Inspect the individual test outcomes and follow-up work; do not treat an unexecuted test case as a passed test.
- Open the newly created record from the resulting list or confirmation and check the saved values.
If this screen is unavailable
- If no records appear, clear active filters and confirm the workspace and your access before creating a duplicate.
- If saving fails or a conflict appears, keep a copy of your intended changes, reopen the current record and review it before submitting again.
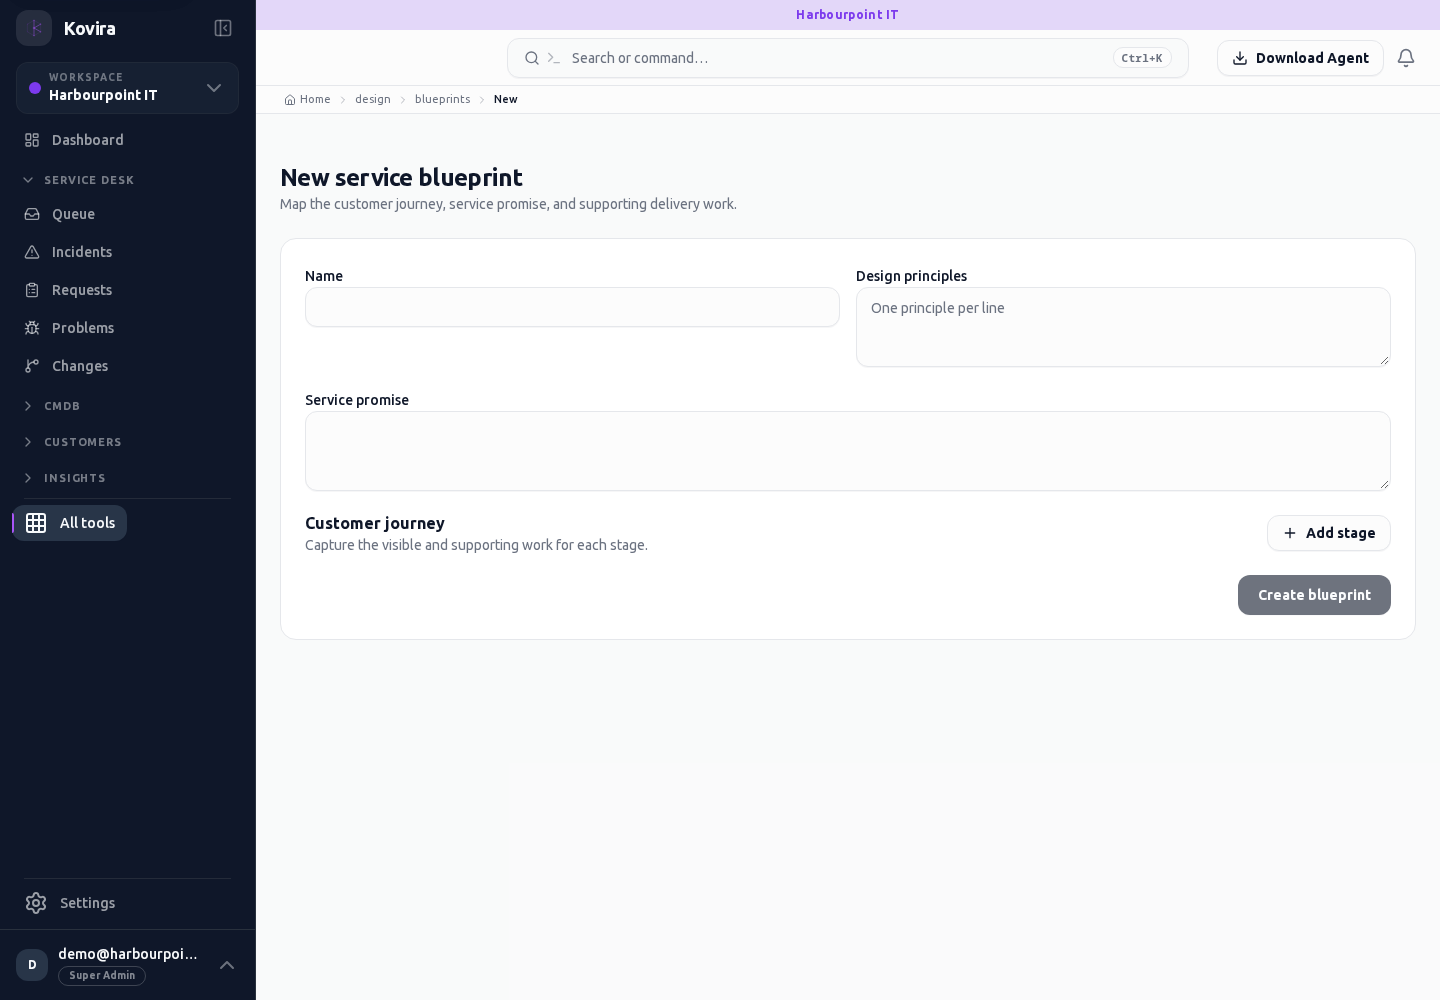
Design
Service design. Review this screen in the context of the current workspace and record.
Access
- Default workspace roles for opening this screen: Super Admin. Custom role settings, the current workspace, plan and record sharing can further restrict access.
- Opening a screen does not grant every action on it. Changes, exports and lifecycle actions can require additional permissions.
Controls and information
- Blueprint
- customer journey
- test cases
- test runs
- recorded results
Steps for this screen
- Review the service promise and intended journey. Define observable expected outcomes before recording test results.
Check the result
- Inspect the individual test outcomes and follow-up work; do not treat an unexecuted test case as a passed test.
If this screen is unavailable
- If no records appear, clear active filters and confirm the workspace and your access before creating a duplicate.
- If saving fails or a conflict appears, keep a copy of your intended changes, reopen the current record and review it before submitting again.
Design / Test Cases
Service design. Review this screen in the context of the current workspace and record.
Access
- Default workspace roles for opening this screen: Super Admin. Custom role settings, the current workspace, plan and record sharing can further restrict access.
- Opening a screen does not grant every action on it. Changes, exports and lifecycle actions can require additional permissions.
Controls and information
- Blueprint
- customer journey
- test cases
- test runs
- recorded results
Steps for this screen
- Review the service promise and intended journey. Define observable expected outcomes before recording test results.
- Use the available search, date and status filters to narrow the view. Open a record link for its detail.
- Clear filters when you need to compare the full accessible list.
Check the result
- Inspect the individual test outcomes and follow-up work; do not treat an unexecuted test case as a passed test.
If this screen is unavailable
- If no records appear, clear active filters and confirm the workspace and your access before creating a duplicate.
- If the list cannot load, retry once and quote the displayed support reference; do not infer that the workspace is empty.
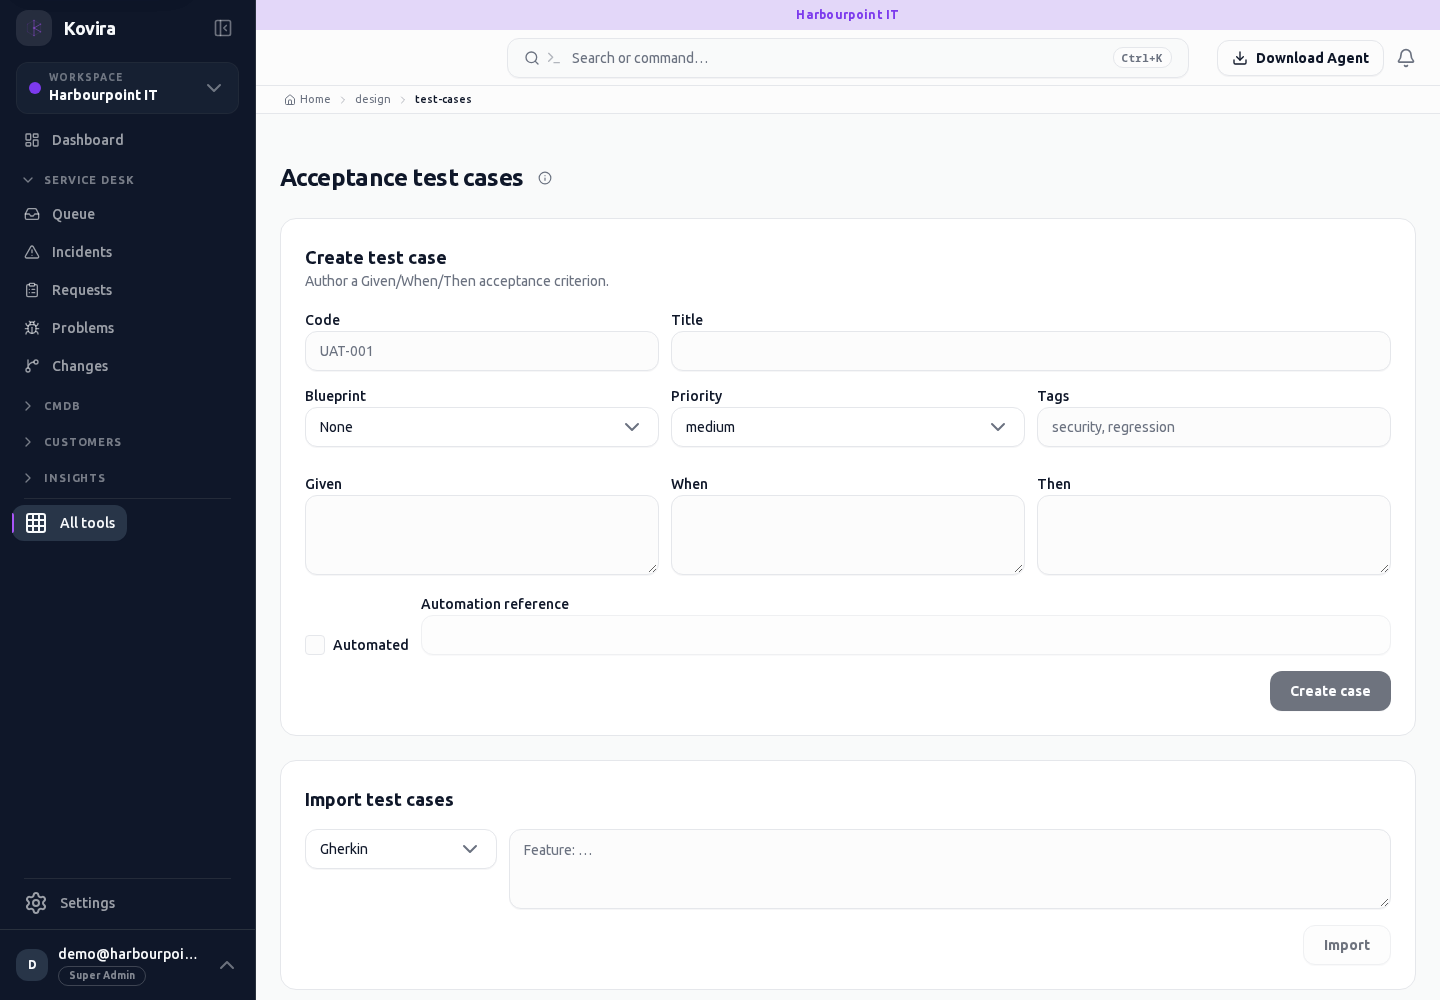
Design / Test Runs / Details
Service design. Review this screen in the context of the current workspace and record.
Access
- Default workspace roles for opening this screen: Super Admin. Custom role settings, the current workspace, plan and record sharing can further restrict access.
- Opening a screen does not grant every action on it. Changes, exports and lifecycle actions can require additional permissions.
Controls and information
- Blueprint
- customer journey
- test cases
- test runs
- recorded results
Steps for this screen
- Review the service promise and intended journey. Define observable expected outcomes before recording test results.
- Read the summary, current state and related records. Review the action and its prerequisites before changing the record.
Check the result
- Inspect the individual test outcomes and follow-up work; do not treat an unexecuted test case as a passed test.
If this screen is unavailable
- If the record is unavailable, return to its list and confirm the workspace and link. Ask an administrator to check record access before creating a replacement.
- If saving fails or a conflict appears, keep a copy of your intended changes, reopen the current record and review it before submitting again.
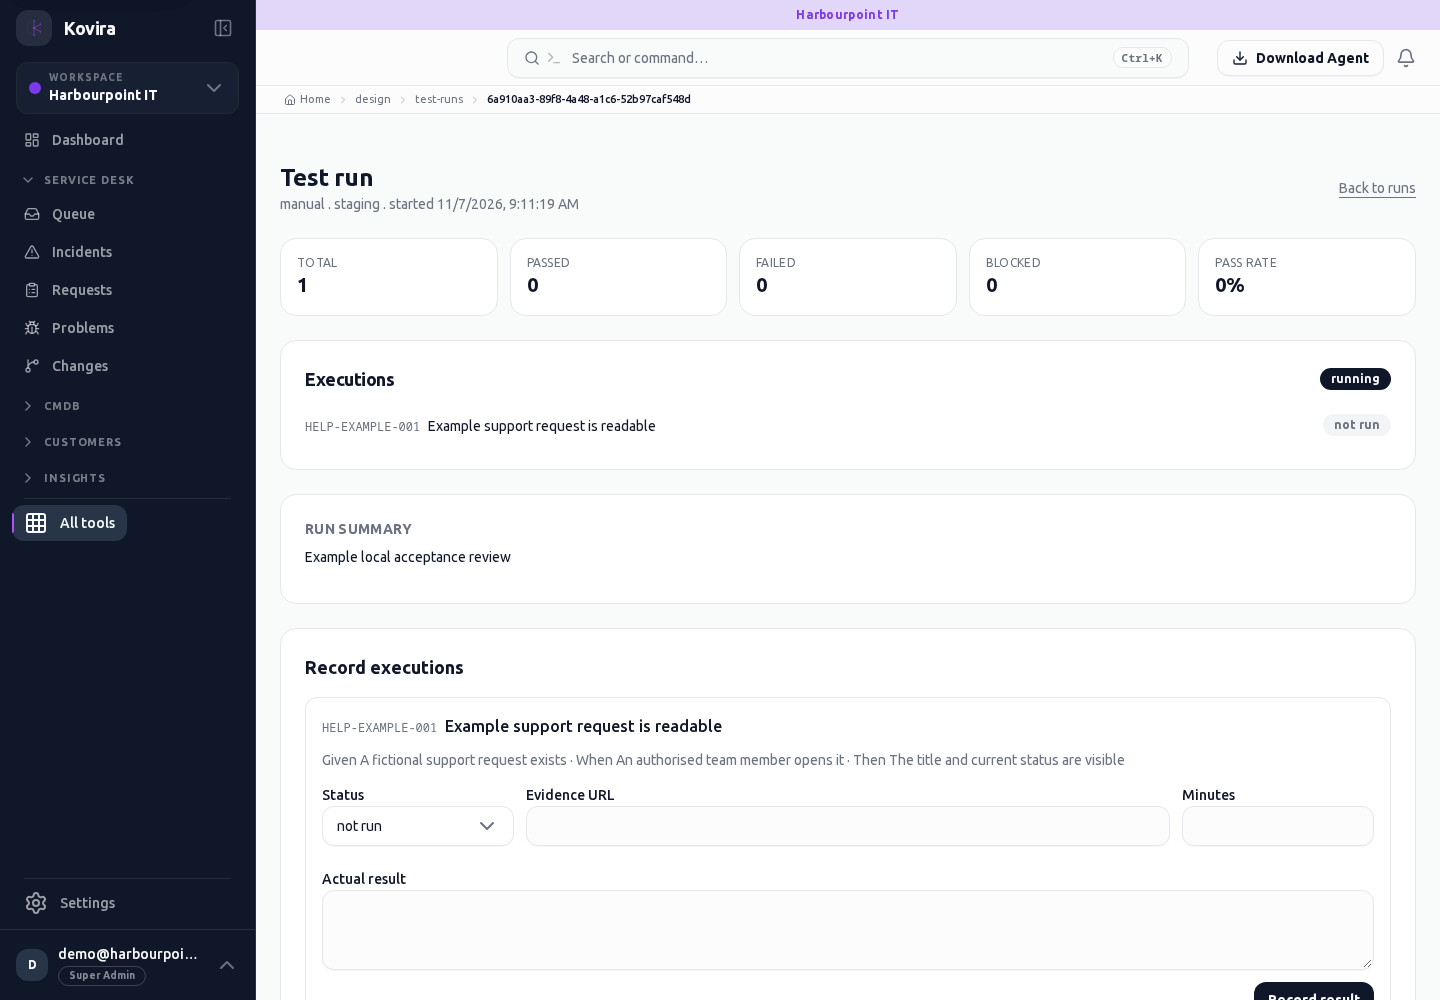
Design / Test Runs
Service design. Review this screen in the context of the current workspace and record.
Access
- Default workspace roles for opening this screen: Super Admin. Custom role settings, the current workspace, plan and record sharing can further restrict access.
- Opening a screen does not grant every action on it. Changes, exports and lifecycle actions can require additional permissions.
Controls and information
- Blueprint
- customer journey
- test cases
- test runs
- recorded results
Steps for this screen
- Review the service promise and intended journey. Define observable expected outcomes before recording test results.
- Use the available search, date and status filters to narrow the view. Open a record link for its detail.
- Clear filters when you need to compare the full accessible list.
Check the result
- Inspect the individual test outcomes and follow-up work; do not treat an unexecuted test case as a passed test.
If this screen is unavailable
- If no records appear, clear active filters and confirm the workspace and your access before creating a duplicate.
- If the list cannot load, retry once and quote the displayed support reference; do not infer that the workspace is empty.
Service portfolio and reviews
Applies to: KOVIRA
Review service offerings and record lifecycle decisions.
Before you begin
- Portfolio access and the authority required for review decisions.
Steps
- Open Portfolio and inspect an offering’s owner, lifecycle, supporting records and current review context.
- Open Portfolio review to choose the relevant review. Read the evidence and assessment before recording a decision.
- Record follow-up work and confirm the resulting offering state after completing the offered review steps.
Check the result
- Check the offering name, review period and saved decision.
- Confirm required follow-up work has an owner.
If you need help
- An unavailable review action can indicate missing permissions or a completed review. Inspect the current review state before starting another.
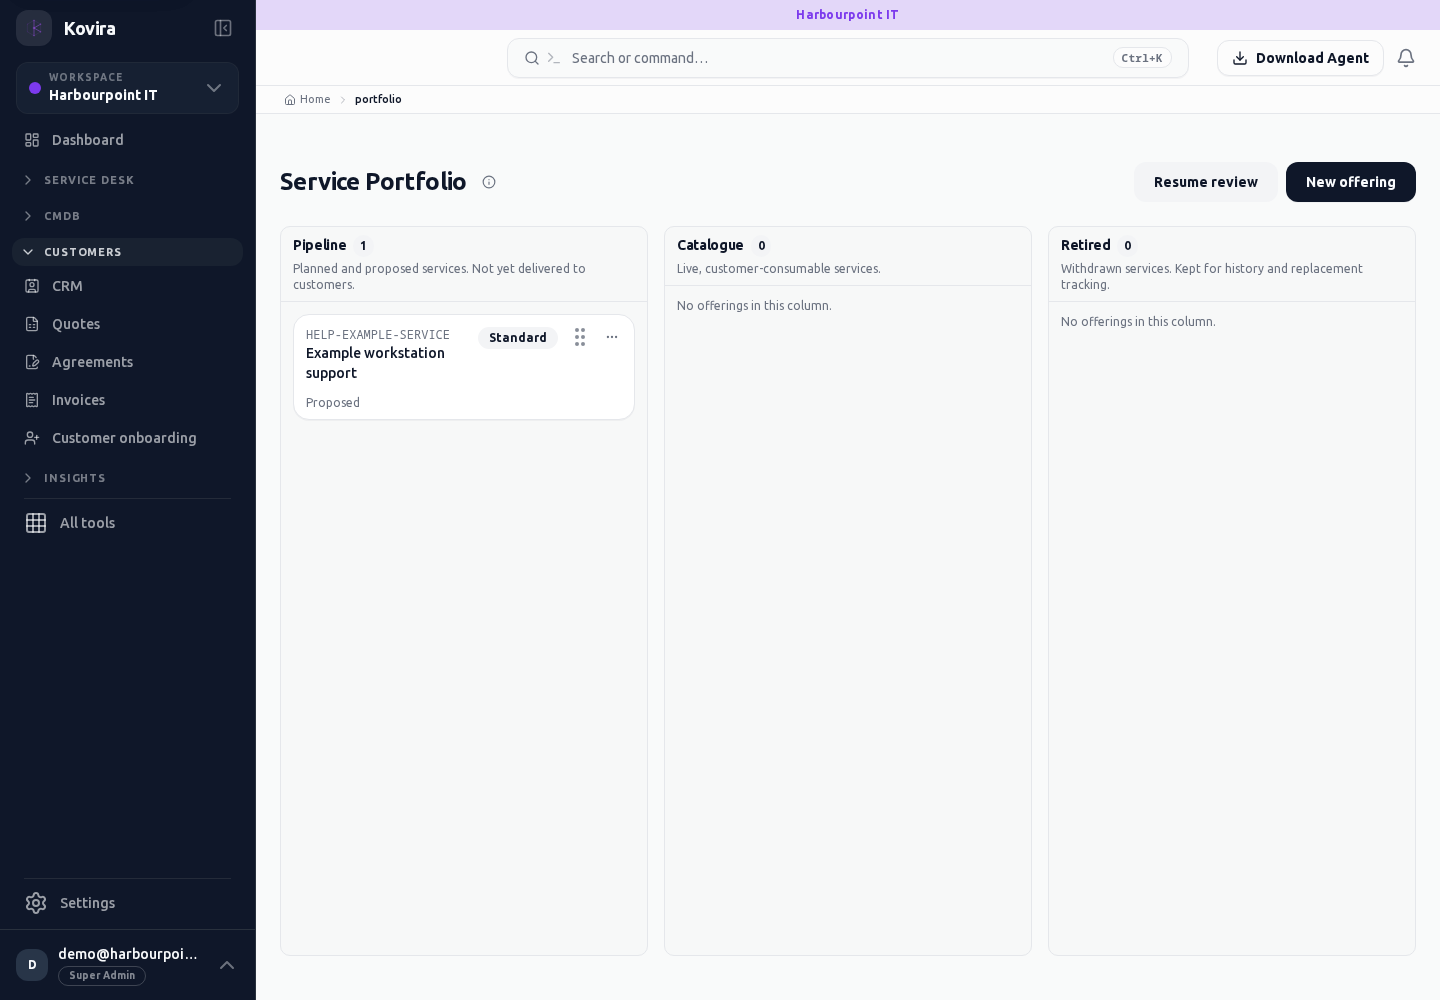
Related screens (4)
Portfolio / Details
Service portfolio. Review this screen in the context of the current workspace and record.
Access
- Default workspace roles for opening this screen: Super Admin. Custom role settings, the current workspace, plan and record sharing can further restrict access.
- Opening a screen does not grant every action on it. Changes, exports and lifecycle actions can require additional permissions.
Controls and information
- Offering lifecycle
- owner
- review snapshot
- decisions
- follow-up
Steps for this screen
- Open the offering or review and read the supporting scope, ownership and evidence before making a decision.
- Read the summary, current state and related records. Review the action and its prerequisites before changing the record.
Check the result
- Confirm the resulting offering state and any assigned follow-up after the review.
If this screen is unavailable
- If the record is unavailable, return to its list and confirm the workspace and link. Ask an administrator to check record access before creating a replacement.
- If saving fails or a conflict appears, keep a copy of your intended changes, reopen the current record and review it before submitting again.
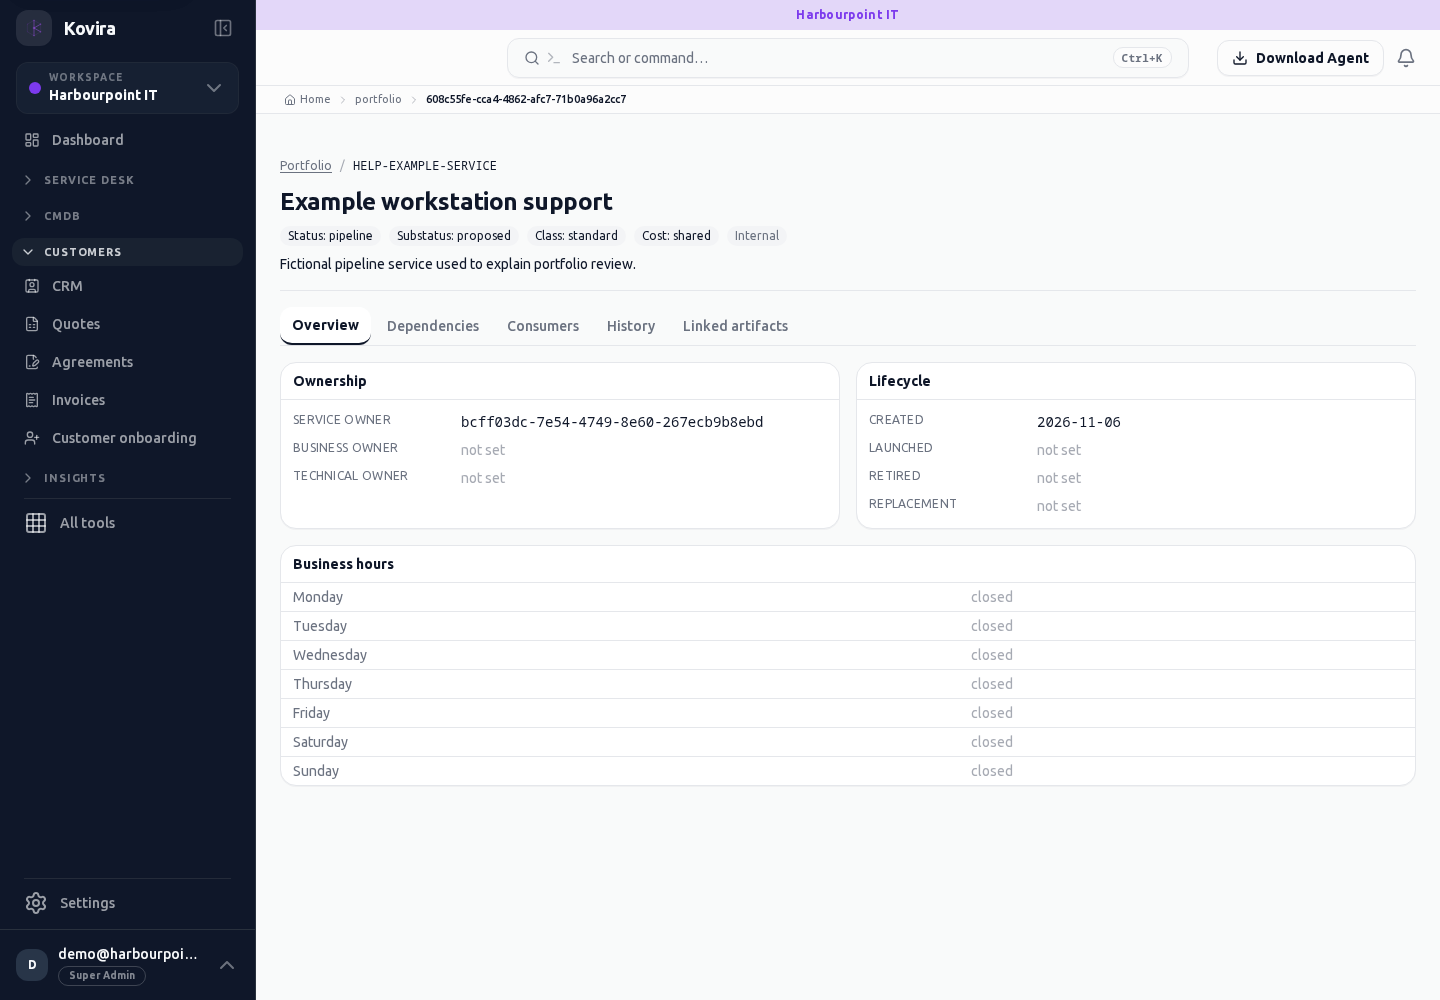
Portfolio
Service portfolio. Review this screen in the context of the current workspace and record.
Access
- Default workspace roles for opening this screen: Super Admin. Custom role settings, the current workspace, plan and record sharing can further restrict access.
- Opening a screen does not grant every action on it. Changes, exports and lifecycle actions can require additional permissions.
Controls and information
- Offering lifecycle
- owner
- review snapshot
- decisions
- follow-up
Steps for this screen
- Open the offering or review and read the supporting scope, ownership and evidence before making a decision.
- Use the available search, date and status filters to narrow the view. Open a record link for its detail.
- Clear filters when you need to compare the full accessible list.
Check the result
- Confirm the resulting offering state and any assigned follow-up after the review.
If this screen is unavailable
- If no records appear, clear active filters and confirm the workspace and your access before creating a duplicate.
- If the list cannot load, retry once and quote the displayed support reference; do not infer that the workspace is empty.
Portfolio / Review / Details
Service portfolio. Review this screen in the context of the current workspace and record.
Access
- Default workspace roles for opening this screen: Super Admin. Custom role settings, the current workspace, plan and record sharing can further restrict access.
- Opening a screen does not grant every action on it. Changes, exports and lifecycle actions can require additional permissions.
Controls and information
- Offering lifecycle
- owner
- review snapshot
- decisions
- follow-up
Steps for this screen
- Open the offering or review and read the supporting scope, ownership and evidence before making a decision.
- Read the summary, current state and related records. Review the action and its prerequisites before changing the record.
Check the result
- Confirm the resulting offering state and any assigned follow-up after the review.
If this screen is unavailable
- If the record is unavailable, return to its list and confirm the workspace and link. Ask an administrator to check record access before creating a replacement.
- If saving fails or a conflict appears, keep a copy of your intended changes, reopen the current record and review it before submitting again.
Portfolio / Review
Service portfolio. Review this screen in the context of the current workspace and record.
Access
- Default workspace roles for opening this screen: Super Admin. Custom role settings, the current workspace, plan and record sharing can further restrict access.
- Opening a screen does not grant every action on it. Changes, exports and lifecycle actions can require additional permissions.
Controls and information
- Offering lifecycle
- owner
- review snapshot
- decisions
- follow-up
Steps for this screen
- Open the offering or review and read the supporting scope, ownership and evidence before making a decision.
- Use the available search, date and status filters to narrow the view. Open a record link for its detail.
- Clear filters when you need to compare the full accessible list.
Check the result
- Confirm the resulting offering state and any assigned follow-up after the review.
If this screen is unavailable
- If no records appear, clear active filters and confirm the workspace and your access before creating a duplicate.
- If the list cannot load, retry once and quote the displayed support reference; do not infer that the workspace is empty.
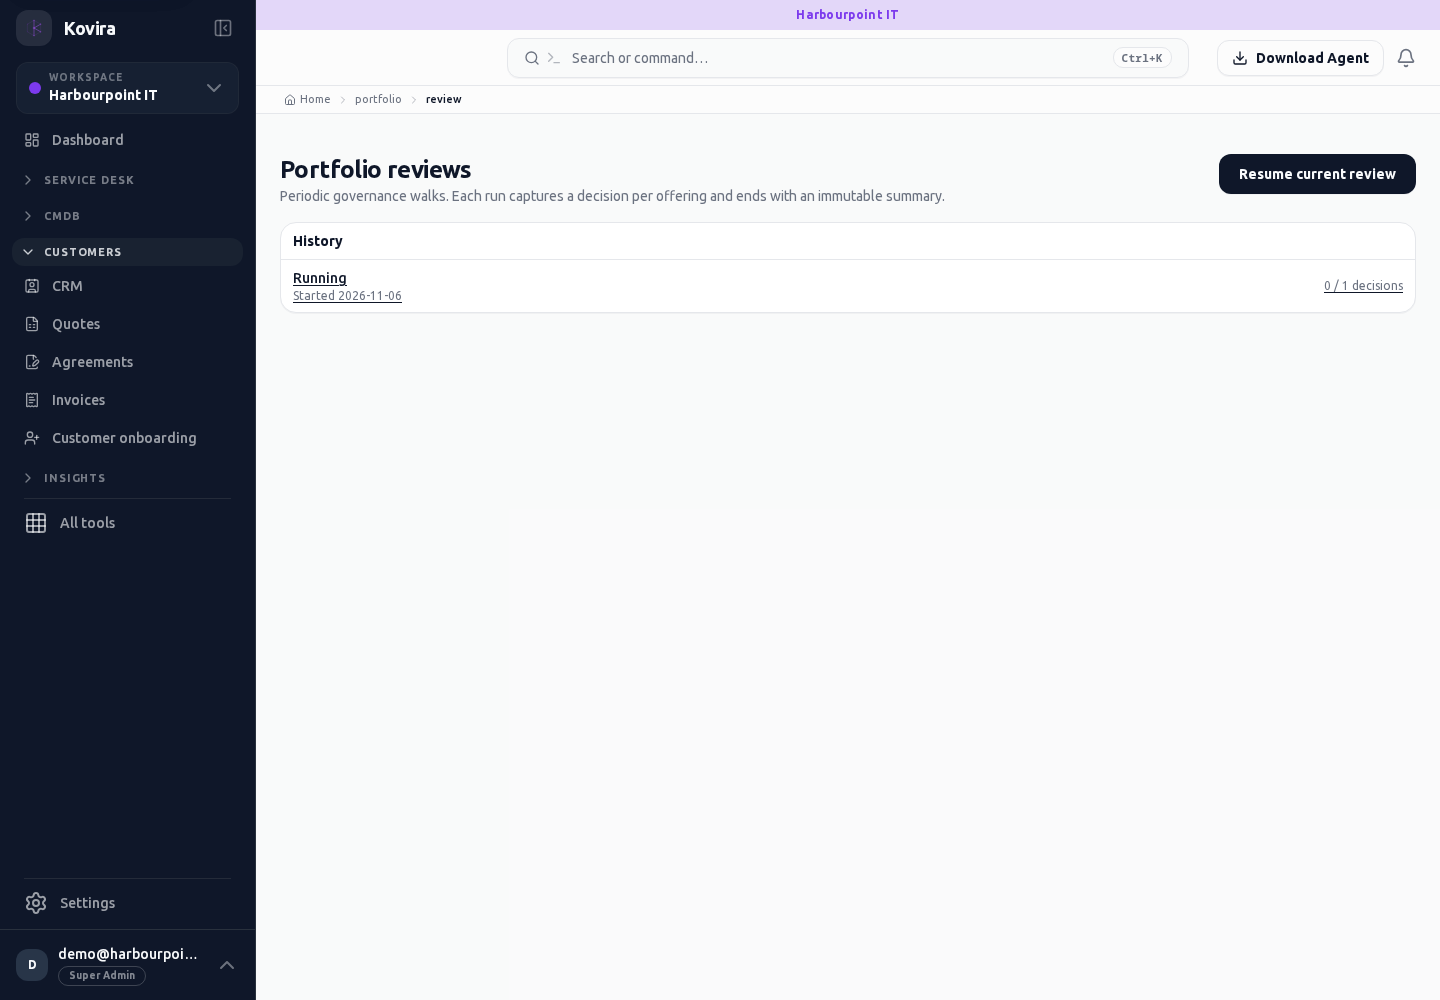
Projects, tasks, milestones and membership
Applies to: KOVIRA
Coordinate project delivery and maintain team access.
Before you begin
- Project access; permission to change membership for team administration.
Steps
- Open Projects and choose or create the project. Confirm its customer or service association where supplied.
- Open Tasks to review work, assignment and progress. Open Milestones to review planned checkpoints and dates.
- Use Members to review who has access and their project role. Confirm the person and intended role before changing membership.
- Review the project’s overall state after updating tasks and milestones.
Check the result
- Reopen an updated task or milestone and confirm its dates and state.
- Verify a changed member has the intended project access.
If you need help
- Project membership does not necessarily grant workspace-wide access. Ask an administrator to review the relevant permissions.
- Check filters and completion state before concluding that a task is missing.
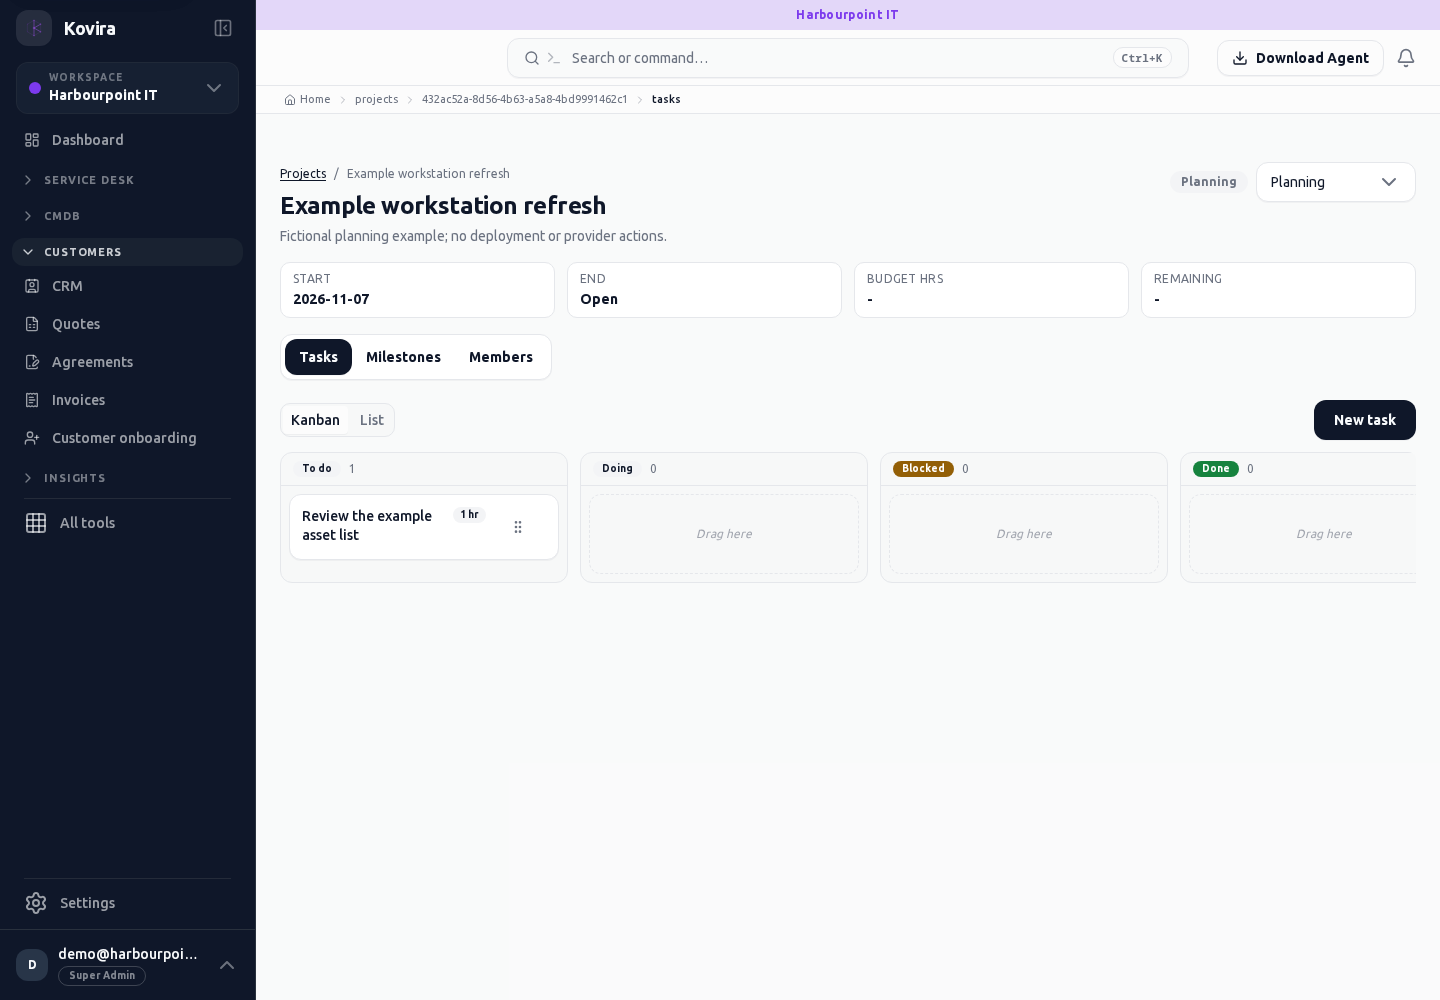
Related screens (6)
Projects / Details / Members
Project delivery. Review this screen in the context of the current workspace and record.
Access
- Default workspace roles for opening this screen: Super Admin. Custom role settings, the current workspace, plan and record sharing can further restrict access.
- Opening a screen does not grant every action on it. Changes, exports and lifecycle actions can require additional permissions.
Controls and information
- Tasks
- milestones
- members
- project role
- dates and status
Steps for this screen
- Confirm the project and customer, then review task ownership, milestones and the access of project members.
- Read the summary, current state and related records. Review the action and its prerequisites before changing the record.
Check the result
- Reopen the relevant task, milestone or member entry and check the saved result in the project context.
If this screen is unavailable
- If the record is unavailable, return to its list and confirm the workspace and link. Ask an administrator to check record access before creating a replacement.
- If saving fails or a conflict appears, keep a copy of your intended changes, reopen the current record and review it before submitting again.
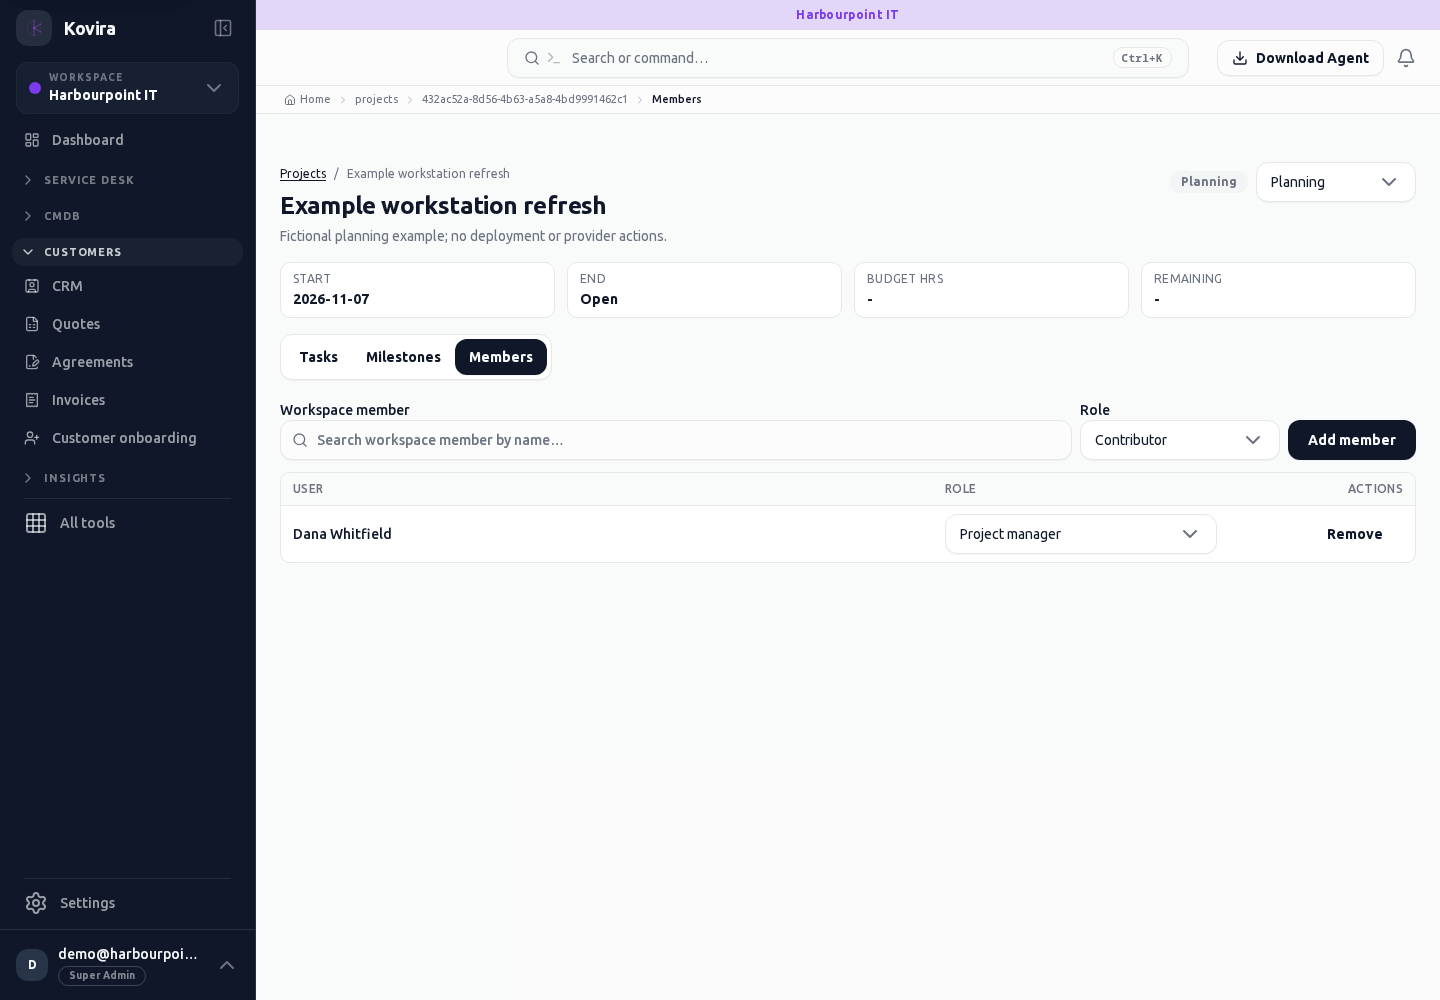
Projects / Details / Milestones
Project delivery. Review this screen in the context of the current workspace and record.
Access
- Default workspace roles for opening this screen: Super Admin. Custom role settings, the current workspace, plan and record sharing can further restrict access.
- Opening a screen does not grant every action on it. Changes, exports and lifecycle actions can require additional permissions.
Controls and information
- Tasks
- milestones
- members
- project role
- dates and status
Steps for this screen
- Confirm the project and customer, then review task ownership, milestones and the access of project members.
- Read the summary, current state and related records. Review the action and its prerequisites before changing the record.
Check the result
- Reopen the relevant task, milestone or member entry and check the saved result in the project context.
If this screen is unavailable
- If the record is unavailable, return to its list and confirm the workspace and link. Ask an administrator to check record access before creating a replacement.
- If saving fails or a conflict appears, keep a copy of your intended changes, reopen the current record and review it before submitting again.
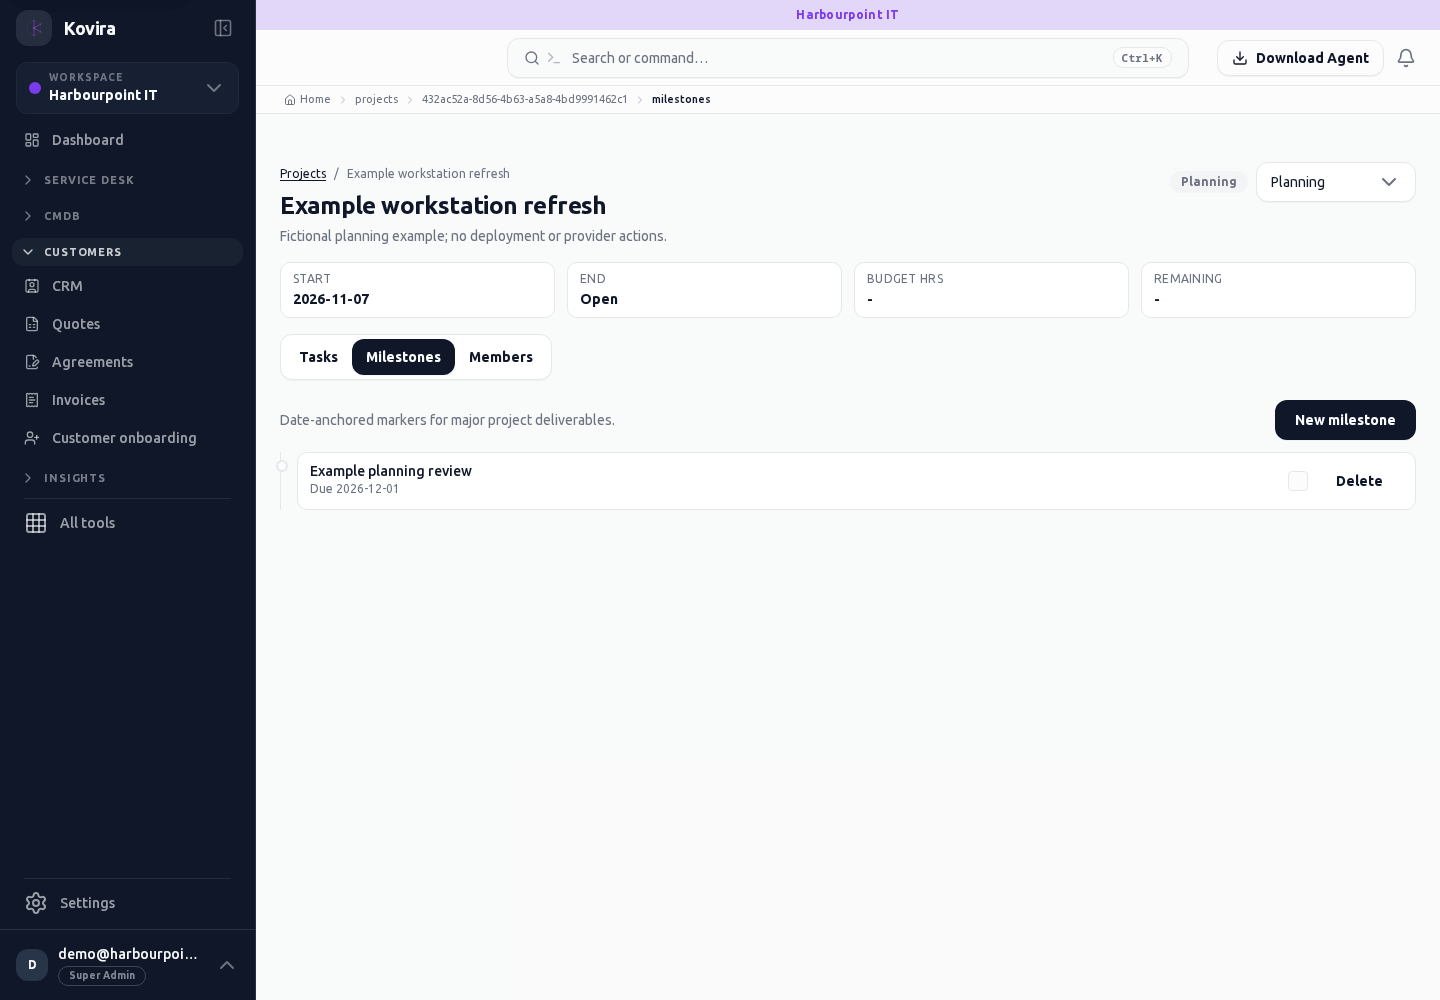
Projects / Details
Project delivery. Open the linked destination and continue there.
Access
- Your current workspace role, plan and record access determine whether this screen and its actions are available. Ask an administrator if the required action is missing.
Controls and information
- Tasks
- milestones
- members
- project role
- dates and status
Steps for this screen
- Confirm the project and customer, then review task ownership, milestones and the access of project members.
- This entry opens the corresponding destination screen. Check the heading and continue with the destination’s controls.
Check the result
- Reopen the relevant task, milestone or member entry and check the saved result in the project context.
If this screen is unavailable
- If no records appear, clear active filters and confirm the workspace and your access before creating a duplicate.
- If the destination cannot be opened, use its navigation entry and confirm that your role and plan include it.
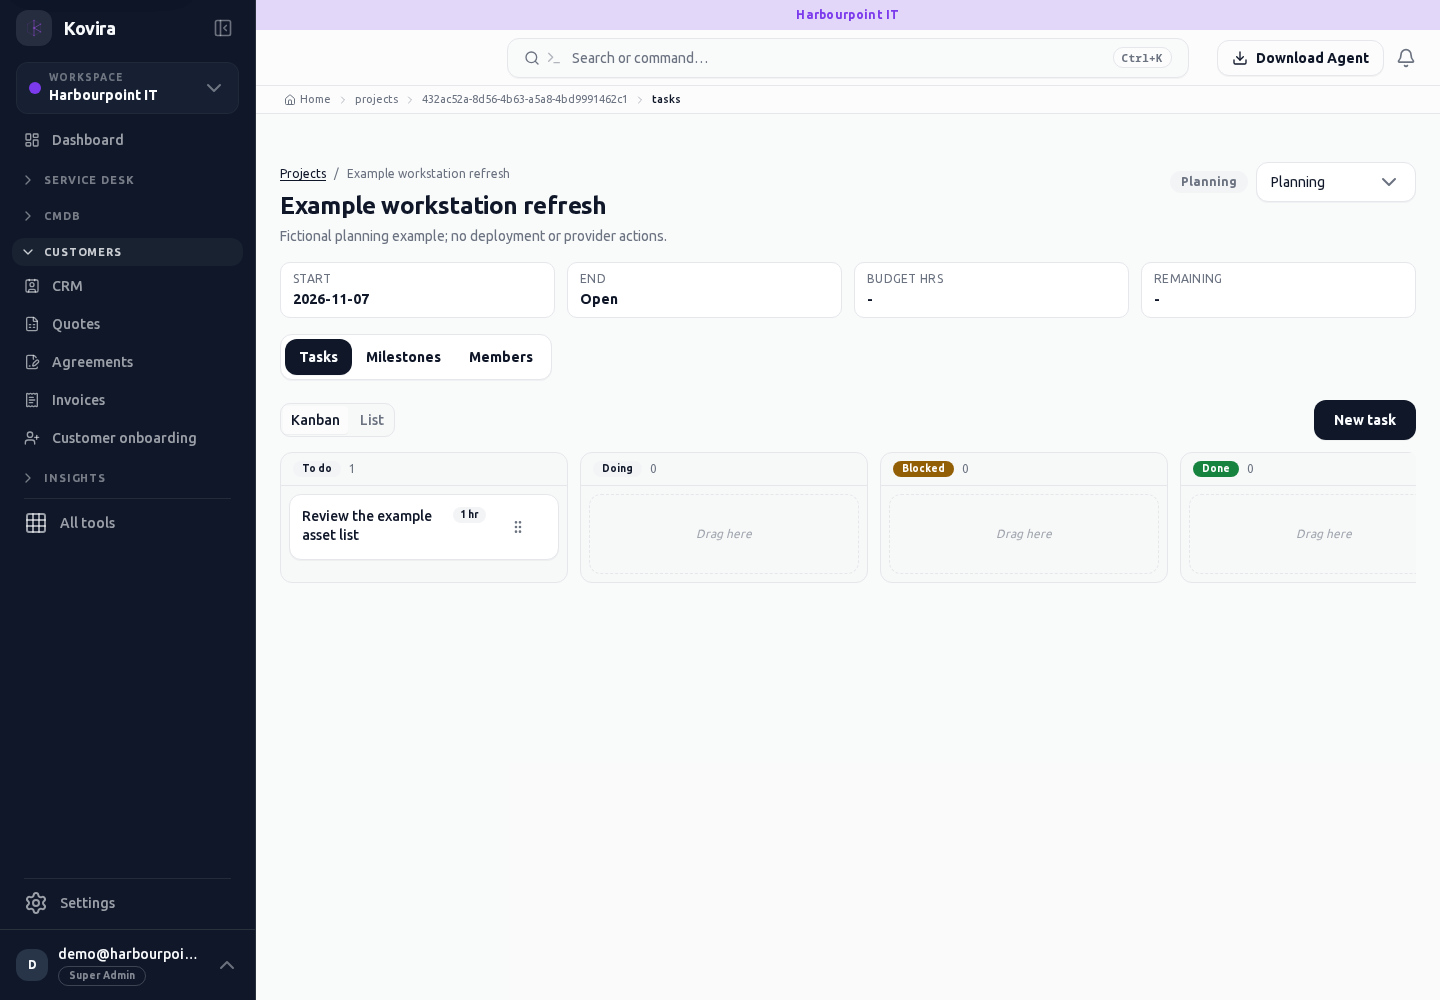
Projects / Details / Tasks
Project delivery. Review this screen in the context of the current workspace and record.
Access
- Default workspace roles for opening this screen: Super Admin. Custom role settings, the current workspace, plan and record sharing can further restrict access.
- Opening a screen does not grant every action on it. Changes, exports and lifecycle actions can require additional permissions.
Controls and information
- Tasks
- milestones
- members
- project role
- dates and status
Steps for this screen
- Confirm the project and customer, then review task ownership, milestones and the access of project members.
- Read the summary, current state and related records. Review the action and its prerequisites before changing the record.
Check the result
- Reopen the relevant task, milestone or member entry and check the saved result in the project context.
If this screen is unavailable
- If the record is unavailable, return to its list and confirm the workspace and link. Ask an administrator to check record access before creating a replacement.
- If saving fails or a conflict appears, keep a copy of your intended changes, reopen the current record and review it before submitting again.
Projects / New
Project delivery. Create a new entry and review the information before submitting.
Access
- Default workspace roles for opening this screen: Super Admin. Custom role settings, the current workspace, plan and record sharing can further restrict access.
- Opening a screen does not grant every action on it. Changes, exports and lifecycle actions can require additional permissions.
Controls and information
- Tasks
- milestones
- members
- project role
- dates and status
Steps for this screen
- Confirm the project and customer, then review task ownership, milestones and the access of project members.
- Complete the required fields. Review linked records, dates and any recipient or customer selection.
- Use the form’s create or save action once and wait for its result. Cancel to leave without submitting.
Check the result
- Reopen the relevant task, milestone or member entry and check the saved result in the project context.
- Open the newly created record from the resulting list or confirmation and check the saved values.
If this screen is unavailable
- If no records appear, clear active filters and confirm the workspace and your access before creating a duplicate.
- If saving fails or a conflict appears, keep a copy of your intended changes, reopen the current record and review it before submitting again.
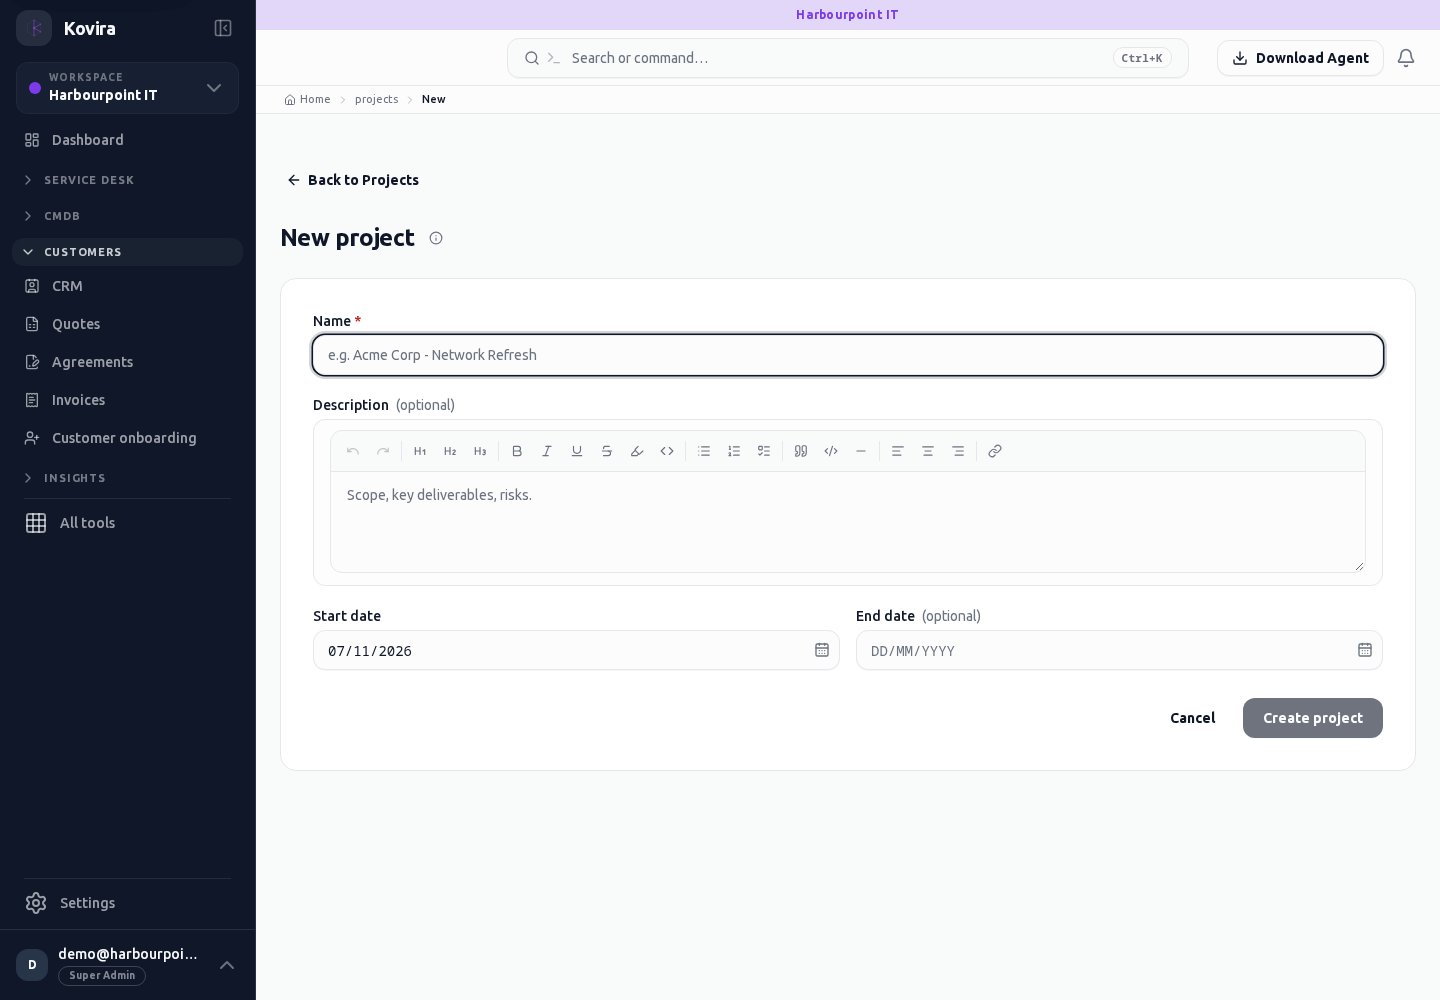
Projects
Project delivery. Review this screen in the context of the current workspace and record.
Access
- Default workspace roles for opening this screen: Super Admin. Custom role settings, the current workspace, plan and record sharing can further restrict access.
- Opening a screen does not grant every action on it. Changes, exports and lifecycle actions can require additional permissions.
Controls and information
- Tasks
- milestones
- members
- project role
- dates and status
Steps for this screen
- Confirm the project and customer, then review task ownership, milestones and the access of project members.
- Use the available search, date and status filters to narrow the view. Open a record link for its detail.
- Clear filters when you need to compare the full accessible list.
Check the result
- Reopen the relevant task, milestone or member entry and check the saved result in the project context.
If this screen is unavailable
- If no records appear, clear active filters and confirm the workspace and your access before creating a duplicate.
- If the list cannot load, retry once and quote the displayed support reference; do not infer that the workspace is empty.
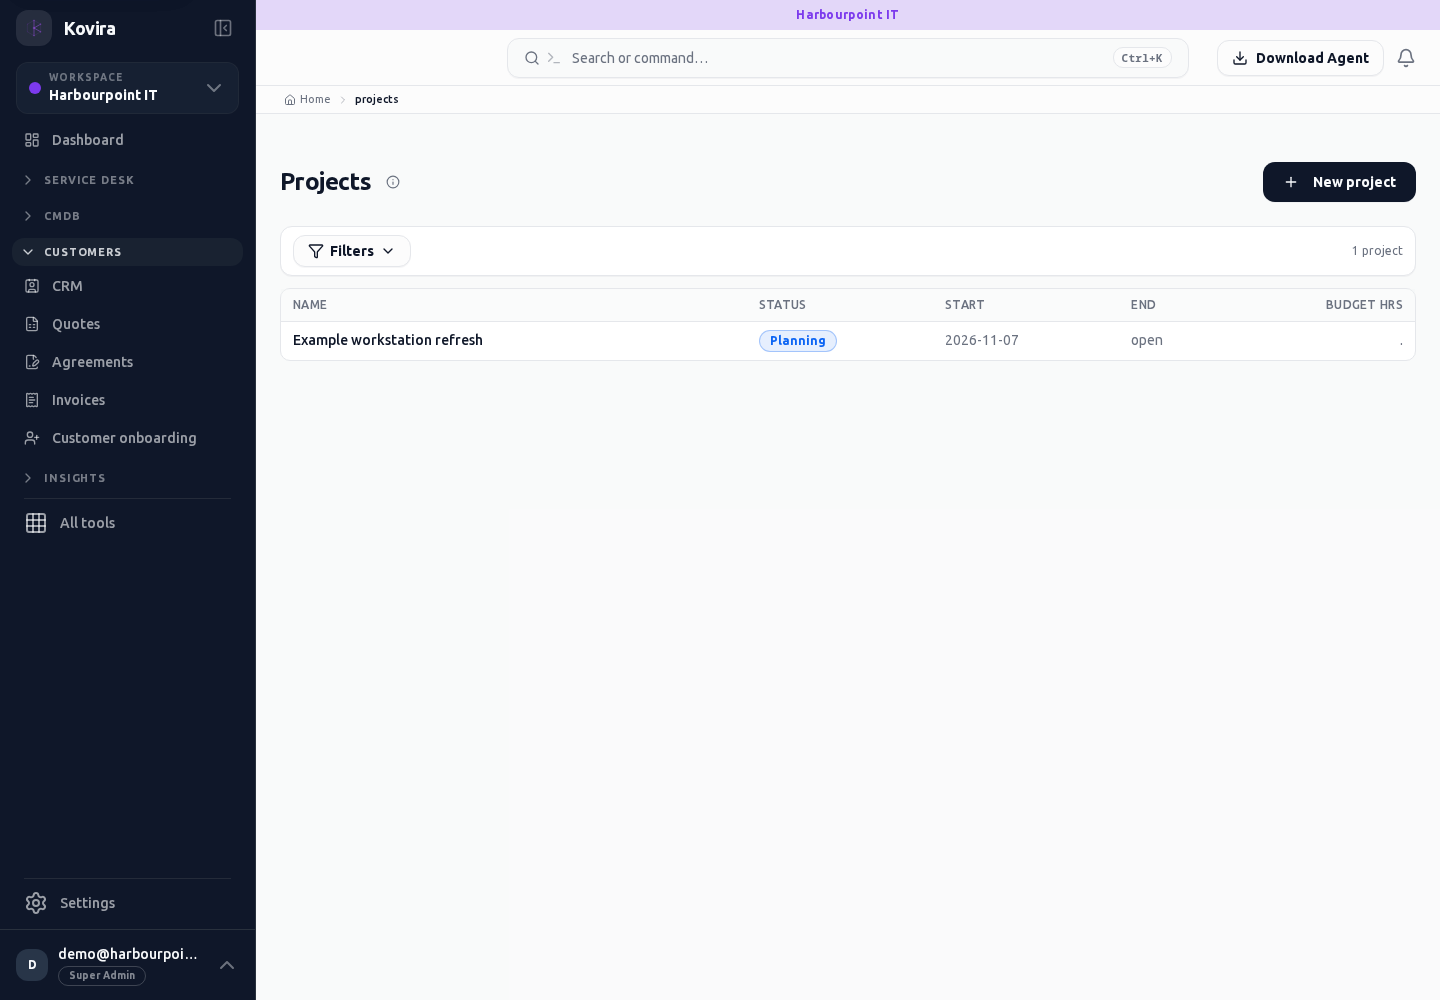
Dispatch and assignment
Applies to: KOVIRA
Assign work using the available team and scheduling context.
Before you begin
- Permission to view the work queue and assign the relevant work.
Steps
- Open Dispatch and review the work awaiting assignment. Check the selected date or planning period.
- Open the assignment action, choose the intended responder or group and review any availability information shown.
- Confirm the assignment, then open the underlying record to check its saved assignee and next action.
Check the result
- Confirm the work item and assignee agree in Dispatch and on the record.
If you need help
- If assignment fails, check whether another person has already changed the work or the responder is no longer available. Reload before trying again.
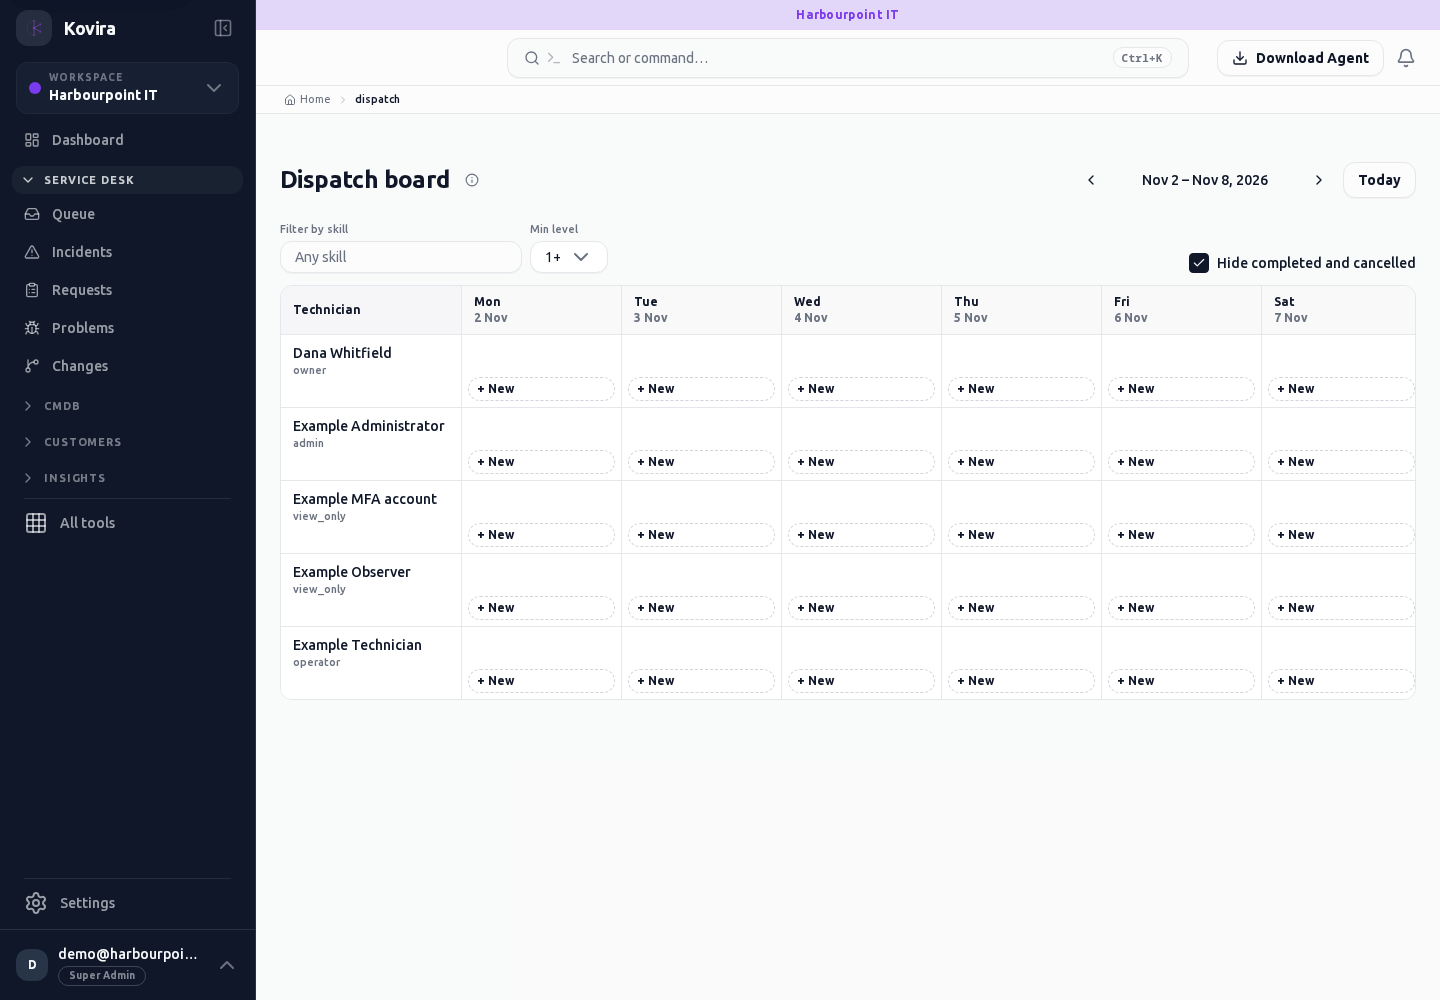
Related screens (1)
Dispatch
Work dispatch. Review this screen in the context of the current workspace and record.
Access
- Default workspace roles for opening this screen: Super Admin. Custom role settings, the current workspace, plan and record sharing can further restrict access.
- Opening a screen does not grant every action on it. Changes, exports and lifecycle actions can require additional permissions.
Controls and information
- Planning period
- work item
- assignee
- availability
Steps for this screen
- Review the work and available responder before assigning it.
Check the result
- Open the underlying work item to confirm its saved assignee and next action.
If this screen is unavailable
- If no records appear, clear active filters and confirm the workspace and your access before creating a duplicate.
- If saving fails or a conflict appears, keep a copy of your intended changes, reopen the current record and review it before submitting again.
Customer onboarding playbooks and runs
Applies to: KOVIRA
Apply repeatable onboarding work to a customer and follow its progress.
Before you begin
- Customer-onboarding permission; editing access for playbooks and run changes.
Steps
- Open Customer onboarding to review available playbooks and active runs.
- Create or open a playbook and review its steps, ownership and completion requirements before saving.
- Start a new run using the intended customer and playbook. Confirm the selections before submitting.
- Open a run to review step progress and use the offered completion or cancellation actions when their prerequisites are met.
Check the result
- Confirm the run’s customer, playbook and current state.
- Check that completed work has the required supporting information.
If you need help
- A completed or cancelled run can restrict further actions. Inspect its current state before trying to change it.
- If a playbook changes, verify which instructions apply to the already-started run.
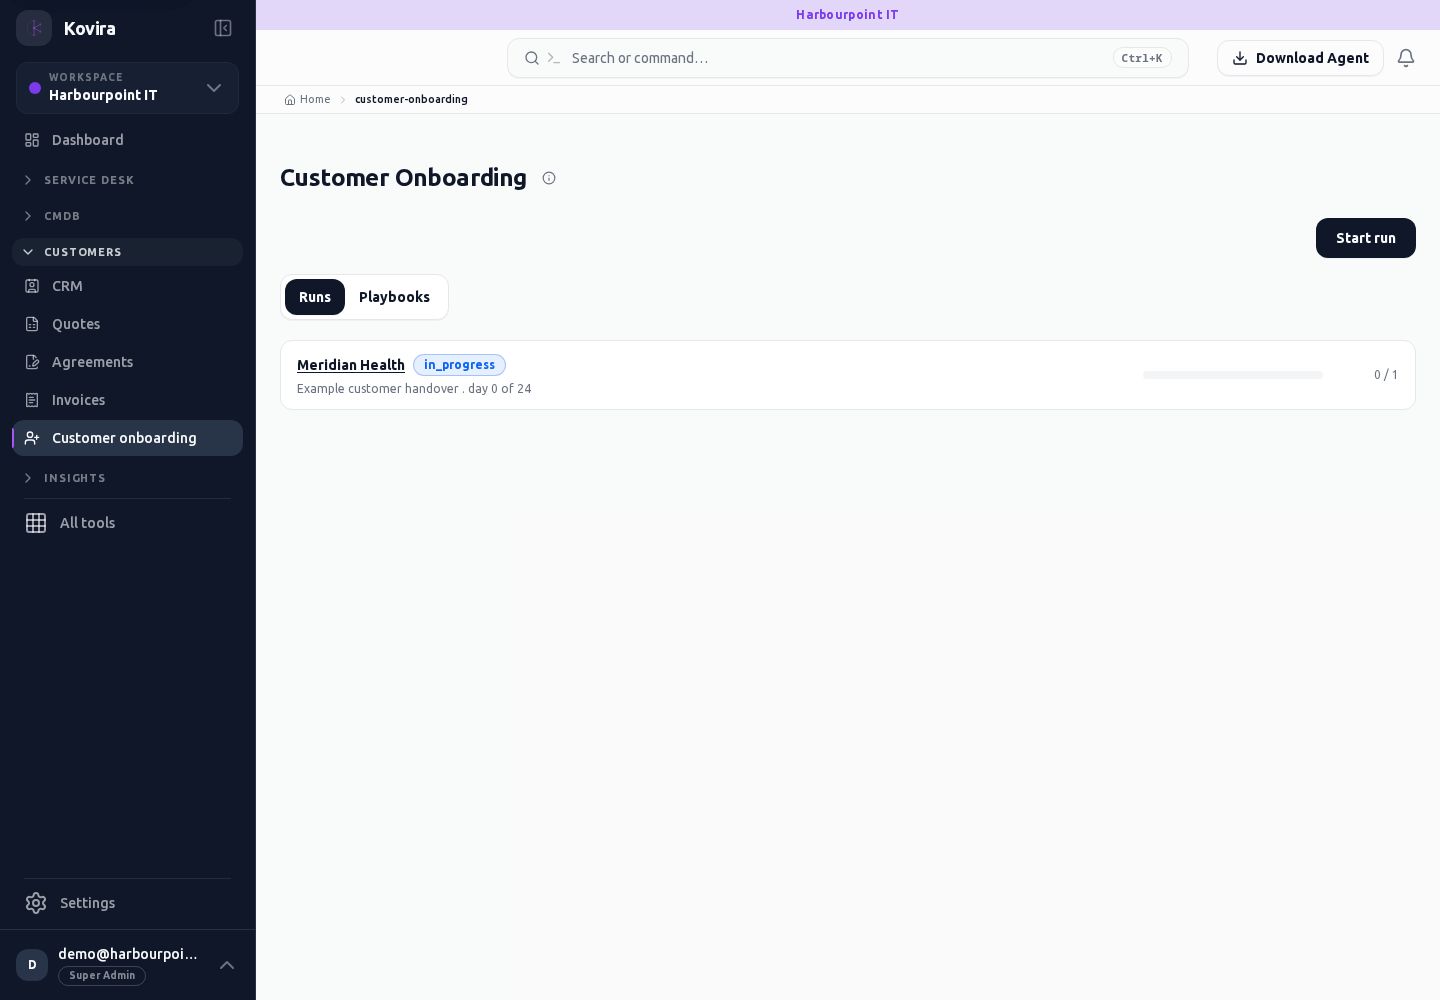
Related screens (5)
Customer Onboarding
Customer onboarding. Review this screen in the context of the current workspace and record.
Access
- Default workspace roles for opening this screen: Super Admin. Custom role settings, the current workspace, plan and record sharing can further restrict access.
- Opening a screen does not grant every action on it. Changes, exports and lifecycle actions can require additional permissions.
Controls and information
- Playbook phases and tasks
- run
- assignee
- completion state
Steps for this screen
- Review the playbook and customer before starting a run. Keep task responsibility and completion evidence current.
- Use the available search, date and status filters to narrow the view. Open a record link for its detail.
- Clear filters when you need to compare the full accessible list.
Check the result
- Check the run and task states; a published playbook is not evidence that onboarding is complete.
If this screen is unavailable
- If no records appear, clear active filters and confirm the workspace and your access before creating a duplicate.
- If the list cannot load, retry once and quote the displayed support reference; do not infer that the workspace is empty.
Customer Onboarding / Playbooks / Details
Customer onboarding. Review this screen in the context of the current workspace and record.
Access
- Default workspace roles for opening this screen: Super Admin. Custom role settings, the current workspace, plan and record sharing can further restrict access.
- Opening a screen does not grant every action on it. Changes, exports and lifecycle actions can require additional permissions.
Controls and information
- Playbook phases and tasks
- run
- assignee
- completion state
Steps for this screen
- Review the playbook and customer before starting a run. Keep task responsibility and completion evidence current.
- Read the summary, current state and related records. Review the action and its prerequisites before changing the record.
Check the result
- Check the run and task states; a published playbook is not evidence that onboarding is complete.
If this screen is unavailable
- If the record is unavailable, return to its list and confirm the workspace and link. Ask an administrator to check record access before creating a replacement.
- If saving fails or a conflict appears, keep a copy of your intended changes, reopen the current record and review it before submitting again.
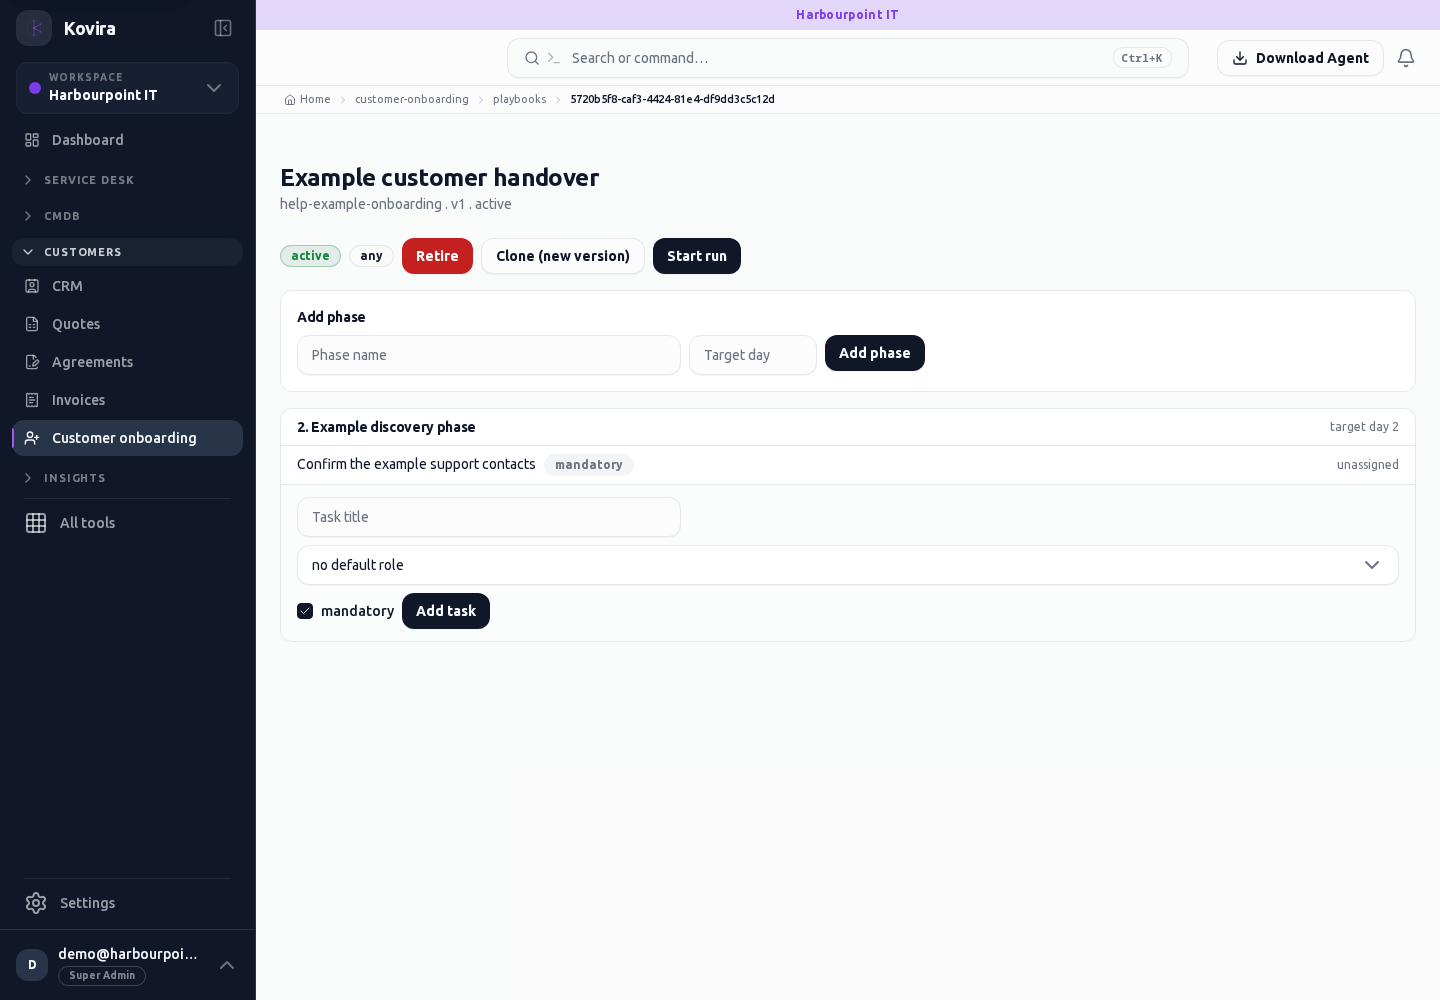
Customer Onboarding / Playbooks / New
Customer onboarding. Create a new entry and review the information before submitting.
Access
- Default workspace roles for opening this screen: Super Admin. Custom role settings, the current workspace, plan and record sharing can further restrict access.
- Opening a screen does not grant every action on it. Changes, exports and lifecycle actions can require additional permissions.
Controls and information
- Playbook phases and tasks
- run
- assignee
- completion state
Steps for this screen
- Review the playbook and customer before starting a run. Keep task responsibility and completion evidence current.
- Complete the required fields. Review linked records, dates and any recipient or customer selection.
- Use the form’s create or save action once and wait for its result. Cancel to leave without submitting.
Check the result
- Check the run and task states; a published playbook is not evidence that onboarding is complete.
- Open the newly created record from the resulting list or confirmation and check the saved values.
If this screen is unavailable
- If no records appear, clear active filters and confirm the workspace and your access before creating a duplicate.
- If saving fails or a conflict appears, keep a copy of your intended changes, reopen the current record and review it before submitting again.
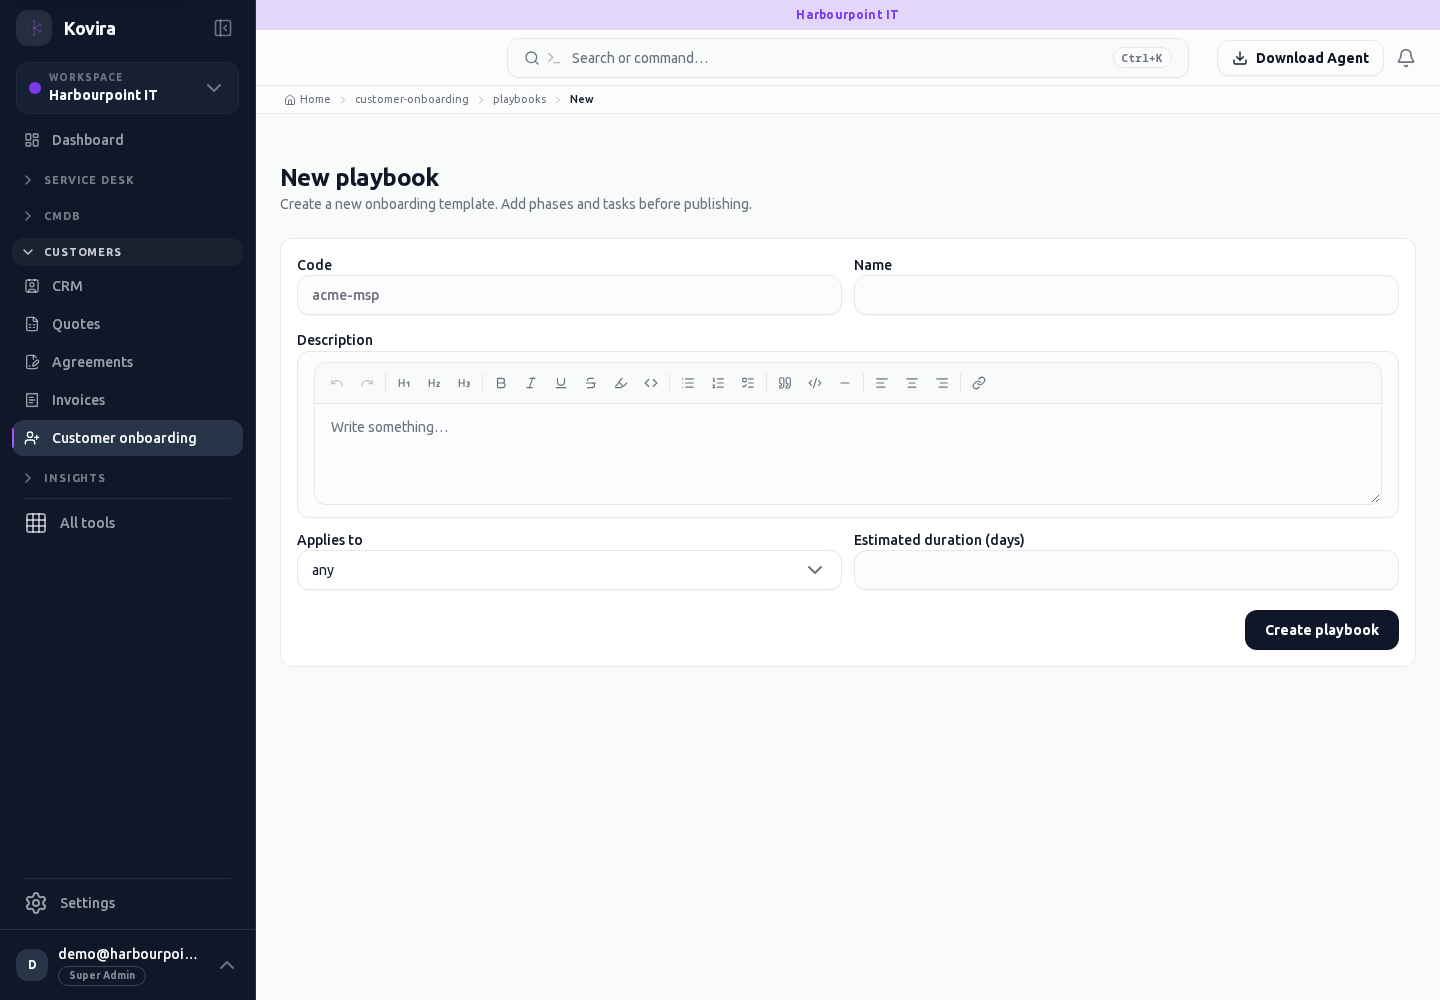
Customer Onboarding / Runs / Details
Customer onboarding. Review this screen in the context of the current workspace and record.
Access
- Default workspace roles for opening this screen: Super Admin. Custom role settings, the current workspace, plan and record sharing can further restrict access.
- Opening a screen does not grant every action on it. Changes, exports and lifecycle actions can require additional permissions.
Controls and information
- Playbook phases and tasks
- run
- assignee
- completion state
Steps for this screen
- Review the playbook and customer before starting a run. Keep task responsibility and completion evidence current.
- Read the summary, current state and related records. Review the action and its prerequisites before changing the record.
Check the result
- Check the run and task states; a published playbook is not evidence that onboarding is complete.
If this screen is unavailable
- If the record is unavailable, return to its list and confirm the workspace and link. Ask an administrator to check record access before creating a replacement.
- If saving fails or a conflict appears, keep a copy of your intended changes, reopen the current record and review it before submitting again.
Customer Onboarding / Runs / New
Customer onboarding. Create a new entry and review the information before submitting.
Access
- Default workspace roles for opening this screen: Super Admin. Custom role settings, the current workspace, plan and record sharing can further restrict access.
- Opening a screen does not grant every action on it. Changes, exports and lifecycle actions can require additional permissions.
Controls and information
- Playbook phases and tasks
- run
- assignee
- completion state
Steps for this screen
- Review the playbook and customer before starting a run. Keep task responsibility and completion evidence current.
- Complete the required fields. Review linked records, dates and any recipient or customer selection.
- Use the form’s create or save action once and wait for its result. Cancel to leave without submitting.
Check the result
- Check the run and task states; a published playbook is not evidence that onboarding is complete.
- Open the newly created record from the resulting list or confirmation and check the saved values.
If this screen is unavailable
- If no records appear, clear active filters and confirm the workspace and your access before creating a duplicate.
- If saving fails or a conflict appears, keep a copy of your intended changes, reopen the current record and review it before submitting again.
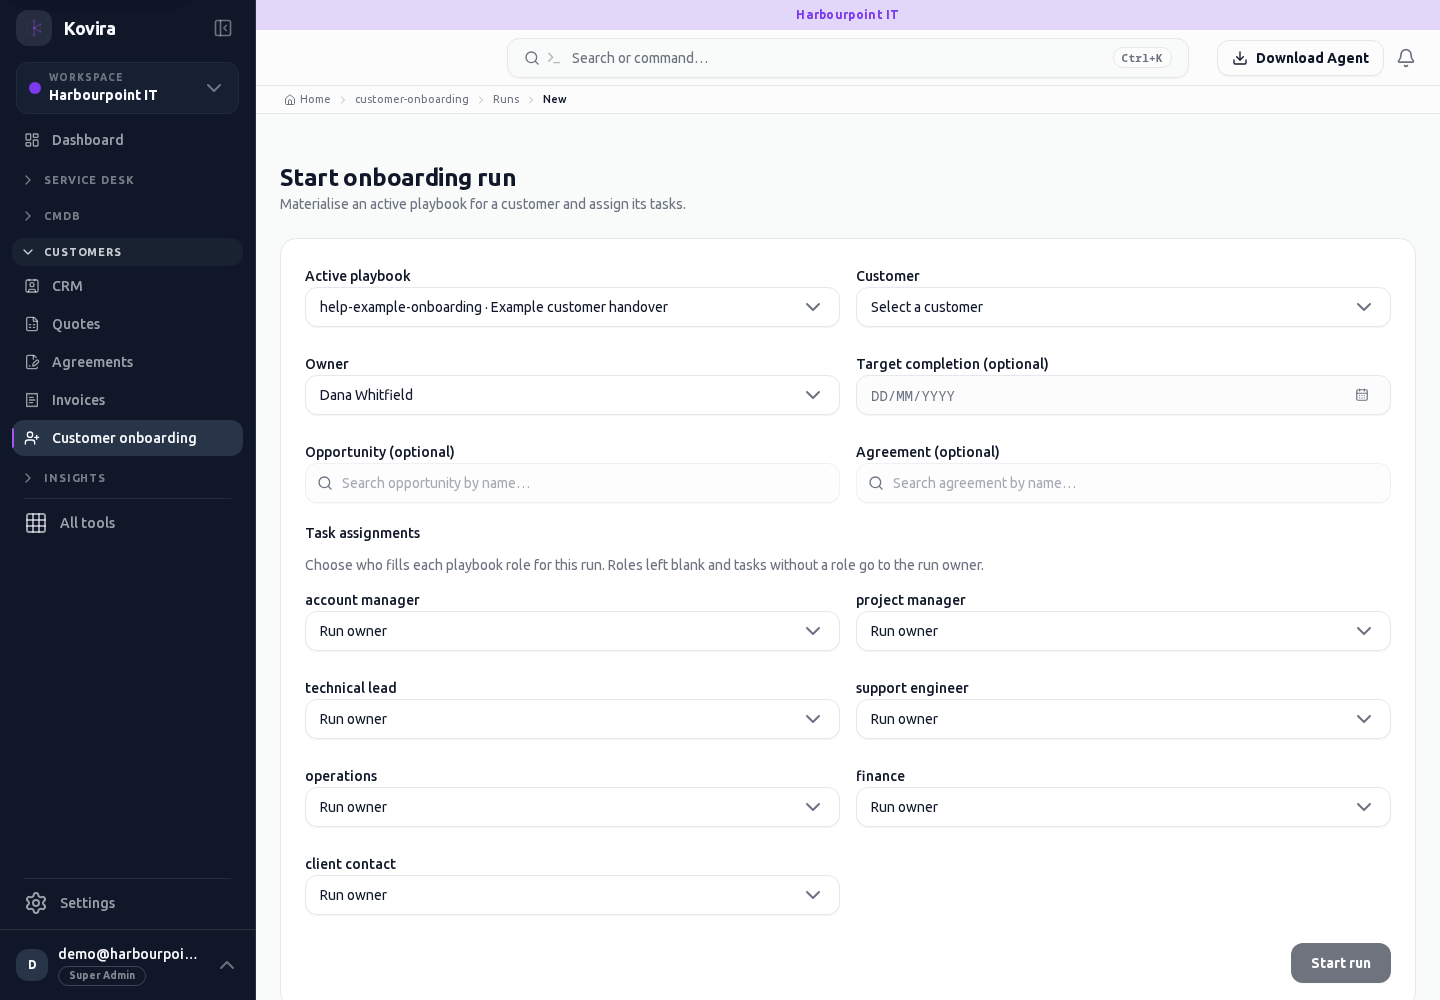
Surveys and customer feedback
Applies to: KOVIRA
Create surveys, review responses and protect recipient information.
Before you begin
- Survey access and permission to contact the intended recipients.
Steps
- Open Surveys and create a survey using the available questions, audience and delivery options. Review wording and recipients before sending.
- Open the survey detail to review its current state and responses. Use the available result view to examine feedback.
- Configure CSAT settings with an administrator when feedback is collected as part of service closure.
Check the result
- Confirm the correct survey and audience before delivery.
- Review a test response through the offered response page before relying on a campaign.
If you need help
- Do not publish recipient lists or individual feedback without the appropriate approval.
- For an invalid response link, contact the sender for a replacement rather than forwarding another person’s link.
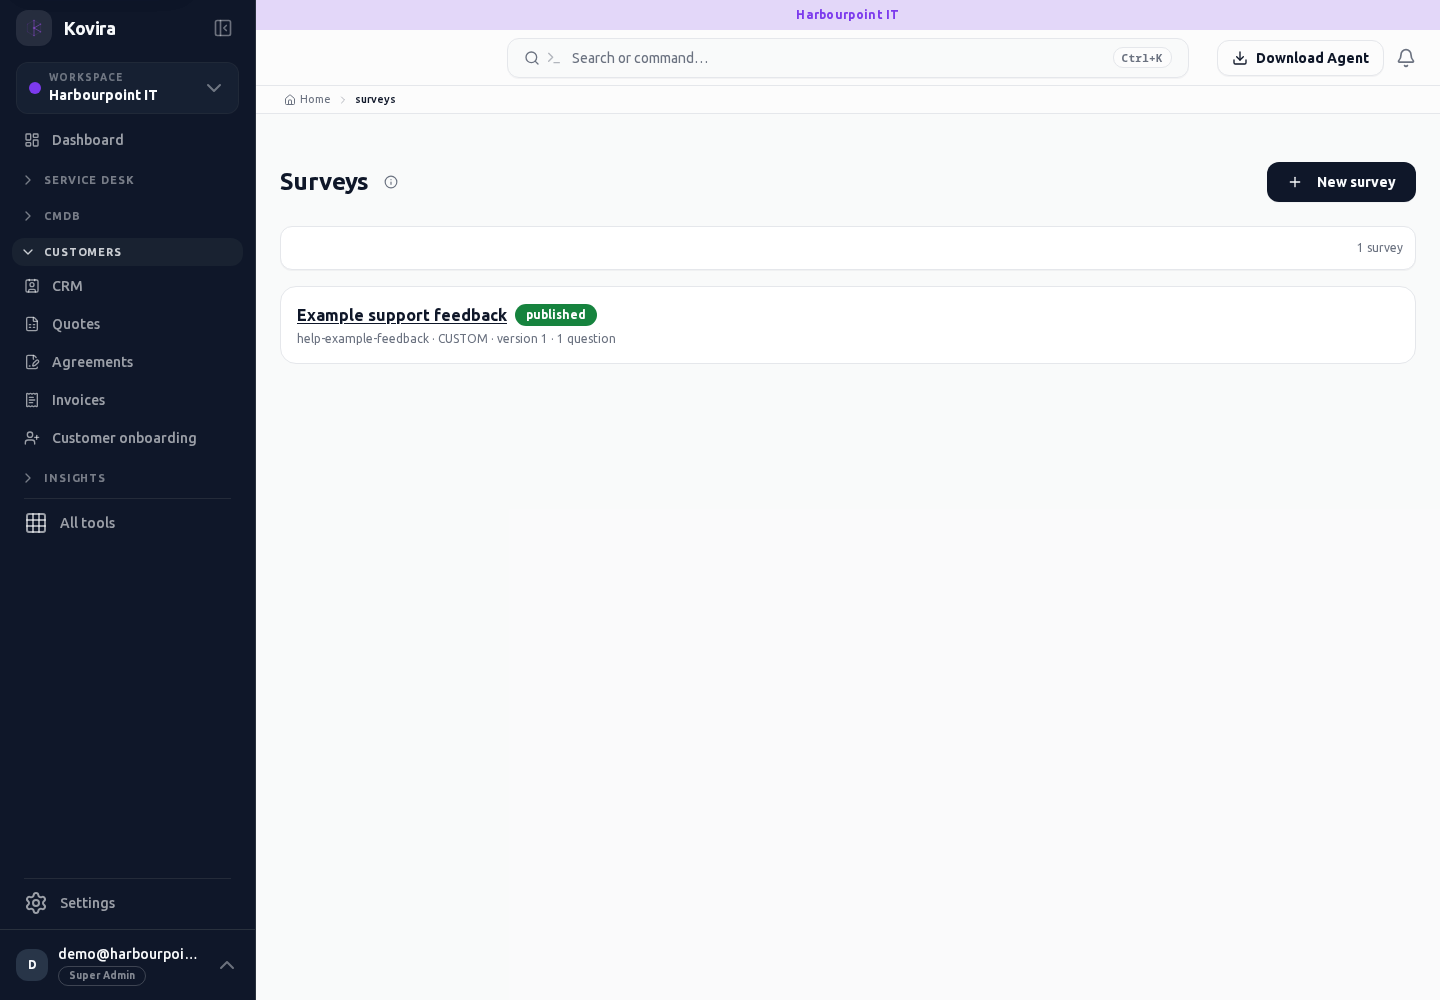
Related screens (3)
Surveys / Details
Feedback surveys. Review this screen in the context of the current workspace and record.
Access
- Default workspace roles for opening this screen: Super Admin. Custom role settings, the current workspace, plan and record sharing can further restrict access.
- Opening a screen does not grant every action on it. Changes, exports and lifecycle actions can require additional permissions.
Controls and information
- Definition
- questions
- publication state
- manual distribution
- responses
Steps for this screen
- Review question wording and audience before publishing or distributing a survey.
- Read the summary, current state and related records. Review the action and its prerequisites before changing the record.
Check the result
- Check recorded responses and the survey state. A generated or queued link does not prove that an email was sent.
If this screen is unavailable
- If the record is unavailable, return to its list and confirm the workspace and link. Ask an administrator to check record access before creating a replacement.
- If saving fails or a conflict appears, keep a copy of your intended changes, reopen the current record and review it before submitting again.
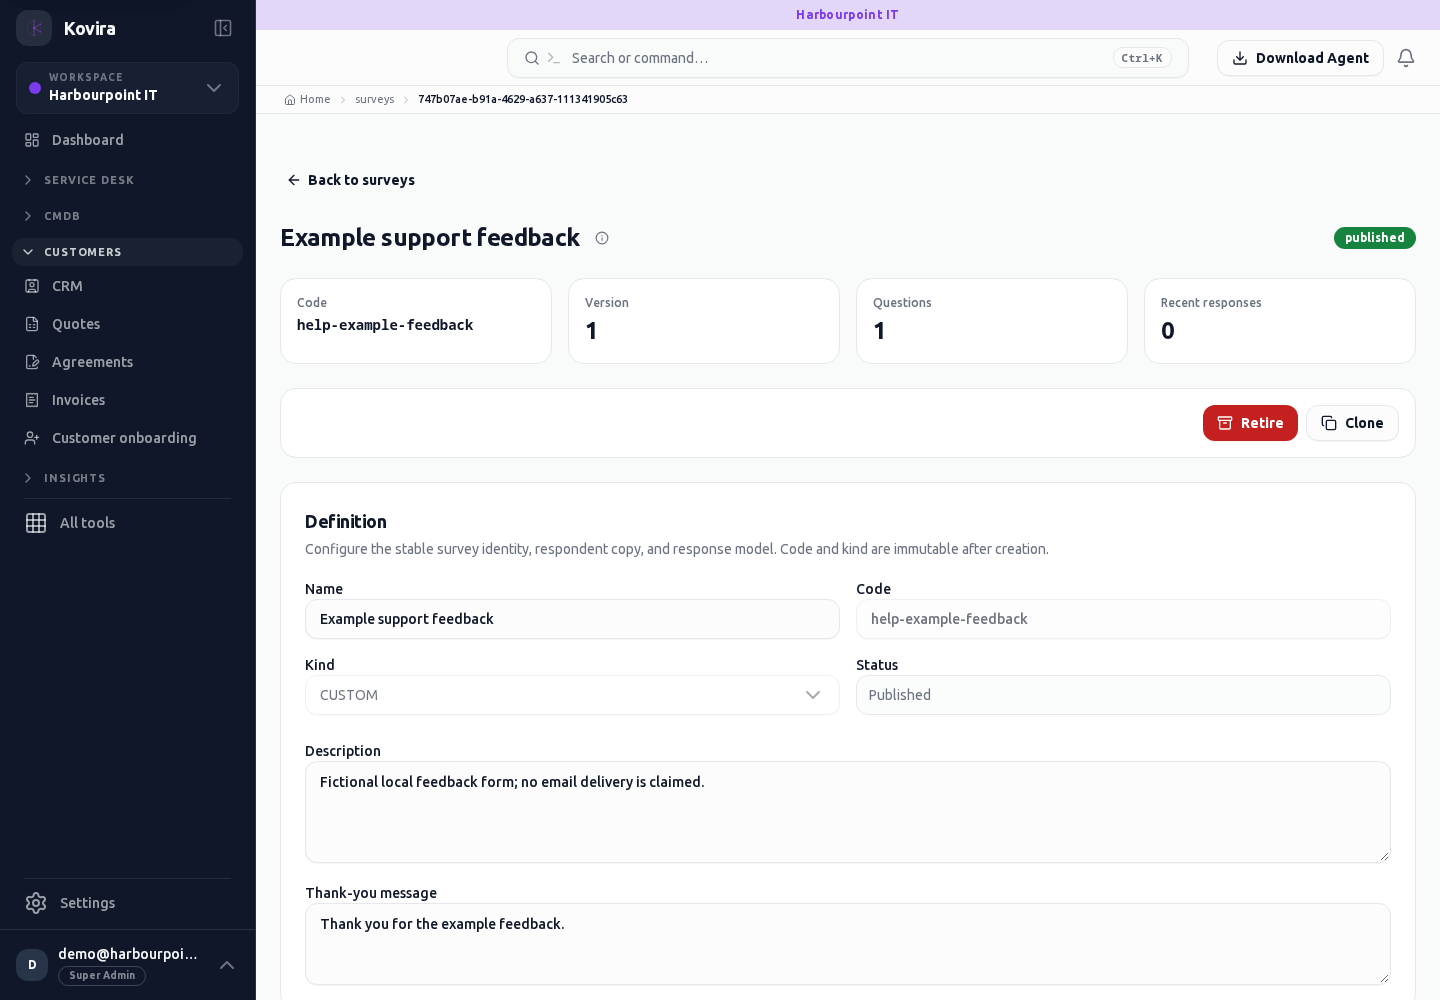
Surveys / New
Feedback surveys. Create a new entry and review the information before submitting.
Access
- Default workspace roles for opening this screen: Super Admin. Custom role settings, the current workspace, plan and record sharing can further restrict access.
- Opening a screen does not grant every action on it. Changes, exports and lifecycle actions can require additional permissions.
Controls and information
- Definition
- questions
- publication state
- manual distribution
- responses
Steps for this screen
- Review question wording and audience before publishing or distributing a survey.
- Complete the required fields. Review linked records, dates and any recipient or customer selection.
- Use the form’s create or save action once and wait for its result. Cancel to leave without submitting.
Check the result
- Check recorded responses and the survey state. A generated or queued link does not prove that an email was sent.
- Open the newly created record from the resulting list or confirmation and check the saved values.
If this screen is unavailable
- If no records appear, clear active filters and confirm the workspace and your access before creating a duplicate.
- If saving fails or a conflict appears, keep a copy of your intended changes, reopen the current record and review it before submitting again.
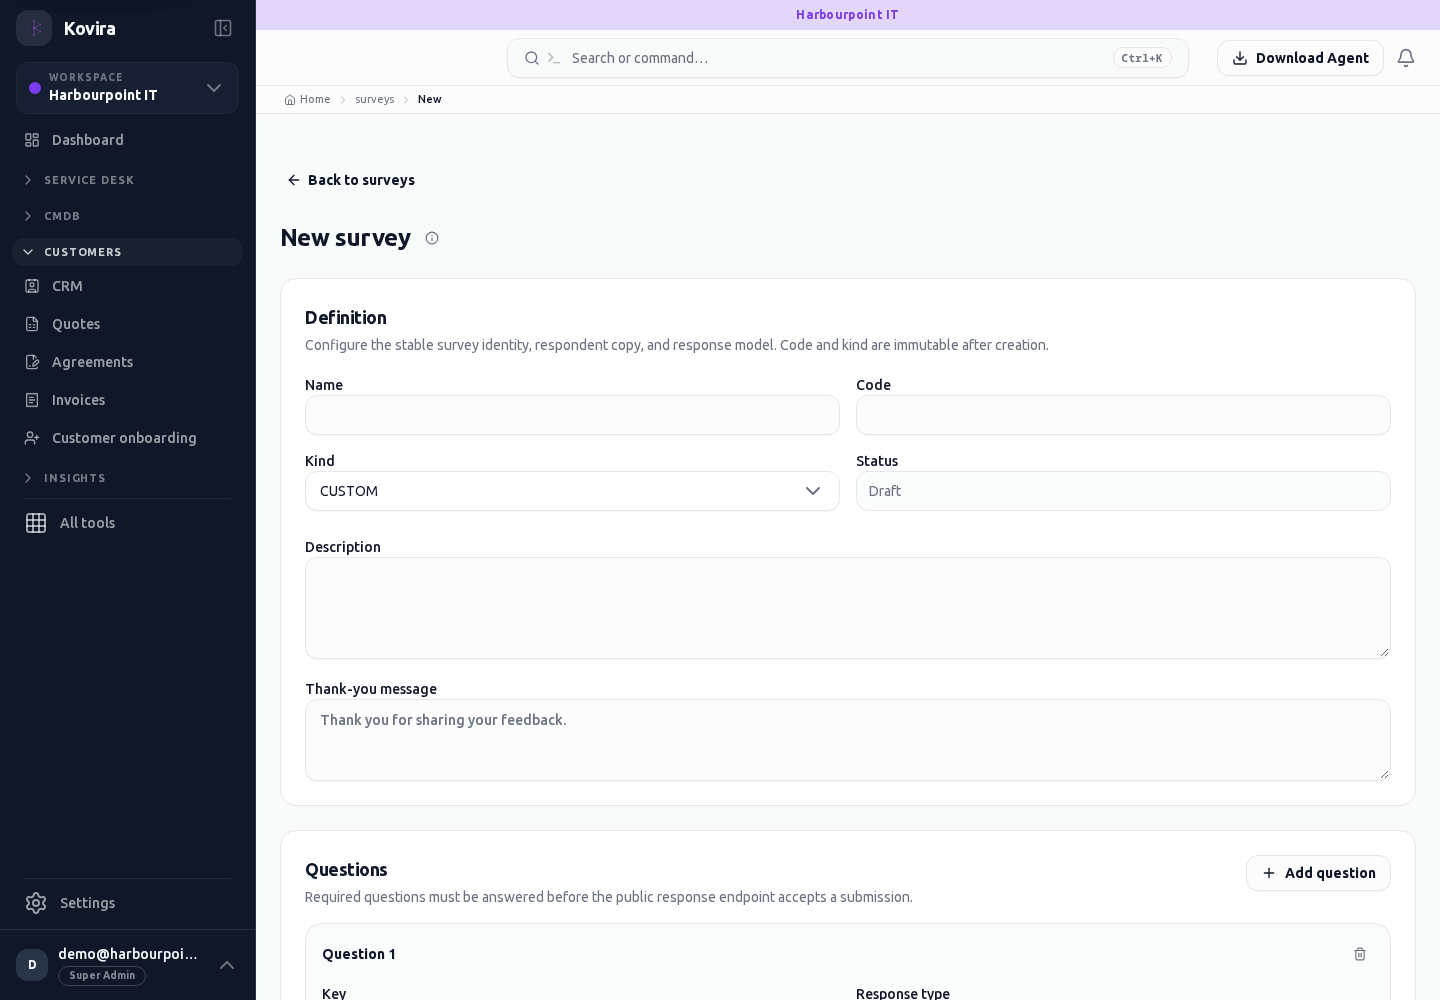
Surveys
Feedback surveys. Review this screen in the context of the current workspace and record.
Access
- Default workspace roles for opening this screen: Super Admin. Custom role settings, the current workspace, plan and record sharing can further restrict access.
- Opening a screen does not grant every action on it. Changes, exports and lifecycle actions can require additional permissions.
Controls and information
- Definition
- questions
- publication state
- manual distribution
- responses
Steps for this screen
- Review question wording and audience before publishing or distributing a survey.
- Use the available search, date and status filters to narrow the view. Open a record link for its detail.
- Clear filters when you need to compare the full accessible list.
Check the result
- Check recorded responses and the survey state. A generated or queued link does not prove that an email was sent.
If this screen is unavailable
- If no records appear, clear active filters and confirm the workspace and your access before creating a duplicate.
- If the list cannot load, retry once and quote the displayed support reference; do not infer that the workspace is empty.
Customer relationships, leads and opportunities
Applies to: KOVIRA
Maintain contacts and track commercial opportunities.
Before you begin
- CRM access and an approved customer record.
Steps
- Open CRM to review the pipeline, then use Contacts, Leads or Opportunities to inspect the relevant record.
- Create a lead or opportunity with the required information. Check ownership, stage and customer links before saving.
- Record Activities to keep follow-up work visible. Review Forecast with its displayed period and assumptions.
- Open an existing lead or opportunity before changing its stage to avoid duplicate or conflicting updates.
Check the result
- Reopen the record and verify the saved stage, owner and links.
- Confirm follow-up activities appear in the expected customer context.
If you need help
- Forecasts depend on the entered opportunity information. Review underlying records before using a total for a commitment.
- Check for an existing contact or lead before creating another.
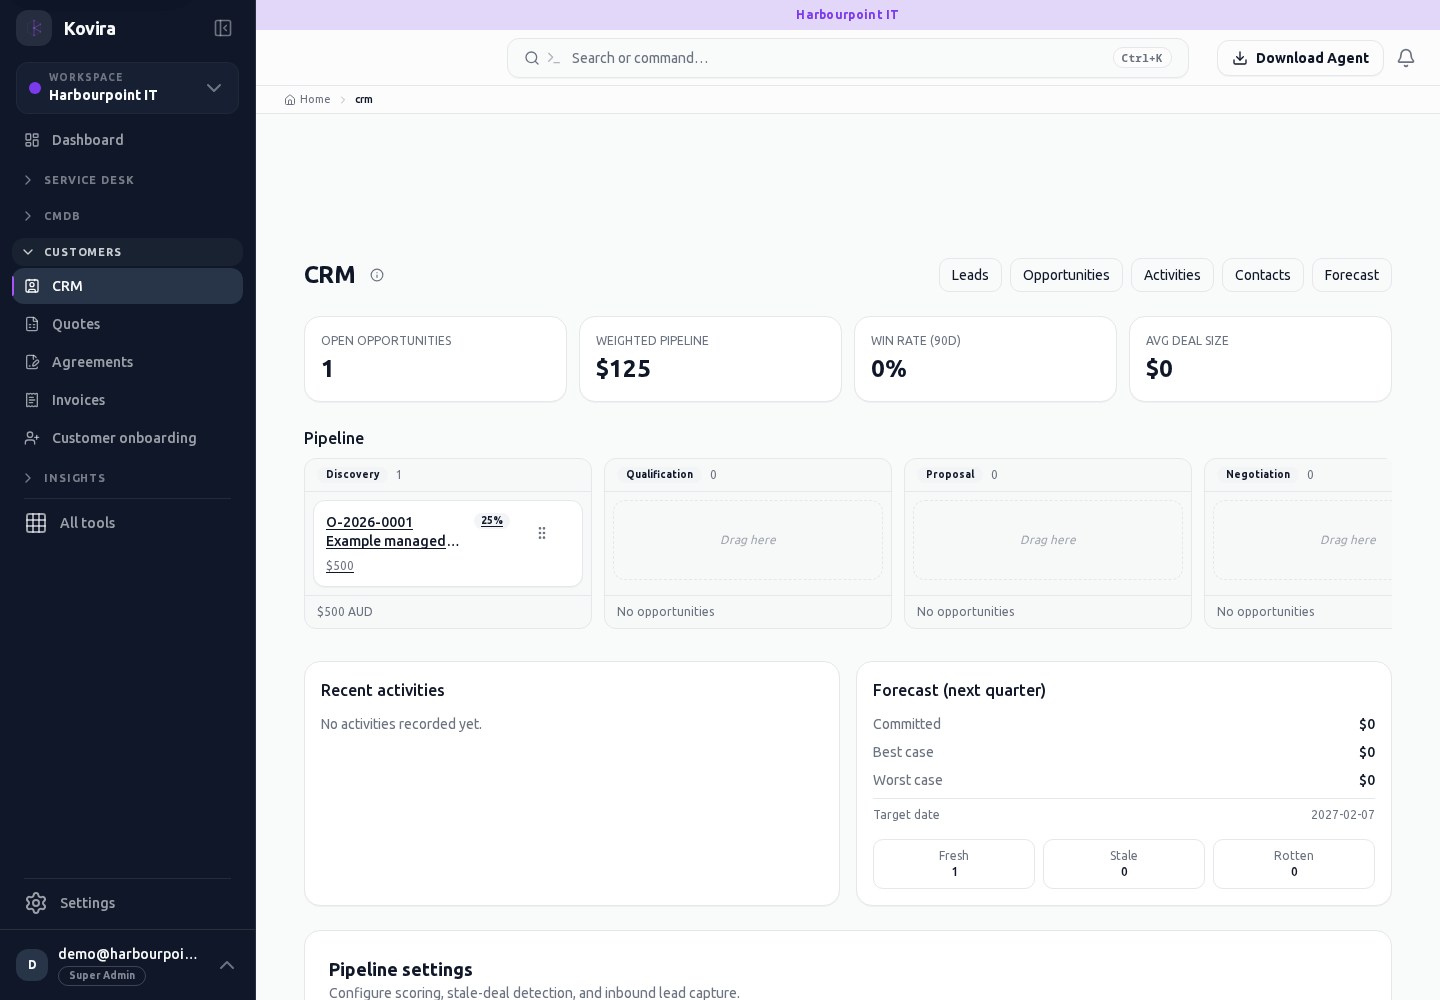
Related screens (10)
CRM / Activities
Customer relationships. Review this screen in the context of the current workspace and record.
Access
- Default workspace roles for opening this screen: Super Admin. Custom role settings, the current workspace, plan and record sharing can further restrict access.
- Opening a screen does not grant every action on it. Changes, exports and lifecycle actions can require additional permissions.
Controls and information
- Leads
- opportunities
- contacts
- activities
- stages
- forecast
Steps for this screen
- Check for an existing relationship, then record the owner, stage and next agreed action.
- Use the available search, date and status filters to narrow the view. Open a record link for its detail.
- Clear filters when you need to compare the full accessible list.
Check the result
- Reopen the record and check the saved customer association and activity before relying on a forecast.
If this screen is unavailable
- If no records appear, clear active filters and confirm the workspace and your access before creating a duplicate.
- If the list cannot load, retry once and quote the displayed support reference; do not infer that the workspace is empty.
CRM / Contacts
Customer relationships. Review this screen in the context of the current workspace and record.
Access
- Default workspace roles for opening this screen: Super Admin. Custom role settings, the current workspace, plan and record sharing can further restrict access.
- Opening a screen does not grant every action on it. Changes, exports and lifecycle actions can require additional permissions.
Controls and information
- Leads
- opportunities
- contacts
- activities
- stages
- forecast
Steps for this screen
- Check for an existing relationship, then record the owner, stage and next agreed action.
- Use the available search, date and status filters to narrow the view. Open a record link for its detail.
- Clear filters when you need to compare the full accessible list.
Check the result
- Reopen the record and check the saved customer association and activity before relying on a forecast.
If this screen is unavailable
- If no records appear, clear active filters and confirm the workspace and your access before creating a duplicate.
- If the list cannot load, retry once and quote the displayed support reference; do not infer that the workspace is empty.
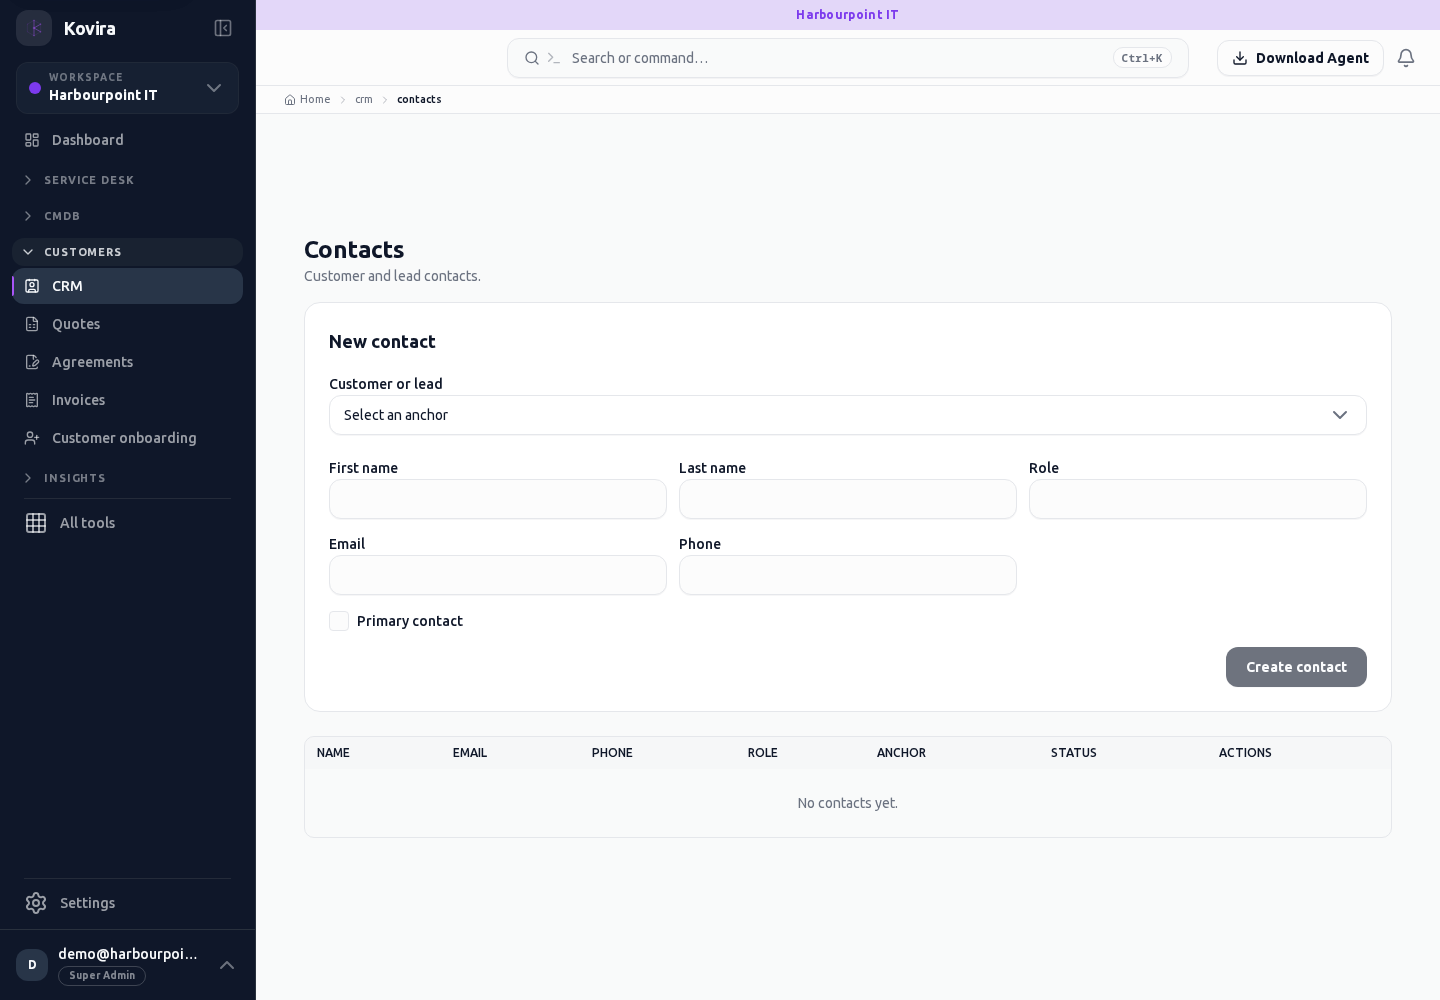
CRM / Forecast
Customer relationships. Review this screen in the context of the current workspace and record.
Access
- Default workspace roles for opening this screen: Super Admin. Custom role settings, the current workspace, plan and record sharing can further restrict access.
- Opening a screen does not grant every action on it. Changes, exports and lifecycle actions can require additional permissions.
Controls and information
- Leads
- opportunities
- contacts
- activities
- stages
- forecast
Steps for this screen
- Check for an existing relationship, then record the owner, stage and next agreed action.
Check the result
- Reopen the record and check the saved customer association and activity before relying on a forecast.
If this screen is unavailable
- If no records appear, clear active filters and confirm the workspace and your access before creating a duplicate.
- If saving fails or a conflict appears, keep a copy of your intended changes, reopen the current record and review it before submitting again.
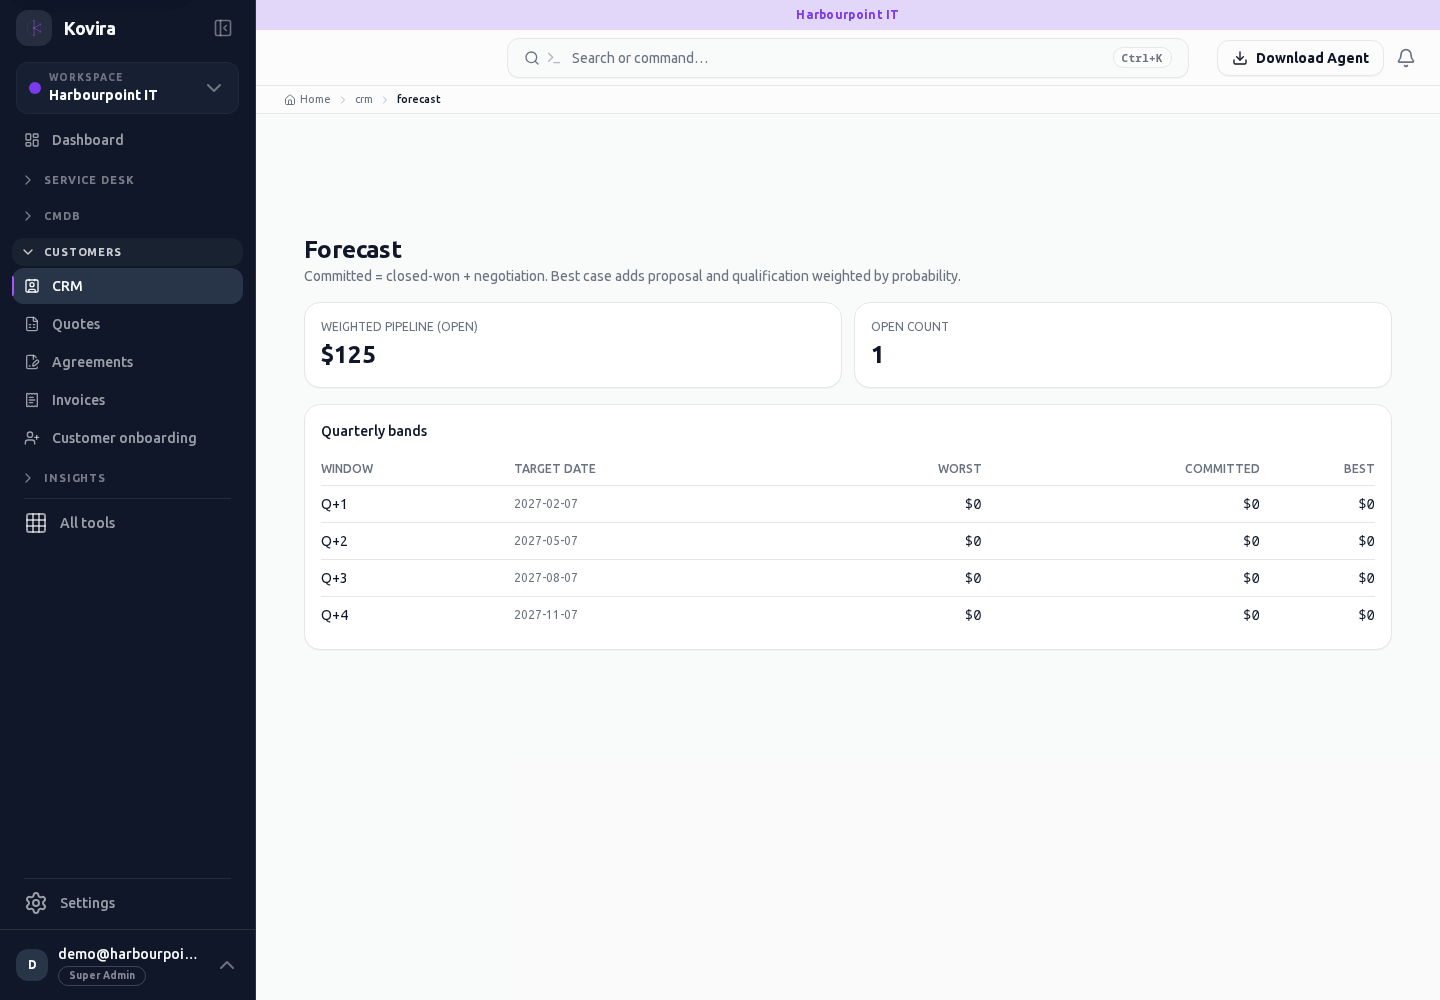
CRM / Leads / Details
Customer relationships. Review this screen in the context of the current workspace and record.
Access
- Default workspace roles for opening this screen: Super Admin. Custom role settings, the current workspace, plan and record sharing can further restrict access.
- Opening a screen does not grant every action on it. Changes, exports and lifecycle actions can require additional permissions.
Controls and information
- Leads
- opportunities
- contacts
- activities
- stages
- forecast
Steps for this screen
- Check for an existing relationship, then record the owner, stage and next agreed action.
- Read the summary, current state and related records. Review the action and its prerequisites before changing the record.
Check the result
- Reopen the record and check the saved customer association and activity before relying on a forecast.
If this screen is unavailable
- If the record is unavailable, return to its list and confirm the workspace and link. Ask an administrator to check record access before creating a replacement.
- If saving fails or a conflict appears, keep a copy of your intended changes, reopen the current record and review it before submitting again.
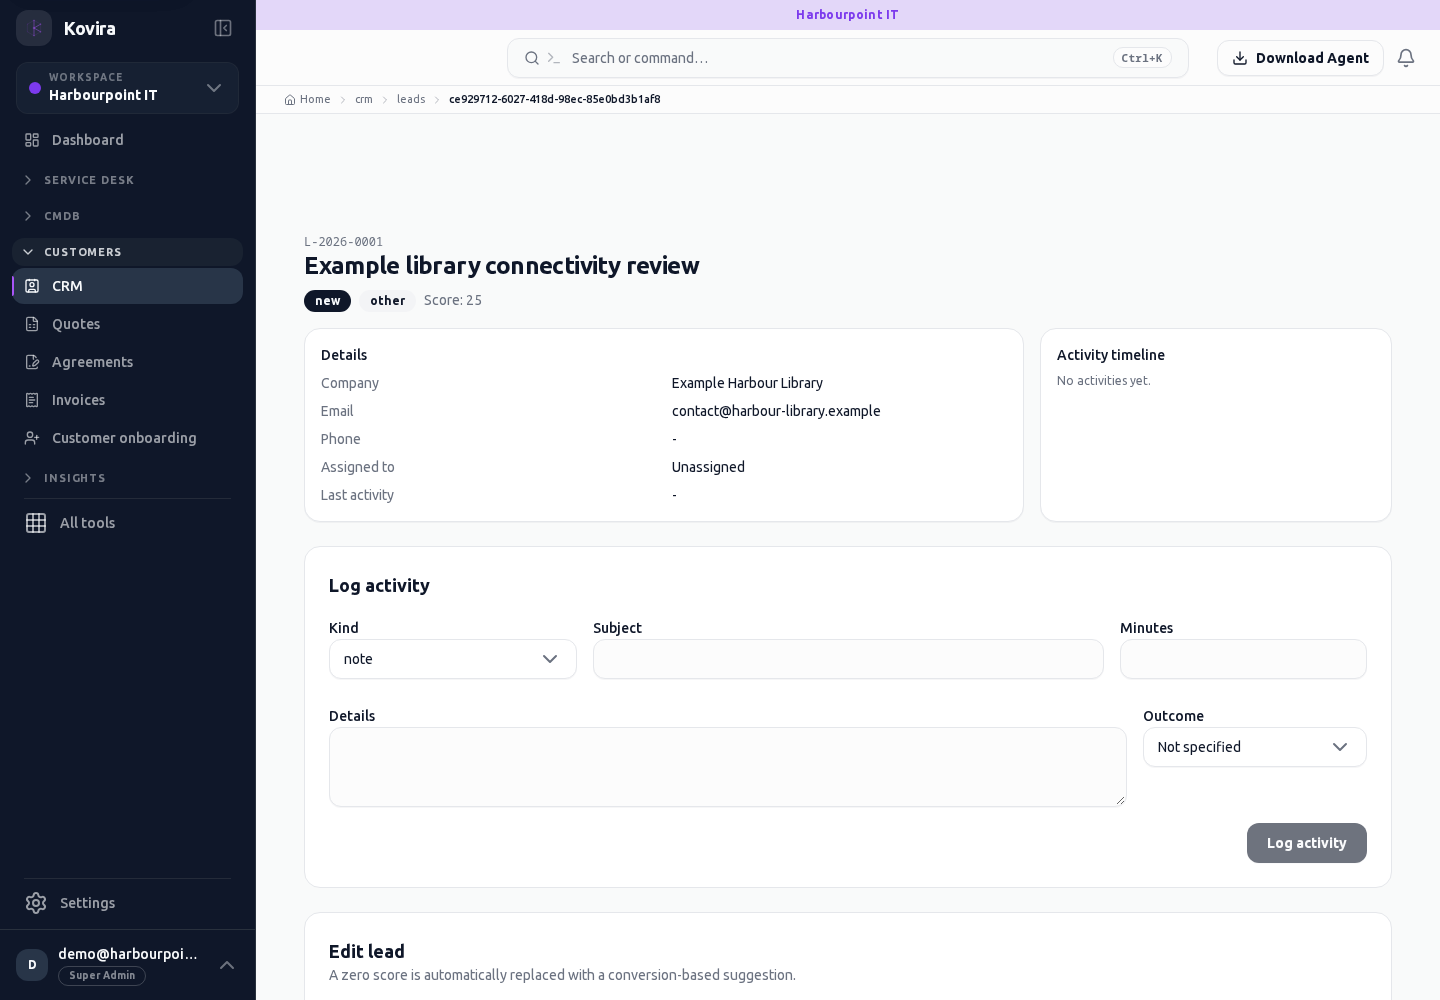
CRM / Leads / New
Customer relationships. Create a new entry and review the information before submitting.
Access
- Default workspace roles for opening this screen: Super Admin. Custom role settings, the current workspace, plan and record sharing can further restrict access.
- Opening a screen does not grant every action on it. Changes, exports and lifecycle actions can require additional permissions.
Controls and information
- Leads
- opportunities
- contacts
- activities
- stages
- forecast
Steps for this screen
- Check for an existing relationship, then record the owner, stage and next agreed action.
- Complete the required fields. Review linked records, dates and any recipient or customer selection.
- Use the form’s create or save action once and wait for its result. Cancel to leave without submitting.
Check the result
- Reopen the record and check the saved customer association and activity before relying on a forecast.
- Open the newly created record from the resulting list or confirmation and check the saved values.
If this screen is unavailable
- If no records appear, clear active filters and confirm the workspace and your access before creating a duplicate.
- If saving fails or a conflict appears, keep a copy of your intended changes, reopen the current record and review it before submitting again.
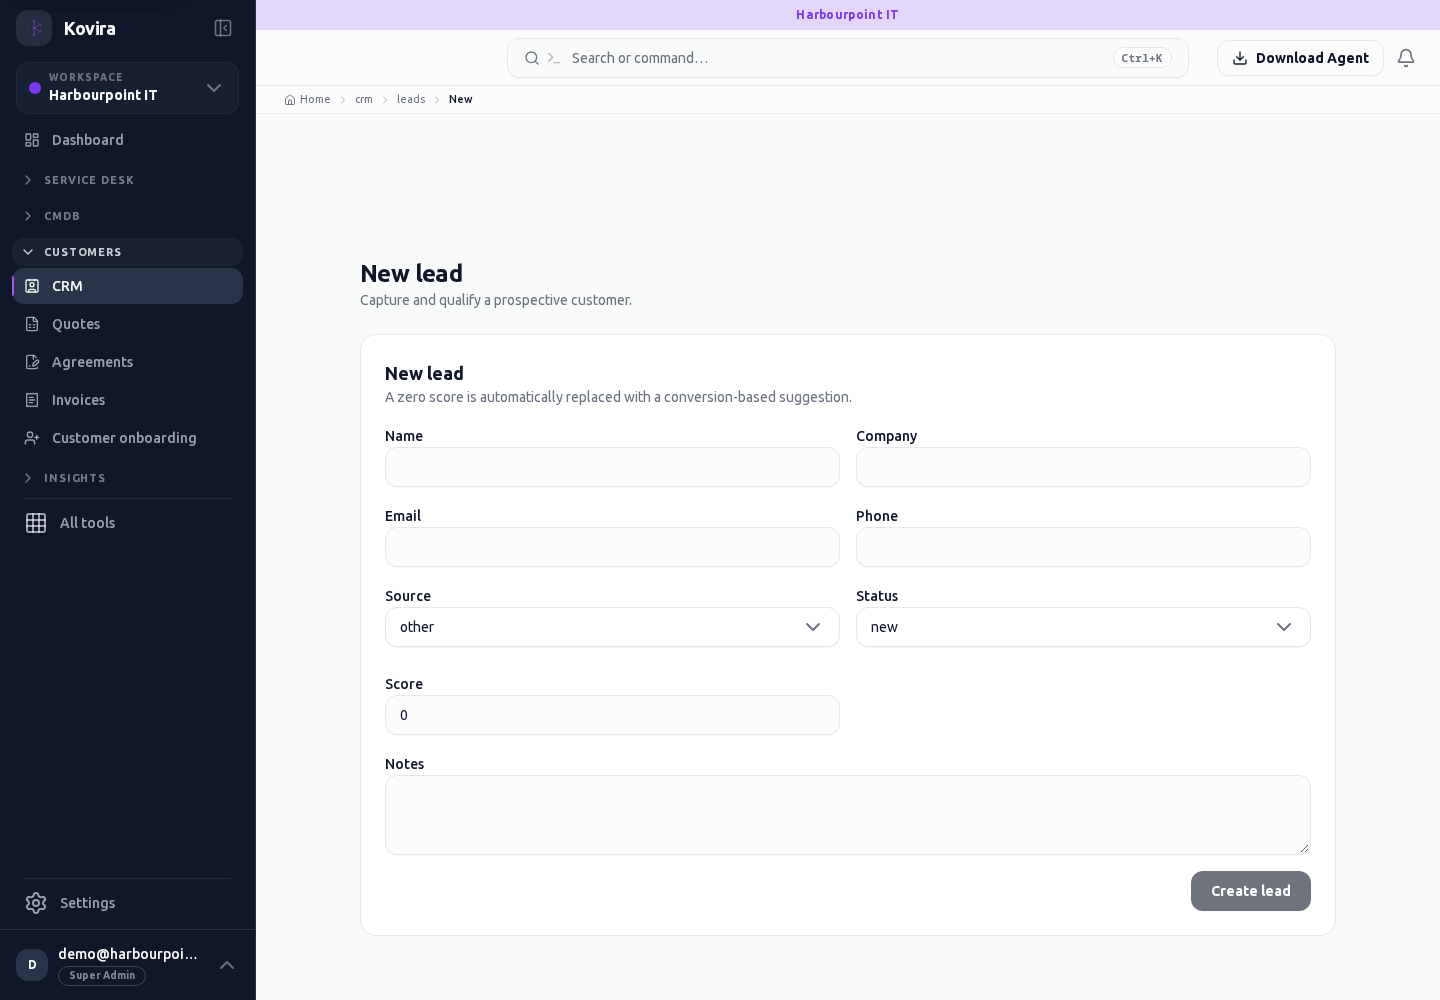
CRM / Leads
Customer relationships. Review this screen in the context of the current workspace and record.
Access
- Default workspace roles for opening this screen: Super Admin. Custom role settings, the current workspace, plan and record sharing can further restrict access.
- Opening a screen does not grant every action on it. Changes, exports and lifecycle actions can require additional permissions.
Controls and information
- Leads
- opportunities
- contacts
- activities
- stages
- forecast
Steps for this screen
- Check for an existing relationship, then record the owner, stage and next agreed action.
- Use the available search, date and status filters to narrow the view. Open a record link for its detail.
- Clear filters when you need to compare the full accessible list.
Check the result
- Reopen the record and check the saved customer association and activity before relying on a forecast.
If this screen is unavailable
- If no records appear, clear active filters and confirm the workspace and your access before creating a duplicate.
- If the list cannot load, retry once and quote the displayed support reference; do not infer that the workspace is empty.
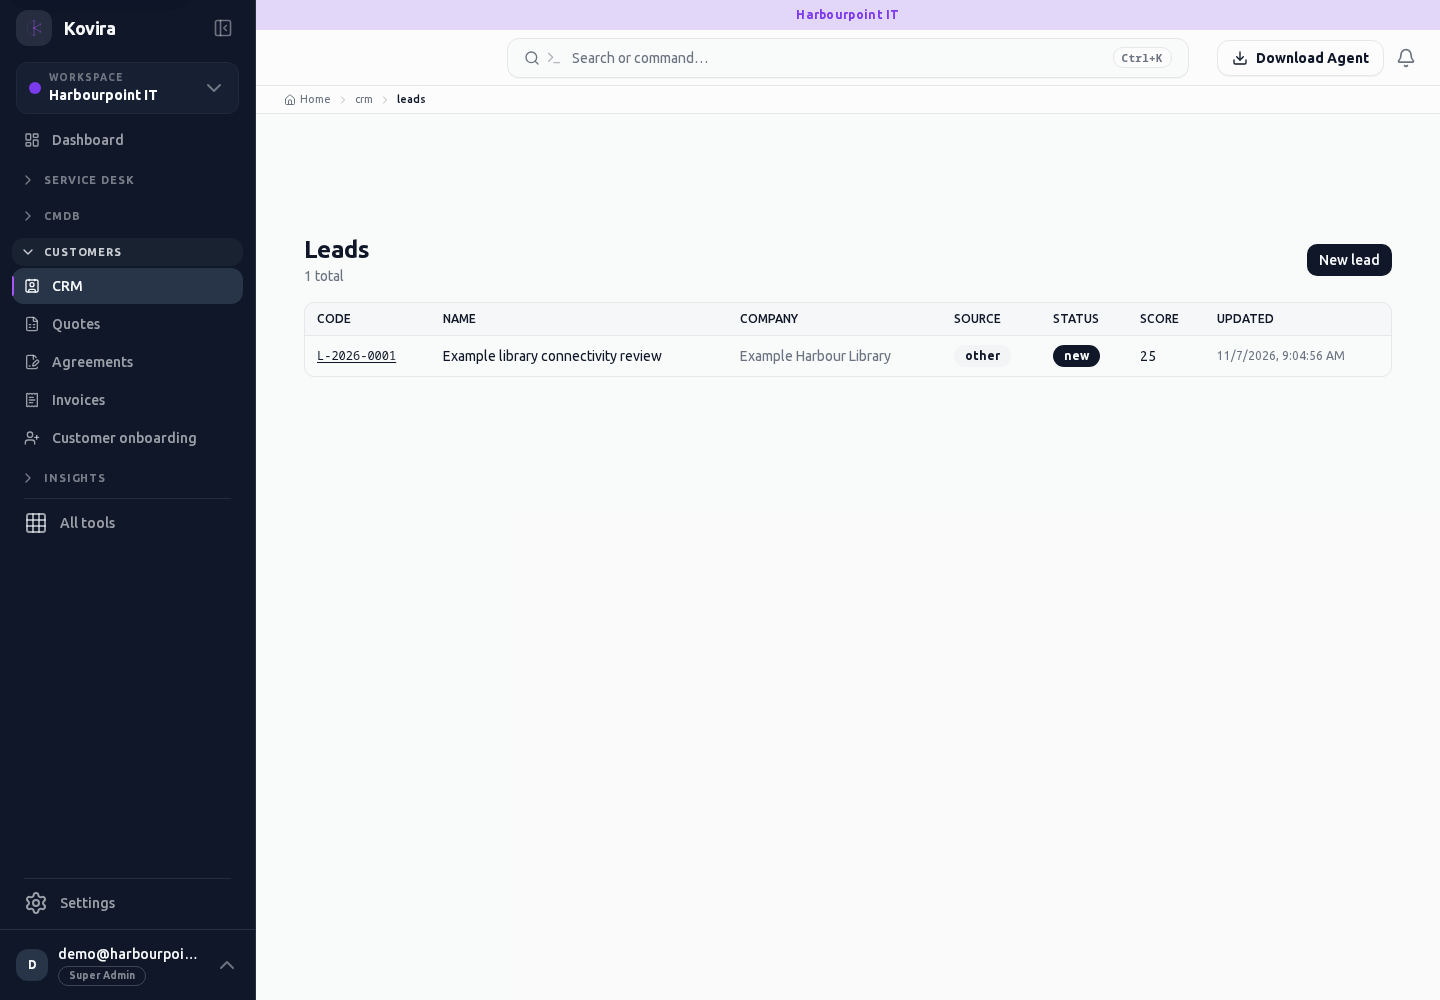
CRM / Opportunities / Details
Customer relationships. Review this screen in the context of the current workspace and record.
Access
- Default workspace roles for opening this screen: Super Admin. Custom role settings, the current workspace, plan and record sharing can further restrict access.
- Opening a screen does not grant every action on it. Changes, exports and lifecycle actions can require additional permissions.
Controls and information
- Leads
- opportunities
- contacts
- activities
- stages
- forecast
Steps for this screen
- Check for an existing relationship, then record the owner, stage and next agreed action.
- Read the summary, current state and related records. Review the action and its prerequisites before changing the record.
Check the result
- Reopen the record and check the saved customer association and activity before relying on a forecast.
If this screen is unavailable
- If the record is unavailable, return to its list and confirm the workspace and link. Ask an administrator to check record access before creating a replacement.
- If saving fails or a conflict appears, keep a copy of your intended changes, reopen the current record and review it before submitting again.
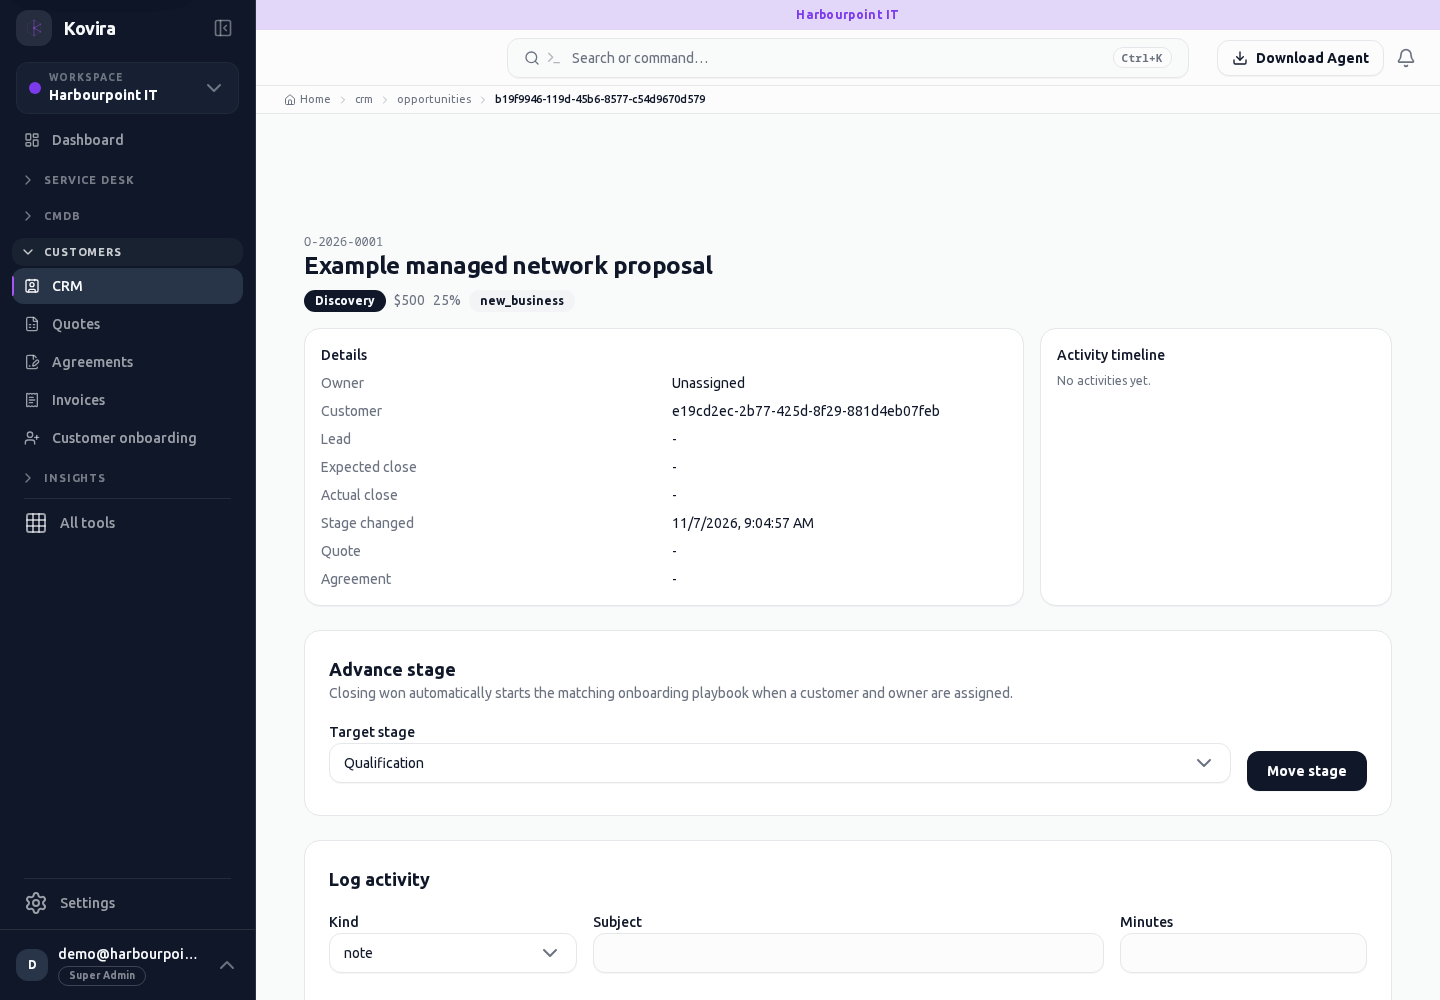
CRM / Opportunities / New
Customer relationships. Create a new entry and review the information before submitting.
Access
- Default workspace roles for opening this screen: Super Admin. Custom role settings, the current workspace, plan and record sharing can further restrict access.
- Opening a screen does not grant every action on it. Changes, exports and lifecycle actions can require additional permissions.
Controls and information
- Leads
- opportunities
- contacts
- activities
- stages
- forecast
Steps for this screen
- Check for an existing relationship, then record the owner, stage and next agreed action.
- Complete the required fields. Review linked records, dates and any recipient or customer selection.
- Use the form’s create or save action once and wait for its result. Cancel to leave without submitting.
Check the result
- Reopen the record and check the saved customer association and activity before relying on a forecast.
- Open the newly created record from the resulting list or confirmation and check the saved values.
If this screen is unavailable
- If no records appear, clear active filters and confirm the workspace and your access before creating a duplicate.
- If saving fails or a conflict appears, keep a copy of your intended changes, reopen the current record and review it before submitting again.
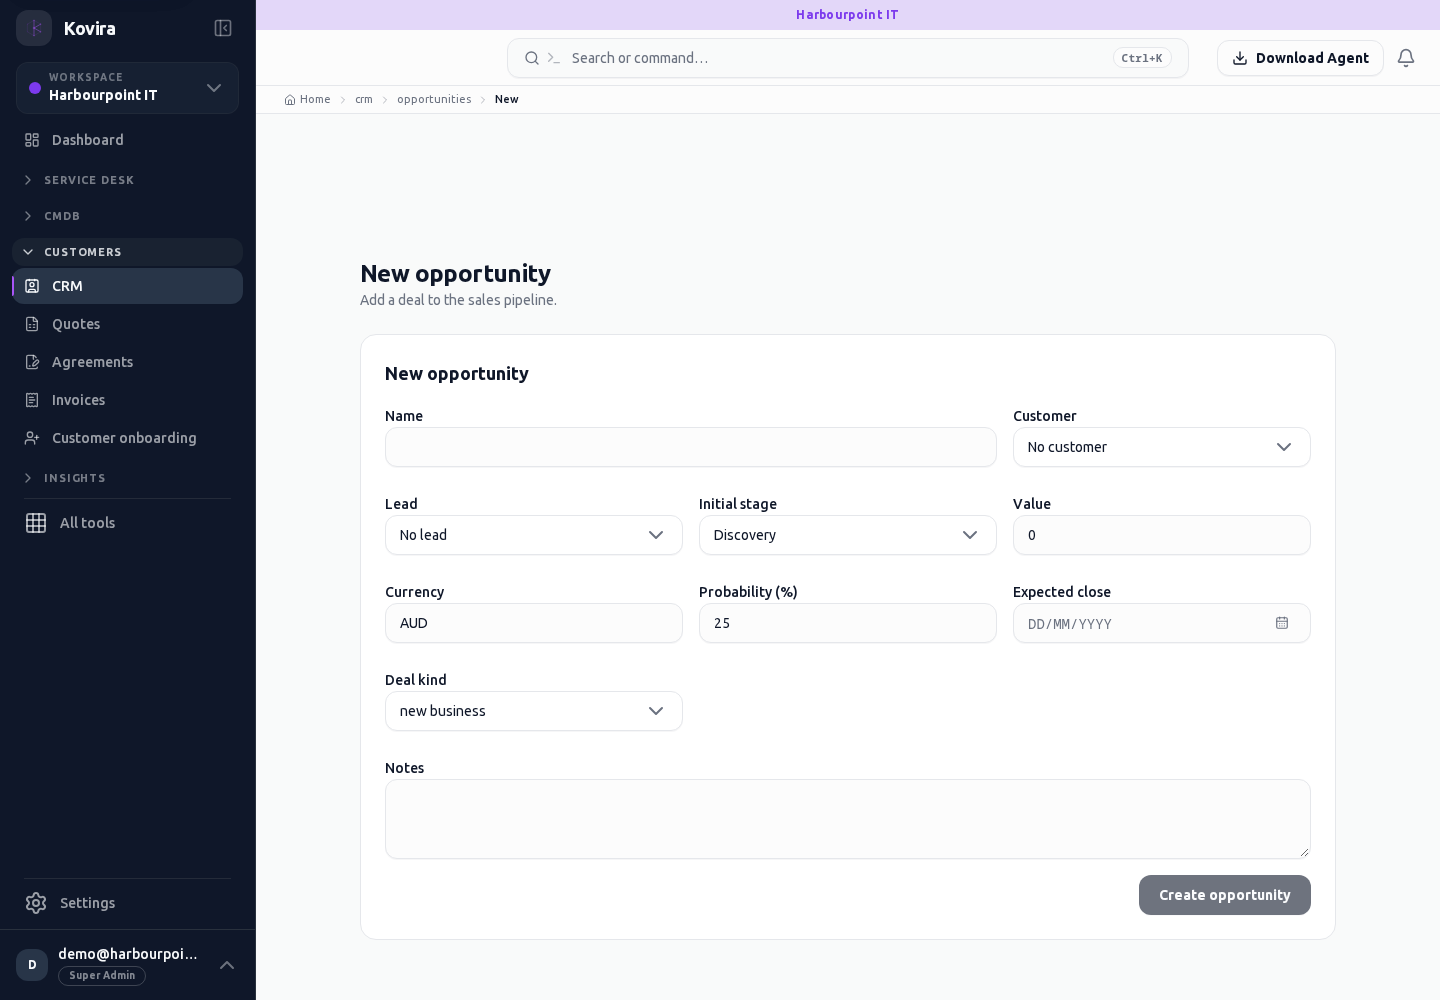
CRM / Opportunities
Customer relationships. Review this screen in the context of the current workspace and record.
Access
- Default workspace roles for opening this screen: Super Admin. Custom role settings, the current workspace, plan and record sharing can further restrict access.
- Opening a screen does not grant every action on it. Changes, exports and lifecycle actions can require additional permissions.
Controls and information
- Leads
- opportunities
- contacts
- activities
- stages
- forecast
Steps for this screen
- Check for an existing relationship, then record the owner, stage and next agreed action.
- Use the available search, date and status filters to narrow the view. Open a record link for its detail.
- Clear filters when you need to compare the full accessible list.
Check the result
- Reopen the record and check the saved customer association and activity before relying on a forecast.
If this screen is unavailable
- If no records appear, clear active filters and confirm the workspace and your access before creating a duplicate.
- If the list cannot load, retry once and quote the displayed support reference; do not infer that the workspace is empty.
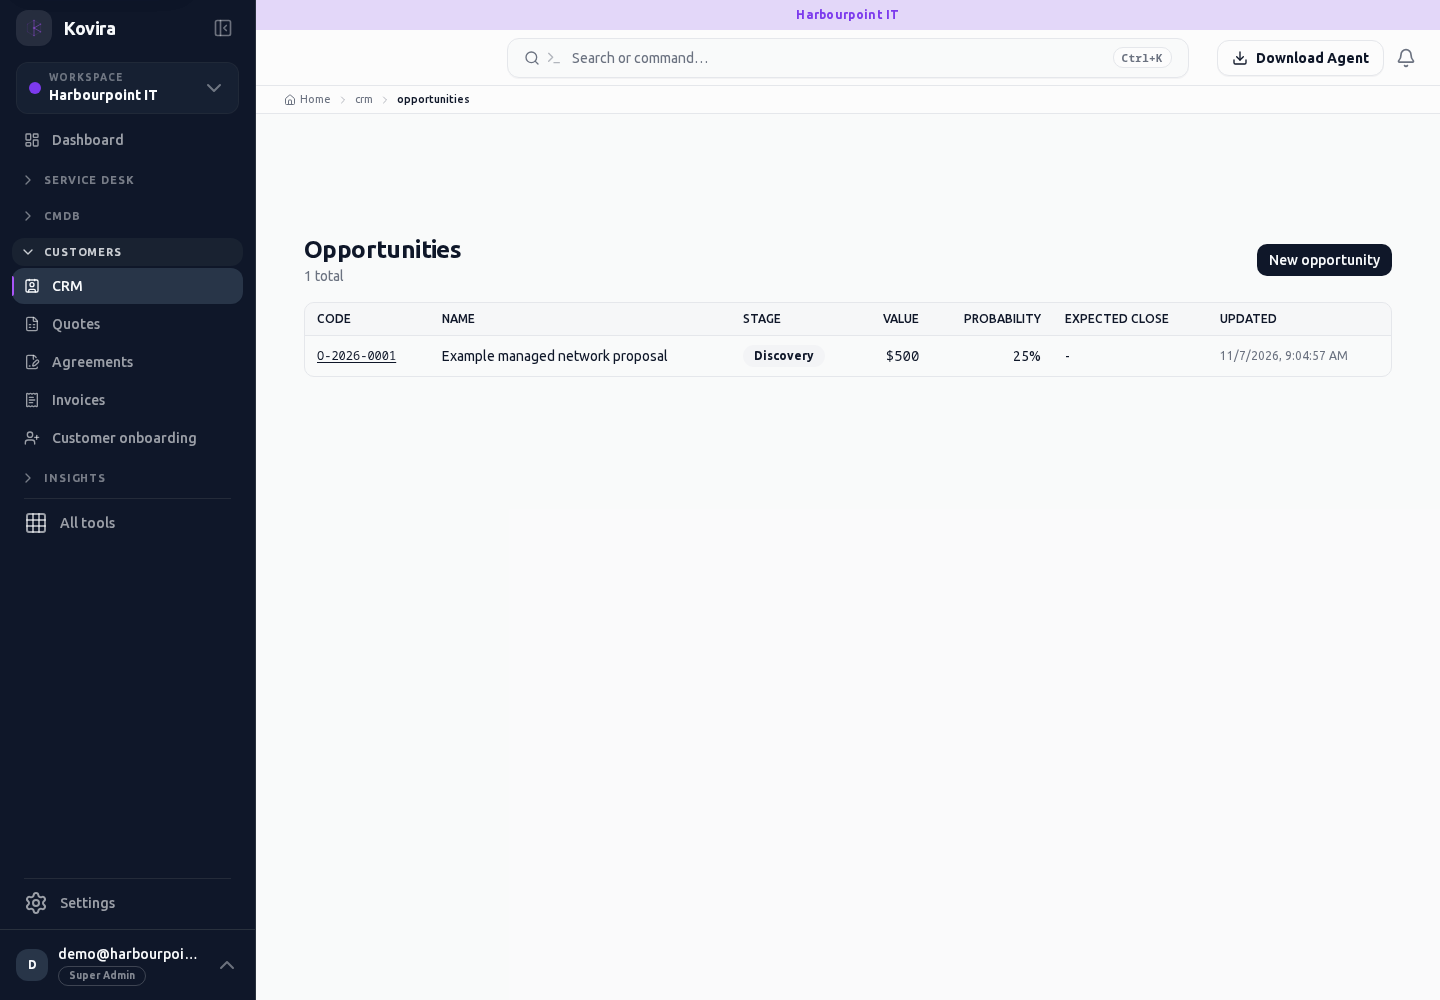
CRM
Customer relationships. Review this screen in the context of the current workspace and record.
Access
- Default workspace roles for opening this screen: Super Admin. Custom role settings, the current workspace, plan and record sharing can further restrict access.
- Opening a screen does not grant every action on it. Changes, exports and lifecycle actions can require additional permissions.
Controls and information
- Leads
- opportunities
- contacts
- activities
- stages
- forecast
Steps for this screen
- Check for an existing relationship, then record the owner, stage and next agreed action.
Check the result
- Reopen the record and check the saved customer association and activity before relying on a forecast.
If this screen is unavailable
- If no records appear, clear active filters and confirm the workspace and your access before creating a duplicate.
- If saving fails or a conflict appears, keep a copy of your intended changes, reopen the current record and review it before submitting again.
Time entries and expenses
Applies to: KOVIRA
Record billable and non-billable work and submit expenses for review.
Before you begin
- Permission to record time or expenses; the appropriate customer, project or work-item association.
Steps
- Open Time and record the work date, duration, association and billable status offered by the form. Review running timers before starting another.
- Open Expenses to create an entry. Confirm amount, currency, tax treatment, work association and supporting evidence where requested.
- Review the entry’s state before submitting, editing or resubmitting it. Use the offered action for its current state.
Check the result
- Reopen a saved entry and check its duration or amount and associated record.
- Confirm the expected submitted or approved state before relying on billing totals.
If you need help
- A rejected or locked entry can require a different action from a draft. Read its current status and feedback.
- Avoid duplicate submissions while waiting for a save result.
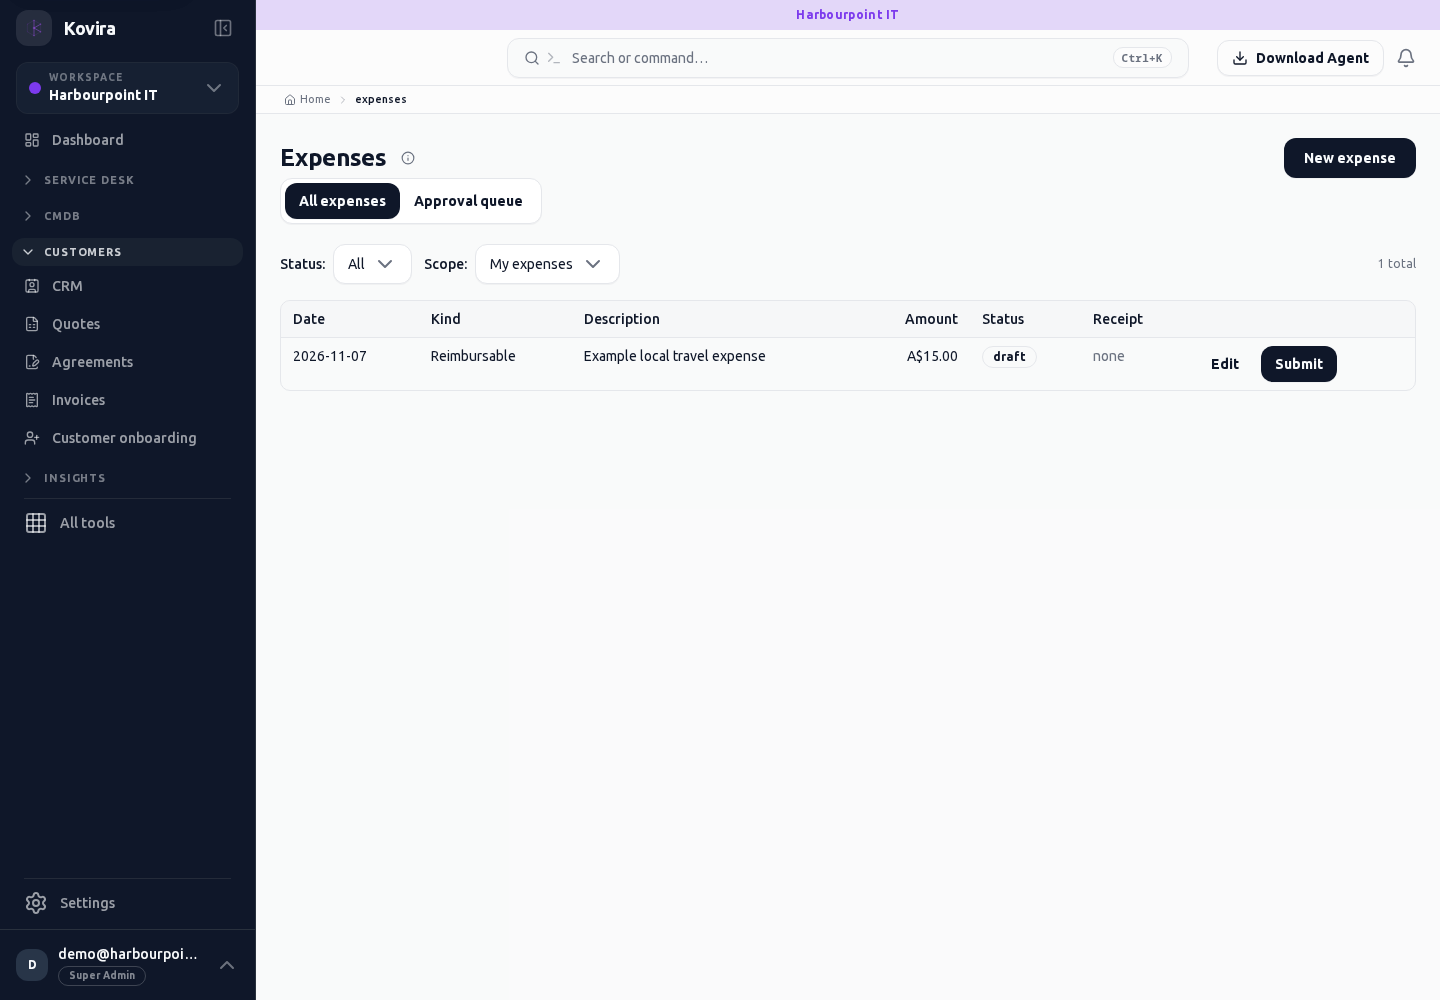
Related screens (4)
Expenses / Details / Edit
Time and expenses. Review and change the saved entry using the actions available for its current state.
Access
- Default workspace roles for opening this screen: Super Admin. Custom role settings, the current workspace, plan and record sharing can further restrict access.
- Opening a screen does not grant every action on it. Changes, exports and lifecycle actions can require additional permissions.
Controls and information
- Work date
- duration or amount
- association
- billable status
- submission
Steps for this screen
- Choose the relevant work and review the date, duration or amount before submitting.
- Read the current saved values before editing. Make the intended change and review all affected fields.
- Save once and wait for confirmation. Use Cancel to discard an unsubmitted change.
Check the result
- Check the saved state and association; a draft or submitted claim is not approval or payment.
- Reopen the record and verify the saved value before making another change.
If this screen is unavailable
- If no records appear, clear active filters and confirm the workspace and your access before creating a duplicate.
- If saving fails or a conflict appears, keep a copy of your intended changes, reopen the current record and review it before submitting again.
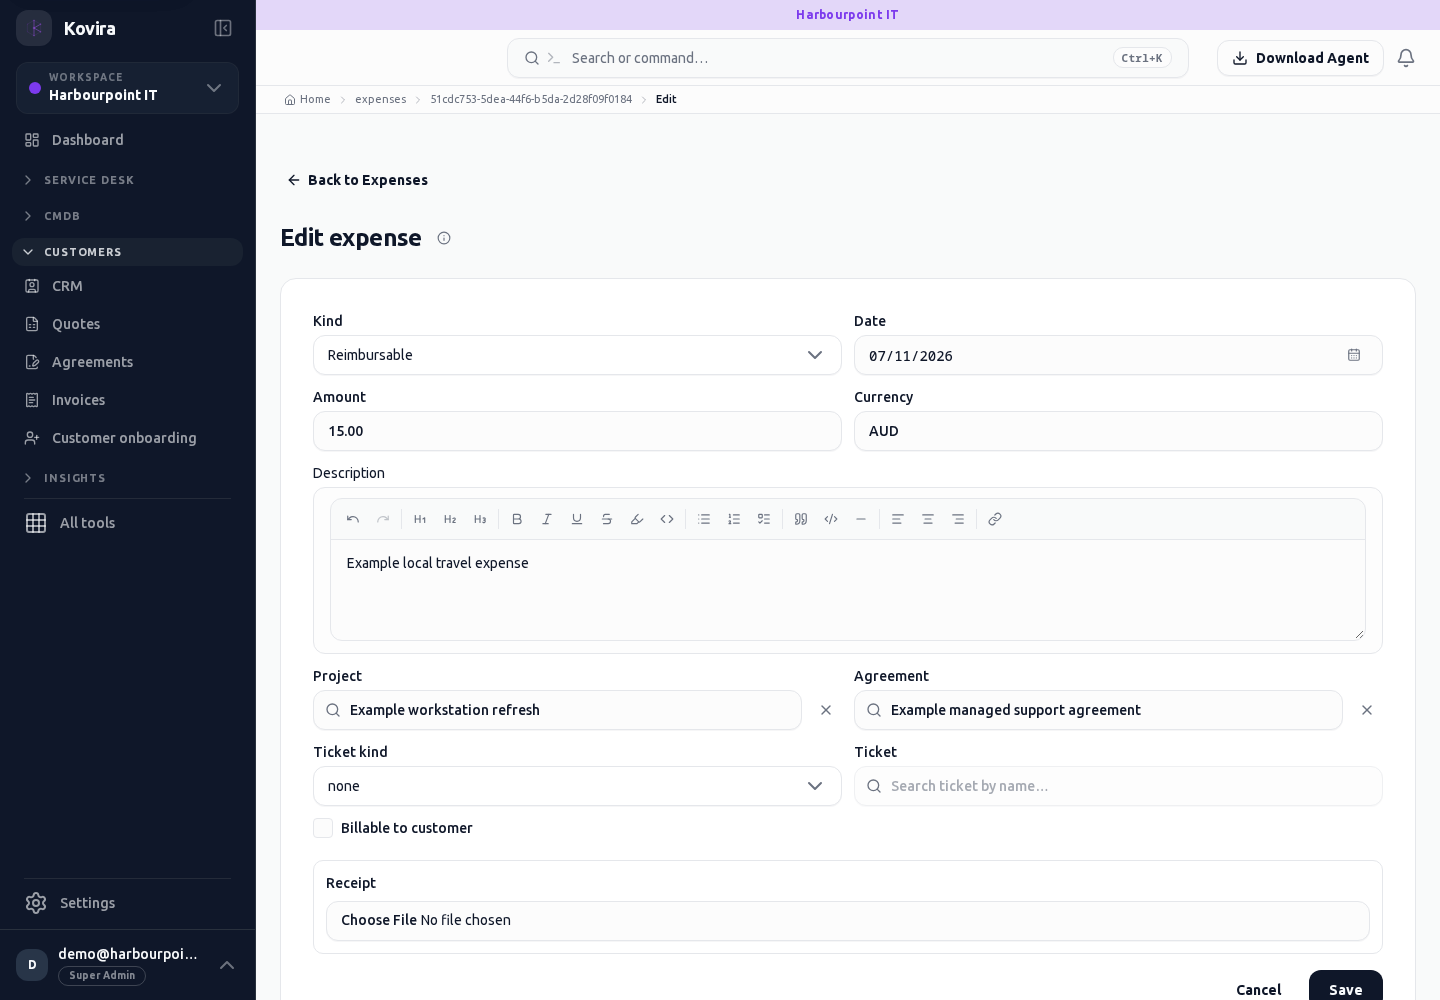
Expenses / New
Time and expenses. Create a new entry and review the information before submitting.
Access
- Default workspace roles for opening this screen: Super Admin. Custom role settings, the current workspace, plan and record sharing can further restrict access.
- Opening a screen does not grant every action on it. Changes, exports and lifecycle actions can require additional permissions.
Controls and information
- Work date
- duration or amount
- association
- billable status
- submission
Steps for this screen
- Choose the relevant work and review the date, duration or amount before submitting.
- Complete the required fields. Review linked records, dates and any recipient or customer selection.
- Use the form’s create or save action once and wait for its result. Cancel to leave without submitting.
Check the result
- Check the saved state and association; a draft or submitted claim is not approval or payment.
- Open the newly created record from the resulting list or confirmation and check the saved values.
If this screen is unavailable
- If no records appear, clear active filters and confirm the workspace and your access before creating a duplicate.
- If saving fails or a conflict appears, keep a copy of your intended changes, reopen the current record and review it before submitting again.
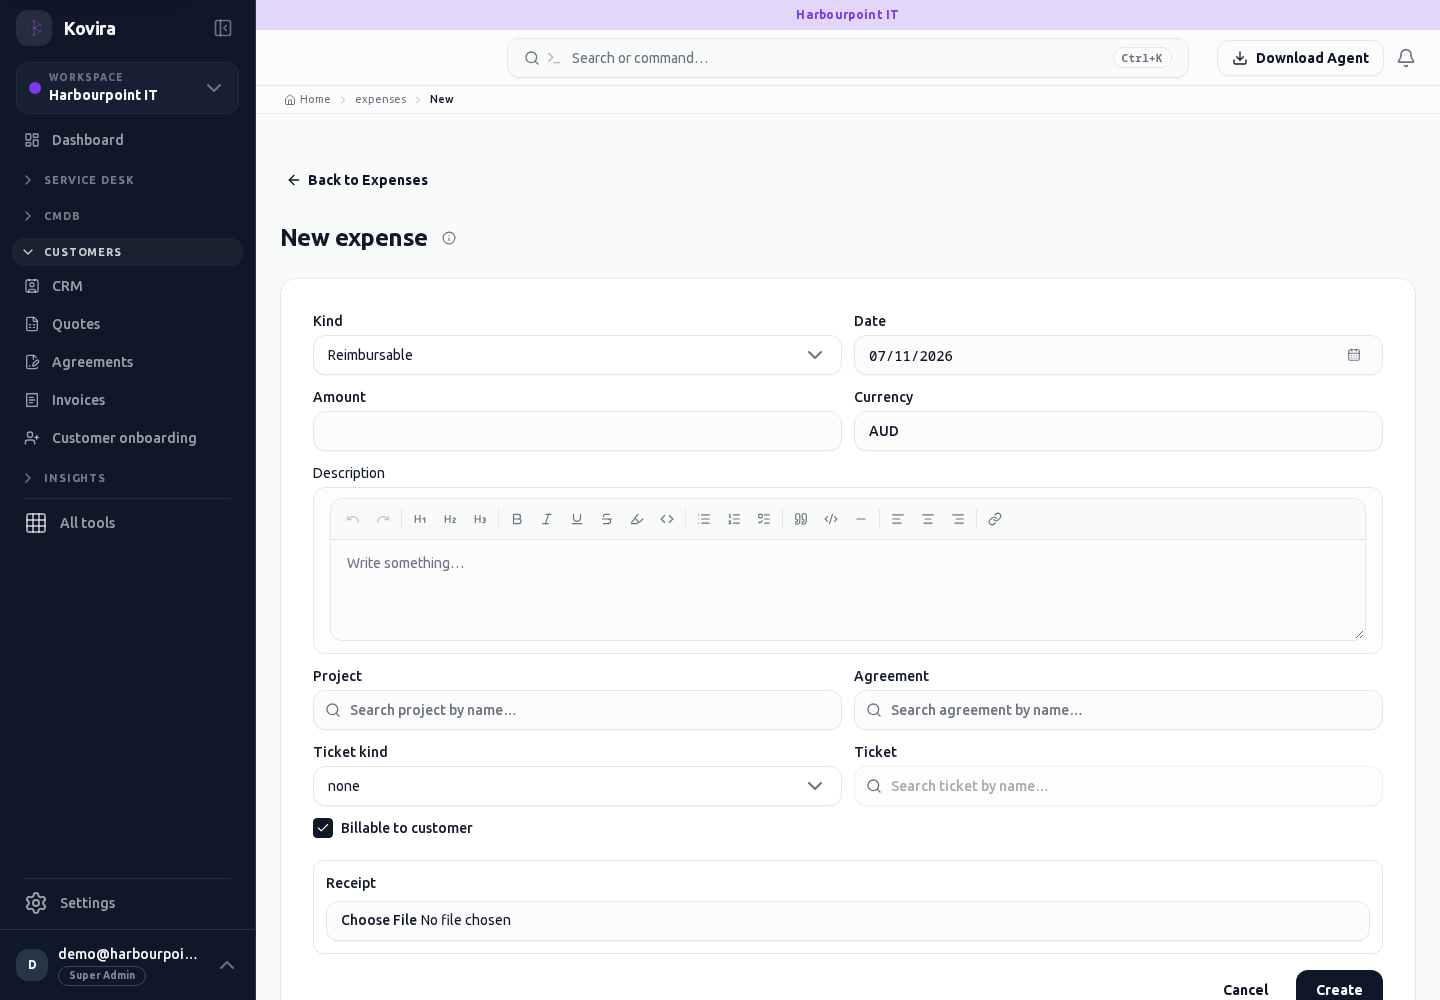
Expenses
Time and expenses. Review this screen in the context of the current workspace and record.
Access
- Default workspace roles for opening this screen: Super Admin. Custom role settings, the current workspace, plan and record sharing can further restrict access.
- Opening a screen does not grant every action on it. Changes, exports and lifecycle actions can require additional permissions.
Controls and information
- Work date
- duration or amount
- association
- billable status
- submission
Steps for this screen
- Choose the relevant work and review the date, duration or amount before submitting.
- Use the available search, date and status filters to narrow the view. Open a record link for its detail.
- Clear filters when you need to compare the full accessible list.
Check the result
- Check the saved state and association; a draft or submitted claim is not approval or payment.
If this screen is unavailable
- If no records appear, clear active filters and confirm the workspace and your access before creating a duplicate.
- If the list cannot load, retry once and quote the displayed support reference; do not infer that the workspace is empty.
Time
Time and expenses. Review this screen in the context of the current workspace and record.
Access
- Default workspace roles for opening this screen: Super Admin. Custom role settings, the current workspace, plan and record sharing can further restrict access.
- Opening a screen does not grant every action on it. Changes, exports and lifecycle actions can require additional permissions.
Controls and information
- Work date
- duration or amount
- association
- billable status
- submission
Steps for this screen
- Choose the relevant work and review the date, duration or amount before submitting.
Check the result
- Check the saved state and association; a draft or submitted claim is not approval or payment.
If this screen is unavailable
- If no records appear, clear active filters and confirm the workspace and your access before creating a duplicate.
- If saving fails or a conflict appears, keep a copy of your intended changes, reopen the current record and review it before submitting again.
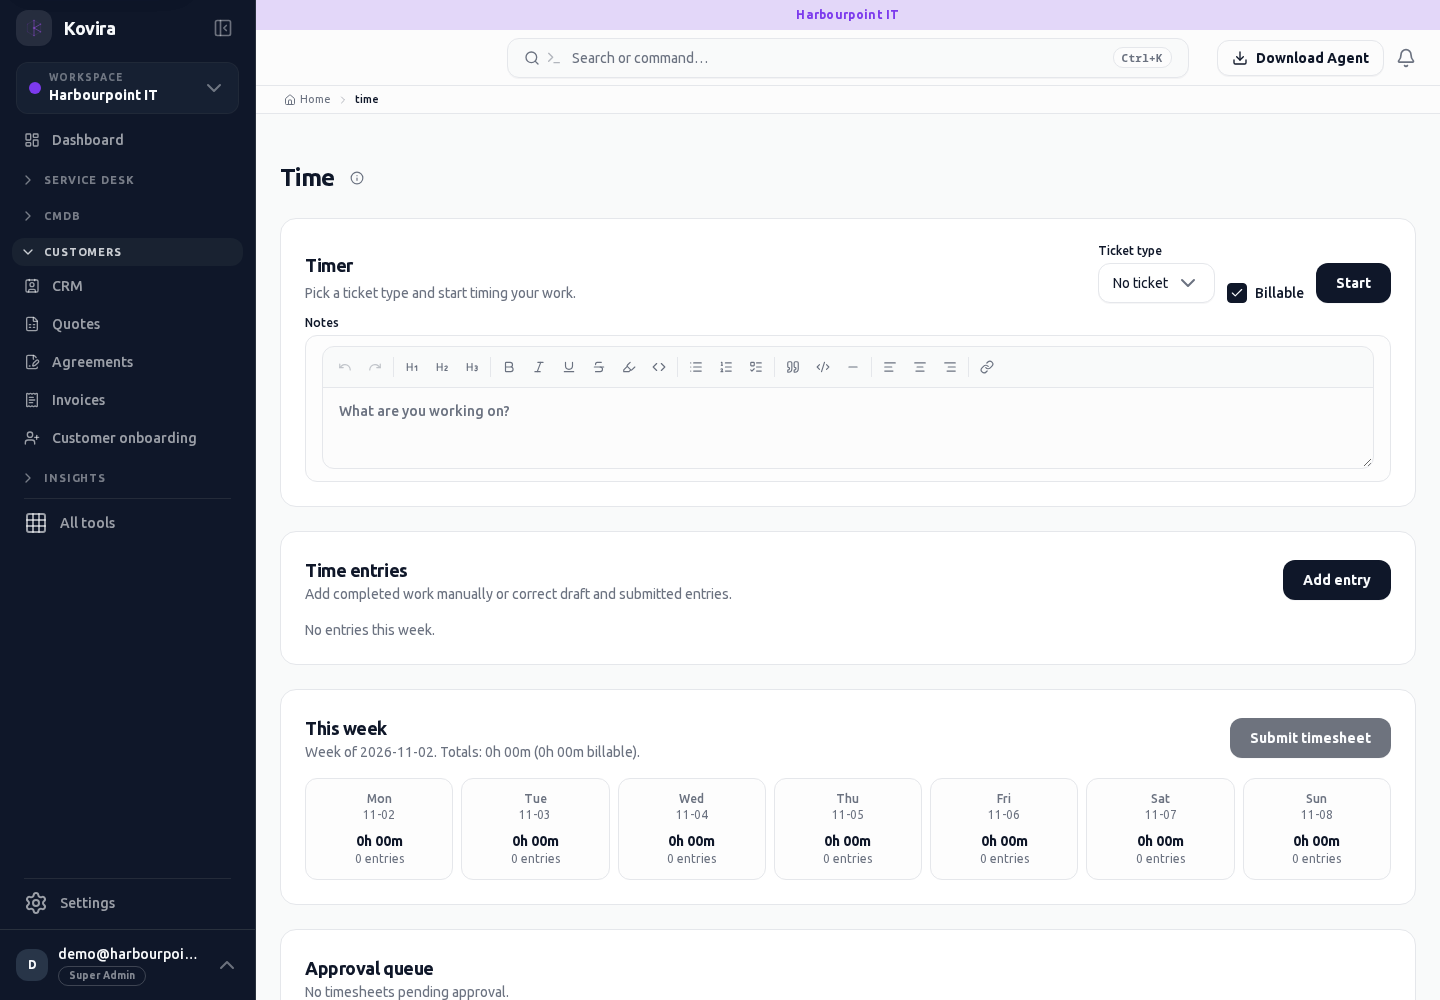
Quotes, invoices and agreements
Applies to: KOVIRA
Prepare commercial documents and check their lifecycle.
Before you begin
- Permission to manage the relevant document; confirmed customer, currency and tax settings.
Steps
- Open Quotes, Invoices or Agreements and choose or create the intended document.
- Review the customer, line items, quantities, rates, tax and totals. Use an approved template where available.
- Save the draft and reopen it before using the offered send, accept, issue or other lifecycle action. Review the confirmation and current state.
- Track the resulting document state and linked records. Check agreement dates and renewal information where applicable.
Check the result
- Confirm totals, currency and recipient before delivery.
- Check the saved status and related records after a lifecycle action.
If you need help
- If a document cannot be changed, inspect its current state and the actions permitted for your role.
- Treat customer-facing quote links as private and avoid sharing them in screenshots.
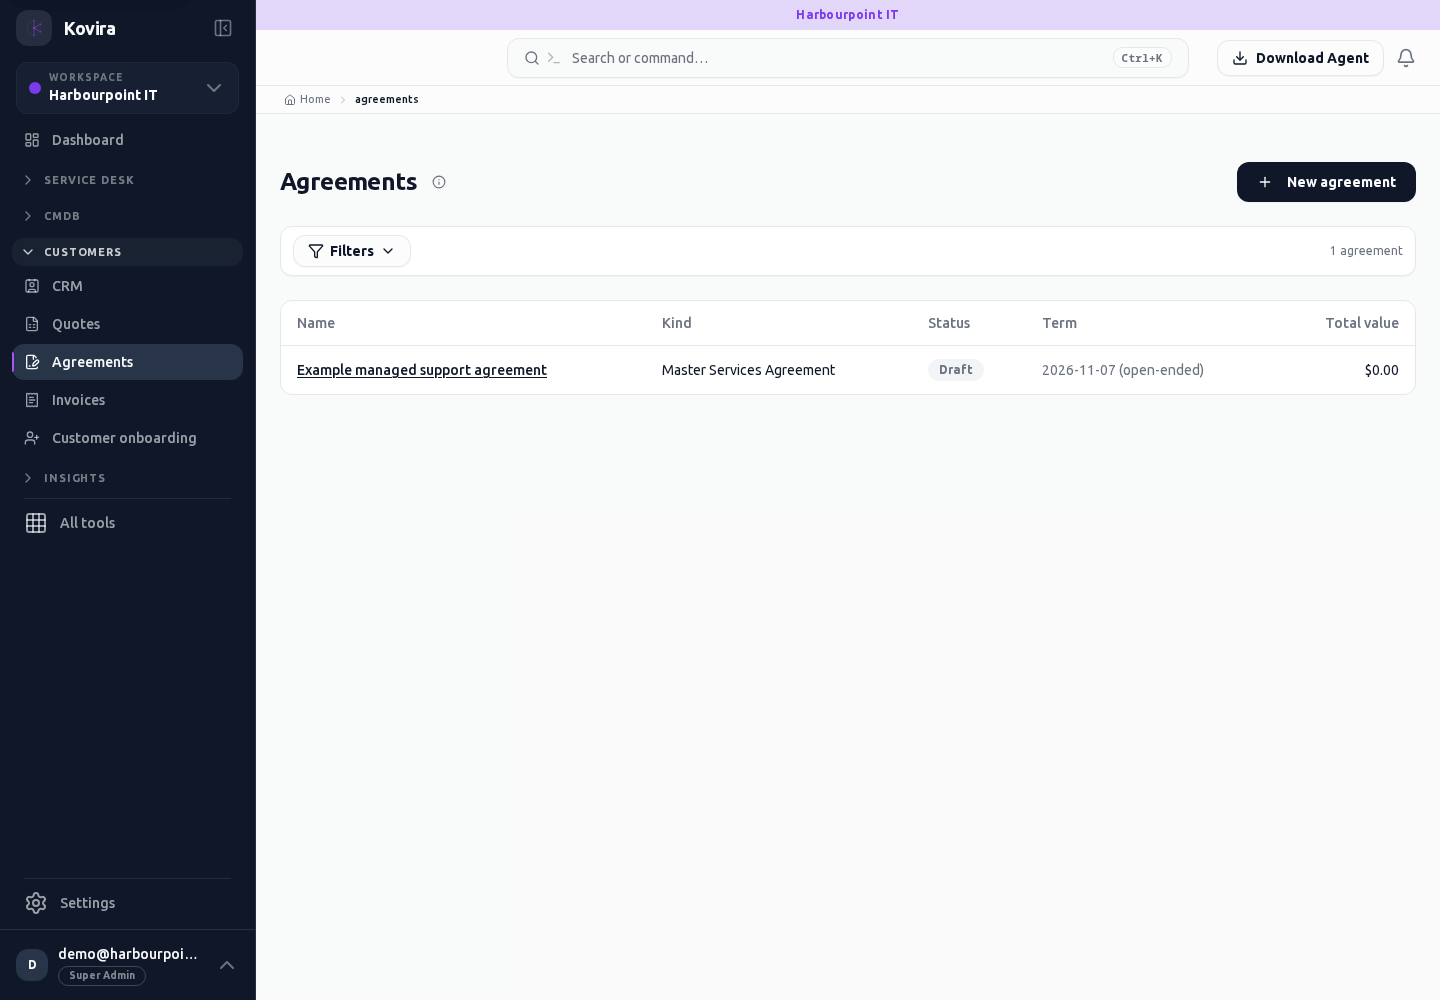
Related screens (9)
Agreements / Details
Quotes, agreements and invoices. Review this screen in the context of the current workspace and record.
Access
- Default workspace roles for opening this screen: Super Admin, Admin, Operator, View Only. Custom role settings, the current workspace, plan and record sharing can further restrict access.
- Opening a screen does not grant every action on it. Changes, exports and lifecycle actions can require additional permissions.
Controls and information
- Customer
- lines
- currency
- tax
- validity
- document lifecycle
Steps for this screen
- Review the customer, line items, totals and dates before using an offered send, issue or response action.
- Read the summary, current state and related records. Review the action and its prerequisites before changing the record.
Check the result
- Verify the actual resulting state. A saved draft is not sent, accepted, issued or paid.
If this screen is unavailable
- If the record is unavailable, return to its list and confirm the workspace and link. Ask an administrator to check record access before creating a replacement.
- If saving fails or a conflict appears, keep a copy of your intended changes, reopen the current record and review it before submitting again.
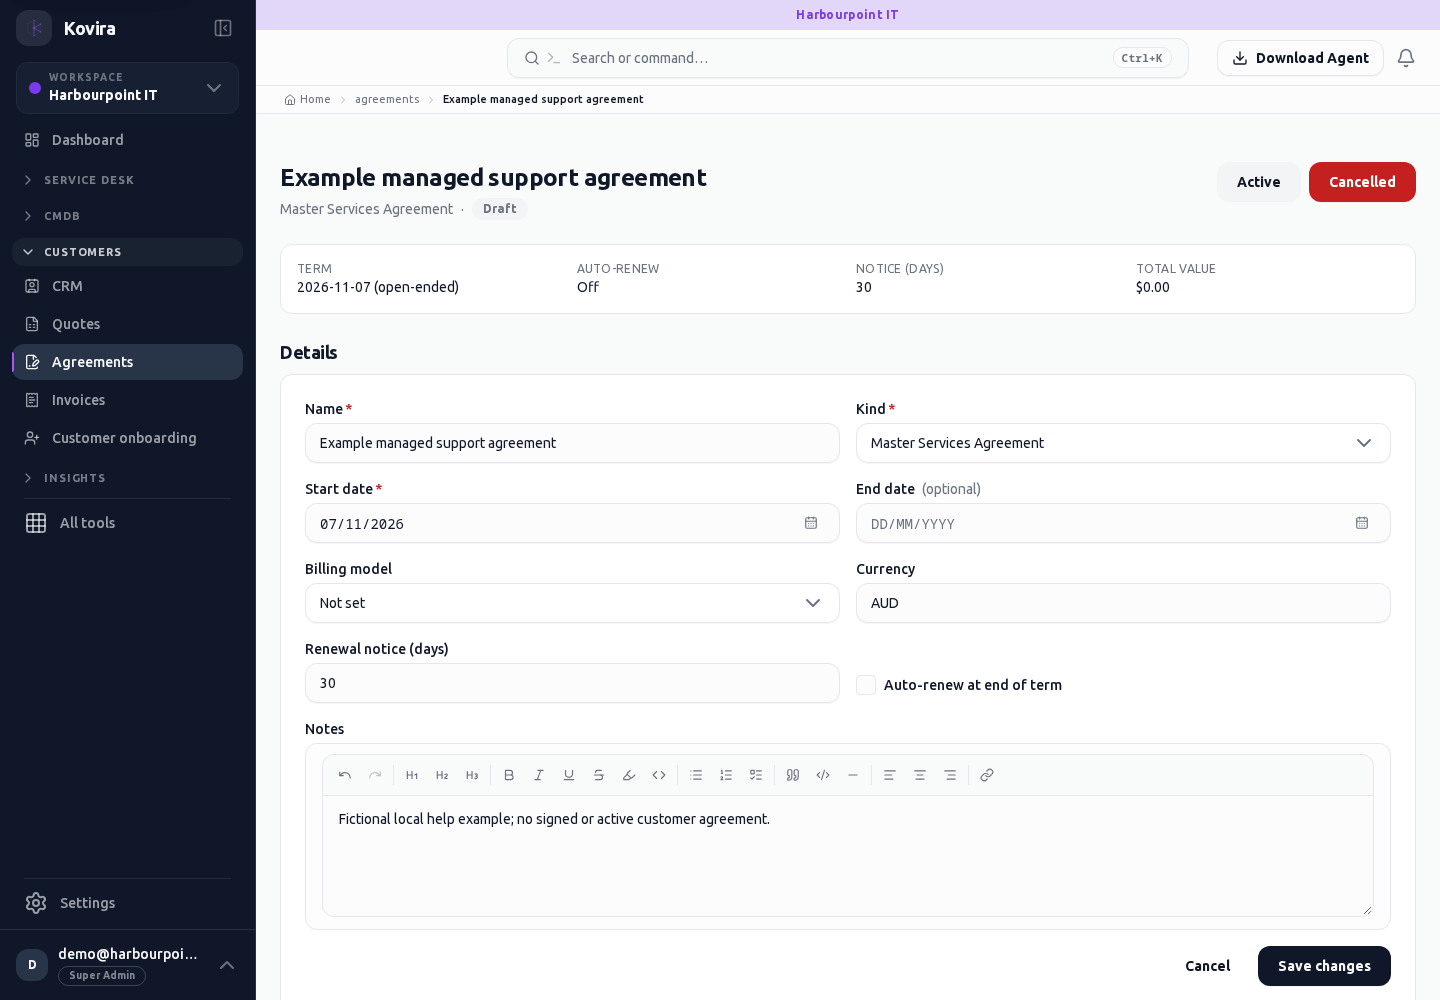
Agreements / New
Quotes, agreements and invoices. Create a new entry and review the information before submitting.
Access
- Default workspace roles for opening this screen: Super Admin, Admin. Custom role settings, the current workspace, plan and record sharing can further restrict access.
- Opening a screen does not grant every action on it. Changes, exports and lifecycle actions can require additional permissions.
Controls and information
- Customer
- lines
- currency
- tax
- validity
- document lifecycle
Steps for this screen
- Review the customer, line items, totals and dates before using an offered send, issue or response action.
- Complete the required fields. Review linked records, dates and any recipient or customer selection.
- Use the form’s create or save action once and wait for its result. Cancel to leave without submitting.
Check the result
- Verify the actual resulting state. A saved draft is not sent, accepted, issued or paid.
- Open the newly created record from the resulting list or confirmation and check the saved values.
If this screen is unavailable
- If no records appear, clear active filters and confirm the workspace and your access before creating a duplicate.
- If saving fails or a conflict appears, keep a copy of your intended changes, reopen the current record and review it before submitting again.
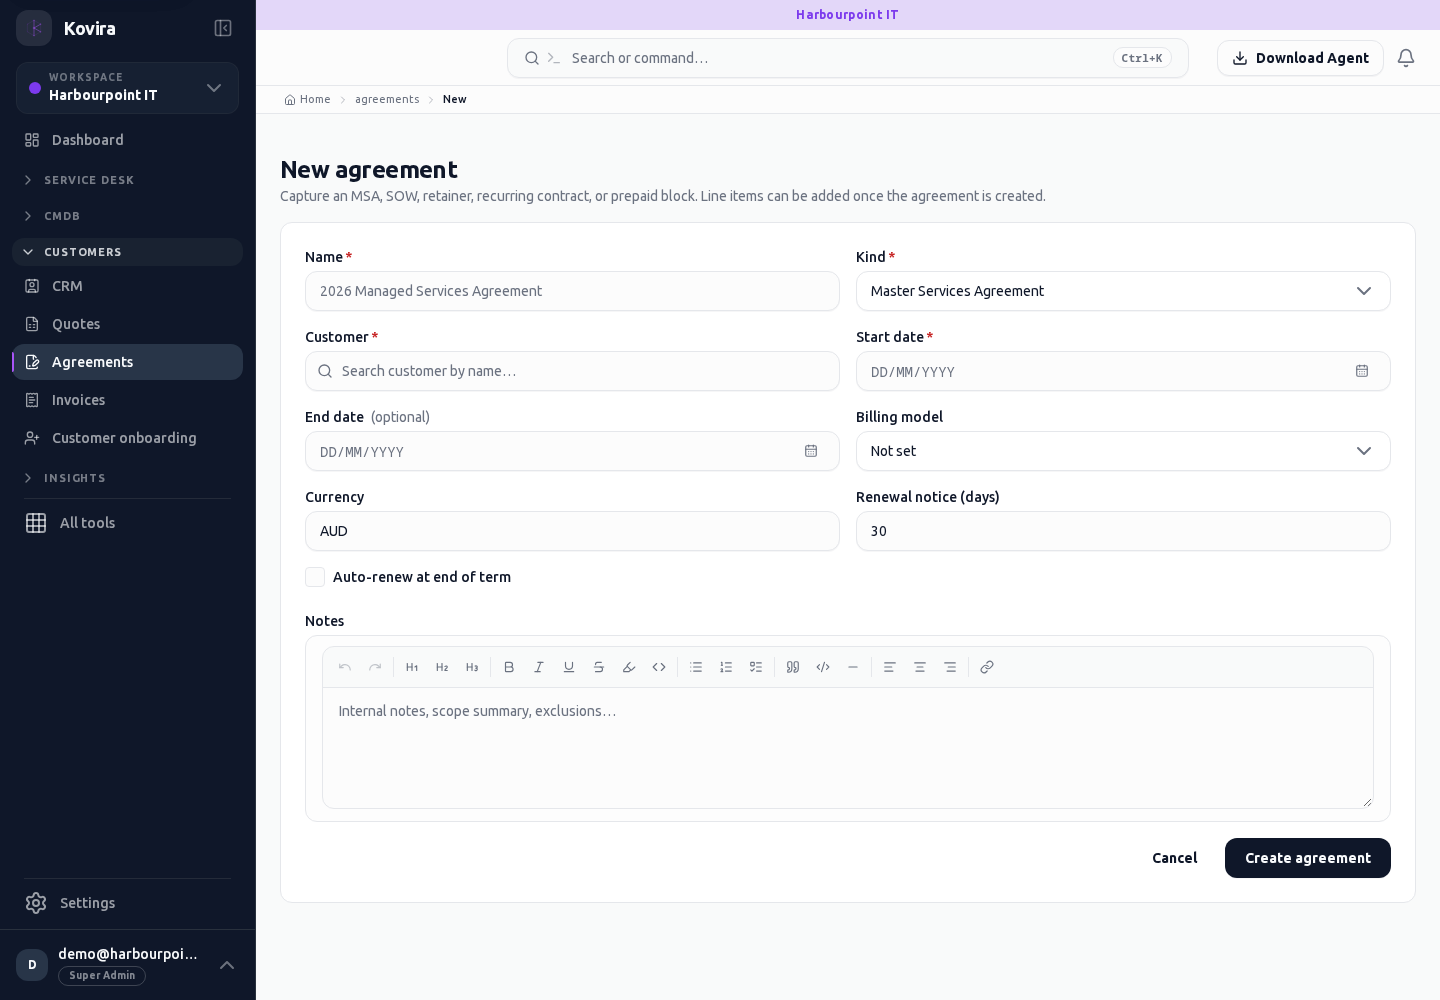
Agreements
Quotes, agreements and invoices. Review this screen in the context of the current workspace and record.
Access
- Default workspace roles for opening this screen: Super Admin, Admin, Operator, View Only. Custom role settings, the current workspace, plan and record sharing can further restrict access.
- Opening a screen does not grant every action on it. Changes, exports and lifecycle actions can require additional permissions.
Controls and information
- Customer
- lines
- currency
- tax
- validity
- document lifecycle
Steps for this screen
- Review the customer, line items, totals and dates before using an offered send, issue or response action.
- Use the available search, date and status filters to narrow the view. Open a record link for its detail.
- Clear filters when you need to compare the full accessible list.
Check the result
- Verify the actual resulting state. A saved draft is not sent, accepted, issued or paid.
If this screen is unavailable
- If no records appear, clear active filters and confirm the workspace and your access before creating a duplicate.
- If the list cannot load, retry once and quote the displayed support reference; do not infer that the workspace is empty.
Invoices / Details
Quotes, agreements and invoices. Review this screen in the context of the current workspace and record.
Access
- Your current workspace role, plan and record access determine whether this screen and its actions are available. Ask an administrator if the required action is missing.
Controls and information
- Customer
- lines
- currency
- tax
- validity
- document lifecycle
Steps for this screen
- Review the customer, line items, totals and dates before using an offered send, issue or response action.
- Read the summary, current state and related records. Review the action and its prerequisites before changing the record.
Check the result
- Verify the actual resulting state. A saved draft is not sent, accepted, issued or paid.
If this screen is unavailable
- If the record is unavailable, return to its list and confirm the workspace and link. Ask an administrator to check record access before creating a replacement.
- If saving fails or a conflict appears, keep a copy of your intended changes, reopen the current record and review it before submitting again.
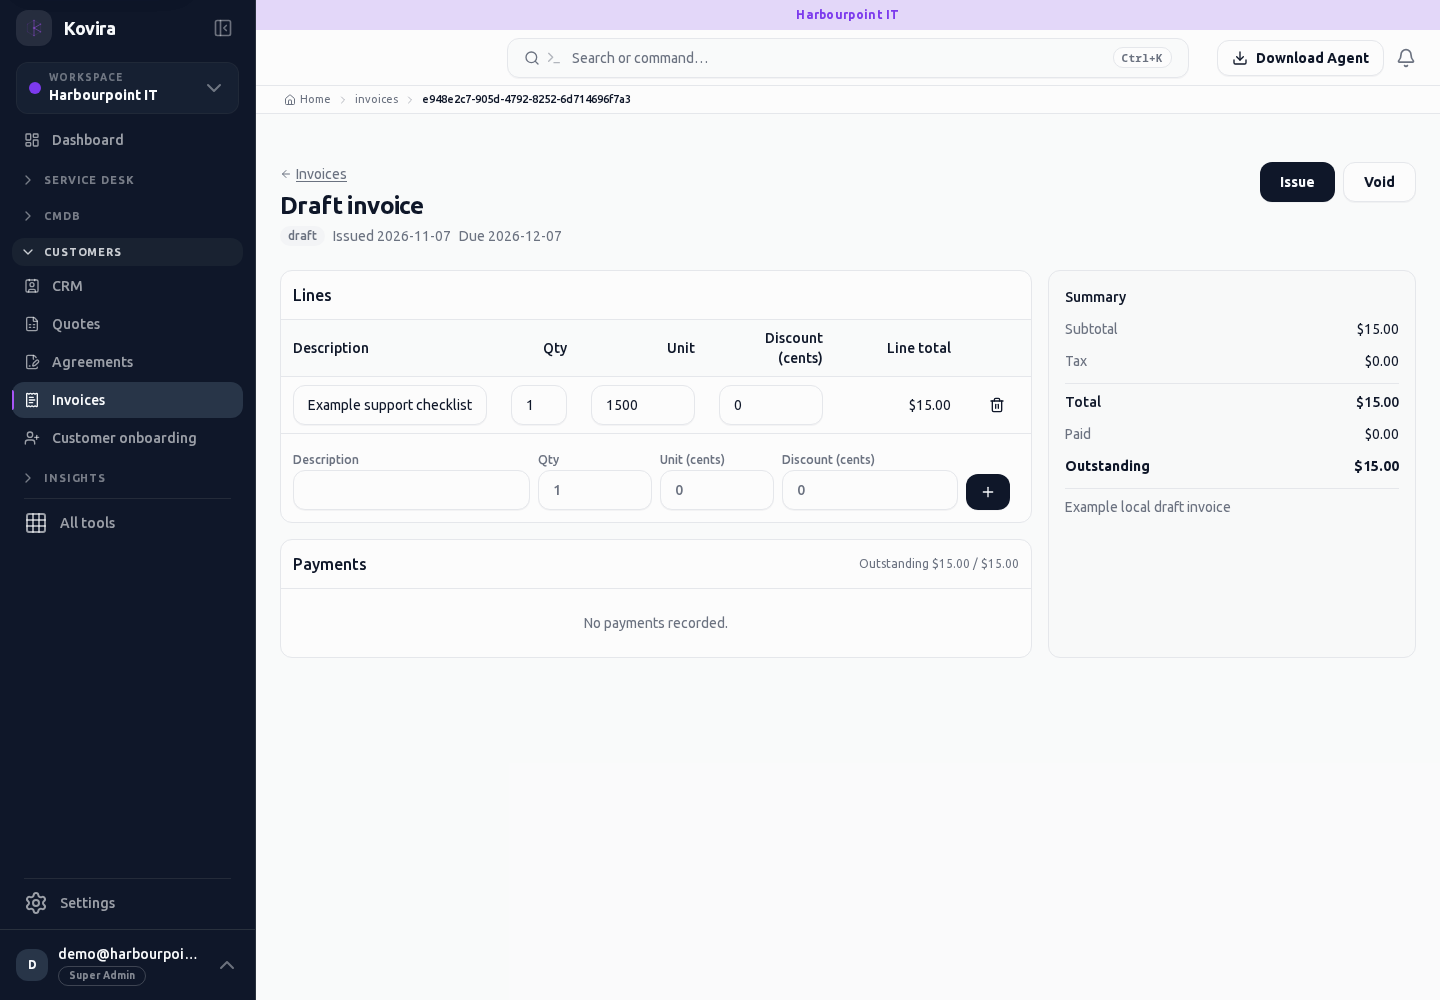
Invoices / New
Quotes, agreements and invoices. Create a new entry and review the information before submitting.
Access
- Default workspace roles for opening this screen: Super Admin. Custom role settings, the current workspace, plan and record sharing can further restrict access.
- Opening a screen does not grant every action on it. Changes, exports and lifecycle actions can require additional permissions.
Controls and information
- Customer
- lines
- currency
- tax
- validity
- document lifecycle
Steps for this screen
- Review the customer, line items, totals and dates before using an offered send, issue or response action.
- Complete the required fields. Review linked records, dates and any recipient or customer selection.
- Use the form’s create or save action once and wait for its result. Cancel to leave without submitting.
Check the result
- Verify the actual resulting state. A saved draft is not sent, accepted, issued or paid.
- Open the newly created record from the resulting list or confirmation and check the saved values.
If this screen is unavailable
- If no records appear, clear active filters and confirm the workspace and your access before creating a duplicate.
- If saving fails or a conflict appears, keep a copy of your intended changes, reopen the current record and review it before submitting again.
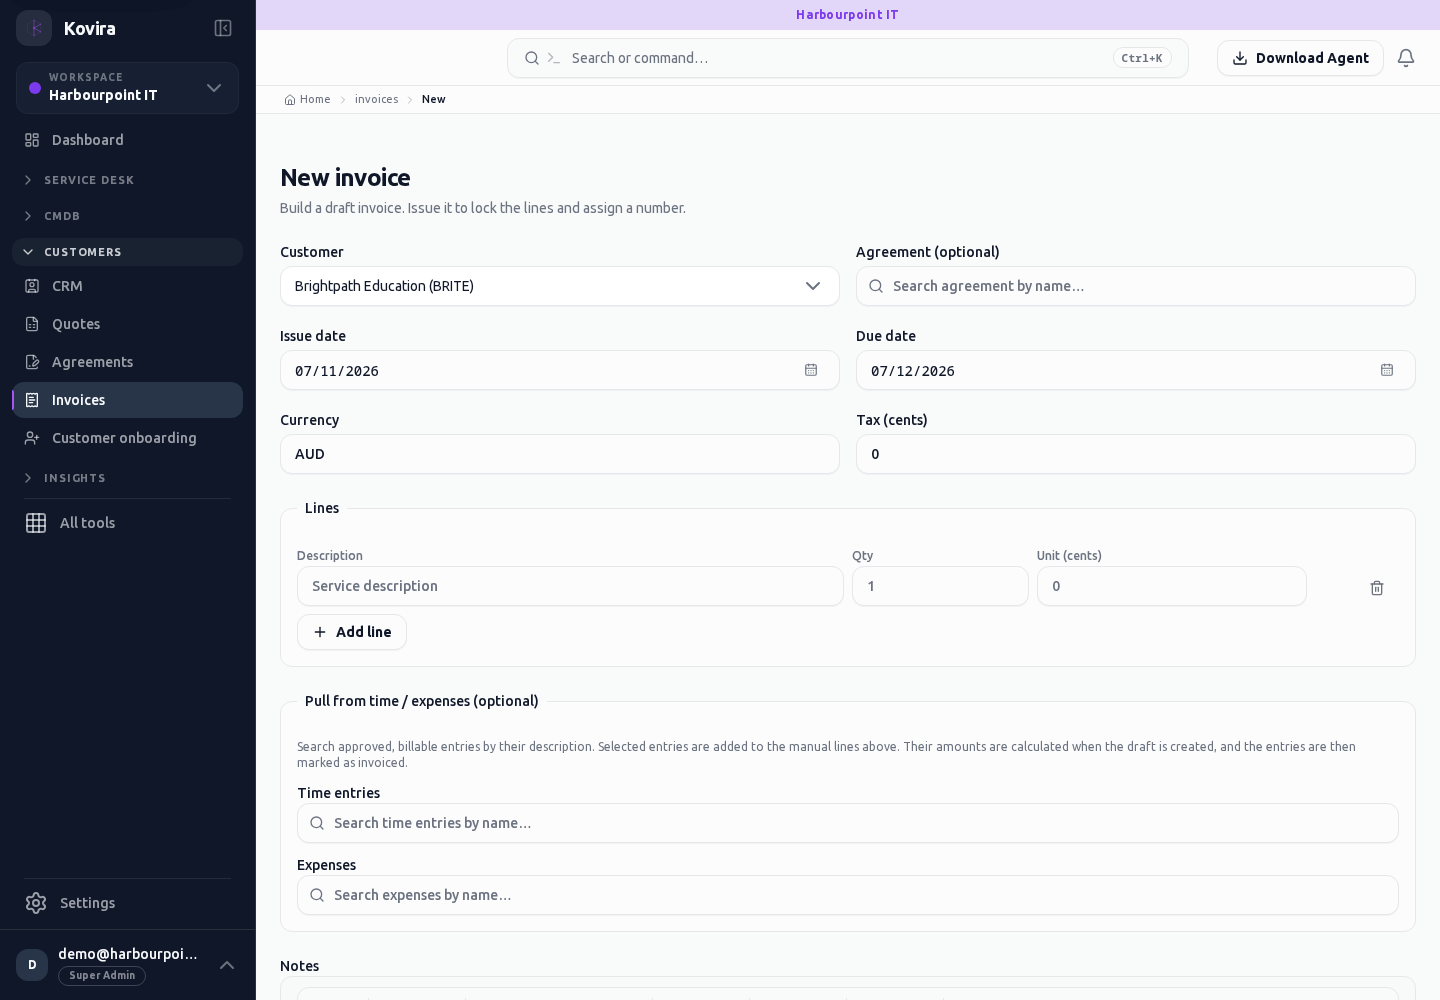
Invoices
Quotes, agreements and invoices. Review this screen in the context of the current workspace and record.
Access
- Your current workspace role, plan and record access determine whether this screen and its actions are available. Ask an administrator if the required action is missing.
Controls and information
- Customer
- lines
- currency
- tax
- validity
- document lifecycle
Steps for this screen
- Review the customer, line items, totals and dates before using an offered send, issue or response action.
- Use the available search, date and status filters to narrow the view. Open a record link for its detail.
- Clear filters when you need to compare the full accessible list.
Check the result
- Verify the actual resulting state. A saved draft is not sent, accepted, issued or paid.
If this screen is unavailable
- If no records appear, clear active filters and confirm the workspace and your access before creating a duplicate.
- If the list cannot load, retry once and quote the displayed support reference; do not infer that the workspace is empty.
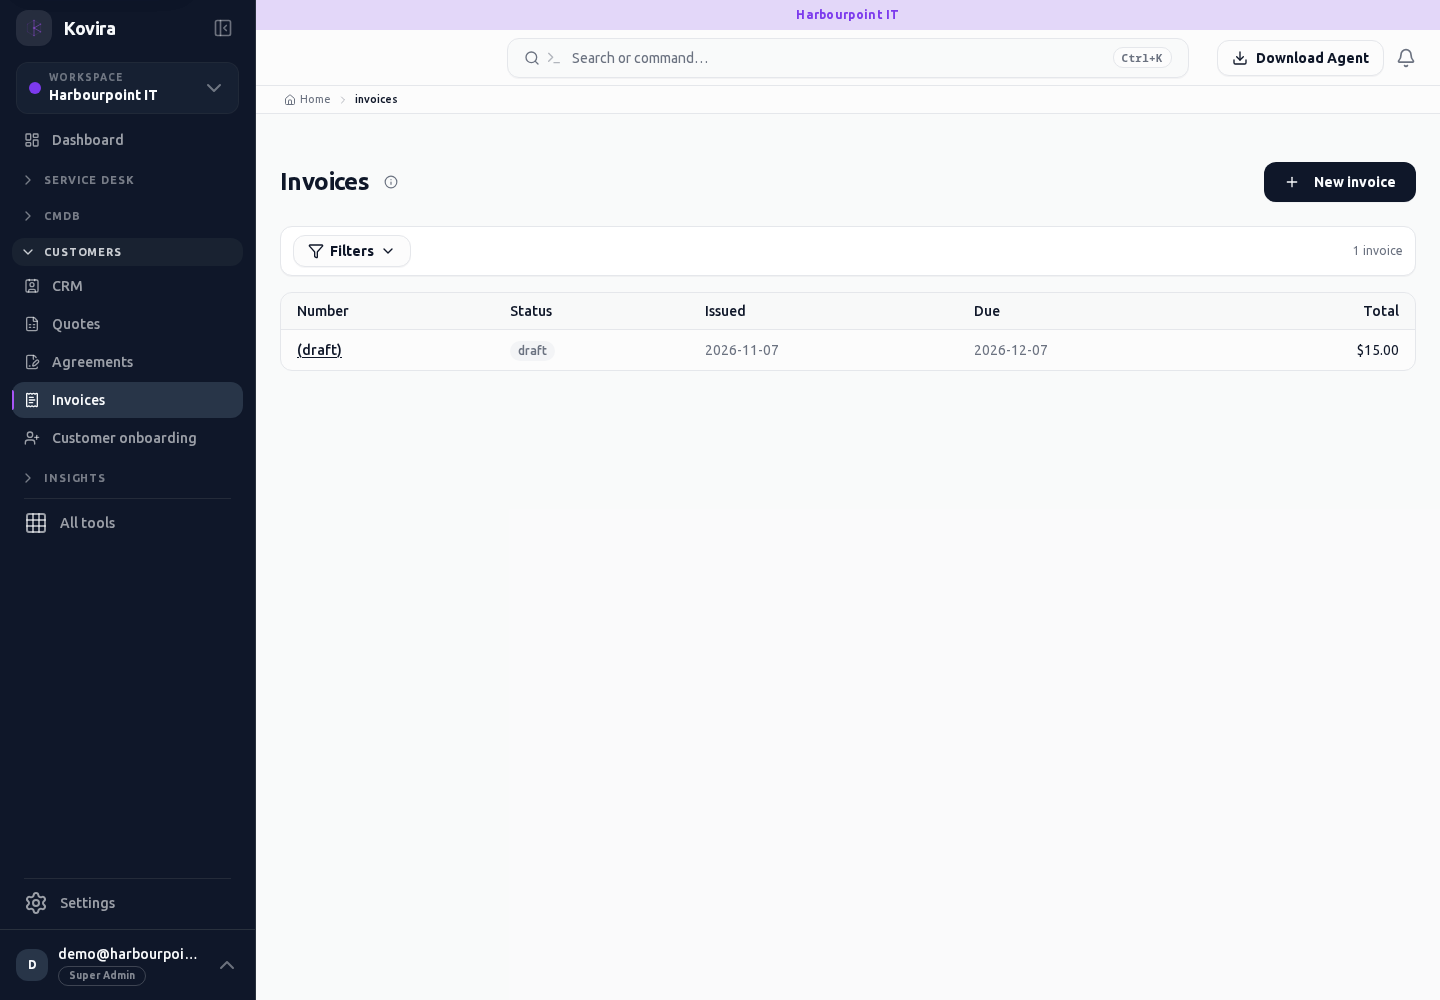
Quotes / Details
Quotes, agreements and invoices. Open the linked destination and continue there.
Access
- Your current workspace role, plan and record access determine whether this screen and its actions are available. Ask an administrator if the required action is missing.
Controls and information
- Customer
- lines
- currency
- tax
- validity
- document lifecycle
Steps for this screen
- Review the customer, line items, totals and dates before using an offered send, issue or response action.
- This entry opens the corresponding destination screen. Check the heading and continue with the destination’s controls.
Check the result
- Verify the actual resulting state. A saved draft is not sent, accepted, issued or paid.
If this screen is unavailable
- If no records appear, clear active filters and confirm the workspace and your access before creating a duplicate.
- If the destination cannot be opened, use its navigation entry and confirm that your role and plan include it.
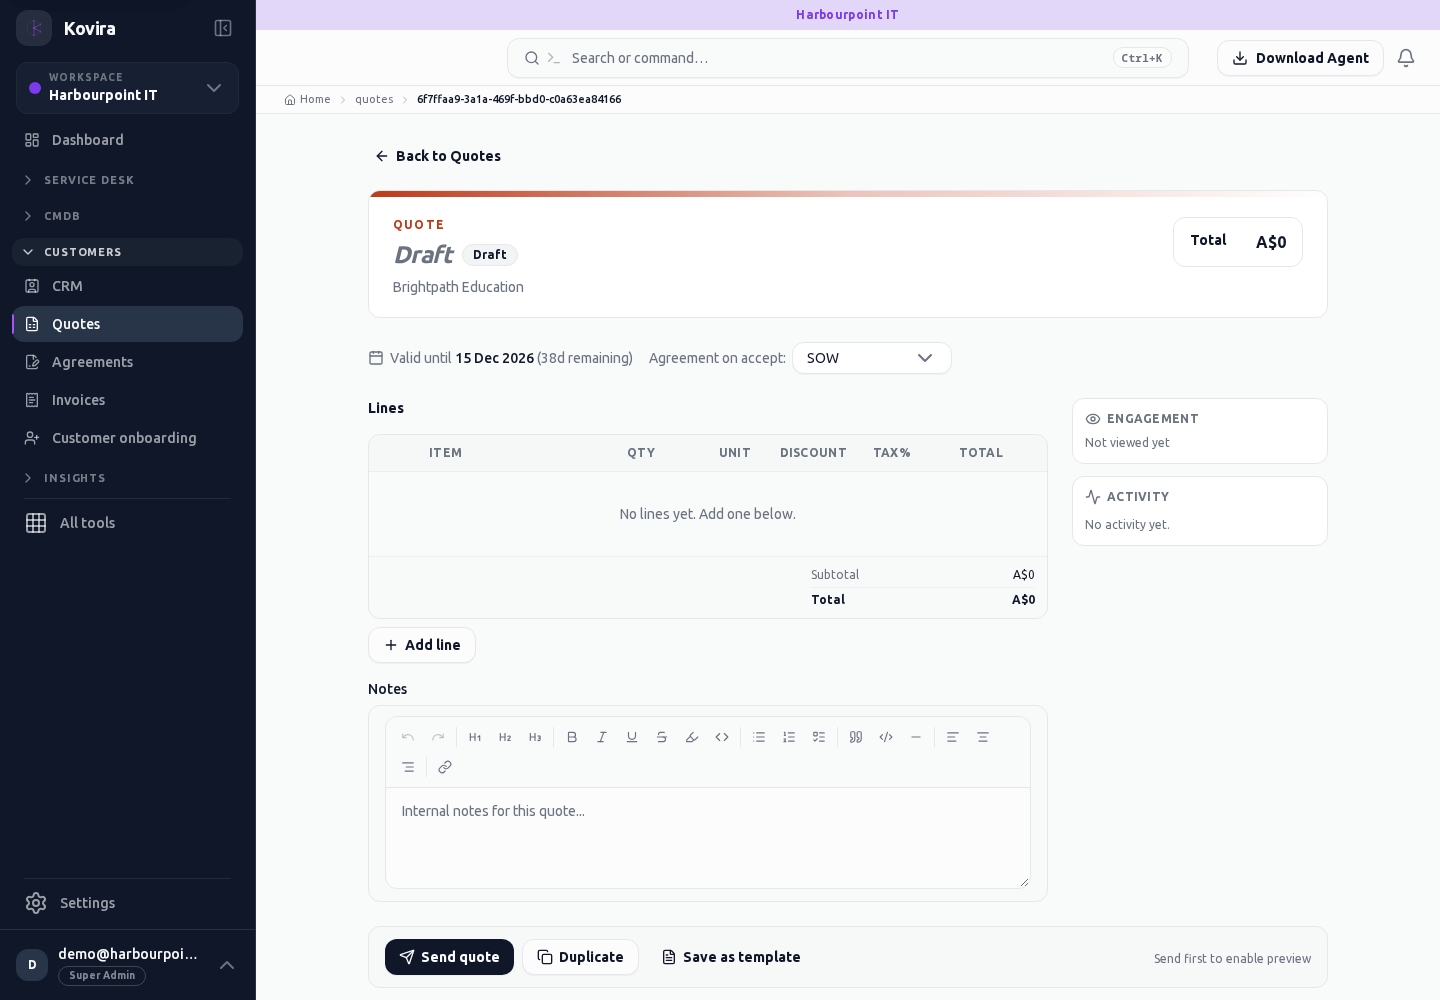
Quotes / New
Quotes, agreements and invoices. Open the linked destination and continue there.
Access
- Your current workspace role, plan and record access determine whether this screen and its actions are available. Ask an administrator if the required action is missing.
Controls and information
- Customer
- lines
- currency
- tax
- validity
- document lifecycle
Steps for this screen
- Review the customer, line items, totals and dates before using an offered send, issue or response action.
- This entry opens the corresponding destination screen. Check the heading and continue with the destination’s controls.
Check the result
- Verify the actual resulting state. A saved draft is not sent, accepted, issued or paid.
If this screen is unavailable
- If no records appear, clear active filters and confirm the workspace and your access before creating a duplicate.
- If the destination cannot be opened, use its navigation entry and confirm that your role and plan include it.
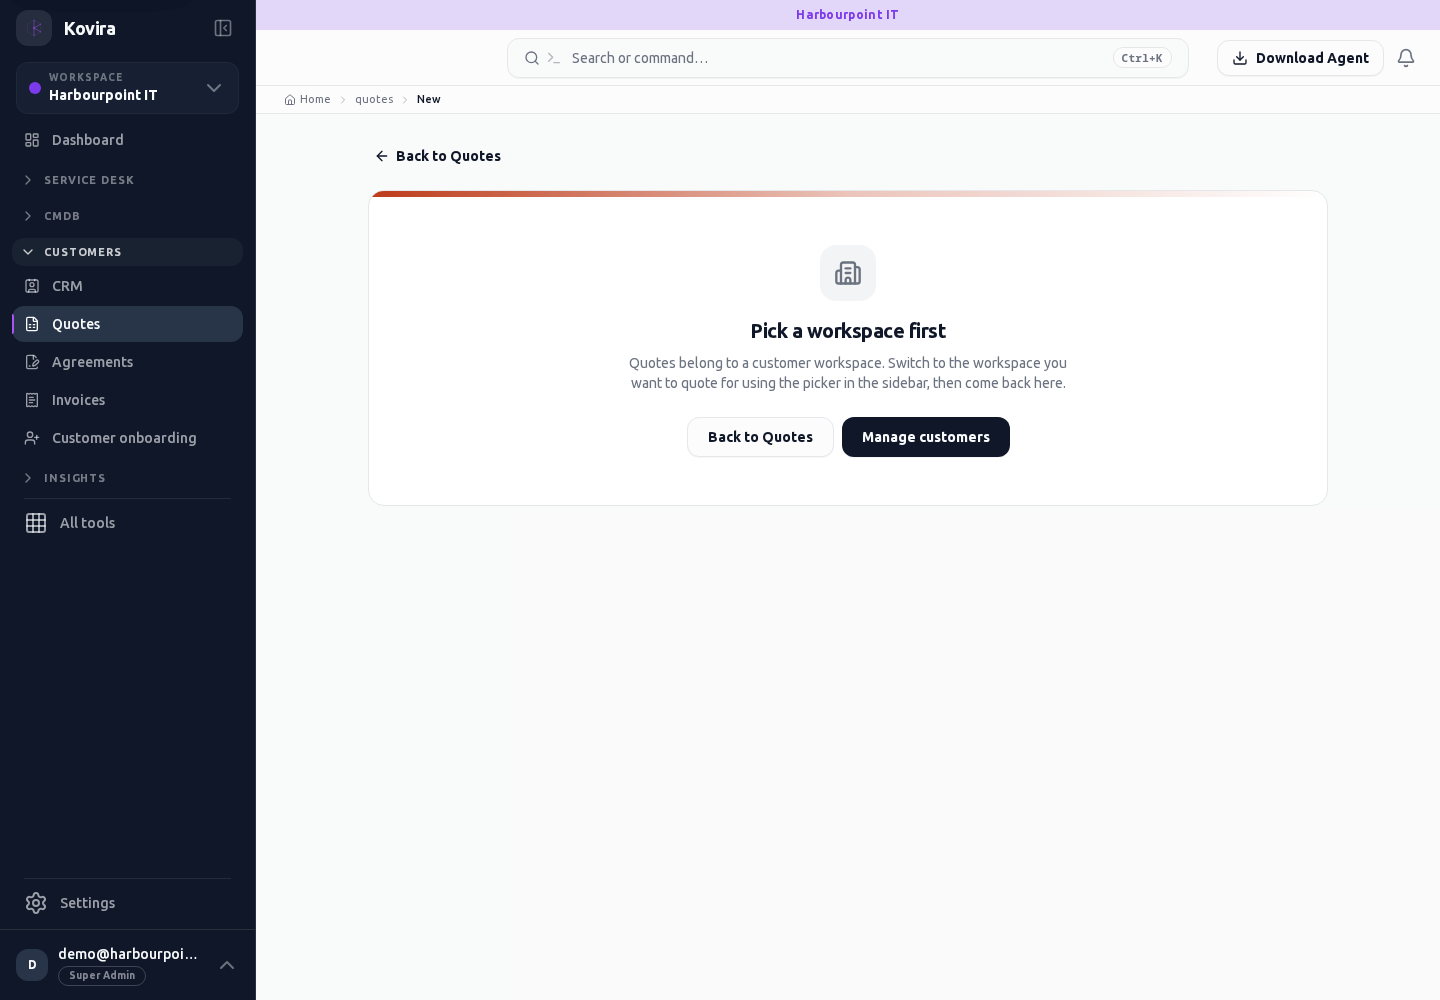
Quotes
Quotes, agreements and invoices. Open the linked destination and continue there.
Access
- Your current workspace role, plan and record access determine whether this screen and its actions are available. Ask an administrator if the required action is missing.
Controls and information
- Customer
- lines
- currency
- tax
- validity
- document lifecycle
Steps for this screen
- Review the customer, line items, totals and dates before using an offered send, issue or response action.
- This entry opens the corresponding destination screen. Check the heading and continue with the destination’s controls.
Check the result
- Verify the actual resulting state. A saved draft is not sent, accepted, issued or paid.
If this screen is unavailable
- If no records appear, clear active filters and confirm the workspace and your access before creating a duplicate.
- If the destination cannot be opened, use its navigation entry and confirm that your role and plan include it.
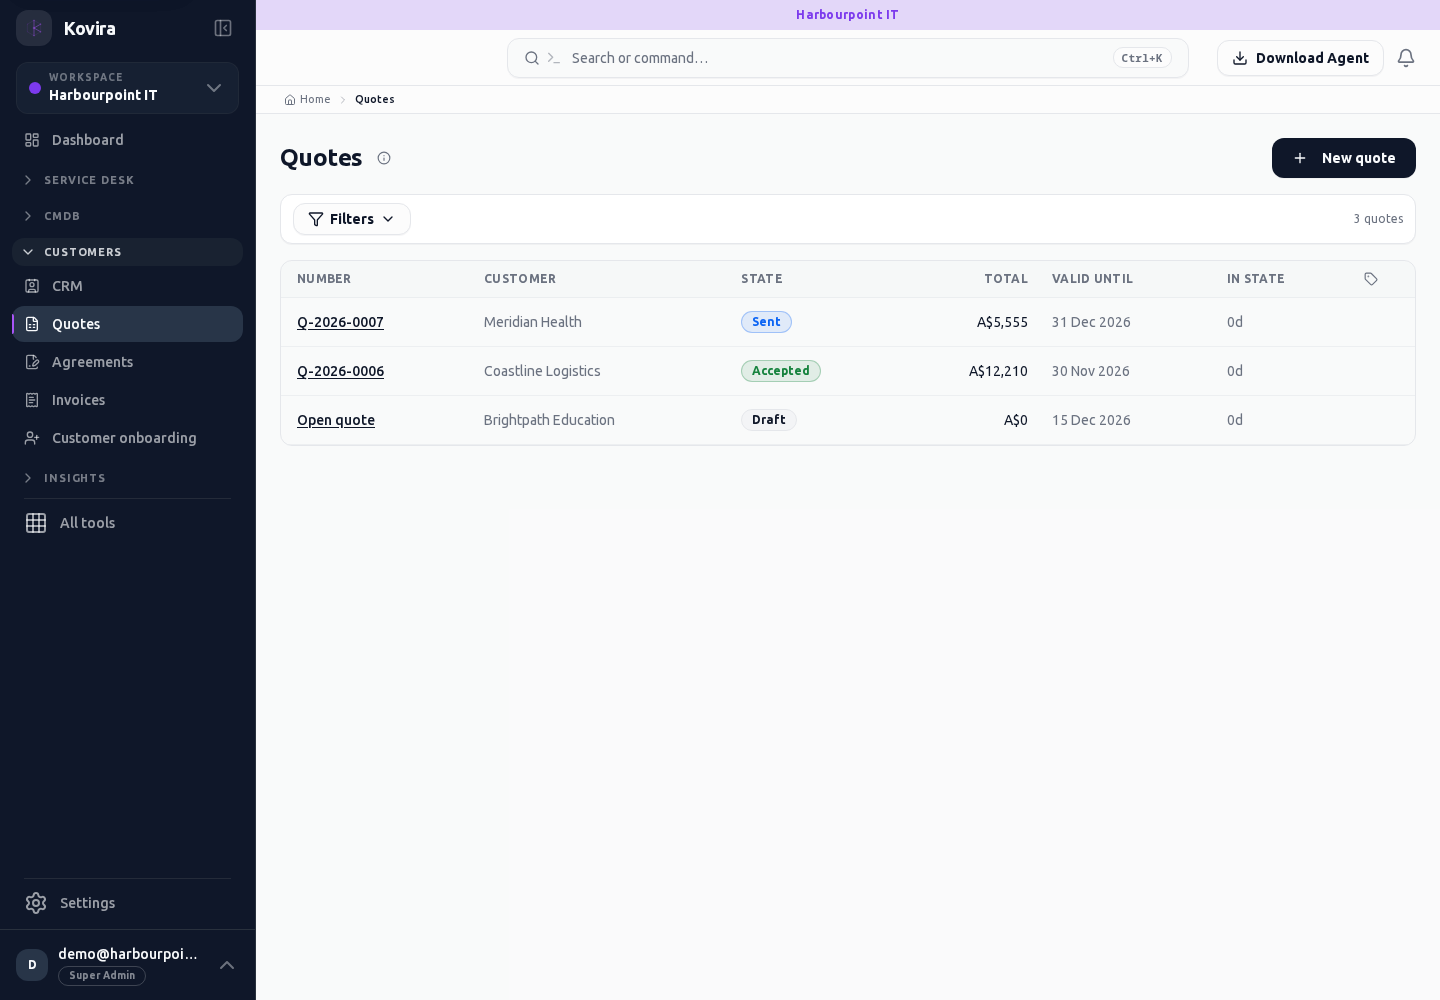
Documents, attachments and broken links
Applies to: KOVIRA
Create and maintain useful documentation with safe attachments.
Before you begin
- Document access and permission to edit the relevant document.
Steps
- Open Documents to find a document or choose New. Confirm its title, audience and related record.
- Use the offered editor to structure the content. Add attachments or images through the supported upload control.
- Save the document, reopen its reading view and verify headings, links, images and attachments.
- Use Broken links to identify references that need correction and review the target record before replacing a link.
Check the result
- Open each newly added attachment and confirm the intended file.
- Verify readers can access the document and its related records.
If you need help
- A visible link can still lead to a record the reader cannot access. Check the intended audience.
- Keep passwords, session links and unnecessary personal data out of document content.
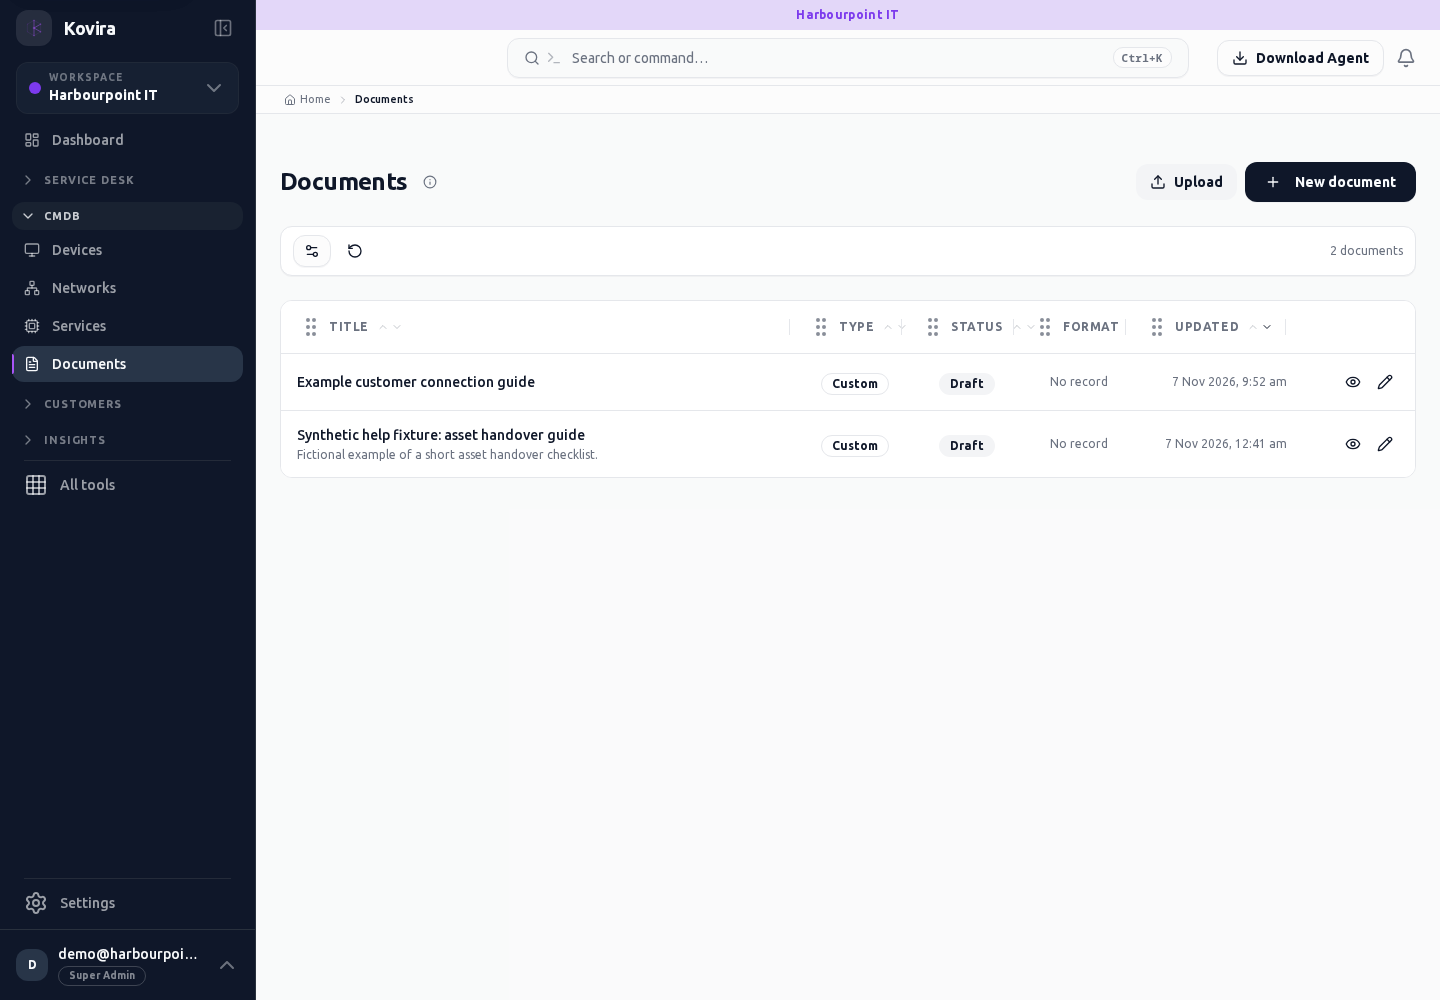
Related screens (5)
Documents / Details / Edit
Document editing. Review and change the saved entry using the actions available for its current state.
Access
- Default workspace roles for opening this screen: Super Admin, Admin, Operator. Custom role settings, the current workspace, plan and record sharing can further restrict access.
- Opening a screen does not grant every action on it. Changes, exports and lifecycle actions can require additional permissions.
Controls and information
- Title
- content cards
- attachments
- record links
- save
- broken links
Steps for this screen
- Confirm the document and intended audience, then structure the content and add references through the supported controls.
- Read the current saved values before editing. Make the intended change and review all affected fields.
- Save once and wait for confirmation. Use Cancel to discard an unsubmitted change.
Check the result
- Reopen the reading view and check headings, links and attachments; repair stale references in Broken links.
- Reopen the record and verify the saved value before making another change.
If this screen is unavailable
- If no records appear, clear active filters and confirm the workspace and your access before creating a duplicate.
- If saving fails or a conflict appears, keep a copy of your intended changes, reopen the current record and review it before submitting again.
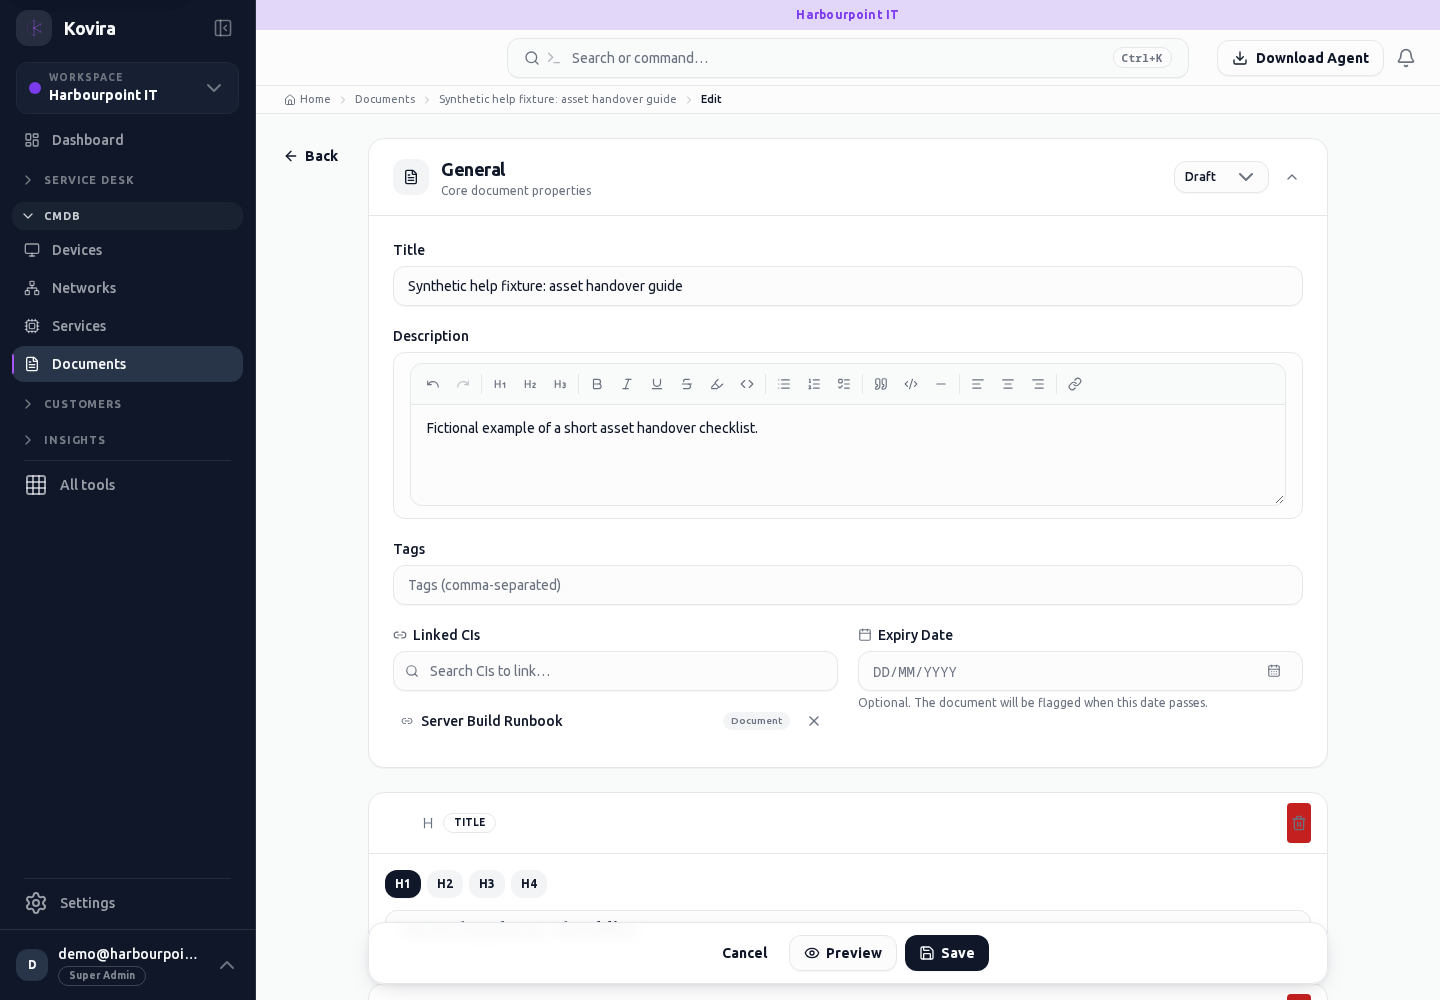
Documents / Details
Document editing. Review this screen in the context of the current workspace and record.
Access
- Default workspace roles for opening this screen: Super Admin, Admin, Operator, View Only. Custom role settings, the current workspace, plan and record sharing can further restrict access.
- Opening a screen does not grant every action on it. Changes, exports and lifecycle actions can require additional permissions.
Controls and information
- Title
- content cards
- attachments
- record links
- save
- broken links
Steps for this screen
- Confirm the document and intended audience, then structure the content and add references through the supported controls.
- Read the summary, current state and related records. Review the action and its prerequisites before changing the record.
Check the result
- Reopen the reading view and check headings, links and attachments; repair stale references in Broken links.
If this screen is unavailable
- If the record is unavailable, return to its list and confirm the workspace and link. Ask an administrator to check record access before creating a replacement.
- If saving fails or a conflict appears, keep a copy of your intended changes, reopen the current record and review it before submitting again.
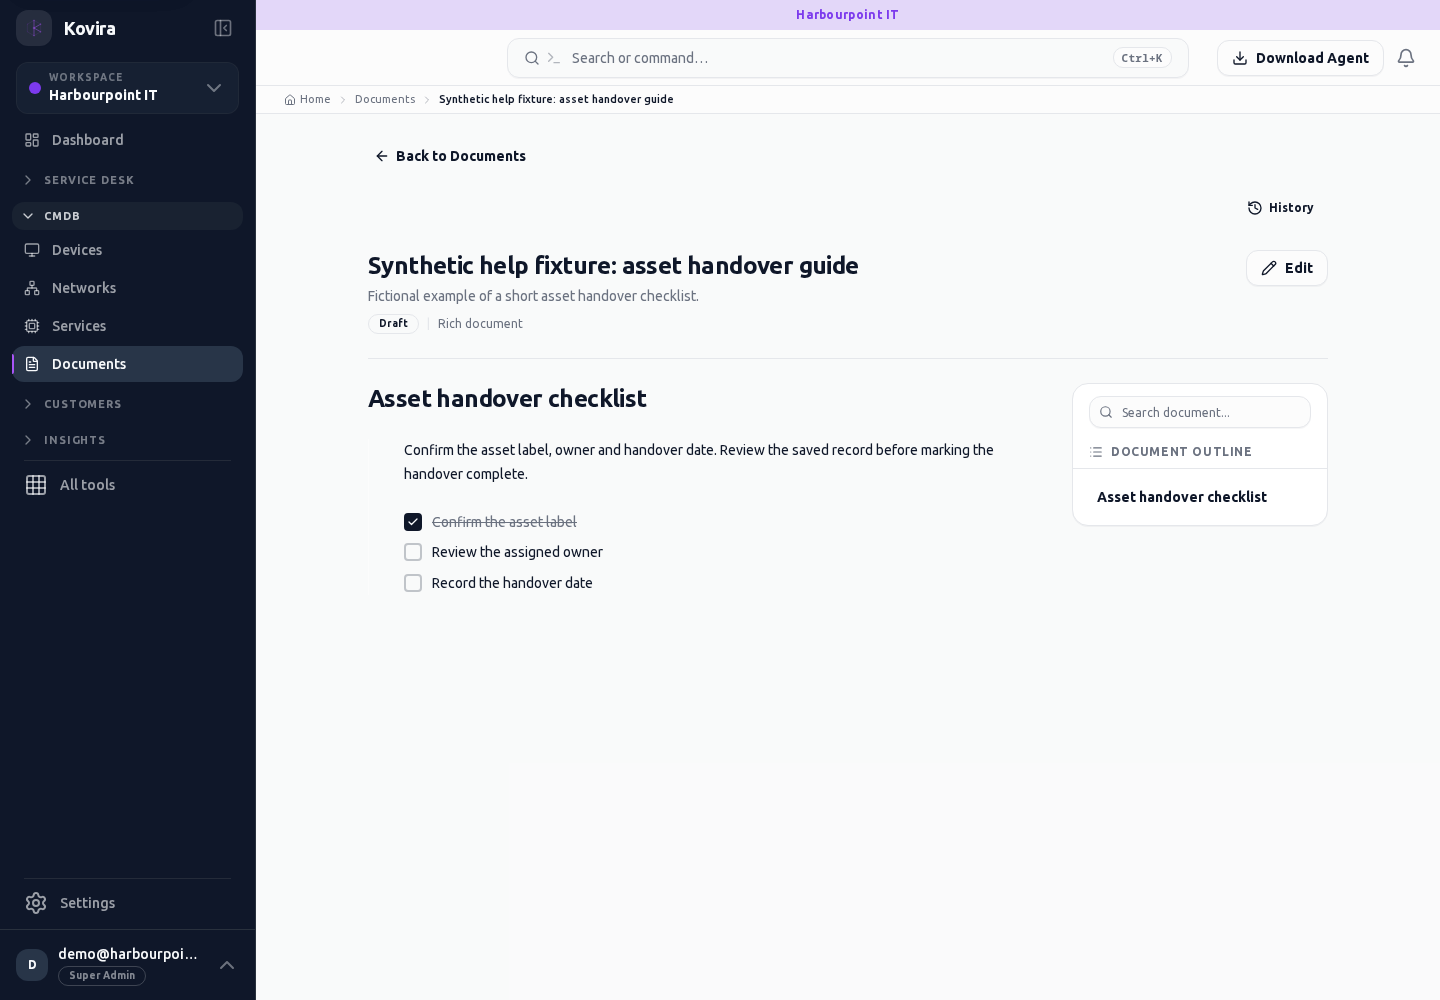
Documents / Broken Links
Document editing. Review this screen in the context of the current workspace and record.
Access
- Default workspace roles for opening this screen: Super Admin, Admin, Operator, View Only. Custom role settings, the current workspace, plan and record sharing can further restrict access.
- Opening a screen does not grant every action on it. Changes, exports and lifecycle actions can require additional permissions.
Controls and information
- Title
- content cards
- attachments
- record links
- save
- broken links
Steps for this screen
- Confirm the document and intended audience, then structure the content and add references through the supported controls.
- Use the available search, date and status filters to narrow the view. Open a record link for its detail.
- Clear filters when you need to compare the full accessible list.
Check the result
- Reopen the reading view and check headings, links and attachments; repair stale references in Broken links.
If this screen is unavailable
- If no records appear, clear active filters and confirm the workspace and your access before creating a duplicate.
- If the list cannot load, retry once and quote the displayed support reference; do not infer that the workspace is empty.
Documents / New
Document editing. Create a new entry and review the information before submitting.
Access
- Default workspace roles for opening this screen: Super Admin, Admin, Operator. Custom role settings, the current workspace, plan and record sharing can further restrict access.
- Opening a screen does not grant every action on it. Changes, exports and lifecycle actions can require additional permissions.
Controls and information
- Title
- content cards
- attachments
- record links
- save
- broken links
Steps for this screen
- Confirm the document and intended audience, then structure the content and add references through the supported controls.
- Complete the required fields. Review linked records, dates and any recipient or customer selection.
- Use the form’s create or save action once and wait for its result. Cancel to leave without submitting.
Check the result
- Reopen the reading view and check headings, links and attachments; repair stale references in Broken links.
- Open the newly created record from the resulting list or confirmation and check the saved values.
If this screen is unavailable
- If no records appear, clear active filters and confirm the workspace and your access before creating a duplicate.
- If saving fails or a conflict appears, keep a copy of your intended changes, reopen the current record and review it before submitting again.
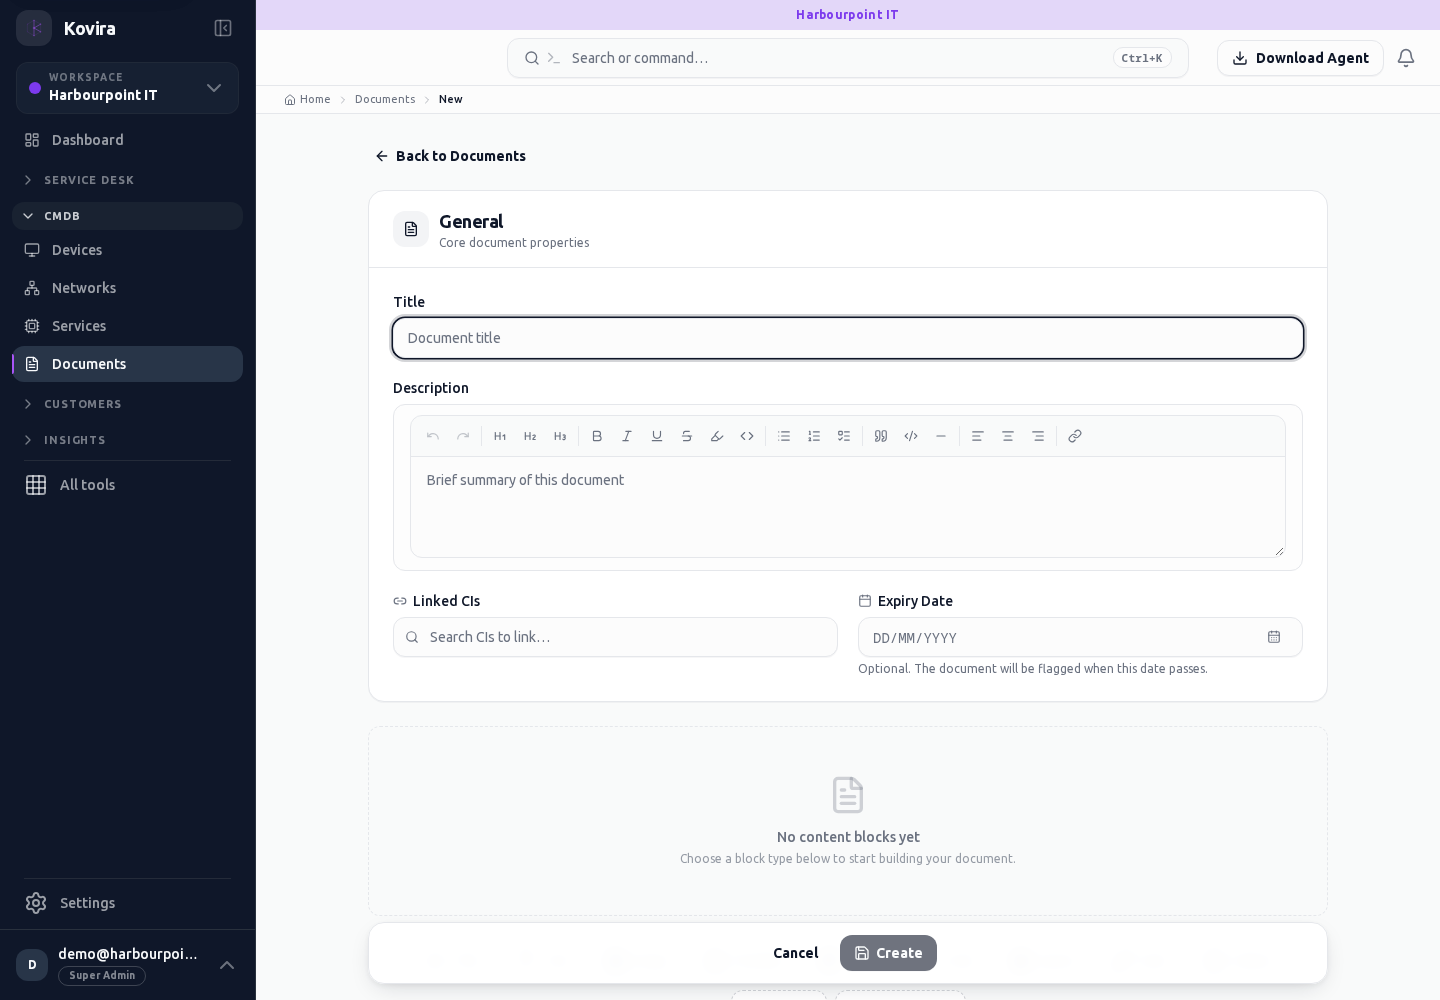
Documents
Document editing. Review this screen in the context of the current workspace and record.
Access
- Default workspace roles for opening this screen: Super Admin, Admin, Operator, View Only. Custom role settings, the current workspace, plan and record sharing can further restrict access.
- Opening a screen does not grant every action on it. Changes, exports and lifecycle actions can require additional permissions.
Controls and information
- Title
- content cards
- attachments
- record links
- save
- broken links
Steps for this screen
- Confirm the document and intended audience, then structure the content and add references through the supported controls.
- Use the available search, date and status filters to narrow the view. Open a record link for its detail.
- Clear filters when you need to compare the full accessible list.
Check the result
- Reopen the reading view and check headings, links and attachments; repair stale references in Broken links.
If this screen is unavailable
- If no records appear, clear active filters and confirm the workspace and your access before creating a duplicate.
- If the list cannot load, retry once and quote the displayed support reference; do not infer that the workspace is empty.
Knowledge articles and moderation
Applies to: KOVIRA
Create reusable answers and review their audience before publication.
Before you begin
- Knowledge-base access; moderation permission for review decisions.
Steps
- Open Knowledge base and search for an existing answer before creating a new article.
- Write clear steps, prerequisites and a way to verify the result. Check linked records and attachments.
- Review the article’s visibility and publication state. Use Moderation when your process requires review.
- Read the published article as an intended reader and update or withdraw outdated guidance.
Check the result
- Confirm the title, audience and saved publication state.
- Follow the steps and links with the permissions of the intended reader.
If you need help
- If an article is missing, check search terms, visibility and publication state.
- Do not copy internal credentials or private investigation material into a broadly visible article.
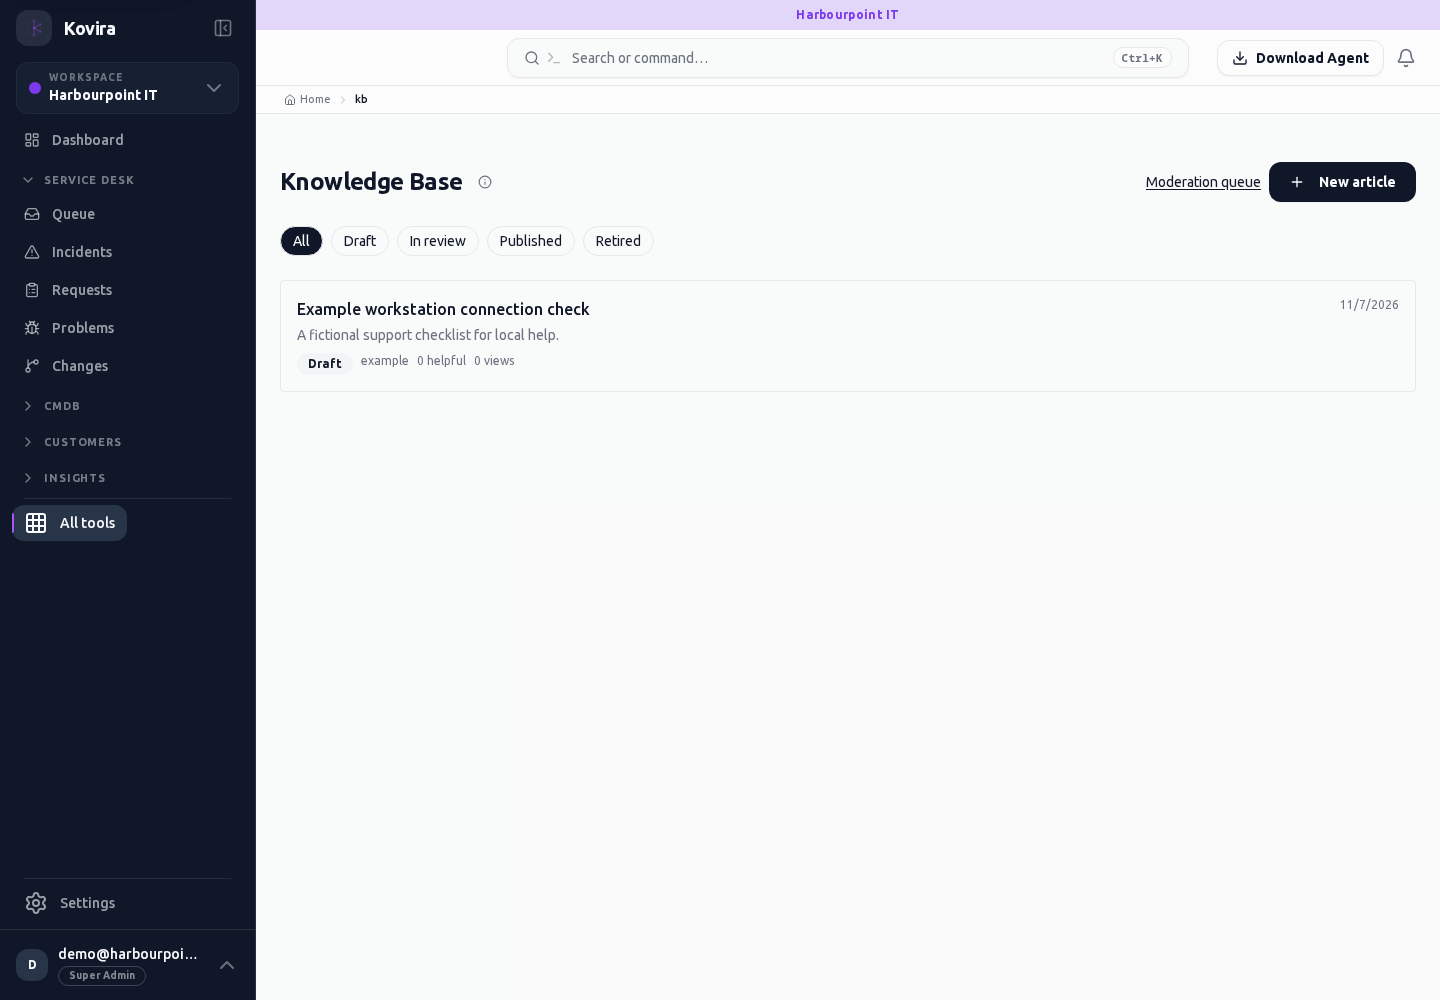
Related screens (4)
Knowledge base / Details
Knowledge articles. Review this screen in the context of the current workspace and record.
Access
- Default workspace roles for opening this screen: Super Admin, Admin, Operator, View Only. Custom role settings, the current workspace, plan and record sharing can further restrict access.
- Opening a screen does not grant every action on it. Changes, exports and lifecycle actions can require additional permissions.
Controls and information
- Search
- article draft
- visibility
- moderation
- publication
Steps for this screen
- Search for an existing answer, then write prerequisites, clear steps and an observable result.
- Read the summary, current state and related records. Review the action and its prerequisites before changing the record.
Check the result
- Read the published view as its intended audience and withdraw or update guidance that is no longer valid.
If this screen is unavailable
- If the record is unavailable, return to its list and confirm the workspace and link. Ask an administrator to check record access before creating a replacement.
- If saving fails or a conflict appears, keep a copy of your intended changes, reopen the current record and review it before submitting again.
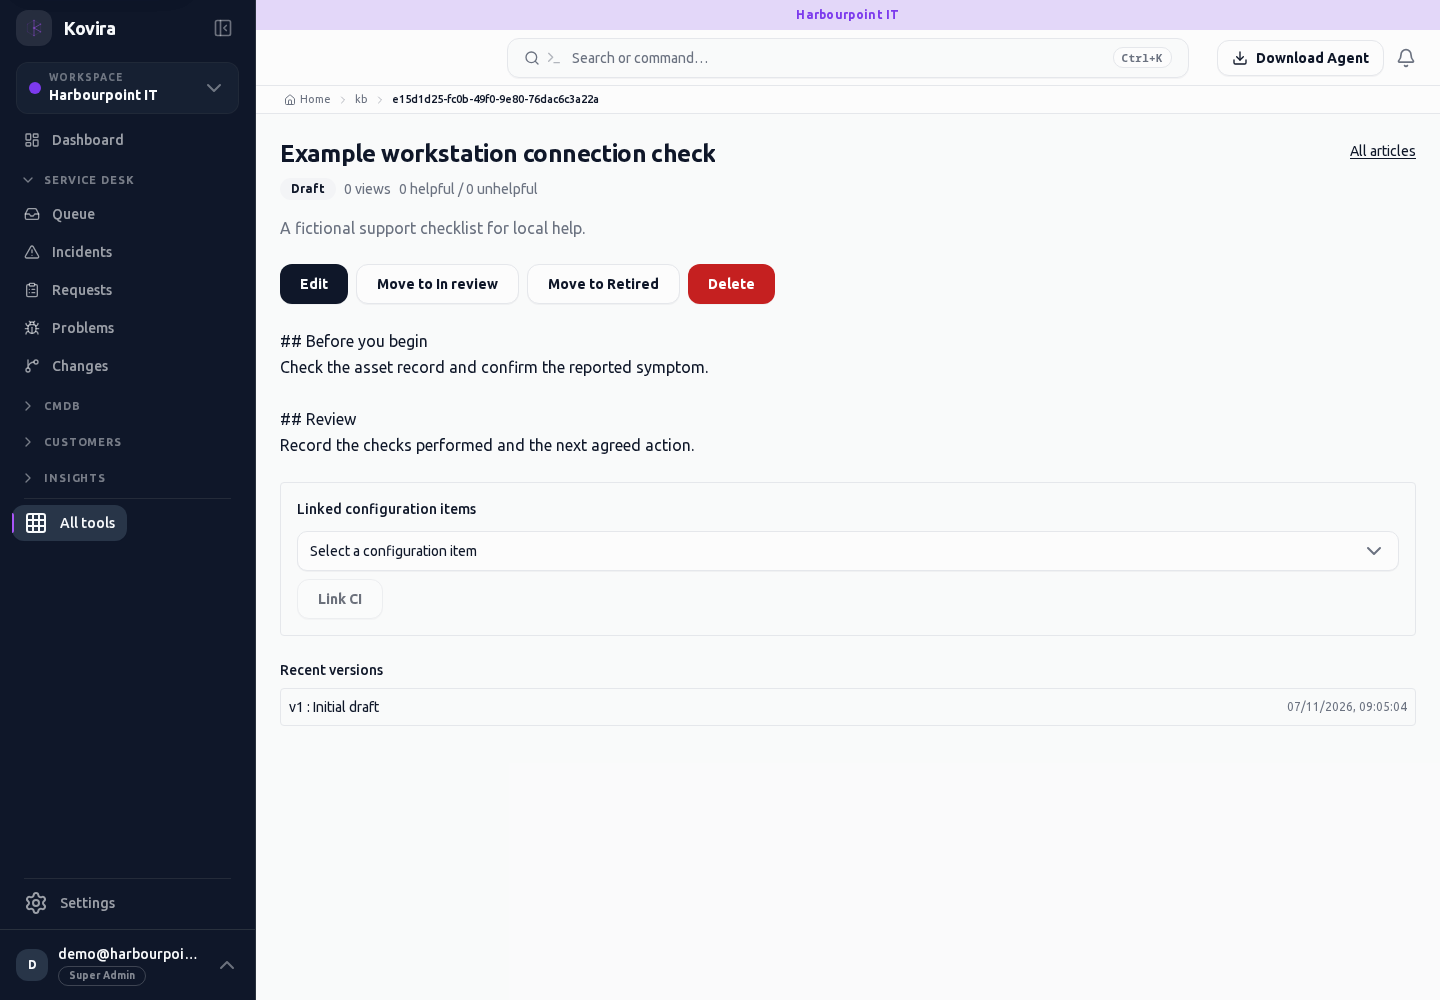
Knowledge base / Moderation
Knowledge articles. Review this screen in the context of the current workspace and record.
Access
- Default workspace roles for opening this screen: Super Admin, Admin. Custom role settings, the current workspace, plan and record sharing can further restrict access.
- Opening a screen does not grant every action on it. Changes, exports and lifecycle actions can require additional permissions.
Controls and information
- Search
- article draft
- visibility
- moderation
- publication
Steps for this screen
- Search for an existing answer, then write prerequisites, clear steps and an observable result.
- Use the available search, date and status filters to narrow the view. Open a record link for its detail.
- Clear filters when you need to compare the full accessible list.
Check the result
- Read the published view as its intended audience and withdraw or update guidance that is no longer valid.
If this screen is unavailable
- If no records appear, clear active filters and confirm the workspace and your access before creating a duplicate.
- If the list cannot load, retry once and quote the displayed support reference; do not infer that the workspace is empty.
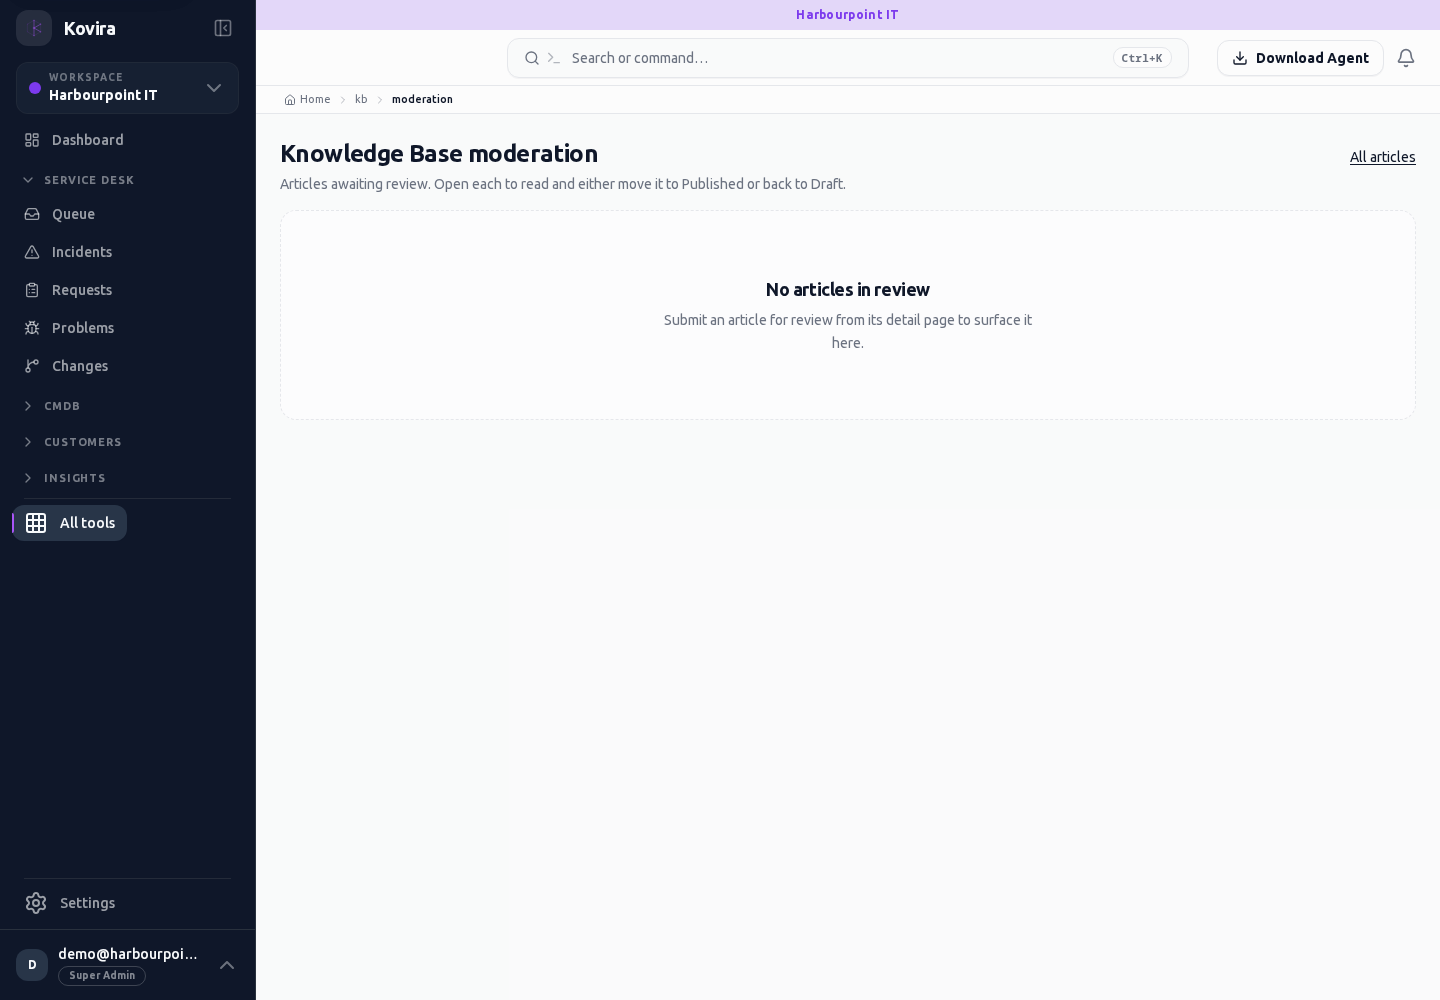
Knowledge base / New
Knowledge articles. Create a new entry and review the information before submitting.
Access
- Default workspace roles for opening this screen: Super Admin, Admin, Operator. Custom role settings, the current workspace, plan and record sharing can further restrict access.
- Opening a screen does not grant every action on it. Changes, exports and lifecycle actions can require additional permissions.
Controls and information
- Search
- article draft
- visibility
- moderation
- publication
Steps for this screen
- Search for an existing answer, then write prerequisites, clear steps and an observable result.
- Complete the required fields. Review linked records, dates and any recipient or customer selection.
- Use the form’s create or save action once and wait for its result. Cancel to leave without submitting.
Check the result
- Read the published view as its intended audience and withdraw or update guidance that is no longer valid.
- Open the newly created record from the resulting list or confirmation and check the saved values.
If this screen is unavailable
- If no records appear, clear active filters and confirm the workspace and your access before creating a duplicate.
- If saving fails or a conflict appears, keep a copy of your intended changes, reopen the current record and review it before submitting again.
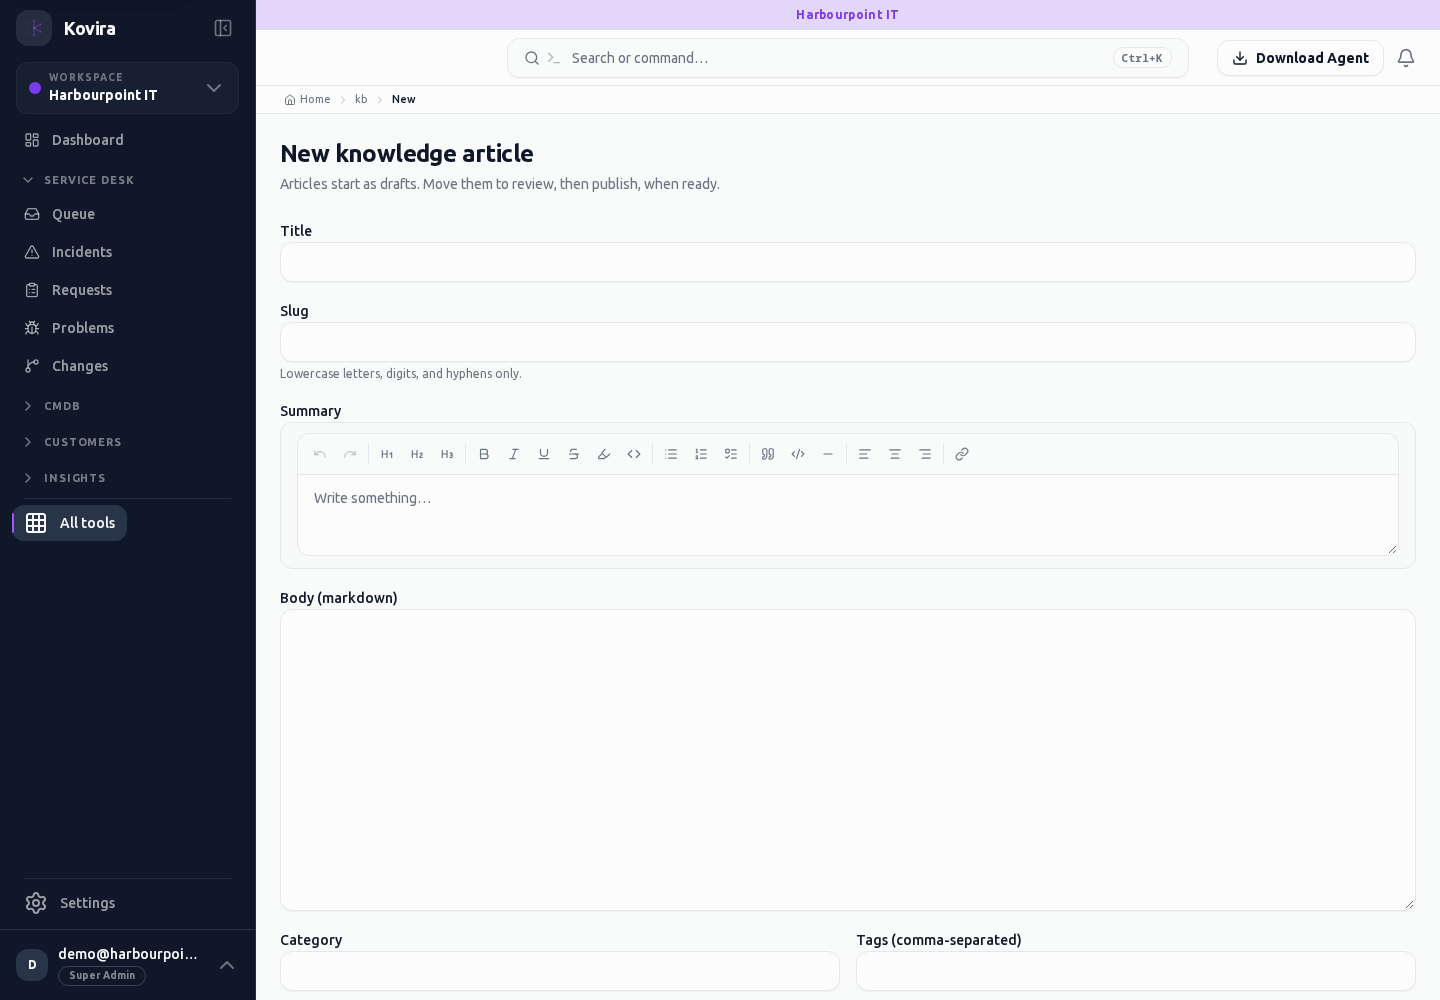
Knowledge base
Knowledge articles. Review this screen in the context of the current workspace and record.
Access
- Default workspace roles for opening this screen: Super Admin, Admin, Operator, View Only. Custom role settings, the current workspace, plan and record sharing can further restrict access.
- Opening a screen does not grant every action on it. Changes, exports and lifecycle actions can require additional permissions.
Controls and information
- Search
- article draft
- visibility
- moderation
- publication
Steps for this screen
- Search for an existing answer, then write prerequisites, clear steps and an observable result.
- Use the available search, date and status filters to narrow the view. Open a record link for its detail.
- Clear filters when you need to compare the full accessible list.
Check the result
- Read the published view as its intended audience and withdraw or update guidance that is no longer valid.
If this screen is unavailable
- If no records appear, clear active filters and confirm the workspace and your access before creating a duplicate.
- If the list cannot load, retry once and quote the displayed support reference; do not infer that the workspace is empty.
Users, roles, access policies and reviews
Applies to: KOVIRA
Give people the appropriate access and review it regularly.
Before you begin
- Owner or delegated access-management permission and an available recovery administrator.
Steps
- Review Users and Members before inviting another person. Confirm the email, workspace and intended role.
- Use Groups, Roles and Assignment groups to organise access and work ownership. Review the permissions before saving a role change.
- Use Access policies and SCIM settings only with the organisation’s identity-management owner. Test a separate administrator’s access before ending your current session.
- Open Access review to assess current access and record the appropriate review decisions. Review Inactive and Deleted users separately.
Check the result
- Verify representative reader and editor accounts retain the intended access.
- Check audit history after a significant permission change.
If you need help
- A missing action can reflect the actor’s current permission, plan or membership state. Recheck access with the responsible administrator.
- Avoid granting broad workspace access to solve an unrelated record-level problem.
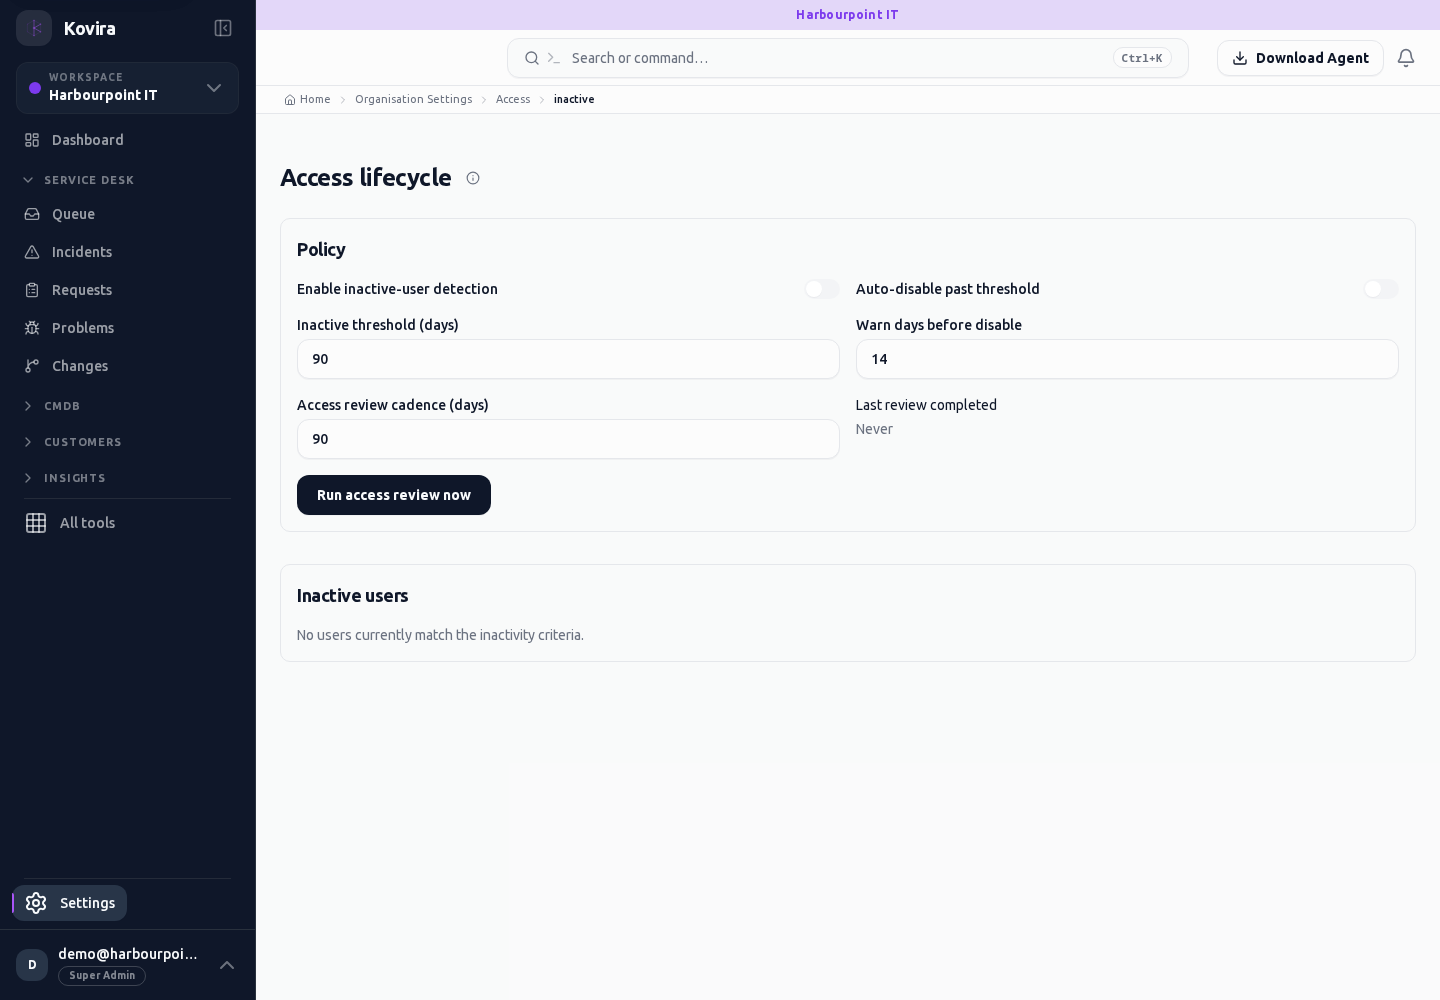
Related screens (13)
Inactive access
Inactive access for the selected account, workspace or record.
Access
- Default workspace roles for opening this screen: Super Admin, Admin. Custom role settings, the current workspace, plan and record sharing can further restrict access.
- Opening a screen does not grant every action on it. Changes, exports and lifecycle actions can require additional permissions.
Controls and information
- Inactive users
- activity information
- access review
Steps for this screen
- Review the evidence of inactivity and the person’s current responsibilities before taking an access action.
Check the result
- Check the resulting membership or review decision; inactivity alone is not an instruction to remove access.
If this screen is unavailable
- If no records appear, clear active filters and confirm the workspace and your access before creating a duplicate.
- If saving fails or a conflict appears, keep a copy of your intended changes, reopen the current record and review it before submitting again.
Access policies
Access policies for the selected account, workspace or record.
Access
- Default workspace roles for opening this screen: Super Admin. Custom role settings, the current workspace, plan and record sharing can further restrict access.
- Opening a screen does not grant every action on it. Changes, exports and lifecycle actions can require additional permissions.
Controls and information
- Policy scope
- conditions
- enabled state
Steps for this screen
- Review the affected people and records before editing a policy. Test access with a separate account before ending your administrator session.
Check the result
- Confirm intended users retain access and excluded users cannot perform the protected action.
If this screen is unavailable
- If no records appear, clear active filters and confirm the workspace and your access before creating a duplicate.
- If saving fails or a conflict appears, keep a copy of your intended changes, reopen the current record and review it before submitting again.
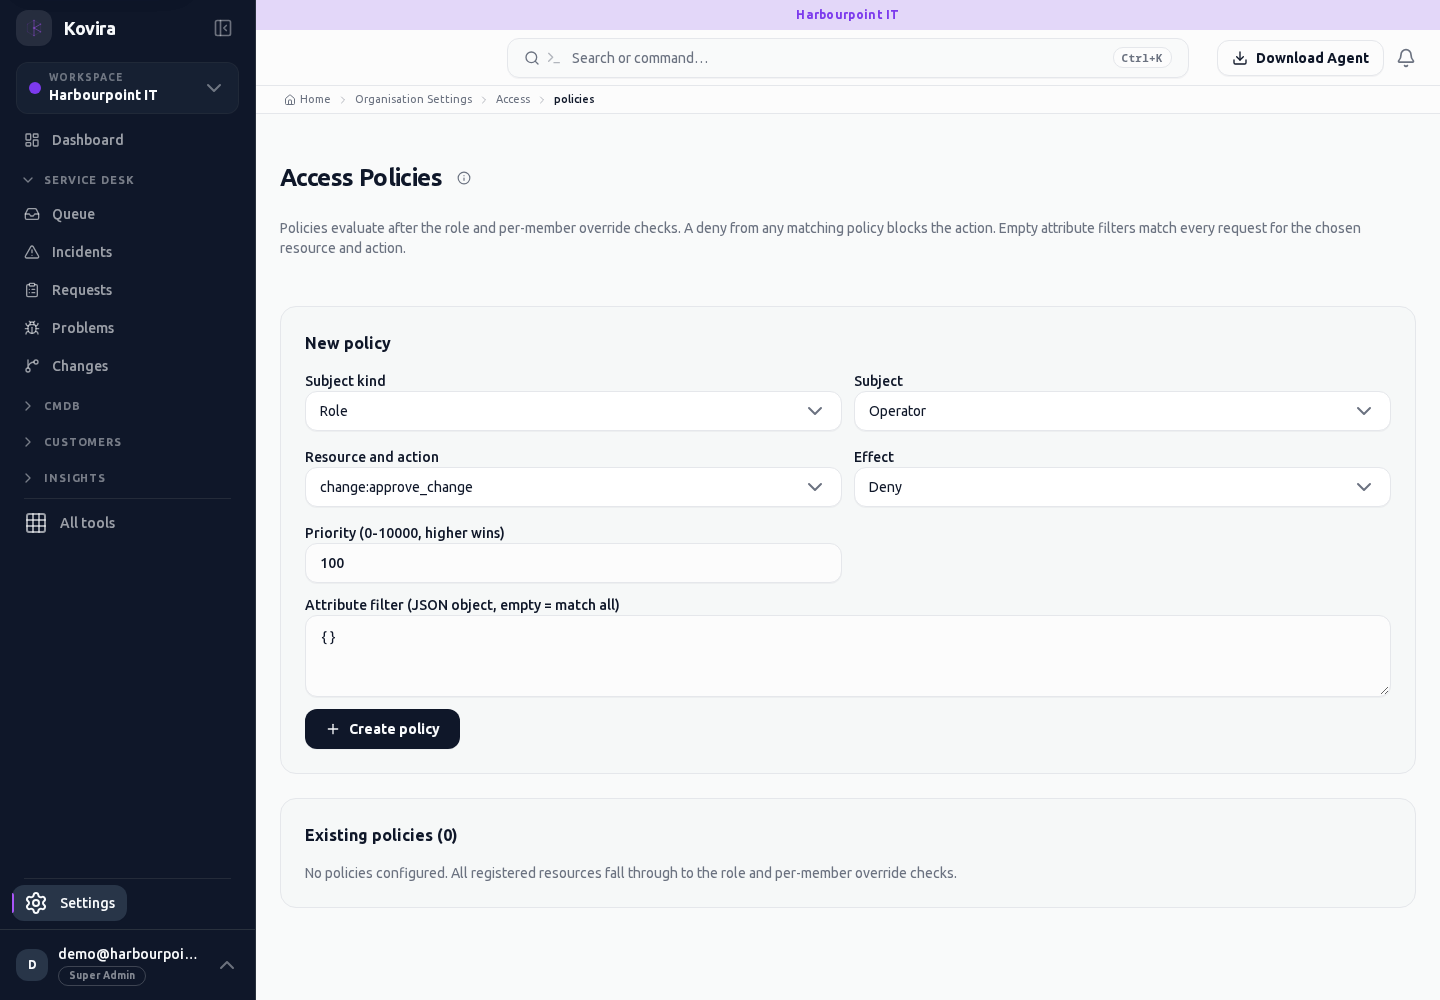
Access review / Details
Access review for the selected account, workspace or record.
Access
- Default workspace roles for opening this screen: Super Admin, Admin. Custom role settings, the current workspace, plan and record sharing can further restrict access.
- Opening a screen does not grant every action on it. Changes, exports and lifecycle actions can require additional permissions.
Controls and information
- Review run
- member decisions
- reasons
- completion
Steps for this screen
- Open or start the appropriate review. Assess each member’s current need and record a reason for the offered decision.
- Read the summary, current state and related records. Review the action and its prerequisites before changing the record.
Check the result
- Check reviewed and outstanding members before completing the review.
If this screen is unavailable
- If the record is unavailable, return to its list and confirm the workspace and link. Ask an administrator to check record access before creating a replacement.
- If saving fails or a conflict appears, keep a copy of your intended changes, reopen the current record and review it before submitting again.
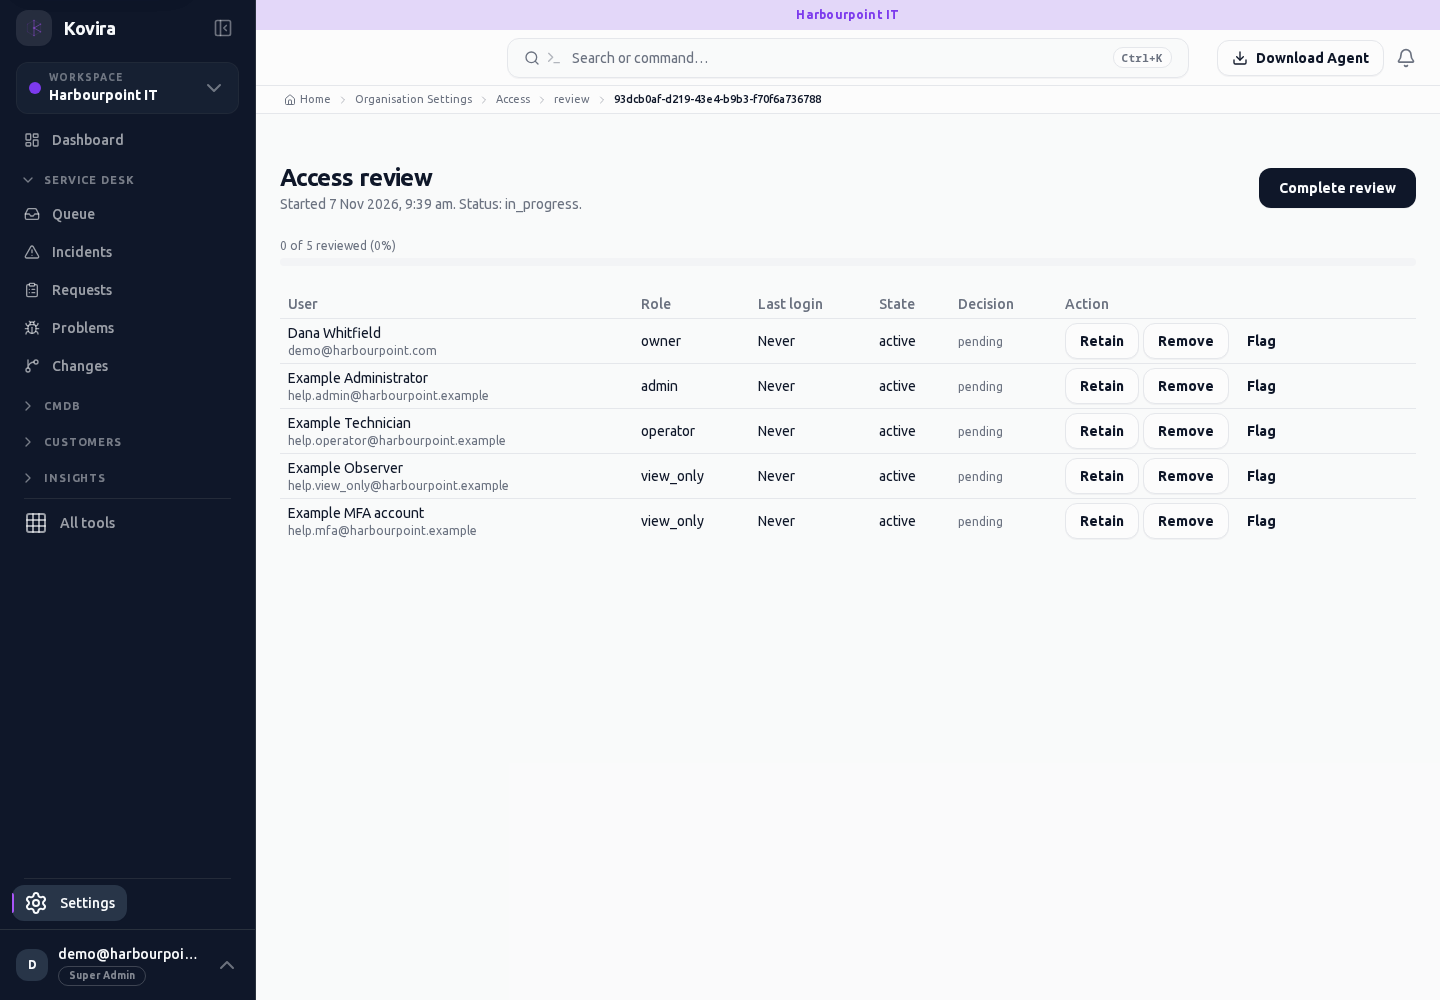
Access review
Access review for the selected account, workspace or record.
Access
- Default workspace roles for opening this screen: Super Admin, Admin. Custom role settings, the current workspace, plan and record sharing can further restrict access.
- Opening a screen does not grant every action on it. Changes, exports and lifecycle actions can require additional permissions.
Controls and information
- Review run
- member decisions
- reasons
- completion
Steps for this screen
- Open or start the appropriate review. Assess each member’s current need and record a reason for the offered decision.
Check the result
- Check reviewed and outstanding members before completing the review.
If this screen is unavailable
- If no records appear, clear active filters and confirm the workspace and your access before creating a duplicate.
- If saving fails or a conflict appears, keep a copy of your intended changes, reopen the current record and review it before submitting again.
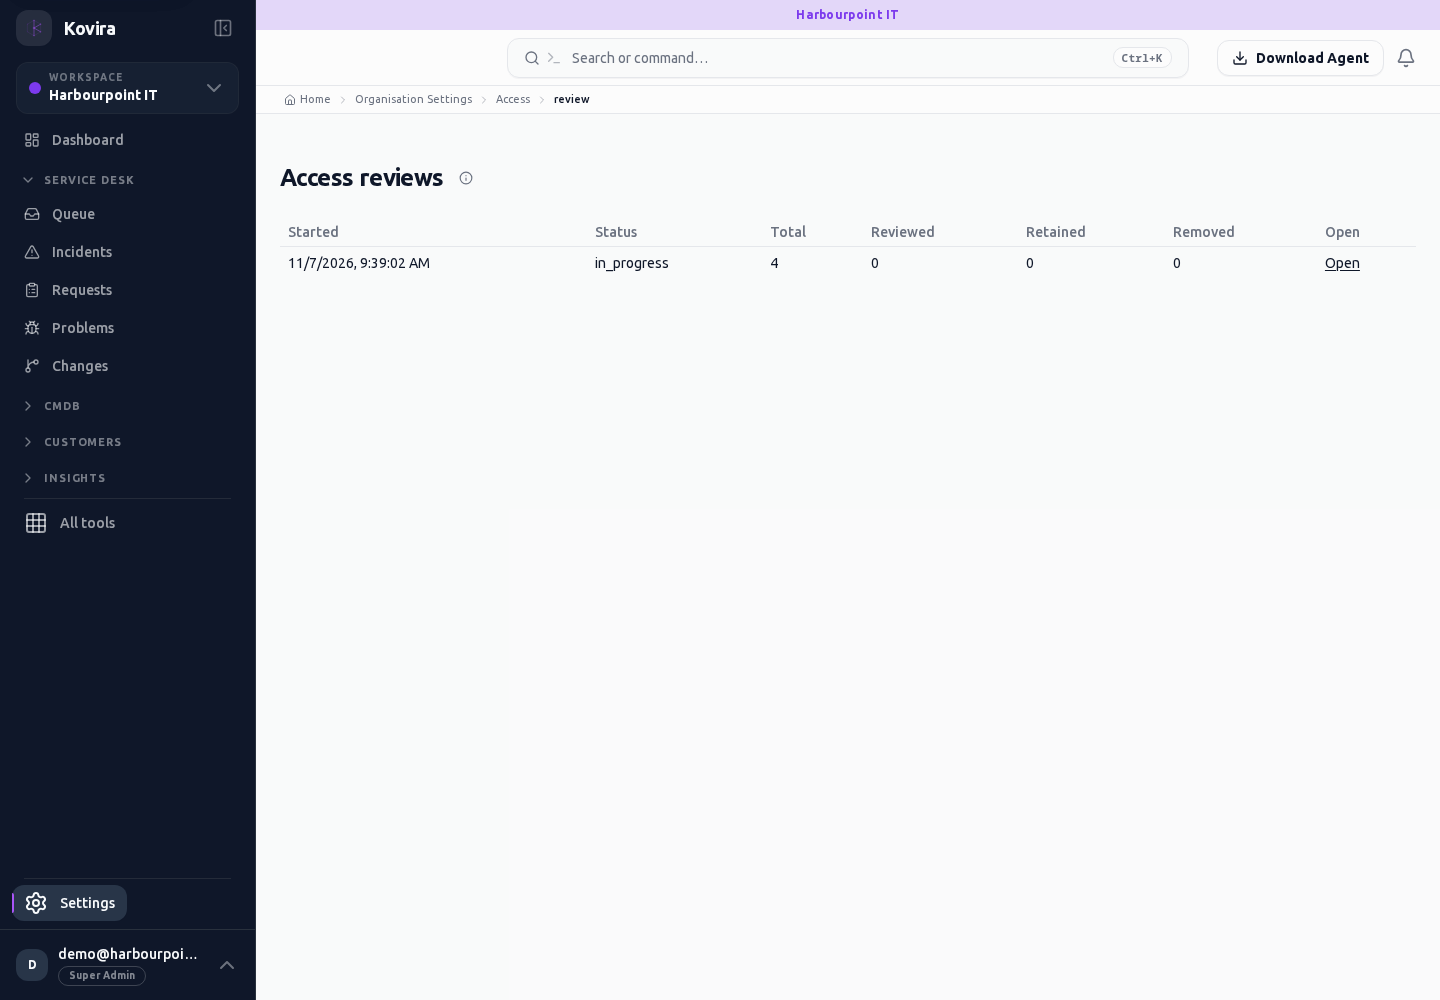
Identity provisioning
Identity provisioning for the selected account, workspace or record.
Access
- Default workspace roles for opening this screen: Super Admin, Admin. Custom role settings, the current workspace, plan and record sharing can further restrict access.
- Opening a screen does not grant every action on it. Changes, exports and lifecycle actions can require additional permissions.
Controls and information
- Provisioning setup
- directory prerequisites
- status
Steps for this screen
- Review the supported provisioning setup with your identity owner. Keep provisioning credentials out of screenshots and support messages.
Check the result
- Confirm a small approved identity change in both systems before wider use.
If this screen is unavailable
- If no records appear, clear active filters and confirm the workspace and your access before creating a duplicate.
- If saving fails or a conflict appears, keep a copy of your intended changes, reopen the current record and review it before submitting again.
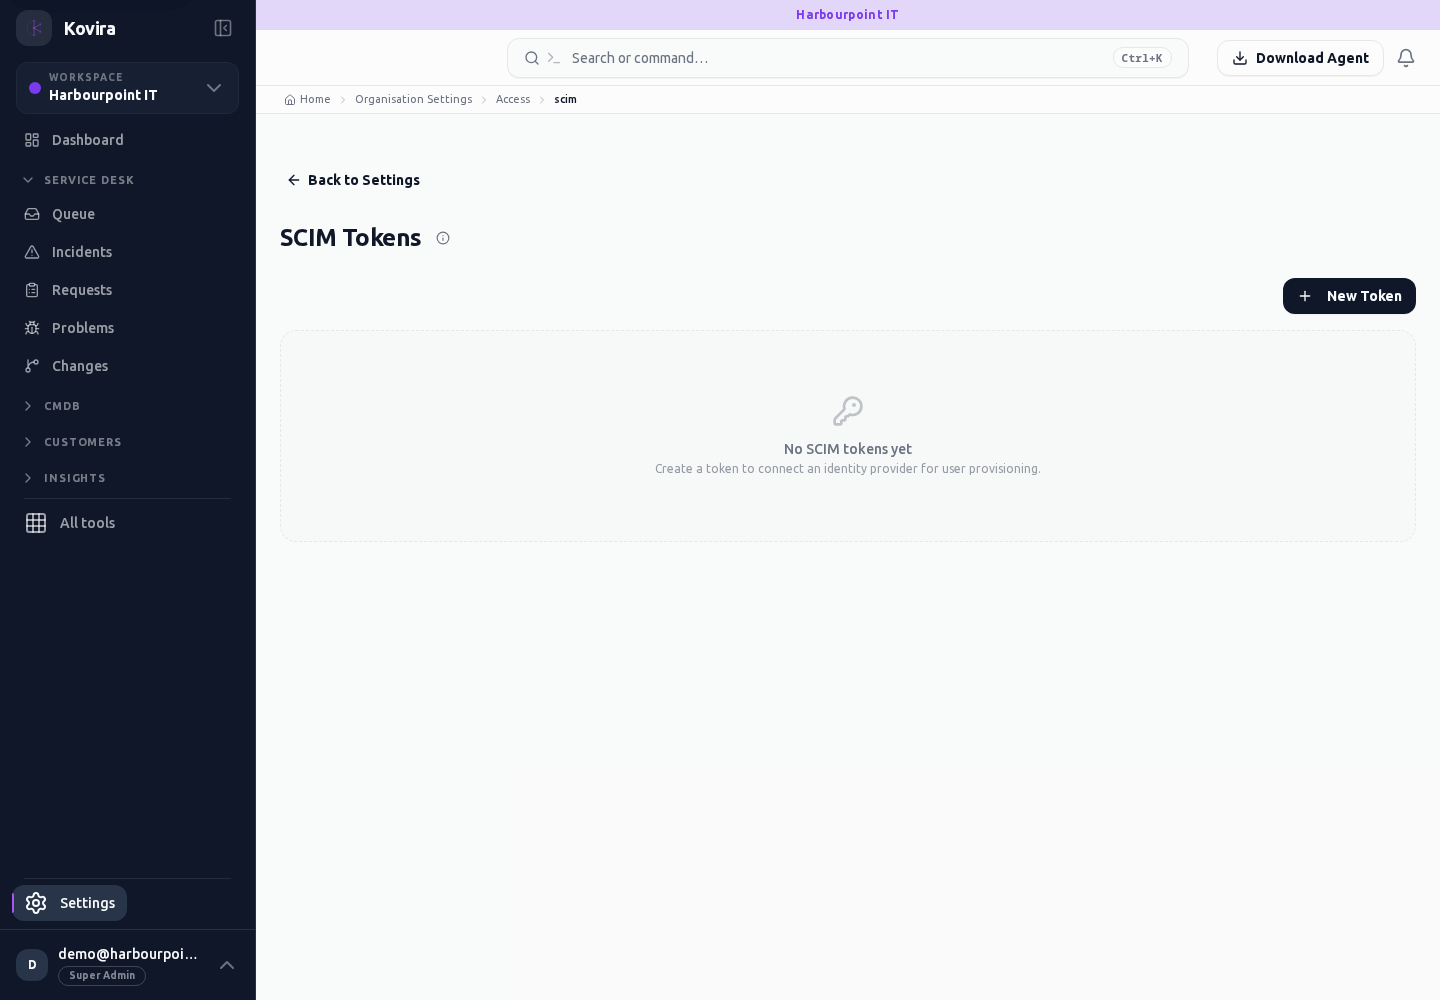
Assignment groups
Assignment groups for the selected account, workspace or record.
Access
- Default workspace roles for opening this screen: Super Admin, Admin, Operator, View Only. Custom role settings, the current workspace, plan and record sharing can further restrict access.
- Opening a screen does not grant every action on it. Changes, exports and lifecycle actions can require additional permissions.
Controls and information
- Group members
- assignment responsibilities
- active state
Steps for this screen
- Review the group and its members before using it for work ownership.
- Use the available search, date and status filters to narrow the view. Open a record link for its detail.
- Clear filters when you need to compare the full accessible list.
Check the result
- Confirm the intended responders appear in the group and assignments resolve to the right team.
If this screen is unavailable
- If no records appear, clear active filters and confirm the workspace and your access before creating a duplicate.
- If the list cannot load, retry once and quote the displayed support reference; do not infer that the workspace is empty.
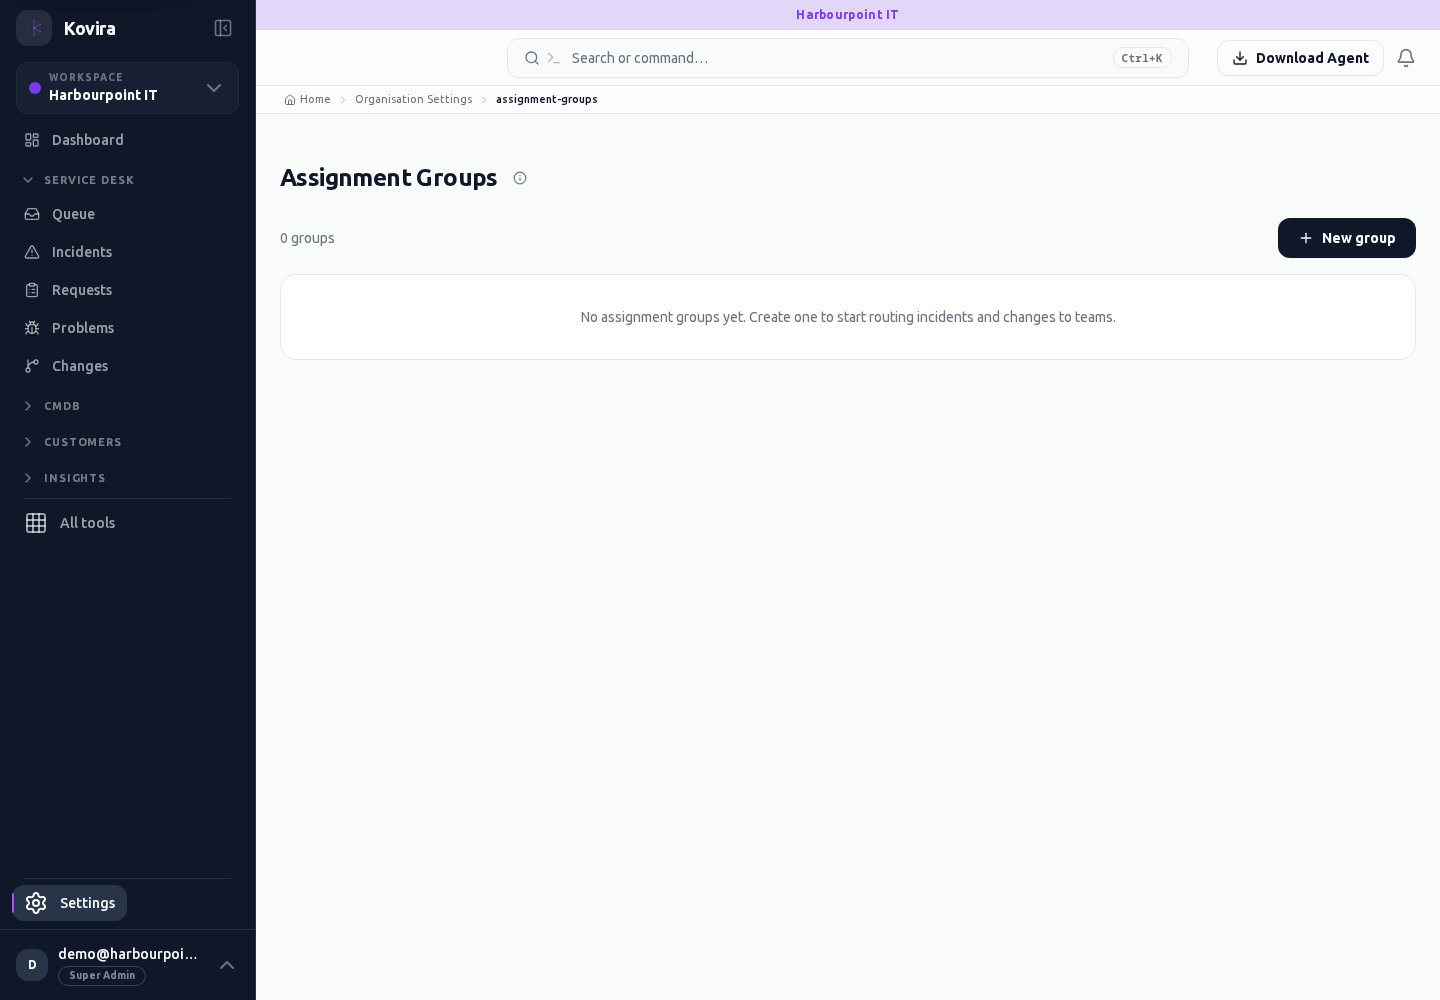
User groups
User groups for the selected account, workspace or record.
Access
- Default workspace roles for opening this screen: Super Admin, Admin, Operator, View Only. Custom role settings, the current workspace, plan and record sharing can further restrict access.
- Opening a screen does not grant every action on it. Changes, exports and lifecycle actions can require additional permissions.
Controls and information
- Group name
- members
- relevant access
Steps for this screen
- Review the group’s purpose and members before changing membership.
- Use the available search, date and status filters to narrow the view. Open a record link for its detail.
- Clear filters when you need to compare the full accessible list.
Check the result
- Check the saved membership and intended record access using the affected account.
If this screen is unavailable
- If no records appear, clear active filters and confirm the workspace and your access before creating a duplicate.
- If the list cannot load, retry once and quote the displayed support reference; do not infer that the workspace is empty.
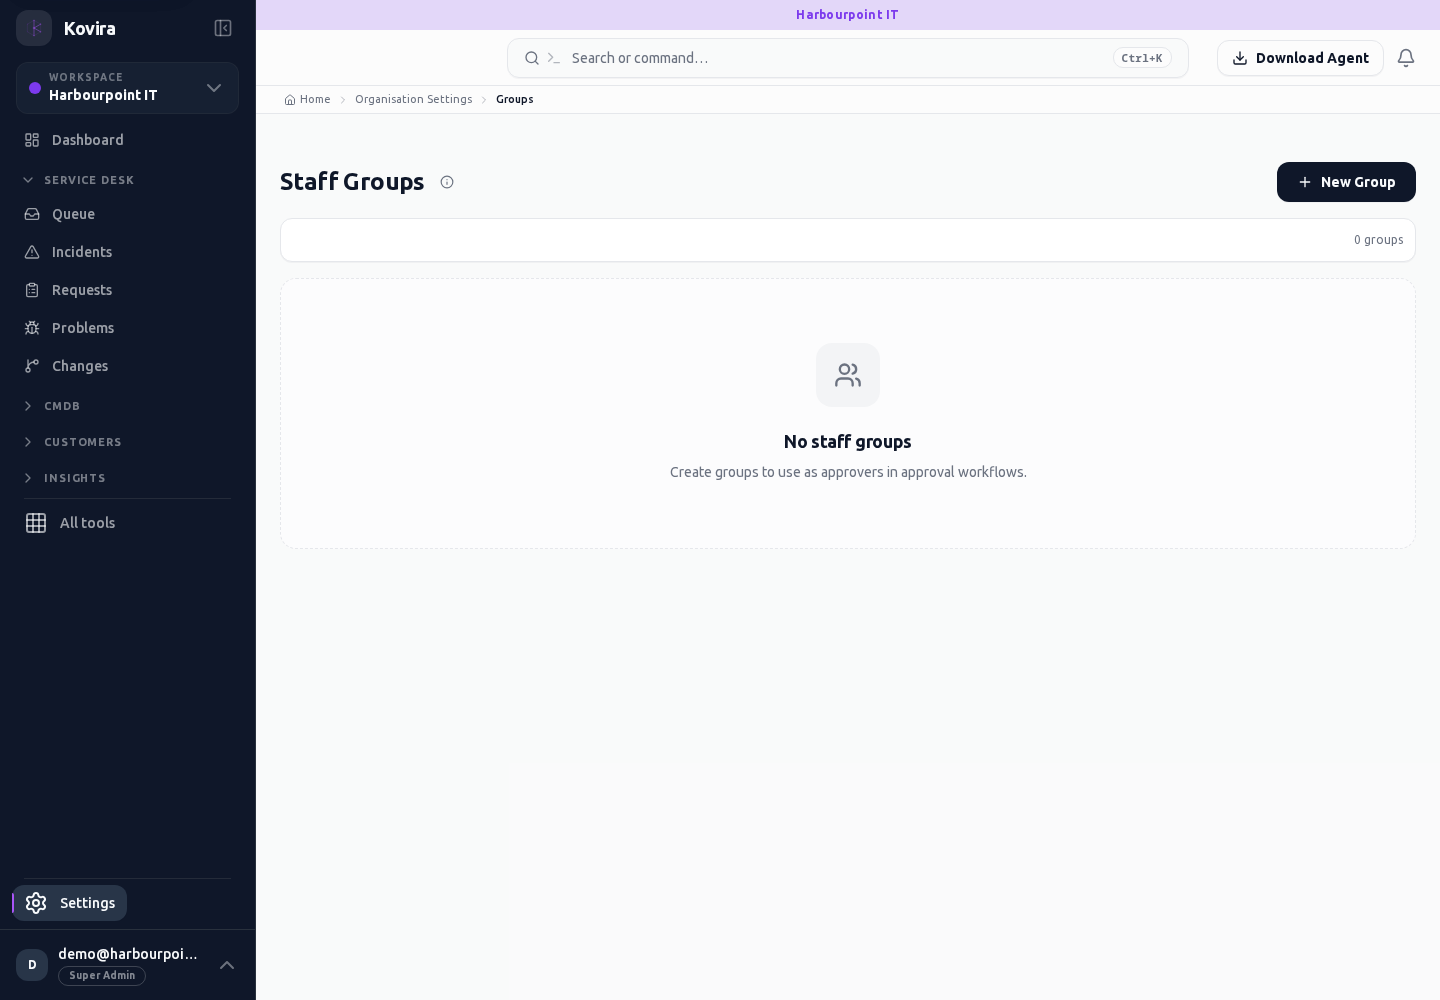
Settings / Members
Workspace access. Open the linked destination and continue there.
Access
- Your current workspace role, plan and record access determine whether this screen and its actions are available. Ask an administrator if the required action is missing.
Controls and information
- Users
- members
- role
- groups
- policies
- access review
Steps for this screen
- Confirm the person and workspace before changing access. Review current membership and the purpose of the assigned role.
- This entry opens the corresponding destination screen. Check the heading and continue with the destination’s controls.
Check the result
- Check access with the intended account and retain another administrator when changing sign-in policy or privileged access.
If this screen is unavailable
- If no records appear, clear active filters and confirm the workspace and your access before creating a duplicate.
- If the destination cannot be opened, use its navigation entry and confirm that your role and plan include it.
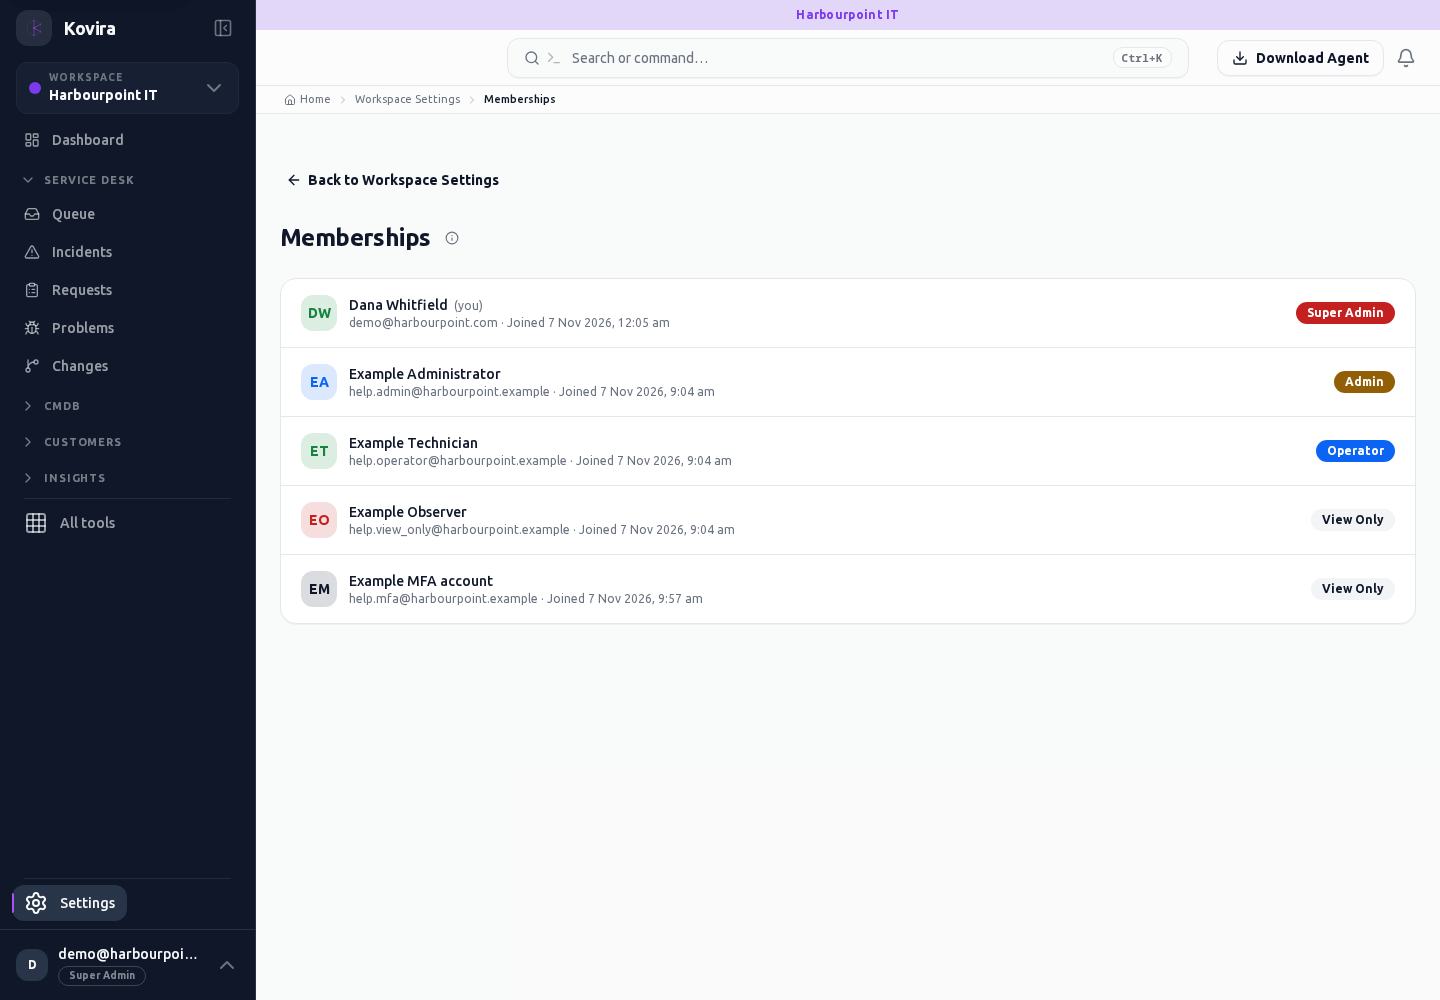
Workspace roles
Workspace roles for the selected account, workspace or record.
Access
- Default workspace roles for opening this screen: Super Admin, Admin. Custom role settings, the current workspace, plan and record sharing can further restrict access.
- Opening a screen does not grant every action on it. Changes, exports and lifecycle actions can require additional permissions.
Controls and information
- Role permissions
- saved overrides
- effective access
Steps for this screen
- Review what each role should be allowed to do before changing the permission set.
- Use the available search, date and status filters to narrow the view. Open a record link for its detail.
- Clear filters when you need to compare the full accessible list.
Check the result
- Test the intended action with the affected role and retain a separate administrator session.
If this screen is unavailable
- If no records appear, clear active filters and confirm the workspace and your access before creating a duplicate.
- If the list cannot load, retry once and quote the displayed support reference; do not infer that the workspace is empty.
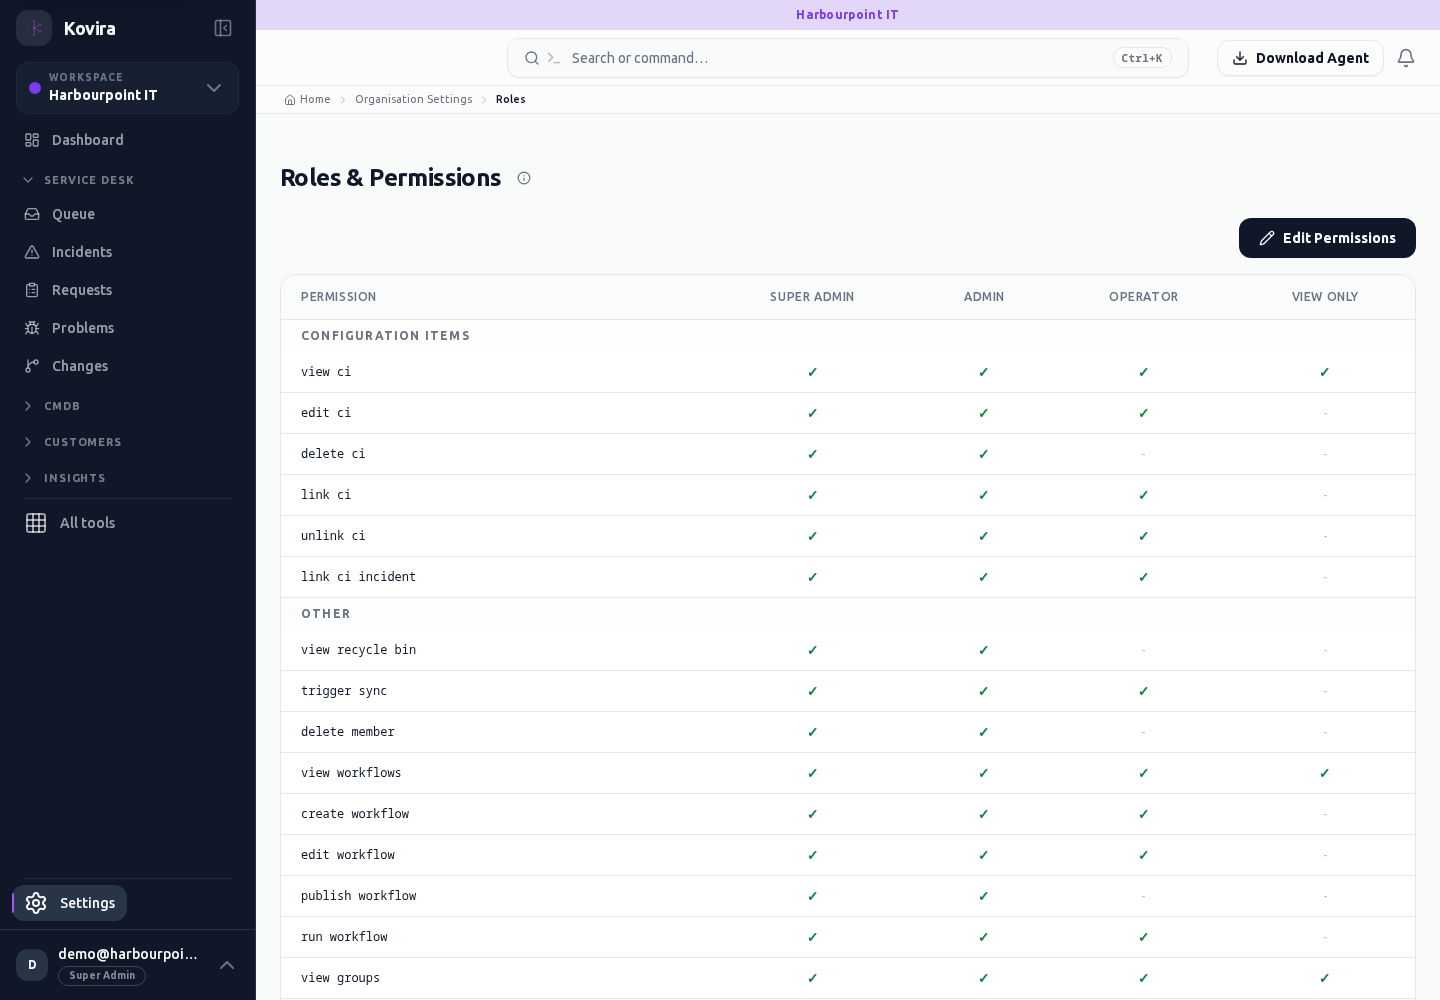
Workspace users / Details
Workspace users for the selected account, workspace or record.
Access
- Default workspace roles for opening this screen: Super Admin, Admin. Custom role settings, the current workspace, plan and record sharing can further restrict access.
- Opening a screen does not grant every action on it. Changes, exports and lifecycle actions can require additional permissions.
Controls and information
- Invitation
- membership state
- role
- licence
- deleted users
Steps for this screen
- Confirm the email and intended role before inviting or editing a user. Review current memberships before creating a duplicate.
- Read the current saved values before editing. Make the intended change and review all affected fields.
- Save once and wait for confirmation. Use Cancel to discard an unsubmitted change.
Check the result
- Check the saved role, licence and membership state, then verify access using the intended account.
- Reopen the record and verify the saved value before making another change.
If this screen is unavailable
- If no records appear, clear active filters and confirm the workspace and your access before creating a duplicate.
- If saving fails or a conflict appears, keep a copy of your intended changes, reopen the current record and review it before submitting again.
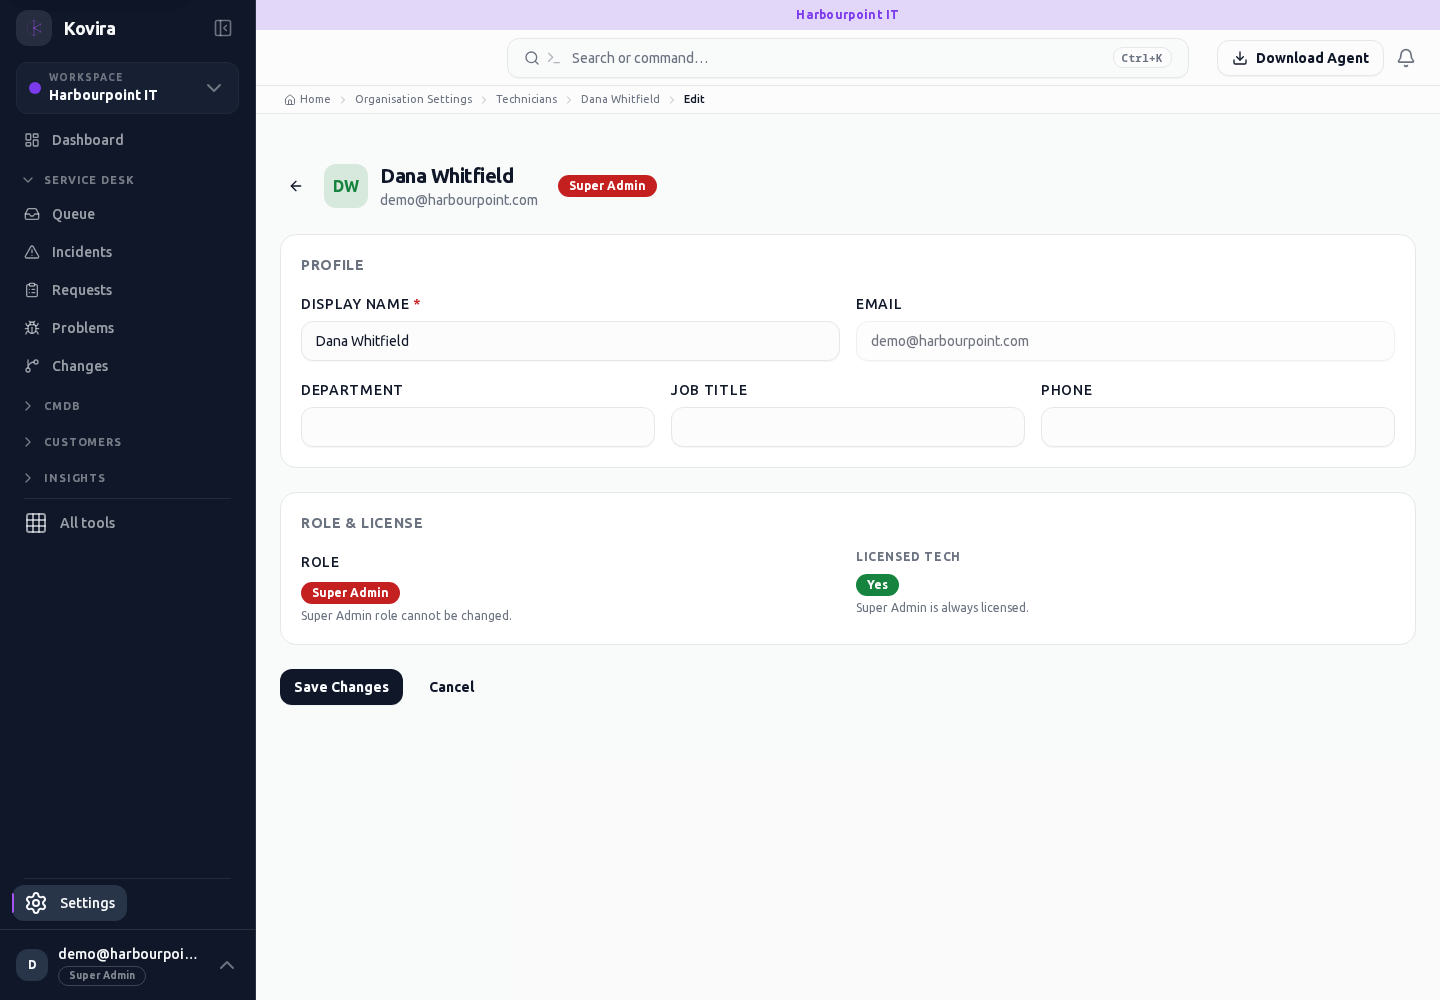
Workspace users / Deleted
Workspace users for the selected account, workspace or record.
Access
- Default workspace roles for opening this screen: Super Admin, Admin. Custom role settings, the current workspace, plan and record sharing can further restrict access.
- Opening a screen does not grant every action on it. Changes, exports and lifecycle actions can require additional permissions.
Controls and information
- Invitation
- membership state
- role
- licence
- deleted users
Steps for this screen
- Confirm the email and intended role before inviting or editing a user. Review current memberships before creating a duplicate.
Check the result
- Check the saved role, licence and membership state, then verify access using the intended account.
If this screen is unavailable
- If no records appear, clear active filters and confirm the workspace and your access before creating a duplicate.
- If saving fails or a conflict appears, keep a copy of your intended changes, reopen the current record and review it before submitting again.
Workspace users / Invite
Workspace users for the selected account, workspace or record.
Access
- Default workspace roles for opening this screen: Super Admin, Admin. Custom role settings, the current workspace, plan and record sharing can further restrict access.
- Opening a screen does not grant every action on it. Changes, exports and lifecycle actions can require additional permissions.
Controls and information
- Invitation
- membership state
- role
- licence
- deleted users
Steps for this screen
- Confirm the email and intended role before inviting or editing a user. Review current memberships before creating a duplicate.
- Complete the required fields. Review linked records, dates and any recipient or customer selection.
- Use the form’s create or save action once and wait for its result. Cancel to leave without submitting.
Check the result
- Check the saved role, licence and membership state, then verify access using the intended account.
- Open the newly created record from the resulting list or confirmation and check the saved values.
If this screen is unavailable
- If no records appear, clear active filters and confirm the workspace and your access before creating a duplicate.
- If saving fails or a conflict appears, keep a copy of your intended changes, reopen the current record and review it before submitting again.
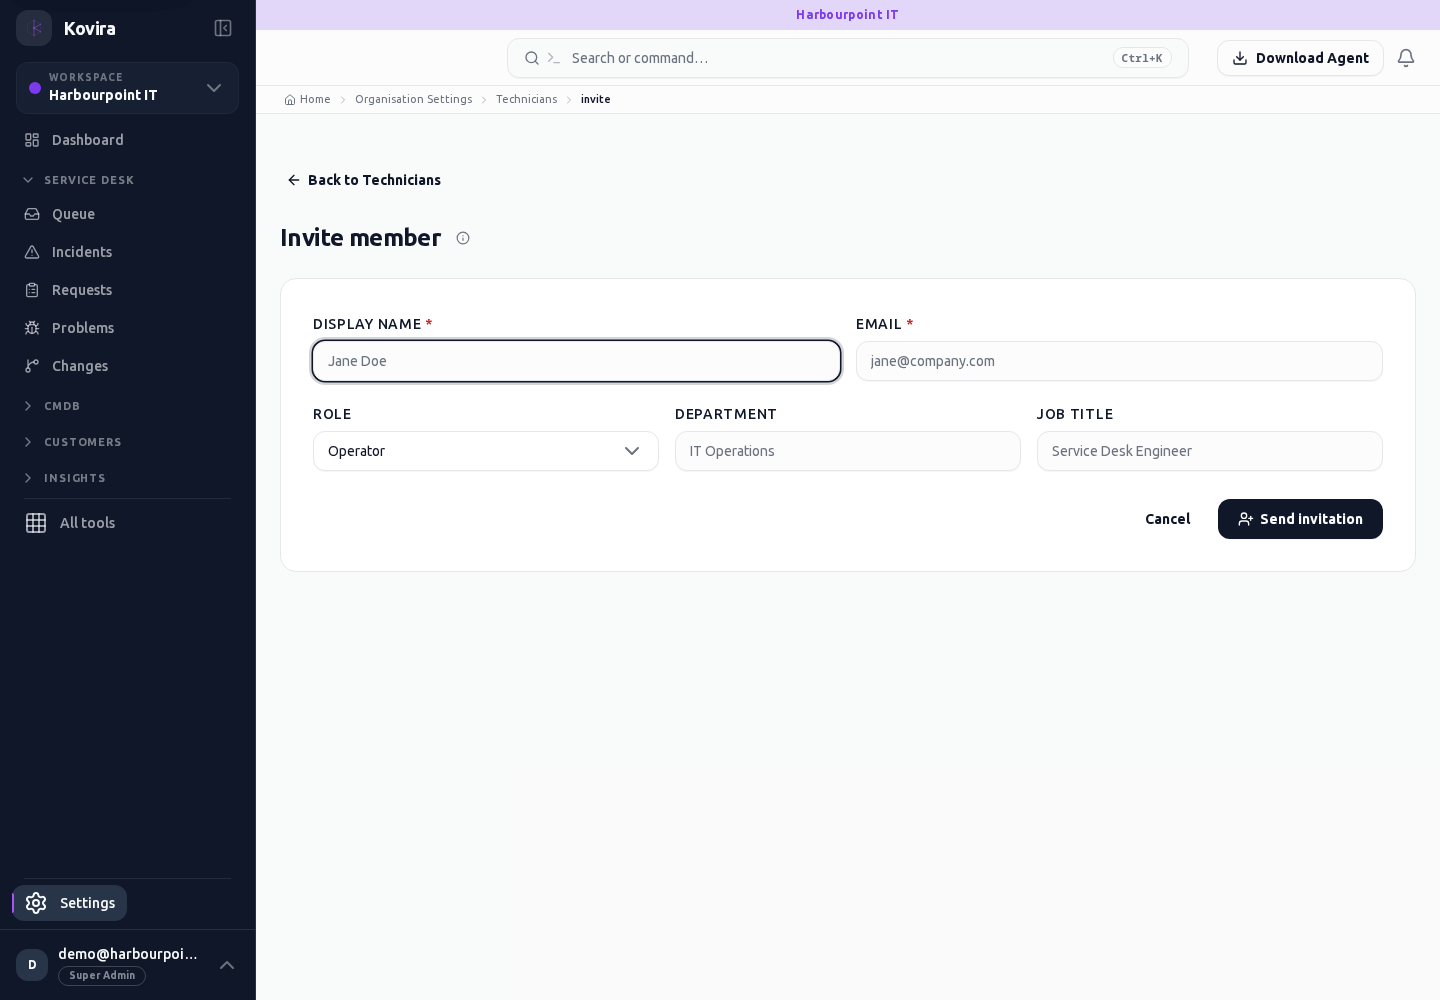
Workspace users
Workspace users for the selected account, workspace or record.
Access
- Default workspace roles for opening this screen: Super Admin, Admin. Custom role settings, the current workspace, plan and record sharing can further restrict access.
- Opening a screen does not grant every action on it. Changes, exports and lifecycle actions can require additional permissions.
Controls and information
- Invitation
- membership state
- role
- licence
- deleted users
Steps for this screen
- Confirm the email and intended role before inviting or editing a user. Review current memberships before creating a duplicate.
- Use the available search, date and status filters to narrow the view. Open a record link for its detail.
- Clear filters when you need to compare the full accessible list.
Check the result
- Check the saved role, licence and membership state, then verify access using the intended account.
If this screen is unavailable
- If no records appear, clear active filters and confirm the workspace and your access before creating a duplicate.
- If the list cannot load, retry once and quote the displayed support reference; do not infer that the workspace is empty.
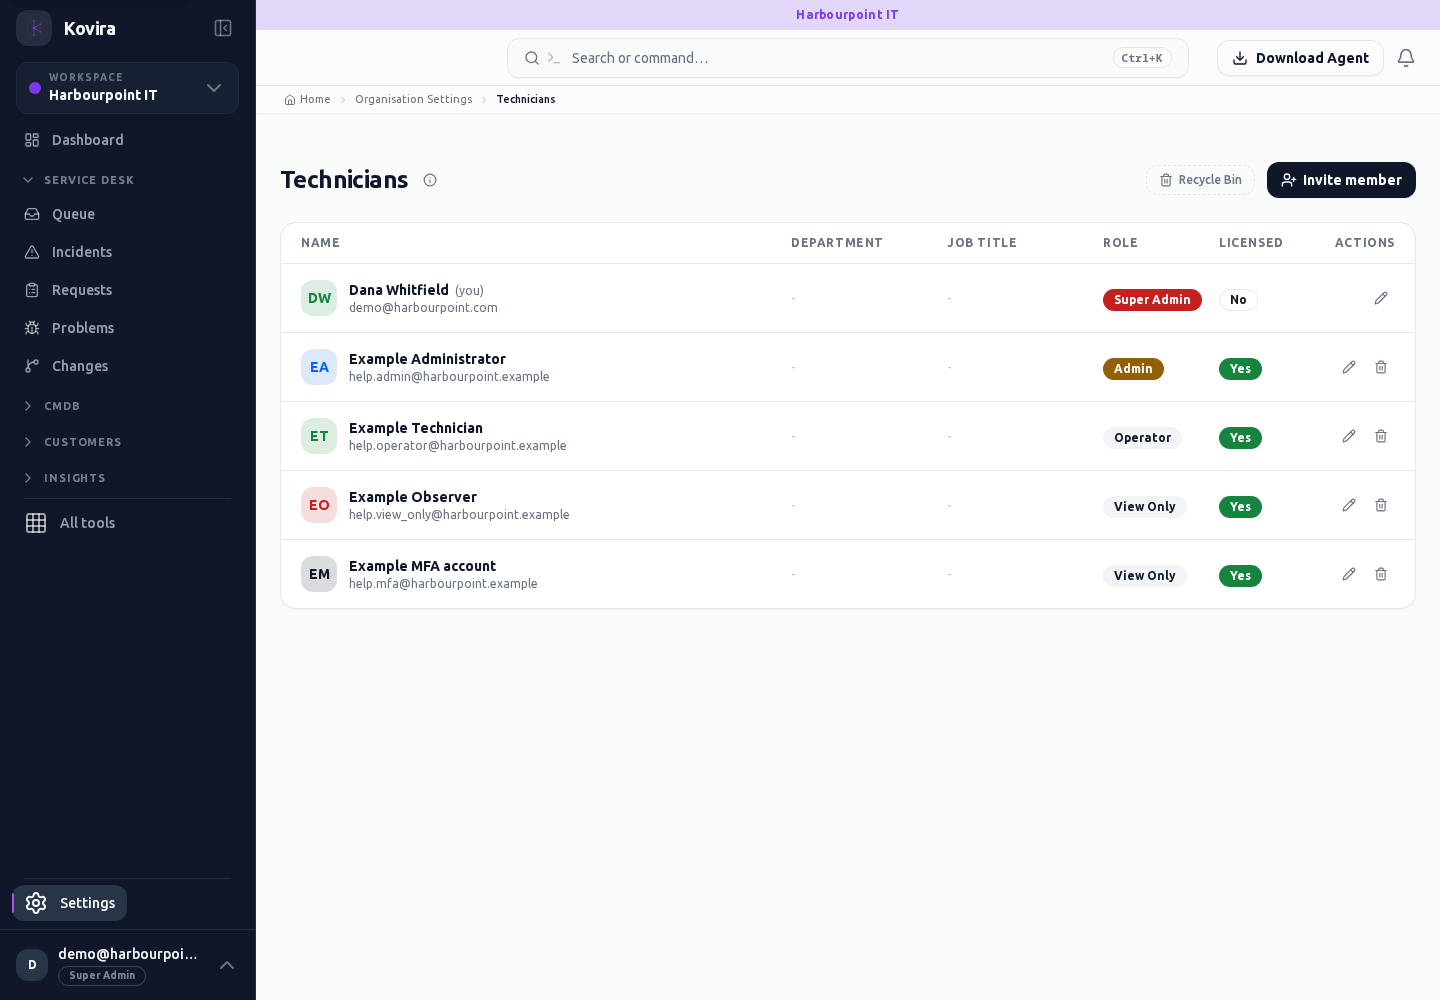
Service settings, approvals and calendars
Applies to: KOVIRA
Configure service-management rules that match your operating process.
Before you begin
- Permission to administer the corresponding service settings.
Steps
- Review SLA and Escalation settings with the service owner. Confirm scope, working time and recipients before activation.
- Review Approval chains, Delegations and CAB settings for the work types they govern. Confirm approvers can read the records they must assess.
- Use On-call, Team availability and Calendar settings to maintain assignments and service hours. Confirm timezones and effective dates.
- Configure the Service catalogue, entitlements, request types and recurring work with the appropriate owner. Test a small representative request before relying on the rule.
Check the result
- Inspect the saved rule and a representative work item affected by it.
- Verify the next approver or on-call responder is the intended person.
If you need help
- A saved policy does not prove that every existing record has been re-evaluated. Check the affected record’s current context.
- Keep calendar subscription URLs and integration credentials private.
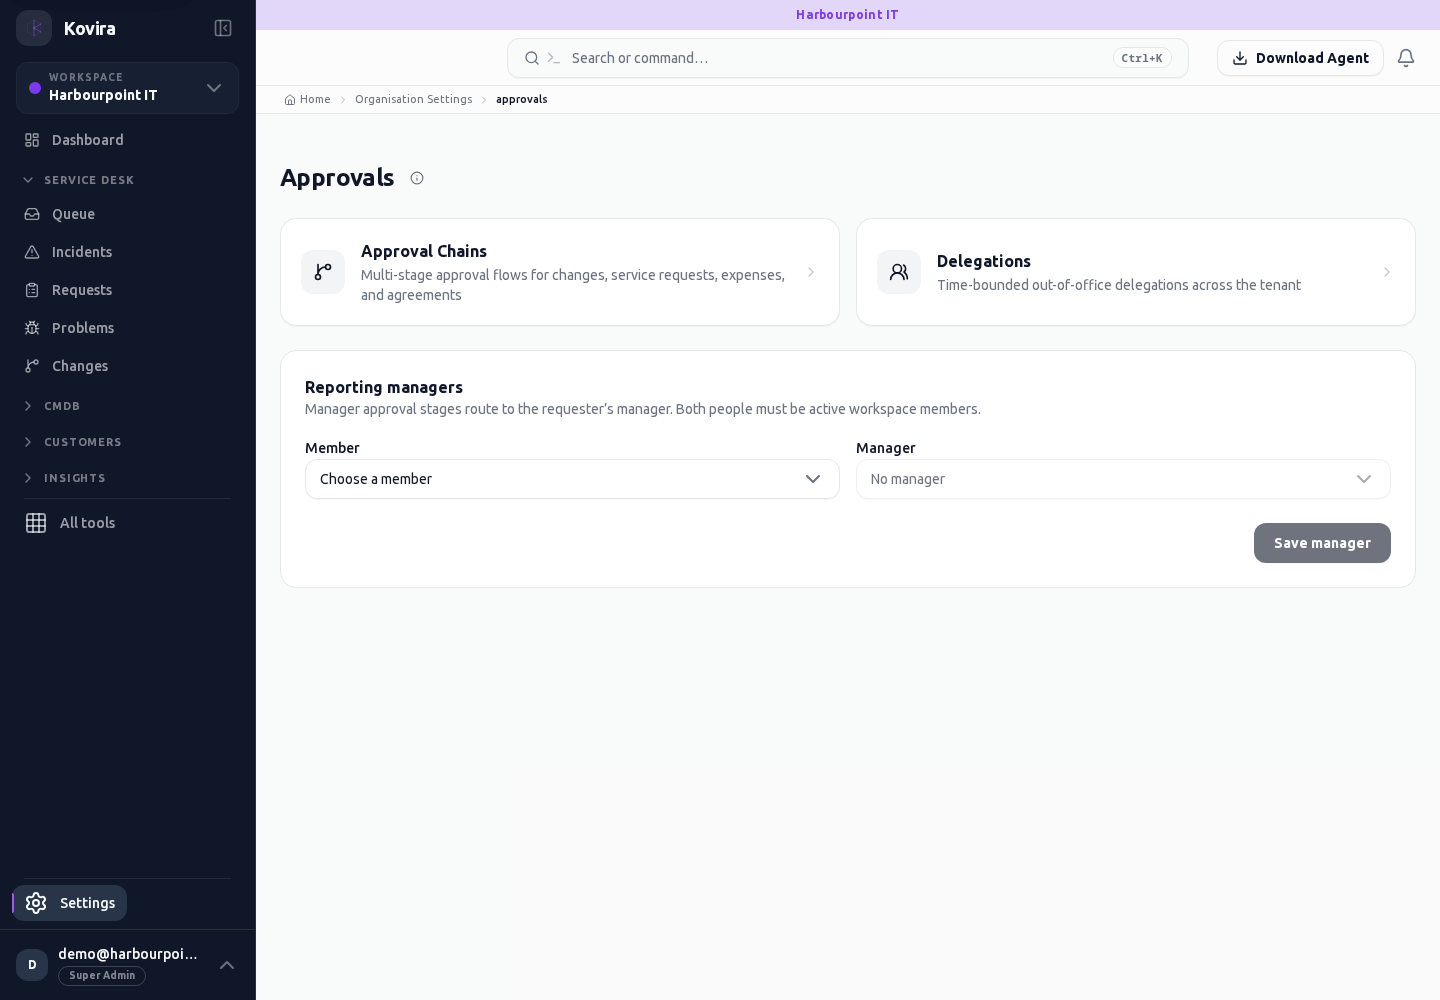
Related screens (18)
Approval chains / Details
Approval chains for the selected account, workspace or record.
Access
- Default workspace roles for opening this screen: Super Admin. Custom role settings, the current workspace, plan and record sharing can further restrict access.
- Opening a screen does not grant every action on it. Changes, exports and lifecycle actions can require additional permissions.
Controls and information
- Work type
- conditions
- approvers
- priority
- enabled state
Steps for this screen
- Review the work governed by a chain and the order and eligibility of its approvers. Keep a new chain disabled until reviewed.
- Read the summary, current state and related records. Review the action and its prerequisites before changing the record.
Check the result
- Confirm the scope and approvers before activation; a disabled chain is not active routing.
If this screen is unavailable
- If the record is unavailable, return to its list and confirm the workspace and link. Ask an administrator to check record access before creating a replacement.
- If saving fails or a conflict appears, keep a copy of your intended changes, reopen the current record and review it before submitting again.
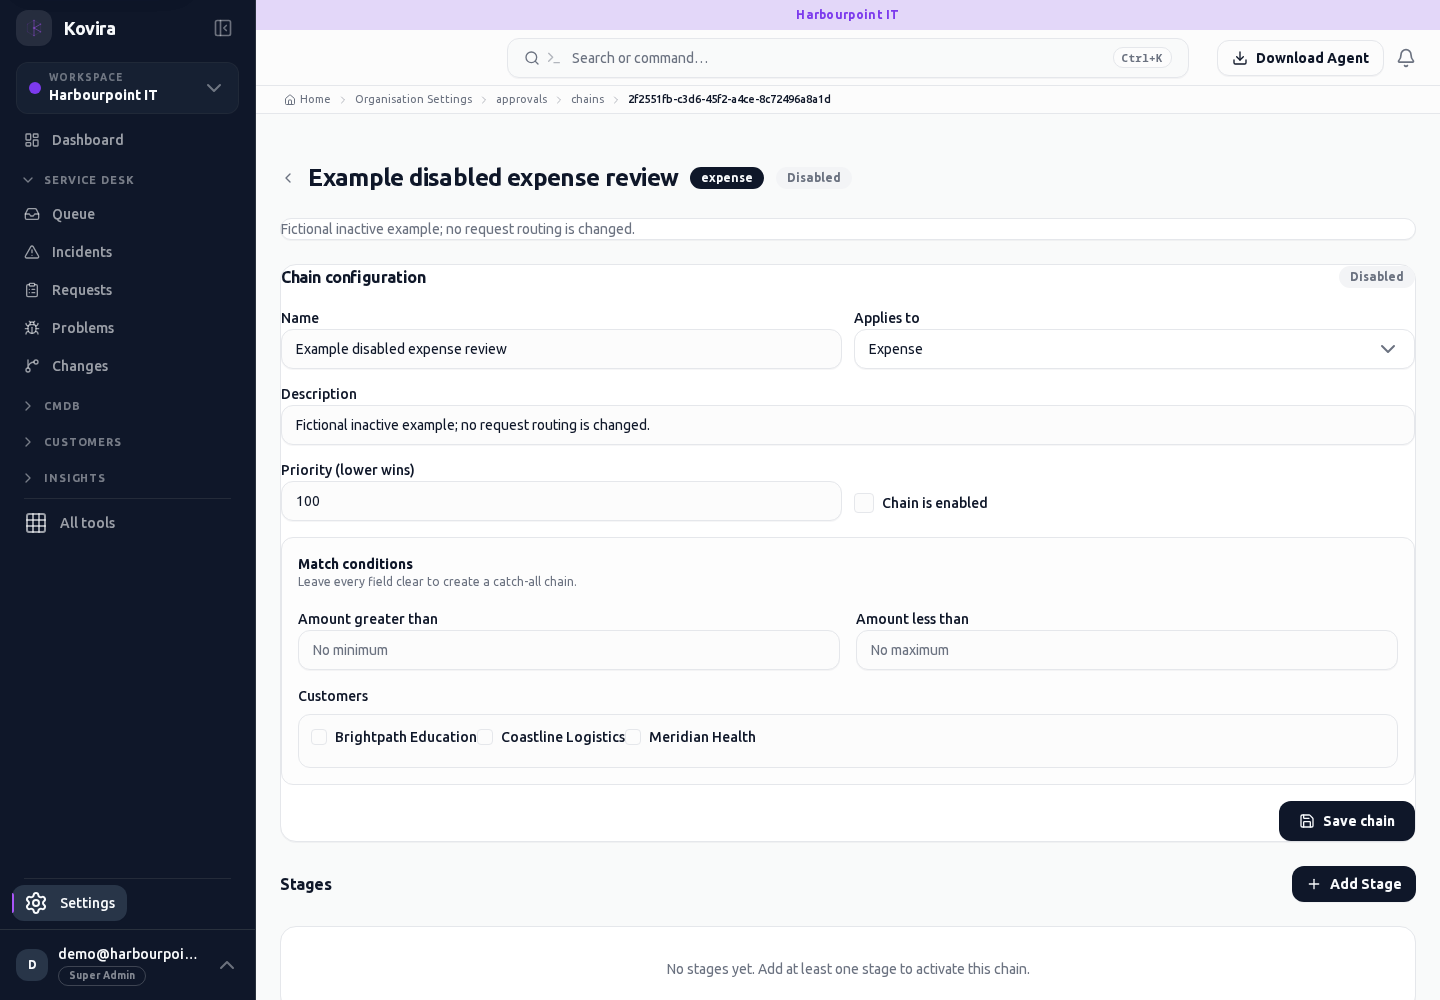
Approval chains
Approval chains for the selected account, workspace or record.
Access
- Default workspace roles for opening this screen: Super Admin. Custom role settings, the current workspace, plan and record sharing can further restrict access.
- Opening a screen does not grant every action on it. Changes, exports and lifecycle actions can require additional permissions.
Controls and information
- Work type
- conditions
- approvers
- priority
- enabled state
Steps for this screen
- Review the work governed by a chain and the order and eligibility of its approvers. Keep a new chain disabled until reviewed.
Check the result
- Confirm the scope and approvers before activation; a disabled chain is not active routing.
If this screen is unavailable
- If no records appear, clear active filters and confirm the workspace and your access before creating a duplicate.
- If saving fails or a conflict appears, keep a copy of your intended changes, reopen the current record and review it before submitting again.
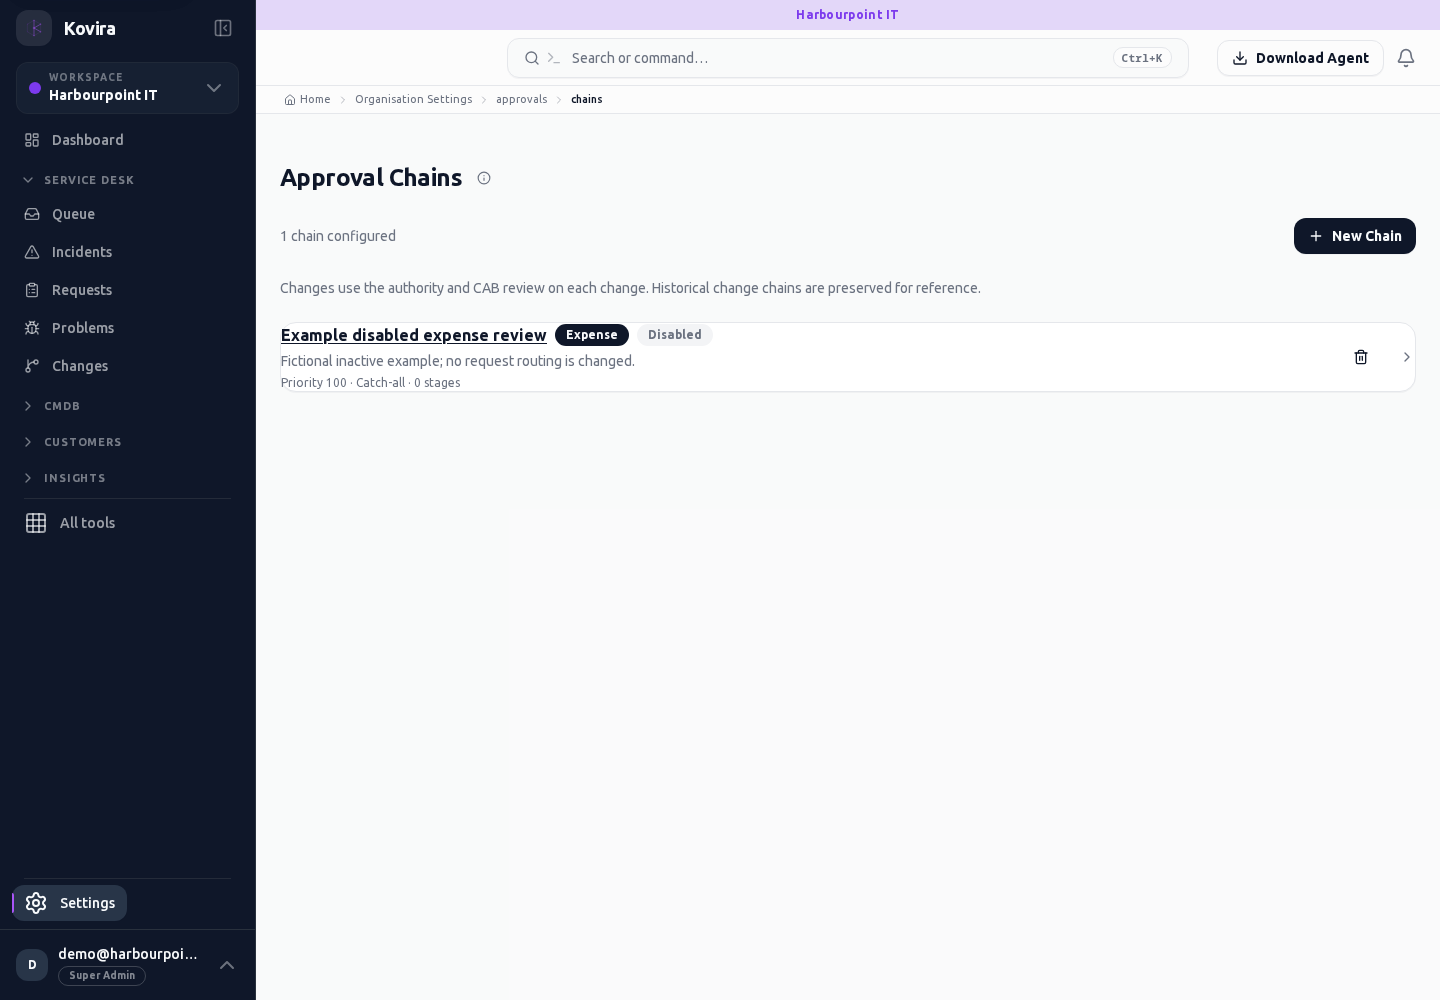
Approval delegations
Approval delegations for the selected account, workspace or record.
Access
- Default workspace roles for opening this screen: Super Admin. Custom role settings, the current workspace, plan and record sharing can further restrict access.
- Opening a screen does not grant every action on it. Changes, exports and lifecycle actions can require additional permissions.
Controls and information
- Delegator
- delegate
- effective dates
Steps for this screen
- Review who is authorising which colleague to handle approval work and for what period.
Check the result
- Confirm the effective dates and that the delegate can access the relevant records.
If this screen is unavailable
- If no records appear, clear active filters and confirm the workspace and your access before creating a duplicate.
- If saving fails or a conflict appears, keep a copy of your intended changes, reopen the current record and review it before submitting again.
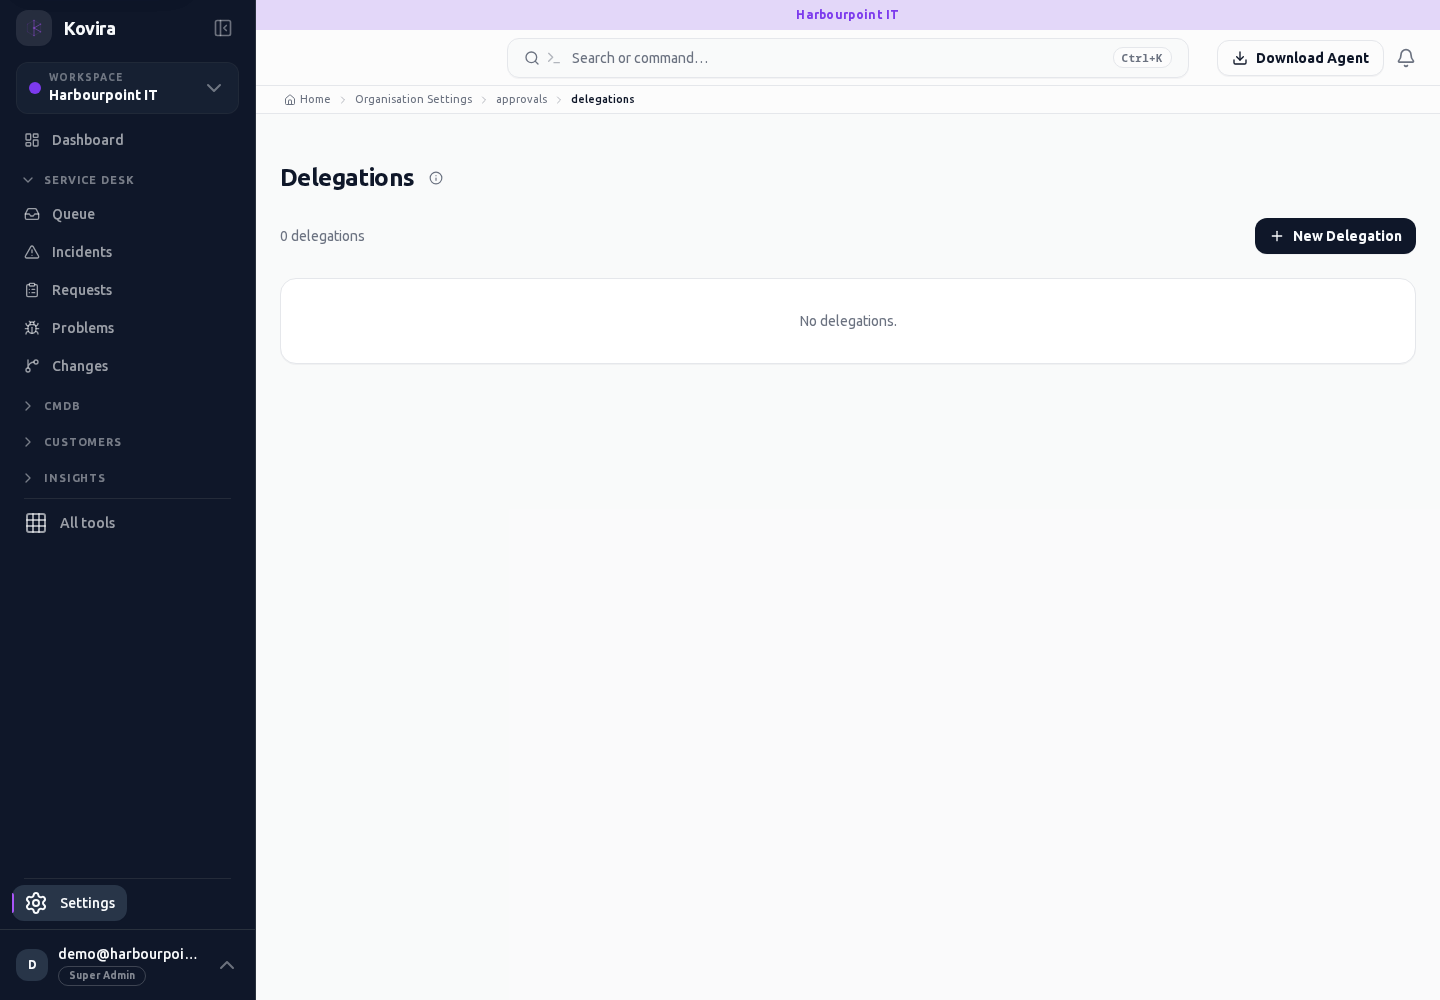
Approval settings
Approval settings for the selected account, workspace or record.
Access
- Default workspace roles for opening this screen: Super Admin. Custom role settings, the current workspace, plan and record sharing can further restrict access.
- Opening a screen does not grant every action on it. Changes, exports and lifecycle actions can require additional permissions.
Controls and information
- Approval responsibilities
- approval-chain navigation
Steps for this screen
- Review the approval areas and open the chain or delegation you need to maintain.
Check the result
- Check the governing work type and current active settings before changing an approval process.
If this screen is unavailable
- If no records appear, clear active filters and confirm the workspace and your access before creating a duplicate.
- If saving fails or a conflict appears, keep a copy of your intended changes, reopen the current record and review it before submitting again.
Change advisory board
Change advisory board for the selected account, workspace or record.
Access
- Default workspace roles for opening this screen: Super Admin, Admin, Operator, View Only. Custom role settings, the current workspace, plan and record sharing can further restrict access.
- Opening a screen does not grant every action on it. Changes, exports and lifecycle actions can require additional permissions.
Controls and information
- Board membership
- change review context
- decisions
Steps for this screen
- Confirm board members and their access to proposed changes before assigning review work.
Check the result
- Check the saved board and actual change decision; membership alone is not change authorisation.
If this screen is unavailable
- If no records appear, clear active filters and confirm the workspace and your access before creating a duplicate.
- If saving fails or a conflict appears, keep a copy of your intended changes, reopen the current record and review it before submitting again.
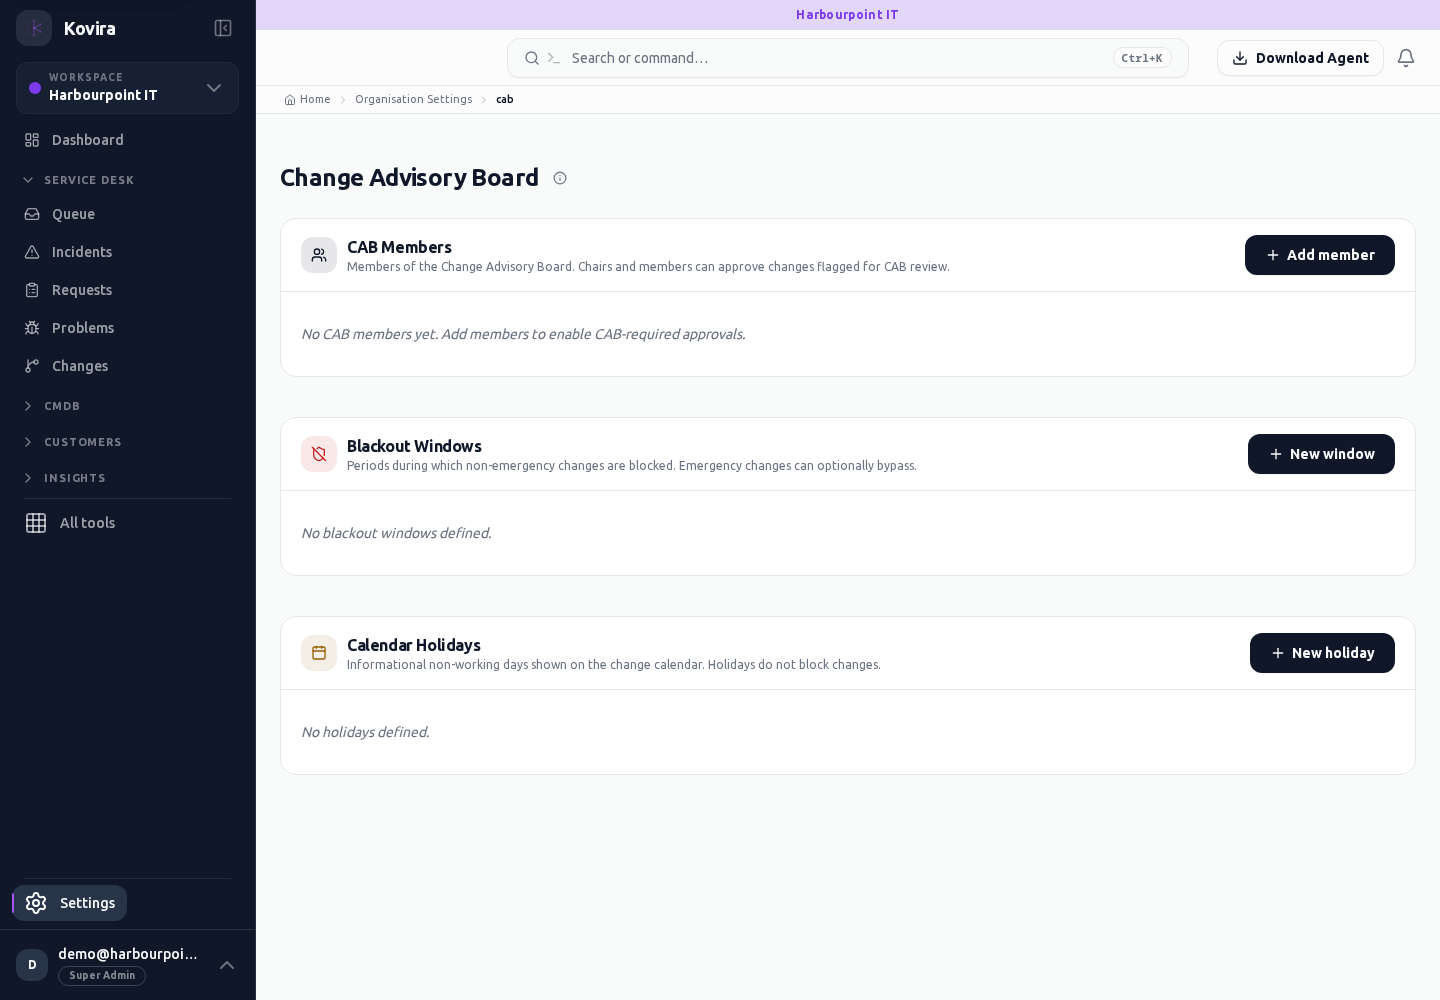
Service calendar
Service calendar for the selected account, workspace or record.
Access
- Your current workspace role, plan and record access determine whether this screen and its actions are available. Ask an administrator if the required action is missing.
Controls and information
- Working time
- holidays
- freeze periods
- timezone
Steps for this screen
- Review the calendar’s scope and timezone before changing working time or exceptional dates.
Check the result
- Check a known affected period and its impact on scheduled work or service calculations.
If this screen is unavailable
- If no records appear, clear active filters and confirm the workspace and your access before creating a duplicate.
- If saving fails or a conflict appears, keep a copy of your intended changes, reopen the current record and review it before submitting again.
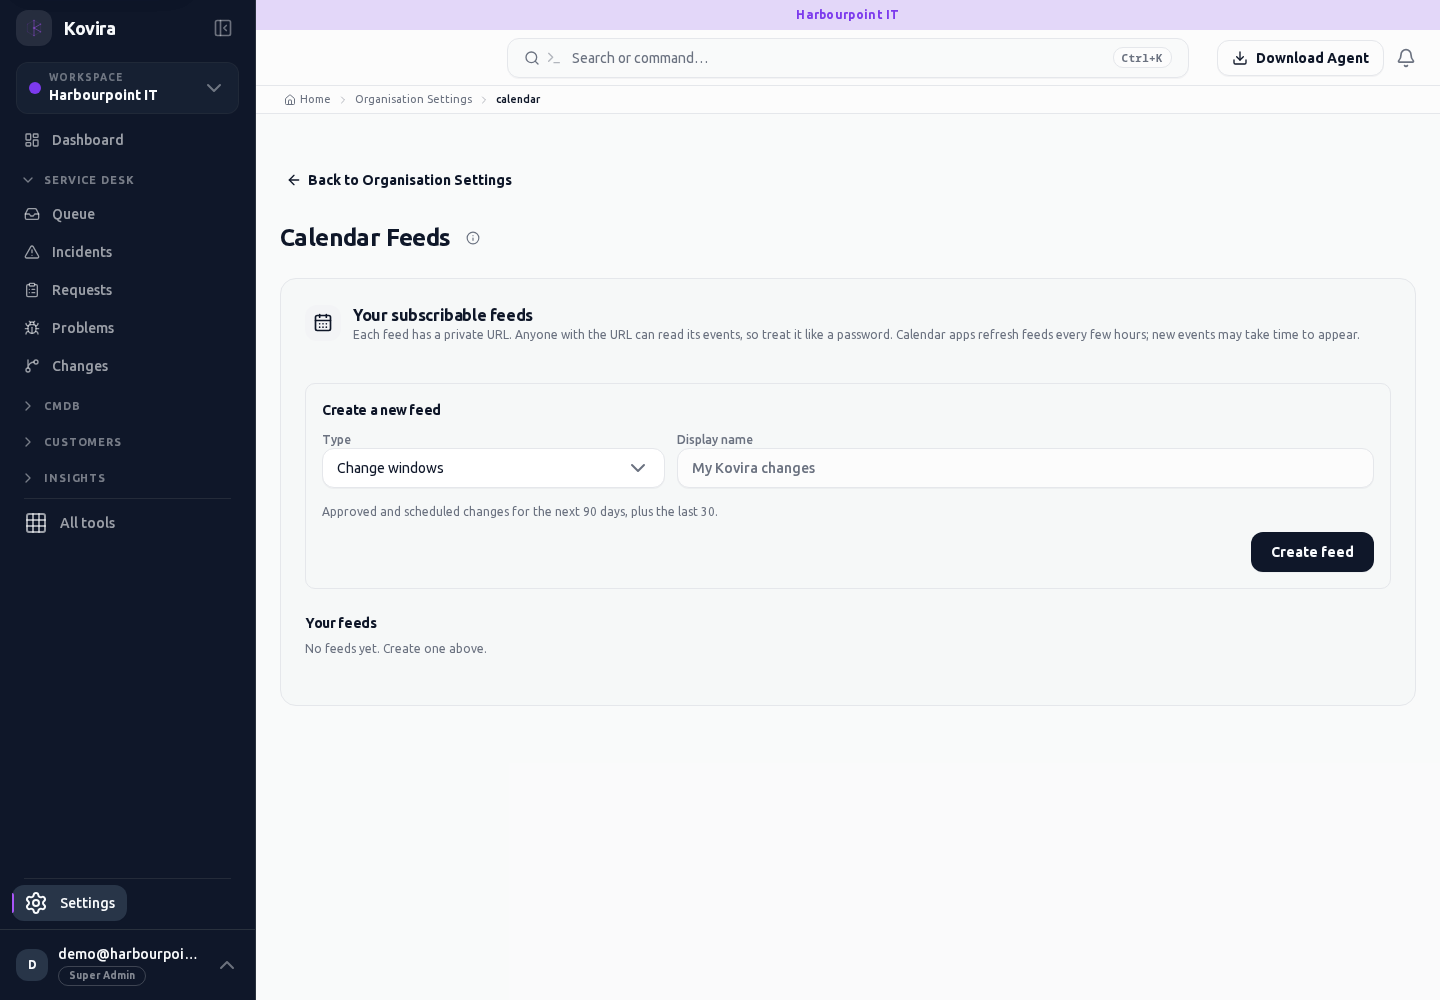
Quote catalogue / Details
Quote catalogue for the selected account, workspace or record.
Access
- Default workspace roles for opening this screen: Super Admin, Admin. Custom role settings, the current workspace, plan and record sharing can further restrict access.
- Opening a screen does not grant every action on it. Changes, exports and lifecycle actions can require additional permissions.
Controls and information
- Item kind
- description
- price
- tax
- active state
Steps for this screen
- Choose the correct catalogue item kind and review its price and tax defaults before saving.
- Read the current saved values before editing. Make the intended change and review all affected fields.
- Save once and wait for confirmation. Use Cancel to discard an unsubmitted change.
Check the result
- Check the inserted line in a draft quote; catalogue defaults do not prove a quote was sent.
- Reopen the record and verify the saved value before making another change.
If this screen is unavailable
- If no records appear, clear active filters and confirm the workspace and your access before creating a duplicate.
- If saving fails or a conflict appears, keep a copy of your intended changes, reopen the current record and review it before submitting again.
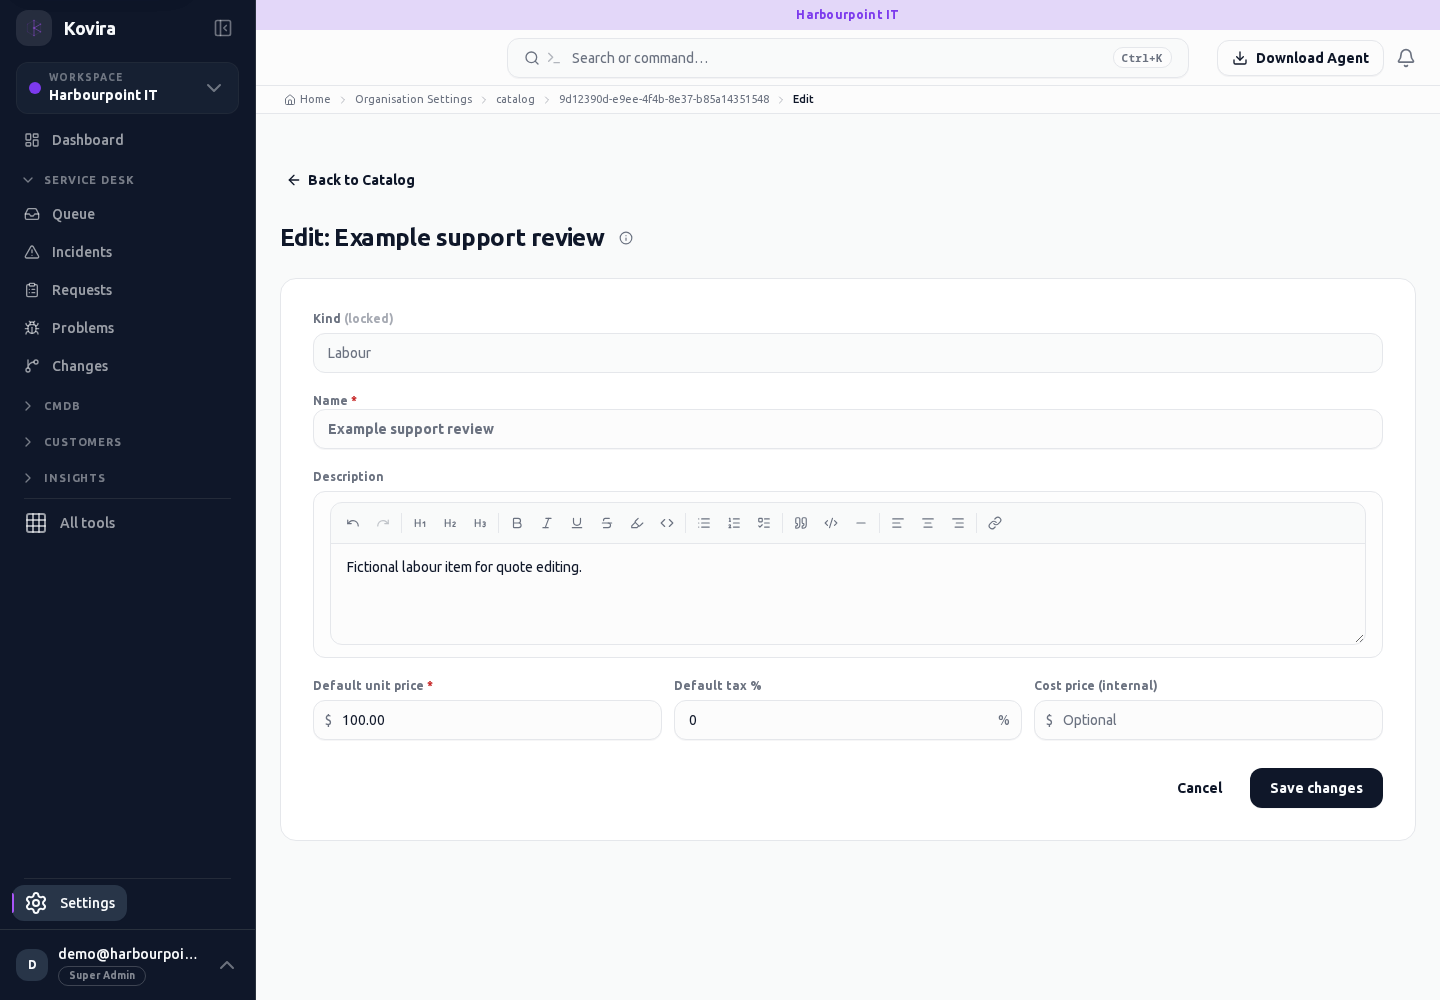
Quote catalogue / New
Quote catalogue for the selected account, workspace or record.
Access
- Default workspace roles for opening this screen: Super Admin, Admin. Custom role settings, the current workspace, plan and record sharing can further restrict access.
- Opening a screen does not grant every action on it. Changes, exports and lifecycle actions can require additional permissions.
Controls and information
- Item kind
- description
- price
- tax
- active state
Steps for this screen
- Choose the correct catalogue item kind and review its price and tax defaults before saving.
- Complete the required fields. Review linked records, dates and any recipient or customer selection.
- Use the form’s create or save action once and wait for its result. Cancel to leave without submitting.
Check the result
- Check the inserted line in a draft quote; catalogue defaults do not prove a quote was sent.
- Open the newly created record from the resulting list or confirmation and check the saved values.
If this screen is unavailable
- If no records appear, clear active filters and confirm the workspace and your access before creating a duplicate.
- If saving fails or a conflict appears, keep a copy of your intended changes, reopen the current record and review it before submitting again.
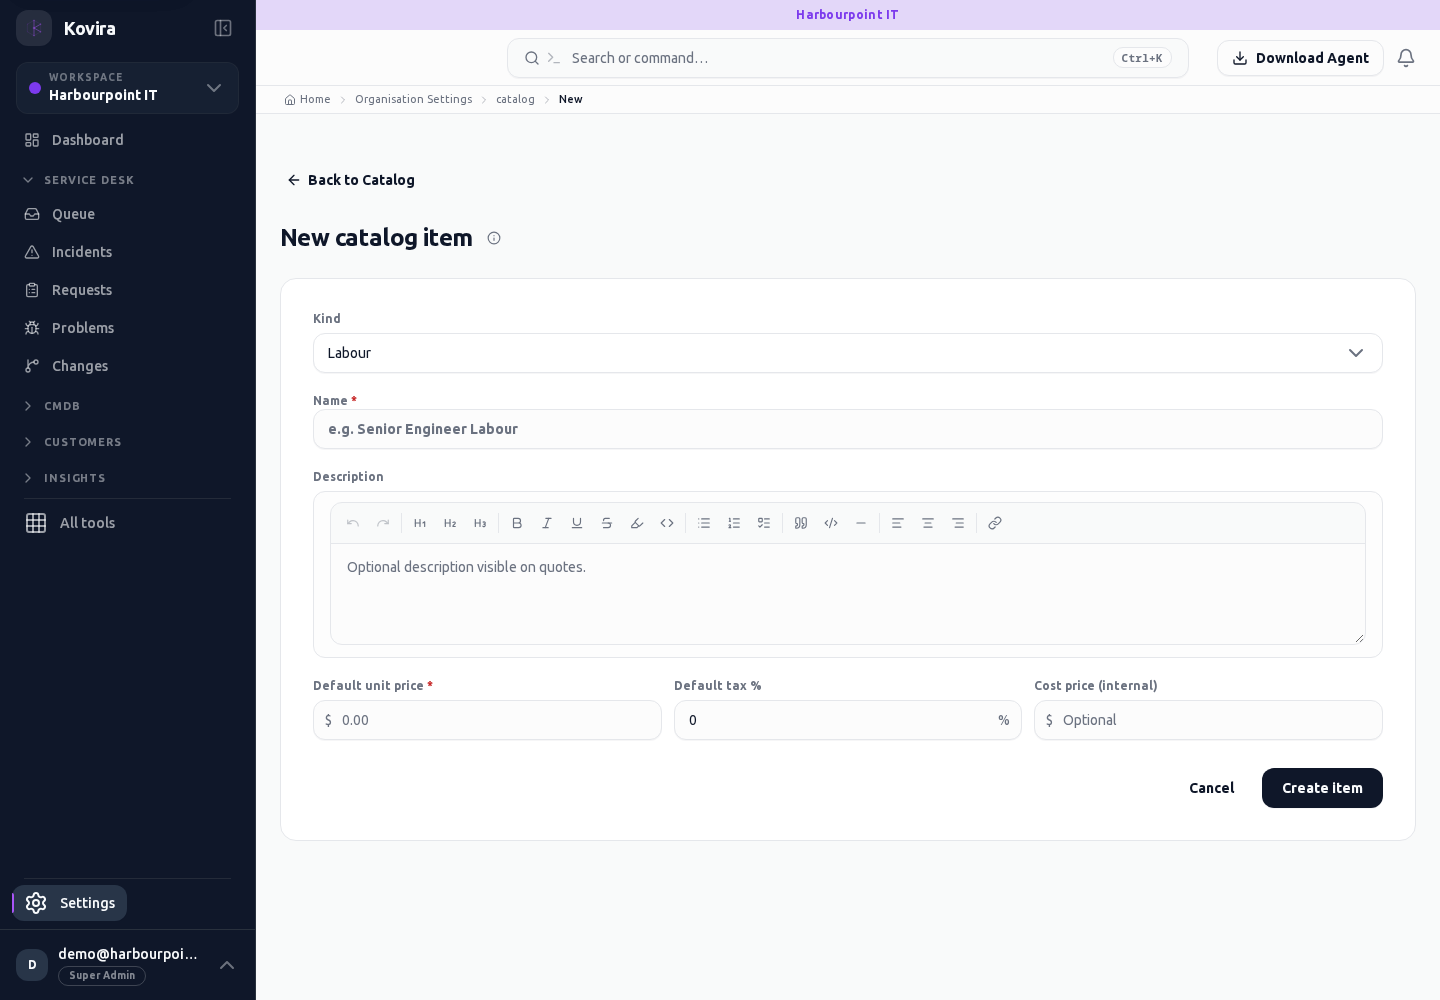
Quote catalogue
Quote catalogue for the selected account, workspace or record.
Access
- Default workspace roles for opening this screen: Super Admin, Admin. Custom role settings, the current workspace, plan and record sharing can further restrict access.
- Opening a screen does not grant every action on it. Changes, exports and lifecycle actions can require additional permissions.
Controls and information
- Item kind
- description
- price
- tax
- active state
Steps for this screen
- Choose the correct catalogue item kind and review its price and tax defaults before saving.
- Use the available search, date and status filters to narrow the view. Open a record link for its detail.
- Clear filters when you need to compare the full accessible list.
Check the result
- Check the inserted line in a draft quote; catalogue defaults do not prove a quote was sent.
If this screen is unavailable
- If no records appear, clear active filters and confirm the workspace and your access before creating a duplicate.
- If the list cannot load, retry once and quote the displayed support reference; do not infer that the workspace is empty.
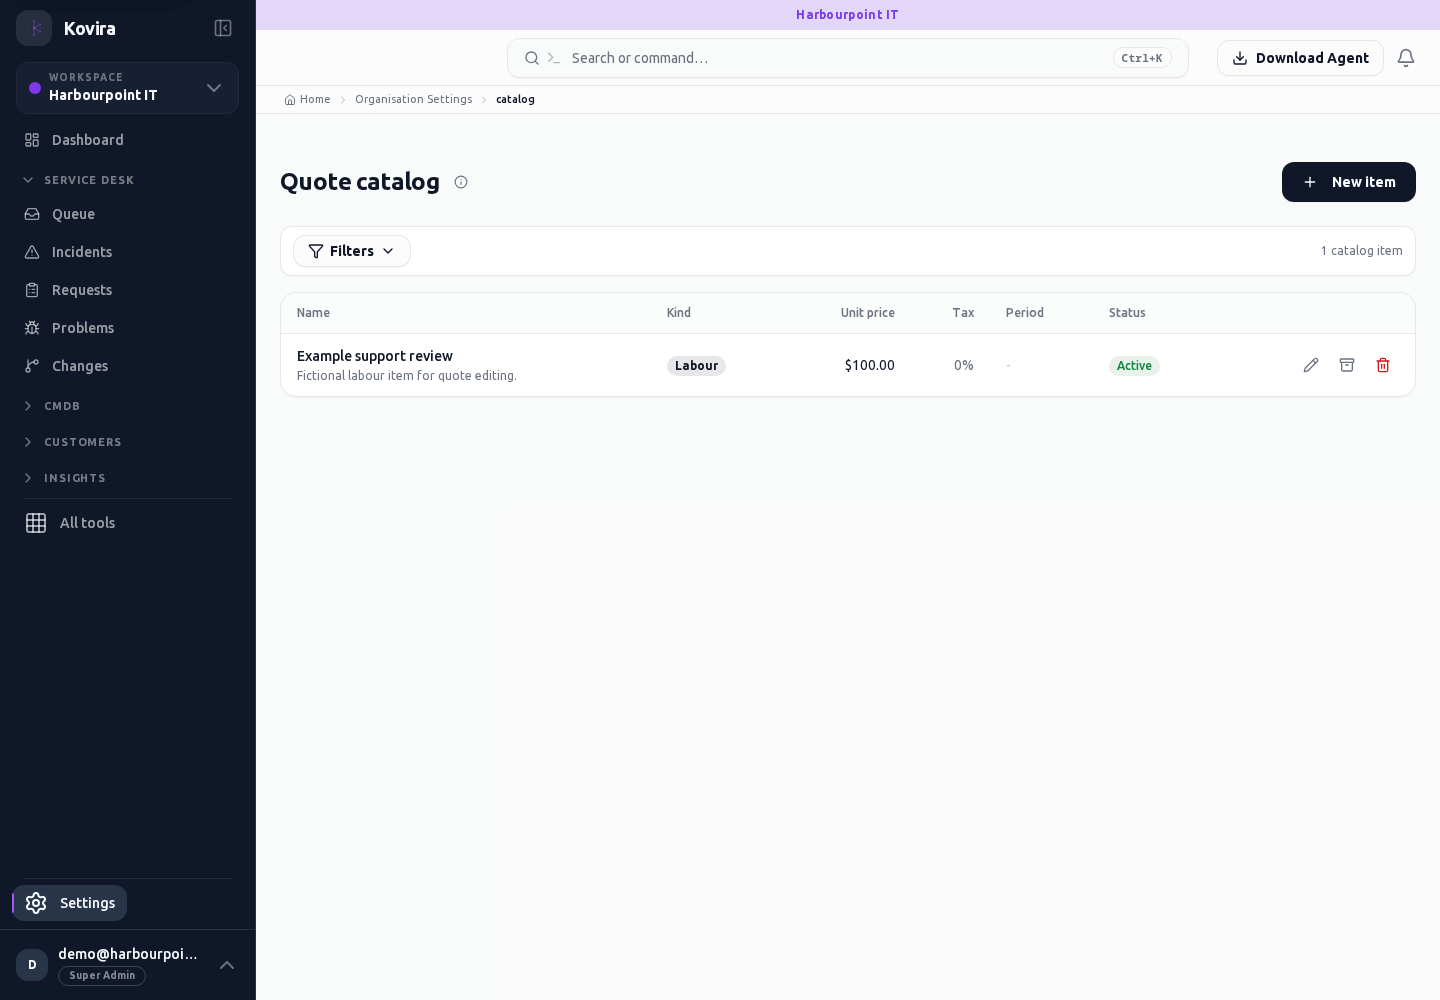
Escalation policies / Details
Escalation policies for the selected account, workspace or record.
Access
- Default workspace roles for opening this screen: Super Admin, Admin, Operator, View Only. Custom role settings, the current workspace, plan and record sharing can further restrict access.
- Opening a screen does not grant every action on it. Changes, exports and lifecycle actions can require additional permissions.
Controls and information
- Scope
- trigger criteria
- responders
- enabled state
Steps for this screen
- Review the work and conditions governed by the policy. Confirm the responders and timing before activation.
- Read the summary, current state and related records. Review the action and its prerequisites before changing the record.
Check the result
- Check the saved scope and actual escalation history; an inactive policy does not demonstrate escalation.
If this screen is unavailable
- If the record is unavailable, return to its list and confirm the workspace and link. Ask an administrator to check record access before creating a replacement.
- If saving fails or a conflict appears, keep a copy of your intended changes, reopen the current record and review it before submitting again.
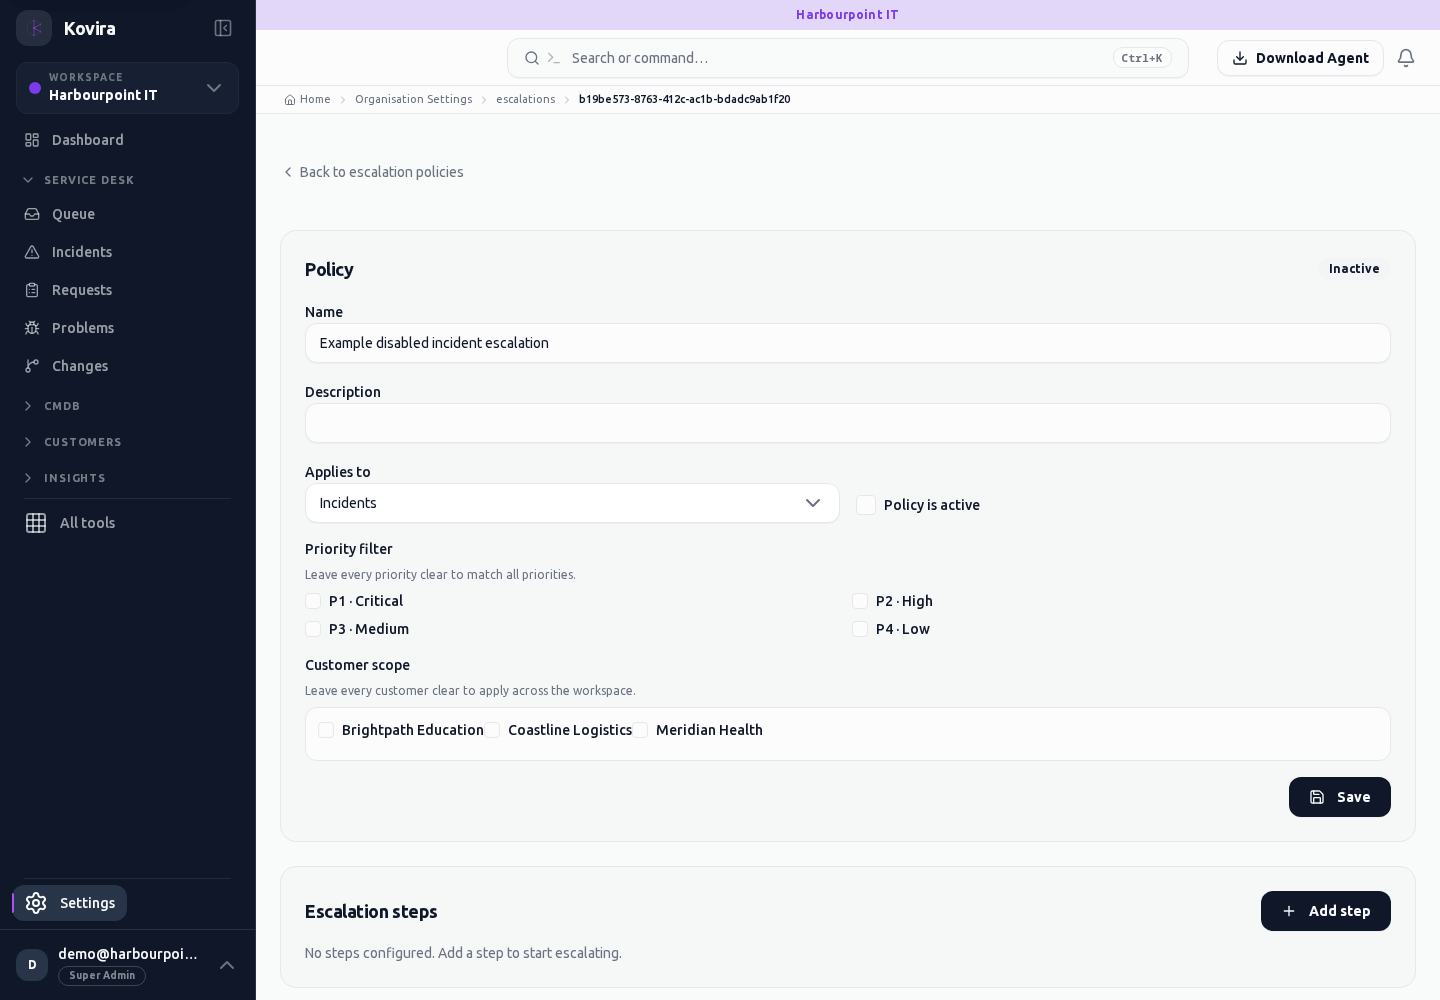
Escalation policies
Escalation policies for the selected account, workspace or record.
Access
- Default workspace roles for opening this screen: Super Admin, Admin, Operator, View Only. Custom role settings, the current workspace, plan and record sharing can further restrict access.
- Opening a screen does not grant every action on it. Changes, exports and lifecycle actions can require additional permissions.
Controls and information
- Scope
- trigger criteria
- responders
- enabled state
Steps for this screen
- Review the work and conditions governed by the policy. Confirm the responders and timing before activation.
- Use the available search, date and status filters to narrow the view. Open a record link for its detail.
- Clear filters when you need to compare the full accessible list.
Check the result
- Check the saved scope and actual escalation history; an inactive policy does not demonstrate escalation.
If this screen is unavailable
- If no records appear, clear active filters and confirm the workspace and your access before creating a duplicate.
- If the list cannot load, retry once and quote the displayed support reference; do not infer that the workspace is empty.
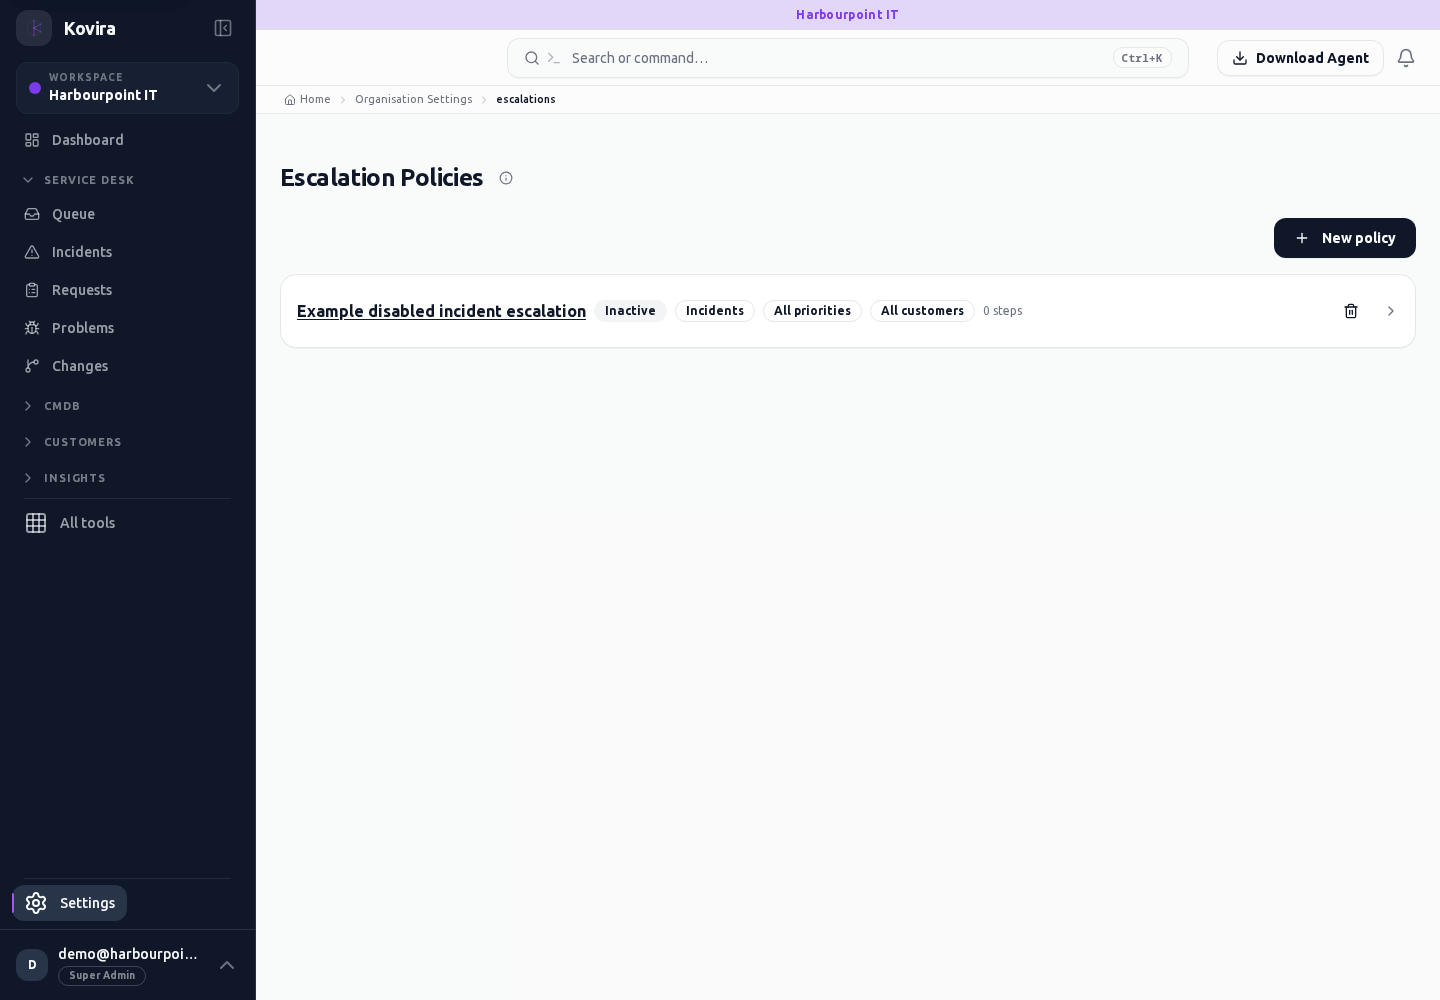
On-call coverage
On-call coverage for the selected account, workspace or record.
Access
- Default workspace roles for opening this screen: Super Admin, Admin, Operator, View Only. Custom role settings, the current workspace, plan and record sharing can further restrict access.
- Opening a screen does not grant every action on it. Changes, exports and lifecycle actions can require additional permissions.
Controls and information
- Rotation
- responders
- effective period
- timezone
Steps for this screen
- Review the rotation and available responders before changing a coverage period.
Check the result
- Check the intended period, timezone and assigned responder after saving.
If this screen is unavailable
- If no records appear, clear active filters and confirm the workspace and your access before creating a duplicate.
- If saving fails or a conflict appears, keep a copy of your intended changes, reopen the current record and review it before submitting again.
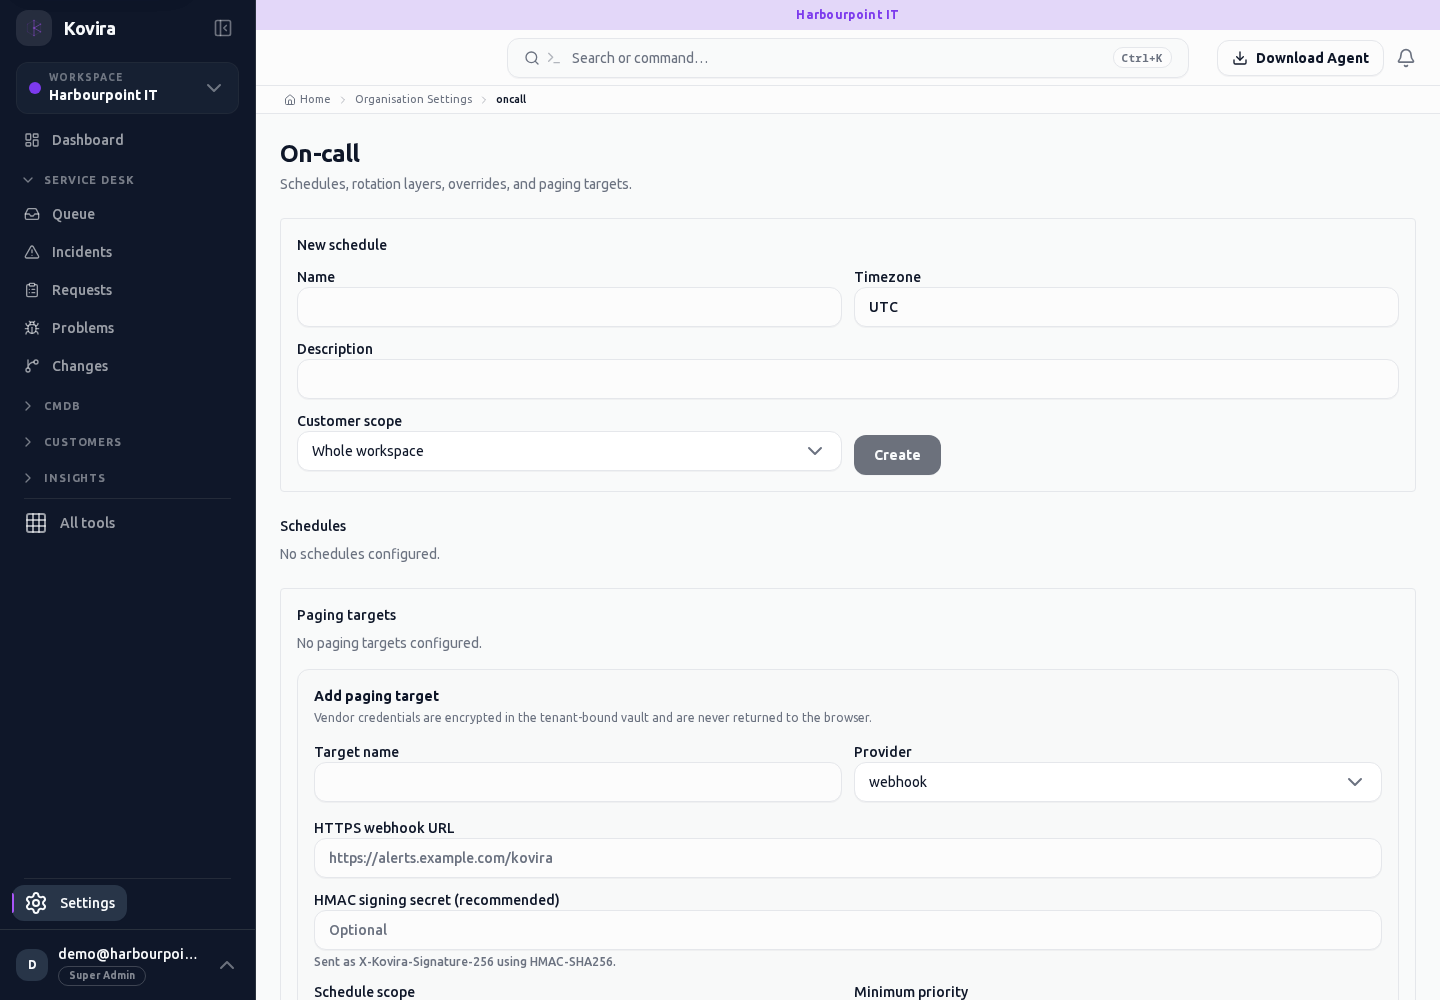
Recurring work / Details
Recurring work for the selected account, workspace or record.
Access
- Default workspace roles for opening this screen: Super Admin. Custom role settings, the current workspace, plan and record sharing can further restrict access.
- Opening a screen does not grant every action on it. Changes, exports and lifecycle actions can require additional permissions.
Controls and information
- Work type
- template
- recurrence
- timezone
- enabled state
Steps for this screen
- Review the template, schedule and maximum-run settings. Keep a new schedule disabled until its scope is checked.
- Read the summary, current state and related records. Review the action and its prerequisites before changing the record.
Check the result
- Check the saved next run and actual run history; a disabled schedule has not executed the work.
If this screen is unavailable
- If the record is unavailable, return to its list and confirm the workspace and link. Ask an administrator to check record access before creating a replacement.
- If saving fails or a conflict appears, keep a copy of your intended changes, reopen the current record and review it before submitting again.
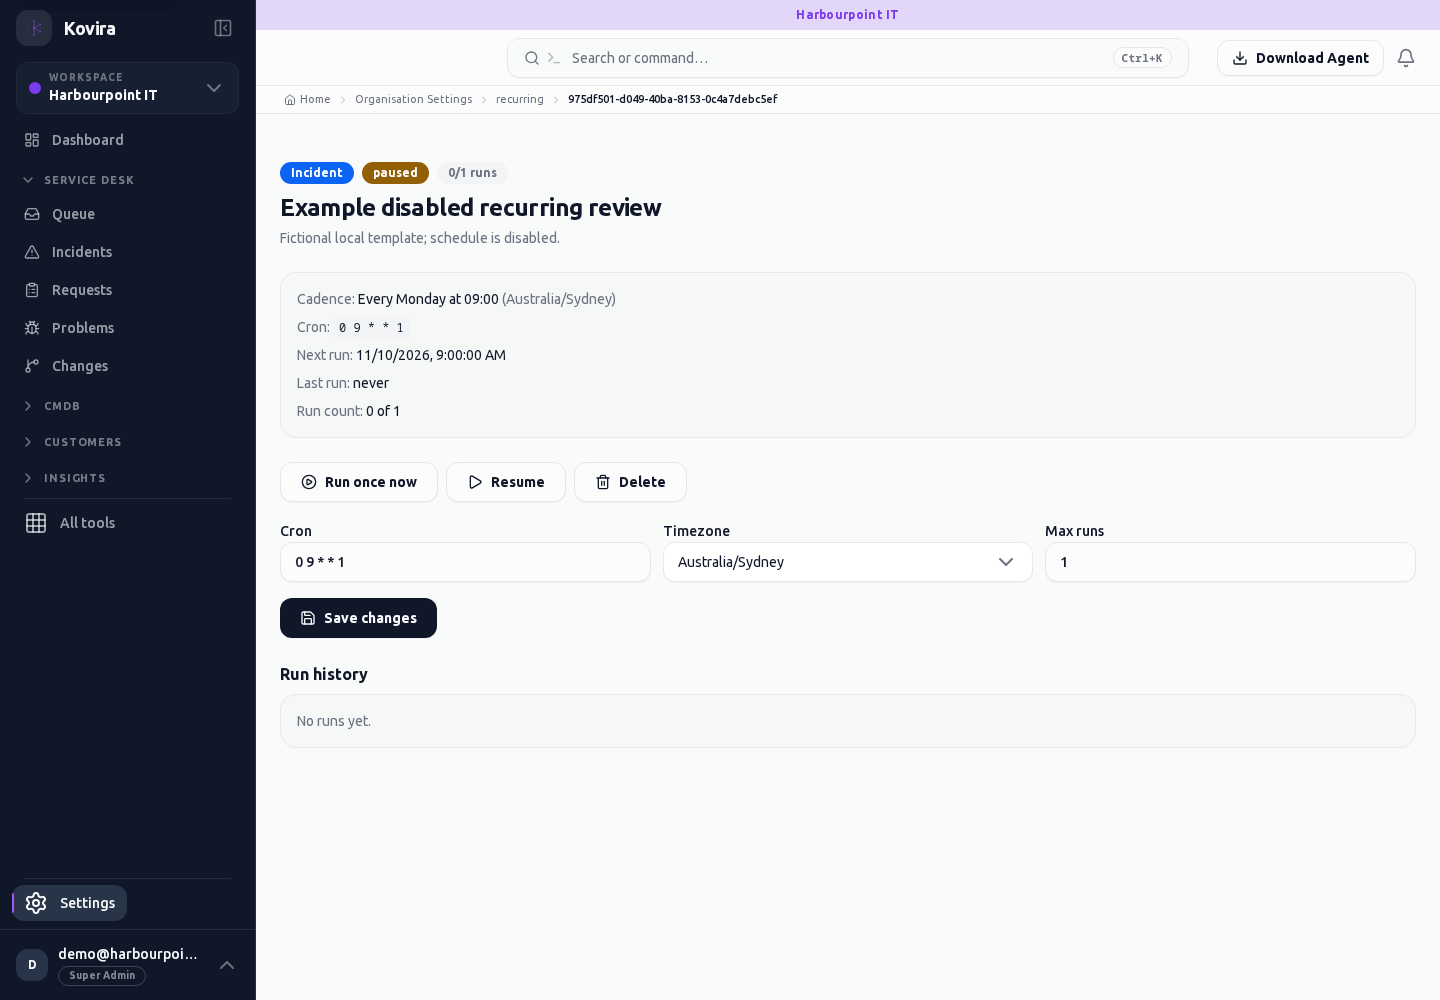
Recurring work
Recurring work for the selected account, workspace or record.
Access
- Default workspace roles for opening this screen: Super Admin. Custom role settings, the current workspace, plan and record sharing can further restrict access.
- Opening a screen does not grant every action on it. Changes, exports and lifecycle actions can require additional permissions.
Controls and information
- Work type
- template
- recurrence
- timezone
- enabled state
Steps for this screen
- Review the template, schedule and maximum-run settings. Keep a new schedule disabled until its scope is checked.
- Use the available search, date and status filters to narrow the view. Open a record link for its detail.
- Clear filters when you need to compare the full accessible list.
Check the result
- Check the saved next run and actual run history; a disabled schedule has not executed the work.
If this screen is unavailable
- If no records appear, clear active filters and confirm the workspace and your access before creating a duplicate.
- If the list cannot load, retry once and quote the displayed support reference; do not infer that the workspace is empty.
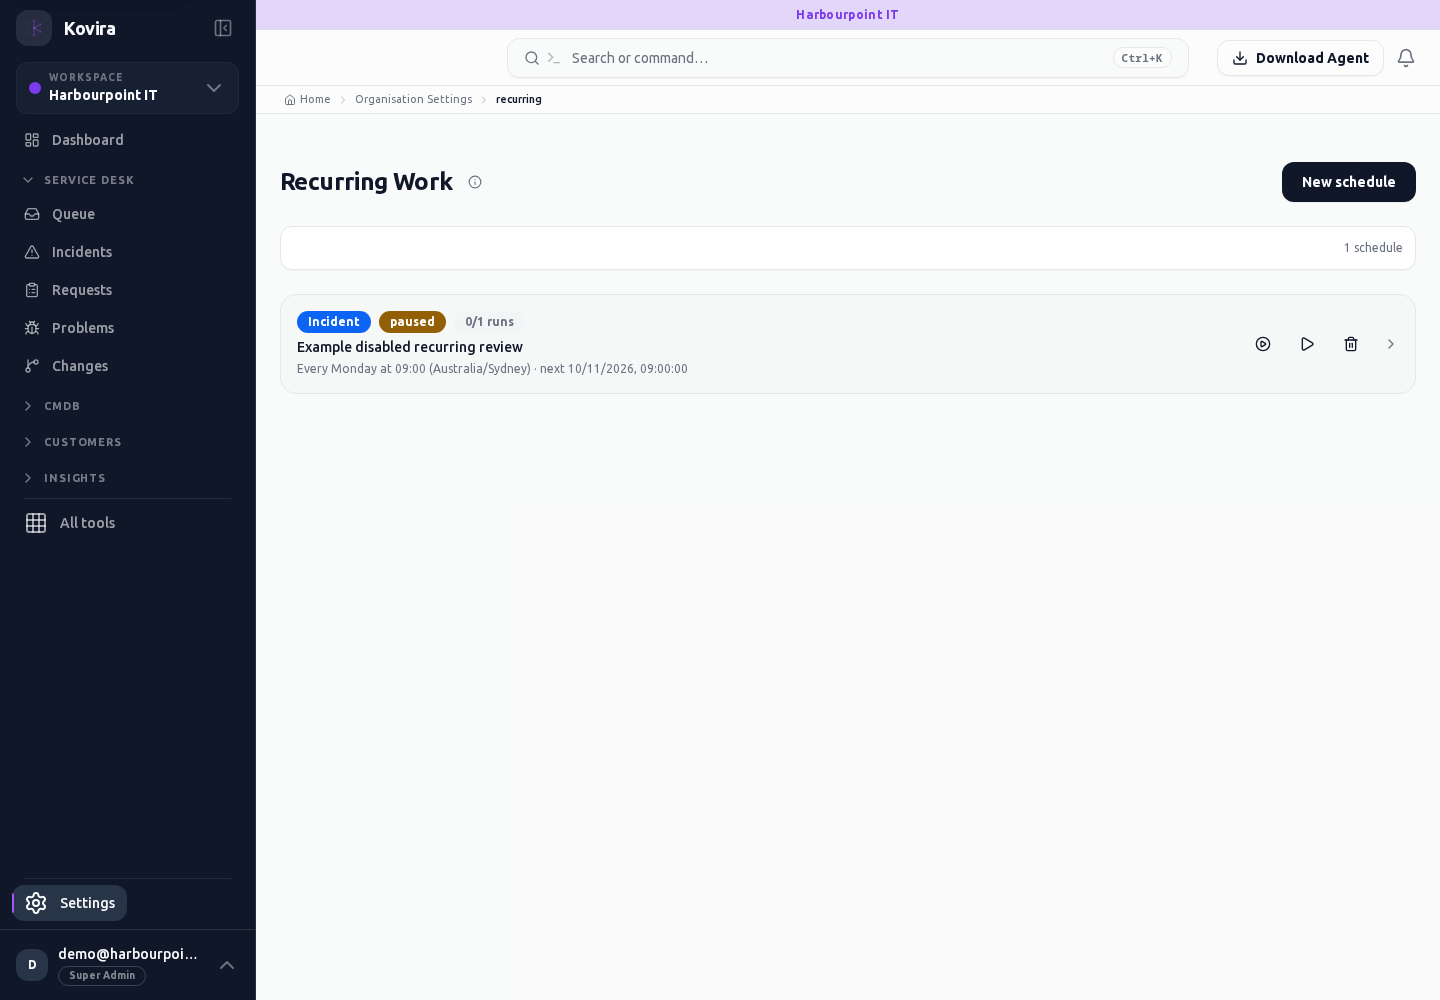
Service catalogue and entitlements / Details
Service catalogue and entitlements for the selected account, workspace or record.
Access
- Default workspace roles for opening this screen: Super Admin, Admin. Custom role settings, the current workspace, plan and record sharing can further restrict access.
- Opening a screen does not grant every action on it. Changes, exports and lifecycle actions can require additional permissions.
Controls and information
- Request type
- required fields
- approval
- customer entitlements
Steps for this screen
- Review which customers can request the item and what information or approval is required.
- Read the summary, current state and related records. Review the action and its prerequisites before changing the record.
Check the result
- Open the catalogue with an intended requester and check visibility and the required fields.
If this screen is unavailable
- If the record is unavailable, return to its list and confirm the workspace and link. Ask an administrator to check record access before creating a replacement.
- If saving fails or a conflict appears, keep a copy of your intended changes, reopen the current record and review it before submitting again.
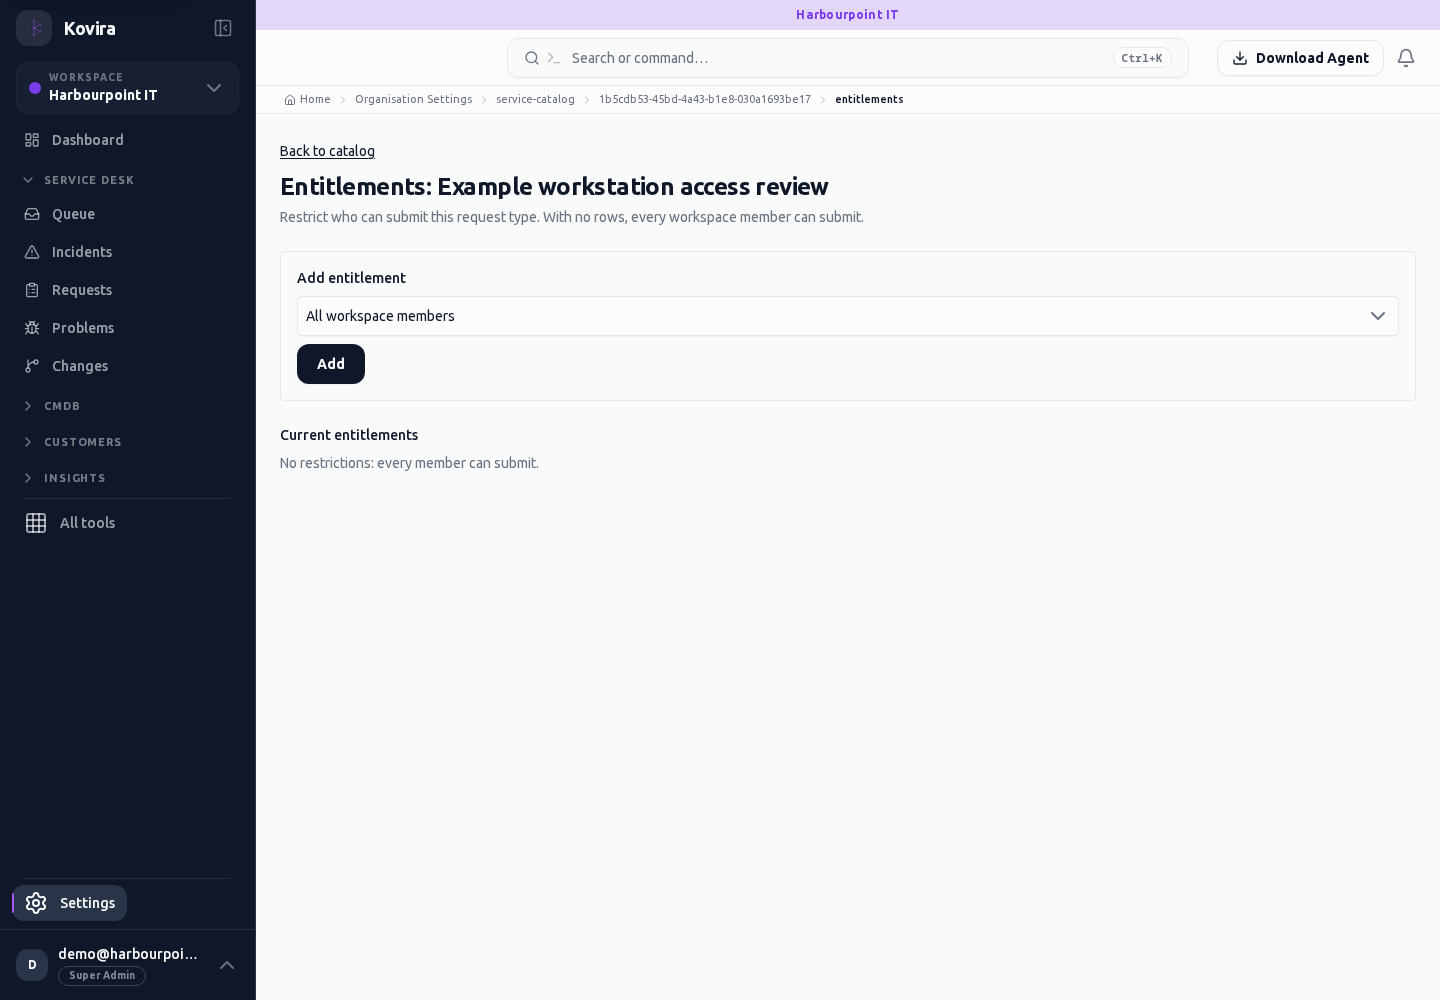
Service catalogue and entitlements
Service catalogue and entitlements for the selected account, workspace or record.
Access
- Default workspace roles for opening this screen: Super Admin, Admin. Custom role settings, the current workspace, plan and record sharing can further restrict access.
- Opening a screen does not grant every action on it. Changes, exports and lifecycle actions can require additional permissions.
Controls and information
- Request type
- required fields
- approval
- customer entitlements
Steps for this screen
- Review which customers can request the item and what information or approval is required.
- Use the available search, date and status filters to narrow the view. Open a record link for its detail.
- Clear filters when you need to compare the full accessible list.
Check the result
- Open the catalogue with an intended requester and check visibility and the required fields.
If this screen is unavailable
- If no records appear, clear active filters and confirm the workspace and your access before creating a duplicate.
- If the list cannot load, retry once and quote the displayed support reference; do not infer that the workspace is empty.
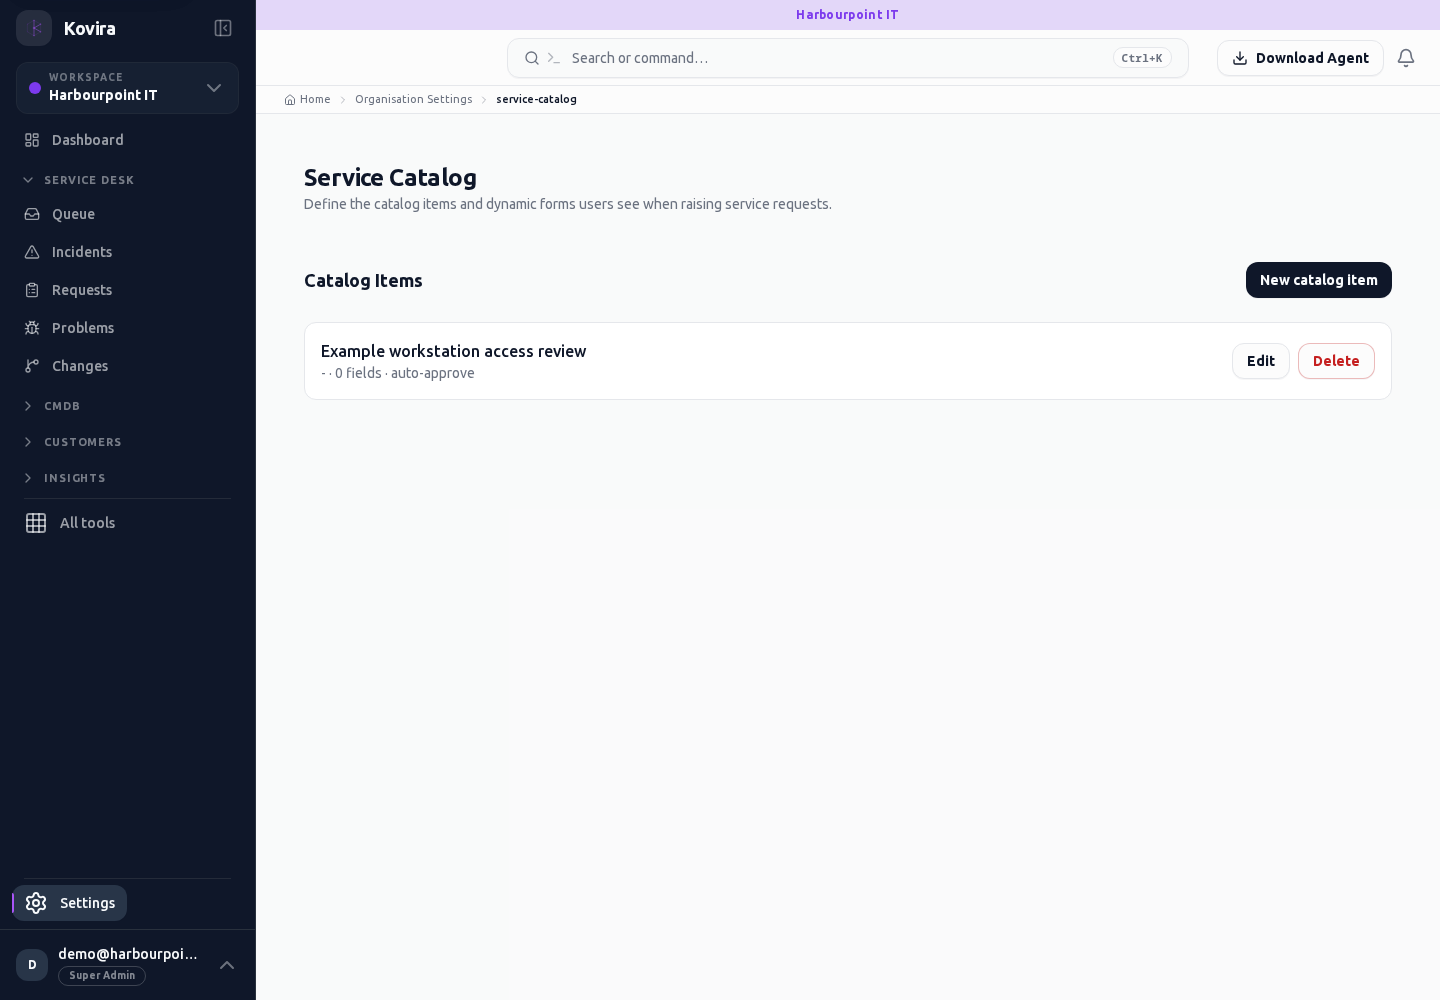
Service agreements
Service agreements for the selected account, workspace or record.
Access
- Default workspace roles for opening this screen: Super Admin, Admin, Operator, View Only. Custom role settings, the current workspace, plan and record sharing can further restrict access.
- Opening a screen does not grant every action on it. Changes, exports and lifecycle actions can require additional permissions.
Controls and information
- SLA policies
- working time
- OLA
- underpinning contracts
- dates
Steps for this screen
- Review the service scope, response and resolution commitments, working time and linked agreements before activation.
- Use the available search, date and status filters to narrow the view. Open a record link for its detail.
- Clear filters when you need to compare the full accessible list.
Check the result
- Check dates and the applicable agreement on a known ticket; a definition does not prove the service target was achieved.
If this screen is unavailable
- If no records appear, clear active filters and confirm the workspace and your access before creating a duplicate.
- If the list cannot load, retry once and quote the displayed support reference; do not infer that the workspace is empty.
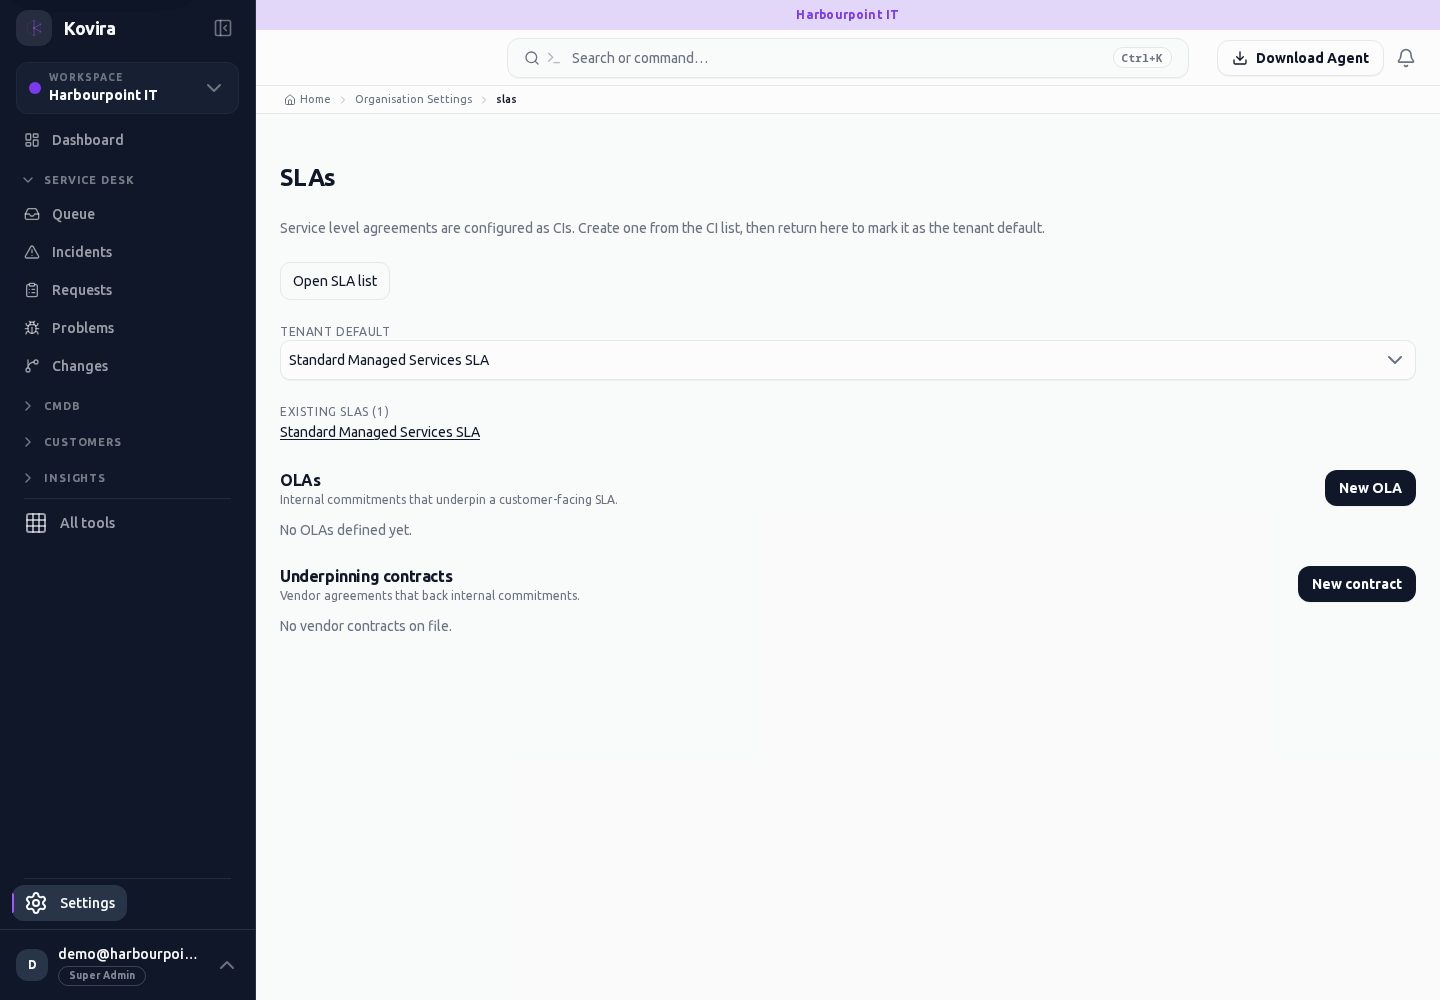
Team availability
Team availability for the selected account, workspace or record.
Access
- Default workspace roles for opening this screen: Super Admin, Admin, Operator, View Only. Custom role settings, the current workspace, plan and record sharing can further restrict access.
- Opening a screen does not grant every action on it. Changes, exports and lifecycle actions can require additional permissions.
Controls and information
- Responder
- available period
- timezone
Steps for this screen
- Record the appropriate responder availability and review overlaps before saving.
Check the result
- Check the saved period in the relevant planning or dispatch view.
If this screen is unavailable
- If no records appear, clear active filters and confirm the workspace and your access before creating a duplicate.
- If saving fails or a conflict appears, keep a copy of your intended changes, reopen the current record and review it before submitting again.
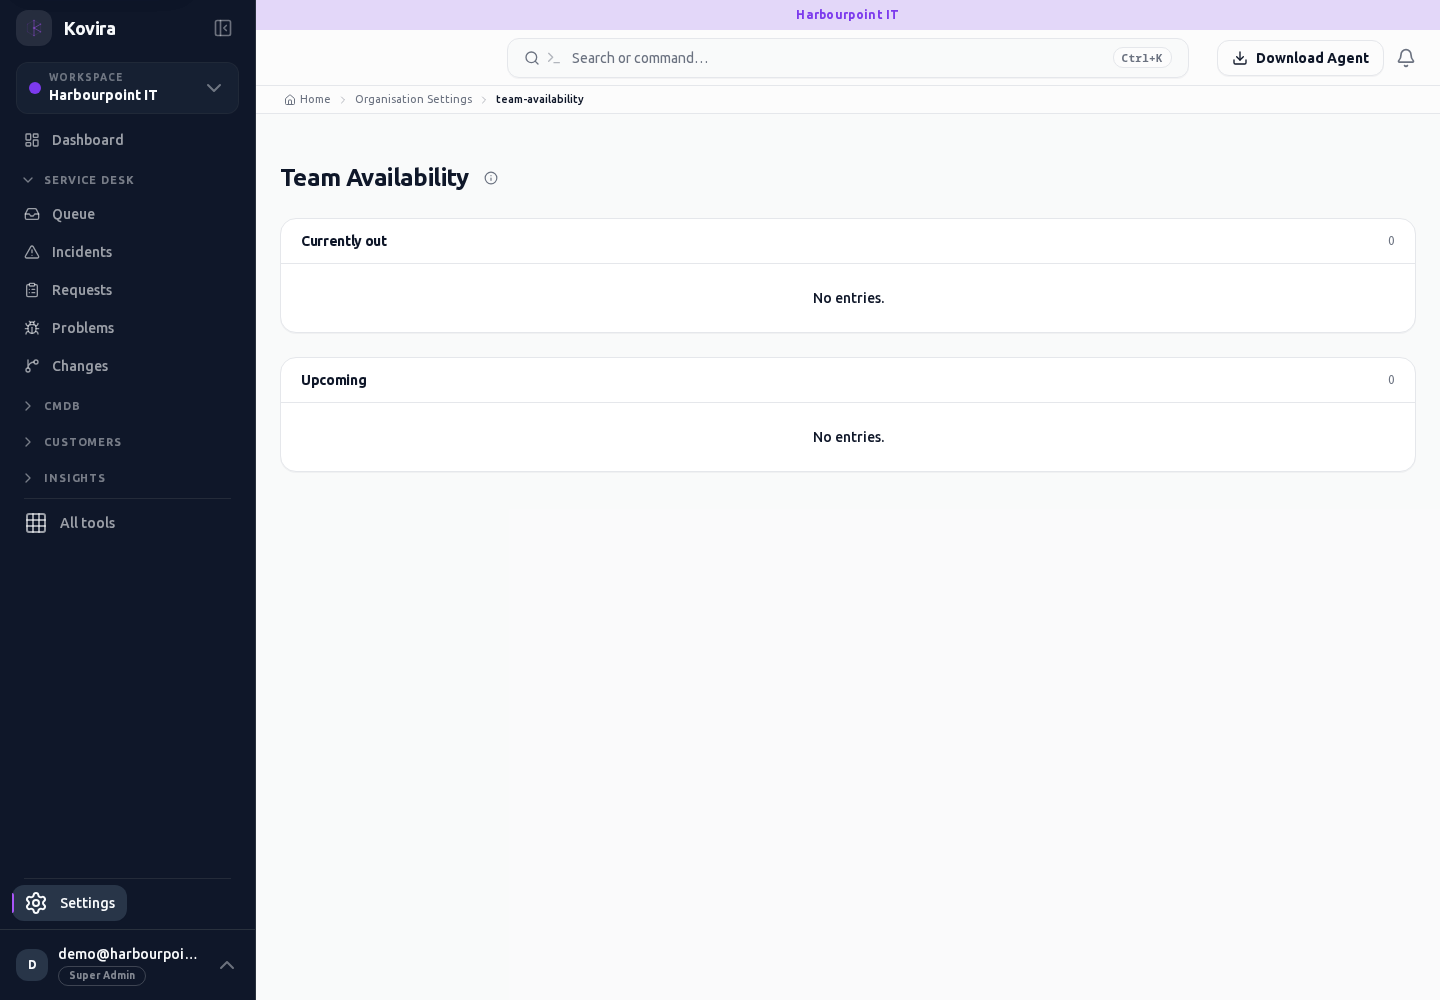
Workspace identity, custom data and data controls
Applies to: KOVIRA
Maintain organisation settings and consistent data.
Before you begin
- Permission for the corresponding workspace setting.
Steps
- Review General and Branding settings for the correct organisation. Preview changes where the form offers it.
- Use Custom types and Custom fields to define the information your organisation needs. Review type, required status and allowed values before saving.
- Review Data quality and Data controls to identify incomplete or inconsistent records and apply the offered remediation with an accountable owner.
- Check Usage and Billing before changing a plan or financial setting. Review currency, tax and oncosting with the finance owner.
- Configure customer records, quote templates, AI settings or other optional settings only when your organisation intends to use the feature.
Check the result
- Create or inspect a representative record to confirm a custom field appears and validates as intended.
- Reopen a changed setting and verify its saved value.
If you need help
- Changing a field definition can affect later editing and imports. Review existing data and dependent processes first.
- For billing problems contact the designated billing owner with the safe error text.
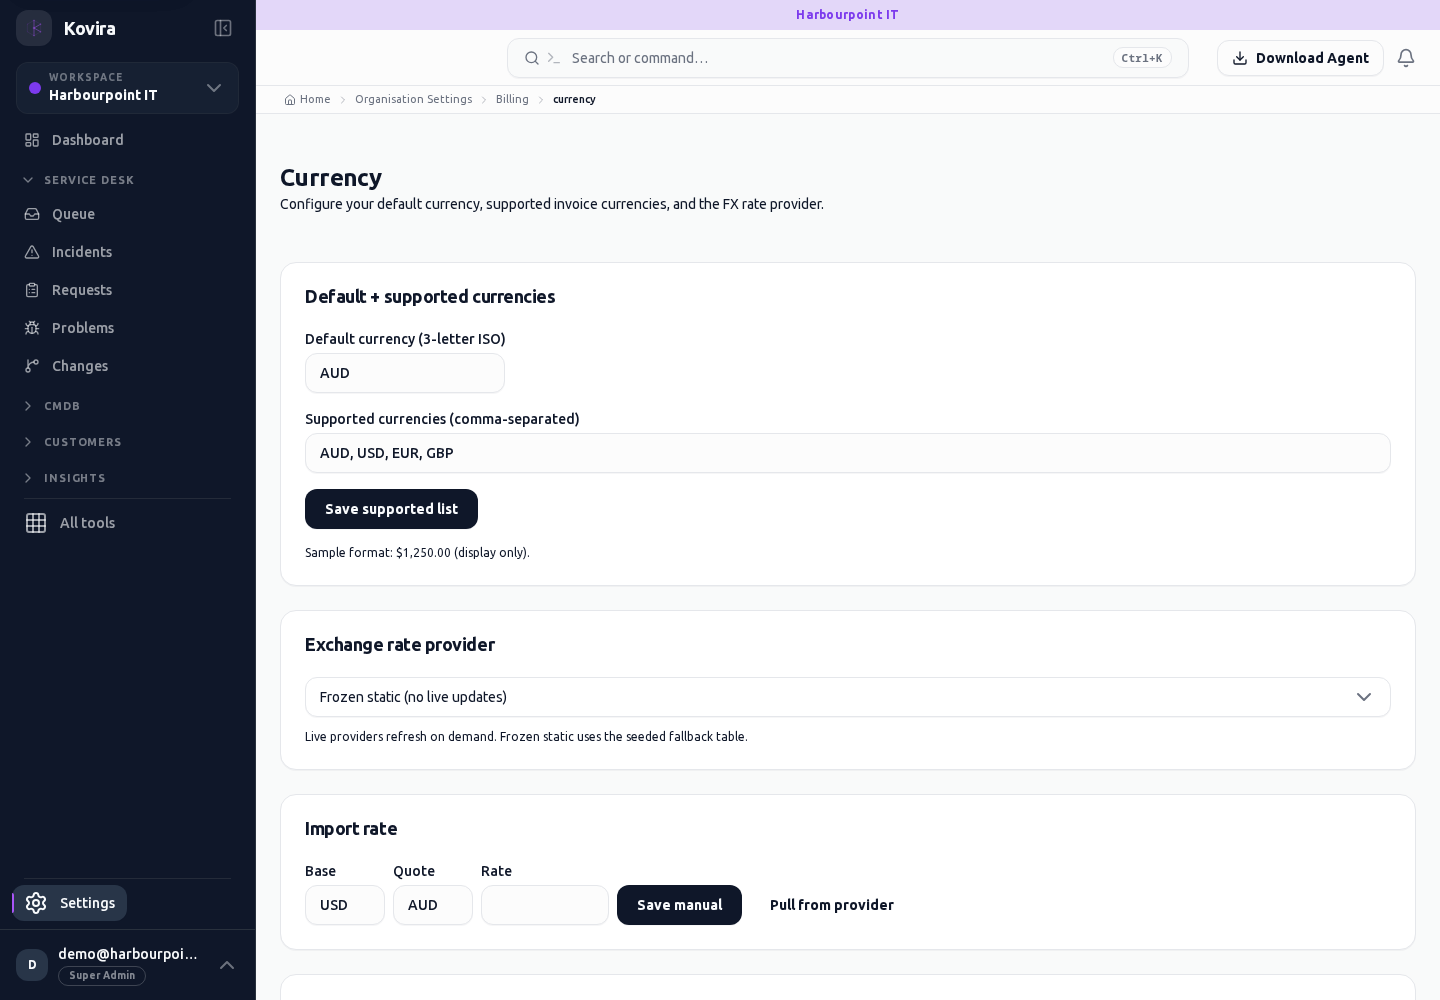
Related screens (31)
AI routing preferences
AI routing preferences for the selected account, workspace or record.
Access
- Default workspace roles for opening this screen: Super Admin, Admin, Operator, View Only. Custom role settings, the current workspace, plan and record sharing can further restrict access.
- Opening a screen does not grant every action on it. Changes, exports and lifecycle actions can require additional permissions.
Controls and information
- Task routing
- available provider choices
- fallback options
Steps for this screen
- Choose the offered routing settings for the intended tasks and review provider prerequisites before saving.
Check the result
- Check the saved routing choice; saving configuration does not demonstrate a provider call.
If this screen is unavailable
- If no records appear, clear active filters and confirm the workspace and your access before creating a duplicate.
- If saving fails or a conflict appears, keep a copy of your intended changes, reopen the current record and review it before submitting again.
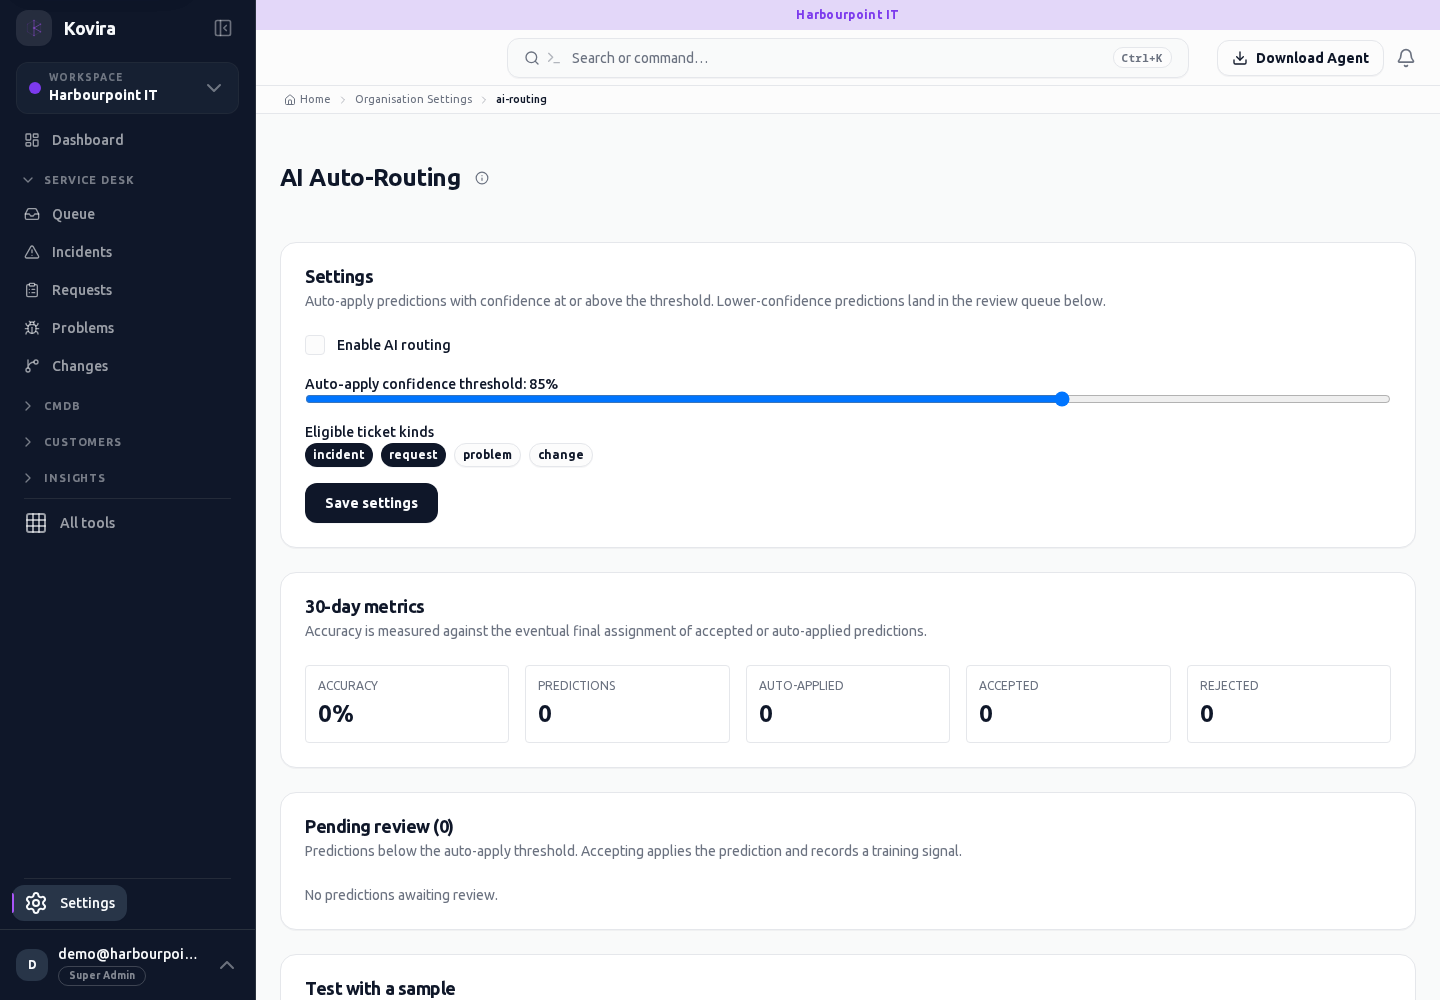
AI settings
AI settings for the selected account, workspace or record.
Access
- Default workspace roles for opening this screen: Super Admin, Admin. Custom role settings, the current workspace, plan and record sharing can further restrict access.
- Opening a screen does not grant every action on it. Changes, exports and lifecycle actions can require additional permissions.
Controls and information
- Feature preferences
- configuration prerequisites
- usage information
Steps for this screen
- Review the enabled AI features and the information they may use before changing a preference.
Check the result
- Confirm the saved preference and any provider prerequisite; review generated content before relying on it.
If this screen is unavailable
- If no records appear, clear active filters and confirm the workspace and your access before creating a duplicate.
- If saving fails or a conflict appears, keep a copy of your intended changes, reopen the current record and review it before submitting again.
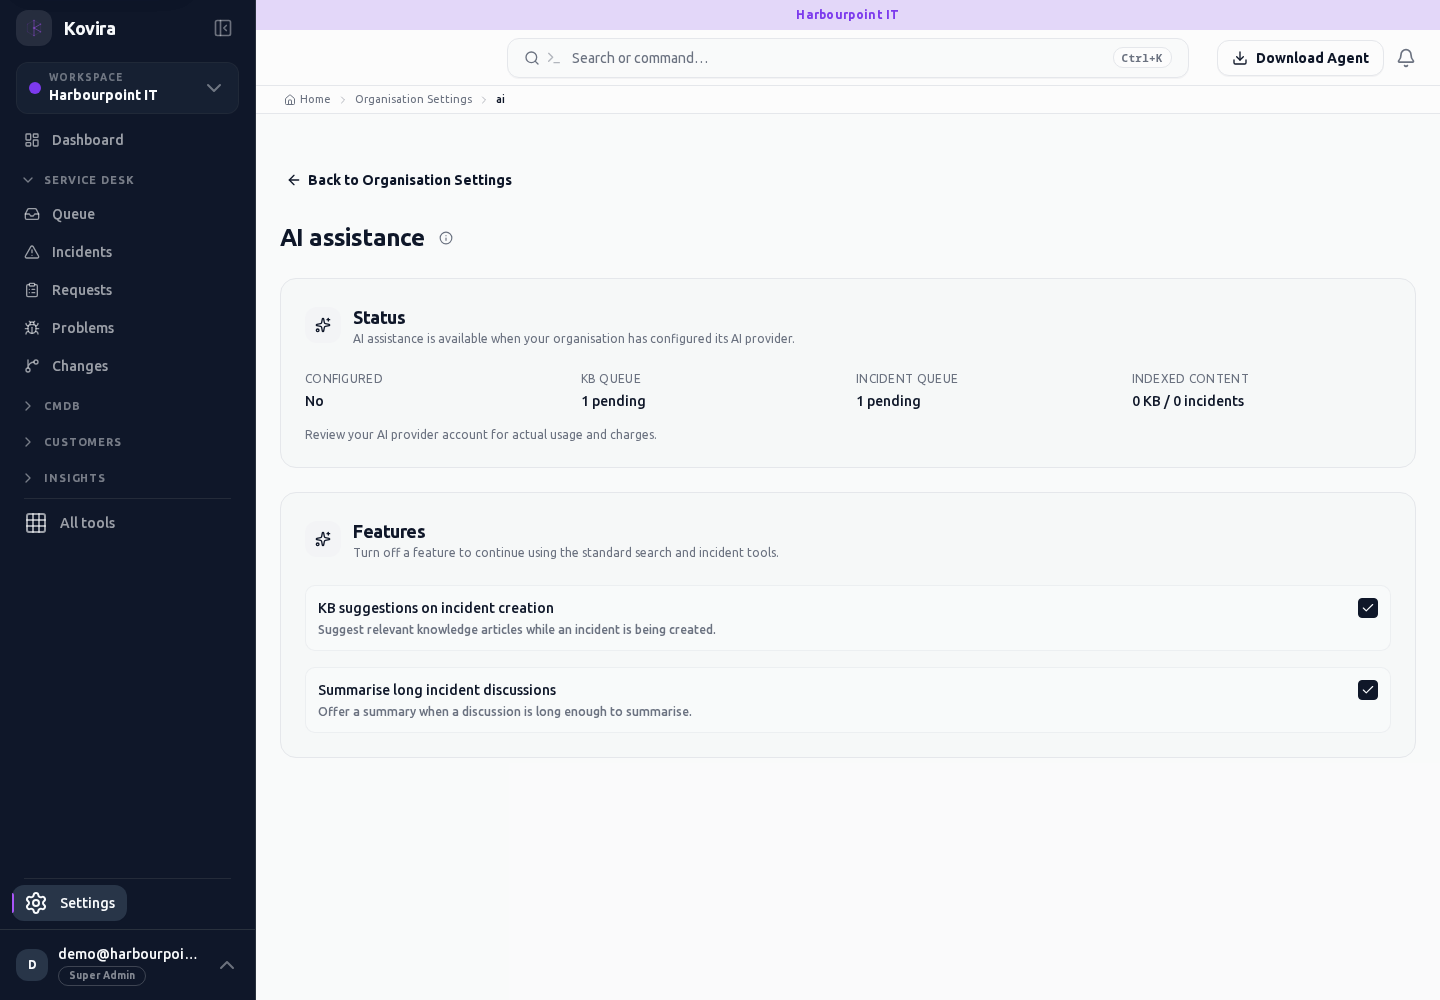
Change subscription plan
Change subscription plan for the selected account, workspace or record.
Access
- Default workspace roles for opening this screen: Super Admin, Admin, Operator, View Only. Custom role settings, the current workspace, plan and record sharing can further restrict access.
- Opening a screen does not grant every action on it. Changes, exports and lifecycle actions can require additional permissions.
Controls and information
- Available plans
- price and seat information
- checkout prerequisites
Steps for this screen
- Review the plan, billing interval and seat requirements before proceeding with the offered checkout action.
Check the result
- Confirm the resulting subscription in Billing; an unavailable payment provider is not a completed plan change.
If this screen is unavailable
- If no records appear, clear active filters and confirm the workspace and your access before creating a duplicate.
- If saving fails or a conflict appears, keep a copy of your intended changes, reopen the current record and review it before submitting again.
Billing currency
Billing currency for the selected account, workspace or record.
Access
- Default workspace roles for opening this screen: Super Admin, Admin, Operator, View Only. Custom role settings, the current workspace, plan and record sharing can further restrict access.
- Opening a screen does not grant every action on it. Changes, exports and lifecycle actions can require additional permissions.
Controls and information
- Currency selection
- save confirmation
Steps for this screen
- Review the organisation’s intended currency and the effect on commercial documents before saving.
Check the result
- Reopen the setting and check the currency shown on the relevant new document.
If this screen is unavailable
- If no records appear, clear active filters and confirm the workspace and your access before creating a duplicate.
- If saving fails or a conflict appears, keep a copy of your intended changes, reopen the current record and review it before submitting again.
Oncosting settings
Oncosting settings for the selected account, workspace or record.
Access
- Default workspace roles for opening this screen: Super Admin, Admin. Custom role settings, the current workspace, plan and record sharing can further restrict access.
- Opening a screen does not grant every action on it. Changes, exports and lifecycle actions can require additional permissions.
Controls and information
- Subscription prerequisite
- cost inputs
- saved defaults
Steps for this screen
- Review the subscription requirement and the available cost inputs before changing a default.
Check the result
- Check the saved values and resulting estimates; a blocked subscription view is not a calculator result.
If this screen is unavailable
- If no records appear, clear active filters and confirm the workspace and your access before creating a duplicate.
- If saving fails or a conflict appears, keep a copy of your intended changes, reopen the current record and review it before submitting again.
Subscription and billing
Subscription and billing for the selected account, workspace or record.
Access
- Default workspace roles for opening this screen: Super Admin, Admin, Operator, View Only. Custom role settings, the current workspace, plan and record sharing can further restrict access.
- Opening a screen does not grant every action on it. Changes, exports and lifecycle actions can require additional permissions.
Controls and information
- Subscription state
- seats
- costs
- receipts
- plan navigation
Steps for this screen
- Review the current subscription and seat allocation. Wait for cost and receipt information to finish loading before relying on it.
Check the result
- Check actual receipt or subscription state; a loading placeholder is not a zero cost or paid receipt.
If this screen is unavailable
- If no records appear, clear active filters and confirm the workspace and your access before creating a duplicate.
- If saving fails or a conflict appears, keep a copy of your intended changes, reopen the current record and review it before submitting again.
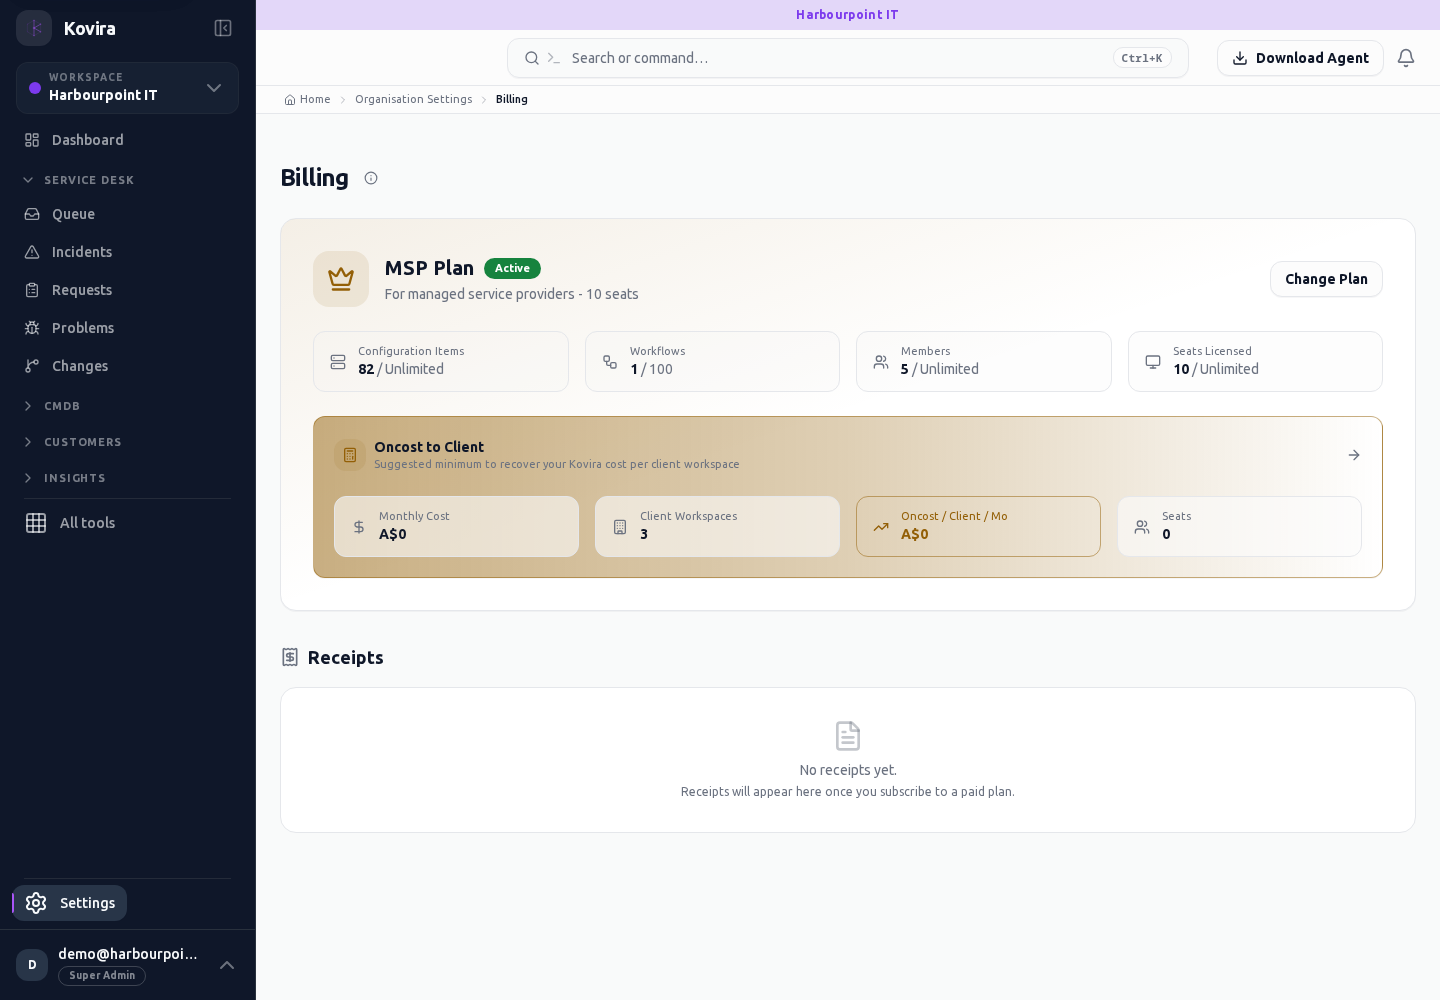
Tax settings
Tax settings for the selected account, workspace or record.
Access
- Default workspace roles for opening this screen: Super Admin, Admin, Operator, View Only. Custom role settings, the current workspace, plan and record sharing can further restrict access.
- Opening a screen does not grant every action on it. Changes, exports and lifecycle actions can require additional permissions.
Controls and information
- Tax rates
- defaults
- effective information
Steps for this screen
- Review the rate and its intended use with the billing owner before saving.
Check the result
- Check a draft document’s tax treatment and total before issuing it.
If this screen is unavailable
- If no records appear, clear active filters and confirm the workspace and your access before creating a duplicate.
- If saving fails or a conflict appears, keep a copy of your intended changes, reopen the current record and review it before submitting again.
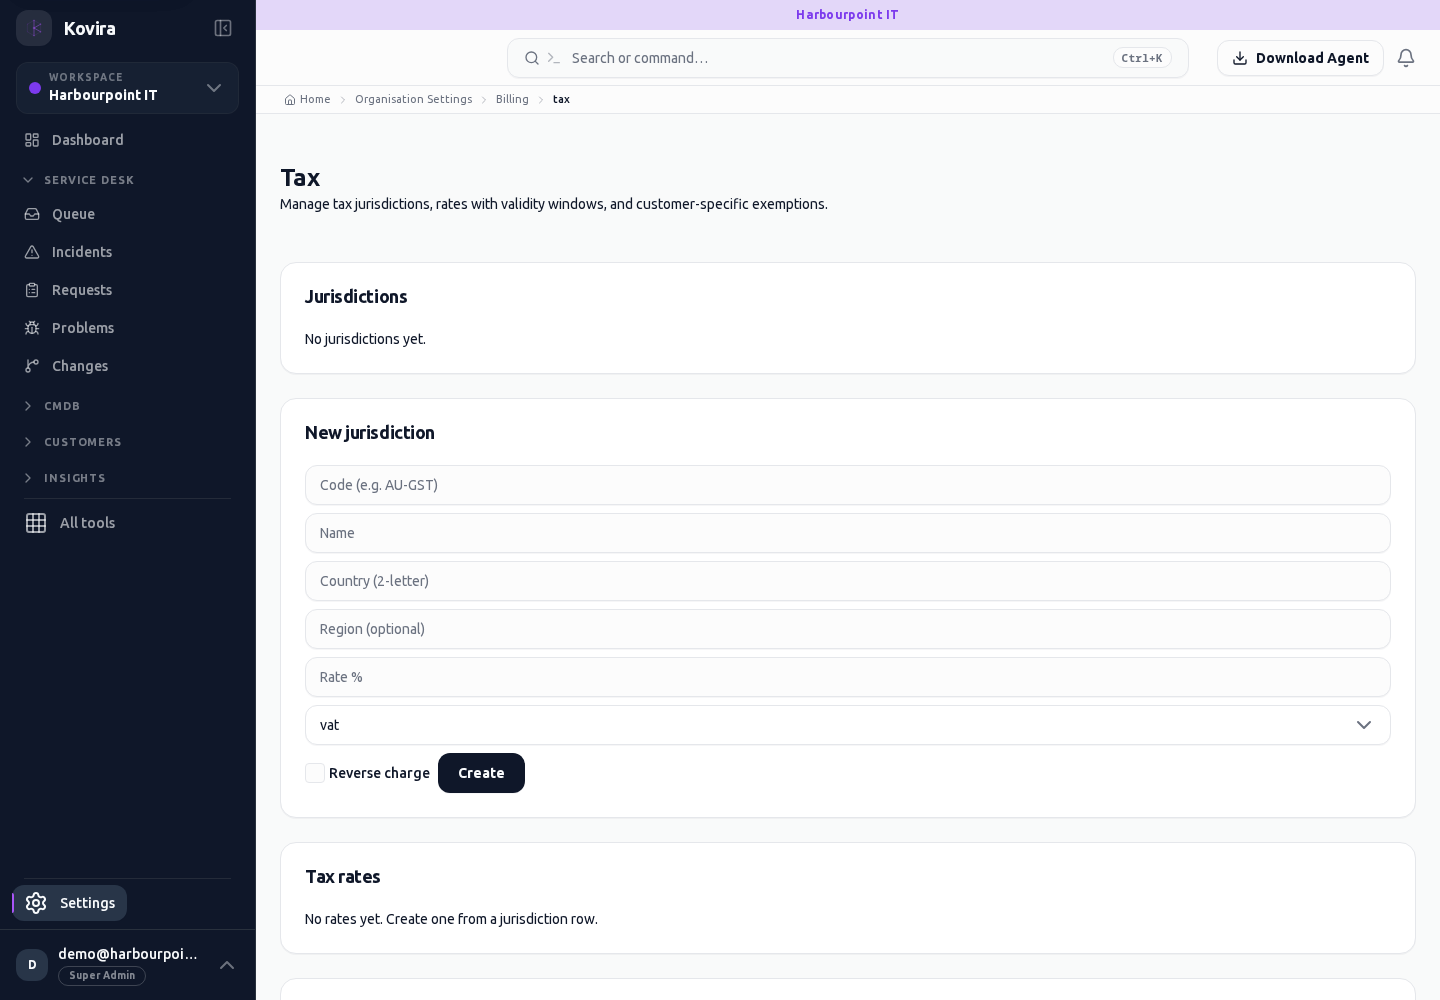
Workspace branding
Workspace branding for the selected account, workspace or record.
Access
- Default workspace roles for opening this screen: Super Admin. Custom role settings, the current workspace, plan and record sharing can further restrict access.
- Opening a screen does not grant every action on it. Changes, exports and lifecycle actions can require additional permissions.
Controls and information
- Organisation identity
- logo
- colours
- preview
Steps for this screen
- Review the workspace identity and preview the offered branding changes before saving.
Check the result
- Check readability and the saved appearance in the intended customer view.
If this screen is unavailable
- If no records appear, clear active filters and confirm the workspace and your access before creating a duplicate.
- If saving fails or a conflict appears, keep a copy of your intended changes, reopen the current record and review it before submitting again.
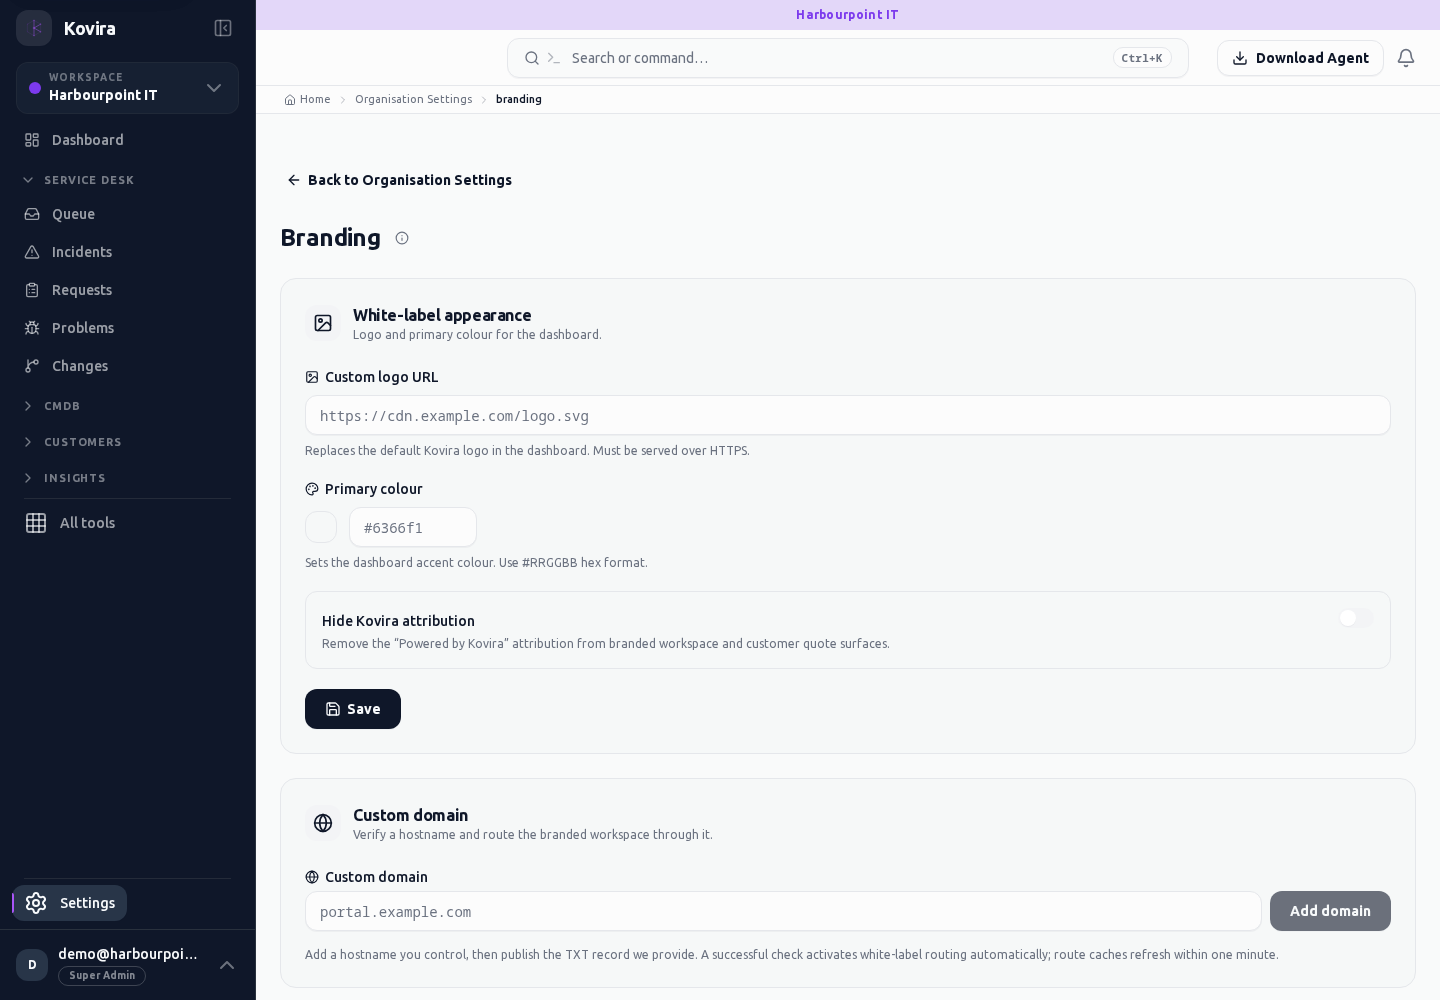
Customer satisfaction settings
Customer satisfaction settings for the selected account, workspace or record.
Access
- Default workspace roles for opening this screen: Super Admin, Admin, Operator, View Only. Custom role settings, the current workspace, plan and record sharing can further restrict access.
- Opening a screen does not grant every action on it. Changes, exports and lifecycle actions can require additional permissions.
Controls and information
- Enabled state
- score scale
- timing
- introduction
Steps for this screen
- Review when feedback should be requested and the question wording before enabling distribution.
Check the result
- Check the settings and actual response record; configuration does not prove an email was sent.
If this screen is unavailable
- If no records appear, clear active filters and confirm the workspace and your access before creating a duplicate.
- If saving fails or a conflict appears, keep a copy of your intended changes, reopen the current record and review it before submitting again.
Continual service improvement
Continual service improvement for the selected account, workspace or record.
Access
- Default workspace roles for opening this screen: Super Admin, Admin, Operator, View Only. Custom role settings, the current workspace, plan and record sharing can further restrict access.
- Opening a screen does not grant every action on it. Changes, exports and lifecycle actions can require additional permissions.
Controls and information
- Improvement entry
- owner
- state
- evidence
Steps for this screen
- Record the improvement goal and owner, then keep the planned action and evidence current.
Check the result
- Check the resulting outcome against the intended improvement rather than treating a saved plan as completion.
If this screen is unavailable
- If no records appear, clear active filters and confirm the workspace and your access before creating a duplicate.
- If saving fails or a conflict appears, keep a copy of your intended changes, reopen the current record and review it before submitting again.
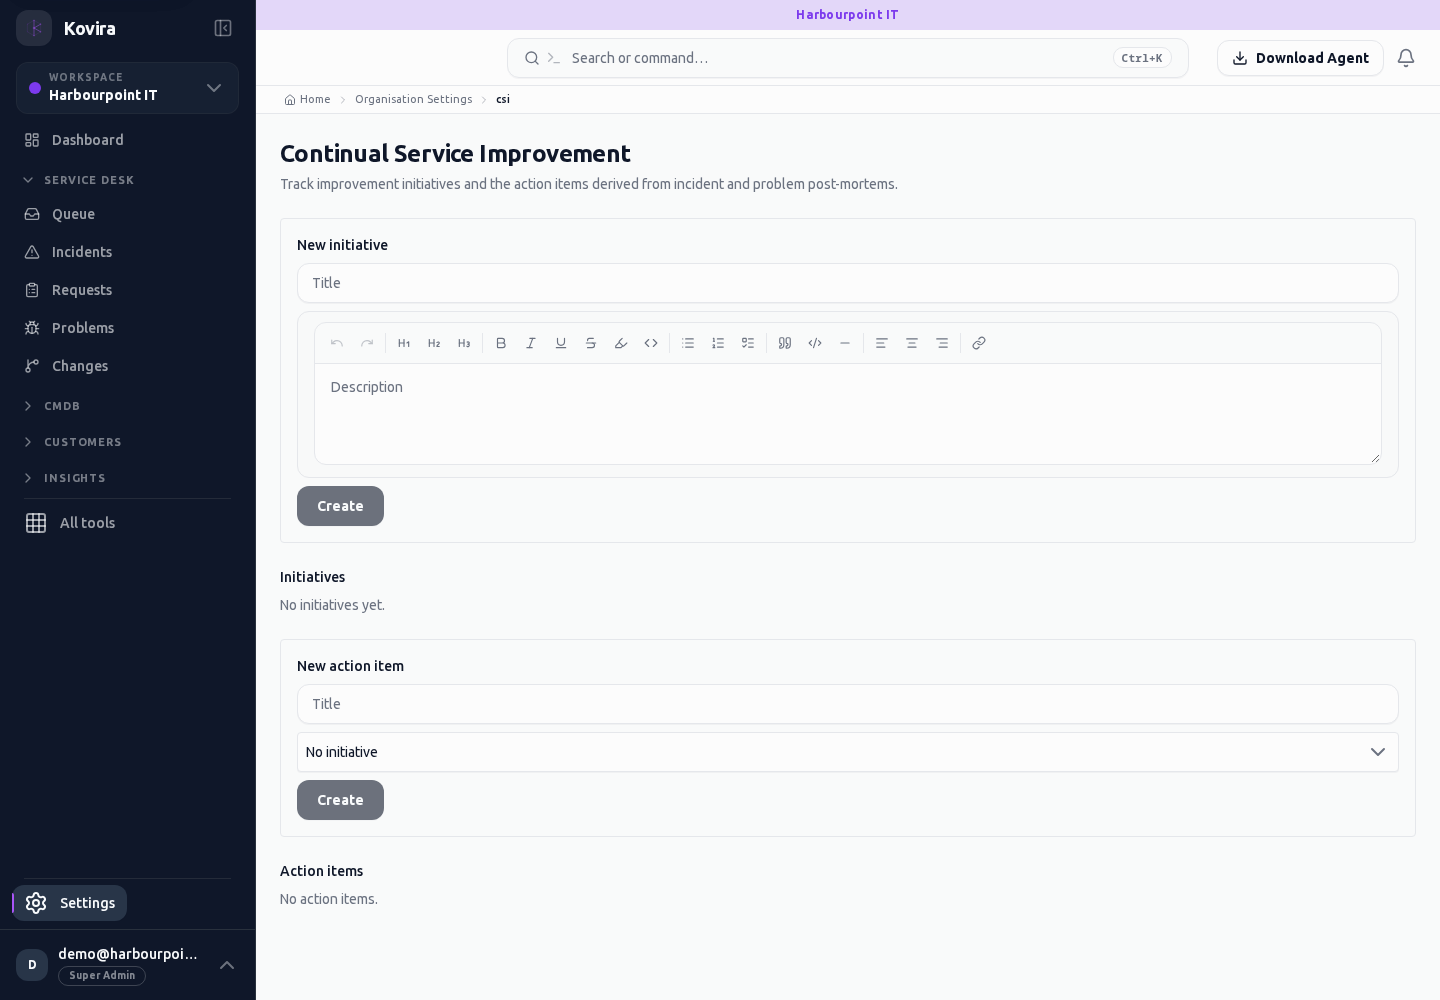
Custom fields
Custom fields for the selected account, workspace or record.
Access
- Default workspace roles for opening this screen: Super Admin, Admin, Operator, View Only. Custom role settings, the current workspace, plan and record sharing can further restrict access.
- Opening a screen does not grant every action on it. Changes, exports and lifecycle actions can require additional permissions.
Controls and information
- Entity type
- field label
- field type
- required state
- allowed values
Steps for this screen
- Choose the record type and review the field label, value type and validation before saving.
Check the result
- Open an appropriate record and check the field’s label and required/optional behaviour.
If this screen is unavailable
- If no records appear, clear active filters and confirm the workspace and your access before creating a duplicate.
- If saving fails or a conflict appears, keep a copy of your intended changes, reopen the current record and review it before submitting again.
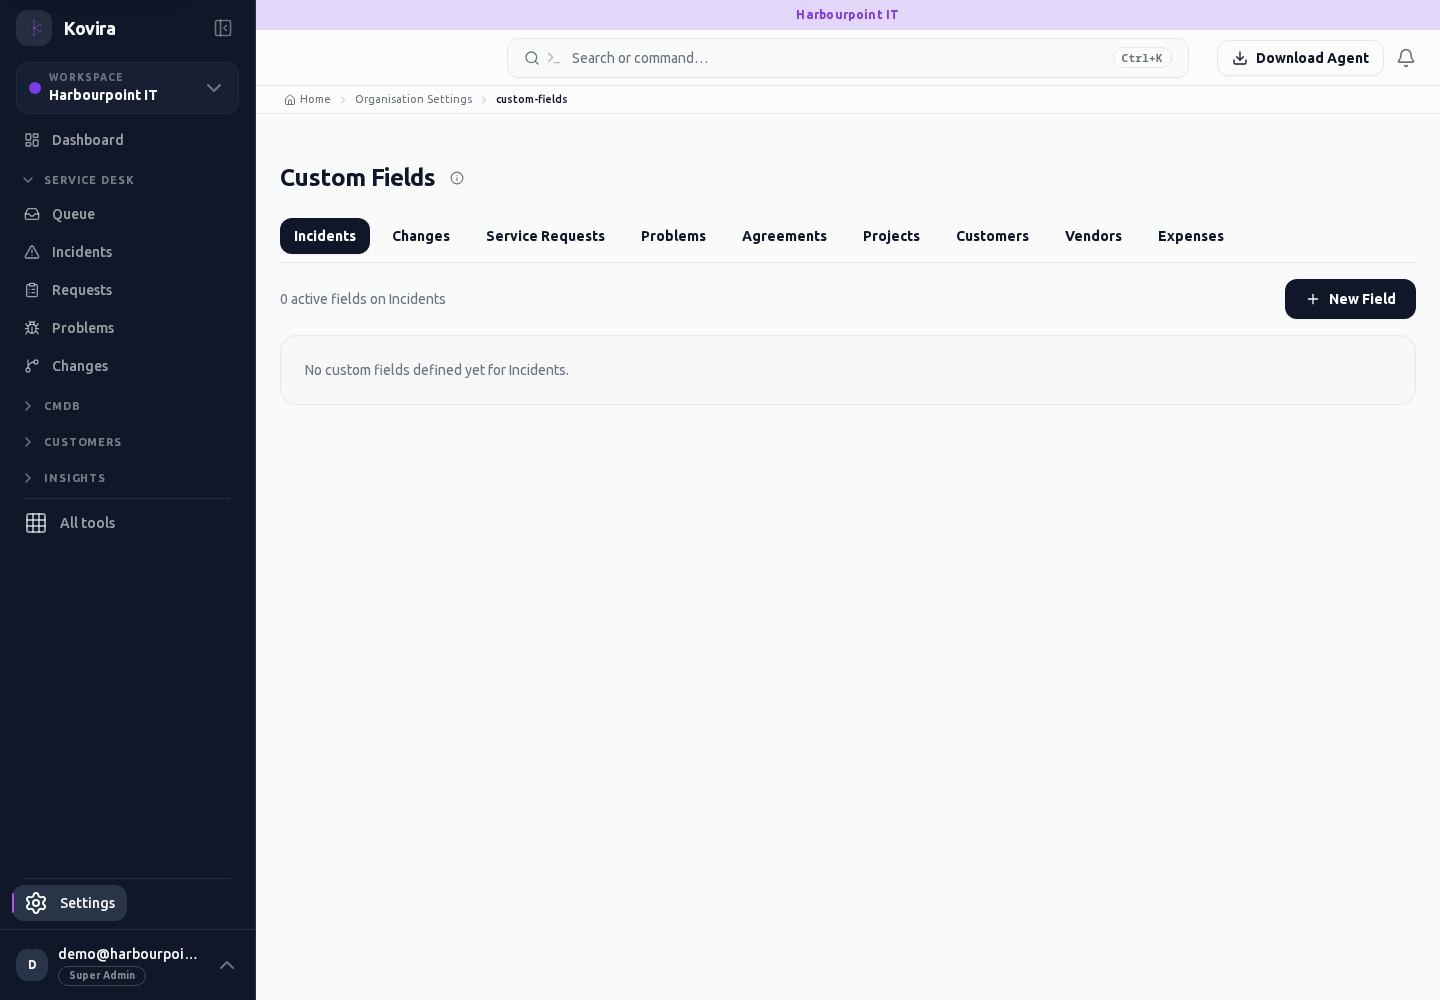
Custom item types
Custom item types for the selected account, workspace or record.
Access
- Your current workspace role, plan and record access determine whether this screen and its actions are available. Ask an administrator if the required action is missing.
Controls and information
- Item category
- system types
- custom type definitions
Steps for this screen
- Choose the item category and review existing types before adding or changing a custom definition.
- This entry opens the corresponding destination screen. Check the heading and continue with the destination’s controls.
Check the result
- Confirm the saved type is offered for the intended category; wait for system rows to load before interpreting an empty view.
If this screen is unavailable
- If no records appear, clear active filters and confirm the workspace and your access before creating a duplicate.
- If the destination cannot be opened, use its navigation entry and confirm that your role and plan include it.
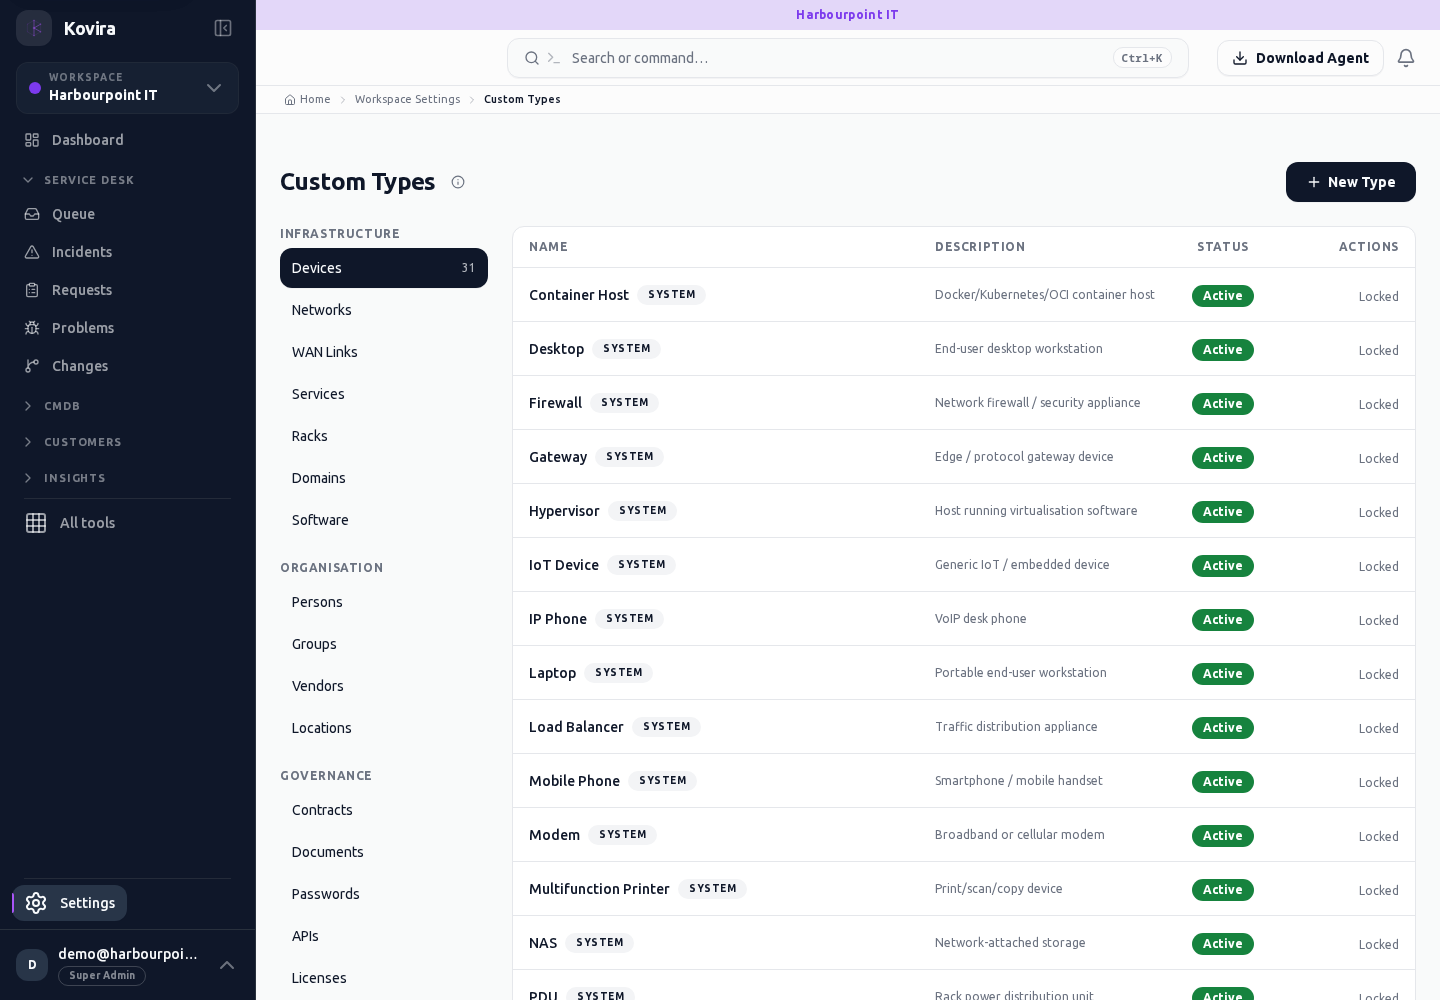
Customer health settings
Customer health settings for the selected account, workspace or record.
Access
- Default workspace roles for opening this screen: Super Admin. Custom role settings, the current workspace, plan and record sharing can further restrict access.
- Opening a screen does not grant every action on it. Changes, exports and lifecycle actions can require additional permissions.
Controls and information
- Health categories
- displayed measures
- review context
Steps for this screen
- Review which customer outcomes the health measures describe before adjusting their settings.
Check the result
- Check the saved configuration against known customer information; a summary score does not replace a customer review.
If this screen is unavailable
- If no records appear, clear active filters and confirm the workspace and your access before creating a duplicate.
- If saving fails or a conflict appears, keep a copy of your intended changes, reopen the current record and review it before submitting again.
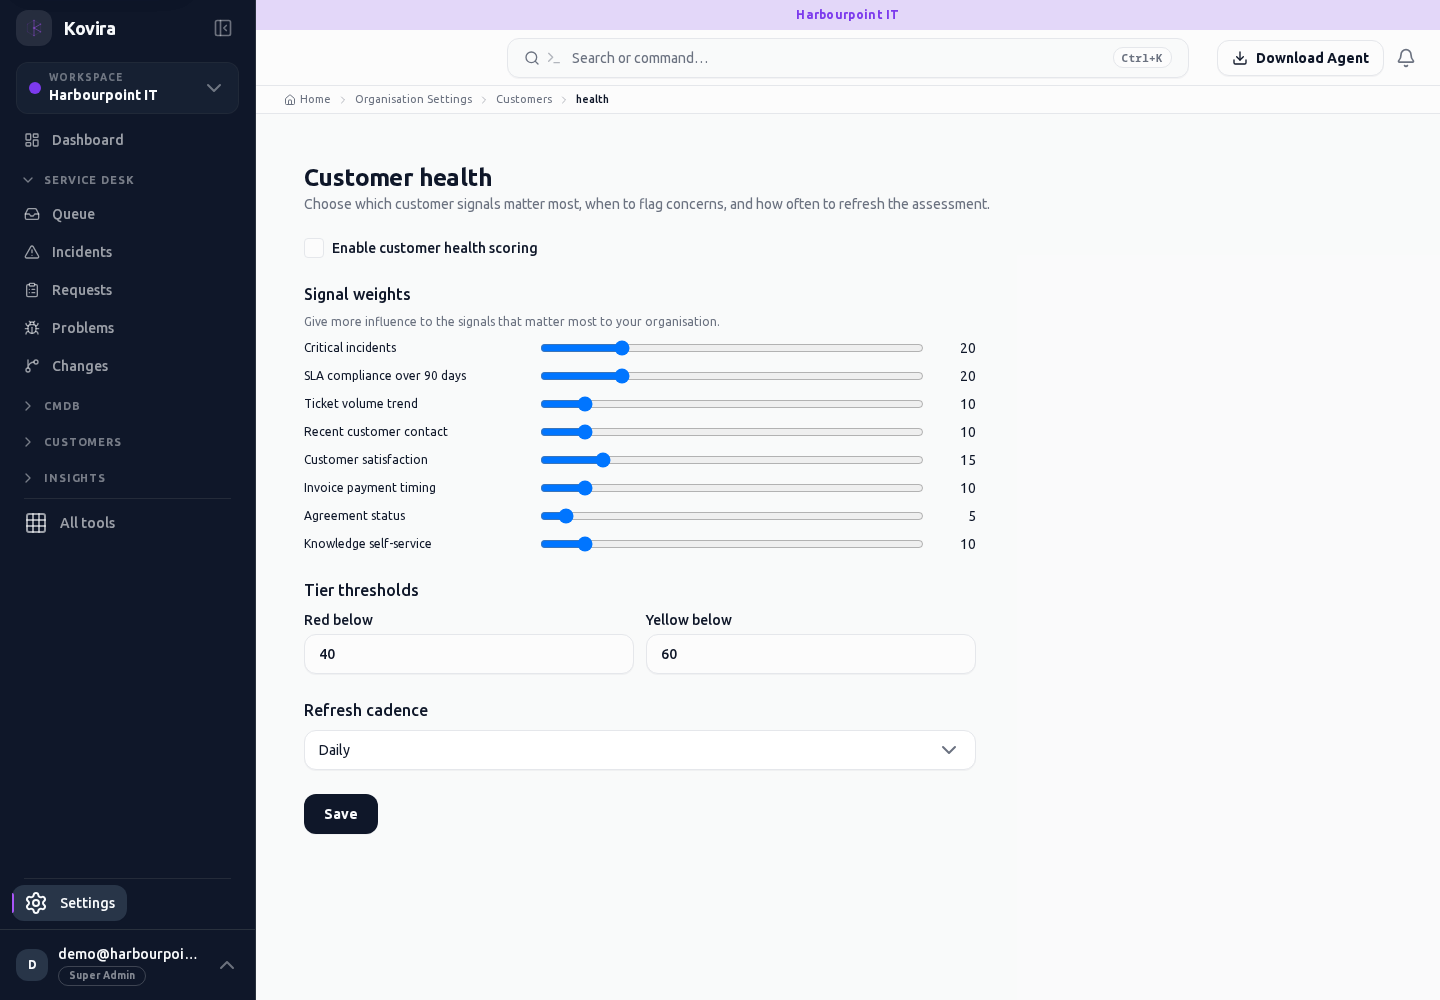
Customer workspaces / New
Customer workspaces for the selected account, workspace or record.
Access
- Default workspace roles for opening this screen: Super Admin, Admin. Custom role settings, the current workspace, plan and record sharing can further restrict access.
- Opening a screen does not grant every action on it. Changes, exports and lifecycle actions can require additional permissions.
Controls and information
- Customer identity
- status
- workspace access
Steps for this screen
- Check for an existing customer before creating another. Review organisation identity and current status before editing.
- Complete the required fields. Review linked records, dates and any recipient or customer selection.
- Use the form’s create or save action once and wait for its result. Cancel to leave without submitting.
Check the result
- Confirm the customer and workspace selected on related work and commercial records.
- Open the newly created record from the resulting list or confirmation and check the saved values.
If this screen is unavailable
- If no records appear, clear active filters and confirm the workspace and your access before creating a duplicate.
- If saving fails or a conflict appears, keep a copy of your intended changes, reopen the current record and review it before submitting again.
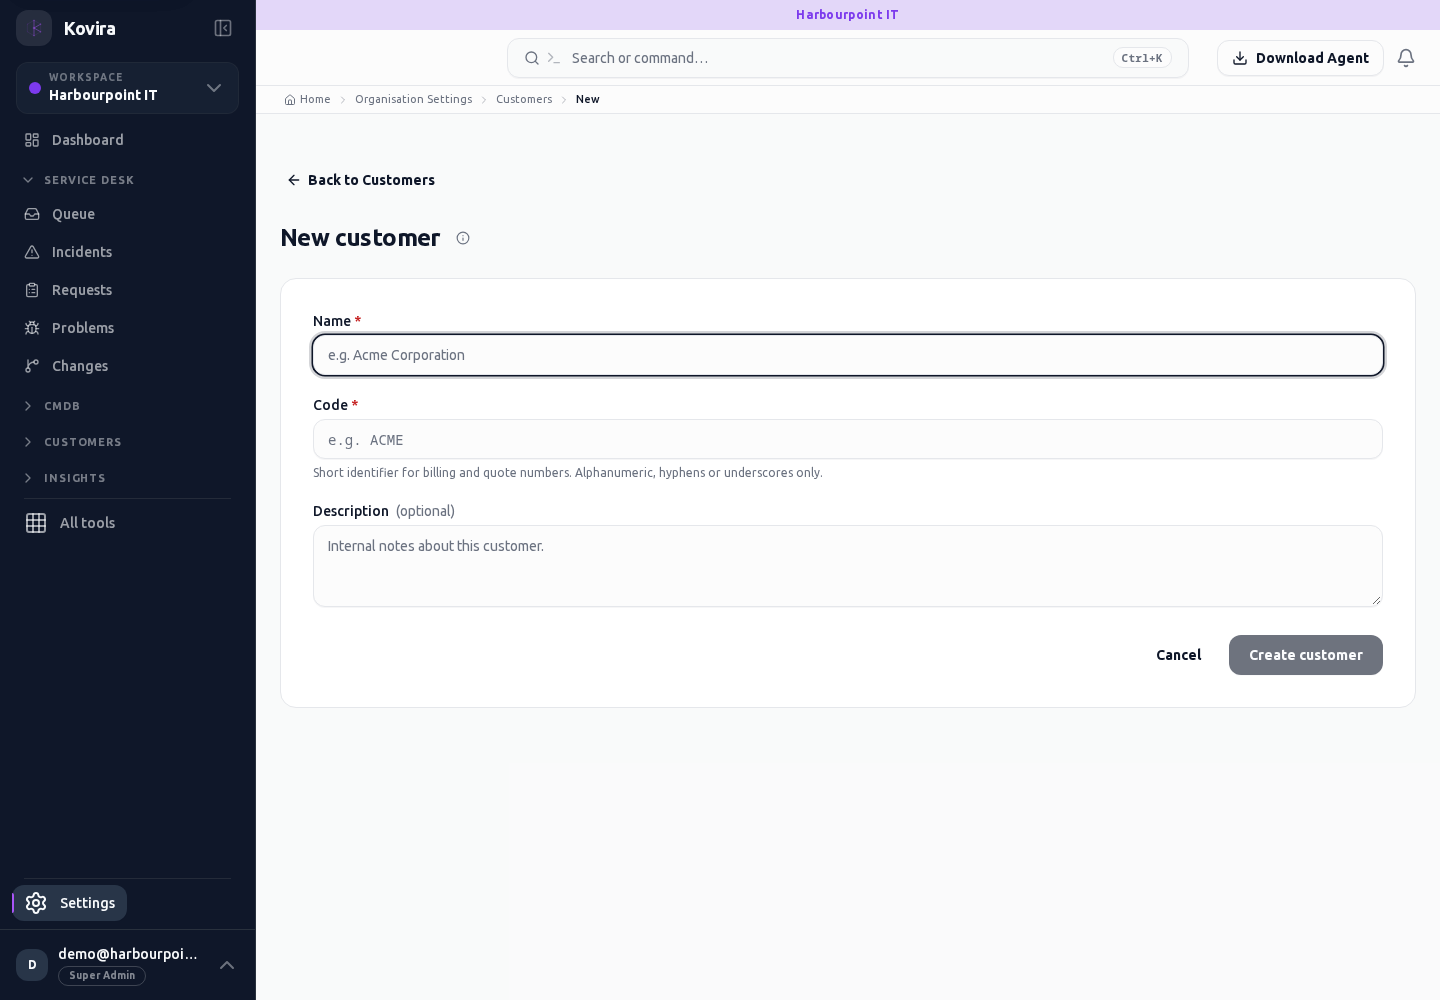
Customer workspaces
Customer workspaces for the selected account, workspace or record.
Access
- Default workspace roles for opening this screen: Super Admin, Admin, Operator, View Only. Custom role settings, the current workspace, plan and record sharing can further restrict access.
- Opening a screen does not grant every action on it. Changes, exports and lifecycle actions can require additional permissions.
Controls and information
- Customer identity
- status
- workspace access
Steps for this screen
- Check for an existing customer before creating another. Review organisation identity and current status before editing.
- Use the available search, date and status filters to narrow the view. Open a record link for its detail.
- Clear filters when you need to compare the full accessible list.
Check the result
- Confirm the customer and workspace selected on related work and commercial records.
If this screen is unavailable
- If no records appear, clear active filters and confirm the workspace and your access before creating a duplicate.
- If the list cannot load, retry once and quote the displayed support reference; do not infer that the workspace is empty.
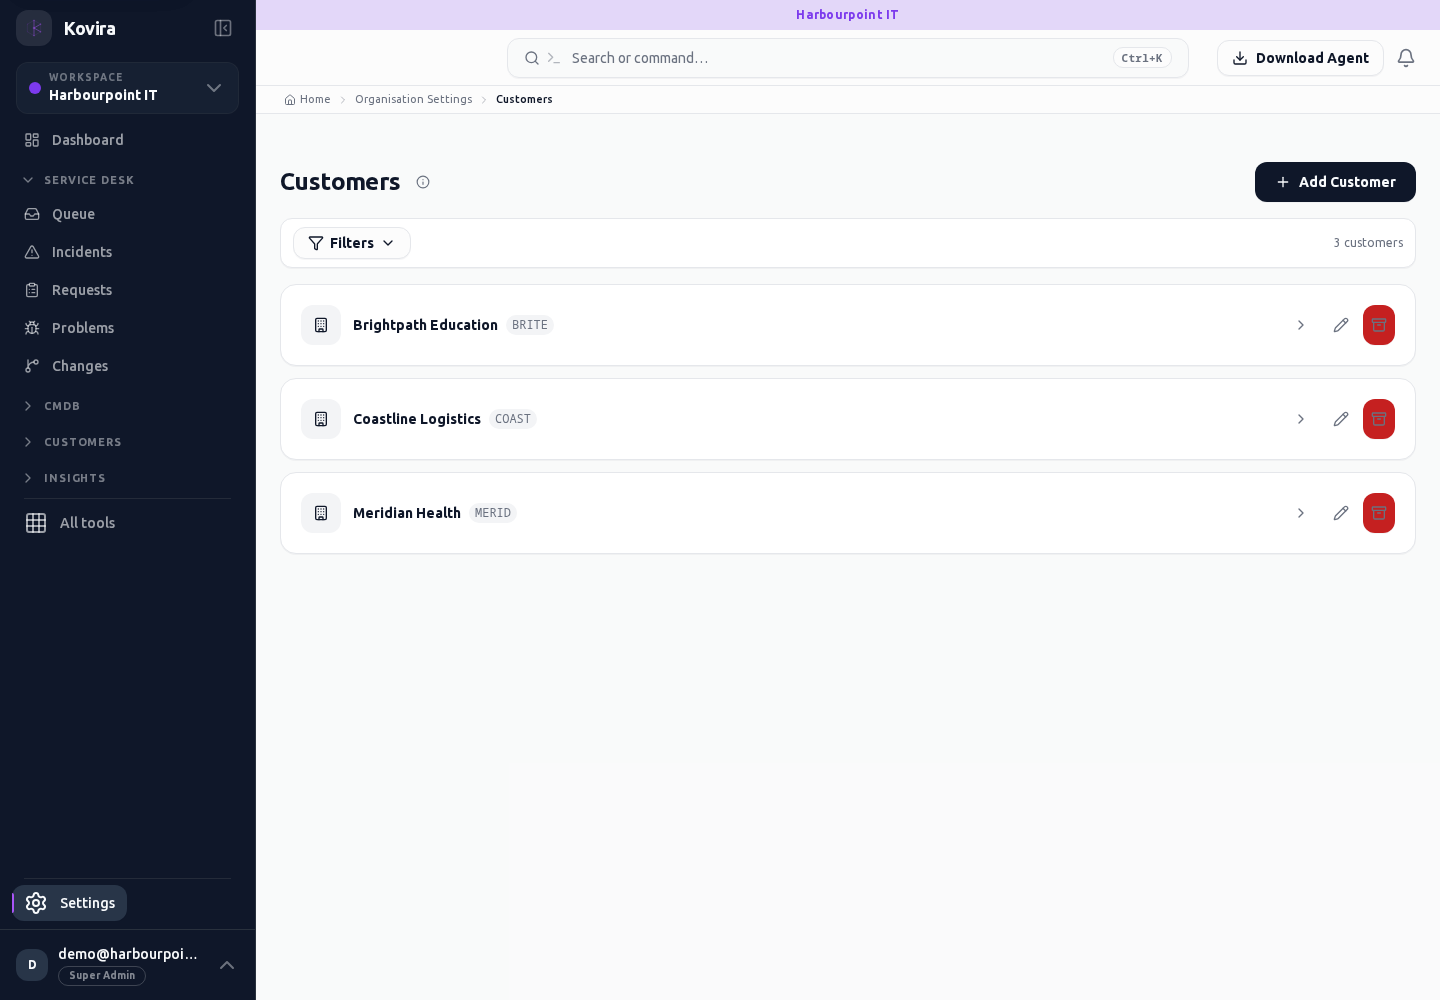
Data controls
Data controls for the selected account, workspace or record.
Access
- Default workspace roles for opening this screen: Super Admin, Admin. Custom role settings, the current workspace, plan and record sharing can further restrict access.
- Opening a screen does not grant every action on it. Changes, exports and lifecycle actions can require additional permissions.
Controls and information
- Retention choices
- affected scope
- confirmation
Steps for this screen
- Review which records and users a control affects before applying it. Follow the displayed confirmation for significant actions.
Check the result
- Verify the resulting setting or job state; saving a retention rule does not demonstrate that removal has finished.
If this screen is unavailable
- If no records appear, clear active filters and confirm the workspace and your access before creating a duplicate.
- If saving fails or a conflict appears, keep a copy of your intended changes, reopen the current record and review it before submitting again.
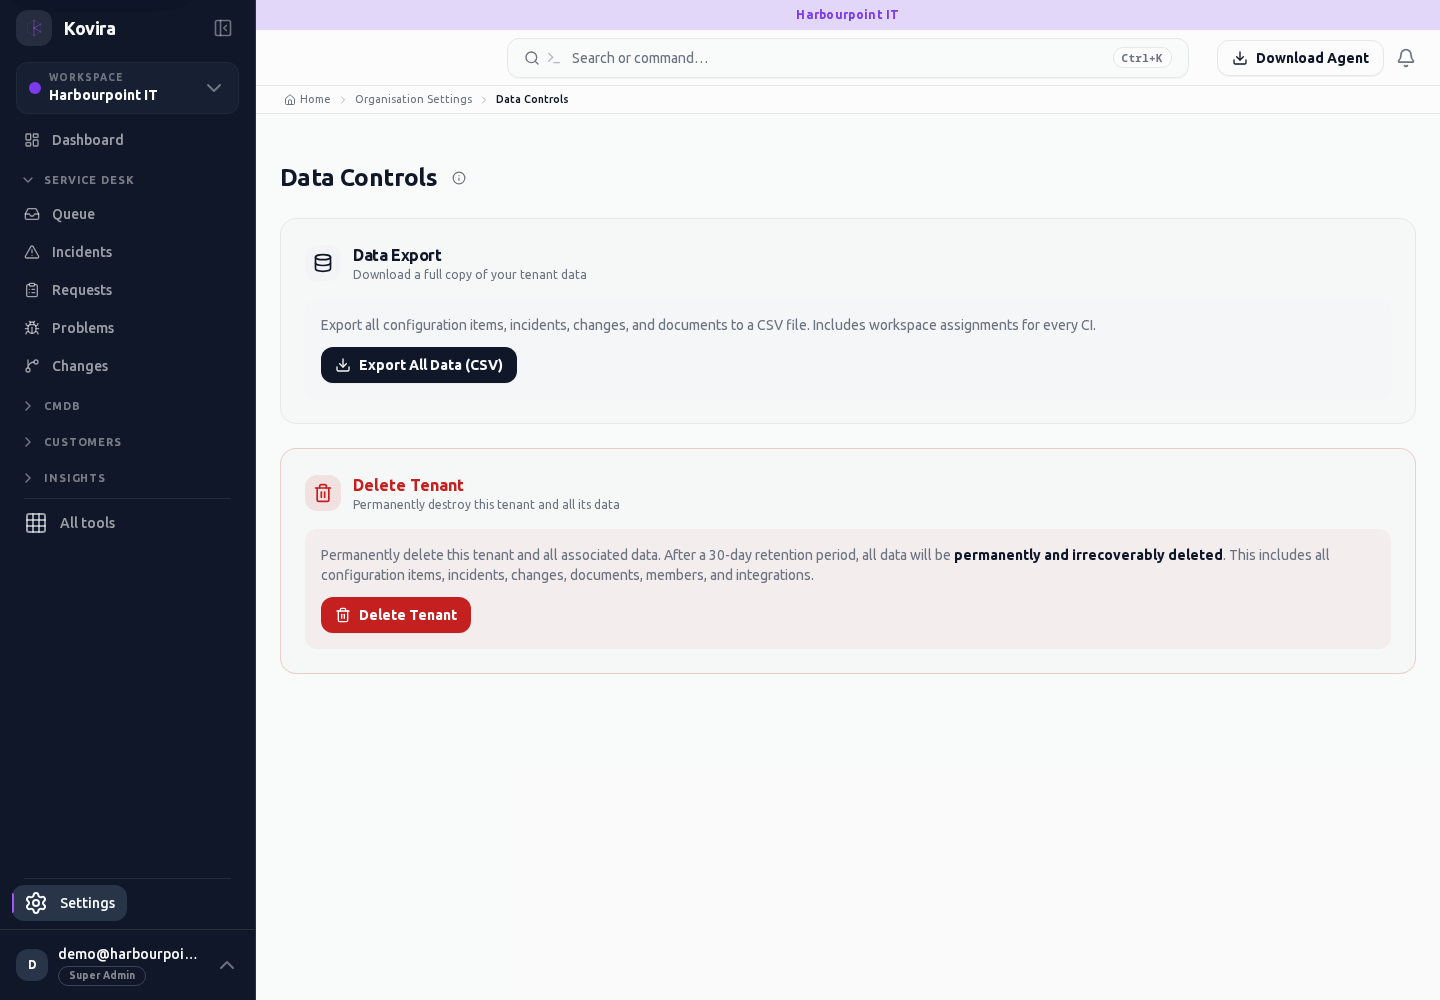
Data quality settings
Data quality settings for the selected account, workspace or record.
Access
- Default workspace roles for opening this screen: Super Admin, Admin. Custom role settings, the current workspace, plan and record sharing can further restrict access.
- Opening a screen does not grant every action on it. Changes, exports and lifecycle actions can require additional permissions.
Controls and information
- Issue overview
- affected records
- remediation options
Steps for this screen
- Review the reported issue and the underlying records before applying an offered remediation.
Check the result
- Reopen the affected records to verify the correction; wait for any pending review to finish before comparing counts.
If this screen is unavailable
- If no records appear, clear active filters and confirm the workspace and your access before creating a duplicate.
- If saving fails or a conflict appears, keep a copy of your intended changes, reopen the current record and review it before submitting again.
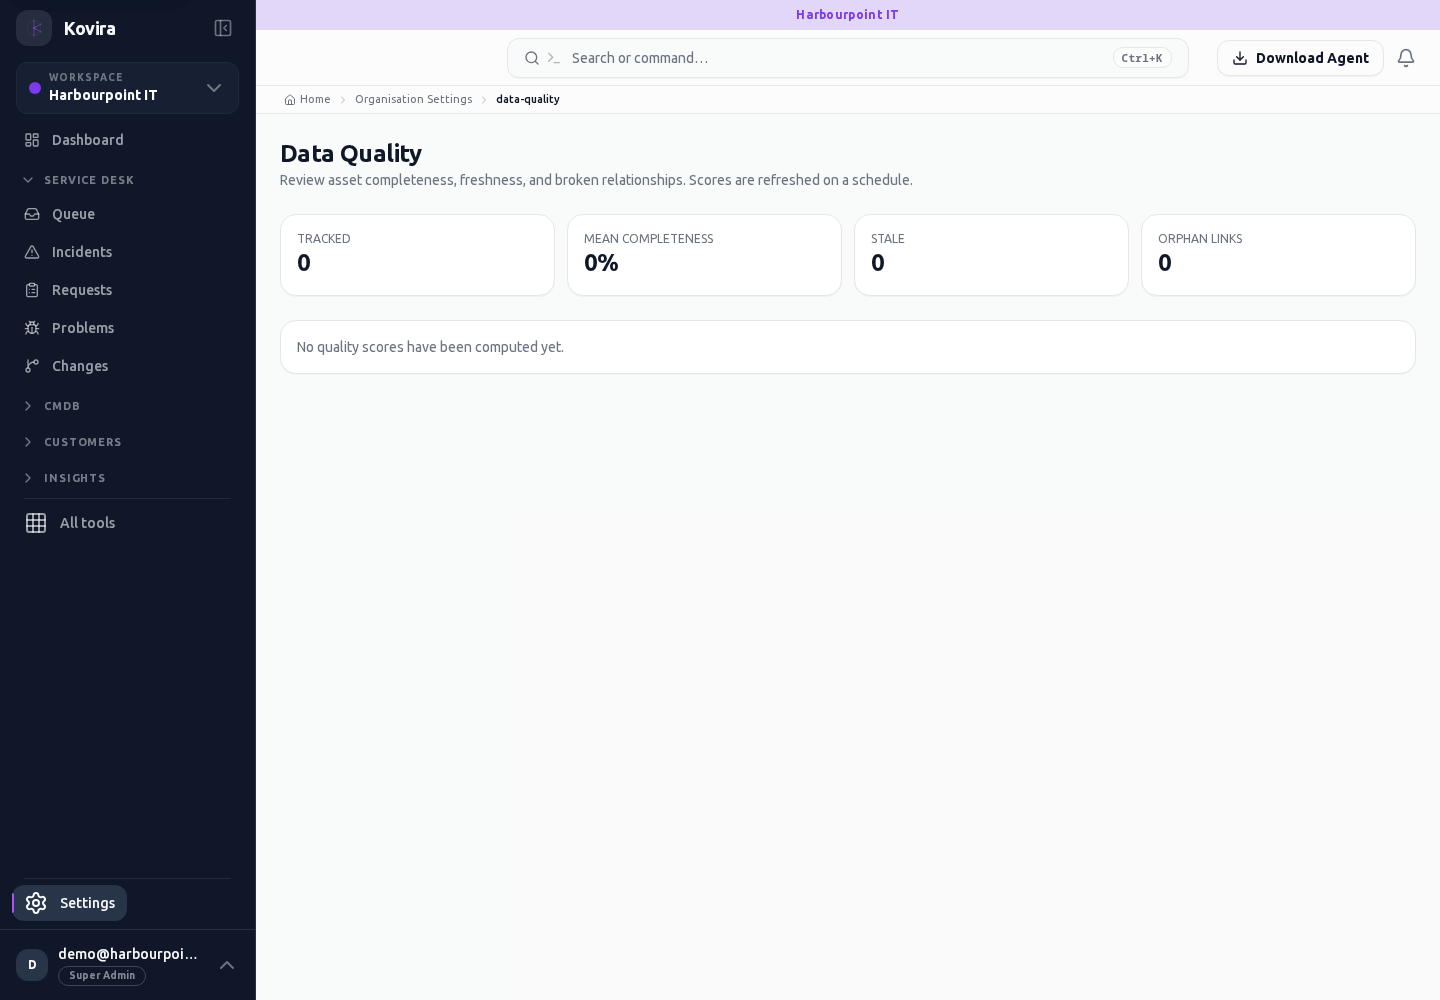
Depreciation settings
Depreciation settings for the selected account, workspace or record.
Access
- Default workspace roles for opening this screen: Super Admin, Admin, Operator, View Only. Custom role settings, the current workspace, plan and record sharing can further restrict access.
- Opening a screen does not grant every action on it. Changes, exports and lifecycle actions can require additional permissions.
Controls and information
- Method
- useful life
- relevant dates and values
Steps for this screen
- Review the accounting defaults with the asset and finance owners before saving.
Check the result
- Check the resulting estimate on a known asset and its reporting period.
If this screen is unavailable
- If no records appear, clear active filters and confirm the workspace and your access before creating a duplicate.
- If saving fails or a conflict appears, keep a copy of your intended changes, reopen the current record and review it before submitting again.
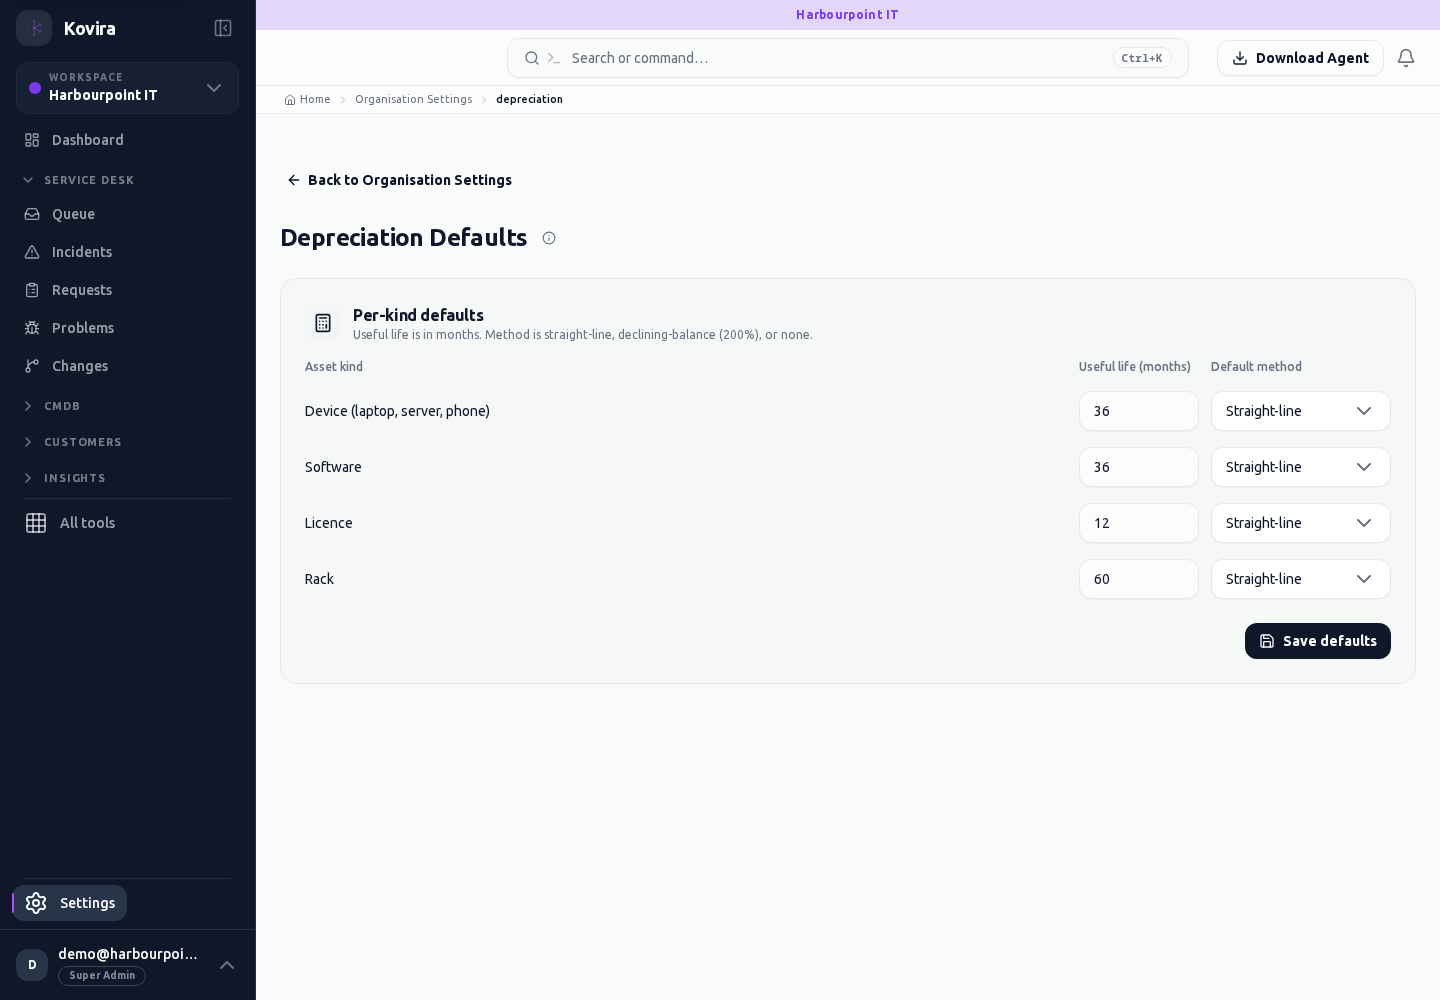
Workspace general settings
Workspace general settings for the selected account, workspace or record.
Access
- Default workspace roles for opening this screen: Super Admin, Admin, Operator, View Only. Custom role settings, the current workspace, plan and record sharing can further restrict access.
- Opening a screen does not grant every action on it. Changes, exports and lifecycle actions can require additional permissions.
Controls and information
- Organisation name
- locale
- timezone
- available defaults
Steps for this screen
- Confirm the workspace and intended defaults before making a change.
Check the result
- Reopen the setting and check its effect on an appropriate new or existing record.
If this screen is unavailable
- If no records appear, clear active filters and confirm the workspace and your access before creating a duplicate.
- If saving fails or a conflict appears, keep a copy of your intended changes, reopen the current record and review it before submitting again.
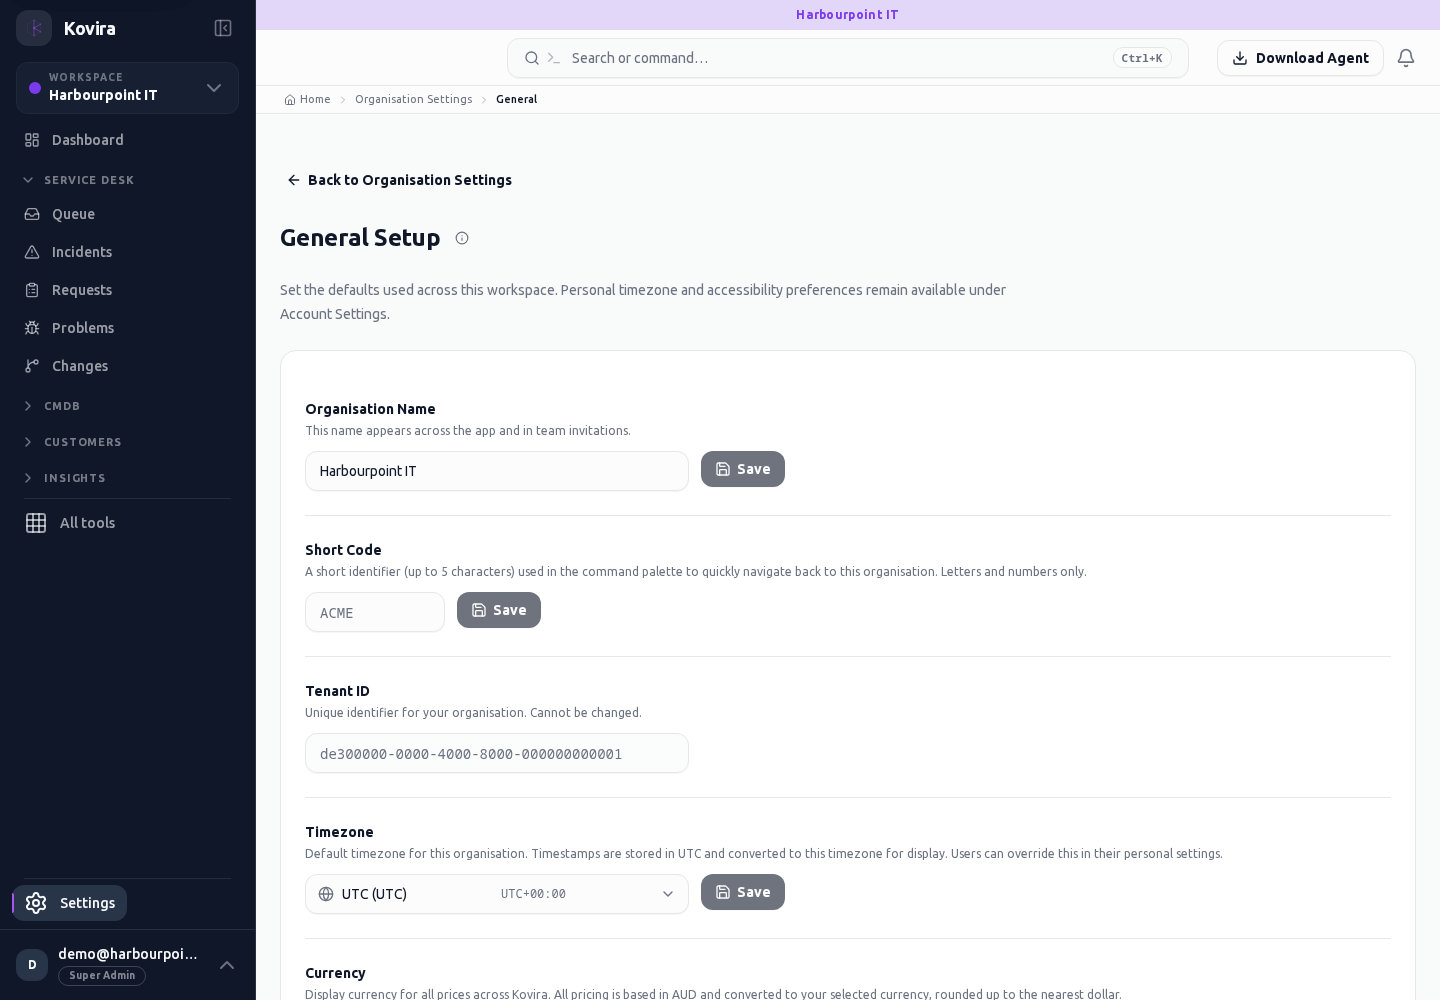
Import batches / Details
Import batches for the selected account, workspace or record.
Access
- Default workspace roles for opening this screen: Super Admin, Admin. Custom role settings, the current workspace, plan and record sharing can further restrict access.
- Opening a screen does not grant every action on it. Changes, exports and lifecycle actions can require additional permissions.
Controls and information
- File or template
- mapping
- validation
- batch results
Steps for this screen
- Use the offered import template, map fields and review validation with a small sample before submitting a larger batch.
- Read the summary, current state and related records. Review the action and its prerequisites before changing the record.
Check the result
- Inspect created, updated and rejected rows. A submitted file is not a successful import.
If this screen is unavailable
- If the record is unavailable, return to its list and confirm the workspace and link. Ask an administrator to check record access before creating a replacement.
- If saving fails or a conflict appears, keep a copy of your intended changes, reopen the current record and review it before submitting again.
Import batches / New
Import batches for the selected account, workspace or record.
Access
- Default workspace roles for opening this screen: Super Admin, Admin. Custom role settings, the current workspace, plan and record sharing can further restrict access.
- Opening a screen does not grant every action on it. Changes, exports and lifecycle actions can require additional permissions.
Controls and information
- File or template
- mapping
- validation
- batch results
Steps for this screen
- Use the offered import template, map fields and review validation with a small sample before submitting a larger batch.
- Complete the required fields. Review linked records, dates and any recipient or customer selection.
- Use the form’s create or save action once and wait for its result. Cancel to leave without submitting.
Check the result
- Inspect created, updated and rejected rows. A submitted file is not a successful import.
- Open the newly created record from the resulting list or confirmation and check the saved values.
If this screen is unavailable
- If no records appear, clear active filters and confirm the workspace and your access before creating a duplicate.
- If saving fails or a conflict appears, keep a copy of your intended changes, reopen the current record and review it before submitting again.
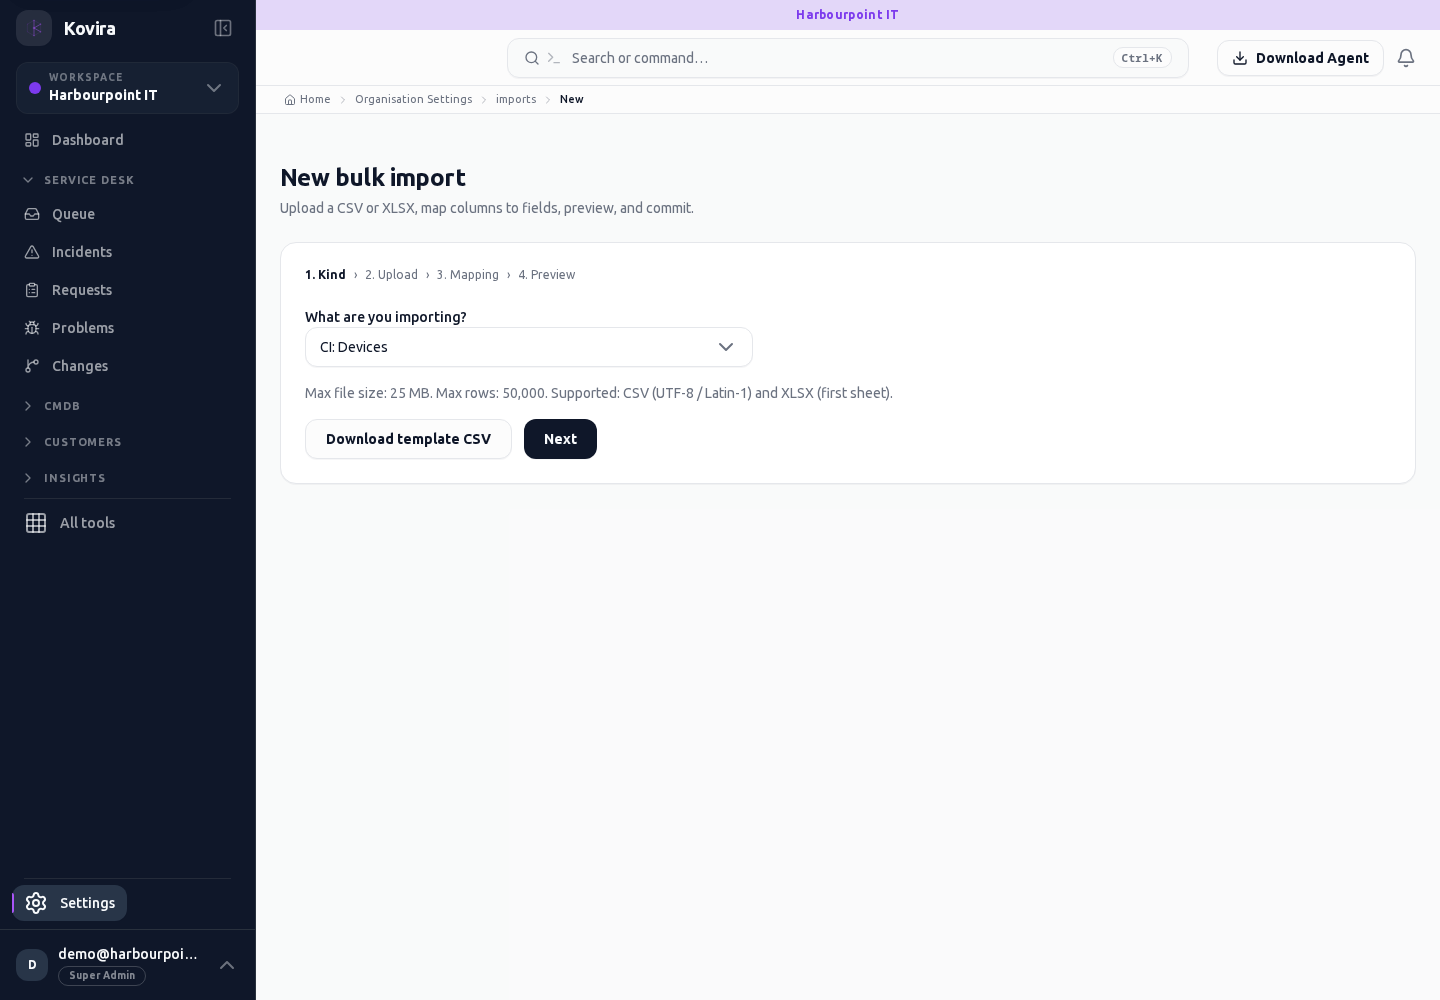
Import batches
Import batches for the selected account, workspace or record.
Access
- Default workspace roles for opening this screen: Super Admin, Admin. Custom role settings, the current workspace, plan and record sharing can further restrict access.
- Opening a screen does not grant every action on it. Changes, exports and lifecycle actions can require additional permissions.
Controls and information
- File or template
- mapping
- validation
- batch results
Steps for this screen
- Use the offered import template, map fields and review validation with a small sample before submitting a larger batch.
- Use the available search, date and status filters to narrow the view. Open a record link for its detail.
- Clear filters when you need to compare the full accessible list.
Check the result
- Inspect created, updated and rejected rows. A submitted file is not a successful import.
If this screen is unavailable
- If no records appear, clear active filters and confirm the workspace and your access before creating a duplicate.
- If the list cannot load, retry once and quote the displayed support reference; do not infer that the workspace is empty.
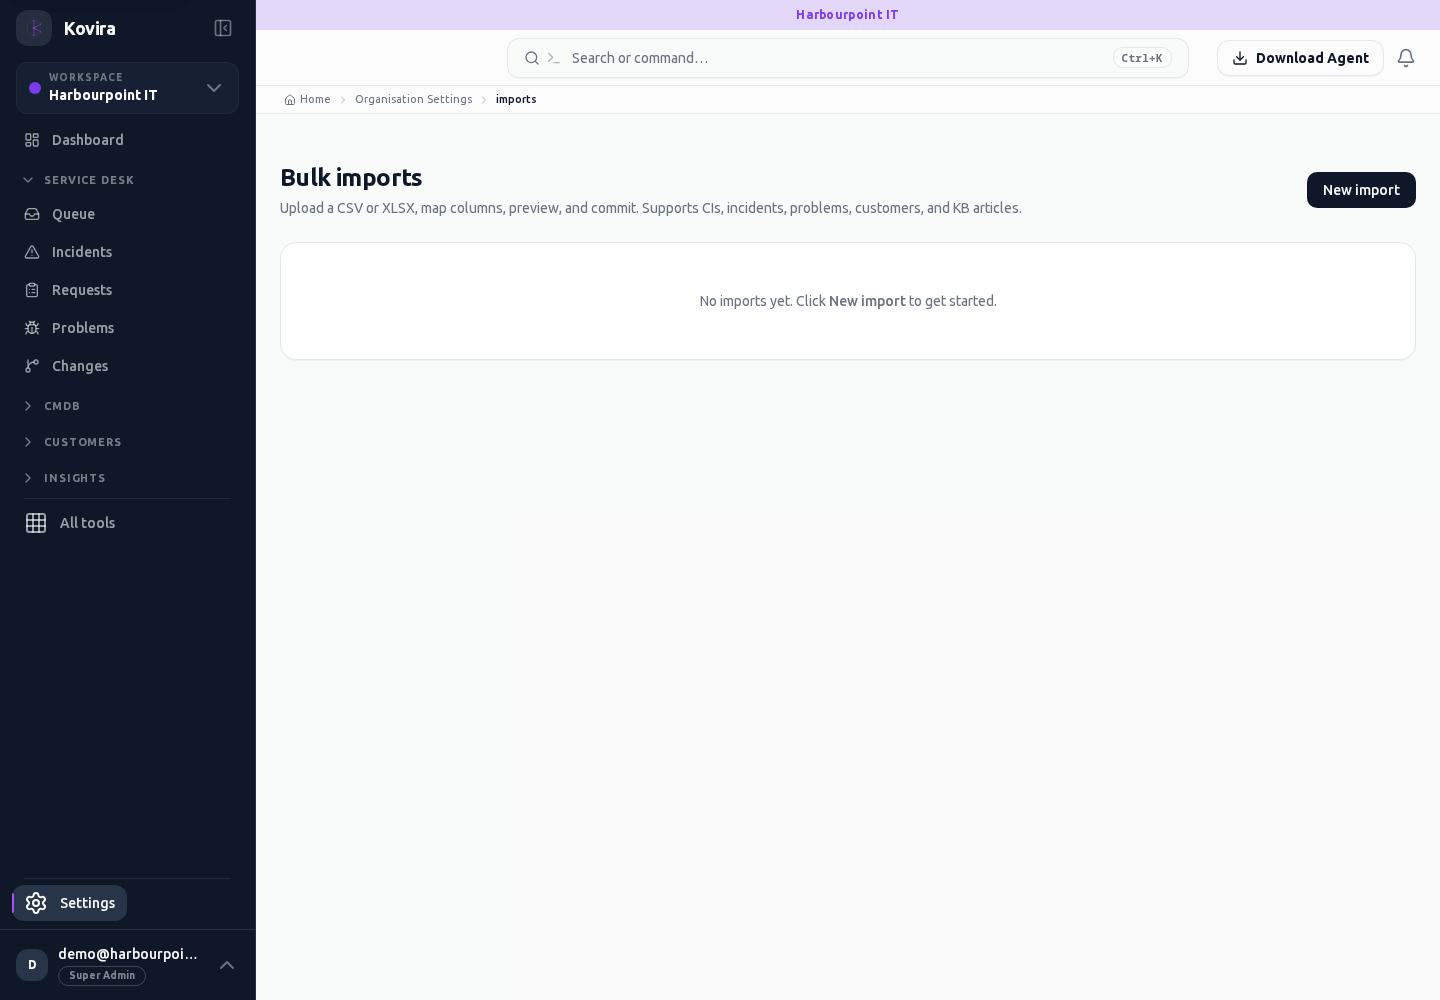
Settings
Workspace configuration. Review this screen in the context of the current workspace and record.
Access
- Default workspace roles for opening this screen: Super Admin, Admin, Operator, View Only. Custom role settings, the current workspace, plan and record sharing can further restrict access.
- Opening a screen does not grant every action on it. Changes, exports and lifecycle actions can require additional permissions.
Controls and information
- Organisation settings
- custom fields and types
- data quality
- usage
- billing
Steps for this screen
- Confirm the workspace and required information before changing a field, data rule or administrative setting.
Check the result
- Check the saved value and its effect on the intended record or form before applying it more widely.
If this screen is unavailable
- If no records appear, clear active filters and confirm the workspace and your access before creating a duplicate.
- If saving fails or a conflict appears, keep a copy of your intended changes, reopen the current record and review it before submitting again.
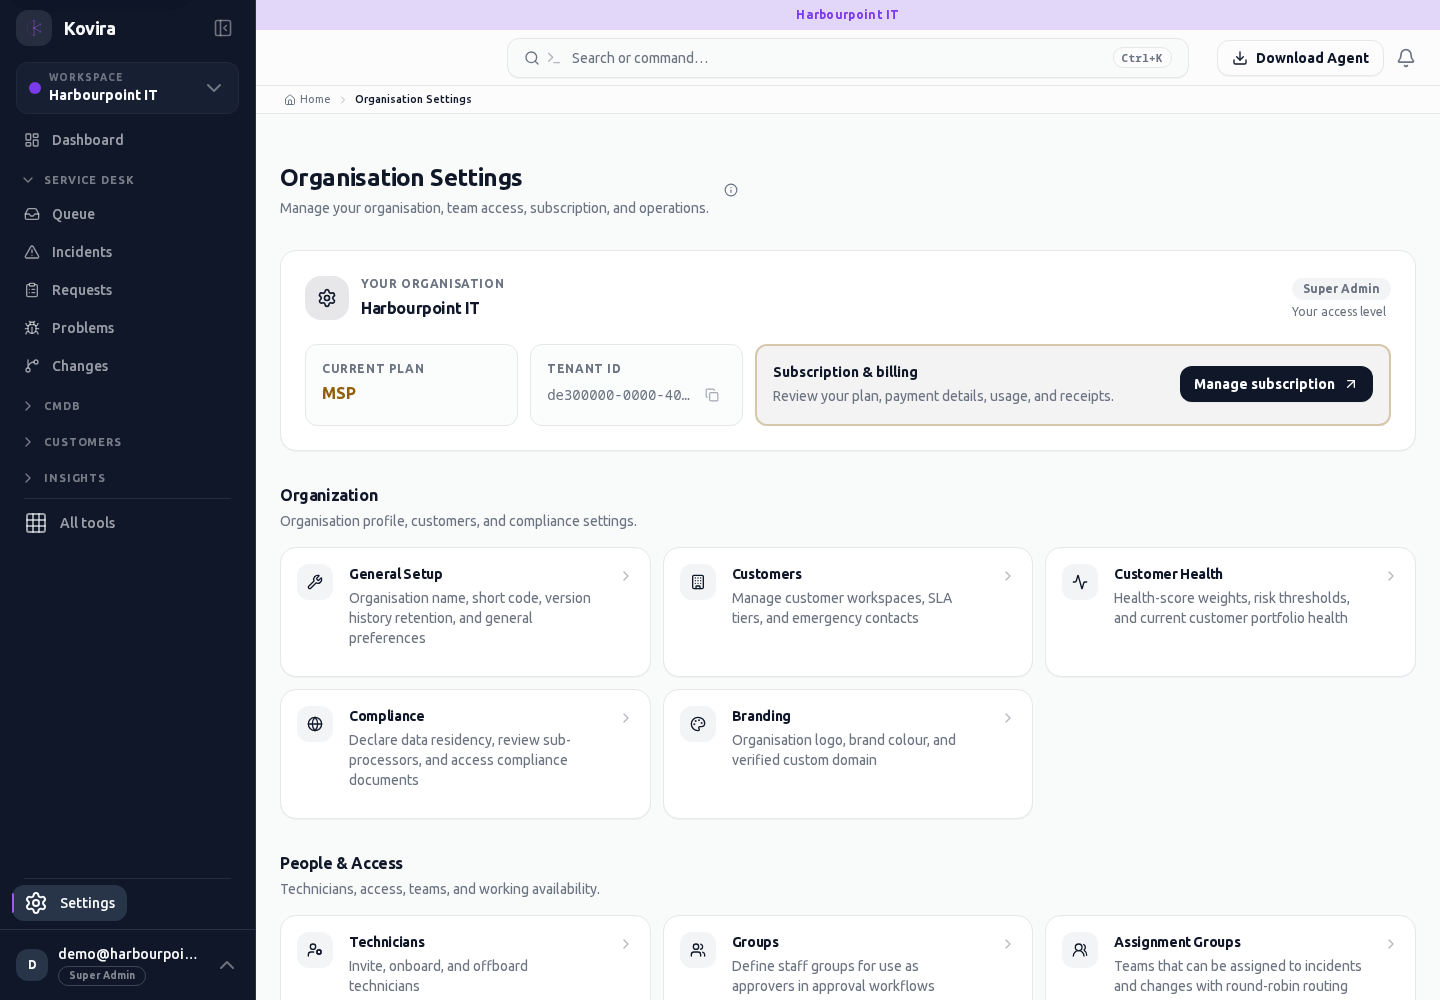
Service probes
Service probes for the selected account, workspace or record.
Access
- Default workspace roles for opening this screen: Super Admin. Custom role settings, the current workspace, plan and record sharing can further restrict access.
- Opening a screen does not grant every action on it. Changes, exports and lifecycle actions can require additional permissions.
Controls and information
- Probe target
- schedule
- enabled state
- result history
Steps for this screen
- Review the authorised target and probe settings before enabling an offered check.
Check the result
- Inspect an actual check result and timestamp; a saved target is not a successful probe.
If this screen is unavailable
- If no records appear, clear active filters and confirm the workspace and your access before creating a duplicate.
- If saving fails or a conflict appears, keep a copy of your intended changes, reopen the current record and review it before submitting again.
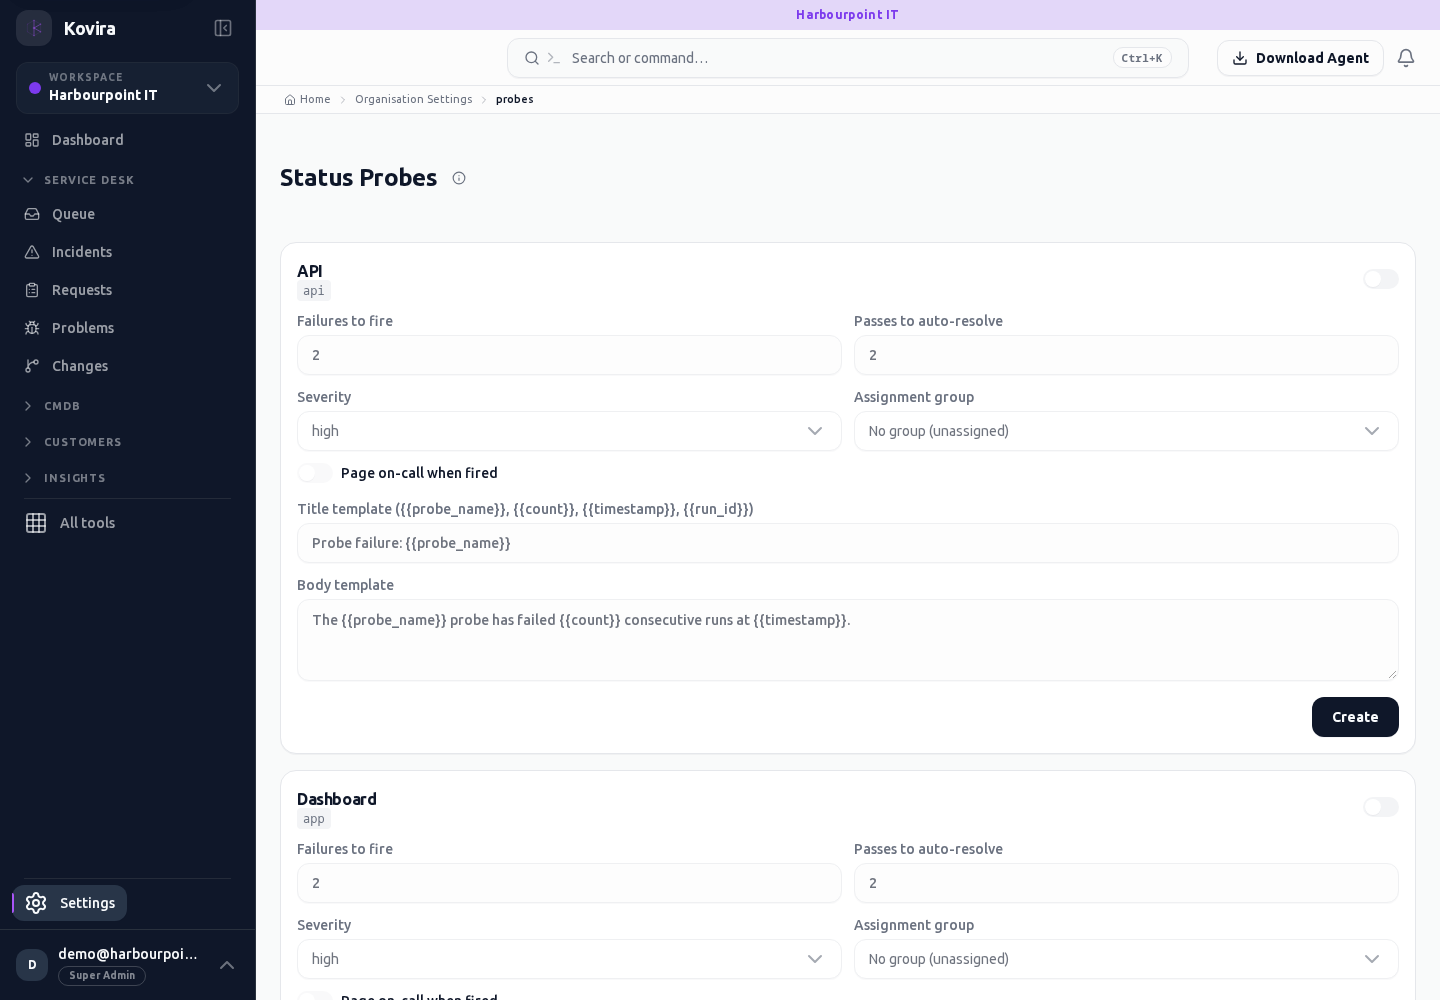
Quote templates / Details
Quote templates for the selected account, workspace or record.
Access
- Default workspace roles for opening this screen: Super Admin, Admin, Operator. Custom role settings, the current workspace, plan and record sharing can further restrict access.
- Opening a screen does not grant every action on it. Changes, exports and lifecycle actions can require additional permissions.
Controls and information
- Template fields
- line items
- prices
- tax
- agreement type
Steps for this screen
- Review the template and its lines before applying it to a quote.
- Read the current saved values before editing. Make the intended change and review all affected fields.
- Save once and wait for confirmation. Use Cancel to discard an unsubmitted change.
Check the result
- Check the new draft’s customer, currency, totals and terms before using it.
- Reopen the record and verify the saved value before making another change.
If this screen is unavailable
- If no records appear, clear active filters and confirm the workspace and your access before creating a duplicate.
- If saving fails or a conflict appears, keep a copy of your intended changes, reopen the current record and review it before submitting again.
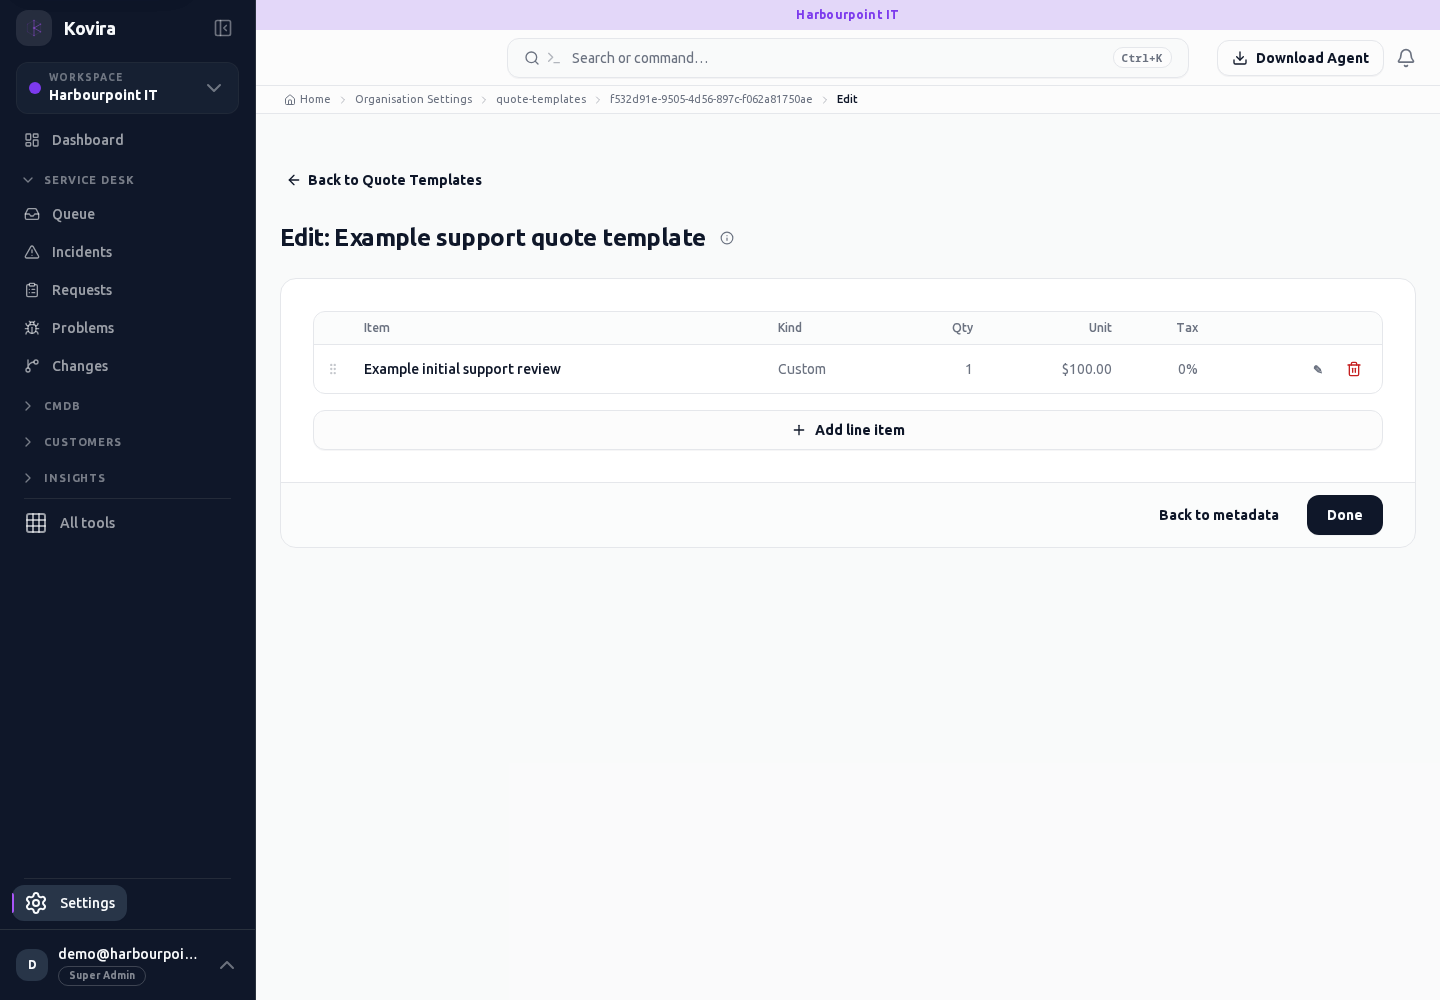
Quote templates / New
Quote templates for the selected account, workspace or record.
Access
- Default workspace roles for opening this screen: Super Admin, Admin, Operator. Custom role settings, the current workspace, plan and record sharing can further restrict access.
- Opening a screen does not grant every action on it. Changes, exports and lifecycle actions can require additional permissions.
Controls and information
- Template fields
- line items
- prices
- tax
- agreement type
Steps for this screen
- Review the template and its lines before applying it to a quote.
- Complete the required fields. Review linked records, dates and any recipient or customer selection.
- Use the form’s create or save action once and wait for its result. Cancel to leave without submitting.
Check the result
- Check the new draft’s customer, currency, totals and terms before using it.
- Open the newly created record from the resulting list or confirmation and check the saved values.
If this screen is unavailable
- If no records appear, clear active filters and confirm the workspace and your access before creating a duplicate.
- If saving fails or a conflict appears, keep a copy of your intended changes, reopen the current record and review it before submitting again.
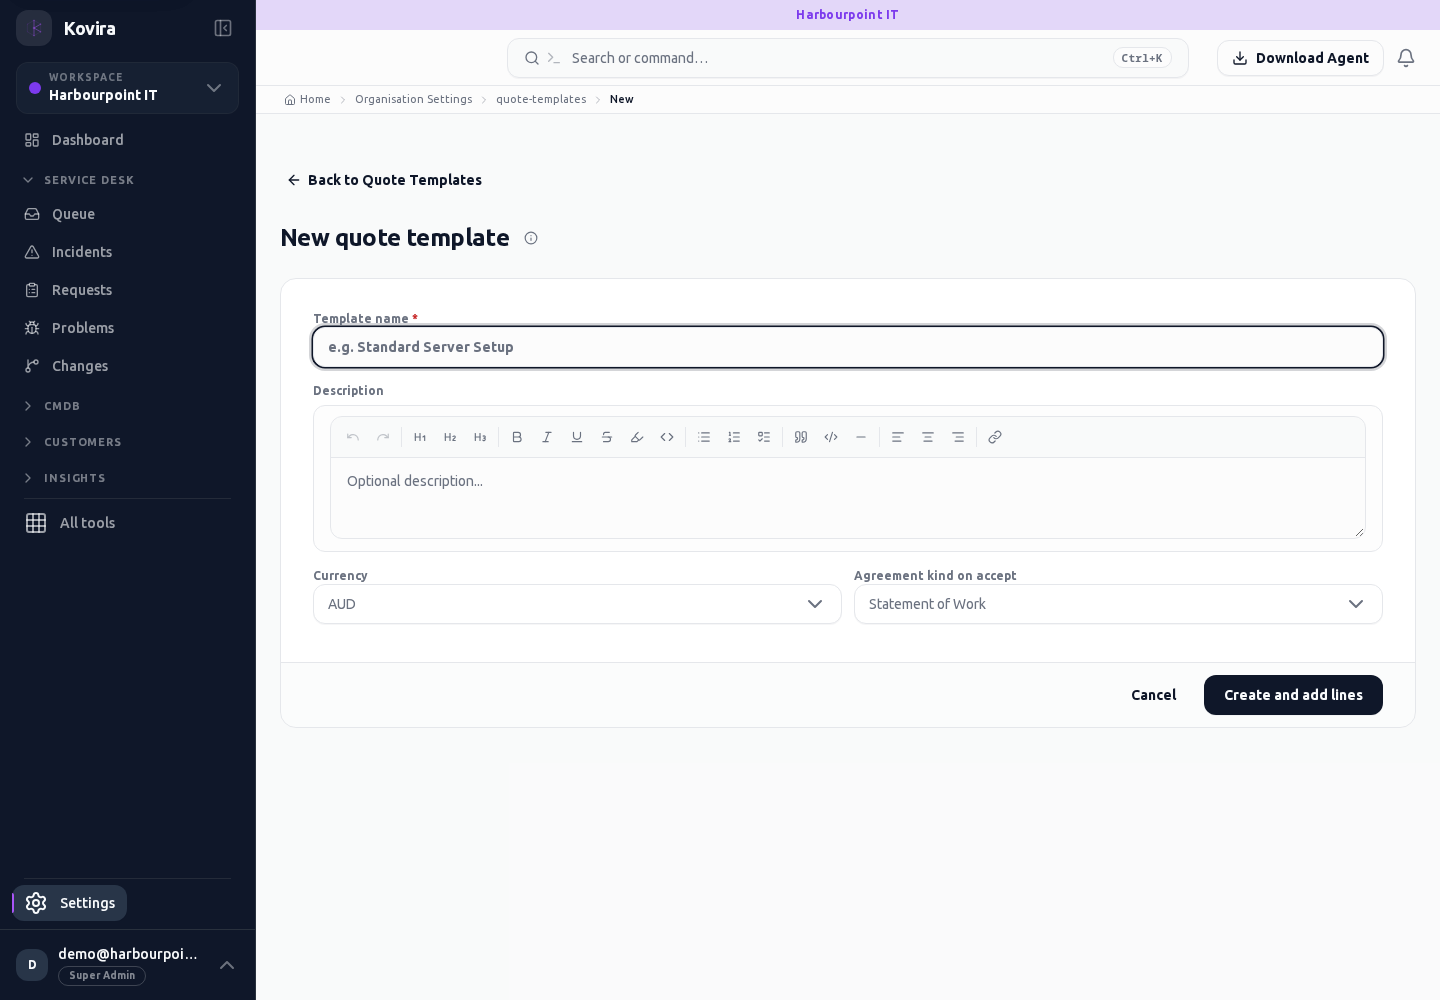
Quote templates
Quote templates for the selected account, workspace or record.
Access
- Default workspace roles for opening this screen: Super Admin, Admin, Operator, View Only. Custom role settings, the current workspace, plan and record sharing can further restrict access.
- Opening a screen does not grant every action on it. Changes, exports and lifecycle actions can require additional permissions.
Controls and information
- Template fields
- line items
- prices
- tax
- agreement type
Steps for this screen
- Review the template and its lines before applying it to a quote.
- Use the available search, date and status filters to narrow the view. Open a record link for its detail.
- Clear filters when you need to compare the full accessible list.
Check the result
- Check the new draft’s customer, currency, totals and terms before using it.
If this screen is unavailable
- If no records appear, clear active filters and confirm the workspace and your access before creating a duplicate.
- If the list cannot load, retry once and quote the displayed support reference; do not infer that the workspace is empty.
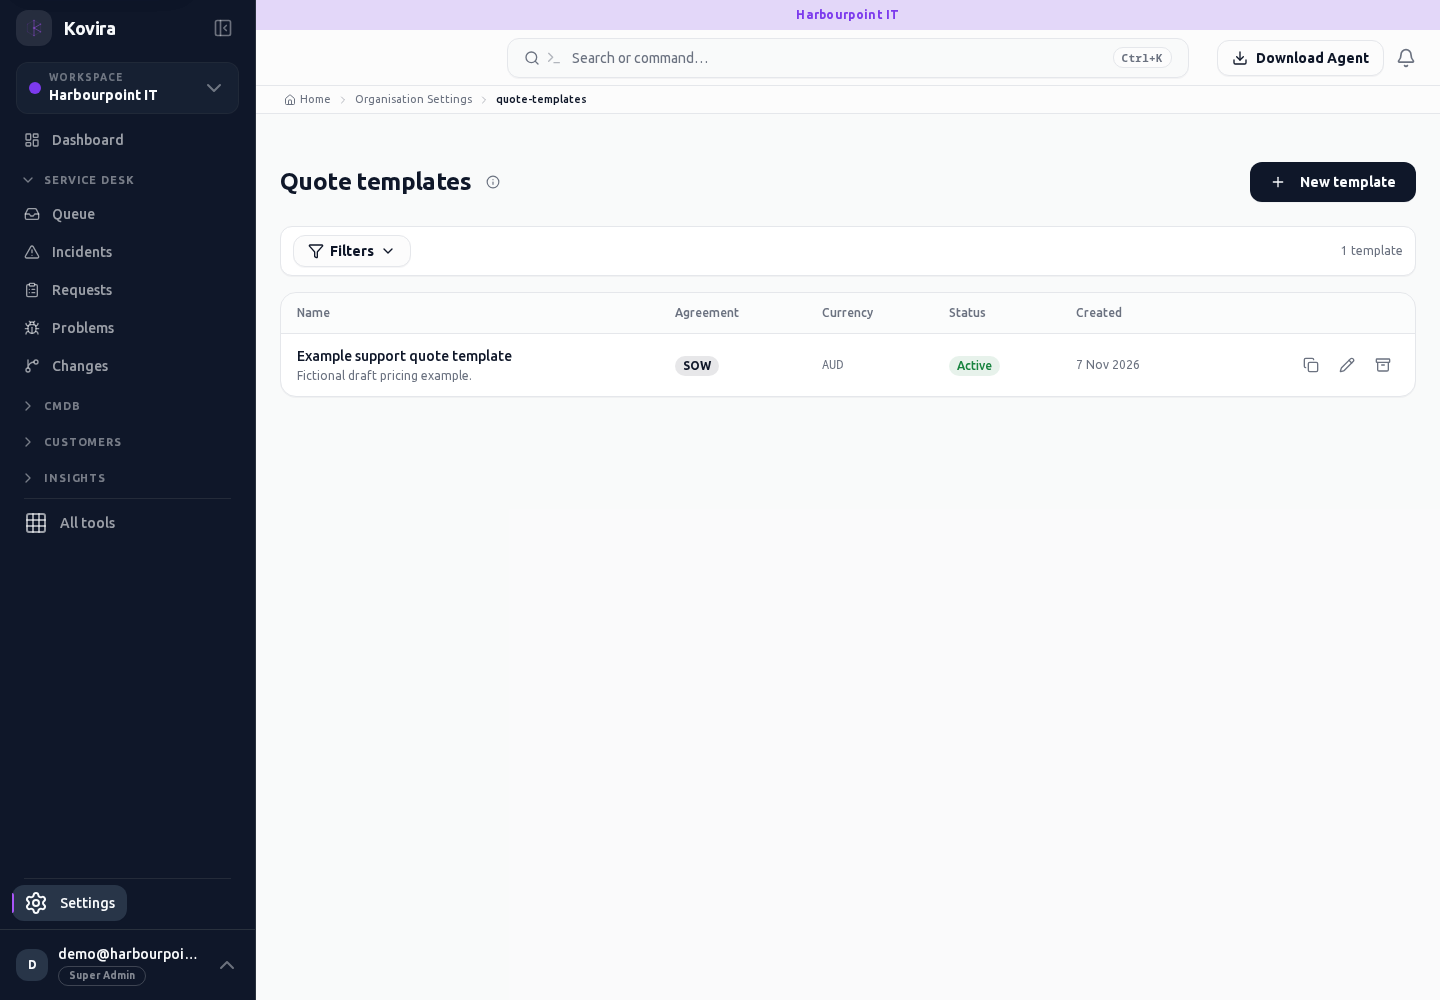
Quote defaults
Quote defaults for the selected account, workspace or record.
Access
- Default workspace roles for opening this screen: Super Admin, Admin. Custom role settings, the current workspace, plan and record sharing can further restrict access.
- Opening a screen does not grant every action on it. Changes, exports and lifecycle actions can require additional permissions.
Controls and information
- Commercial defaults
- approval settings
- validity
Steps for this screen
- Review the quote defaults and authorisation requirements with the commercial owner before saving.
Check the result
- Check a draft quote’s resulting values and required approvals.
If this screen is unavailable
- If no records appear, clear active filters and confirm the workspace and your access before creating a duplicate.
- If saving fails or a conflict appears, keep a copy of your intended changes, reopen the current record and review it before submitting again.
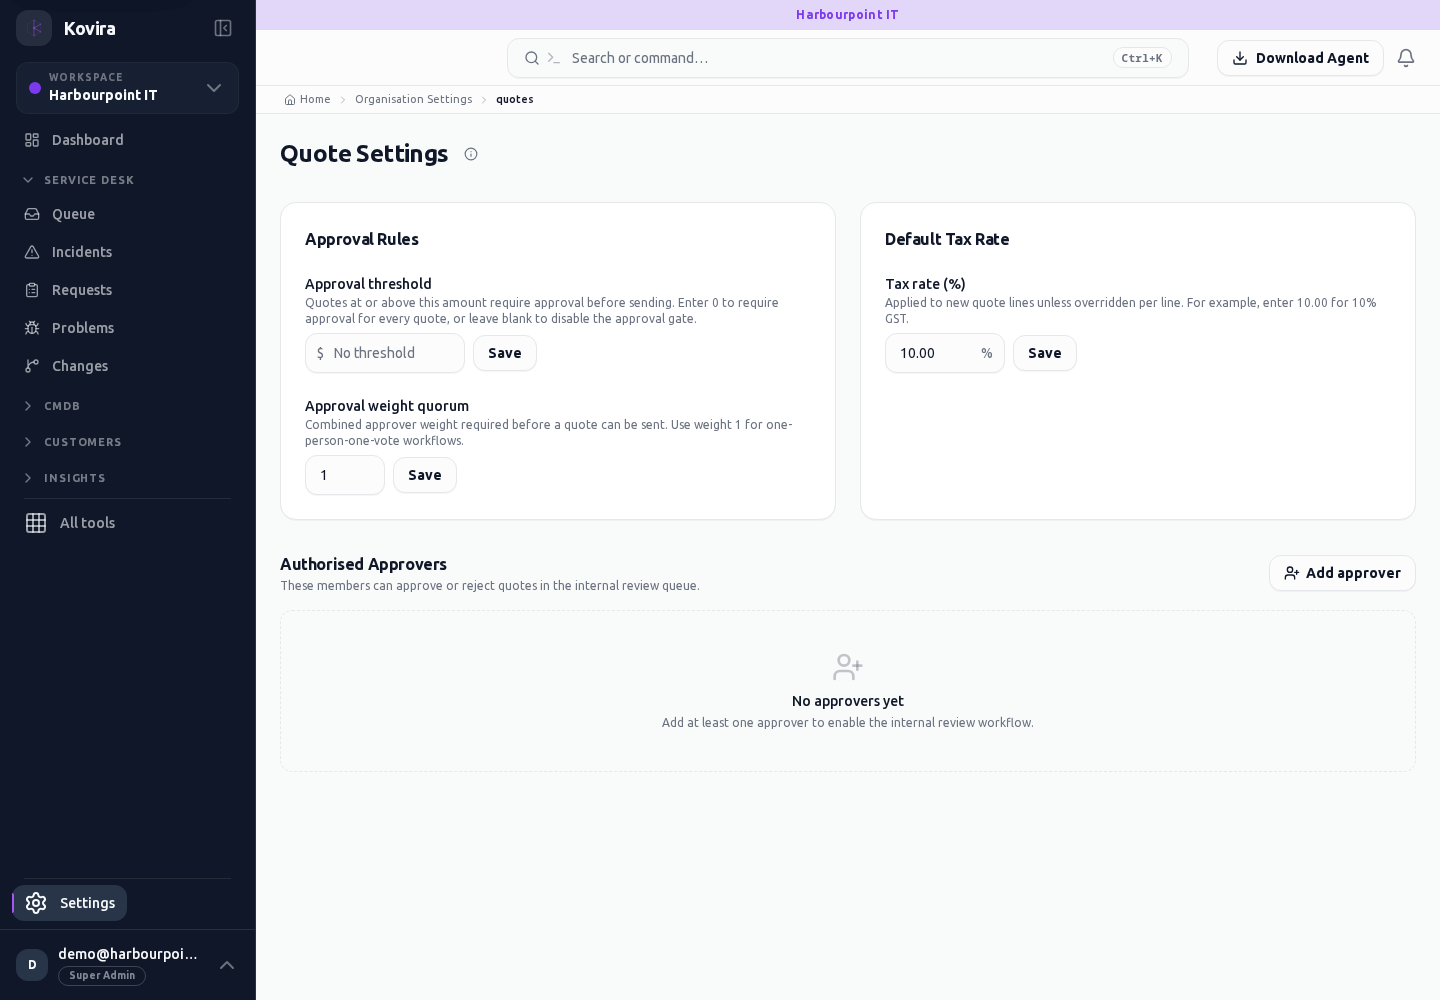
Workspace report results
Workspace report results for the selected account, workspace or record.
Access
- Default workspace roles for opening this screen: Super Admin, Admin, Operator, View Only. Custom role settings, the current workspace, plan and record sharing can further restrict access.
- Opening a screen does not grant every action on it. Changes, exports and lifecycle actions can require additional permissions.
Controls and information
- Workspace result summary
- clear workspace cache
Steps for this screen
- Review the saved-result summary for the current workspace. Use the offered clear action when results must be refreshed.
Check the result
- Run the relevant report again and compare its period and underlying records before relying on refreshed results.
If this screen is unavailable
- If no records appear, clear active filters and confirm the workspace and your access before creating a duplicate.
- If saving fails or a conflict appears, keep a copy of your intended changes, reopen the current record and review it before submitting again.
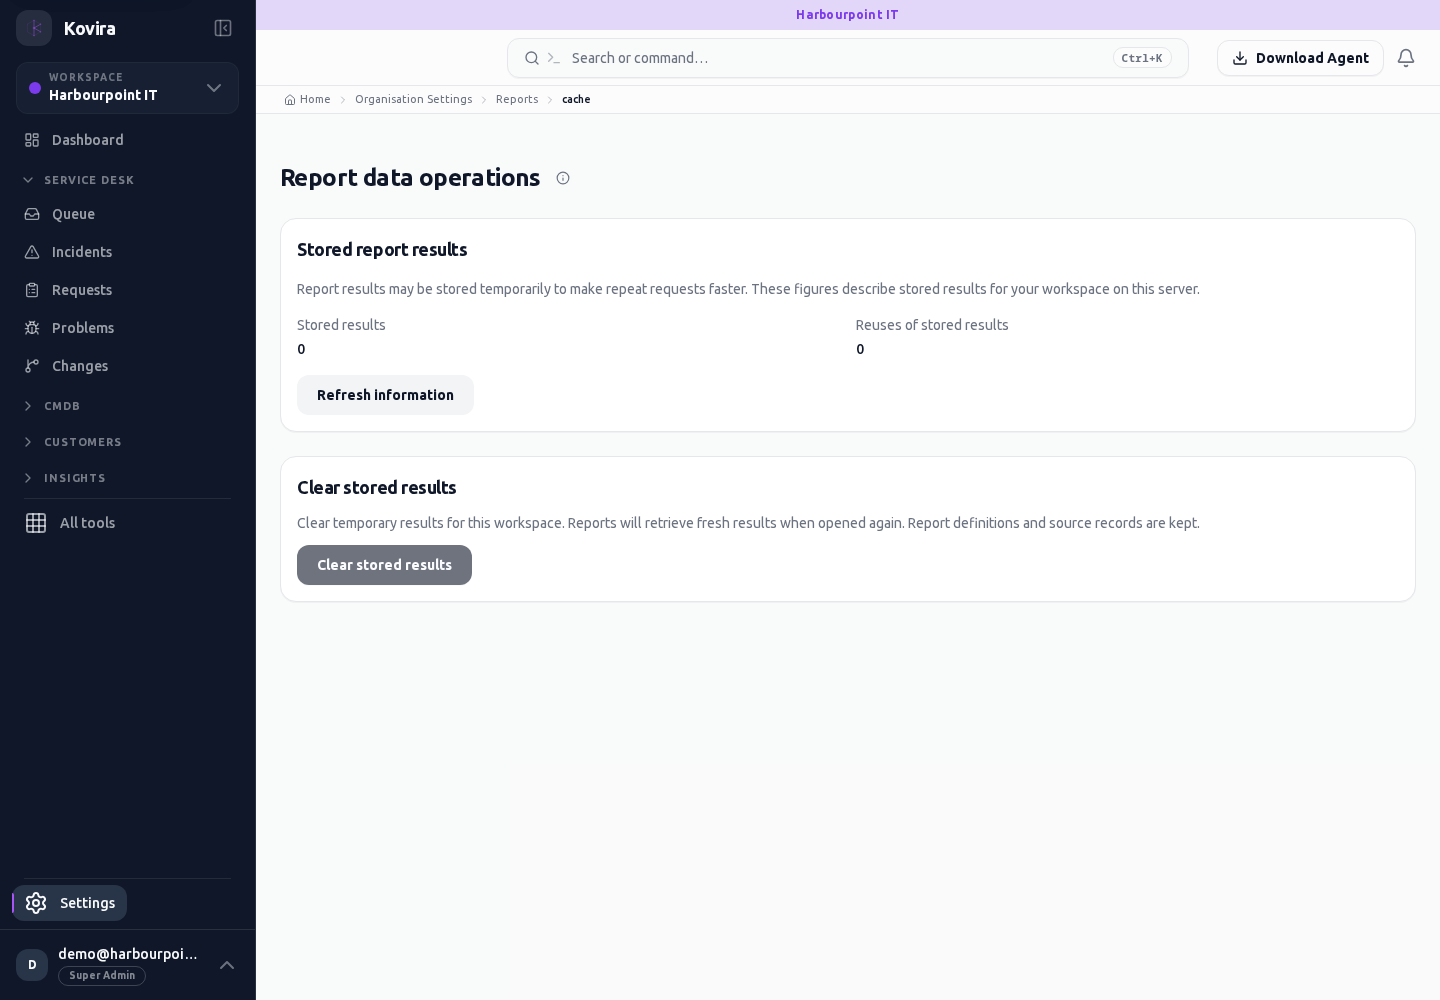
Workspace security keys
Workspace security keys for the selected account, workspace or record.
Access
- Default workspace roles for opening this screen: Super Admin, Admin. Custom role settings, the current workspace, plan and record sharing can further restrict access.
- Opening a screen does not grant every action on it. Changes, exports and lifecycle actions can require additional permissions.
Controls and information
- Key state
- rotation or revocation controls
- confirmation
Steps for this screen
- Review the key purpose and affected clients before rotating or revoking. Keep any once-shown value in an approved secret store.
Check the result
- Confirm affected clients use the replacement before removing an old credential.
If this screen is unavailable
- If no records appear, clear active filters and confirm the workspace and your access before creating a duplicate.
- If saving fails or a conflict appears, keep a copy of your intended changes, reopen the current record and review it before submitting again.
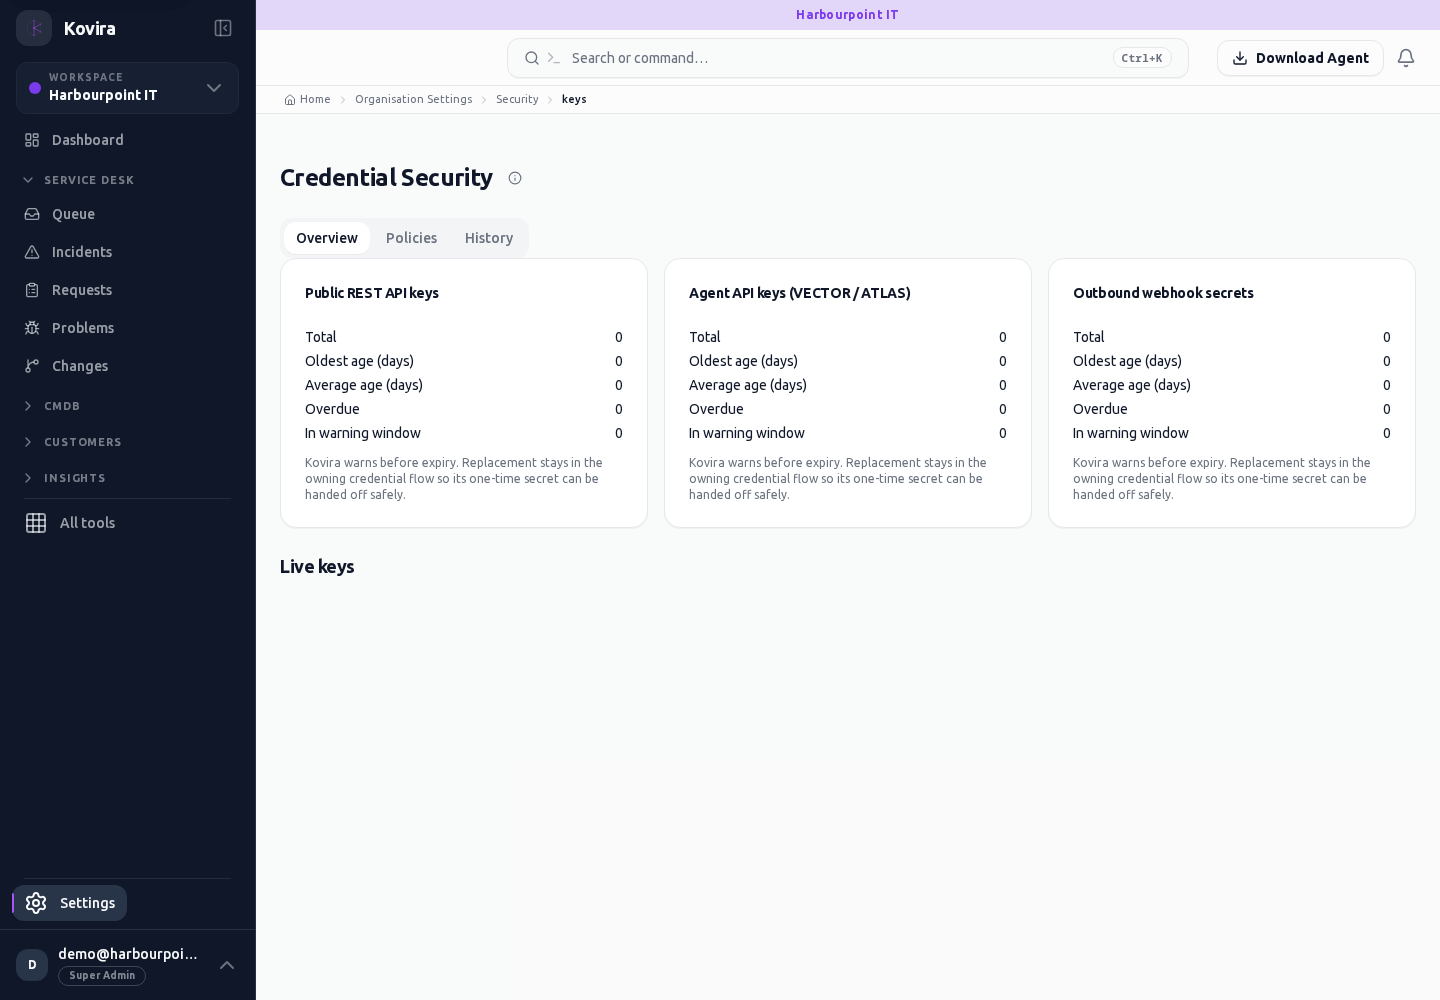
Workspace usage
Workspace usage for the selected account, workspace or record.
Access
- Default workspace roles for opening this screen: Super Admin, Admin. Custom role settings, the current workspace, plan and record sharing can further restrict access.
- Opening a screen does not grant every action on it. Changes, exports and lifecycle actions can require additional permissions.
Controls and information
- Plan limits
- recorded totals
- reporting context
Steps for this screen
- Review the workspace and displayed limits before comparing recorded usage.
Check the result
- Check the reporting context and underlying records; a recorded aggregate can differ from a live count.
If this screen is unavailable
- If no records appear, clear active filters and confirm the workspace and your access before creating a duplicate.
- If saving fails or a conflict appears, keep a copy of your intended changes, reopen the current record and review it before submitting again.
Audit search and exports
Applies to: KOVIRA
Investigate recorded changes and retain authorised evidence.
Before you begin
- Audit permission and an approved purpose for reviewing or exporting activity.
Steps
- Open Audit and choose a suitable period or filter. Use Audit search for the additional criteria offered by that screen.
- Open an event to review actor, time, action and record context. Compare related events before drawing a conclusion.
- Use Audit exports to request or retrieve the authorised export. Store it in an approved location.
Check the result
- Confirm timezone, filter and record context before sharing a finding.
- Check that an exported file covers the requested period and scope.
If you need help
- A missing event can reflect filters, retention or access restrictions. Record the query context when asking for assistance.
- Audit records can contain private operational information. Redact unnecessary details before sharing.
Related screens (3)
Audit exports
Audit exports for the selected account, workspace or record.
Access
- Default workspace roles for opening this screen: Super Admin. Custom role settings, the current workspace, plan and record sharing can further restrict access.
- Opening a screen does not grant every action on it. Changes, exports and lifecycle actions can require additional permissions.
Controls and information
- Export criteria
- request state
- authorised download
Steps for this screen
- Choose the supported export criteria and request an export. Review its state before downloading.
Check the result
- Check the requested period and content before storing or distributing the export.
If this screen is unavailable
- If no records appear, clear active filters and confirm the workspace and your access before creating a duplicate.
- If saving fails or a conflict appears, keep a copy of your intended changes, reopen the current record and review it before submitting again.
Audit log
Audit log for the selected account, workspace or record.
Access
- Default workspace roles for opening this screen: Super Admin, Admin. Custom role settings, the current workspace, plan and record sharing can further restrict access.
- Opening a screen does not grant every action on it. Changes, exports and lifecycle actions can require additional permissions.
Controls and information
- Event filters
- actor and action
- event details
Steps for this screen
- Review the displayed entries and narrow the relevant period or action.
- Use the available search, date and status filters to narrow the view. Open a record link for its detail.
- Clear filters when you need to compare the full accessible list.
Check the result
- Check surrounding events and the underlying record when investigating a change.
If this screen is unavailable
- If no records appear, clear active filters and confirm the workspace and your access before creating a duplicate.
- If the list cannot load, retry once and quote the displayed support reference; do not infer that the workspace is empty.
Audit search
Audit search for the selected account, workspace or record.
Access
- Default workspace roles for opening this screen: Super Admin, Admin. Custom role settings, the current workspace, plan and record sharing can further restrict access.
- Opening a screen does not grant every action on it. Changes, exports and lifecycle actions can require additional permissions.
Controls and information
- Time range
- actor
- action
- record filters
Steps for this screen
- Set a bounded time range and the relevant actor, action or record criteria, then review related events together.
Check the result
- Confirm the event time, actor and record context before drawing a conclusion.
If this screen is unavailable
- If no records appear, clear active filters and confirm the workspace and your access before creating a duplicate.
- If saving fails or a conflict appears, keep a copy of your intended changes, reopen the current record and review it before submitting again.
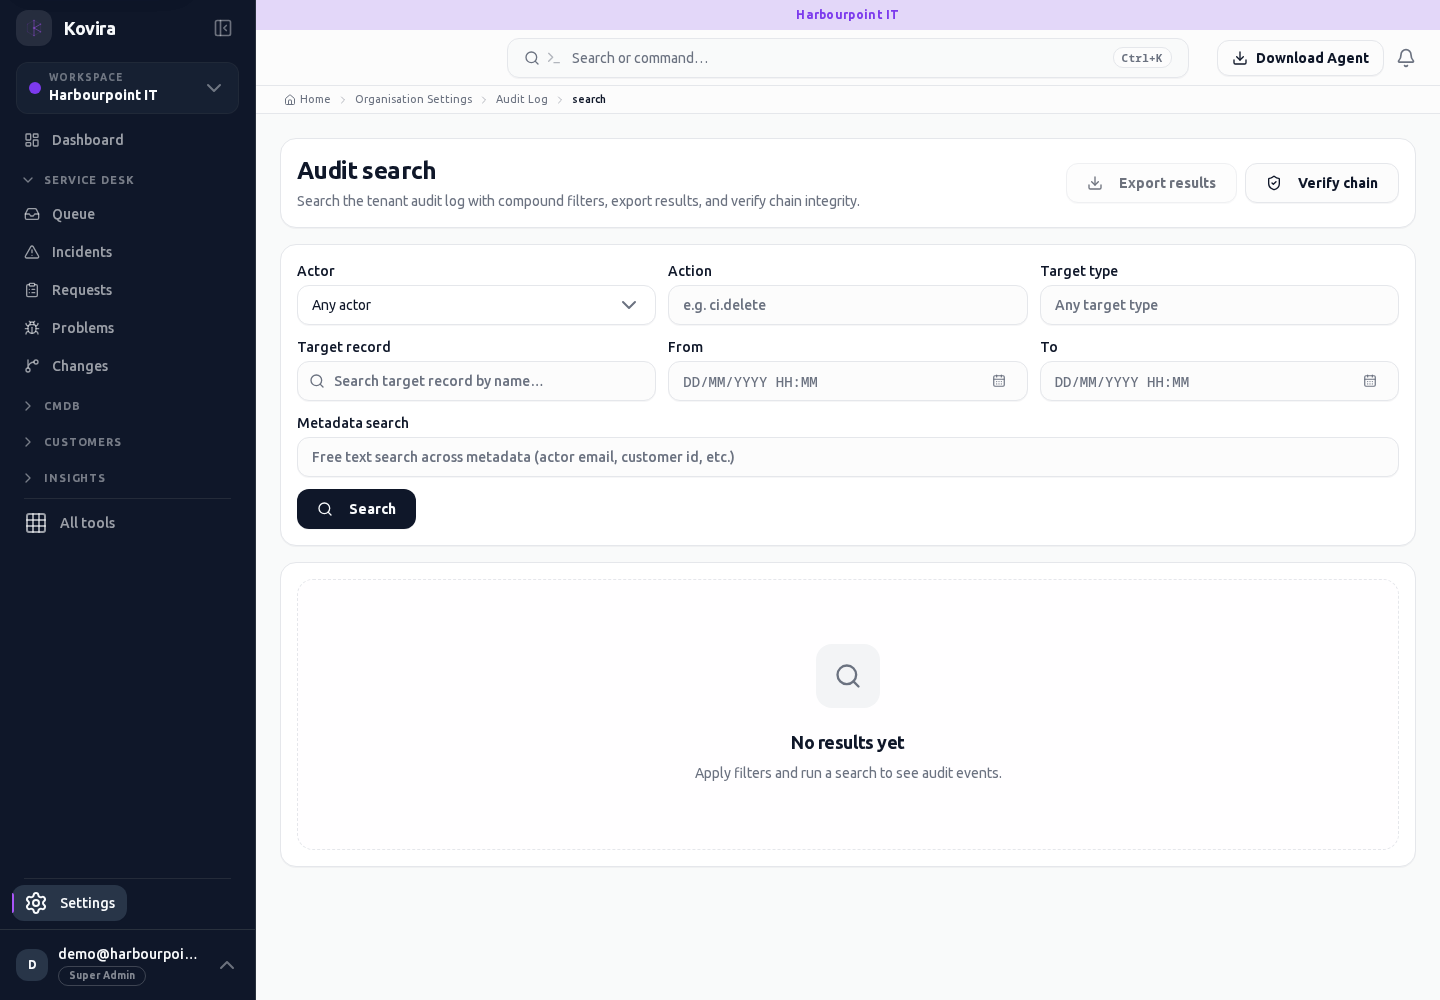
Use the customer portal
Applies to: KOVIRA
View the work and information your organisation has made available to you.
Before you begin
- A portal invitation or sign-in method from the organisation providing the service.
Steps
- Open the single-use customer portal sign-in link supplied by your service provider in this browser. Confirm the organisation before continuing.
- Open Tickets to review requests you can access. Use New ticket to report an issue with a clear description and the requested information.
- Open a ticket to read updates and provide relevant follow-up information.
- Use Knowledge base, Projects and Invoices when those areas are available to your account. Review Account for personal details and sign out when finished.
Check the result
- Confirm a new ticket has an acknowledgement or reference before submitting another.
- Check that the displayed organisation and record are the intended ones.
If you need help
- The portal shows information shared with your account. Ask the service organisation about missing records.
- Do not include passwords, session URLs or unrelated personal data in tickets.
Related screens (11)
Portal account
Portal account.
Access
- A current customer portal session from your service provider is required. The portal shows records available to your customer organisation; a staff account is a separate sign-in.
Controls and information
- Display name
- Save
- Sign out
Steps for this screen
- Review the displayed email and your current display name. Change Display name and choose Save once.
- Use Sign out when you finish using the portal, particularly on a shared device.
Check the result
- Refresh Account and check the saved display name. Email and customer access are managed by your service provider.
If this screen is unavailable
- If your sign-in link has expired or was used already, request a new link from your service provider.
- If a record is missing, confirm the organisation and ask the service provider to review your customer access.
Customer invoices
Customer invoices.
Access
- A current customer portal session from your service provider is required. The portal shows records available to your customer organisation; a staff account is a separate sign-in.
Controls and information
- Invoice number
- Status
- Total and currency
- Due date
Steps for this screen
- Review the invoice rows made available by your service provider. Check the document number, currency, total and due date.
- Contact your service provider when an amount or document is unexpected; this list does not itself perform a payment.
Check the result
- Check the invoice state and amount with the underlying document before making a billing decision.
If this screen is unavailable
- If your sign-in link has expired or was used already, request a new link from your service provider.
- If a record is missing, confirm the organisation and ask the service provider to review your customer access.
Read a customer knowledge article
Read a customer knowledge article.
Access
- A current customer portal session from your service provider is required. The portal shows records available to your customer organisation; a staff account is a separate sign-in.
Controls and information
- Article title
- Updated date
- Article content
- Back to Knowledge
Steps for this screen
- Read the article’s prerequisites and steps. Follow references only when they are appropriate for your organisation.
- Use Back to Knowledge to return to the article list.
Check the result
- Confirm the expected result. Contact your service provider if the article is out of date or does not resolve the issue.
If this screen is unavailable
- If your sign-in link has expired or was used already, request a new link from your service provider.
- If a record is missing, confirm the organisation and ask the service provider to review your customer access.
Customer knowledge
Customer knowledge.
Access
- A current customer portal session from your service provider is required. The portal shows records available to your customer organisation; a staff account is a separate sign-in.
Controls and information
- Article title links
- Last updated date
Steps for this screen
- Review the articles made available by your service provider and open the relevant title.
Check the result
- Check the article’s update date and that the instructions apply to your situation before following them.
If this screen is unavailable
- If your sign-in link has expired or was used already, request a new link from your service provider.
- If a record is missing, confirm the organisation and ask the service provider to review your customer access.
Portal / Login
Customer portal. Review this screen in the context of the current workspace and record.
Access
- A current customer portal session from your service provider is required. The portal shows records available to your customer organisation; a staff account is a separate sign-in.
Controls and information
- Overview
- tickets
- knowledge base
- projects
- invoices
- account
- sign out
Steps for this screen
- Open the single-use sign-in link supplied by your service provider in this browser. Confirm the organisation before proceeding.
Check the result
- Check the organisation and the customer records you can access. Internal staff information may not be shown in the portal.
If this screen is unavailable
- If your sign-in link has expired or was used already, request a new link from your service provider.
- If a record is missing, confirm the organisation and ask the service provider to review your customer access.
Sign out of the customer portal
Sign out of the customer portal.
Access
- A current customer portal session from your service provider is required. The portal shows records available to your customer organisation; a staff account is a separate sign-in.
Controls and information
- Sign out confirmation
Steps for this screen
- Review the sign-out confirmation, then choose Sign out to end this portal session.
Check the result
- The portal returns to its signed-out instructions; authenticated pages should require sign-in again.
If this screen is unavailable
- If your sign-in link has expired or was used already, request a new link from your service provider.
- If a record is missing, confirm the organisation and ask the service provider to review your customer access.
Portal
Customer portal. Review this screen in the context of the current workspace and record.
Access
- A current customer portal session from your service provider is required. The portal shows records available to your customer organisation; a staff account is a separate sign-in.
Controls and information
- Overview
- tickets
- knowledge base
- projects
- invoices
- account
- sign out
Steps for this screen
- Open the single-use sign-in link supplied by your service provider in this browser. Confirm the organisation before proceeding.
Check the result
- Check the organisation and the customer records you can access. Internal staff information may not be shown in the portal.
If this screen is unavailable
- If your sign-in link has expired or was used already, request a new link from your service provider.
- If a record is missing, confirm the organisation and ask the service provider to review your customer access.
Customer projects
Customer projects.
Access
- A current customer portal session from your service provider is required. The portal shows records available to your customer organisation; a staff account is a separate sign-in.
Controls and information
- Project name
- Status
- Updated date
Steps for this screen
- Review the projects available to your customer organisation and their current status and update date.
- Ask your service provider about the underlying tasks or planned work when you need further detail.
Check the result
- Confirm the project and current status with the service provider; the list is a summary, not completion evidence.
If this screen is unavailable
- If your sign-in link has expired or was used already, request a new link from your service provider.
- If a record is missing, confirm the organisation and ask the service provider to review your customer access.
Customer ticket and replies
Customer ticket and replies.
Access
- A current customer portal session from your service provider is required. The portal shows records available to your customer organisation; a staff account is a separate sign-in.
Controls and information
- Ticket number and status
- Description
- Updates
- Reply
- Post reply
Steps for this screen
- Check the ticket title, number and current status, then read the existing updates.
- When Reply is offered, enter the relevant follow-up and choose Post reply once. Closed tickets do not offer a reply form.
Check the result
- Check that the new reply appears under Updates. Avoid including passwords, verification codes or unnecessary personal information.
If this screen is unavailable
- If your sign-in link has expired or was used already, request a new link from your service provider.
- If a record is missing, confirm the organisation and ask the service provider to review your customer access.
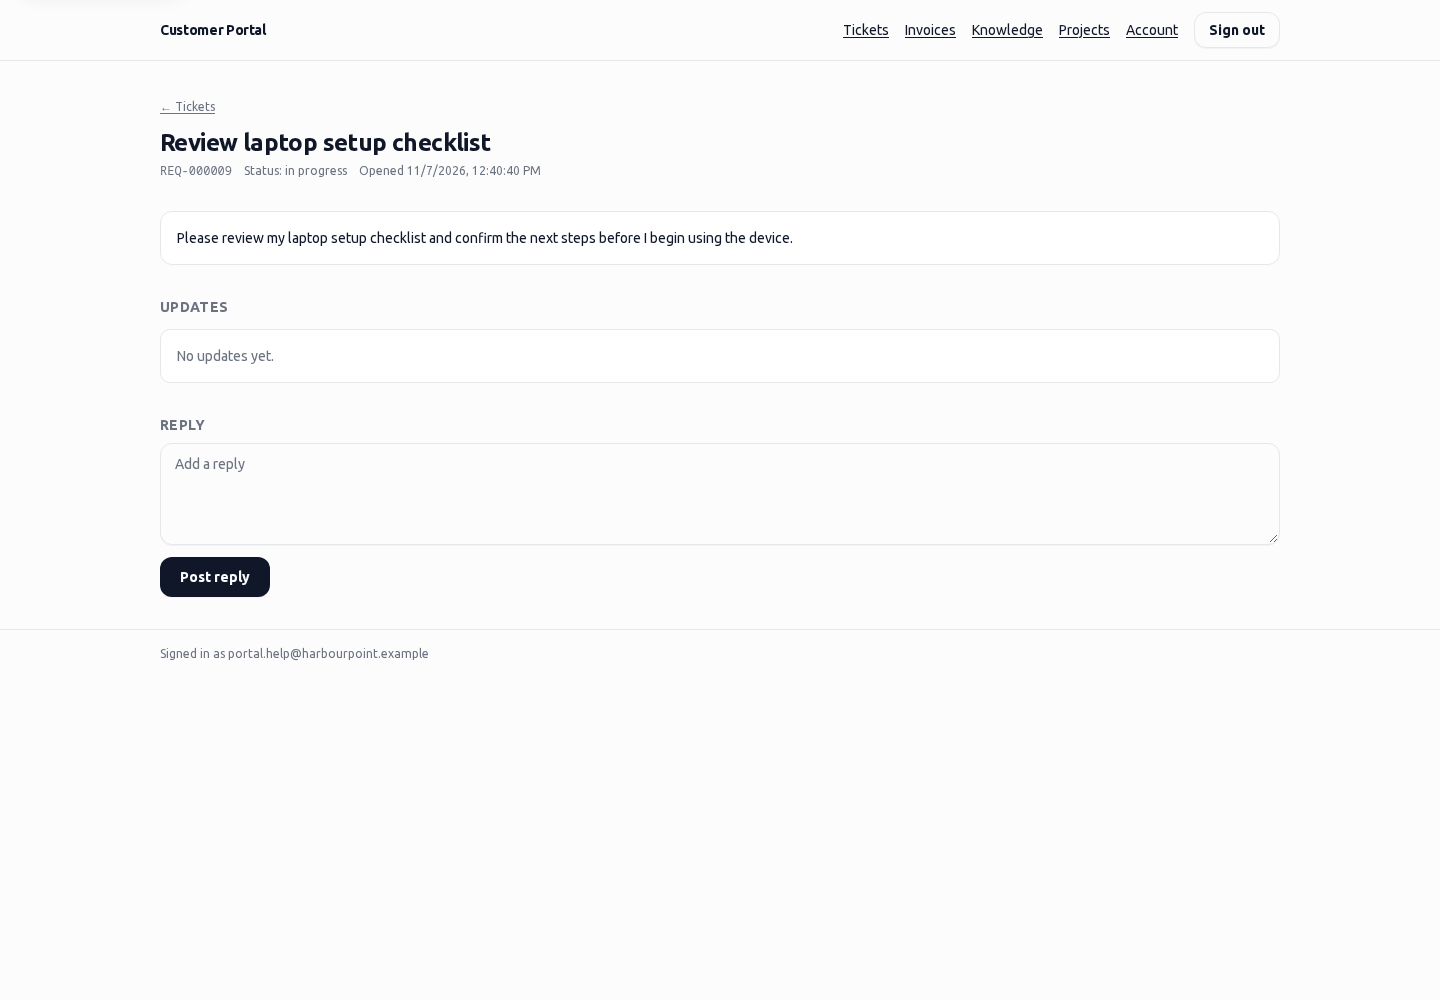
Submit a customer ticket
Submit a customer ticket.
Access
- A current customer portal session from your service provider is required. The portal shows records available to your customer organisation; a staff account is a separate sign-in.
Controls and information
- Request type
- Title
- Description
- Urgency
- Submit
Steps for this screen
- Choose the appropriate request type from the catalogue items available to your customer organisation.
- Enter a clear title and description, select Normal or Low urgency, then choose Submit once.
- If the item you need is absent, contact your service provider. Items needing approval or extra information must be handled by the provider.
Check the result
- Check the resulting ticket detail, number, customer context and saved description before assuming the request was recorded.
If this screen is unavailable
- If your sign-in link has expired or was used already, request a new link from your service provider.
- If a record is missing, confirm the organisation and ask the service provider to review your customer access.
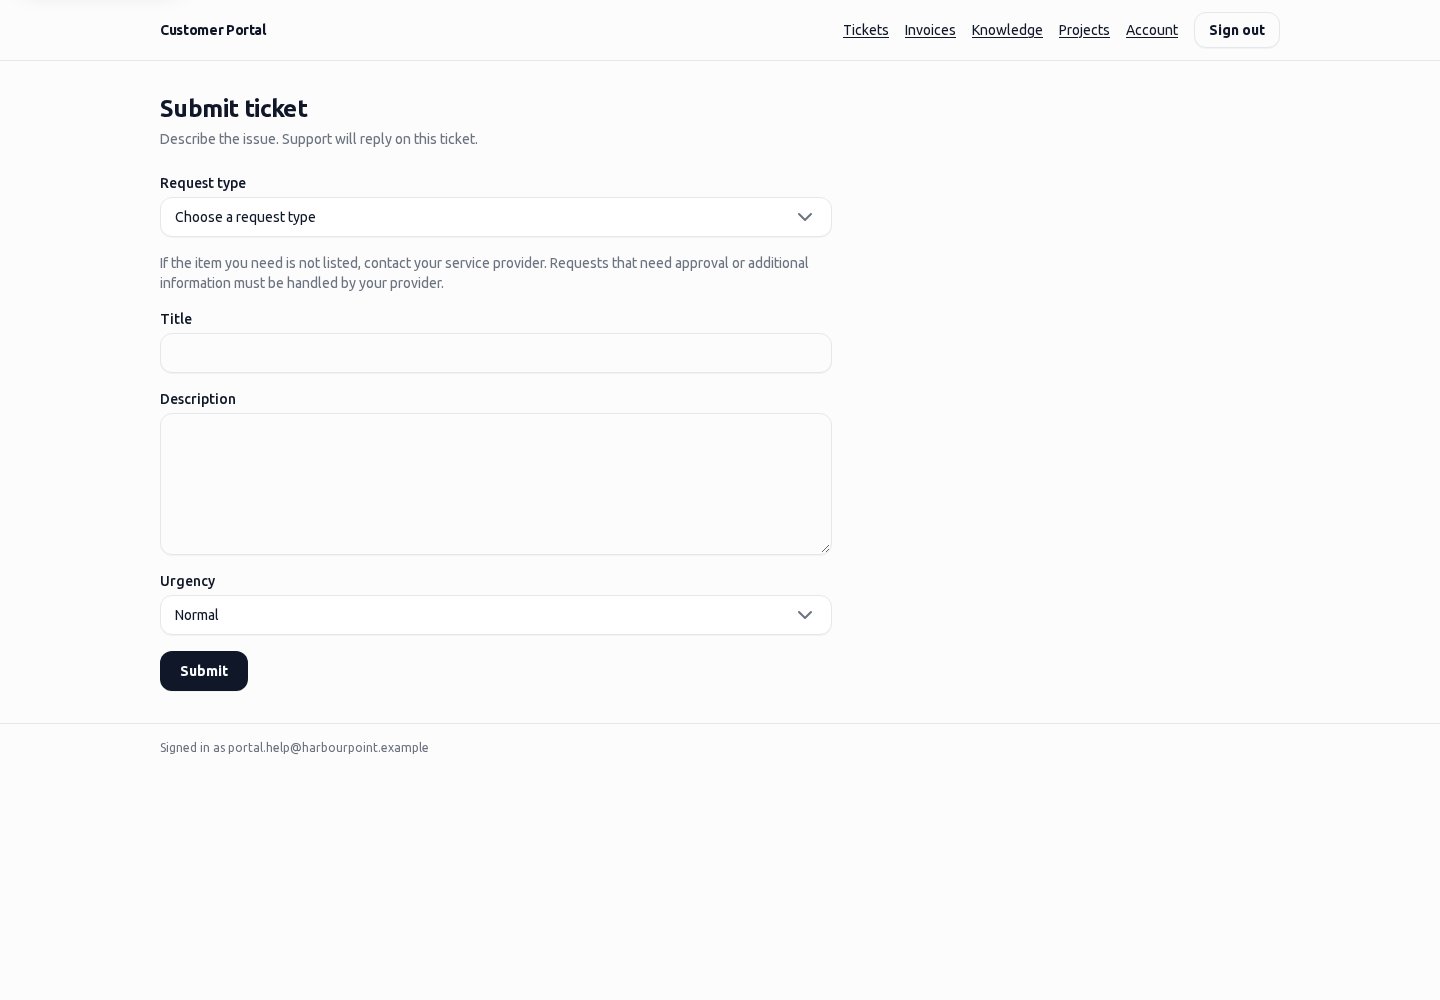
Customer tickets
Customer tickets.
Access
- A current customer portal session from your service provider is required. The portal shows records available to your customer organisation; a staff account is a separate sign-in.
Controls and information
- Ticket number
- Title link
- Status
- Opened and updated dates
- Submit ticket
Steps for this screen
- Review the tickets available to your customer organisation and open a title to see its detail.
- Choose Submit ticket when you need to report a new issue; check for an existing ticket first.
Check the result
- Confirm the selected ticket and status in its detail before adding a reply or submitting duplicate work.
If this screen is unavailable
- If your sign-in link has expired or was used already, request a new link from your service provider.
- If a record is missing, confirm the organisation and ask the service provider to review your customer access.
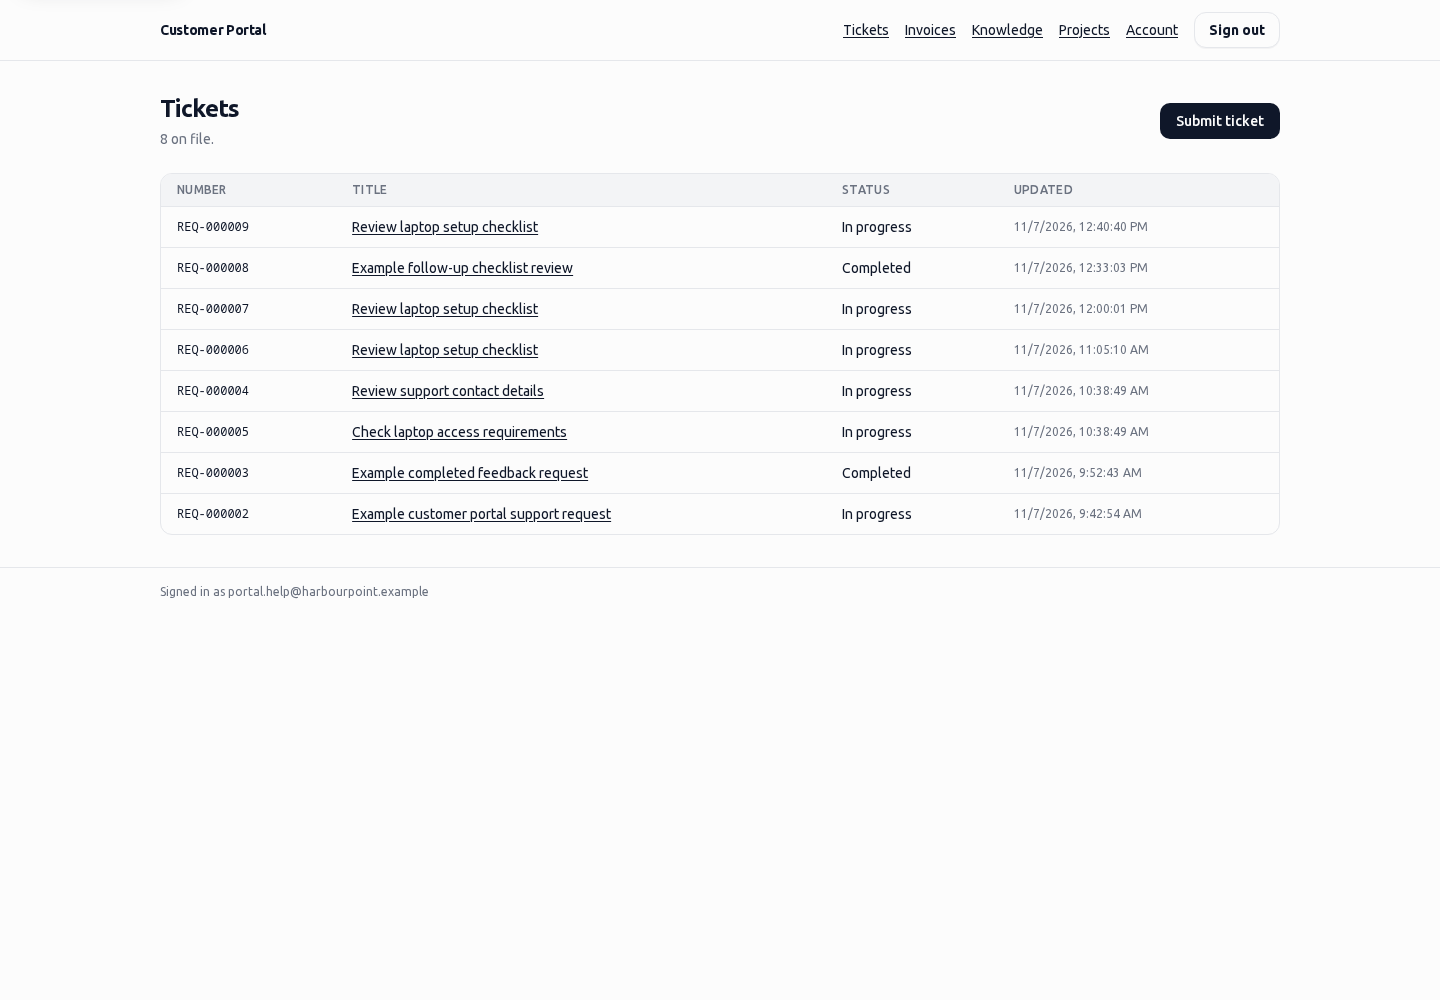
Shared quotes, surveys and registration links
Applies to: KOVIRA
Respond safely to an organisation’s supported public link.
Before you begin
- A current link received from a trusted organisation.
Steps
- Check the organisation and purpose before opening a shared quote, survey, satisfaction request, registration or shared document.
- Read the displayed details and complete only the fields needed for the stated purpose. For a quote, check the total and terms before using an offered response action.
- Submit once and wait for the acknowledgement. Keep the safe confirmation details you need for follow-up.
Check the result
- Confirm the displayed result before closing the page.
- For a quote, check that your response refers to the intended document.
If you need help
- An expired or invalid link requires a replacement from the organisation. Do not try changing identifiers in the URL.
- Treat the complete link as private because it may provide access without a separate sign-in.
Related screens (6)
Provide satisfaction feedback
Provide satisfaction feedback.
Access
- Use a current link issued for the intended recipient and organisation. Possession of a shared link may grant access; forward it only with the sender’s approval.
Controls and information
- Continue to survey when offered
- Offered rating scale
- Optional comment
- Submit
Steps for this screen
- Open the genuine feedback link and select Continue to survey if offered. Read the service-feedback request before choosing a rating.
- Choose a rating on the displayed scale. Add relevant feedback without including credentials or unnecessary personal information.
- Submit once and wait for the acknowledgement. A submitted or expired link cannot be used to send another response.
Check the result
- Check the acknowledgement before assuming the response was saved.
If this screen is unavailable
- If the link is unavailable or the feedback was already recorded, contact your service provider.
Feedback acknowledgement
Read the generic acknowledgement shown after submitting a feedback response.
Access
- This public information page contains no response receipt, survey link or customer details. Opening it directly does not confirm that a response was recorded.
Controls and information
- Thank you: the acknowledgement heading. There are no score fields or submission controls on this page.
Steps for this screen
- After submitting a valid feedback form, wait for the Thank you page.
- Close the page when you have finished.
Check the result
- The page says Thank you and You can close this page.
- The address contains no private survey token.
If this screen is unavailable
- If the feedback form reports a problem before this page appears, follow the form message or contact the team that sent the link.
- Do not use this generic page as a receipt or resend a submitted response.

Review a shared quote
Review a shared quote.
Access
- Use a current link issued for the intended recipient and organisation. Possession of a shared link may grant access; forward it only with the sender’s approval.
Controls and information
- Quote lines
- Totals and currency
- Validity and terms
- Offered response actions
Steps for this screen
- Check the organisation, customer, quote lines, currency, total, validity and terms.
- Use an offered response action only when authorised to respond for the recipient. Review any required details and confirmation before submitting.
Check the result
- Check the actual resulting quote state. Opening or reading a quote is not acceptance.
If this screen is unavailable
- Contact the sender about an expired, unavailable or incorrect quote. Do not change the shared link or assume a response succeeded without confirmation.
Activate an invited account
Use an invitation issued to your email address to create or activate your KOVIRA account.
Access
- A valid unused invitation for your email address is required. Keep the invitation link private. Already activated accounts may be sent to their normal workspace destination.
Controls and information
- Invited name and work email
- Company name
- Password
- Confirm password
- Create account or Activate account
- Sign in link
Steps for this screen
- Open the genuine invitation sent to you and confirm the displayed recipient and organisation.
- Complete the fields offered for the current invitation mode. New registrations show name, company and invited email; activation of a confirmed invited account asks for company and password.
- Create a strong password that meets the displayed rules and enter it again in Confirm password. Submit Create account or Activate account once.
- Follow any email-confirmation instructions, then continue the offered workspace and security setup.
Check the result
- Confirm the actual activation or confirmation result and the intended account identity before continuing. An informational confirmation screen is not proof that email was delivered.
If this screen is unavailable
- Ask the invitation issuer for help if the link is invalid, already used or belongs to another recipient. Do not alter the link or enter another person’s identity.
- Correct the displayed field errors, retain your intended non-secret information and retry only when the page offers it.
Share / Recipient view
Shared recipient view. Review this screen in the context of the current workspace and record.
Access
- Use a current link issued for the intended recipient and organisation. Possession of a shared link may grant access; forward it only with the sender’s approval.
Controls and information
- Report result
- Password entry when required
Steps for this screen
- Read the report title, displayed filters and results. Enter the sender-provided password only if the page requests it.
Check the result
- Confirm the report period and intended organisation before using or distributing the result.
If this screen is unavailable
- If the link is expired, invalid or already used, ask its sender for the appropriate current link.
- Do not change the link or repeatedly submit a response. Ask the sender to confirm whether the response was recorded.
Respond to a shared survey
Respond to a shared survey.
Access
- Use a current link issued for the intended recipient and organisation. Possession of a shared link may grant access; forward it only with the sender’s approval.
Controls and information
- Questions
- Required responses
- Submit
- Acknowledgement
Steps for this screen
- Read the organisation, survey purpose and questions. Fill in the required answers without adding credentials or unnecessary personal information.
- Submit once and wait for the acknowledgement before closing the page.
Check the result
- Check the acknowledgement; opening a survey does not demonstrate a submitted response.
If this screen is unavailable
- If the survey is unavailable or already answered, contact its sender rather than modifying the link.